Effortless 2-Ingredient Ice Cream Bread: Your New Favorite Quick Dessert
Prepare to be amazed by this incredibly simple yet utterly delicious ice cream bread recipe! Crafted with just two key ingredients – your favorite full-fat ice cream and self-rising flour – this magical concoction transforms into a beautifully baked loaf with minimal effort. Imagine a world where baking delightful, flavorful quick breads is as easy as melting ice cream. This recipe makes that dream a reality, offering endless possibilities for custom flavors that are ready in a snap!
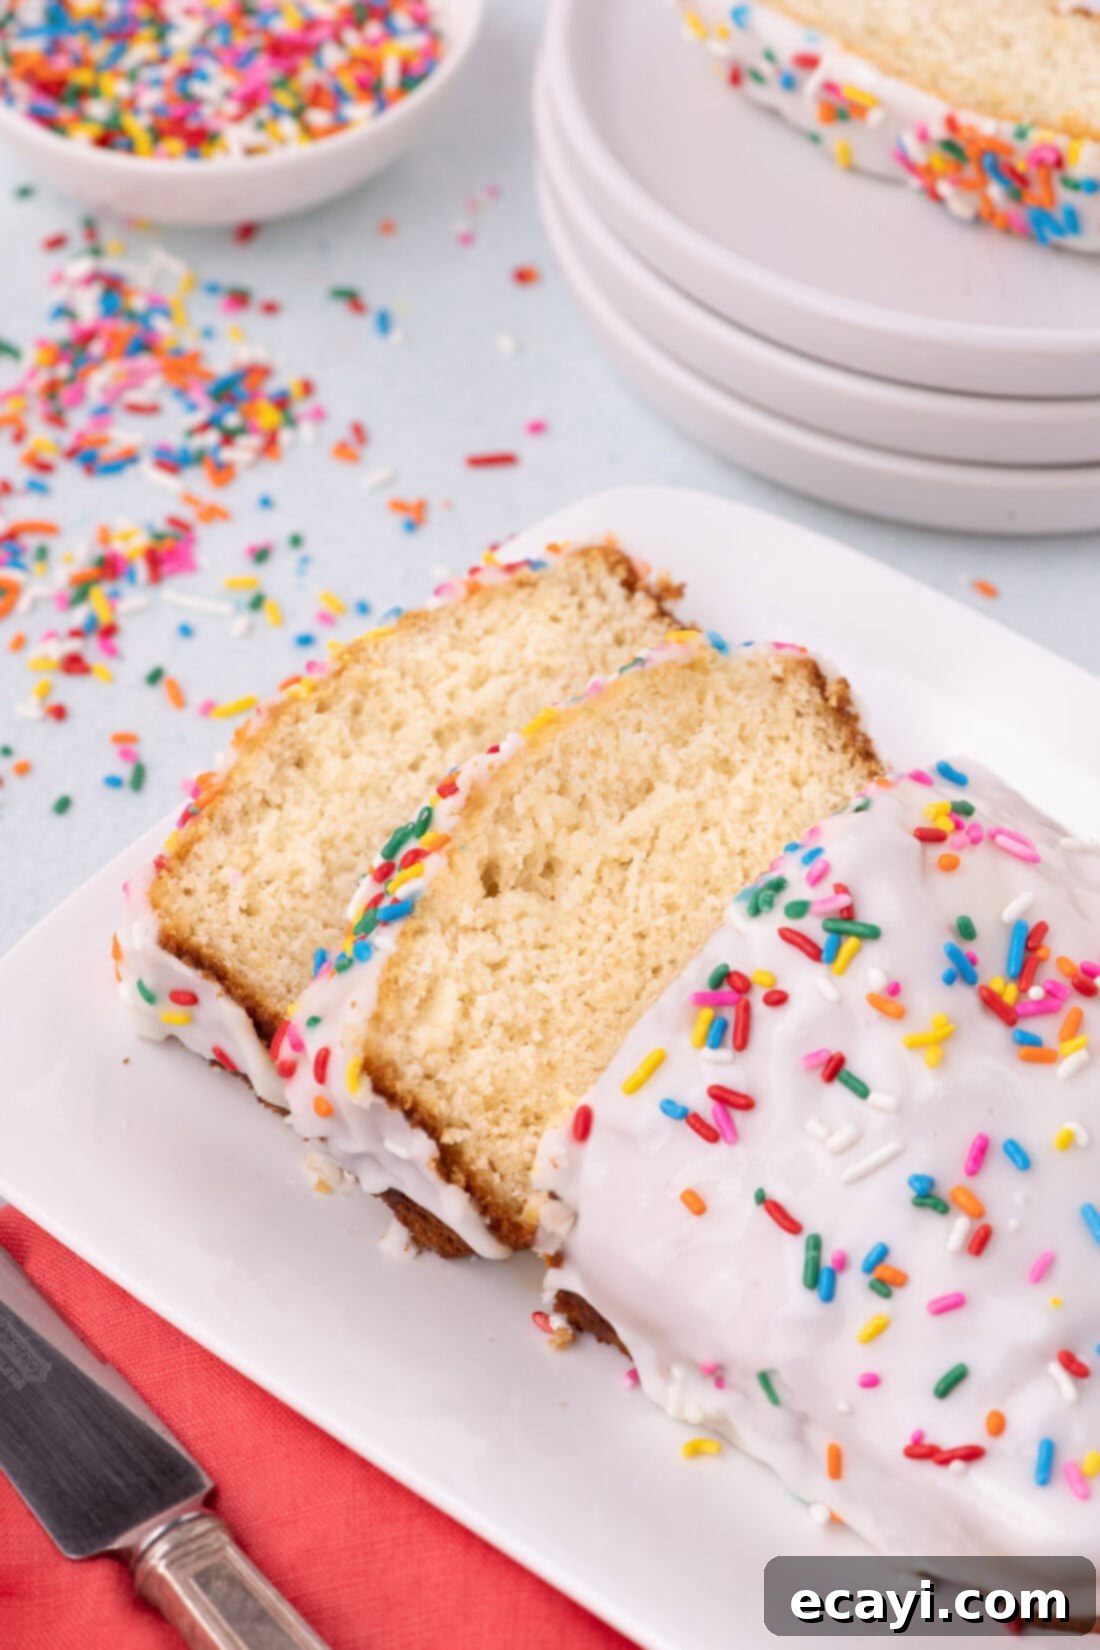
The Incredible Science Behind This 2-Ingredient Bread
You might be skeptical, and honestly, who wouldn’t be? The idea of making a fluffy, flavorful loaf of bread with only two ingredients seems almost too good to be true. Yet, this ice cream bread delivers, boasting the familiar taste and tender texture of a classic quick bread recipe. The secret lies in the clever combination of melted ice cream and self-rising flour, creating a baked good that is subtly sweet, wonderfully moist, and surprisingly versatile.
So, what makes this recipe work its magic? It all comes down to the carefully chosen properties of our two star ingredients: **self-rising flour** and **full-fat ice cream**. Each plays a crucial role, essentially condensing all the necessary components of traditional quick bread baking into a simple, fuss-free formula:
- Self-Rising Flour: This isn’t just ordinary flour; it’s a convenient baking powerhouse. Self-rising flour comes pre-mixed with a precise amount of baking powder and a touch of salt. The baking powder acts as a leavening agent, creating the essential lift and airy texture needed for a perfect loaf. The salt not only enhances the flavor but also helps to regulate the leavening process. Without self-rising flour, your bread wouldn’t rise, resulting in a dense, brick-like texture.
- Full-Fat Ice Cream: This is where the richness and moisture come from. Full-fat ice cream provides fats (from dairy cream), sugar, and often eggs, which are all fundamental elements in traditional bread recipes. The fat contributes to the bread’s moistness and tender crumb, while the sugar provides sweetness and aids in browning. The eggs, found in many ice cream varieties, act as a binder and contribute to the structure and richness of the bread. Essentially, your ice cream acts as a one-stop-shop for most of the wet ingredients you’d typically measure out individually.
The beauty of this combination is that it eliminates the need for yeast, oil, butter, milk, or separate leavening agents. Everything required to create a delicious quick bread is inherently present in these two simple items. The only variable you’re encouraged to play with is the flavor of your ice cream, opening up a world of culinary experimentation!
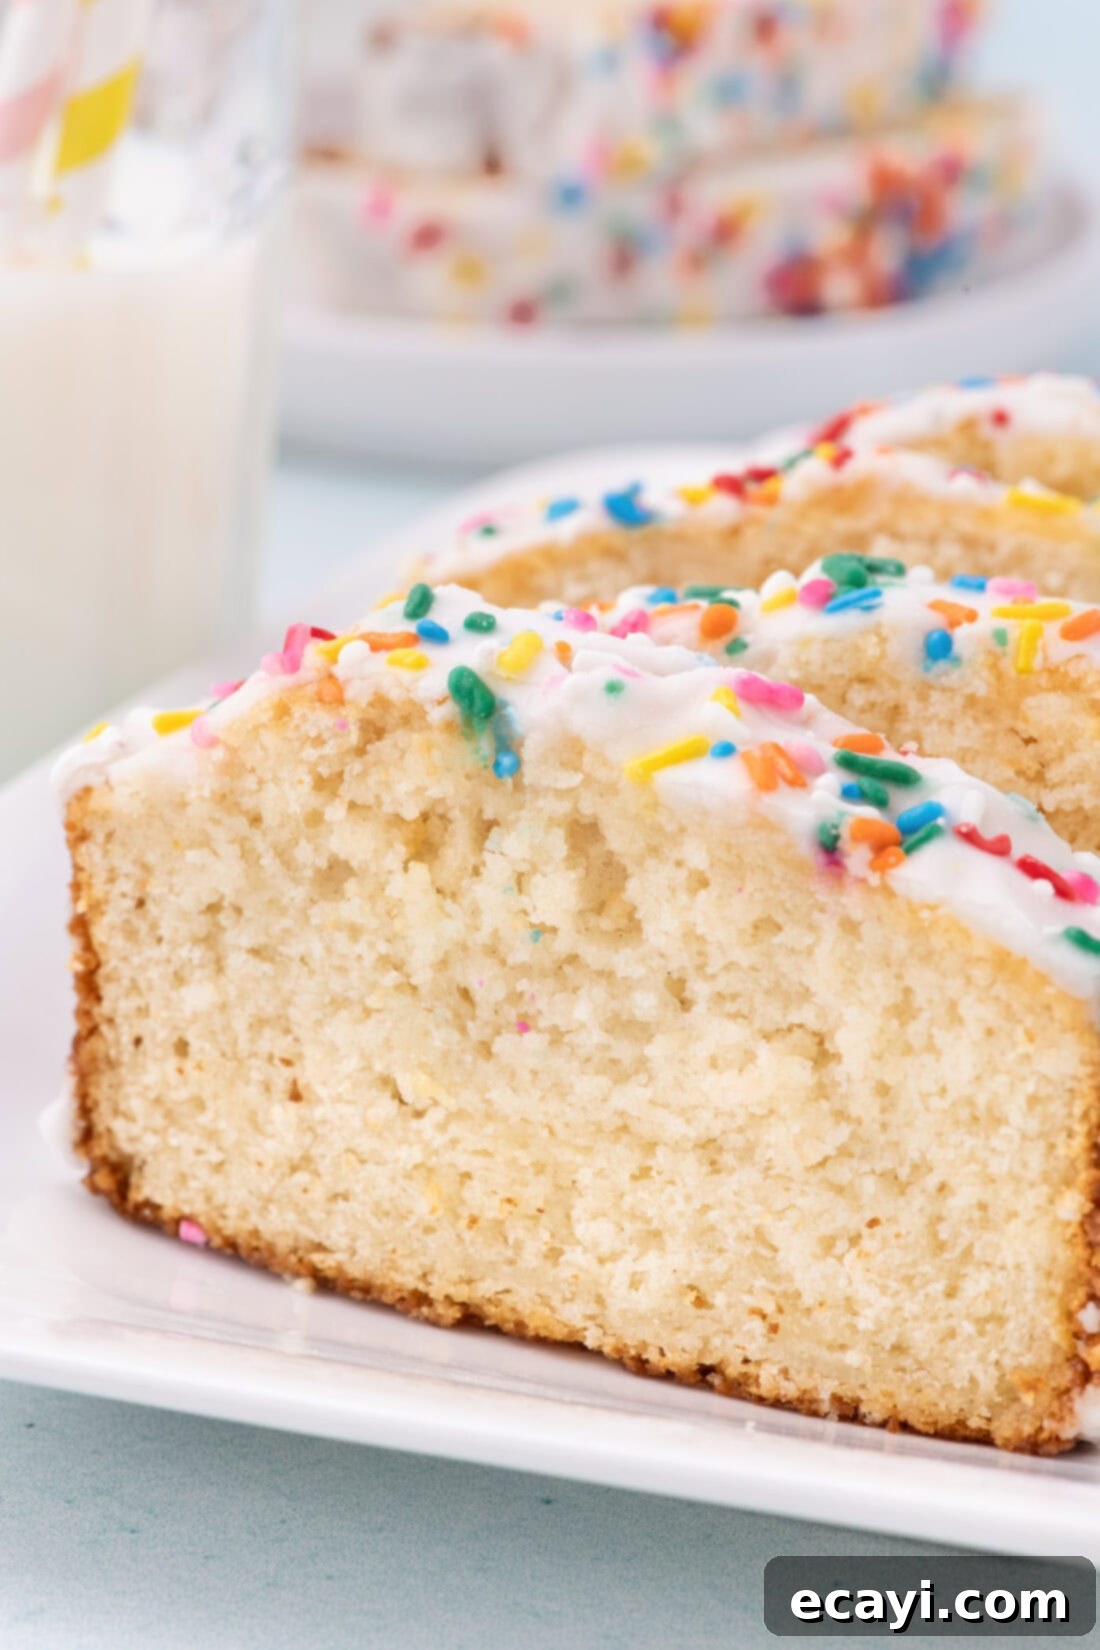
Simple Ingredients for Amazing Bread
You’ll be surprised by how few items you need for this recipe! Just two main ingredients and a couple of optional additions for a delightful glaze will get you started. For precise measurements and step-by-step instructions, make sure to check out the printable recipe card located at the very end of this post.
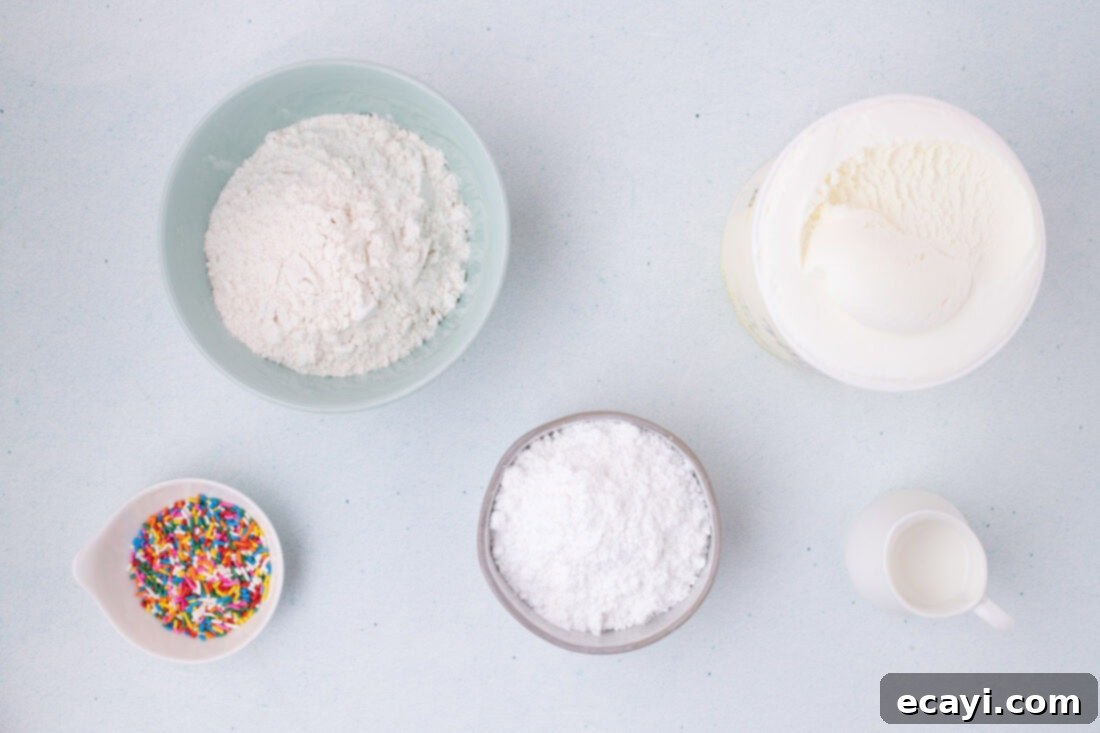
Ingredient Spotlight: Tips for Best Results
Let’s dive deeper into the two core ingredients and discuss how to get the most out of your ice cream bread, along with some helpful substitution suggestions for the optional glaze.
ICE CREAM – The star of the show! The flavor possibilities for your ice cream bread are truly endless, limited only by your imagination and the vast array of ice cream flavors available. Think beyond basic vanilla; imagine the delight of chocolate chip cookie dough bread, a refreshing mint chocolate chip loaf, or a rich butter pecan creation. Strawberry, coffee, birthday cake, or even seasonal pumpkin spice ice creams can all be transformed into unique quick breads. However, the most critical factor is to always use full-fat ice cream. This is non-negotiable for the recipe’s success. Full-fat varieties contain the necessary butterfat, sugar, and often egg components that provide structure, moisture, and tenderness to the bread. Avoid sherbets, low-fat, or dairy-free ice creams, as their different fat and sugar compositions, along with their lack of dairy proteins and egg solids, will prevent the bread from setting correctly and rising properly. The resulting loaf would be dense, gummy, or simply wouldn’t bake through. Keep in mind that the ice cream flavor tends to mellow and become more subtle after baking, so don’t be afraid to choose a bold flavor to ensure it shines through. You can also enhance the flavor with mix-ins after combining with flour.
FLOUR – Just like with ice cream, the type of flour is crucial. You absolutely must use self-rising flour for this recipe to work as intended. Do not substitute with all-purpose flour unless you fortify it yourself (see tip below). The baking powder and salt pre-mixed into self-rising flour are what give this bread its lift and structure without needing additional leavening agents. For the most accurate and consistent results, it’s always best to weigh your flour with a kitchen scale. Using a measuring cup can often lead to over-packing the flour, adding too much to the recipe, which can result in a dense, dry, and crumbly ice cream bread. If a kitchen scale isn’t available, employ the “stir, scoop, and scrape” method: gently stir the flour in its container to loosen it, lightly spoon it into your measuring cup until overflowing, then use a straight edge (like a knife or the back of a spoon) to level off the excess without compacting it. This method helps to ensure you’re using closer to the correct amount of flour by volume.
Homemade Self-Rising Flour Tip: If you only have all-purpose flour, you can easily create your own self-rising version! For every 1 cup of all-purpose flour, whisk in 1 ½ teaspoons of baking powder and ¼ teaspoon of salt. For this recipe, which calls for 1 ⅓ cups of self-rising flour, you would combine 1 ⅓ cups all-purpose flour with 2 ¼ teaspoons baking powder and ¼ teaspoon salt.
GLAZE – This recipe includes an optional, but highly recommended, thick glaze to crown your ice cream bread. It adds a lovely touch of sweetness and visual appeal. If you prefer a thinner glaze that coats more delicately, you can easily adjust its consistency by adding more milk, one teaspoon at a time, until you reach your desired flow. I personally enjoy making the glaze quite thick because it creates a beautiful, slow drip down the sides of the loaf, maintains a pure white color, and avoids appearing transparent. You can also customize the glaze by adding a touch of vanilla extract, almond extract, or a complementary flavor to match your ice cream bread. A pinch of food coloring could also add a fun pop!
How to Make This Simple Ice Cream Bread
These step-by-step photos and instructions are designed to help you visualize the process of making this delightful recipe. For the complete printable version, including all measurements and detailed instructions, simply Jump to Recipe at the bottom of this page.
- First things first, preheat your oven to 350°F (175°C). While the oven is heating, generously grease a 9-inch loaf pan. You can use butter, cooking spray, or a parchment paper sling for easy removal.
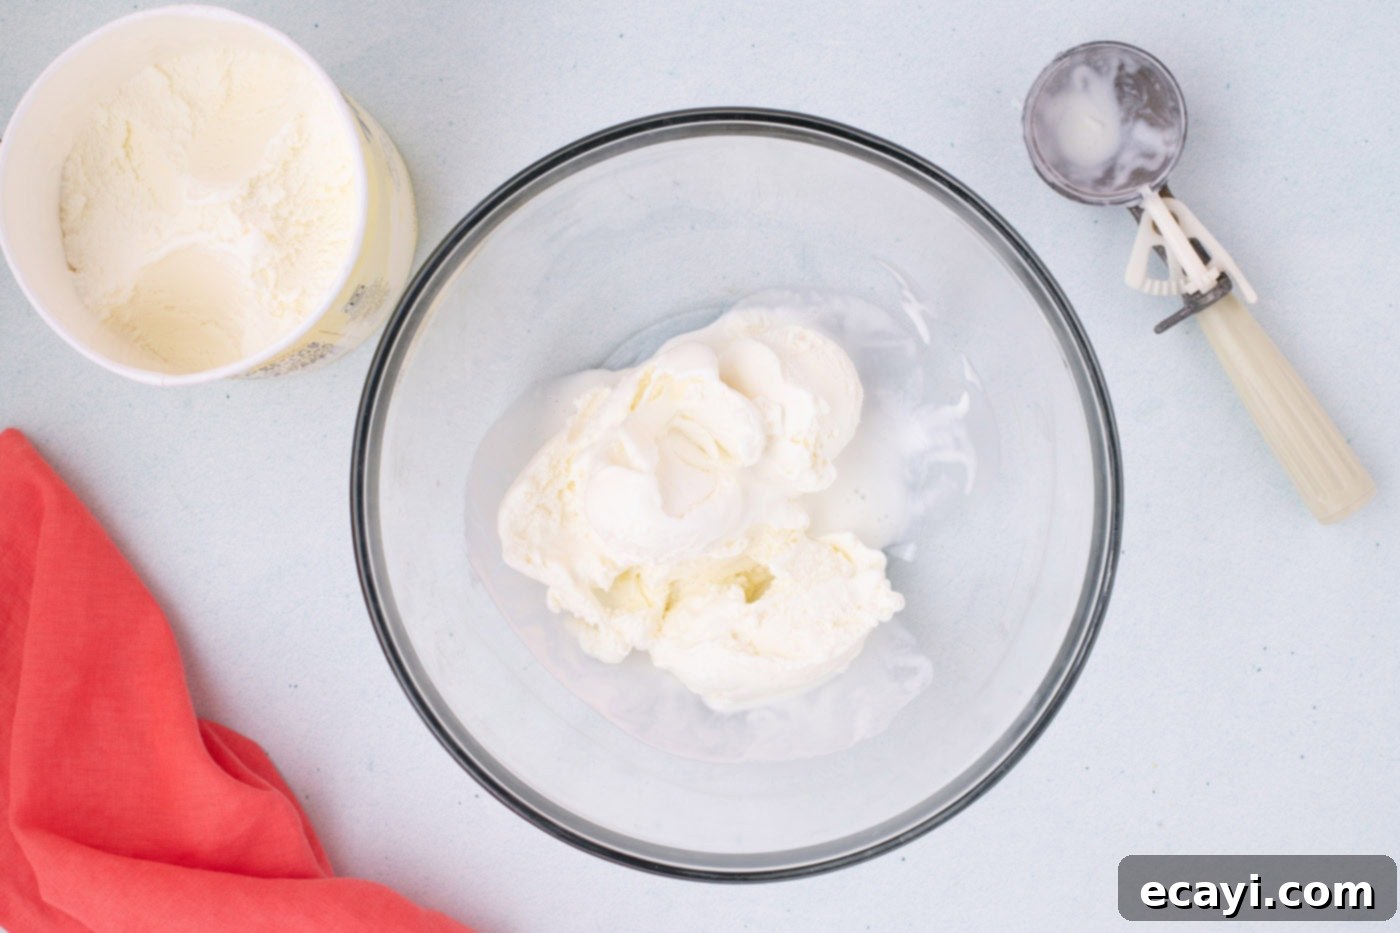
- In a large mixing bowl, scoop out your chosen full-fat ice cream. Allow it to soften at room temperature for approximately 10 minutes. The goal is for the ice cream to reach a consistency similar to a thick sauce, making it easy to combine with the flour. Avoid melting it completely into a liquid state.

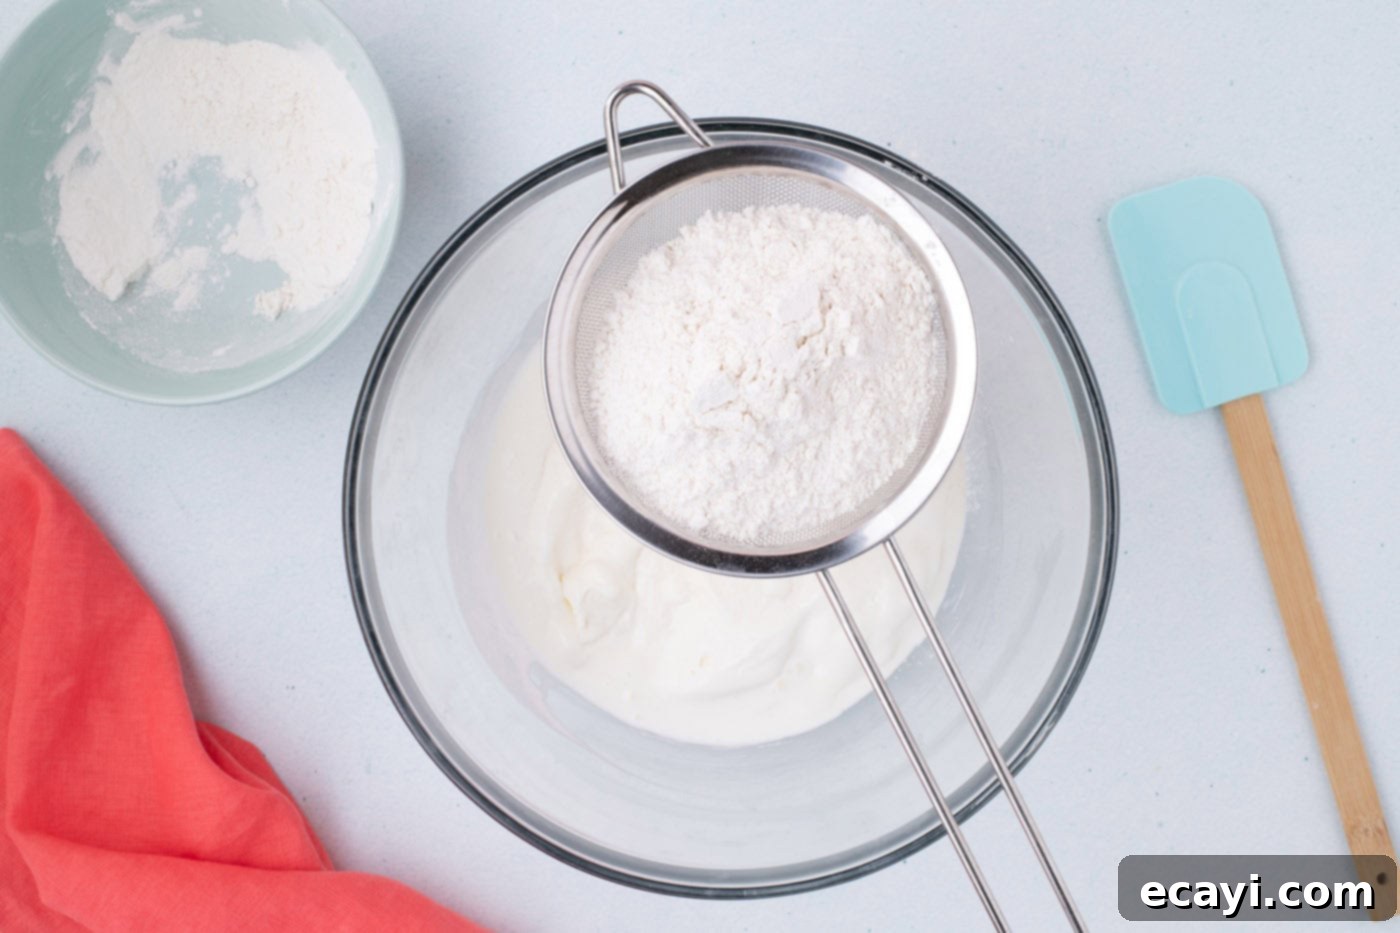
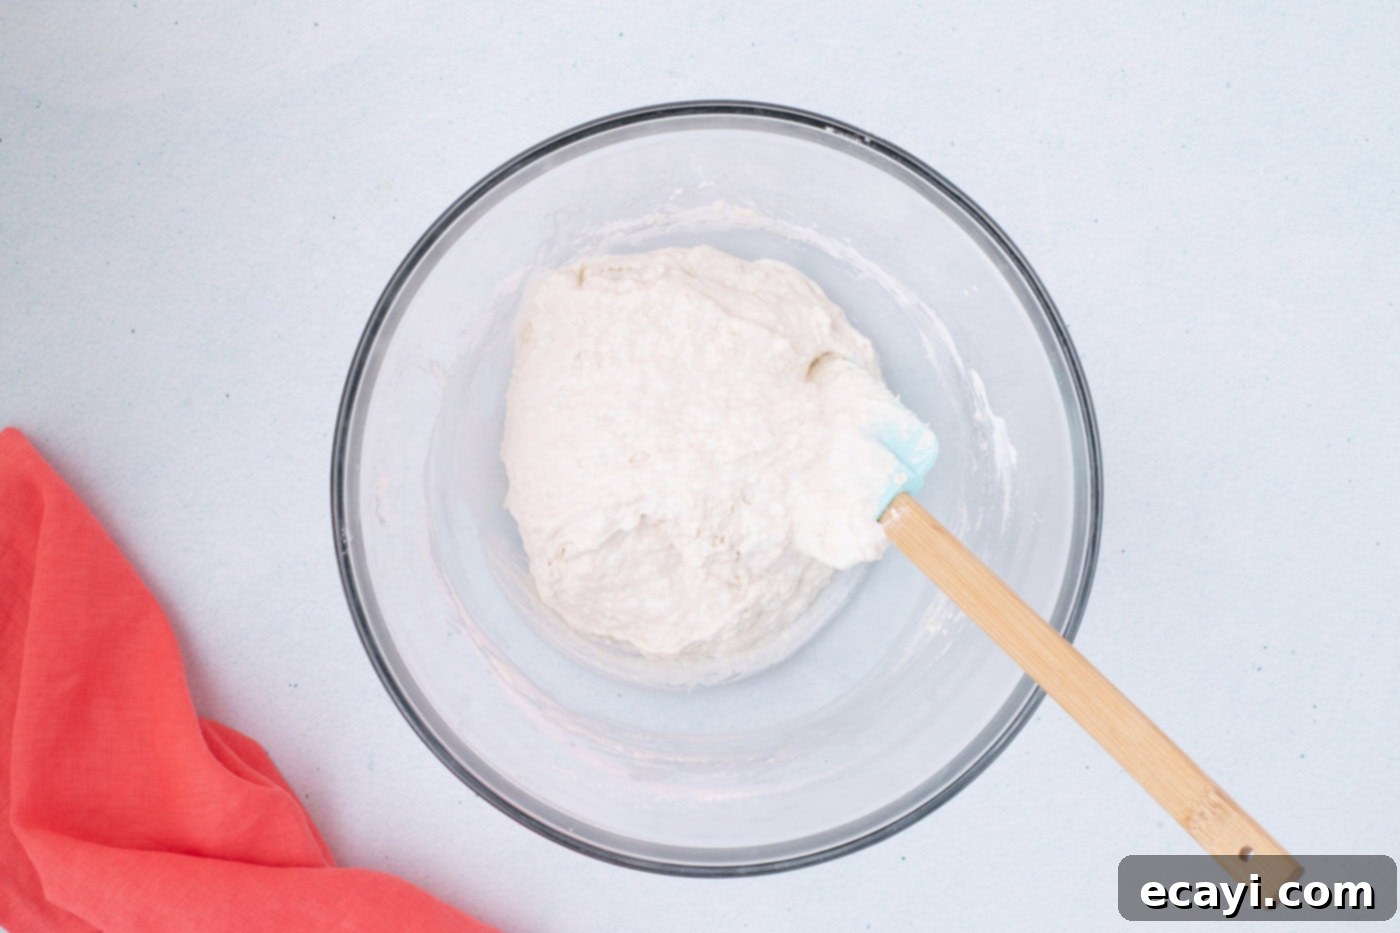
- Once your ice cream has softened, sift the self-rising flour directly over it in the mixing bowl. Using a soft silicone spatula or a wooden spoon, gently fold the flour into the ice cream. Stir only until the ingredients are just combined. The key here is not to overmix the batter!
TIP – Overmixing can develop the gluten in the flour too much, leading to a tough and dense bread. A slightly lumpy batter is perfectly normal and actually desirable, as it will contribute to a lighter and more tender texture in the final baked loaf. Resist the urge to keep stirring until perfectly smooth.


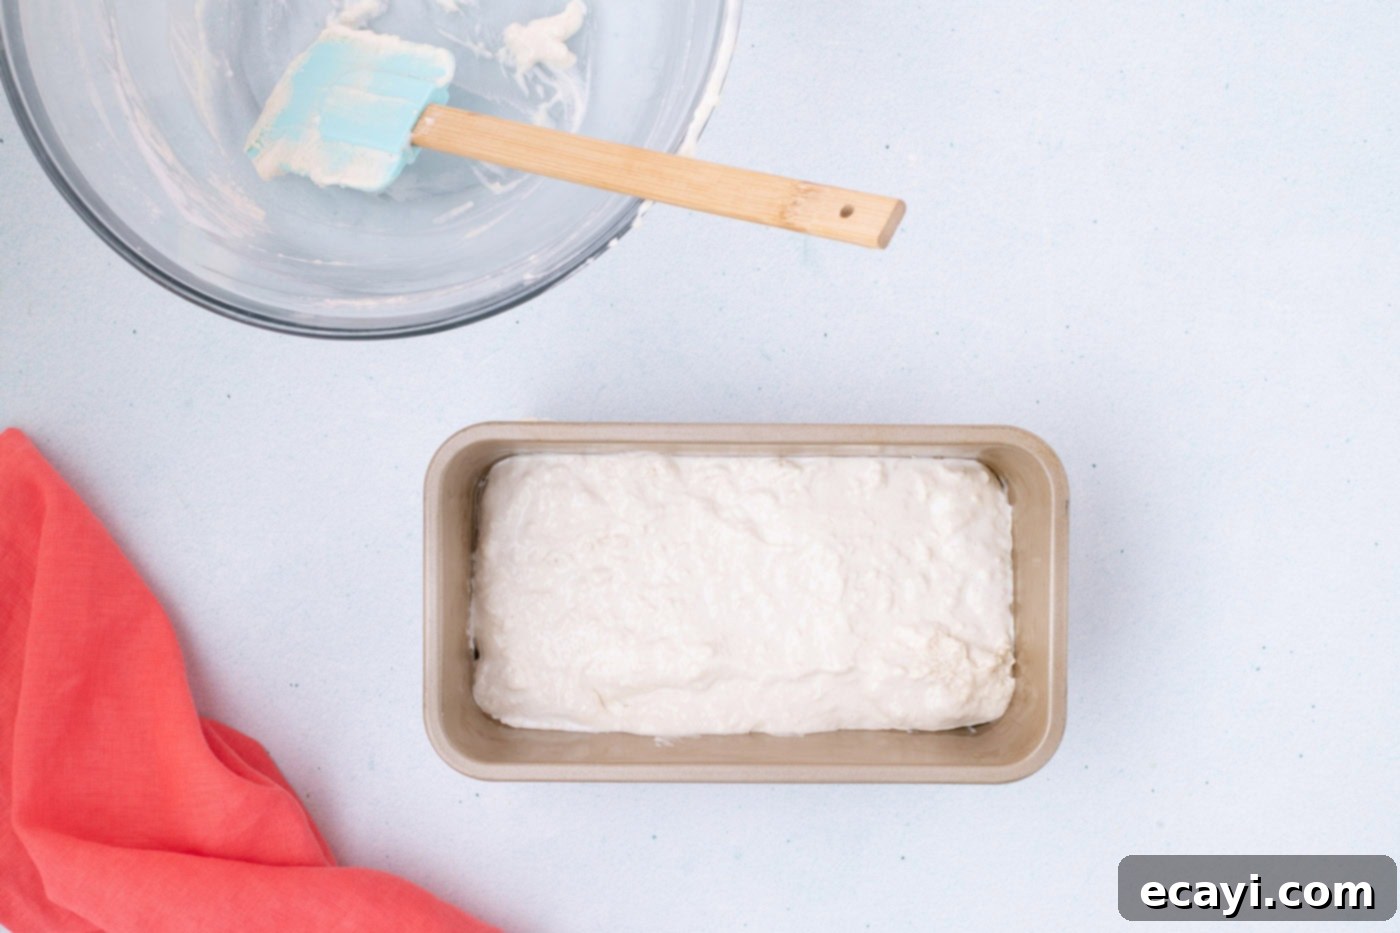
- Transfer the gently mixed batter into your prepared 9-inch loaf pan. Use your spatula to lightly smooth out the top and ensure the batter is evenly distributed into all corners of the pan.

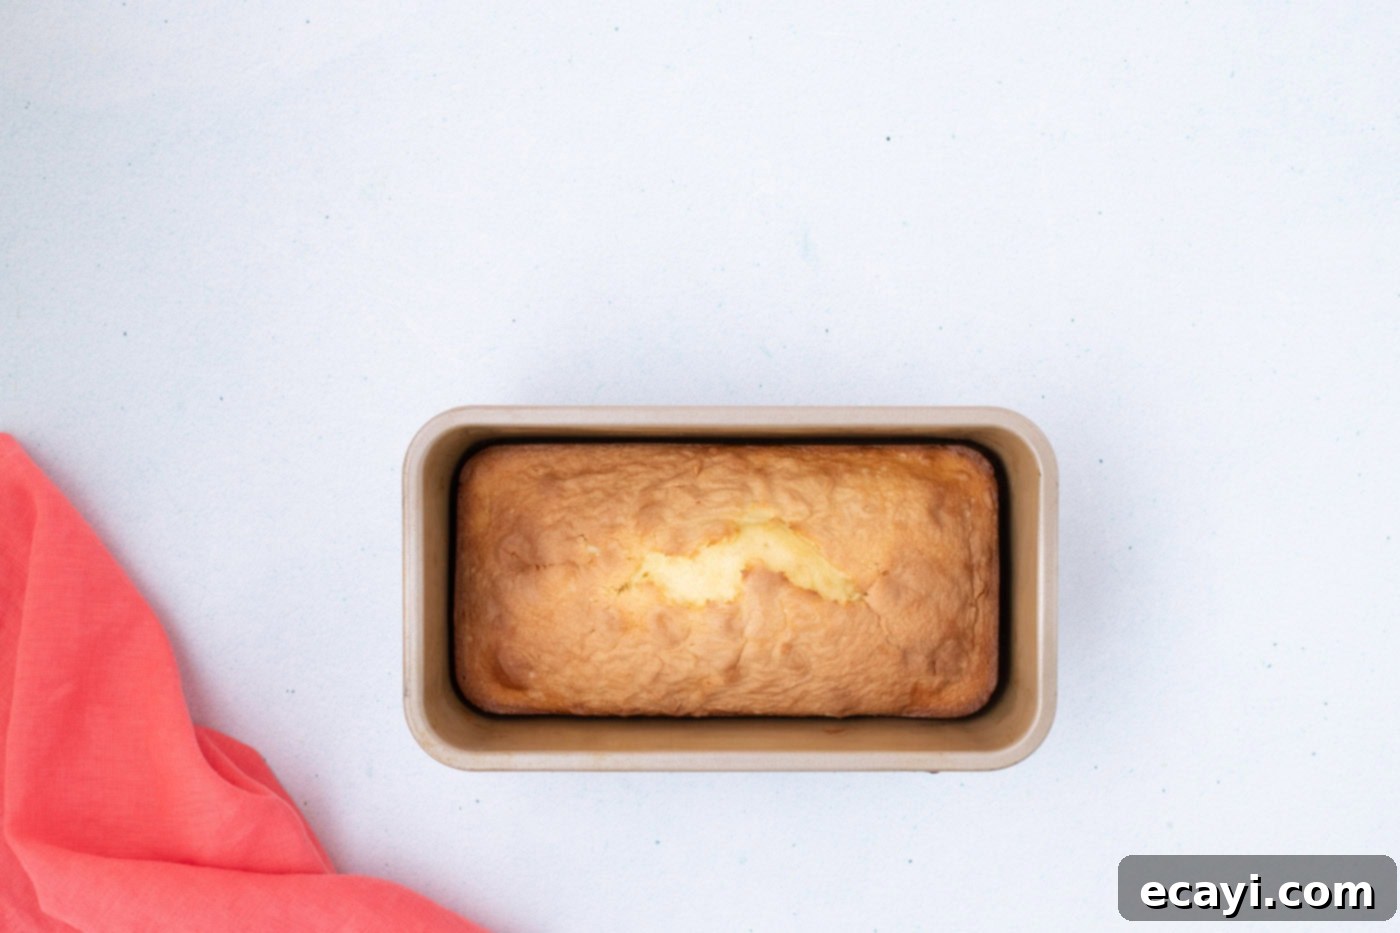
- Bake in the preheated oven for an initial 30 minutes. After about 20 minutes of baking, check the bread’s top. If it’s browning too quickly, lightly cover the loaf pan with aluminum foil for the remaining 10 minutes of baking time. This prevents the crust from becoming overly dark while allowing the inside to cook through.

- To confirm doneness, insert a toothpick or a thin wooden skewer into the thickest part of the bread’s center. It should come out mostly clean, with only a few moist crumbs attached. If it comes out wet with raw batter, return the bread to the oven for an additional 5-10 minutes, checking again.
- Once baked, remove the loaf pan from the oven and place it on a wire rack to cool for 30 minutes. This cooling period in the pan is important for the bread to set properly and makes it easier to remove. While it cools, you can prepare your optional glaze.
- For the glaze, combine the powdered sugar and whole milk in a measuring cup with a pourable spout. Whisk or stir vigorously until the mixture is completely smooth and free of lumps. Adjust consistency as desired (see “Ingredient Spotlight” for tips).
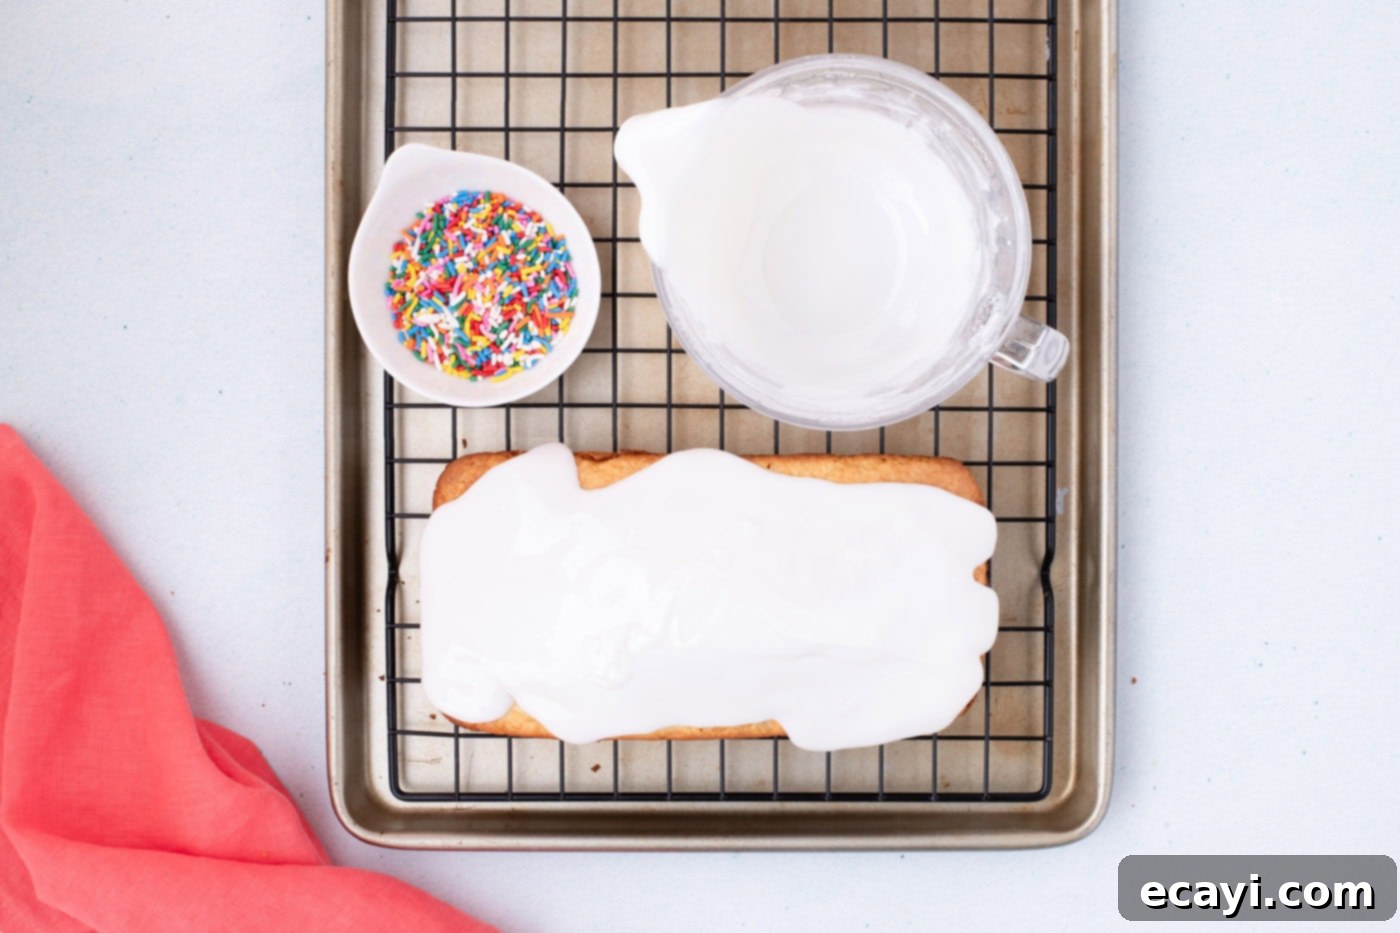
- After 30 minutes, carefully remove the bread from the loaf pan. Place the warm loaf onto a clean wire rack, making sure to position the rack over a baking sheet. The baking sheet will catch any excess glaze drips, making cleanup a breeze. Slowly and evenly pour your prepared glaze over the cooled bread, allowing it to artfully drip down the sides.

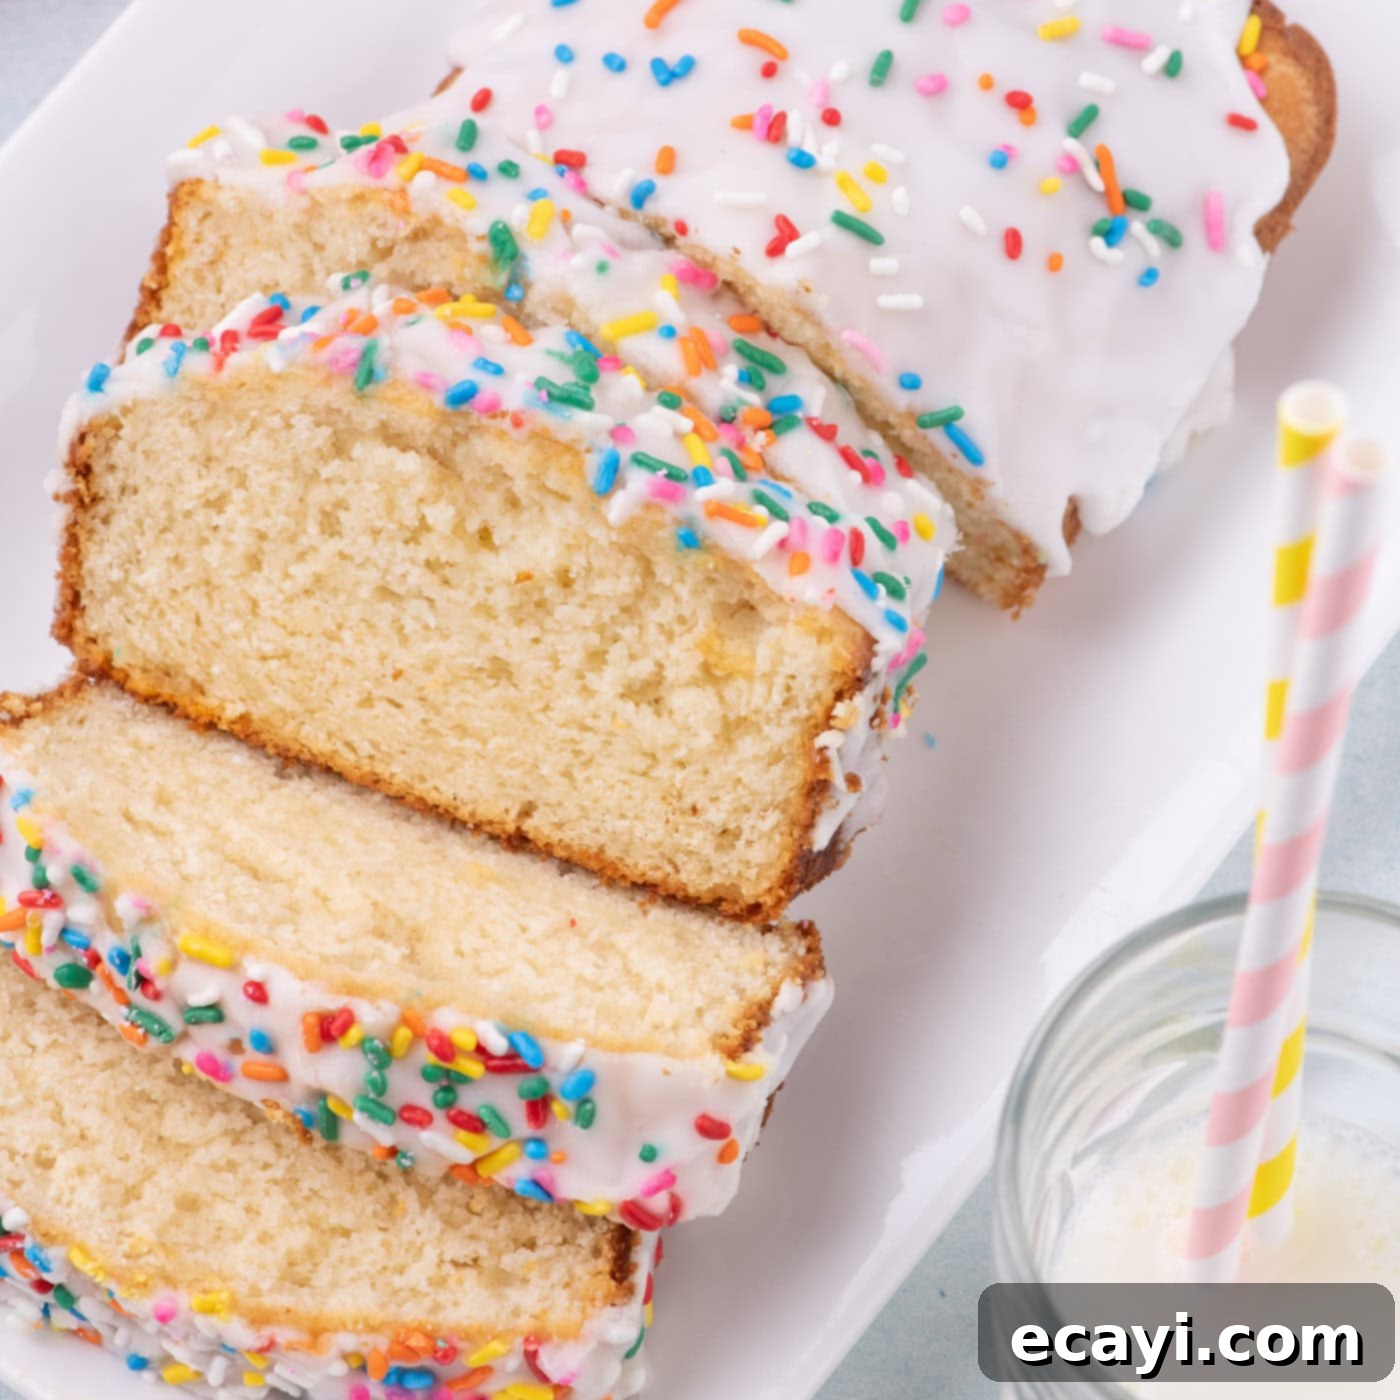
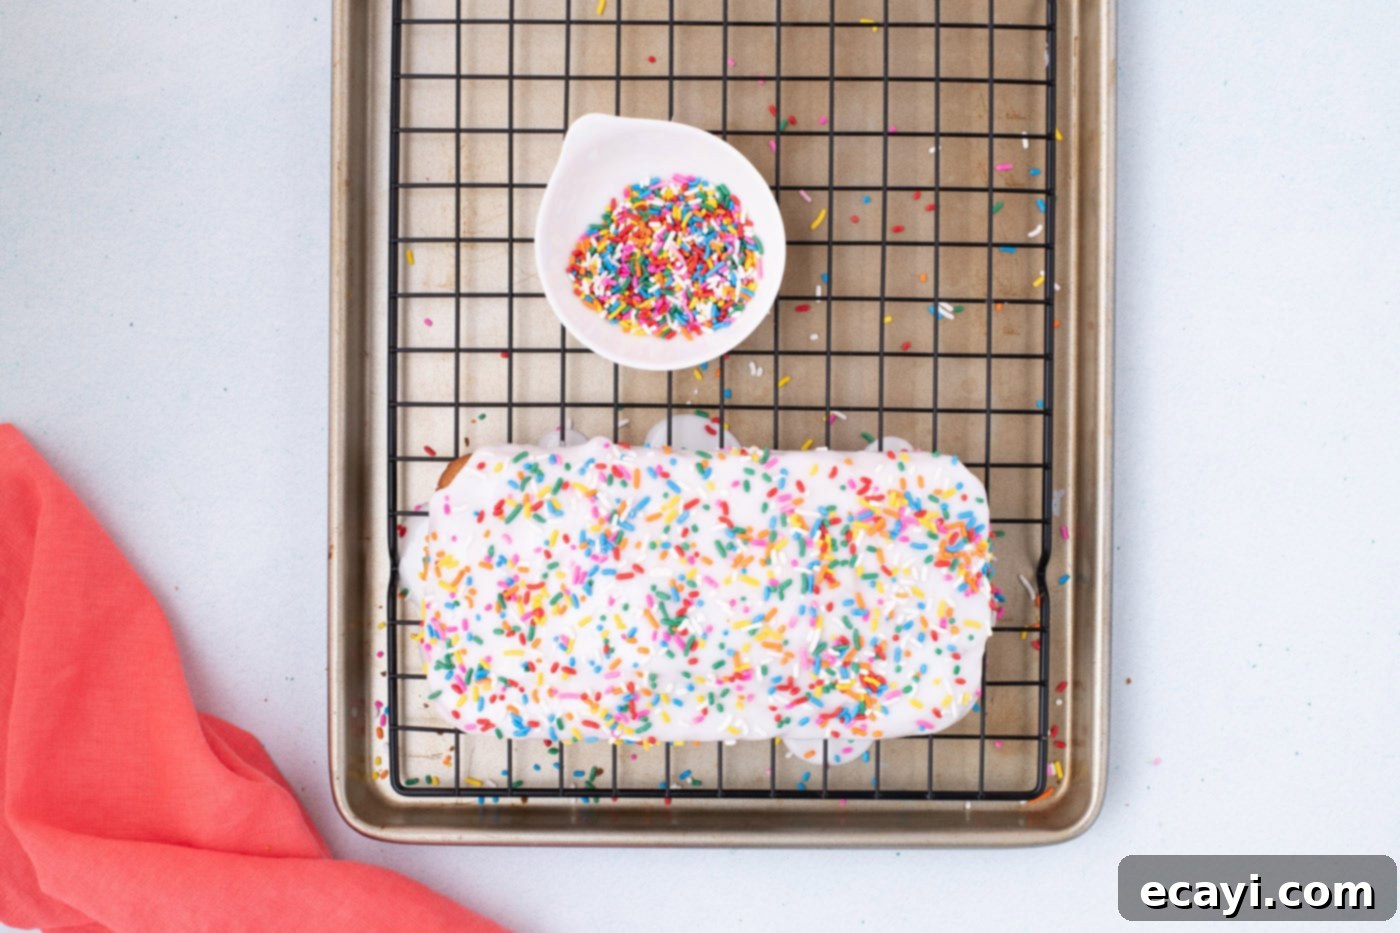
- Allow the glaze to set slightly for about 2 minutes. While it’s still tacky, generously sprinkle with confetti sprinkles or any other desired garnishes for a festive touch.

- Finally, slice your magnificent ice cream bread into 1-inch thick pieces and serve immediately to enjoy its incredible flavor and texture!
Frequently Asked Questions & Expert Tips for Perfect Ice Cream Bread
To maintain the deliciousness and prolong the freshness of your homemade ice cream bread, it’s best to store it properly. Once completely cooled, wrap the loaf tightly in plastic wrap or place it in an airtight container. Keep it refrigerated, where it will stay fresh and moist for up to 5 days. You can also freeze slices for longer storage; wrap individually and store in a freezer-safe bag for up to 2-3 months.
For this to remain a true two-ingredient recipe, self-rising flour is essential. It contains the leavening agents (baking powder) and salt needed for the bread to rise. If you only have all-purpose flour on hand, you can easily make your own self-rising flour. Simply combine 1 ⅓ cups of all-purpose flour with 2 ¼ teaspoons of baking powder and ¼ teaspoon of salt, then proceed with the recipe as directed. Do not use plain all-purpose flour without these additions, or your bread will not rise.
Absolutely! This is a fantastic way to customize your loaf even further. Popular mix-ins include chocolate chips, nuts (walnuts, pecans), dried fruits (raisins, cranberries), sprinkles, or even small pieces of candy. Fold them in gently with the flour, ensuring not to overmix. About ½ to ¾ cup of mix-ins is usually a good amount, depending on your preference.
A dense or dry loaf is usually a result of one of two things: either too much flour or overmixing the batter. Always weigh your flour for accuracy, or use the “stir, scoop, and scrape” method for volumetric measurements. And remember the golden rule of quick breads: mix only until just combined! A few lumps are good.
Almost any full-fat ice cream will work, but those with stronger, more distinct flavors tend to shine through best. Vanilla, chocolate, strawberry, mint chocolate chip, coffee, and cookie dough are all excellent choices. Flavors with chunks (like cookie dough or brownies) will add interesting texture. Remember that the flavor can be subtle, so don’t be afraid to experiment!
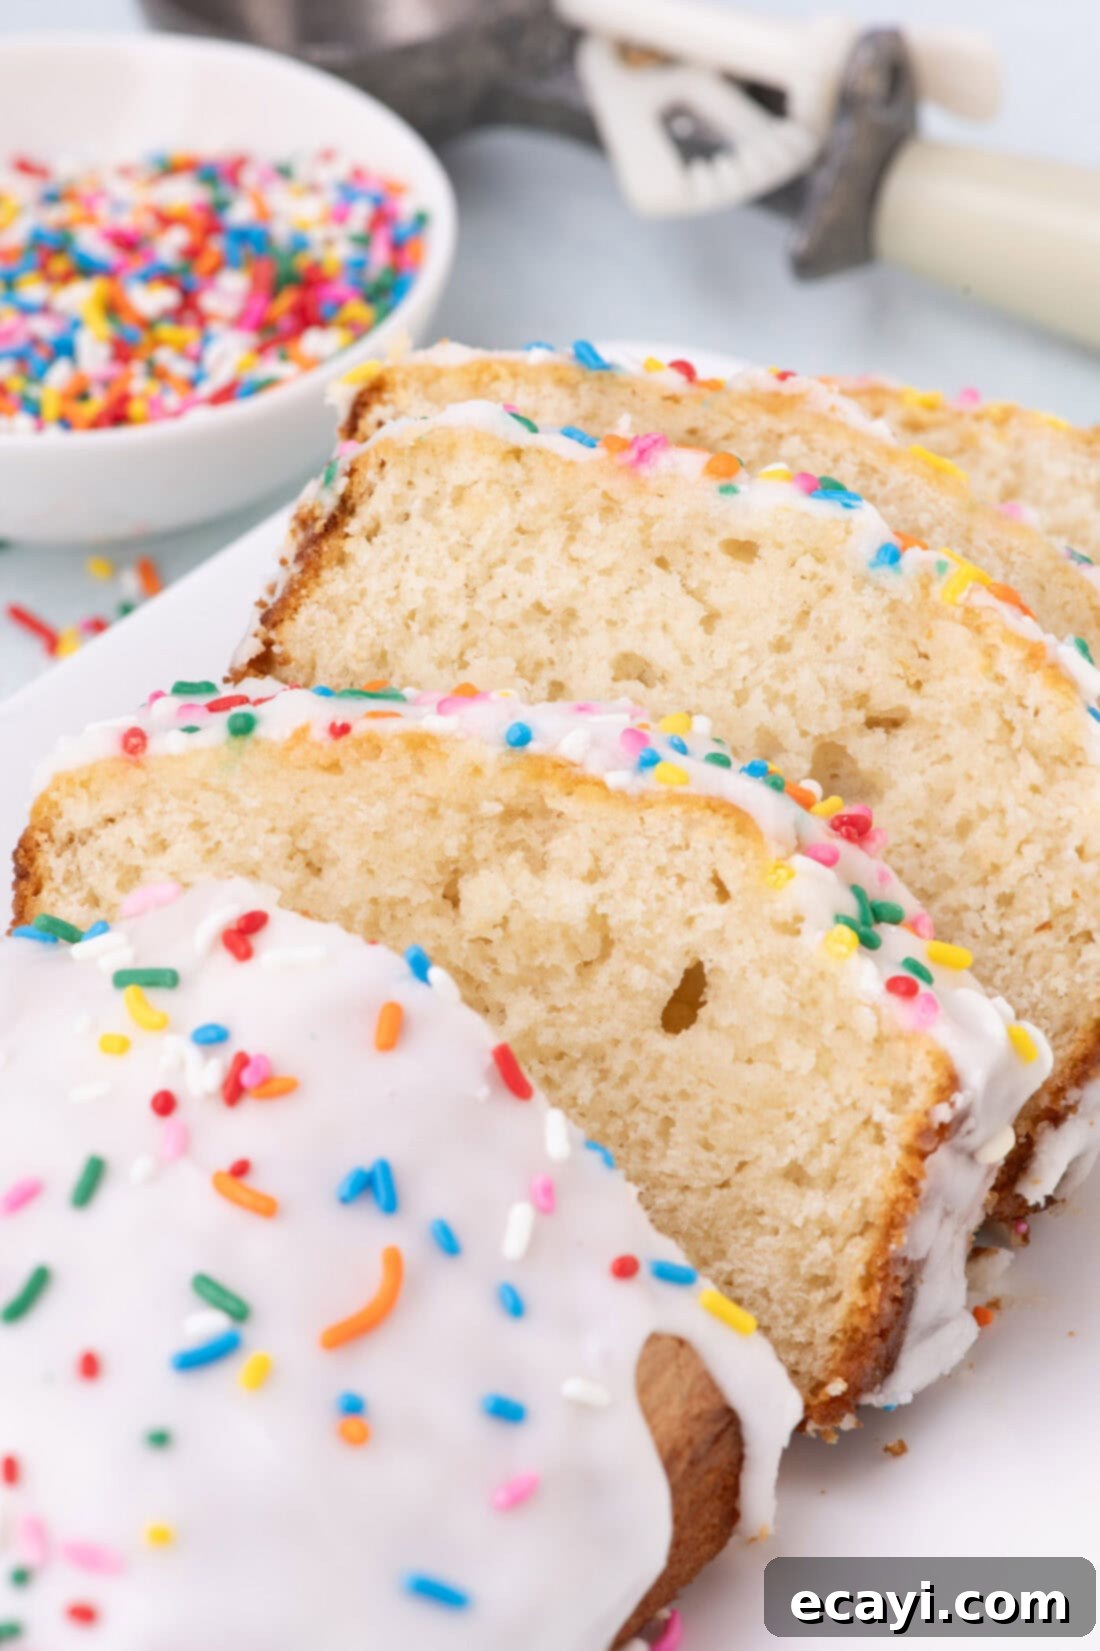
Creative Serving Suggestions for Ice Cream Bread
The beauty of ice cream bread lies in its delightful balance between savory and sweet, making it an incredibly versatile treat for any time of day. It’s perfect as a unique breakfast bread alongside your morning coffee, a satisfying quick snack to curb cravings, or even a charming dessert. Here are some ideas to elevate your serving experience:
- Simple & Sweet: Serve slices warm or at room temperature, perhaps with a dusting of powdered sugar if you skipped the glaze.
- Enhanced Glaze: Beyond the basic powdered sugar glaze, consider flavoring it with citrus zest (lemon or orange), a touch of almond extract, or even a drizzle of melted chocolate or caramel.
- Fruity Toppings: Pair a slice with fresh berries, sliced bananas, or a compote made from your favorite fruits. A dollop of whipped cream or Greek yogurt would also be lovely.
- Dessert Upgrade: Turn it into a decadent dessert by serving it warm with an extra scoop of your chosen ice cream, a drizzle of hot fudge or caramel sauce, and a sprinkle of nuts.
- Breakfast Delight: Enjoy it toasted with a spread of butter, cream cheese, or a fruit jam.
- Mix-ins: Don’t forget to get creative with mix-ins baked directly into the bread! Chocolate chips, chopped nuts (walnuts, pecans, almonds), dried cranberries, shredded coconut, or even a swirl of cinnamon sugar can transform the base flavor.
Whether enjoyed plain or dressed up, this ice cream bread is sure to become a cherished addition to your recipe collection!
Explore More Easy Quick Bread Recipes
If you loved the simplicity and deliciousness of this ice cream bread, you’ll surely enjoy these other fantastic quick bread recipes. They’re perfect for baking enthusiasts looking for minimal fuss and maximum flavor!
- Peanut Butter Bread
- Pineapple Quick Bread
- Cantaloupe Quick Bread
- Chocolate Zucchini Bread
I love to bake and cook and share my kitchen experience with all of you! Remembering to come back each day can be tough, that’s why I offer a convenient newsletter every time a new recipe posts. Simply subscribe and start receiving your free daily recipes!

Ice Cream Bread
IMPORTANT – There are often Frequently Asked Questions within the blog post that you may find helpful. Simply scroll back up to read them!
Print It
Pin It
Rate It
Save ItSaved!
Ingredients
- 2 cups full fat vanilla ice cream we used French vanilla
- 1 ⅓ cup self-rising flour 150g
Optional Glaze
- 1 ½ cups powdered sugar 170g
- 5 teaspoons whole milk
- rainbow sprinkles optional as garnish
Things You’ll Need
-
9 inch loaf pan
-
Mixing bowls
-
Sieve
-
Wire cooling rack
Before You Begin
- Avoid sherbets, low-fat or dairy-free ice creams as they won’t produce the same results. You need full-fat ice cream for this recipe.
- You will need self-rising flour in order for this recipe to work, do not use all-purpose flour. It’s always best to weigh your flour with a kitchen scale, using a measuring cup could add too much flour, resulting in a dense and dry ice cream bread. If you don’t have a kitchen scale, use the ‘stir, scoop, and scrape’ method of measuring the flour.
- If you don’t have self-rising flour on hand, you can make your own by combining 1 1/3 cups all-purpose flour with 2 ¼ teaspoons baking powder and ¼ teaspoon salt.
- If you prefer, you can thin the glaze out with more milk (1 teaspoon at a time). I like to make the glaze quite thick so it has a nice slow drip, is pure white, and isn’t too thin that it appears transparent.
Instructions
-
Preheat the oven to 350°F. Grease a 9-inch loaf pan.
-
Place the ice cream in a large mixing bowl and allow it to soften (about 10 minutes), so it resembles a thick sauce.
-
Sift the self-rising flour over the melted ice cream, and using a soft silicone spatula, gently fold it into the ice cream. Stir until just combined (the key is not to over-stir)!
-
Transfer the batter to the prepared loaf pan and smooth the top to get the batter into the corners of the loaf pan.
-
Bake for 30 minutes. After 20 minutes, cover with aluminum foil (if the top is not getting too brown) and bake for the remaining 10 minutes.
-
Check for doneness by inserting a toothpick into the thickest part of the bread, it should come out fairly clean with only a few crumbs attached.
-
Remove the loaf pan from the oven and place it on a wire rack to cool for 30 minutes while you make the glaze.
-
In a measuring cup with a pourable spout, combine the powdered sugar and milk. Stir until smooth.
-
Remove the bread from the loaf pan and set it on a wire rack fitted over a baking sheet. Slowly pour the glaze over the cooled cake letting it drip down the sides of the bread.
-
Wait 2 minutes for the glaze to semi-set and sprinkle with the confetti sprinkles.
-
Cut into 1-inch thick slices and serve.
Expert Tips & FAQs
- The nutrition facts listed here does not include the optional glaze or sprinkles.
- To prolong the freshness of ice cream bread, it is best to keep it wrapped in plastic wrap or in an air-tight container kept in the refrigerator. It stores well refrigerated for up to 5 days.
Nutrition
The recipes on this blog are tested with a conventional gas oven and gas stovetop. It’s important to note that some ovens, especially as they age, can cook and bake inconsistently. Using an inexpensive oven thermometer can assure you that your oven is truly heating to the proper temperature. If you use a toaster oven or countertop oven, please keep in mind that they may not distribute heat the same as a conventional full sized oven and you may need to adjust your cooking/baking times. In the case of recipes made with a pressure cooker, air fryer, slow cooker, or other appliance, a link to the appliances we use is listed within each respective recipe. For baking recipes where measurements are given by weight, please note that results may not be the same if cups are used instead, and we can’t guarantee success with that method.
