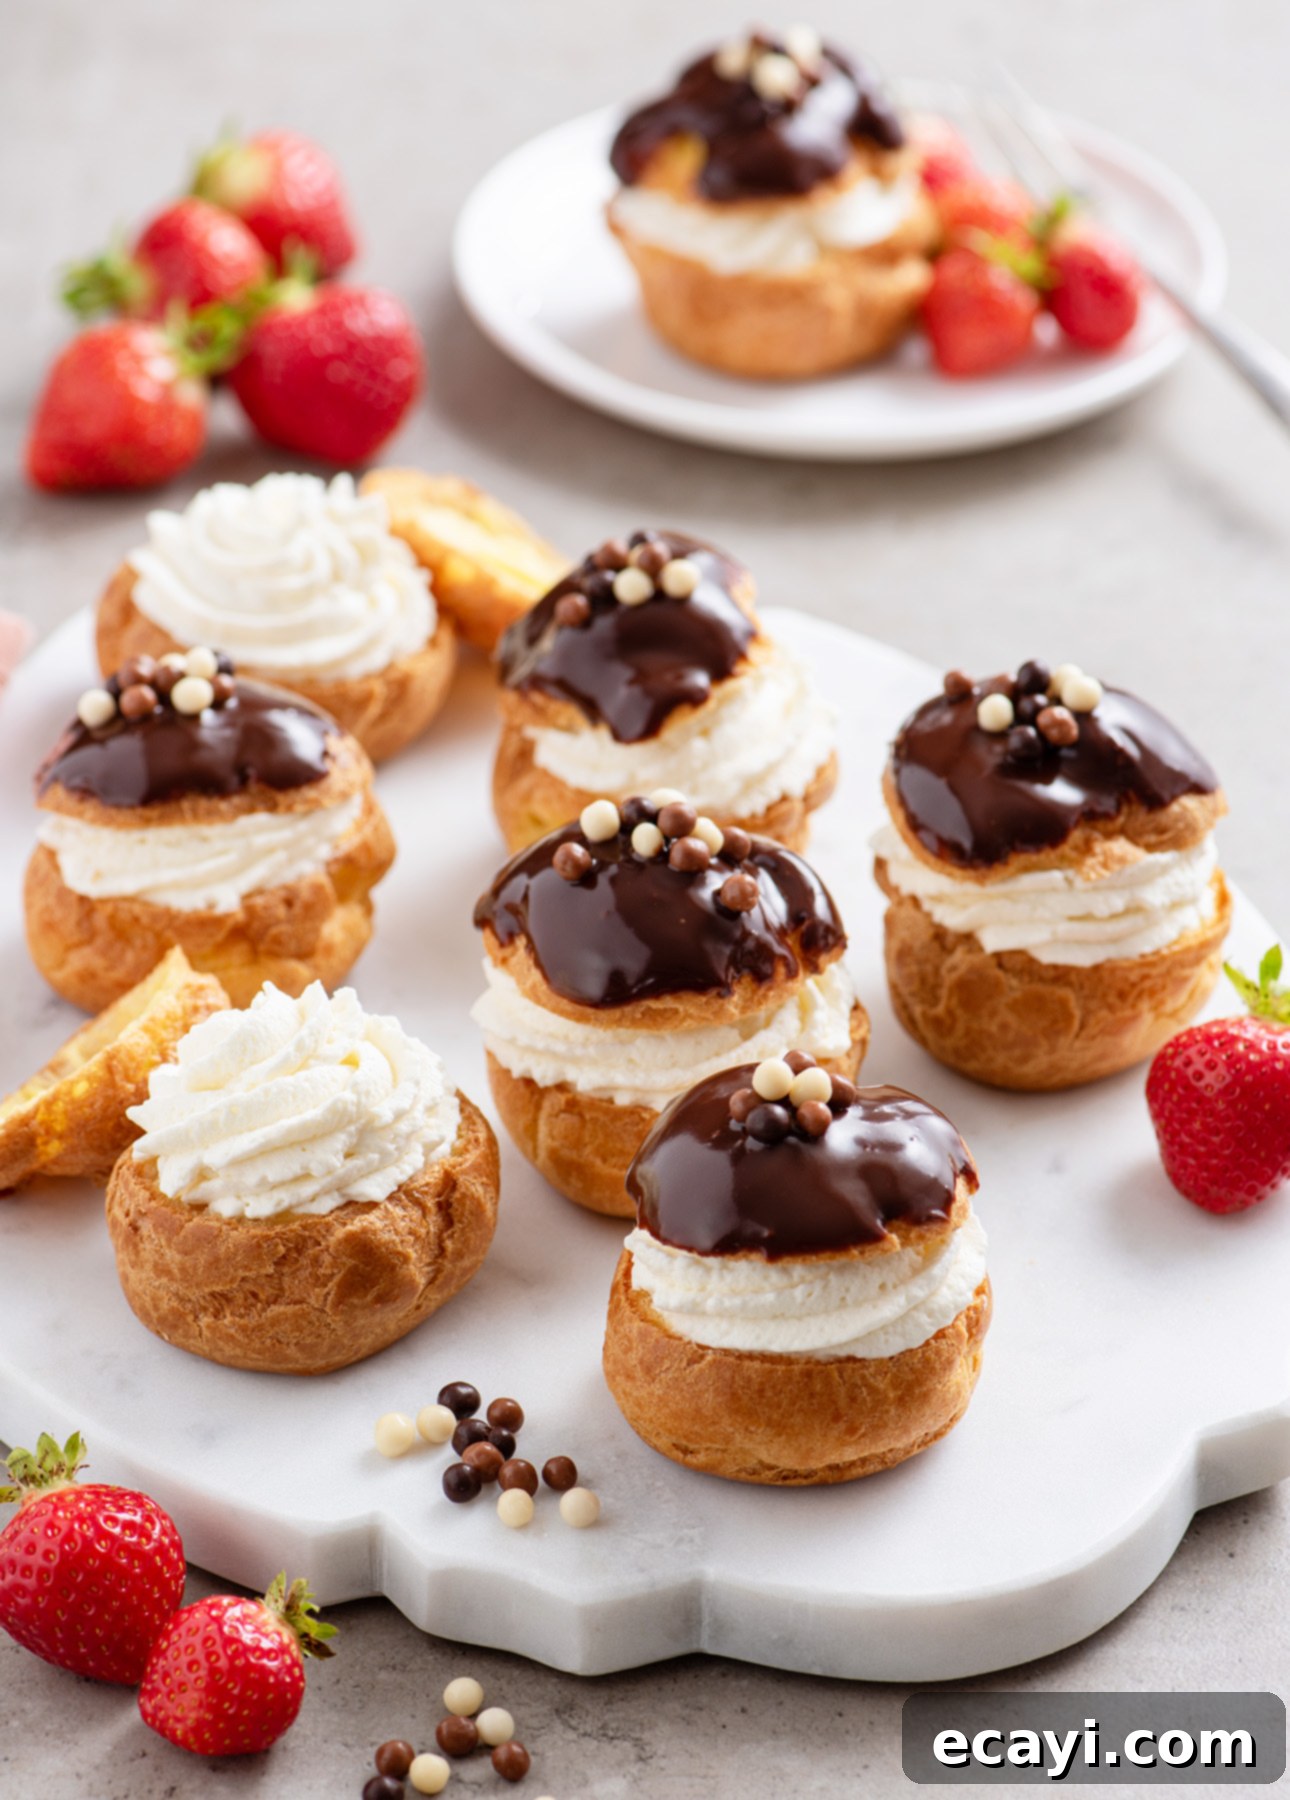
Mastering Classic Cream Puffs: Your Ultimate Guide to Choux Pastry Perfection
Learn how to make classic cream puffs by combining light, airy choux pastry, a luscious vanilla filling, and a decadent chocolate glaze. This comprehensive guide will walk you through every step, ensuring a perfect batch every time – ideal for any celebration or a delightful everyday treat!
This post contains affiliate links. Full disclosure is at the bottom of the article.
Let’s talk about classic cream puffs. These delightful French pastries are often seen as sophisticated, the kind of exquisite dessert you might find gracing the windows of a high-end Parisian patisserie. Yet, the truth is, making cream puffs at home is far less daunting than you might imagine. While there’s a certain technique involved in achieving their signature light and airy texture, it’s a process that becomes incredibly rewarding once you understand the fundamentals. Many home bakers find success by breaking down the preparation into manageable steps, even spreading the different components over a couple of days. This approach transforms the baking experience from a potential source of stress into an enjoyable culinary adventure, allowing you to embrace the process with creativity and confidence.
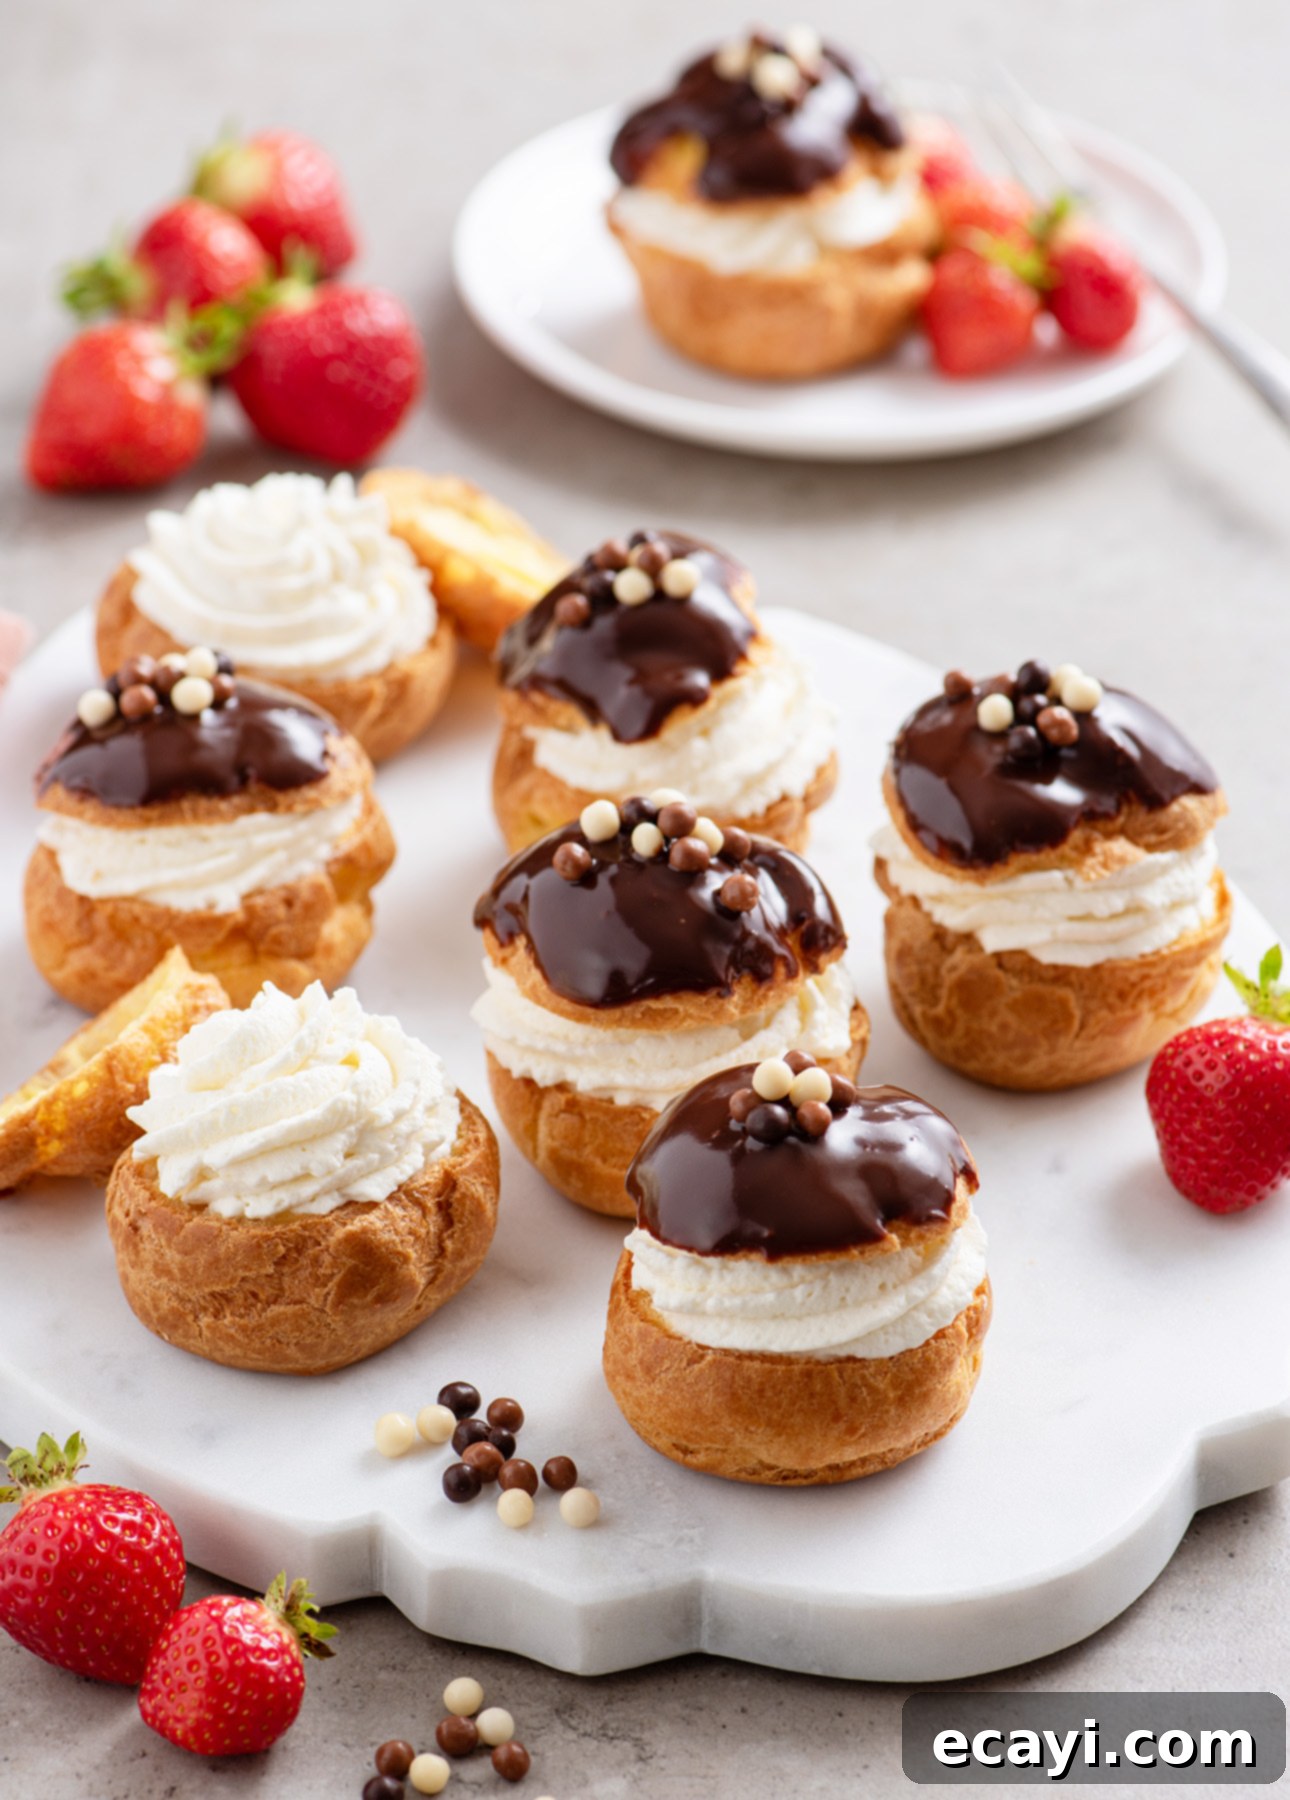
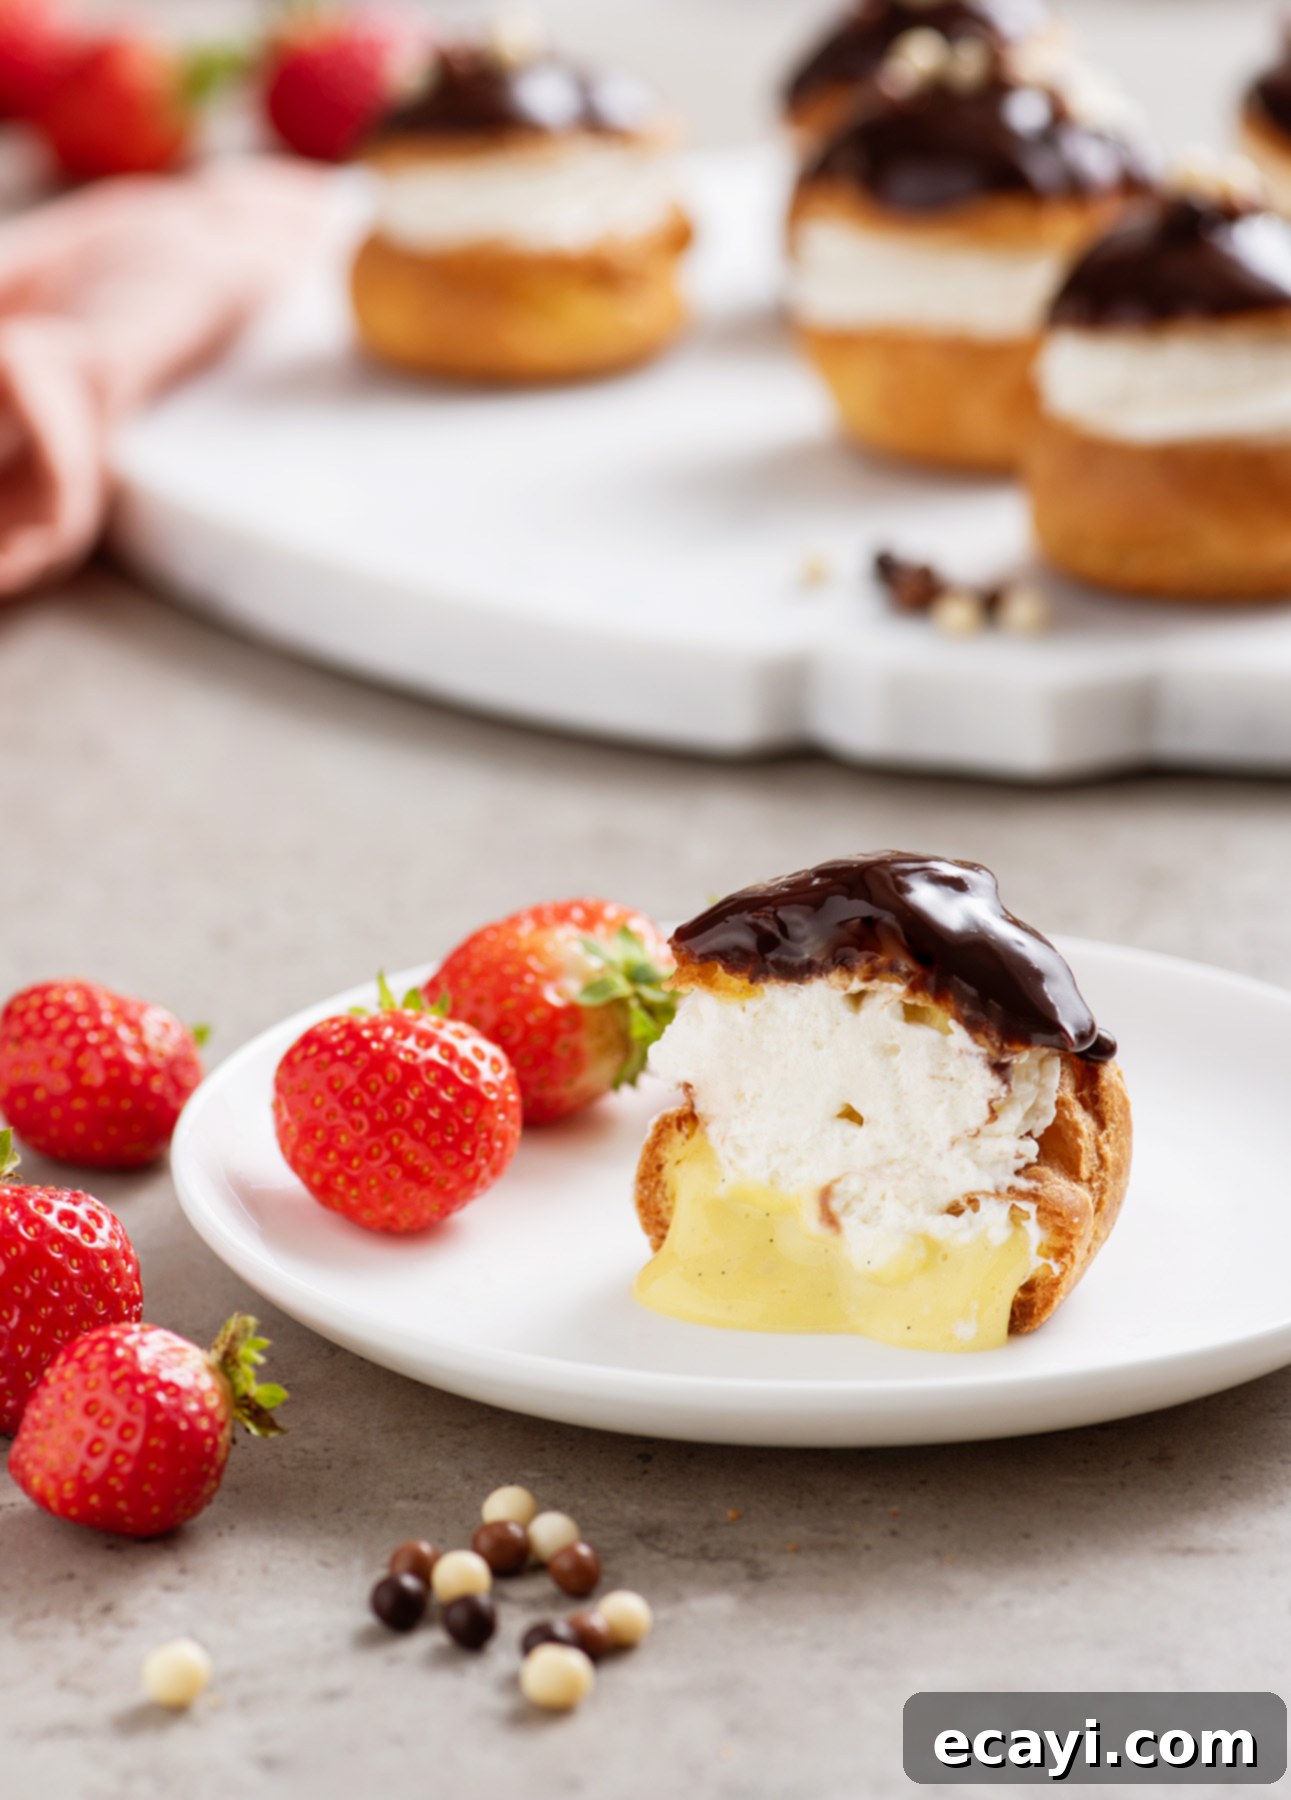
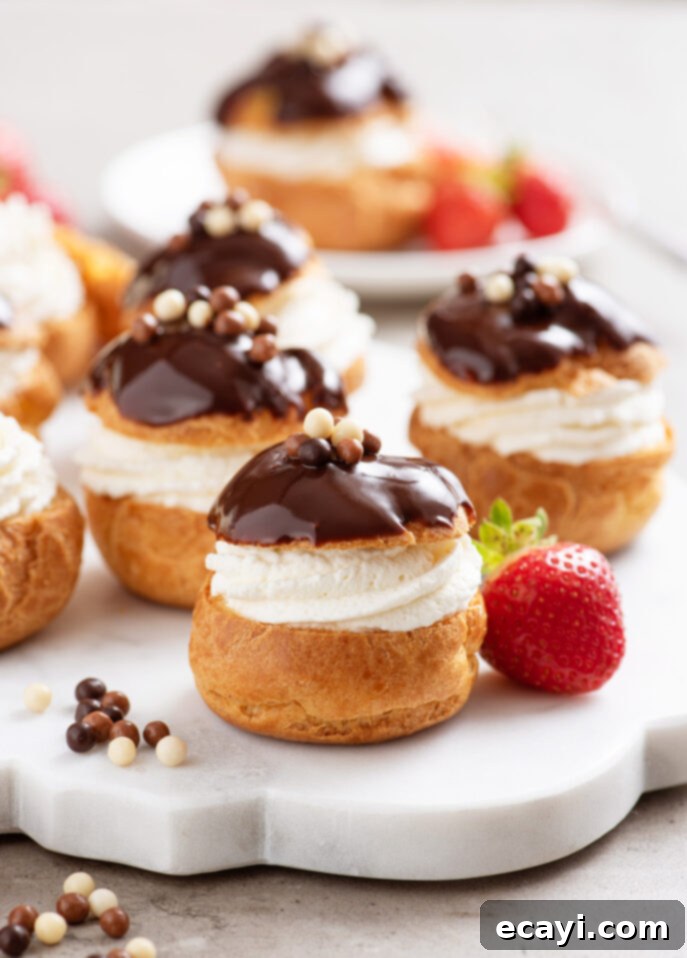
The essence of classic cream puffs lies in the harmonious balance of textures and flavors. Imagine the delicate crispness of golden choux pastry, giving way to a velvety, sweet vanilla custard. This rich base is then crowned with a cloud of fluffy, subtly sweet Chantilly cream, all brought together by a silky, glossy dark chocolate glaze. There are no gimmicks or unnecessary embellishments here—just the timeless combination that has solidified cream puffs as a beloved staple of French pastry for centuries. It’s a testament to simple, high-quality ingredients coming together to create something truly magical.
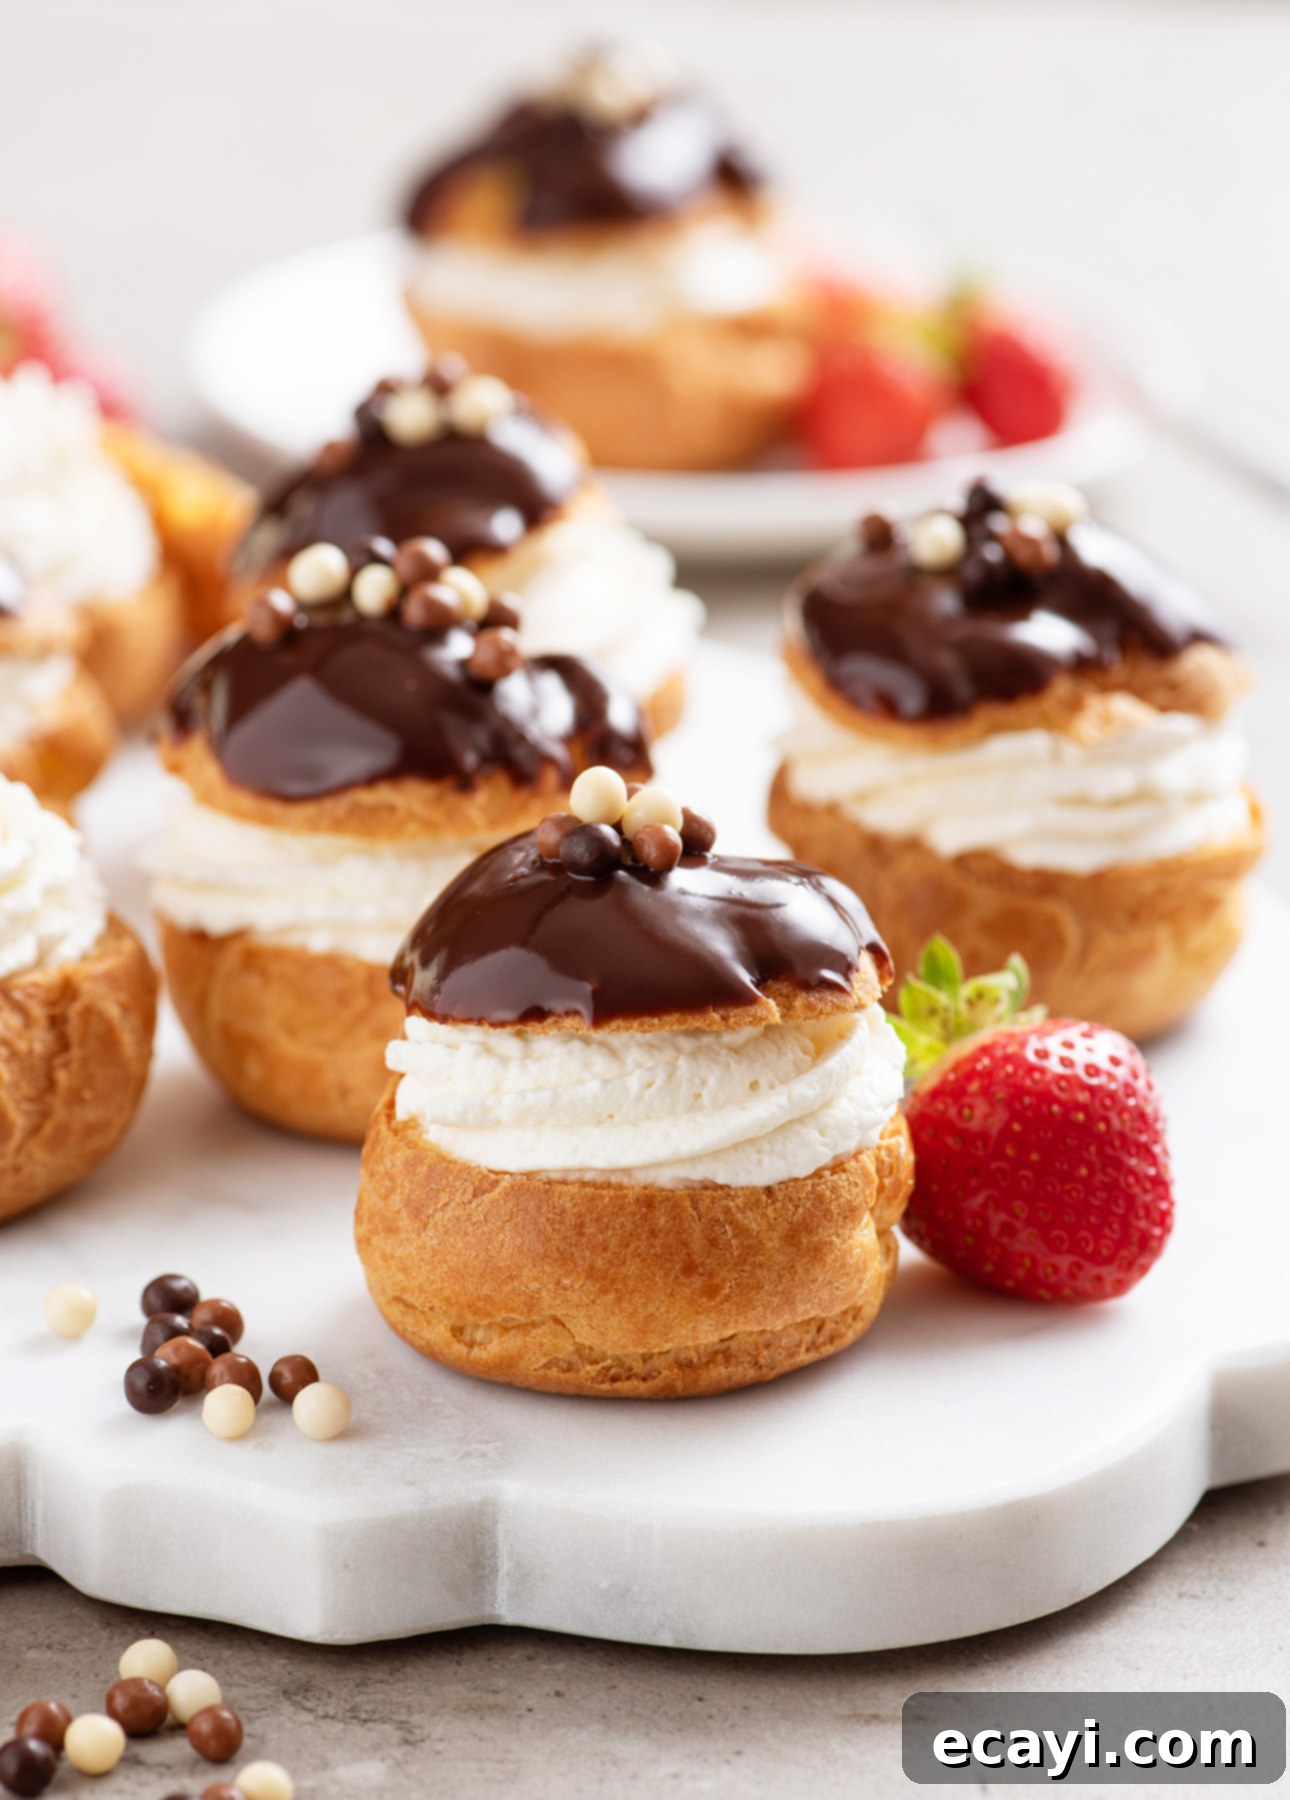
At the heart of every perfect cream puff is the marvel that is choux pastry (pronounced “shoo”), a dough that is both intriguing to create and incredibly versatile. Choux pastry stands apart from traditional doughs because it begins its life on the stovetop before it ever sees the heat of an oven. This unique cooking method, where flour is stirred into a boiling mixture of water, milk, butter, and salt, creates a thick, sticky dough that’s rich in moisture. When this dough bakes, the high moisture content rapidly converts into steam, which then gets trapped within the dough. This internal pressure causes the pastry to dramatically puff up, creating those characteristic hollow interiors—perfect golden shells just waiting to be filled. It’s not just baking; it’s a fascinating scientific transformation, yielding utterly delicious results.
CHOUX PASTRY VIDEO MASTERCLASS: Elevate Your Baking Skills
New to the world of pâte à choux? Or perhaps you’re looking to refine your technique? My comprehensive video masterclass is designed to guide you through every step of making perfect pâte à choux. Beyond the basics, you’ll learn how to transform this single, versatile dough into an array of classic French treats, including airy chouquettes, elegant cream puffs, decadent profiteroles, sophisticated éclairs, and savory gougères (French cheese puffs). Throughout the class, I provide invaluable tips and tricks to ensure your success, even on your very first attempt, and demonstrate numerous variation ideas to spark your creativity. This fun and engaging class will empower you to master a new fundamental skill, enabling you to consistently create impressive puffed pastries that will wow your guests and satisfy your cravings. Watch the masterclass now and unlock your pastry potential!
The true beauty of choux pastry lies in its incredible versatility; it’s a culinary blank canvas. Once you’ve mastered this fundamental dough—a skill you’re sure to acquire much faster than you anticipate—an entire world of pastry opens up to you. You can easily create elegant cream puffs and classic éclairs, but don’t stop there! Choux pastry also lends itself beautifully to savory applications, such as delectable gougères (savory French cheese puffs) that are perfect for appetizers. With choux pastry in your repertoire, the pastry sky truly is the limit! You’ll quickly find yourself effortlessly whipping up a fresh batch whenever inspiration (or a craving) strikes.
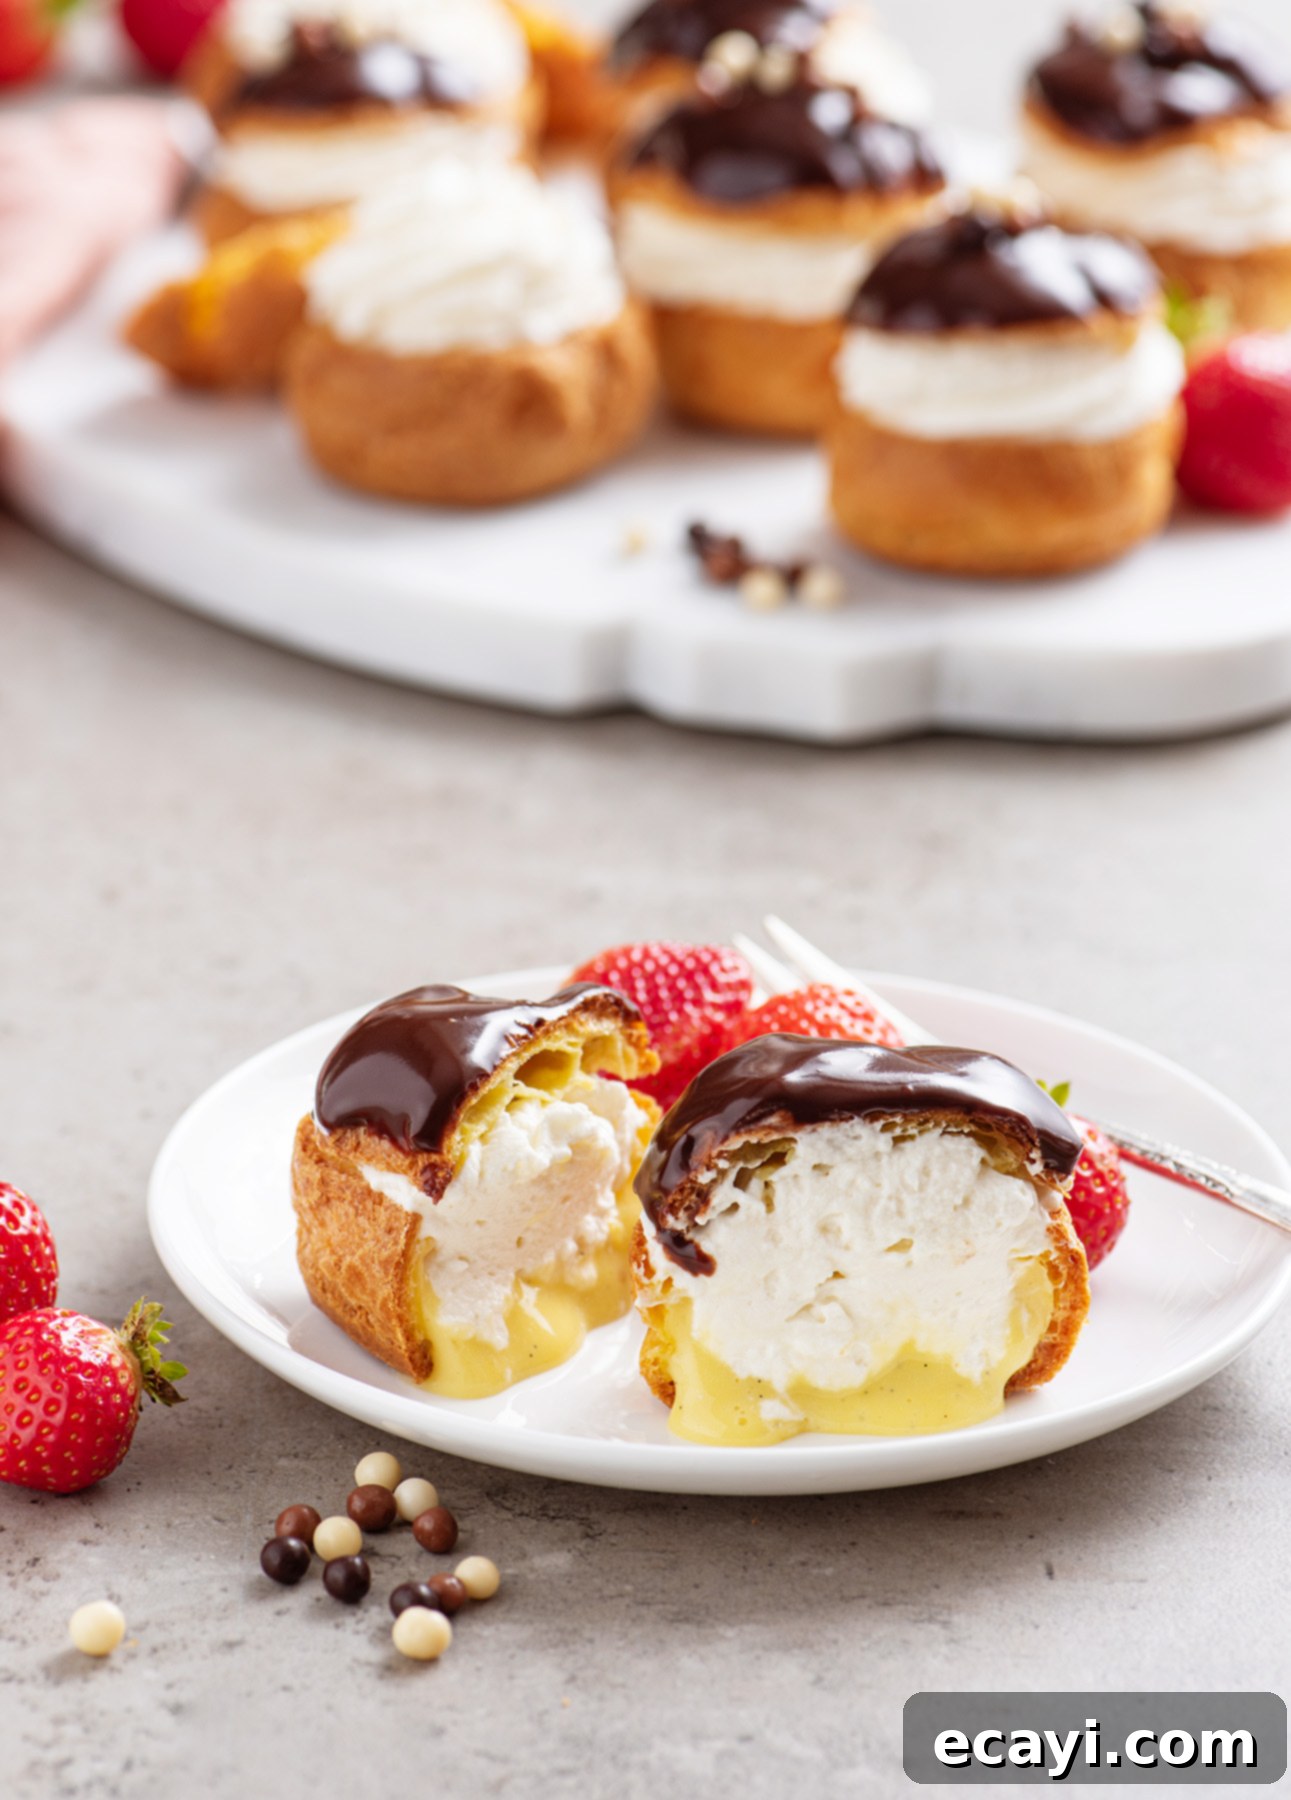
Our classic cream puffs are generously filled with two essential elements: rich pastry cream and delicate Chantilly cream. Pastry cream is a creamy, smooth custard, boasting the perfect level of sweetness and an unmistakable touch of pure vanilla flavor. While its preparation does require a bit of whisking and patience, there’s a uniquely satisfying rhythm to watching the milk and egg mixture gradually thicken into a rich, luscious custard. The ultimate reward? A filling so utterly delicious, you might find yourself sneaking a spoonful straight from the bowl—and rest assured, there’s absolutely no judgment here!
Chantilly cream, though sounding exquisitely French, is essentially a refined version of whipped cream. The key distinction between basic whipped cream and its more elegant cousin, Chantilly cream, is that the latter is traditionally sweetened and infused with a hint of vanilla. In classic cream puffs, Chantilly cream provides a wonderful contrast, filling the bulk of the choux pastry shells with a light, airy, and fluffy touch that complements the denser pastry cream base. For an extra touch of visual appeal and indulgent texture, I personally love to pipe extra Chantilly cream generously, allowing it to artfully peek out from the shells, making each cream puff undeniably beautiful and even more appealing.
And let’s not overlook the exquisite dark chocolate glaze—the final, shimmering touch that elegantly brings all the elements together. Crafting this luxurious glaze is surprisingly simple: you merely melt high-quality dark chocolate into warm heavy cream. This process creates a rich, glossy ganache that forms the perfect counterpoint to the light choux pastry and the creamy, sweet fillings. Dipping the tops of the puffs into this silky chocolate is one of the most satisfying steps in the entire process, akin to adding the perfect finishing brushstroke to a culinary masterpiece. It transforms a delicious treat into an absolute showstopper.
This Classic Cream Puffs recipe adheres to traditional methods for good reason. There’s an enduring, timeless appeal to the combination of crisp choux pastry, a creamy, sweet filling, and a rich chocolate glaze that truly doesn’t need reinvention. It’s more than just a dessert; it’s the kind of versatile treat that shines on any occasion: whether it’s the impressive showstopper at a sophisticated dinner party, a delicate indulgence for afternoon tea, or simply a little something special to elevate an ordinary Tuesday into a fancy, memorable moment. These cream puffs are designed to impress and delight, regardless of the setting.
Making cream puffs is as much about savoring the baking journey as it is about enjoying the delicious end result. I’ll be upfront—while incredibly rewarding, cream puffs aren’t entirely foolproof. They do require a certain level of attention to detail, such as carefully cooking the choux dough to the right consistency and vigilantly monitoring the oven during baking to ensure they puff perfectly without collapsing. However, please don’t let these minor challenges deter you. The individual steps are straightforward and logical, and with a little practice and patience, you’ll quickly get the hang of it, feeling like a seasoned pastry chef.
So, whether you’re eager to tackle a quintessential French recipe, impress your guests, or simply want a delightful excuse to treat yourself to something truly exquisite, I wholeheartedly encourage you to give these classic cream puffs a try. They offer a profound sense of accomplishment and are a guaranteed crowd-pleaser—even if that “crowd” is just you, enjoying a quiet moment over the kitchen sink, savoring a perfectly chilled cream puff straight from the fridge. Prepare to fall in love with this timeless dessert!
Essential Questions and Answers About Crafting Classic Cream Puffs
What exactly is choux pastry, and what makes it so unique in the world of baking?
Choux pastry, also known as pâte à choux, is a remarkable dough unique for its preparation method and the incredible texture it yields. Unlike most doughs that rely on yeast or chemical leaveners, choux pastry is a “cooked dough” made from a mixture of butter, water (or milk), flour, and eggs. Its signature uniqueness comes from its high moisture content. When baked, this moisture rapidly turns into steam, which gets trapped inside the dough, causing it to puff dramatically and create a hollow interior. This light, airy, and crisp shell is then perfect for filling with various sweet or savory creams, making it the foundation for desserts like éclairs, profiteroles, and, of course, classic cream puffs.
Why is it crucial to cook the flour mixture thoroughly before incorporating the eggs into the choux pastry?
Cooking the flour mixture on the stovetop is a critical step in choux pastry production. This process, often referred to as “drying out the dough,” serves several important functions. Firstly, it gelatinizes the starches in the flour, which creates the necessary structure to trap steam during baking, directly contributing to the pastry’s signature puff and hollow center. Secondly, it helps to evaporate excess moisture from the dough. Removing this moisture is key; if the dough is too wet, it won’t hold its shape or puff properly in the oven. The result is a more stable, workable dough that will beautifully rise and create those coveted hollow shells, ready to be filled with your delicious creams.
How can I tell when my choux pastry has reached the perfect consistency and is ready for the next step?
Knowing when your choux pastry is perfectly cooked on the stovetop is vital. The dough is ready when it forms a smooth, thick, and cohesive mass. As you stir it vigorously with a wooden spoon, you’ll notice it pulling away cleanly from the sides and bottom of your saucepan, leaving a thin, almost dry film on the pan. This film indicates that enough moisture has evaporated, and the starch has fully cooked. The dough should look glossy and feel elastic. After transferring it to a mixer, it should still be warm but cooled slightly before adding eggs.
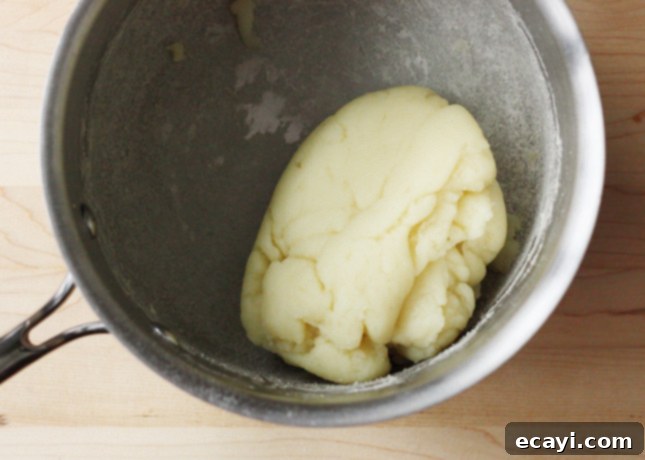
What’s the importance of allowing the choux pastry to cool down a bit before adding the eggs?
After cooking the flour mixture, it’s essential to let the choux pastry cool down for a few minutes before you start incorporating the eggs. This step, though seemingly minor, prevents the eggs from scrambling or cooking prematurely when they come into contact with the hot dough. Adding eggs to excessively hot dough would result in a lumpy, uneven mixture that won’t emulsify properly, ultimately compromising the pastry’s texture and ability to puff. Cooling it slightly ensures a smooth, well-combined dough that will produce perfectly consistent and airy cream puff shells.
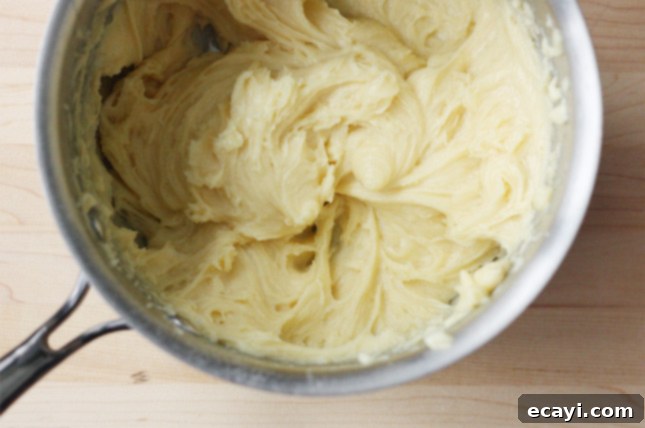
Can choux pastry be prepared in advance, and if so, what are the best practices for storage?
Absolutely, you can prepare choux pastry ahead of time, which is a fantastic way to streamline your baking process! Once your choux pastry is made and cooled, you can transfer it directly into a piping bag and refrigerate it for up to a half-day (about 6 hours) before baking. Keeping it in the piping bag makes it super convenient for when you’re ready to pipe out the shells. There’s no need to bring the dough back to room temperature; you can pipe the choux pastry straight from the fridge onto your baking sheet, then bake as directed in the recipe. This flexibility allows you to spread out your baking tasks and ensures fresh, perfectly puffed pastries whenever you desire.
What’s the ideal size for classic cream puffs, and can I adjust it?
Classic cream puffs are traditionally designed to be generously sized, typically enjoyed in two to three satisfying (and wonderfully messy) bites. This size offers a substantial vehicle for the delicious fillings and glaze. However, the beauty of homemade pastries is customization! You absolutely can create smaller, more delicate one-bite cream puffs, often referred to as mini-cream puffs or profiteroles. If you choose to make them smaller, simply decrease the baking time accordingly. Always keep an eye on them in the oven, as smaller puffs will bake and brown faster.
Do you have any clever hacks for portioning cream puffs more quickly and ensuring they’re uniformly sized?
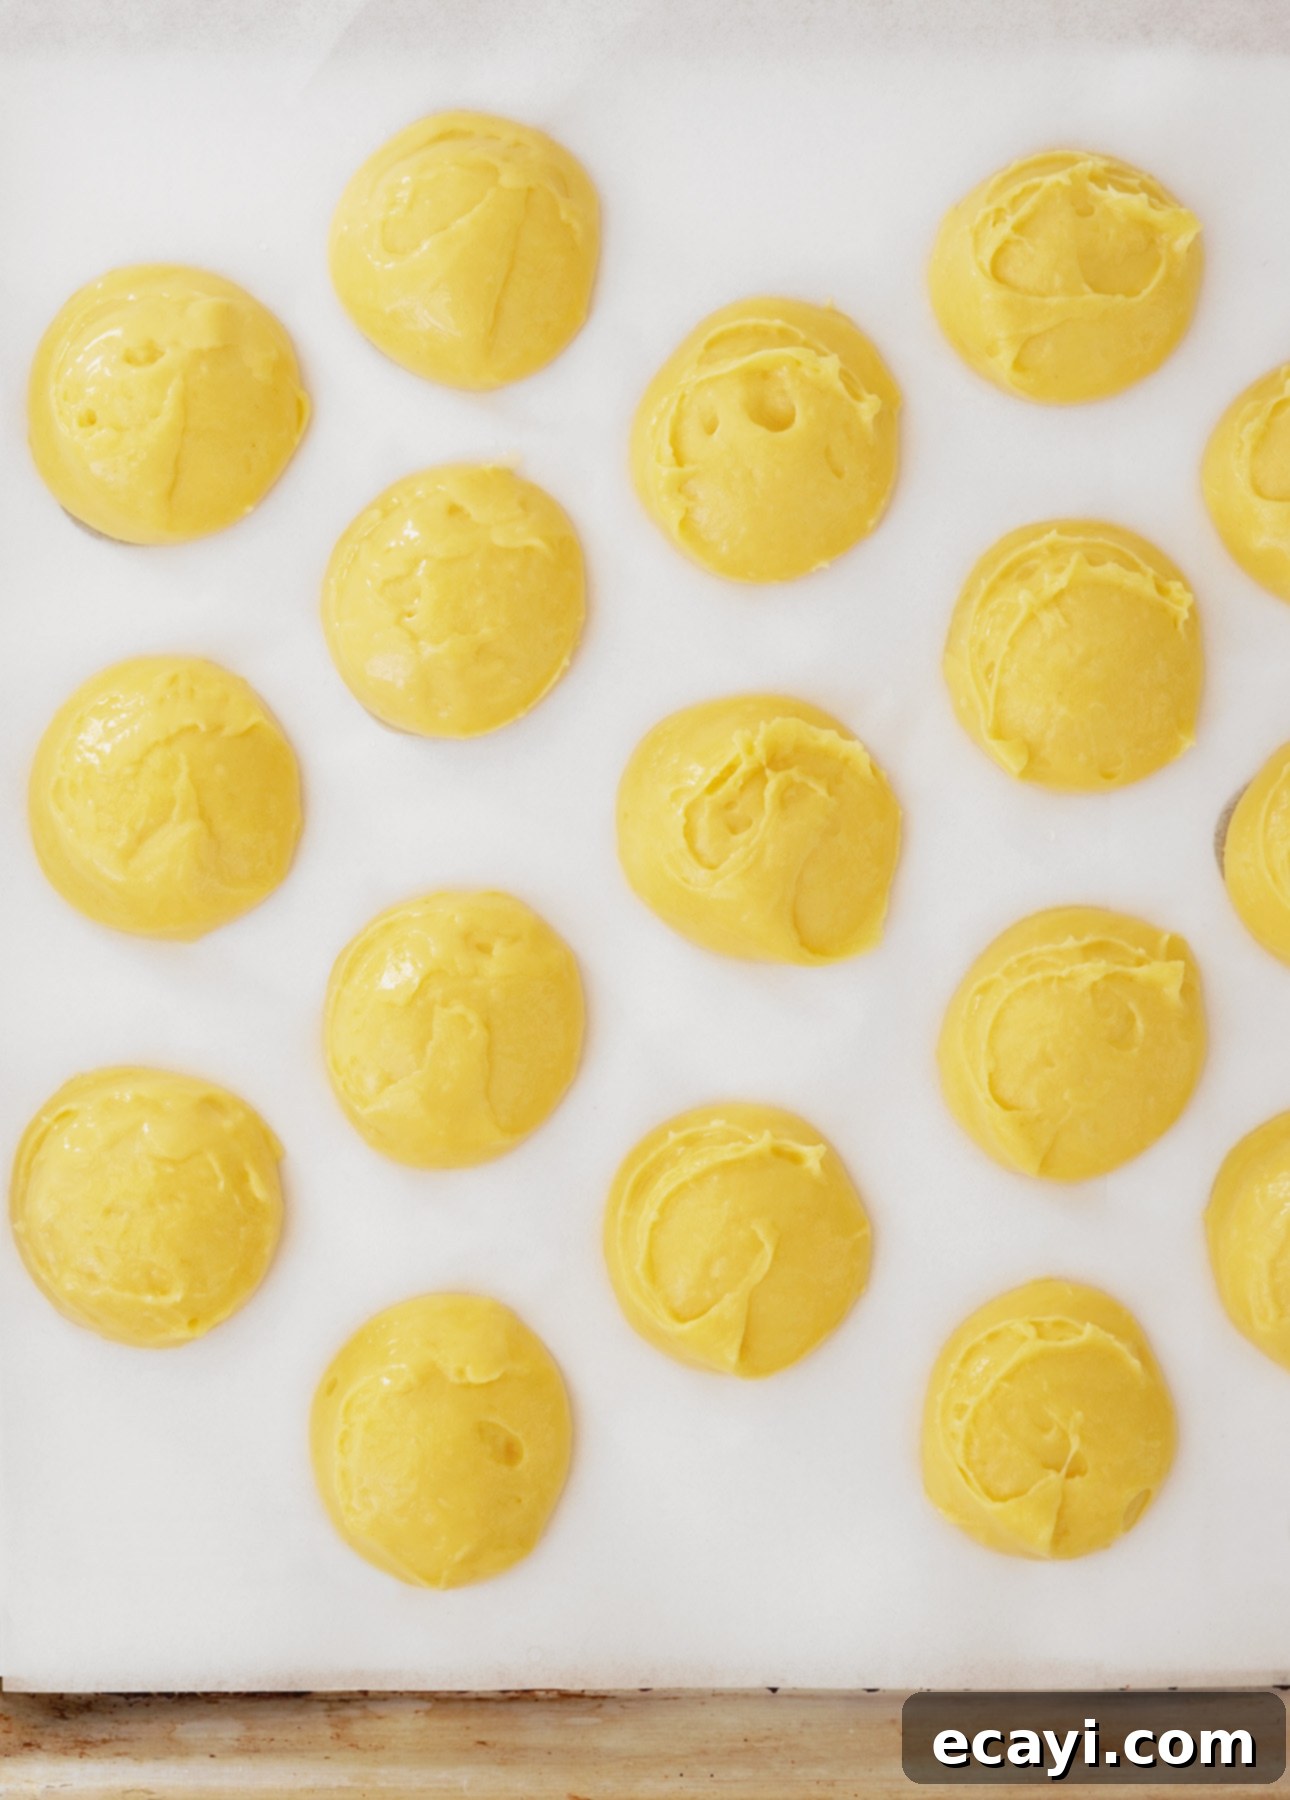
For perfectly uniform and quickly portioned cream puffs, my absolute favorite kitchen hack is to use a cookie scoop. This indispensable tool takes all the guesswork out of measuring, allowing you to control the exact amount of dough used for each puff. This not only speeds up the process significantly but also ensures that every single cream puff bakes evenly and looks consistently beautiful, creating a professional-looking dessert every time. A medium ¾ oz (1 ½ tbsp) cookie scoop is ideal for this recipe, delivering classic, generously sized cream puffs. Just fill it scant, wipe any excess dough off the sides for a clean release, and drop onto your baking sheet!
What exactly is choux craquelin, and how does it enhance the cream puff experience?
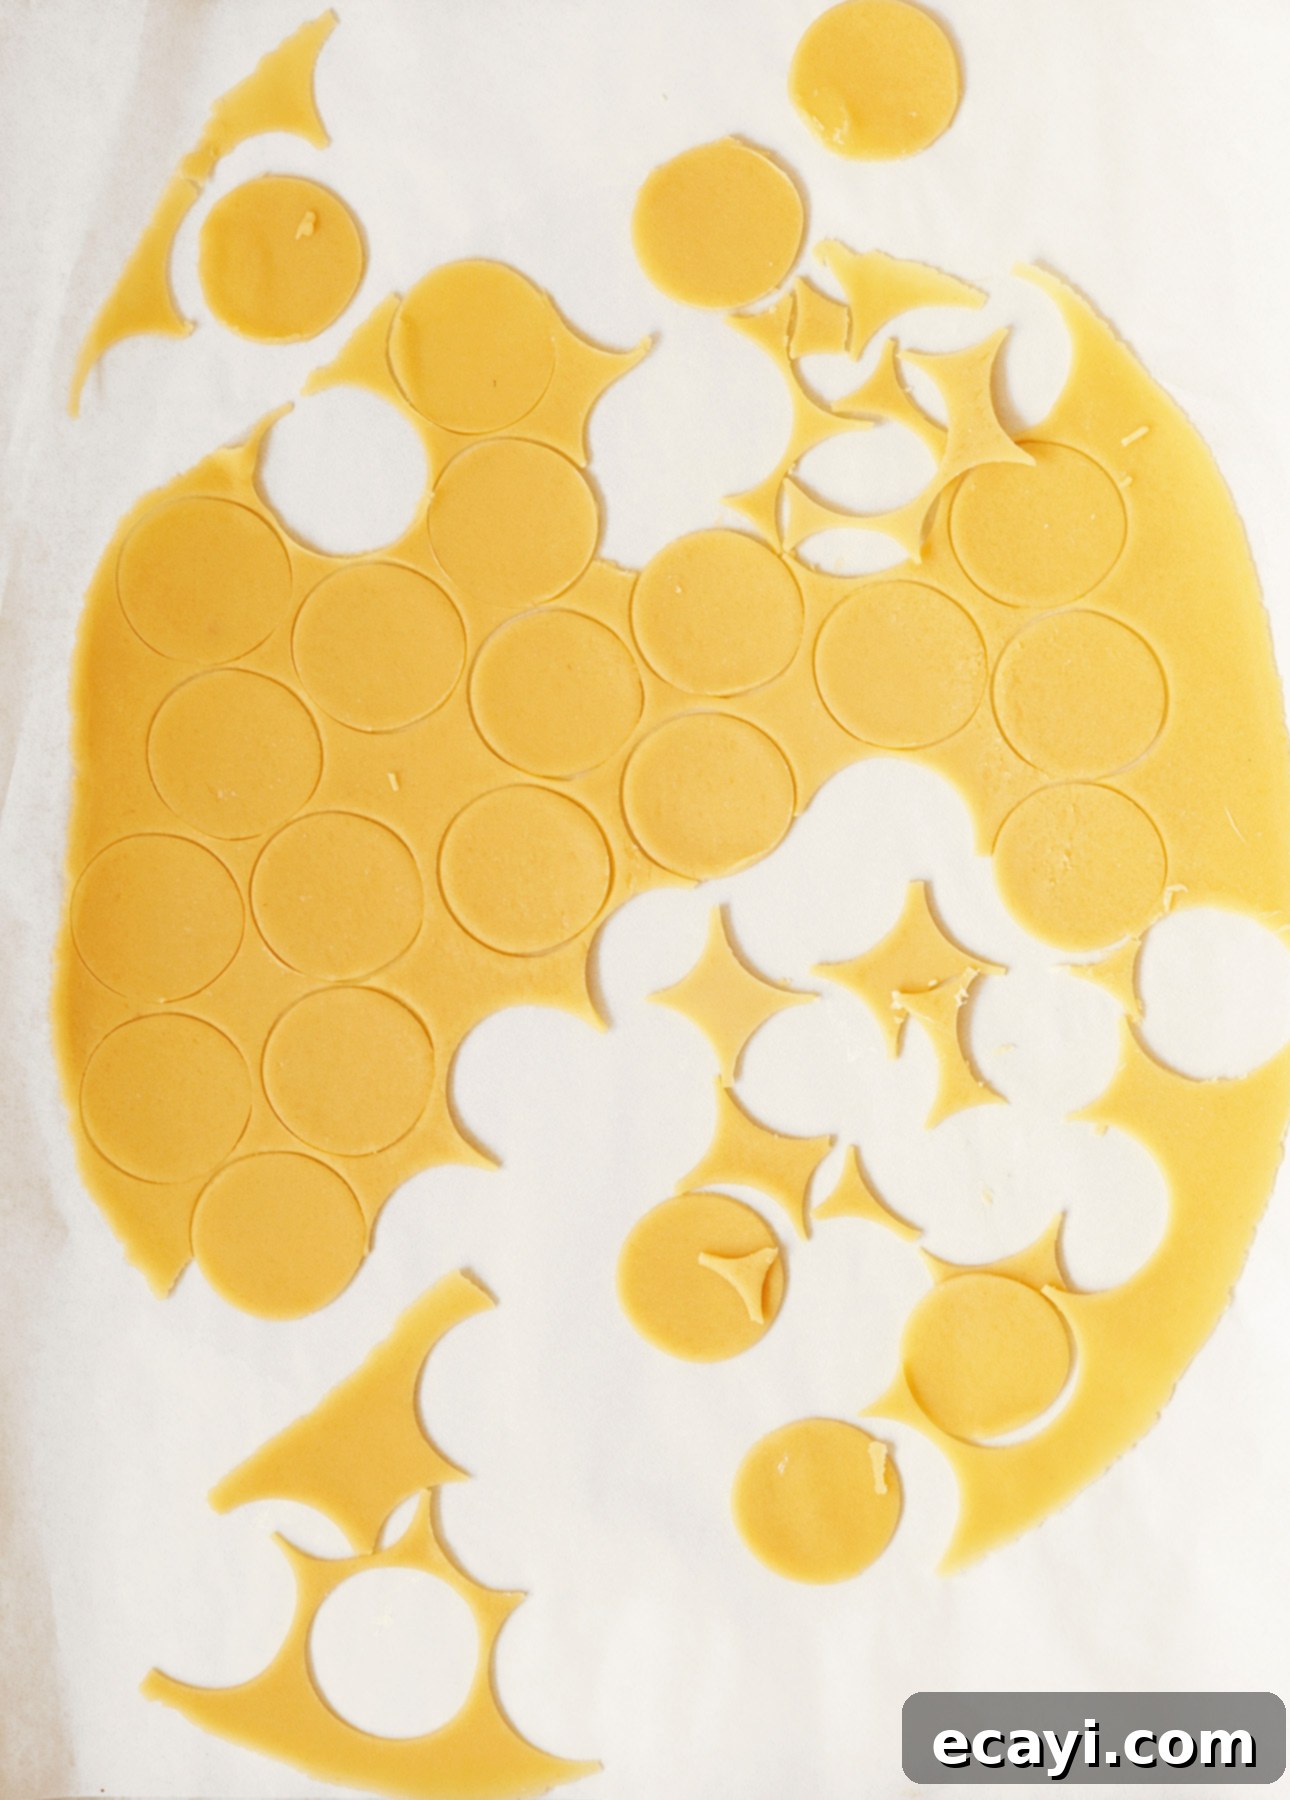
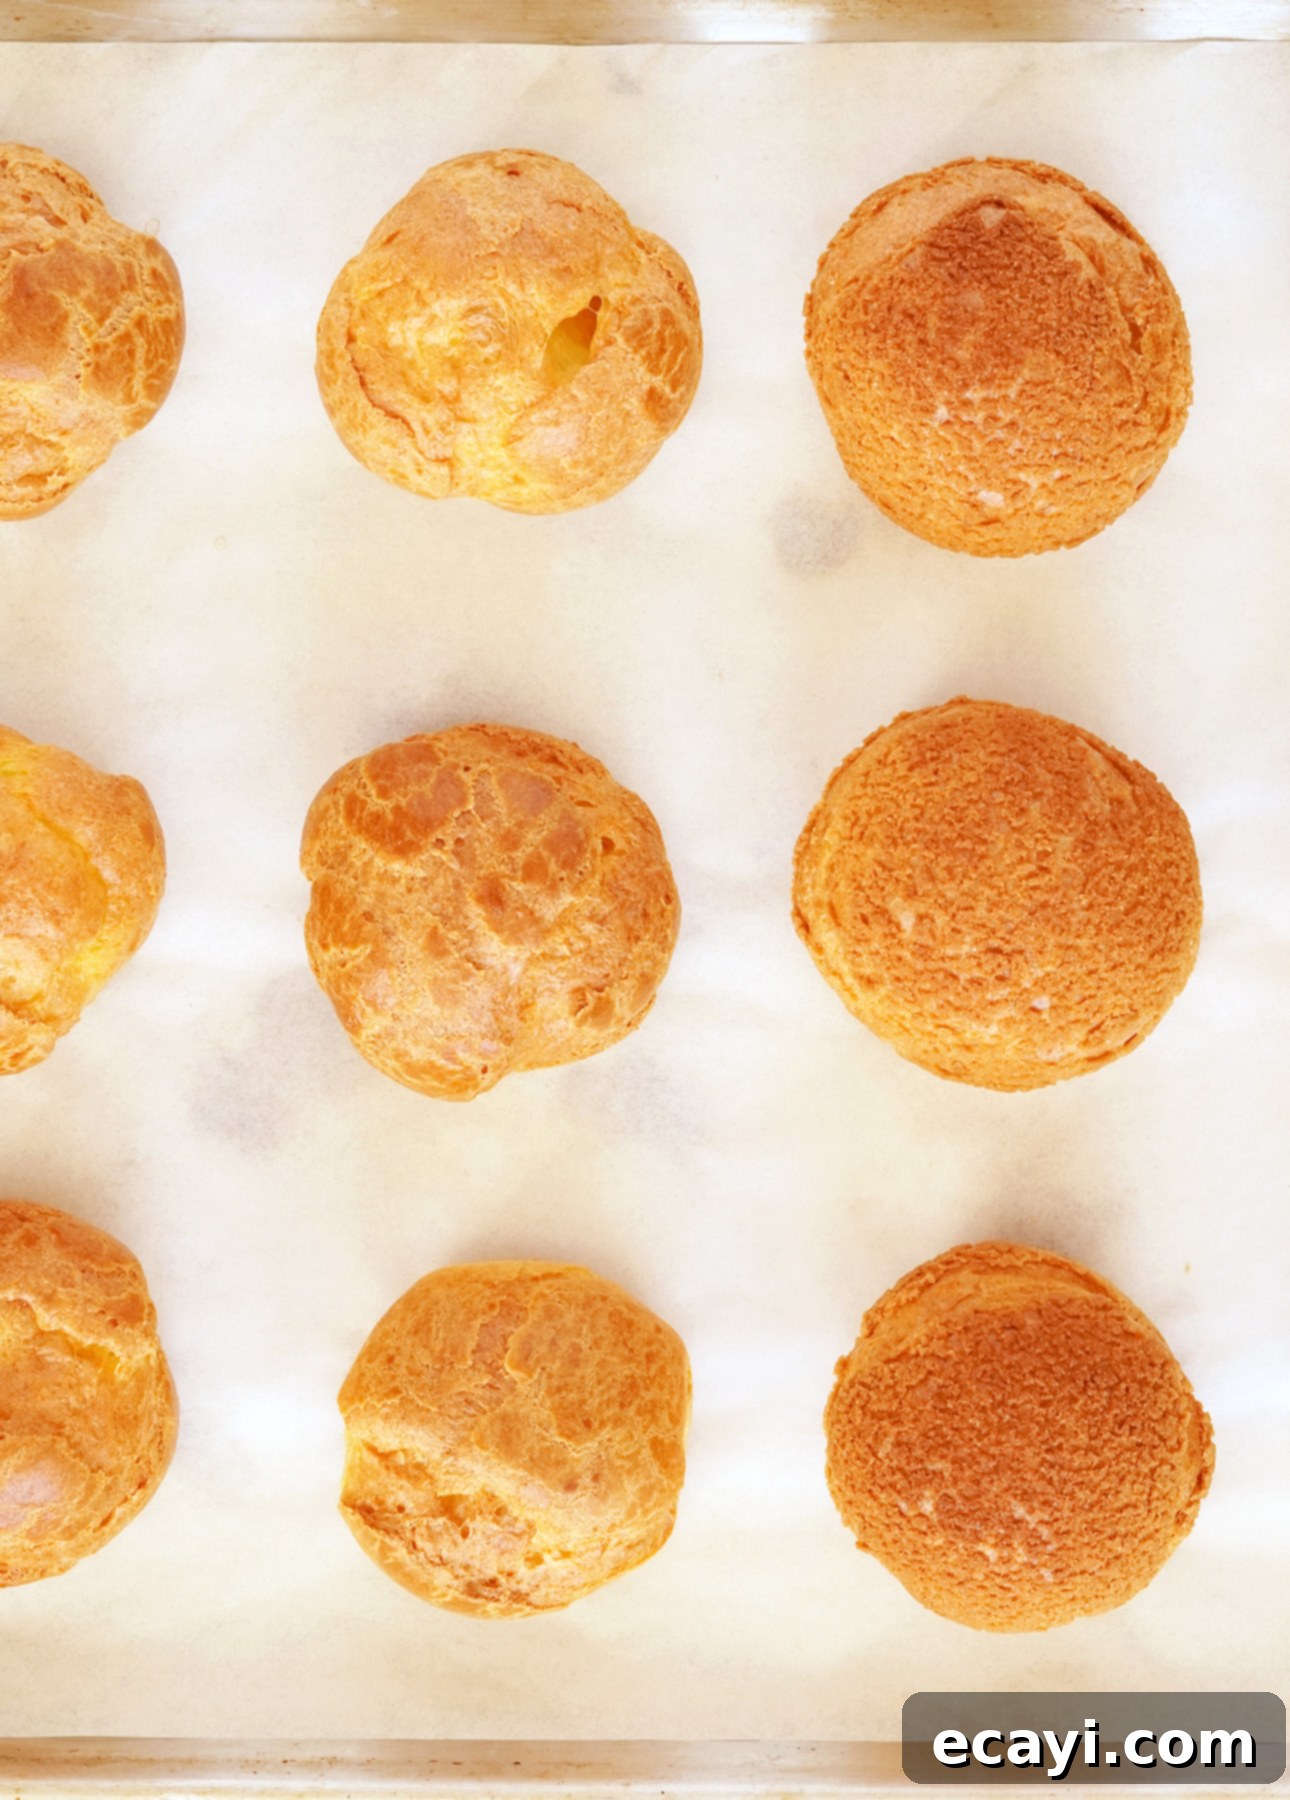
Choux craquelin is an elegant addition to cream puffs, essentially a thin, crisp cookie-like topping. It’s a simple dough made from just three ingredients: cold butter, brown sugar, and all-purpose flour. This dough is rolled very thinly and cut into rounds, which are then placed directly on top of the piped choux pastry mounds just before baking. Essentially, craquelin serves a dual purpose: it helps create exceptionally rounder, more uniformly shaped cream puffs, and it adds an irresistible, delicate crunch to the exterior. The butter in the craquelin melts during baking, creating a protective, flavorful crust that controls the expansion of the choux pastry, resulting in a beautifully consistent, perfectly spherical puff with a delightful added texture and subtle caramel note from the brown sugar.
Is using craquelin truly necessary for making authentic classic cream puffs?
No, you don’t strictly need to use craquelin to make delicious classic cream puffs. While craquelin adds a professional finish, a delightful crunch, and helps create perfectly round puffs, it is entirely optional. Although making craquelin is not difficult, it’s an extra step that you can easily skip, especially if this is your very first time making cream puffs or if you prefer a slightly more rustic, perfectly imperfect look for your pastries. The taste and texture of the underlying choux pastry will still be fantastic without it, so feel free to omit it if you’re looking to simplify the process.
Observe the difference: cream puffs made without craquelin (left) versus those enhanced with craquelin (right), showcasing the smoother, more uniform finish.
Why is it recommended to freeze choux craquelin before using it for cream puffs?
Freezing choux craquelin before placing it on the choux pastry is an important step that serves multiple purposes. First and foremost, craquelin dough is quite soft at room temperature due to its butter content, making it very difficult to handle, cut, and transfer without distortion. Freezing it solidifies the dough, allowing you to easily cut out perfect rounds and place them neatly on the raw choux pastry. Secondly, freezing the craquelin also slows down its melting process during baking. This ensures that the craquelin melts and spreads gradually over the choux pastry as it bakes, controlling the puff’s development and creating that desirable, beautifully round, and crisp crust without melting away too quickly.
How can I accurately tell when my cream puffs are fully baked and ready to be removed from the oven?
Knowing when cream puffs are fully baked is crucial for preventing them from collapsing. They are ready to come out of the oven when they have achieved a deep, rich golden-brown color uniformly all around—and critically, this includes the very bottom of the puff. This often takes longer than many bakers anticipate. While cream puffs might appear beautifully puffed and golden on top after 20-25 minutes, if their base is still light blonde or feels soft, they are underbaked. Pulling them out too early will likely result in them deflating and collapsing as they cool, losing their beautiful round shape and crisp texture. Don’t be afraid to let them get a bit darker than you might expect; a thoroughly browned puff ensures a stable, crispy shell.
Can cream puffs be prepared in advance, and what components can be prepped ahead of time?
Yes, many components of classic cream puffs can be prepared in advance, making this dessert surprisingly flexible for entertaining! However, assembled cream puffs that have been filled with both pastry cream and Chantilly cream should ideally be enjoyed within two hours of assembly. Beyond this timeframe, the delicate choux pastry shell will begin to absorb moisture from the fillings, gradually losing its irresistible crispness and the wonderful textural contrast with the creamy center.
The excellent news is that most individual classic cream puff components are perfectly suitable for advance preparation. The choux pastry shells, once baked, can even be frozen! This modular approach allows you to spread the work over several days, making the entire project much more approachable and less stressful. If one component doesn’t turn out perfectly on your first try, you have the flexibility to redo it without feeling like you’ve ruined your dessert for a specific event. You can simply get everything ready well before the big day.
Of all the components, the Chantilly cream is the only one you should ideally make just before you plan to fill and serve your classic cream puffs to ensure it has the fluffiest, most airy texture. However, there’s a brilliant workaround if you need to prepare it ahead!
You can also prepare “stabilized” whipped cream, which extends its freshness and allows you to make it up to 2 days in advance. Making stabilized whipped cream is remarkably simple: just incorporate 1/3 cup (80 g) of cold mascarpone cheese into the mixture while whipping. More detailed instructions for this straightforward technique are provided below.
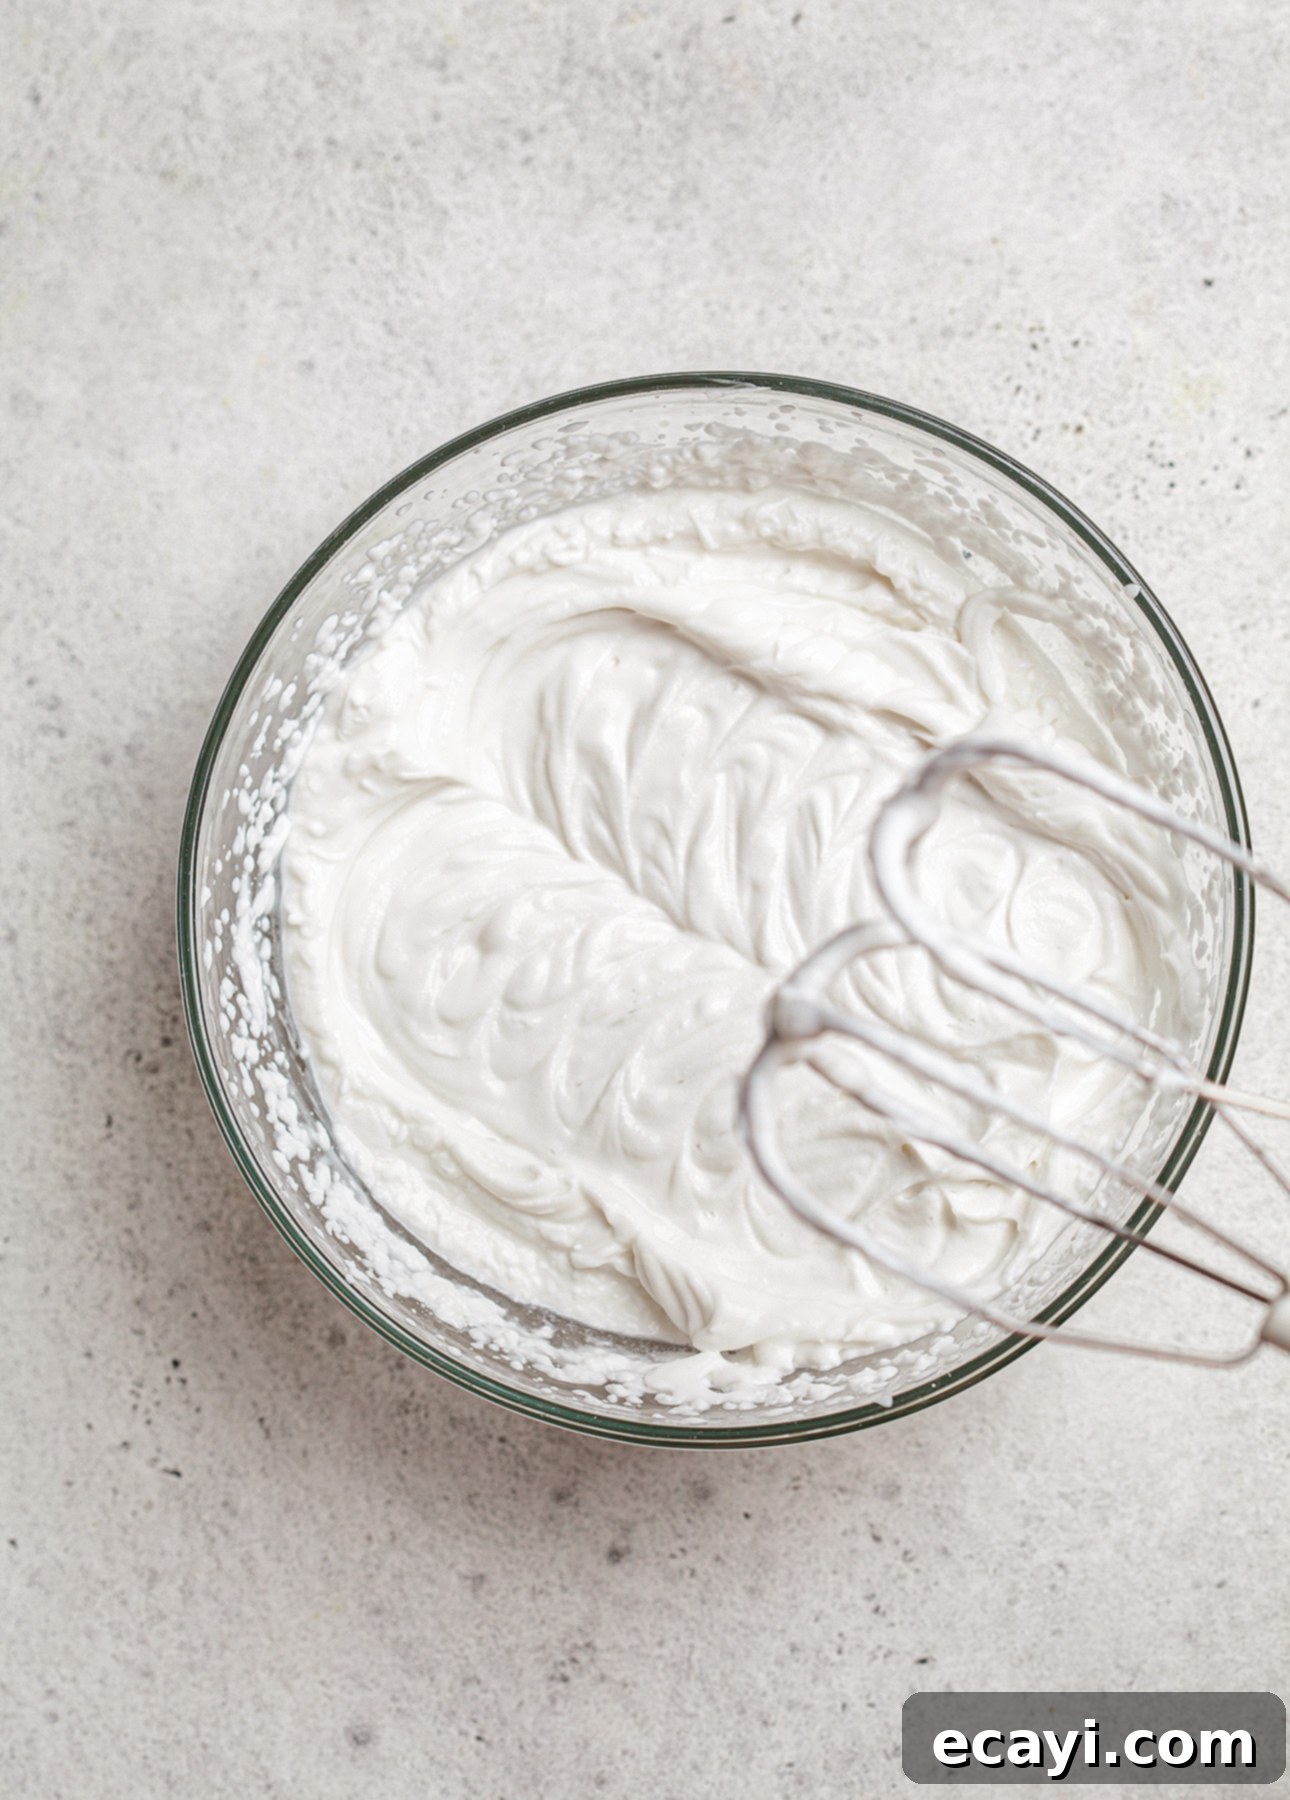
What is Stabilized Whipped Cream, and what’s the easiest way to prepare it at home?
“Stabilized” whipped cream is a clever culinary technique where an additional ingredient is incorporated into regular whipped cream to help it maintain its shape and fluffy texture for a significantly longer period. Traditional whipped cream is notorious for deflating or “weeping” (releasing liquid) after a short time, especially in warmer conditions. Stabilized whipped cream, however, holds its beautiful structure, making it perfect for piping intricate decorations, layering in cakes, or, as in the case of our Classic Cream Puffs, ensuring the filling remains airy and beautiful even when prepared a day or two in advance.
While professional pastry chefs often use gelatin as a stabilizing agent, this can be a bit more complex for the home cook, and gelatin isn’t always a pantry staple. Through years of baking, I’ve discovered that the most straightforward and effective way to stabilize whipped cream at home is by incorporating a small quantity of mascarpone cheese. Mascarpone, a rich and creamy Italian cheese with a mild, milky flavor, blends seamlessly into whipped cream without altering its taste. You could also use cream cheese, but its tangy flavor can sometimes be noticeable in delicate Chantilly cream, which is why I prefer mascarpone for this application.
Making stabilized whipped cream with mascarpone couldn’t be easier: simply add 1/3 cup (80 g) of cold mascarpone cheese directly to the bowl along with your heavy cream, powdered sugar, and vanilla extract. Whip all ingredients together until stiff peaks form, and you’re done! This stabilized Chantilly cream can then be refrigerated in an airtight container for up to 2 days, retaining its perfect texture. It’s ideal for piping over cakes and cupcakes, topping pies and tarts, or providing a stable, delicious filling for éclairs and cream puffs.
Can I freeze cream puffs, and if so, which parts and for how long?
Yes, both the choux craquelin and the baked cream puff shells are excellent candidates for freezing, making advanced preparation a breeze!
Preparing craquelin in advance is a fantastic time-saver. Once you’ve cut out your craquelin rounds, you can easily keep them frozen for up to one month. Simply store them layered with parchment paper in an airtight container in the freezer until you’re ready to bake.
The baked cream puff shells can also be frozen for up to 1 month. After baking the shells as directed, allow them to cool completely to room temperature. Then, arrange all the cooled cream puff shells on a baking sheet and place the sheet in the freezer for at least 3 hours, or preferably overnight, until they are frozen solid.
Once the shells are rock-hard, carefully transfer them to an airtight container. It’s important to handle them gently at this stage, as frozen choux shells can be quite fragile and prone to breaking. Properly stored, you can keep these frozen cream puff shells for up to 1 month, ready to be thawed and crisped up whenever a craving strikes!
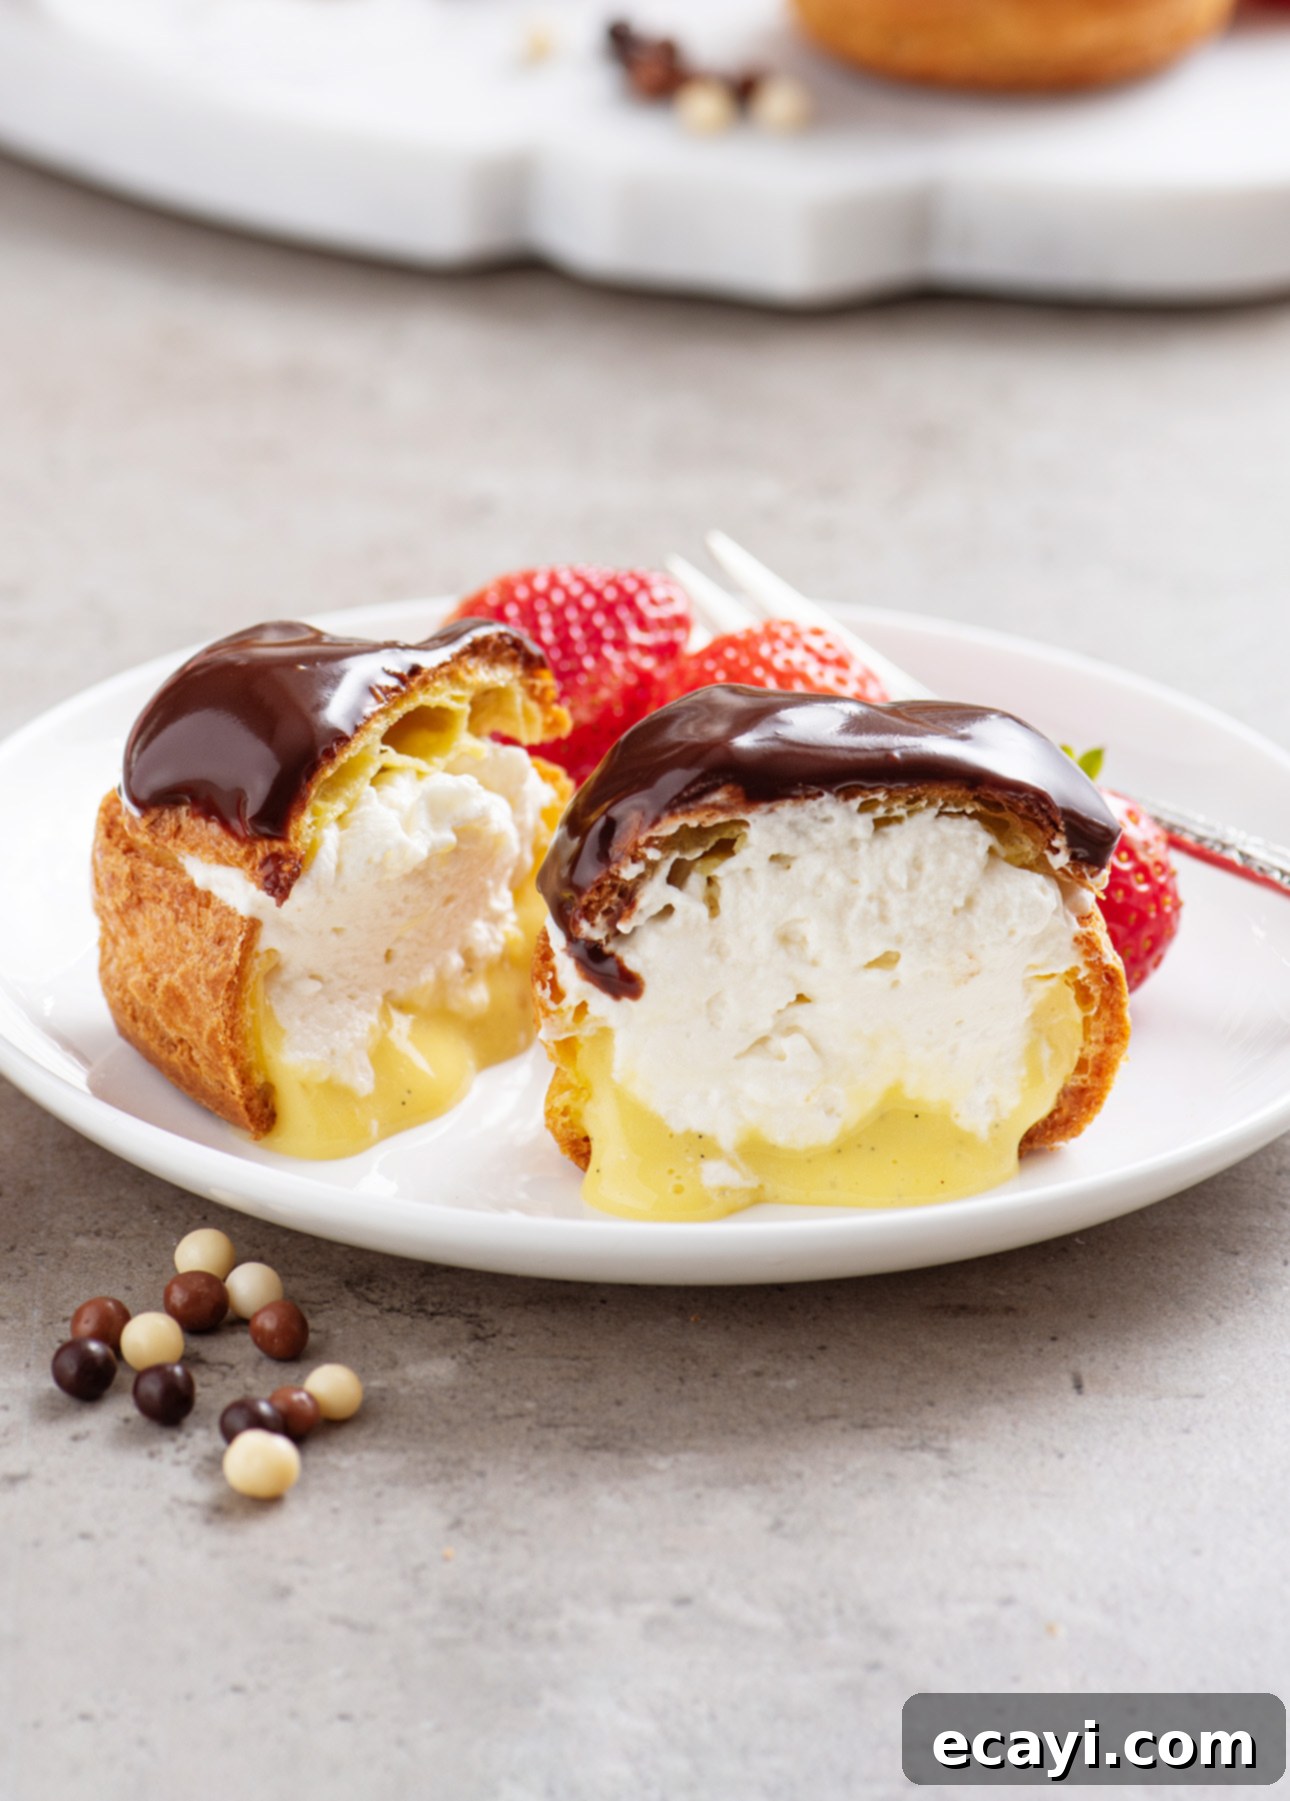
What’s the best method to revive frozen cream puff shells and restore their freshly baked crispness?
Frozen and then thawed cream puff shells will inevitably become soft and lose their desirable crispness. To bring them back to their freshly baked glory—crisp, airy, and delicious—follow this simple reheating method. Preheat your oven to 325°F (160°C). Arrange the thawed cream puff shells on a baking sheet in a single layer. Bake them for approximately 7 minutes. This short reheating burst will reactivate the internal structure, drawing out any residual moisture and restoring their delightful snap. After baking, immediately transfer them to a wire rack and allow them to cool completely to room temperature. Once cooled, they will be perfectly crisp and ready to be filled with your creams, tasting as though they were just pulled from the oven!
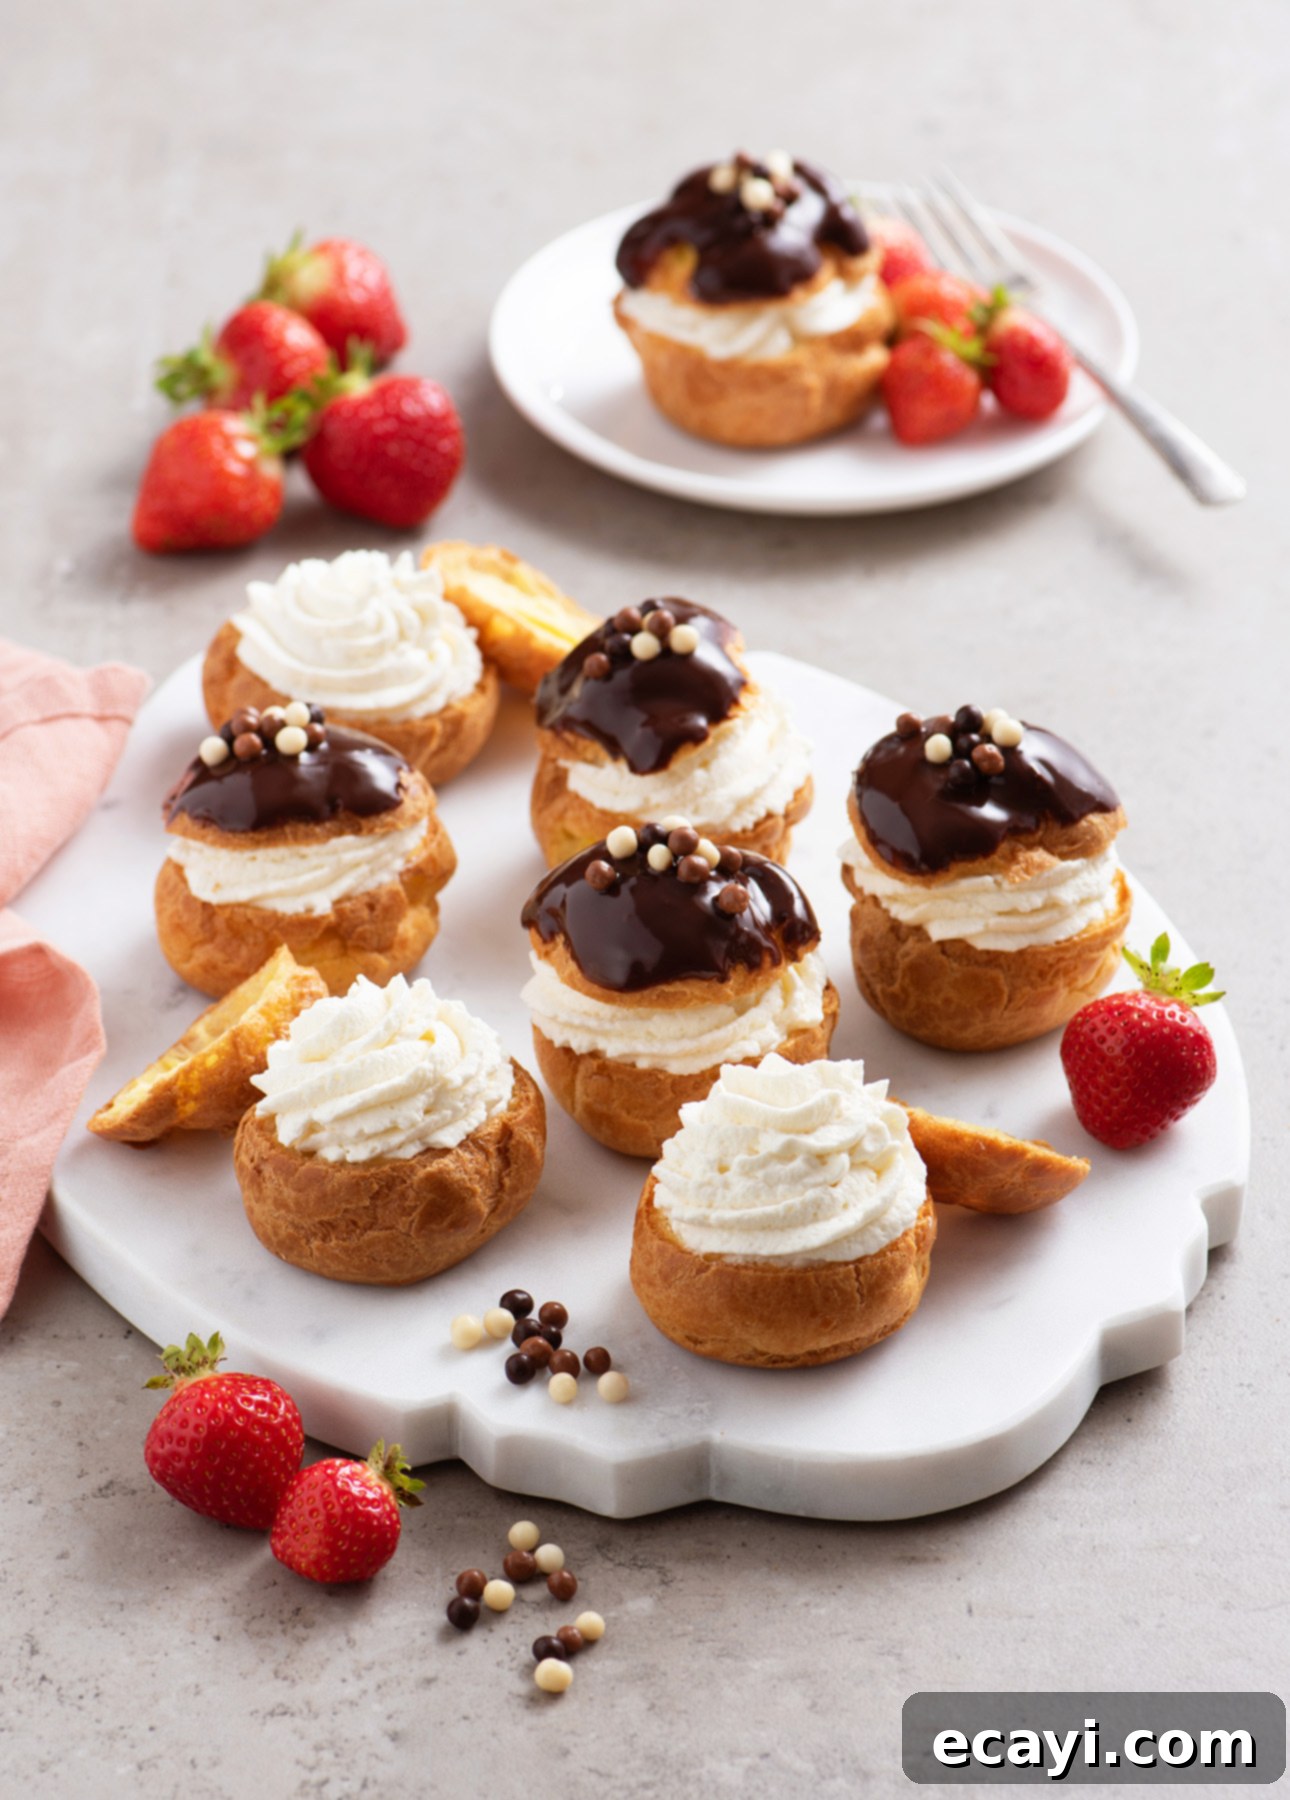
Comprehensive Preparation Plan for Making Classic Cream Puffs
SAVE A PDF COPY / PRINT THIS PREP PLAN
Up to 1 month in advance:
- Prepare the choux craquelin dough, cut into rounds, and freeze them solid.
- Bake the cream puff shells following the recipe instructions, then cool them completely and freeze for up to 1 month. Refer to the detailed freezing tips in the recipe below for best results.
Up to 2 days in advance:
- Make the vanilla pastry cream filling and ensure it cools completely before refrigerating.
- Prepare the stabilized Chantilly cream (using mascarpone) and store it in an airtight container in the refrigerator.
Morning of serving:
- If you haven’t prepared it in advance, make the choux pastry dough.
- Bake the choux pastry shells (or reheat frozen shells as instructed) and allow them to cool completely to room temperature on a wire rack.
Up to 2 hours before serving:
- If you opted for unstabilized Chantilly cream, whip it just before assembly.
- Prepare the rich dark chocolate glaze.
- Carefully cut off the top “cap” of each pastry shell.
- Pipe a generous layer of pastry cream into the bottom of each shell, filling it about one-third of the way.
- Follow with a beautiful swirl of Chantilly cream, ensuring it generously peeks out from the top of each shell.
- Dip each pastry cap into the warm dark chocolate glaze, then gently place it back onto its filled cream puff.
- Transfer the assembled cream puffs to a cool spot and keep at room temperature until ready to serve.
Enjoy your masterpiece!
Pin Recipe
Classic French Cream Puffs Recipe
Ingredients
For the Pastry Cream
- ⅔ cup granulated sugar, divided
- 3 tbsp all-purpose flour
- 2 tbsp cornstarch
- 4 large egg yolks
- 1 cup milk
- 1 small vanilla bean, or 1 tsp (5 ml) pure vanilla extract
For the Choux Craquelin
- ¼ cup unsalted butter, room temperature
- ¼ cup brown sugar, packed
- ½ cup all-purpose flour
For the Chantilly Cream
- 1 cup heavy cream (35 % m.f.)
- ½ cup powdered sugar, sifted
- 1 tsp pure vanilla extract
- ⅓ cup mascarpone, cold from the fridge (OPTIONAL, to stabilize the Chantilly cream, see note)
For the Choux Pastry
- ½ cup milk
- ½ cup water
- ½ cup unsalted butter (1 stick), cut into cubes
- ½ tsp kosher salt, or fine sea salt
- 1 cup all-purpose flour
- 4 large eggs
Instructions
For the Pastry Cream
-
In the bowl of a stand mixer, or to a large mixing bowl if using a hand mixer, beat together ⅓ cup (70 g) of the sugar with the flour, cornstarch, and egg yolks until thick and pale yellow, about two minutes.
-
In a medium saucepan, combine the milk with the remaining sugar (⅓ cup / 70 g), and bring to a simmer. When the mixture simmers, remove it from the heat. Ladle 1 cup (250 ml) of the milk mixture into a glass measuring cup.
-
Gradually pour the hot milk mixture into the egg mixture, mixing on low speed or stirring to combine. This will temper the egg mixture, ensuring it will not curdle when you pour it back into the saucepan.
-
Scrape the tempered egg mixture into the saucepan, whisking constantly. Put the saucepan back on medium-low heat and cook, whisking constantly and scraping the bottom and corners of the pan from time to time to prevent the pastry cream from sticking or scorching.
-
Keep on whisking until the mixture thickens and begins to bubble. Pay close attention because the thickening tends to happen quite quickly. Lift your attention for a moment and your pastry cream could curdle or burn!
You may feel thickening suddenly happening in one corner of the pan. Once you do, to keep better control over the process, lift the pan from the heat and whisk vigorously (off the heat) to allow the cream to cook evenly. Put it back on the heat and keep cooking, whisking constantly, until the pastry cream is thick like pudding.
-
Pour the pastry cream into a glass container and push a piece of plastic wrap or parchment paper right onto the surface to prevent a skin from forming over the pastry cream. Refrigerate to cool the pastry cream completely. You can keep the pastry cream refrigerated for up to 3 days.
For the Choux Craquelin
-
In a medium bowl, beat together the soft butter and brown sugar until fully incorporated. Add the flour and beat just to incorporate. The craquelin dough should have a sticky Play-Doh texture.
-
Bring the craquelin dough together into a rough ball. Set over a sheet of parchment paper. Cover with a second sheet of parchment paper. Roughly flatten the dough using the palm of your hand, then use a rolling pin to roll out to a ⅛-in (3 mm) thickness.
-
Peel the top sheet of parchment paper off, then use a 1½-in (4 cm) round cookie cutter to indent rounds into the dough (do not try to lift the craquelin rounds at this point.) Transfer the sheet of craquelin dough into the freezer and freeze for at least 1 hour, or up to 2 days.
-
TIME SAVING TIP: Once the craquelin dough is frozen hard, you can lift the frozen craquelin rounds (use the cookie cutter to fully detach the rounds, if needed) and store them in an airtight container. Separate each layer of craquelin rounds with parchment paper to avoid sticking.
The craquelin dough warm up and softens very quickly at room temperature, so you might need to return the dough to the freezer a few times to lift all craquelin rounds. Discard the scraps. Keep the craquelin rounds frozen until needed.
For the Chantilly Cream
-
In the bowl of a stand mixer, or in a large mixing bowl if using a hand mixer, add the heavy cream, powdered sugar, vanilla extract, and mascarpone, if using. Beat until stiff. Transfer to a pastry bag fitted with the pastry tip of your choice and refrigerate until ready to use.
-
If the Chantilly Cream IS NOT stabilized: Use within 2 hours.
-
Is the Chantilly Cream IS stabilized: Keep refrigerated for up to 2 days.
For the Choux Pastry
-
In a medium saucepan, combine the milk, water, butter, and salt. Bring to a boil over medium heat. When the mixture is boiling, add the flour all at once and stir vigorously with a wooden spoon until the mixture pulls away from the sides of the pan. Keep cooking and stirring the mixture over medium heat for about 1 minute to eliminate excess moisture. If you used a stainless-steel saucepan, a thin layer of dough may stick to the bottom and sides of the pan; this is normal. Take off the heat.
-
Transfer the dough to the bowl of a stand mixer, or to a large mixing bowl if using a hand mixer, and let cool for 5 minutes, stirring occasionally to allow some of the steam to come out.
-
Set the mixer to medium speed, and beat the eggs in one at a time, making sure each egg is well incorporated before adding the next. Scrape down the bowl down between each addition. Every time you add an egg, the dough will separate and look curdled, but it will then come back together in a super sticky, crumbly way. The dough will keep on getting smoother as you add more eggs. The dough is done when it is very thick and stick, but also smooth and elastic.
-
Choux pastry can be covered and refrigerated for up to 6 hours (half a day.) You do not need to bring choux pastry back to room temperature before baking.
-
To shape the cream puffs: Line a baking sheet with parchment paper.
-
If using a cookie scoop to shape the cream puffs: Fill a ¾ oz (1 ½ tbsp) cookie scoop scant with choux pastry, then wipe excess pastry off the sides of scoop (this will create cleaner mounds of dough.) Drop the ball of choux pastry on the prepared baking sheet. Repeat these steps, setting the puffs 3 inches (8 cm) apart to leave plenty of room for expansion. You should be able to fit about 10 cream puffs on a standard half-sheet pan. (Refrigerate the remaining choux pastry between batches.) Using damp fingertips, press down any peaks of dough to create round puffs.
-
If using a piping bag to shape the cream puffs: Fit a large piping bag with a size 6 (Ateco 806) round pastry tip. (The opening should be ½-in / 1¼ cm.) Fold the top 3 inches (7 cm) of the piping bag down over itself like a cuff. Using a spatula, scoop and push the choux pastry into the bag. Unfold the cuff and squeeze the bag to push the choux paste toward the tip. Firmly twist the top part of the bag to push the choux pastry down into the tip.
-
Hold the bag with the tip perpendicular to the baking sheet. With the tip of the bag touching the sheet, squeeze gently and evenly with one hand, while guiding the tip of the bag with the other. Pipe out mounts of dough about the size of a ping pong ball (1 ½-in / 4 cm). You should be able to fit about 10 cream puffs on a standard half-sheet pan. (Refrigerate the remaining choux pastry between batches.) Using damp fingertips, press down any peaks of dough to create round puffs.
-
To bake the cream puffs: Place a rack in the middle position of the oven. Preheat the oven to 400°F (200°C).
-
If using, cover each cream puff with a craquelin round. Bake one sheet of cream puffs for about 30 minutes, or until the cream puffs are golden brown all around (if the puffs are light blond at the base, the puffs will collapse upon cooling.) Transfer the baking sheet to a wire rack and leave to cool completely to room temperature, at least 1 hour.
-
Repeat the baking steps to prepare all cream puffs. If you have only one baking sheet, you can pull the parchment paper sheet out of the sheet and carefully transfer that to the wire rack for cooling. Run the baking sheet under cold water to cool it down, then line with parchment paper and repeat the steps to bake a second batch of cream puffs.
-
How to freeze cream puffs: The cream puff shells can be frozen for up to 1 month. Bake the shells as indicated, then let them cool to room temperature. Place all the cream puff shells on a baking sheet, then place the sheet in the freezer for at least 3 hours, or overnight.
-
Once the shells are frozen hard, gently transfer them to an airtight container (the frozen shells are very fragile and can break easily if they’re not handled with care.) Keep frozen for up to 1 month.
-
To use frozen cream puff shells: Preheat the oven to 325°F (160°C). Place the cream puff shells on a baking sheet. Bake for 7 minutes, then transfer to a wire rack and let cool completely to room temperature. (This will return the cream puff shells to their crisp, freshly baked state.) Proceed with filling the cream puffs as indicated below.
To Assemble the Classic Cream Puffs
-
Make the Dark Chocolate Glaze: In a small saucepan, bring the cream to a boil. Remove from the heat and add the chopped chocolate. Whisk until most of the chocolate is melted. Cover and let stand for 10 minutes. Whisk gently until completely smooth.
-
Transfer the cold pastry cream to a piping bag fitted with a small, round tip.
-
Take the Chantilly cream out of the refrigerator.
-
Use a serrated knife to cut off the top of each pastry shell. Set each “cap” right by its shell.
-
Pipe some pastry cream in the bottom of each shell, about a third of the way up.
-
Pipe some Chantilly cream in a swirling motion to top off each shell, making sure the cream peeks out.
-
Dip one cap into the dark chocolate glaze, then set over its cream puff. Repeat to finalize all the classic cream puffs.
-
SERVING: Serve immediately, or refrigerate for up to 2 hours (on a plate, uncovered) before serving.
Notes
Once the shells are frozen hard, gently transfer them to an airtight container (the frozen shells are very fragile and can break easily if they’re not handled with care.) You can keep cream puff shells frozen for up to 1 month.
Did you make this?
Tell me how you liked it! Leave a comment or take a picture and tag it with @foodnouveau on Instagram.
This site participates in the Amazon Associates Program, an affiliate advertising program designed to provide a means for the site to earn fees by linking to Amazon and affiliated sites.
If you click on an affiliate link, I may earn advertising or referral fees if you purchase through such links at no extra cost to you. This helps me create new content for the blog, so thank you! Learn more about advertising on this site by reading my Disclosure Policy.
