Mastering Versatile Fruit Square Recipes: Seasonal Flavors, Dairy-Free & Gluten-Free Delights
Unlock the potential of seasonal produce with our incredibly versatile fruit square recipes. This comprehensive guide offers 10 exciting flavor variations, along with easy-to-follow dairy-free and gluten-free options, and creative topping ideas to elevate your homemade treats.
This post contains affiliate links. Full disclosure is at the bottom of the article.
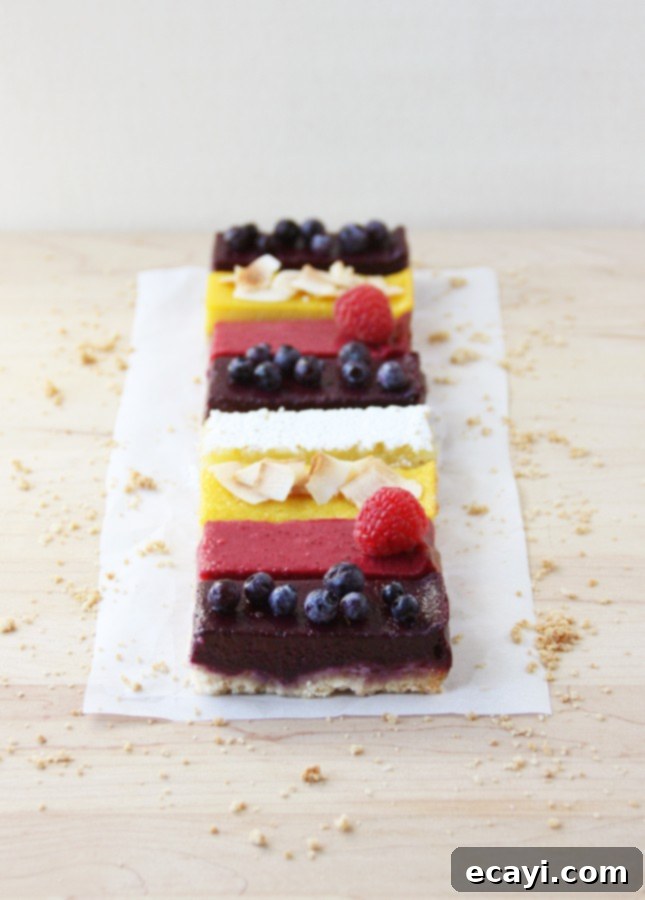
My culinary journey with fruit squares, much like many enthusiasts, began with the quintessential lemon variety. Lemon desserts hold a special place in my heart, and whipping up a batch of classic lemon squares has always been my go-to fix. When I desire an extra touch of elegance, I serve them adorned with a generous dollop of fluffy Italian meringue. The delightful interplay between the buttery, crumbly crust, the tart lemon filling, and the sweet, creamy topping creates a dessert that almost rivals a lemon meringue pie. Almost.
A few years ago, I started experimenting beyond the classic, venturing into new fruit square recipes, especially during the abundance of the summer months. I capitalized on the peak seasons of raspberries and blueberries, freezing their bounty to savor the taste of warmer days even in the heart of winter. This practice not only extended the enjoyment of seasonal fruits but also inspired me to introduce variety by incorporating different types of ground nuts into the crusts. My exploration expanded significantly while developing recipes for my dairy-free dessert eBook,Sweet Spot. It was during this period that I stumbled upon a new personal favorite: the delightful combination of strawberry and pistachio squares.
The true test of my versatile fruit square formula came when a new Quebec City restaurant approached me to contribute to their dessert menu. They already boasted a fine selection of indulgent desserts but sought a lighter, equally appealing option. Critically, their kitchen staff wasn’t extensive, requiring a recipe that could be easily reproduced without specialized pastry skills. Furthermore, the dessert needed to accommodate dietary restrictions, specifically being dairy- and gluten-free. My mind immediately went to the perfect solution: fruit squares.
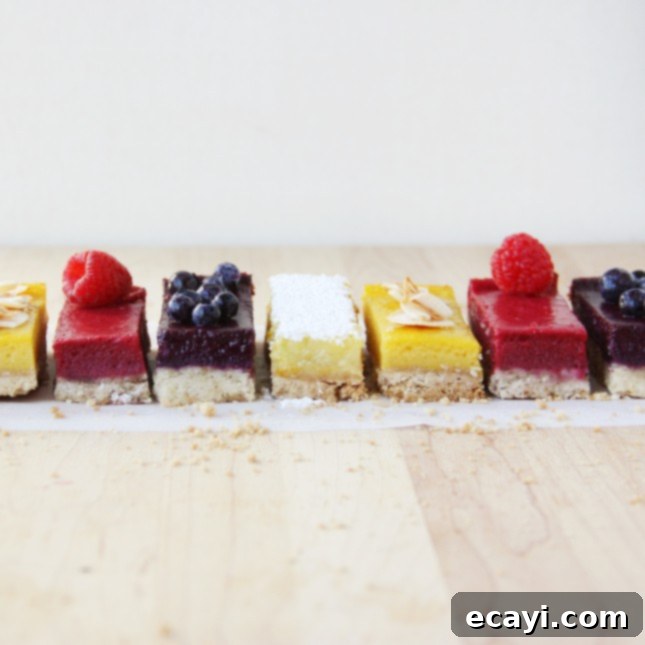
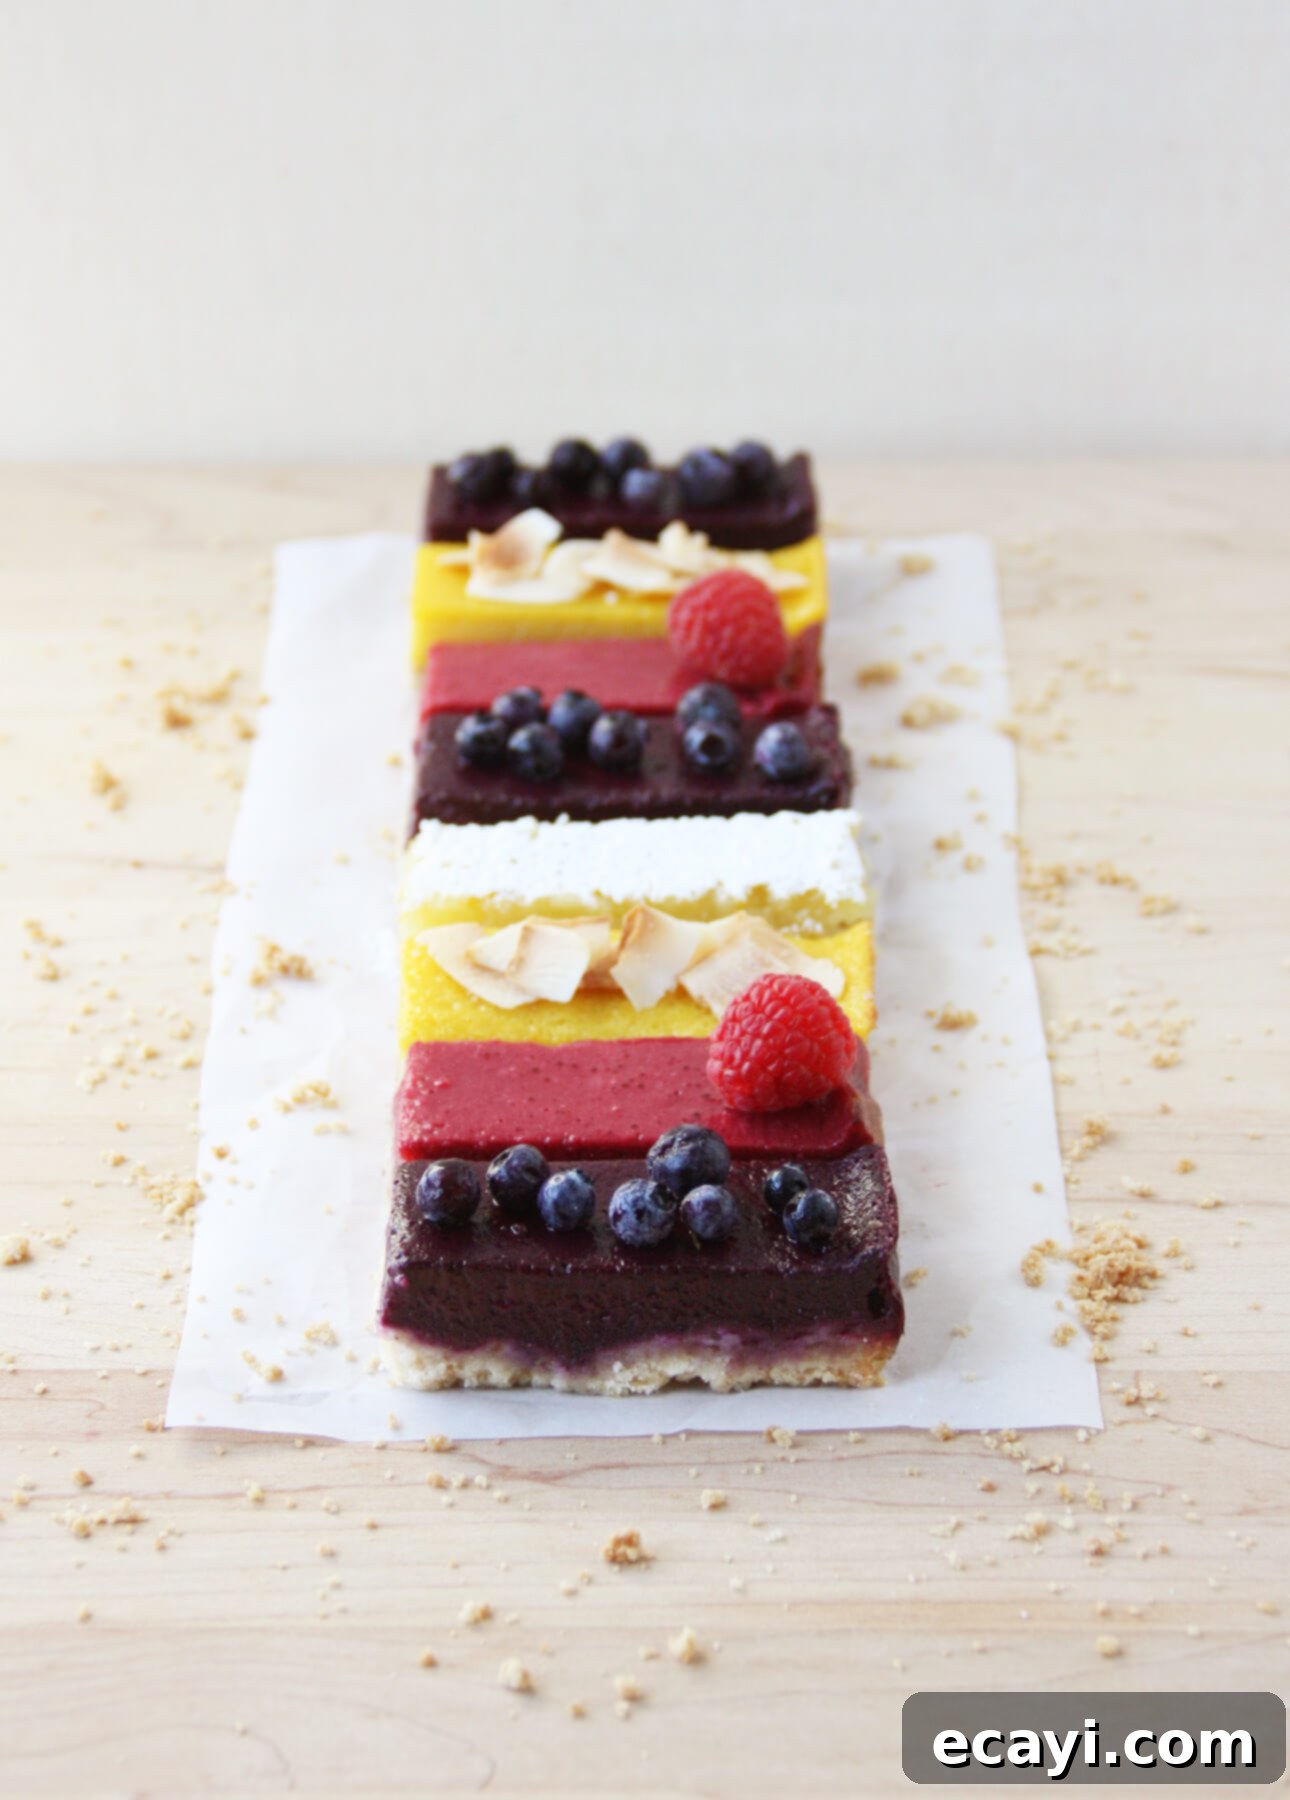
Through countless variations and extensive recipe testing, I perfected a universal formula that allows for endless customization. This robust framework enables the restaurant, and now you, to easily adapt the dessert according to the seasons and available ingredients. By simply playing with different fruit and nut combinations, I discovered an extraordinary level of versatility. Craving citrus but want to move beyond the traditional lemon bars? Try the key lime and toasted hazelnut variation. Yearning for an exotic escape? The mango and coconut squares will transport you. To serve, the options are equally flexible, from a simple dusting of powdered sugar to a decadent dollop of whipped cream or meringue. With this single, adaptable formula, you can create delicious fruit squares all year round, ensuring no two batches are ever exactly the same.
Beyond their incredible flavor and adaptability, these fruit squares offer significant advantages for those with health considerations or intolerances. My version of the recipe is inherently lighter than many traditional fruit squares. The clever use of a small amount of cornstarch effectively thickens the fruit mixture, allowing it to set beautifully without the need for additional egg yolks or excessive butter. This strategic omission also makes the dessert naturally dairy-free, a huge bonus for my fellow lactose-intolerant dessert lovers! Furthermore, achieving a gluten-free version is remarkably simple: just substitute regular flour with brown rice flour in the crust. The result? A scrumptious, healthier, dairy-free, and gluten-free dessert that you truly have to taste to believe!
Pin Recipe
Fruit Square Recipes for All Seasons: How to Turn Seasonal Bounty into Delightful Treats
Ingredients
- For the crust
- ½ cup (125 ml) all-purpose flour, whole wheat flour, or brown rice flour (for gluten-free squares)
- ¾ cup (180 ml) finely ground nuts: almond, walnut, pecan, hazelnut, or pistachio. Grind nuts before measuring, and spoon into cup without packing.
- ⅓ cup (80 ml) powdered sugar
- 3 tbsp (45 ml) cornstarch
- ¼ tsp (1 ml) kosher salt
- ⅓ cup (80 ml) oil of your choice. Options include mild flavored healthy oils, or oils that complement the fruit flavors: canola oil, sunflower oil, grapeseed oil, walnut oil, hazelnut oil, pistachio oil, soft-tasting olive oil, or coconut oil. Melted butter or dairy-free spread can also be used.
- For fruit fillings (except citrus fruits—see below)
- 1 cup (250 ml) strained, unsweetened fruit puree. This can be store-bought (see “About Using Store-Bought Fruit Puree,” below), or homemade (see “How to Make Fruit Puree,” below). Choose from blueberries, raspberries, blackberries, strawberries, rhubarb, cherry, mango, or peach, or a combination. The puree should have the consistency of a fruit nectar or a loose smoothie.
- 2 tbsp (30 ml) freshly squeezed lemon juice
- ⅓ cup (80 ml) cane sugar (unrefined sugar is preferred, but regular granulated sugar works too)
- 3 tbsp (45 ml) cornstarch
- pinch of kosher salt
- 2 large eggs
- For citrus fruit fillings
Note: Citrus juices are more liquid than fruit purees, so you will need a lesser quantity of juice and one additional egg to ensure the filling sets correctly. - ¾ cup (180 ml) citrus fruit juice, freshly squeezed and strained to remove pulp: lemon, Meyer lemon, lime, Key lime, grapefruit (preferably pink), blood orange, or clementine, or a combination
- 2 tsp (10 ml) finely grated zest from the citrus fruits you are using
Sugar, preferably cane sugar:
- Lemon , lime, Key lime, grapefruit: ¾ cup [180 ml]
- Meyer lemon , blood orange or clementine: ½ cup [125 ml]
- 3 tbsp (45 ml) cornstarch
- pinch of kosher salt
- 3 large eggs
To serve, choice or combination of:
- Powdered sugar
- Fresh fruit
- Chopped nuts
- Whipped cream
- Italian meringue (dairy-free option)
- Coconut whipped cream (dairy-free option – see “How to Make Coconut Whipped Cream,” below)
Instructions
-
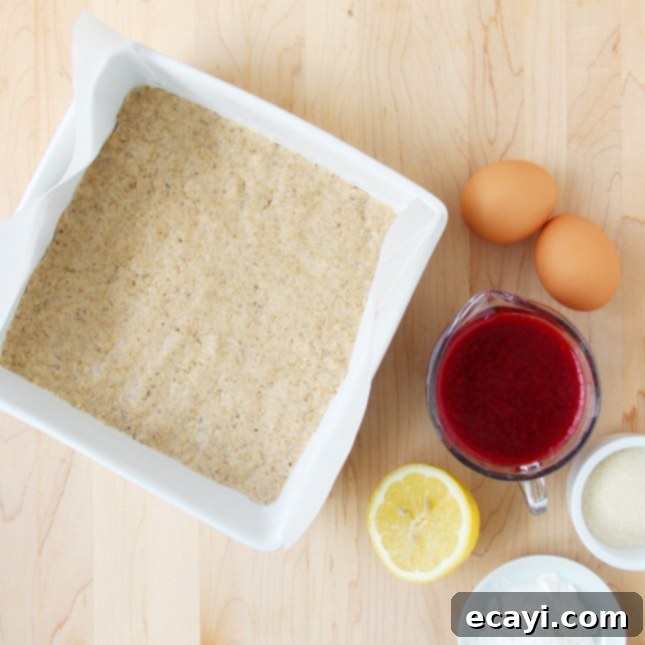
Preheat the oven to 350°F (175°C). Line an 8-inch (20-cm) square baking pan with parchment paper, allowing it to overhang on two sides for easy removal later.
-
Make the crust: In a medium bowl, combine the flour, ground nuts, powdered sugar, cornstarch, and salt. Add the oil. Using a pastry cutter, fork, or your fingers, mix the oil into the flour mixture until it forms an evenly crumbly texture. Firmly press the dough flat into the prepared pan to create the crust. Bake until the crust just begins to brown around the edges, typically 15 to 20 minutes.

Make the filling:
-
If using fruit puree: Mix the fruit puree and lemon juice together. Set aside.
-
If using citrus juice: Keep the strained, measured juice close to your work station. If using juice from different citrus fruits, combine them now.
-
In a medium bowl, whisk sugar, cornstarch, and a pinch of salt until well combined. Add the eggs one at a time, whisking until each is fully incorporated before adding the next. Stir in the fruit puree mixture or citrus juice, and whisk vigorously until the mixture is completely smooth. If making citrus fruit squares, stir in the finely grated zest now.
-
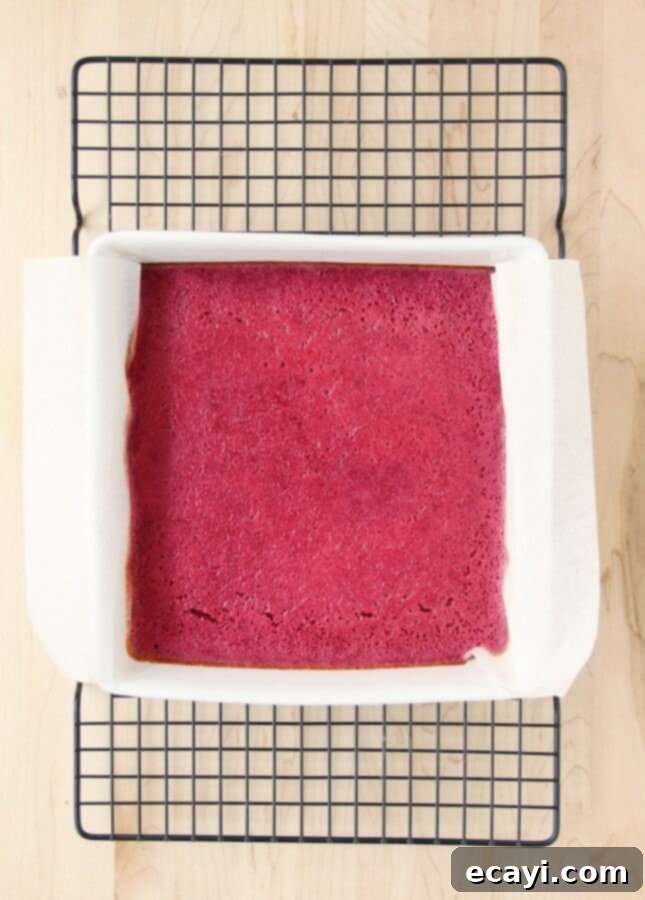
Once the crust is baked, pour the filling over the crust (it’s fine if the crust is still warm from the oven).
-
Bake until just set, approximately 15 to 18 minutes. The filling should just start to turn golden around the edges, and the center should still be slightly jiggly—it will firm up completely as it cools. If you prepared the crust in advance and it is cold when you pour the filling, add an additional 5 to 7 minutes to the baking time.

-
Allow the fruit squares to cool completely to room temperature, then refrigerate for at least 2 hours to set properly.
-
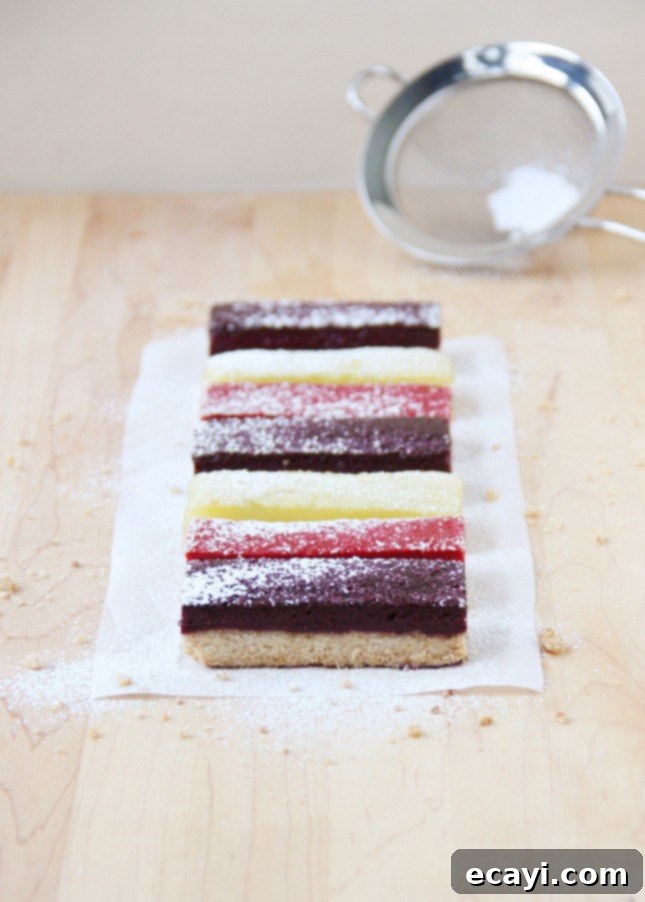
SERVING: Gently run a sharp knife along the edges of the pan not covered by parchment paper. Use the parchment paper overhang to carefully lift the entire slab of squares out of the pan. Cut into 12 even squares. Dust with powdered sugar or garnish with your chosen topping just before serving.

-
STORAGE: These fruit squares are best enjoyed within one to two days, as the crust may become soft thereafter. Store any leftover squares in a single layer in an airtight container in the refrigerator.
Did you make this?
Tell me how you liked it! Leave a comment or take a picture and tag it with @foodnouveau on Instagram.
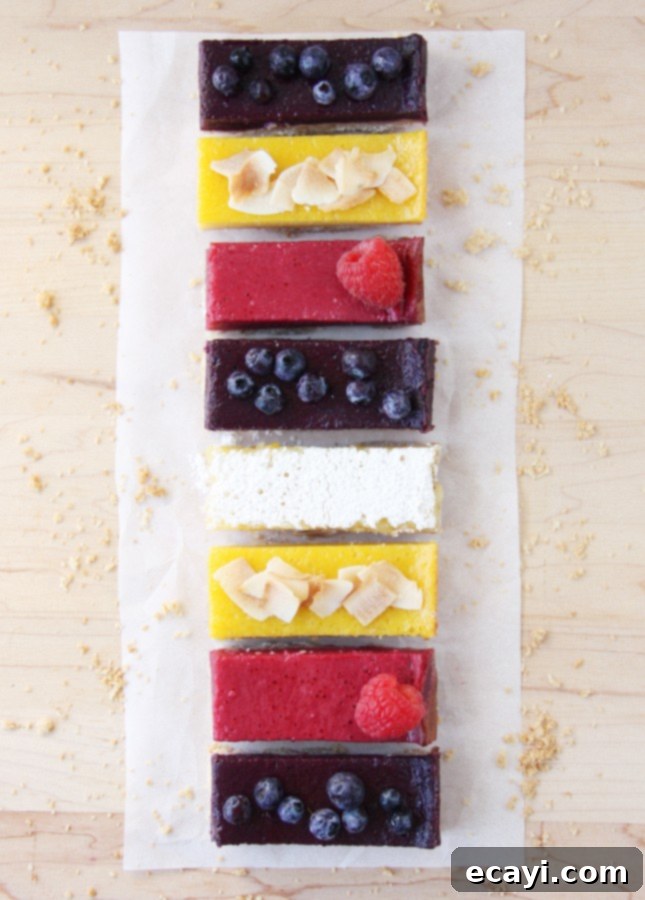
10 Delicious Fruit Square Flavor Combinations
Experiment with these delightful variations, or let them inspire you to create your own unique fruit square masterpieces! For the crusts, consider using a mild-flavored healthy oil or one that complements your chosen fruit, such as canola, sunflower, grapeseed, soft-tasting olive oil, melted butter, or a dairy-free spread. The specific nut choice for each crust is listed below.
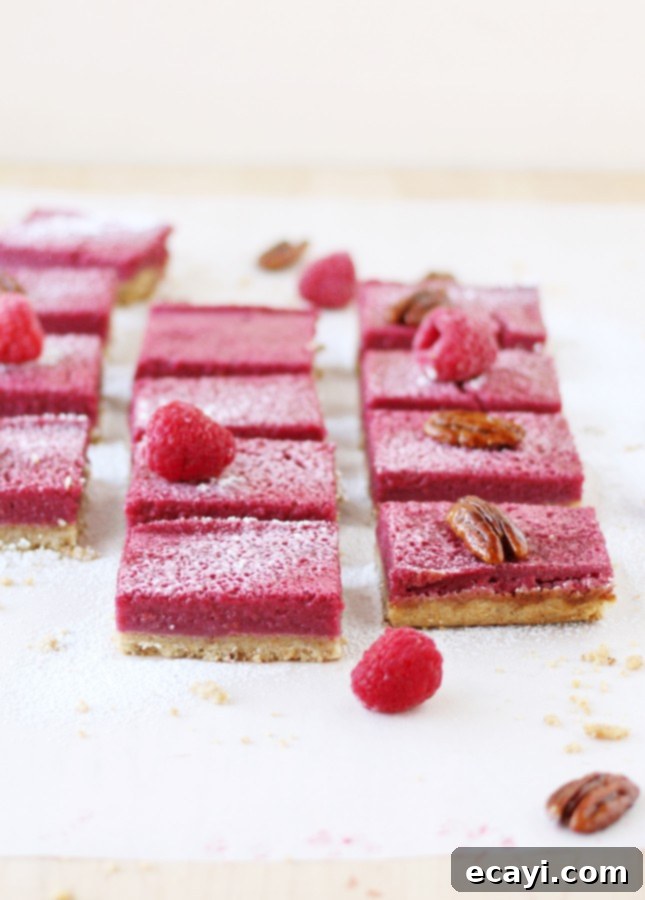
- Raspberry and Pecan Squares
Crust: Features ground pecans, paired with your preferred oil (as mentioned above).
Filling: Uses fresh or frozen raspberries. No need to thaw frozen raspberries before making the fruit puree (see How to Make Fruit Puree, below).
Topping: A light dusting of powdered sugar and fresh raspberries.
- Blueberry and Toasted Hazelnut Squares
Crust: Made with ground toasted hazelnuts (see How to Toast and Peel Hazelnuts, below), complemented by hazelnut oil or your preferred oil.
Filling: Utilizes fresh or frozen regular or wild blueberries. Frozen blueberries can be pureed without thawing (see How to Make Fruit Puree, below).
Topping: Powdered sugar with fresh blueberries, or a dollop of whipped cream garnished with coarsely chopped hazelnuts.
- Blackberry and Walnut Squares
Crust: Incorporates ground walnuts and walnut oil, or your preferred oil.
Filling: Uses fresh or frozen blackberries, pureed without thawing if frozen (see How to Make Fruit Puree, below).
Topping: A dusting of powdered sugar and elegant walnut halves.
- Strawberry and Pistachio Squares
Crust: Features ground pistachios and pistachio oil, or your preferred oil.
Filling: For the finest flavor, use in-season fresh strawberries (See How to Make Fruit Puree, below.)
Topping: Powdered sugar, fresh strawberry halves, and coarsely chopped pistachios.
- Strawberry, Rhubarb, and Almond Squares
Crust: Crafted with ground almonds (also known as almond flour) and your preferred oil.
Filling: Prepare the fruit puree using a 1:1 ratio of fresh strawberries and chopped rhubarb stalks (see How to Make Fruit Puree, below.)
Topping: Powdered sugar and fresh strawberry halves, or a dollop of whipped cream with a spoonful of rhubarb and fresh strawberry compote.
- Mango and Coconut Squares
Crust: A tropical blend using ½ cup [125 ml] ground almonds and ¼ cup [60 ml] shredded coconut (or solely ground almonds). Melted coconut oil adds a wonderful exotic touch, or use your preferred oil.
Filling: Utilizes very ripe fresh mango (peeled and coarsely chopped) or cubed frozen mango (See How to Make Fruit Puree, below.)
Topping: Toasted coconut flakes, or a dollop of whipped coconut cream topped with finely cubed fresh mango.
- Peach and Walnut Squares
Crust: Features ground walnuts and walnut oil, or your preferred oil.
Filling: Made with very ripe fresh peaches (peeled and coarsely chopped) or cubed frozen peaches (See How to Make Fruit Puree, below.)
Topping: A dusting of powdered sugar, or a dollop of whipped cream with finely cubed fresh mango (or peach).
- Classic Lemon or Meyer Lemon and Almond Squares
Crust: Uses ground almonds (almond flour) and your preferred oil.
Filling: For the ultimate flavor, ONLY use freshly squeezed lemon or Meyer lemon juice.
Topping: A simple dusting of powdered sugar or a luxurious dollop of Italian meringue.
- Passionfruit, Lemon, and Coconut Squares
Crust: A delightful combination of ½ cup [125 ml] ground almonds and ¼ cup [60 ml] shredded coconut (or solely ground almonds). Melted coconut oil is highly recommended for its exotic aroma, or use your preferred oil.
Filling: A vibrant mix of ½ cup [125 ml] strained passion fruit pulp (seeds removed) or passion fruit puree, and ¼ cup [60 ml] freshly squeezed lemon juice. Always use fresh lemon juice for the best taste.
Topping: Toasted coconut flakes, or a dollop of whipped coconut cream with a spoonful of passion fruit pulp.
- Lime and Toasted Hazelnut Squares
Crust: Crafted with ground toasted hazelnuts (see How to Toast and Peel Hazelnuts, below), perfectly complemented by hazelnut oil or your preferred oil.
Filling: For the most authentic and zesty flavor, ONLY use freshly squeezed lime juice.
Topping: A dusting of powdered sugar and coarsely chopped toasted hazelnuts.
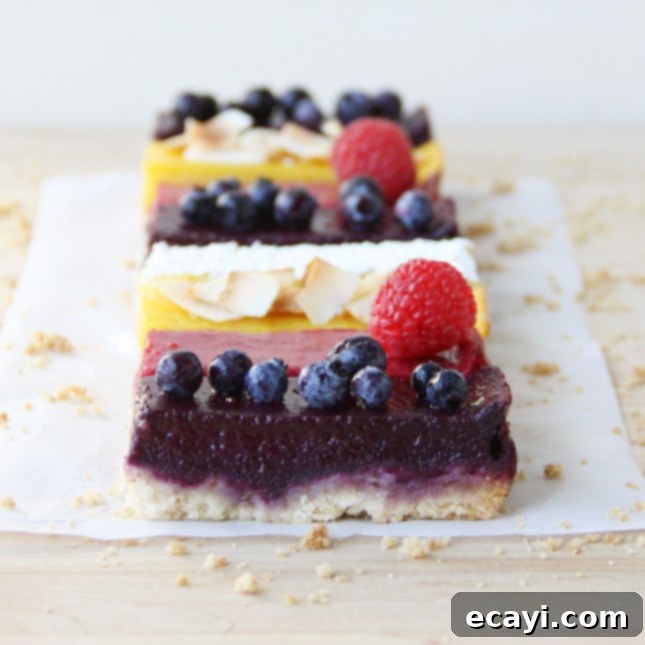
How to Make Fruit Puree
To prepare your own fresh fruit puree, combine 3 cups [750 ml] of berries (pitted if applicable) or chopped, peeled, and pitted ripe fruit, with ¼ cup [60 ml] of water in a medium saucepan. Cook over medium-high heat, stirring frequently, until the fruits become very soft, typically within 4 to 6 minutes. Transfer the cooked mixture to a blender and process until exceptionally smooth (a stick blender can also be used directly in the saucepan). Strain the puree through a fine-mesh sieve into a measuring cup. You will need 1 cup of fruit puree for the recipe; any extra can be saved for smoothies or as an ice cream topping! Ensure the puree cools completely before incorporating it into the fruit square recipe. This method works perfectly with both fresh and frozen fruits.
About Using Store-Bought Fruit Puree
Many grocery stores offer fruit purees in frozen tubs. If you opt for a store-bought fruit puree, it is crucial to select an unsweetened variety for optimal flavor control. If unsweetened options are unavailable, choose a brand with a maximum of 10% sugar content, and then reduce the sugar quantity in the fruit square filling recipe to ¼ cup [60 ml]. Renowned brands specializing in high-quality frozen fruit purees, often of French origin, include Ravifruit and Les Vergers Boiron.
How to Toast and Peel Hazelnuts
To perfectly toast and peel hazelnuts, spread them in a single layer on a baking tray lined with parchment or aluminum paper. Bake in an oven preheated to 350°F [170°C] for 15 minutes, making sure to give the tray a good shake every five minutes for even toasting. Once the hazelnuts’ skins appear shiny and crackled, remove them from the oven and immediately transfer them to a clean dish towel. Gather the towel into a bundle and vigorously rub the hazelnuts against each other inside the towel. This friction will help remove most of the skins. Open the towel and pick out the peeled hazelnuts. Don’t worry if a few bits of skin remain, as this is perfectly acceptable. Store the peeled hazelnuts in an airtight container in the refrigerator until you are ready to use them.
How to Make Coconut Whipped Cream
Makes about 2 cups [500 ml]
For perfect coconut whipped cream, refrigerate one can of full-fat coconut cream or milk (preferably containing 70% coconut extract, approximately 14 oz [414 ml]) overnight or longer. This allows the thick coconut cream to solidify and separate from the liquid. It’s essential not to shake the can before opening! Carefully open the chilled can and scoop out only the solid coconut cream into the bowl of a stand mixer or a medium-sized mixing bowl. Discard the leftover coconut water, or save it for smoothies and soups. Whip the solid coconut cream on medium speed for about 2 minutes until it becomes smooth. Gradually add ¾ cup [180 ml] of sifted powdered sugar and continue beating until the mixture is light and fluffy, usually about 3 more minutes. Stir in 1 tsp [5 ml] of vanilla extract just to incorporate. This prepared coconut whipped cream can be stored in an airtight container in the fridge for up to 2 weeks. It will not stiffen further when refrigerated, and can be enjoyed straight from the container.
How to Make Italian Meringue (One-Step Method)
Makes about 3 cups [750 ml]
For a simple Italian meringue, combine 3 room-temperature egg whites, 1 cup [250 ml] powdered sugar, 1 tbsp [15 ml] water, and ¼ tsp [1.25 ml] cream of tartar in a large heatproof bowl. Place this bowl over a small pot of barely simmering water, ensuring the bottom of the bowl does not touch the water. Using a handheld mixer, beat the mixture on low speed for 2 minutes. Increase the speed to high and continue beating until the meringue becomes very thick, approximately another 6 minutes. Remove the bowl from the heat but continue beating until the meringue is fluffy, glossy, and has returned to room temperature, which will take about 6 more minutes. Store the Italian meringue in an airtight container in the refrigerator for up to two days until ready to use.
Disclosure Notice: This site is a participant in the Amazon Associates Program, an affiliate advertising program designed to provide a means for the site to earn fees by linking to Amazon and affiliated sites.
If you click on an affiliate link, I may earn advertising or referral fees if you make a purchase through such links, at no extra cost to you. This helps me in creating new content for the blog–so thank you! Learn more about advertising on this site by reading my Disclosure Policy.
