Effortless No-Knead Focaccia: Your Guide to Perfect Homemade Italian Flatbread
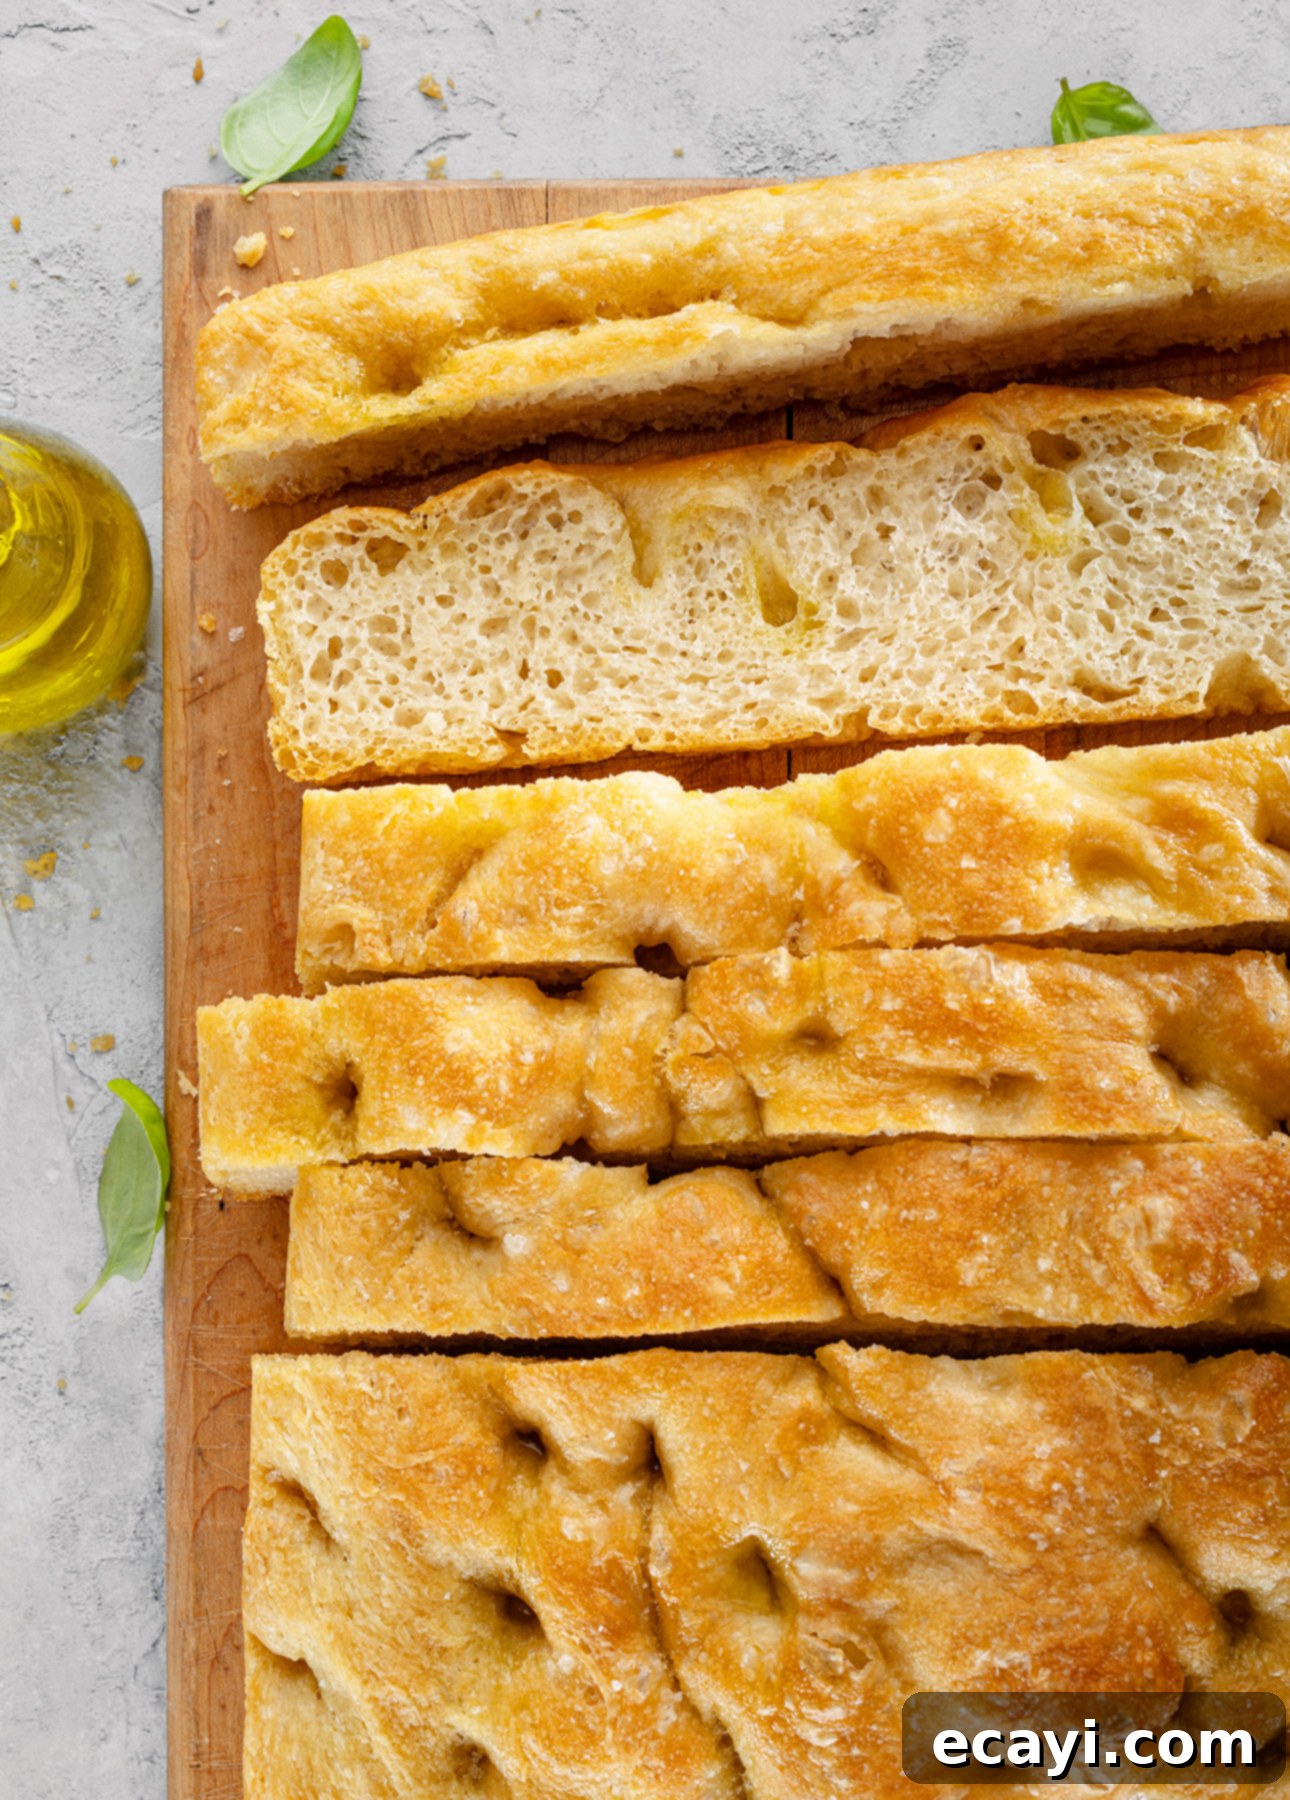
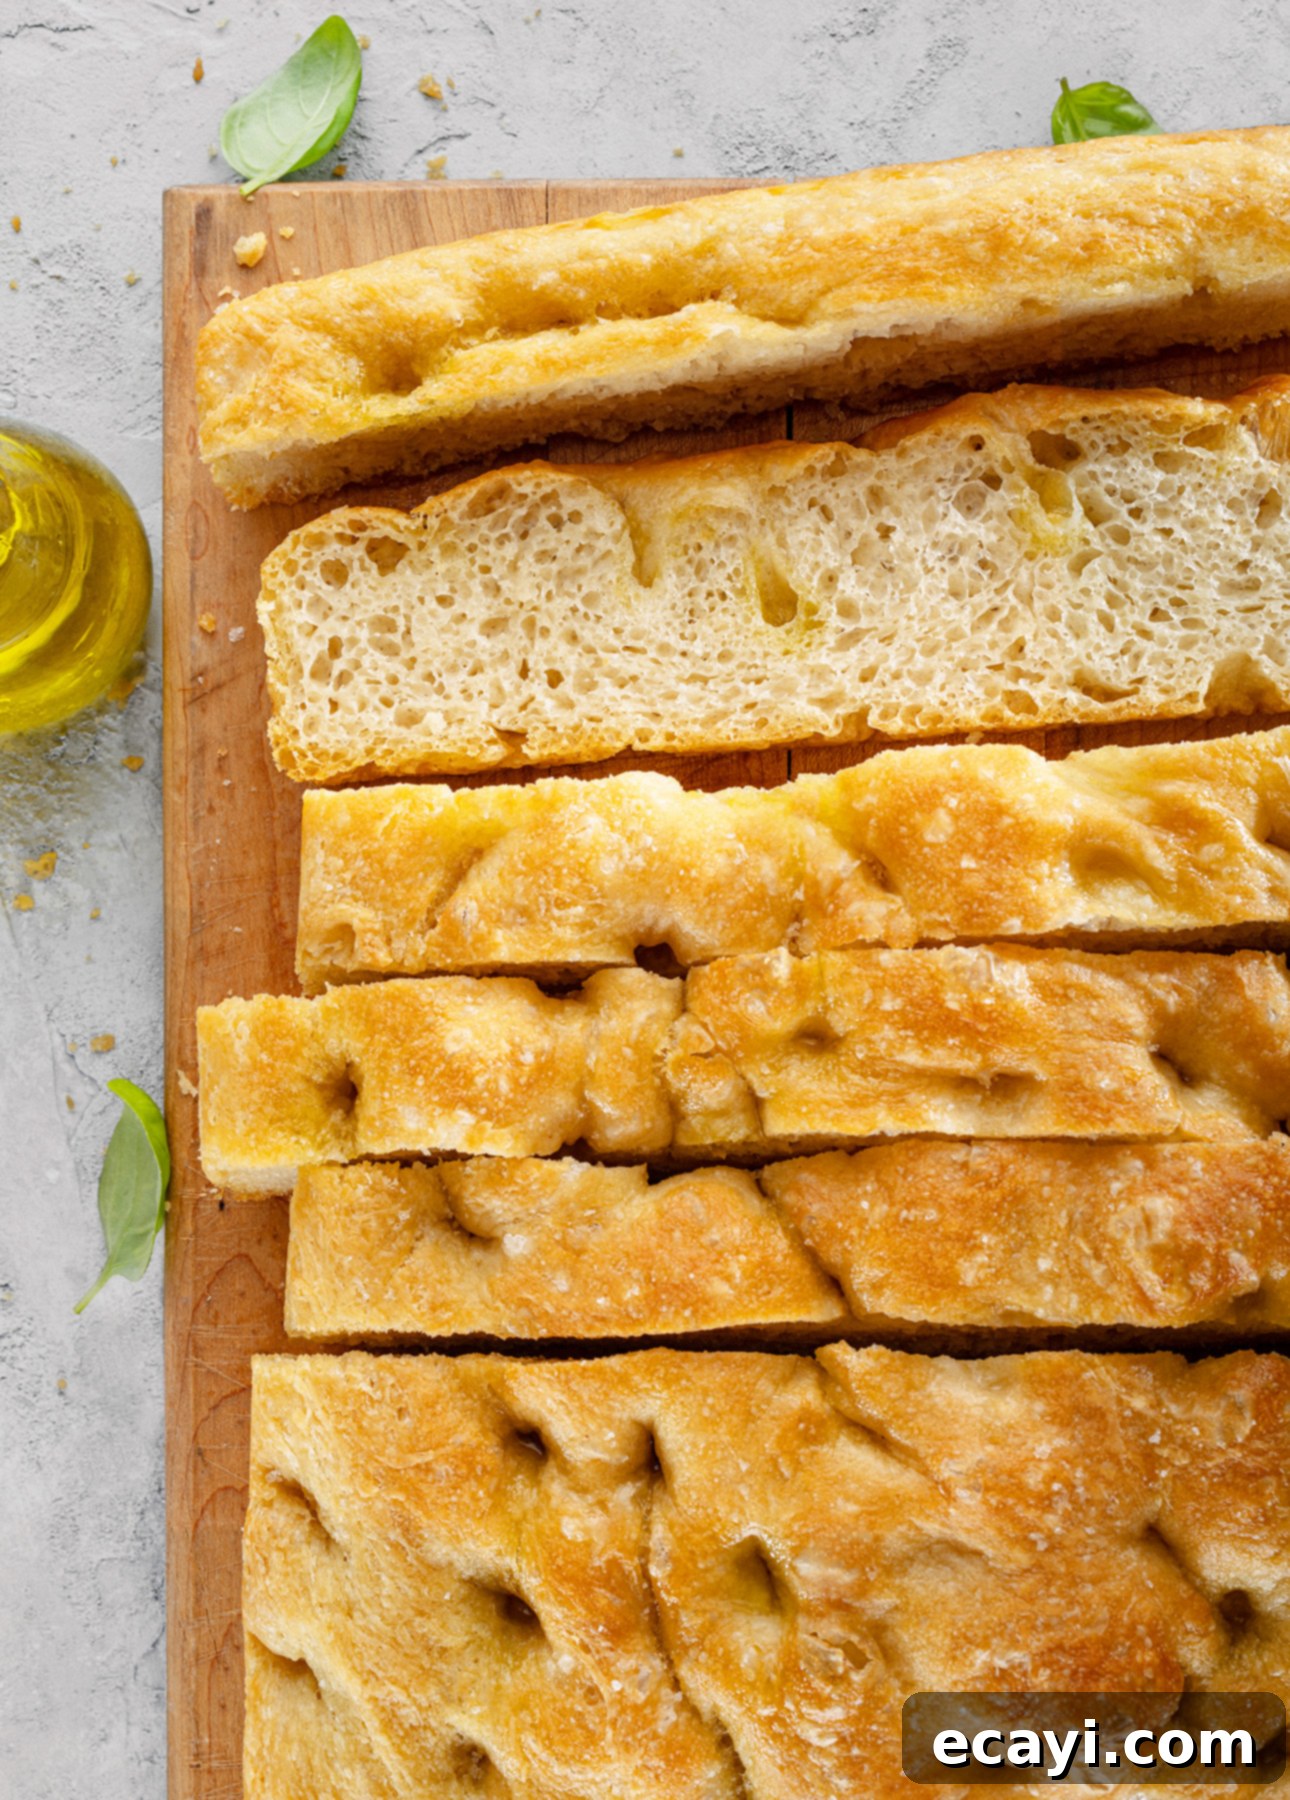
Learn how incredibly easy it is to make golden, airy, and utterly irresistible no-knead focaccia at home. This versatile Italian flatbread is perfect for sandwiches, delicious as a side dish, or simply enjoyed as a savory snack.
This post contains affiliate links. Full disclosure is at the bottom of the article.
For many home cooks, baking bread from scratch feels like a daunting task, often conjuring images of intricate kneading, precise temperature control, and the finicky nature of sourdough starters. While the sourdough phenomenon captured the world’s attention a few years ago, I’ve always leaned into a more approachable method for homemade bread that delivers equally stunning results without the fuss. That method is creating an exceptionally easy, no-knead focaccia, a delightful Italian flatbread I’ve been perfecting and enjoying for years. It truly simplifies the bread-making process, making it accessible to even the most novice bakers.
Focaccia is a truly versatile Italian flatbread, celebrated for its unique texture and rich flavor. It can gracefully transition from being a simple, flavorful side dish to the star of a gourmet sandwich, or even a satisfying snack. Across Italy, its regional variations showcase a vibrant culinary tradition: you’ll find it generously garnished with aromatic herbs, briny olives, or sweet cherry tomatoes. In some northern regions, it’s even topped with delectable ingredients like cured meats and cheeses, bearing a striking resemblance to a light, airy pizza.
What makes focaccia a staple in my kitchen is its incredible adaptability. As the seasons change, so too can its role in your meals. During the crisp, colder months, a warm slice of homemade focaccia is the perfect accompaniment to hearty soups and stews, soaking up every last drop of flavorful broth. Come summer, its sturdy yet tender crumb makes it an unparalleled base for light, fresh sandwiches filled with seasonal produce or grilled meats. It’s truly a bread for all seasons and countless culinary possibilities.
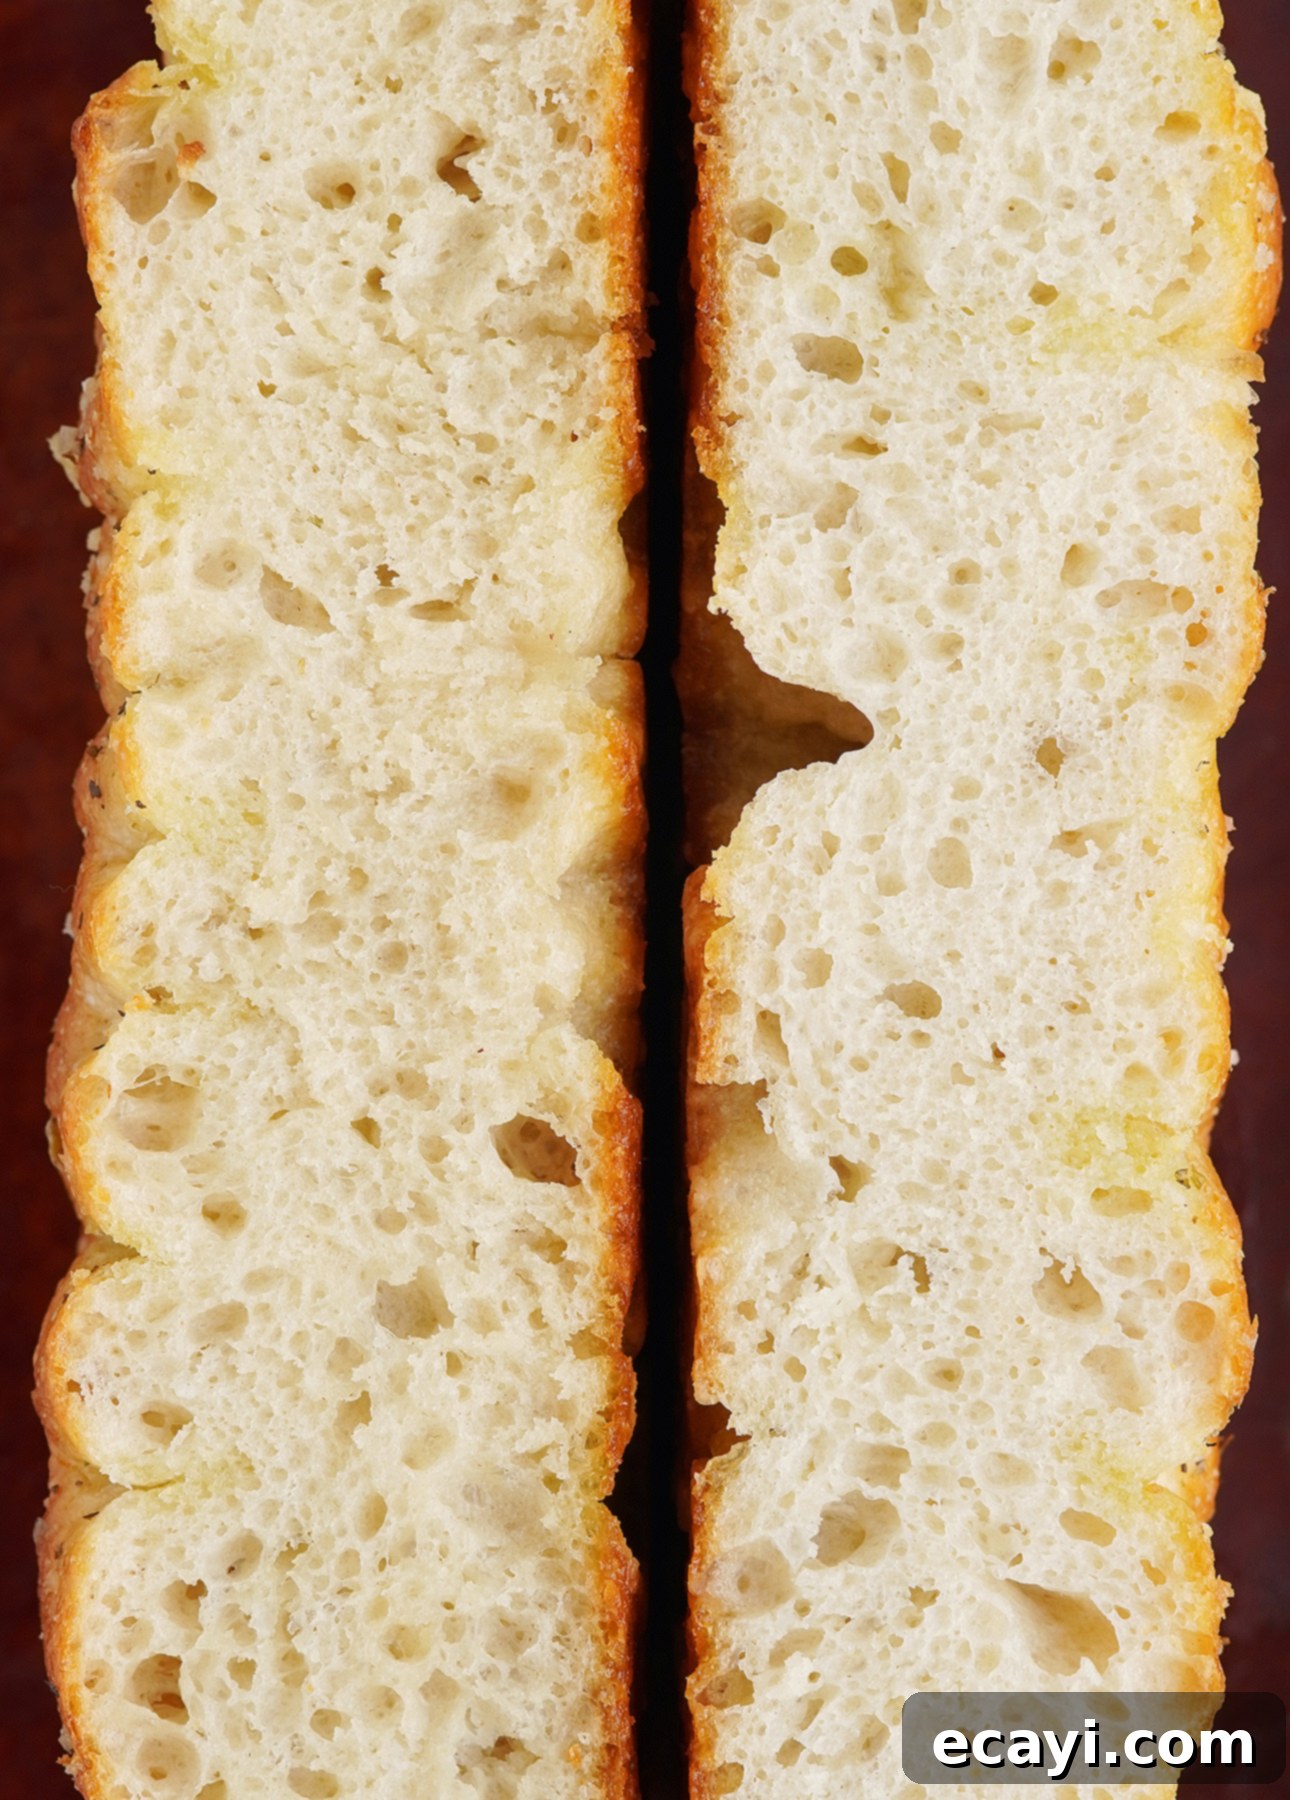
Through countless batches, I’ve refined an extremely easy, no-knead focaccia recipe that anyone can master. Forget about intensive kneading or complex techniques. With just a handful of fundamental ingredients—all-purpose flour, active dry yeast, high-quality olive oil, a touch of honey, and a pinch of salt—you are well on your way to creating an irresistibly flavorful Italian bread. This homemade focaccia boasts a beautiful golden crust, a wonderfully airy interior, and a taste that will make it a permanent fixture in your baking repertoire. It’s truly the perfect introduction to the world of bread baking, offering maximum reward for minimal effort.
VIDEO: How to Make Foolproof No-Knead Focaccia
A Brief History of Focaccia: An Ancient Italian Flatbread
Focaccia boasts a fascinating and extensive history, with its origins reaching back to the heart of ancient Roman times. The very name “focaccia” offers a clue to its antiquity, stemming from the Latin word focus, which translates to “hearth” or “fireplace.” This etymological root reveals how early versions of this beloved bread were traditionally cooked directly on the warm embers or stones of a hearth. Initially, focaccia served as a simple, yet essential, sustenance for Roman soldiers and laborers. It was prized for its basic composition of flour, water, and salt, making it an inexpensive, portable, and remarkably durable snack that sustained many through long days.
As the Roman Empire expanded and its culinary traditions spread, the recipe for focaccia traveled across the Italian peninsula. Over centuries, different regions enthusiastically embraced the concept, each adding their own local flair and ingredients, transforming it into the diverse array of focaccia we know today. The region of Liguria, and particularly the bustling port city of Genoa, became especially renowned for its focaccia, perfecting a distinct version known as focaccia alla Genovese. This particular style is celebrated for its incredibly light, fluffy interior, punctuated by a gloriously crispy crust infused with olive oil. It is this iconic focaccia alla Genovese that has become one of the most famous variations and, indeed, the very inspiration behind the easy no-knead focaccia recipe I am thrilled to share with you here.
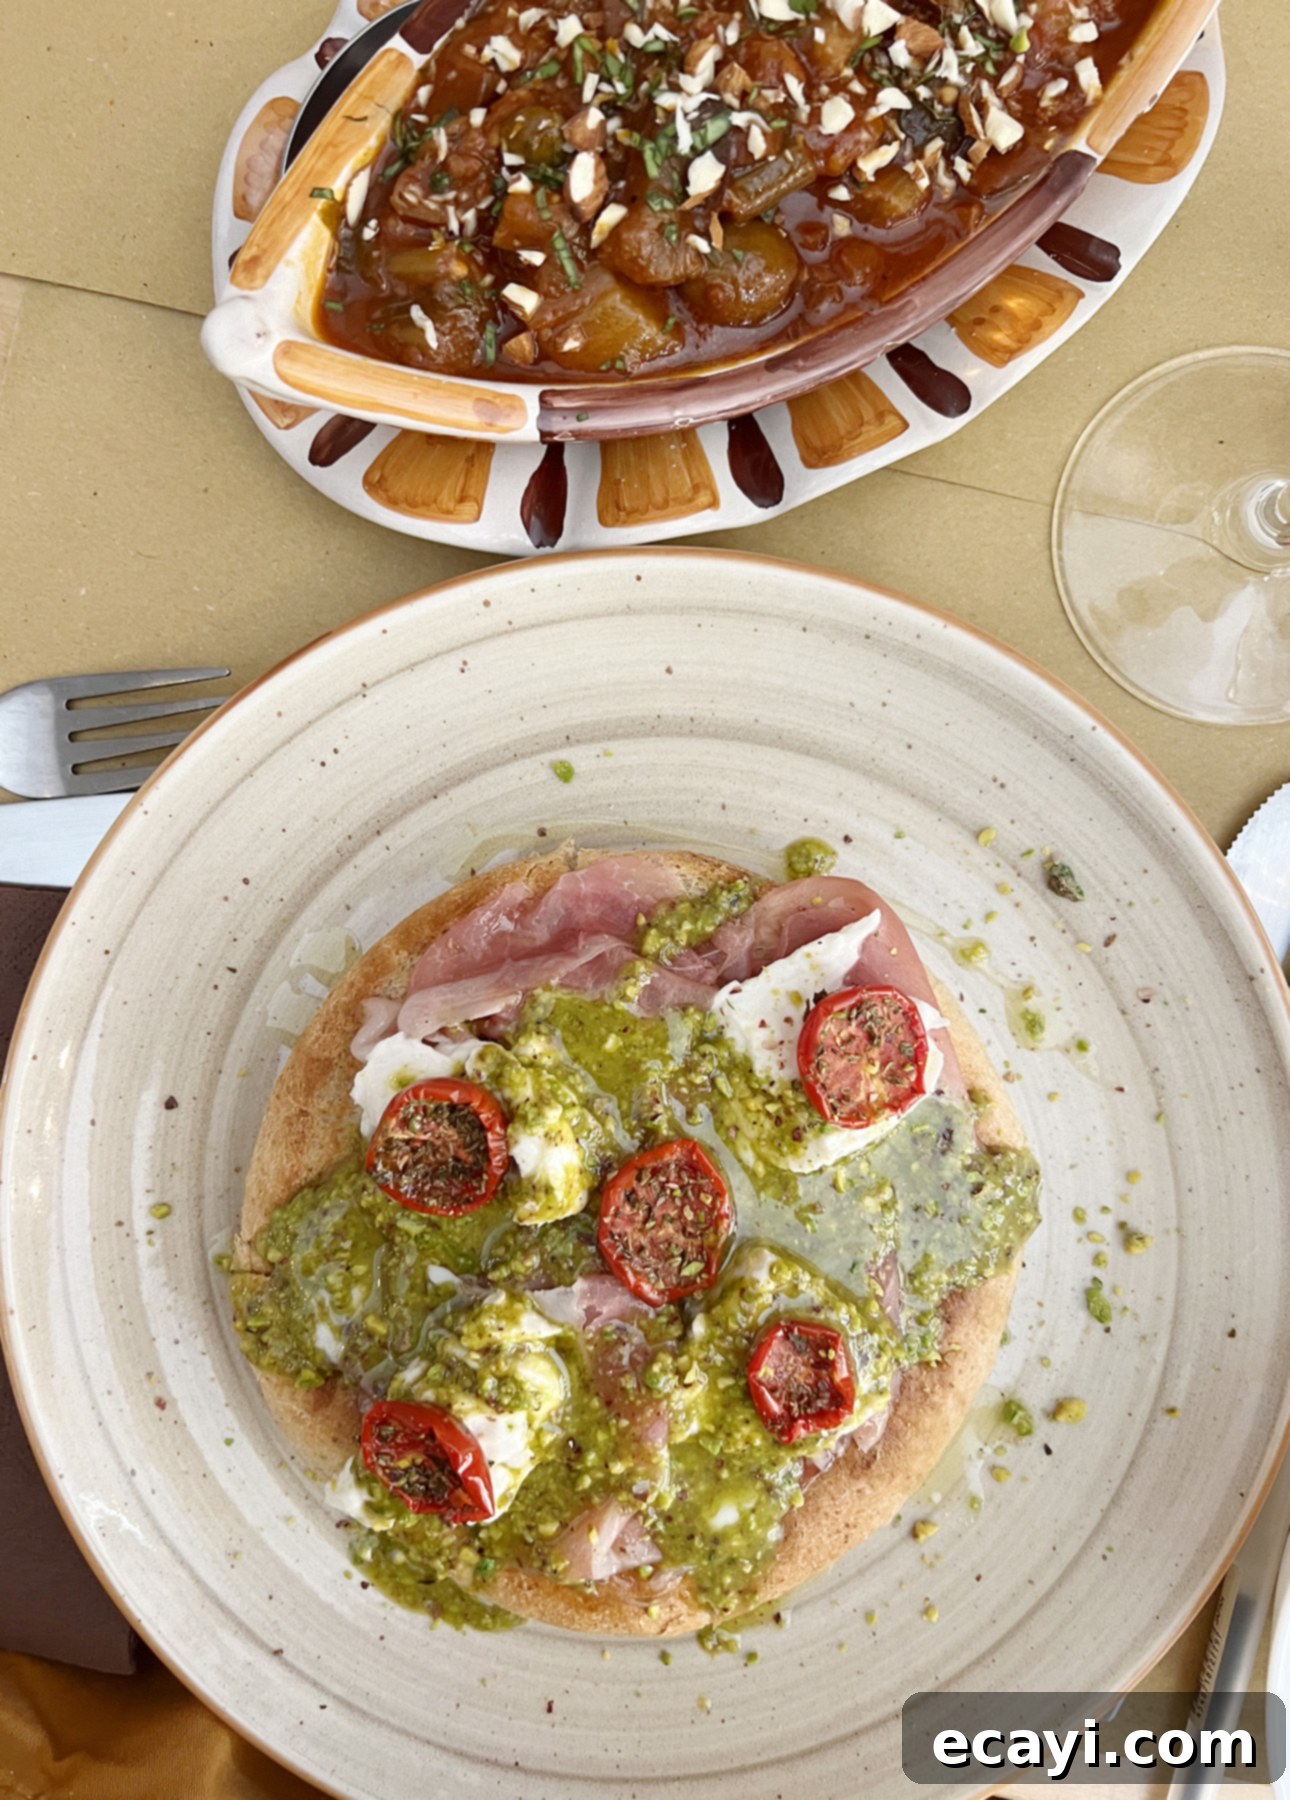
Beyond its stronghold in Liguria, focaccia remains deeply cherished in numerous other Italian regions, each offering a unique take on this classic flatbread. Travel south to Puglia, and you’ll discover focaccia enriched with local olives, their briny flavor complementing the bread’s airy texture. In the rolling hills of Tuscany, it’s often fragrantly sprinkled with fresh rosemary, releasing its aromatic oils during baking. And in the vibrant city of Bari, a beloved version features a topping of sweet, caramelized onions, providing a delightful contrast to the savory bread. These regional distinctions highlight the deep cultural connection Italians have with this humble yet extraordinary bread, showcasing how local produce and traditions can shape a universal favorite.
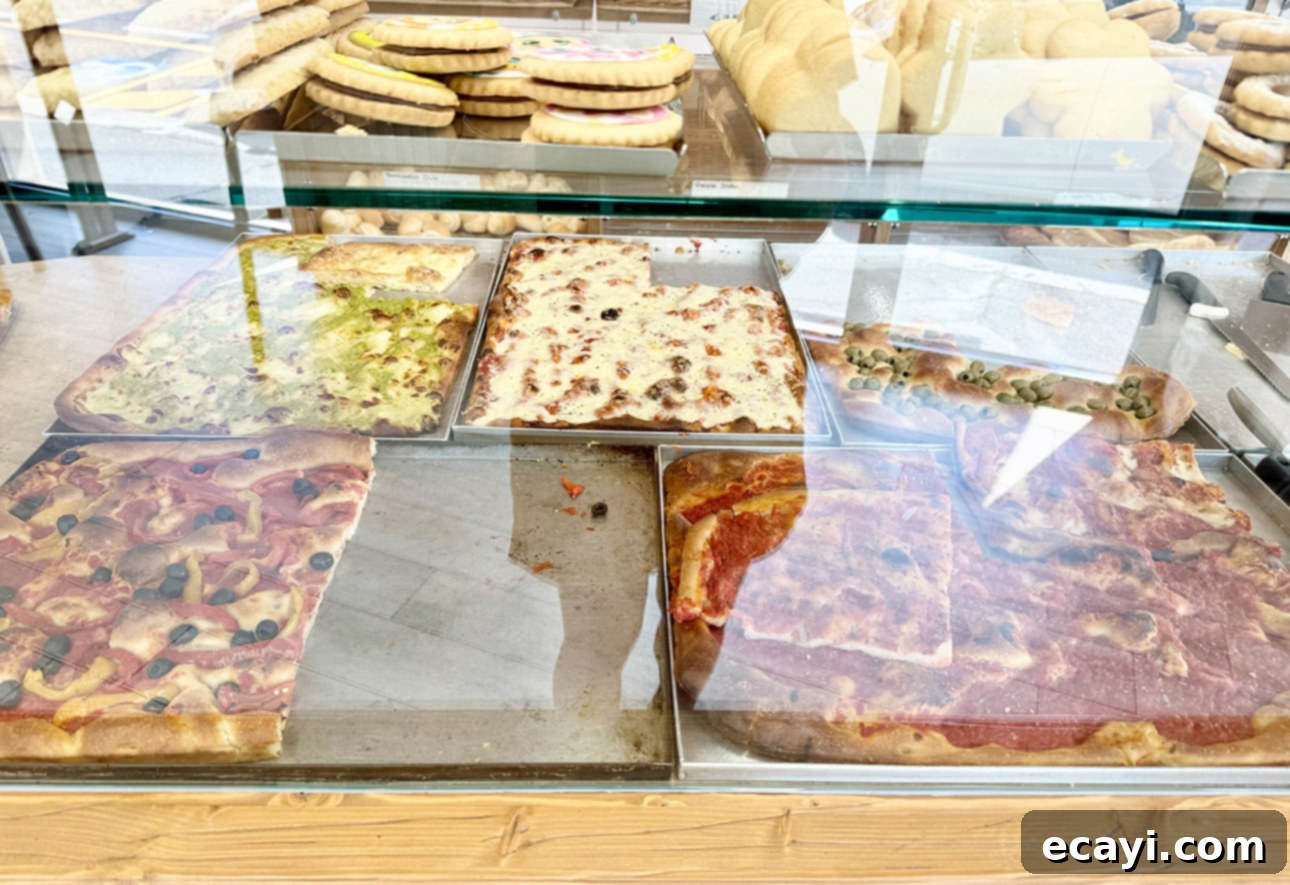
Focaccia topped with mortadella, cheese, and pistachio pesto, served in a wine bar in Sicily, Italy
Despite the myriad of regional variations and toppings, the fundamental essence of focaccia—its elegant simplicity, incredible versatility, and deeply satisfying texture—remains constant. This enduring consistency is precisely what has cemented its status as a timeless and indispensable staple of authentic Italian cuisine, beloved by generations across the globe. It’s a testament to the fact that sometimes, the most basic ingredients, when treated with respect and tradition, can yield the most extraordinary results.
Essential Ingredients for the Best No-Knead Focaccia
The enduring appeal of focaccia truly lies in its elegant simplicity and the fact that it requires just a few pantry staples. With these basic ingredients, you can effortlessly create a wonderfully flavorful bread that offers an irresistible combination of fluffy interior and delightfully crunchy crust. This section will walk you through each key component, explaining its role in my foolproof no-knead focaccia recipe and offering tips for the best results.
1. Flour: The Foundation of Flavor and Structure
The very backbone of any bread, all-purpose flour is perfectly suited for this no-knead focaccia recipe. Its balanced protein content allows for sufficient gluten development without the need for intensive kneading, resulting in a tender yet structured crumb. If you’re seeking to achieve a slightly chewier, more authentic Italian texture, Italian Tipo 00 flour is an excellent alternative, should you be able to find it. This finely milled flour creates a silkier dough and a finer crumb. For those who appreciate a rustic touch and a deeper, earthier flavor profile, consider swapping out a portion (around 25-30%) of the all-purpose flour for whole wheat flour. This not only adds a nutty complexity but also boosts the bread’s nutritional value.
2. Yeast: The Magic Behind the Rise
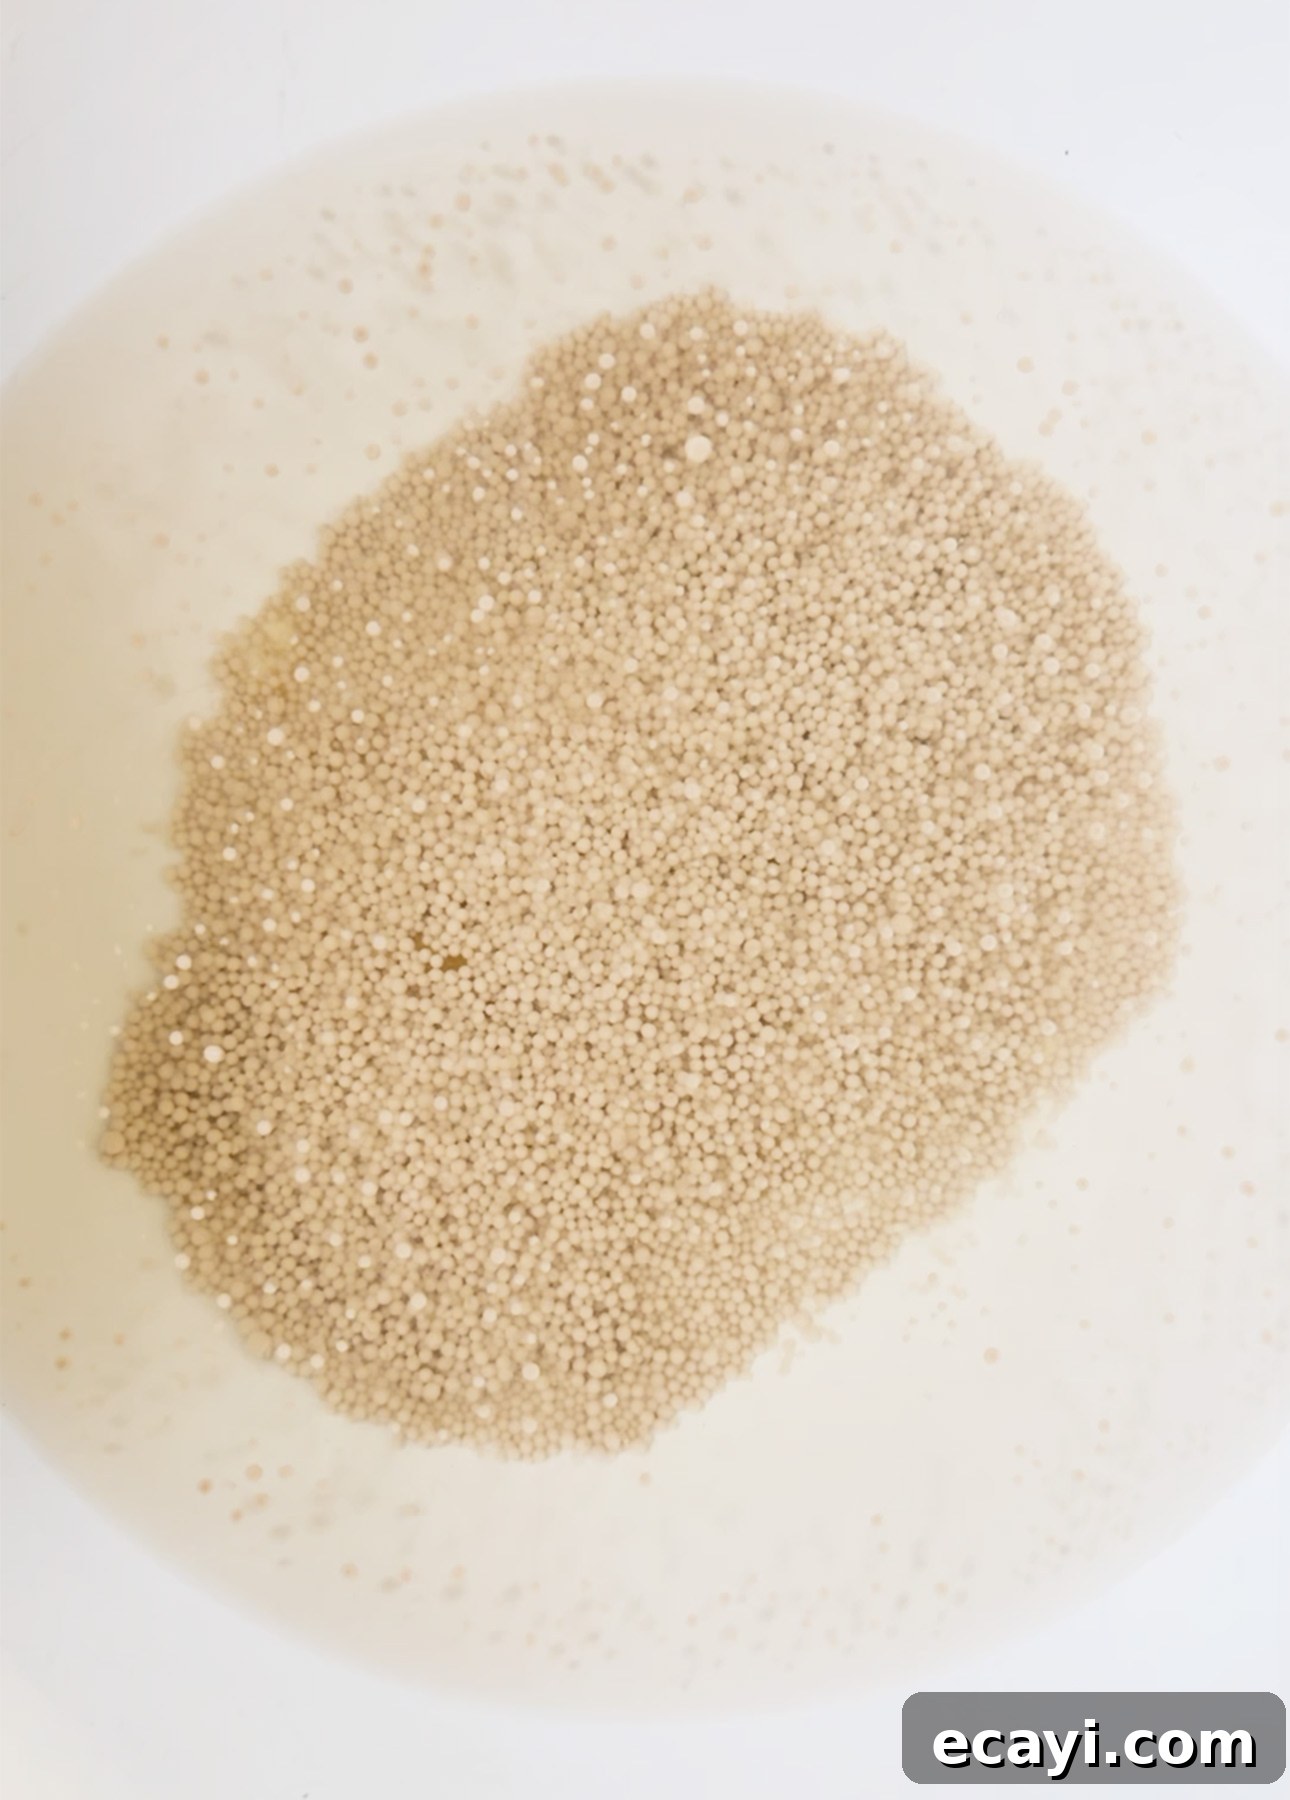
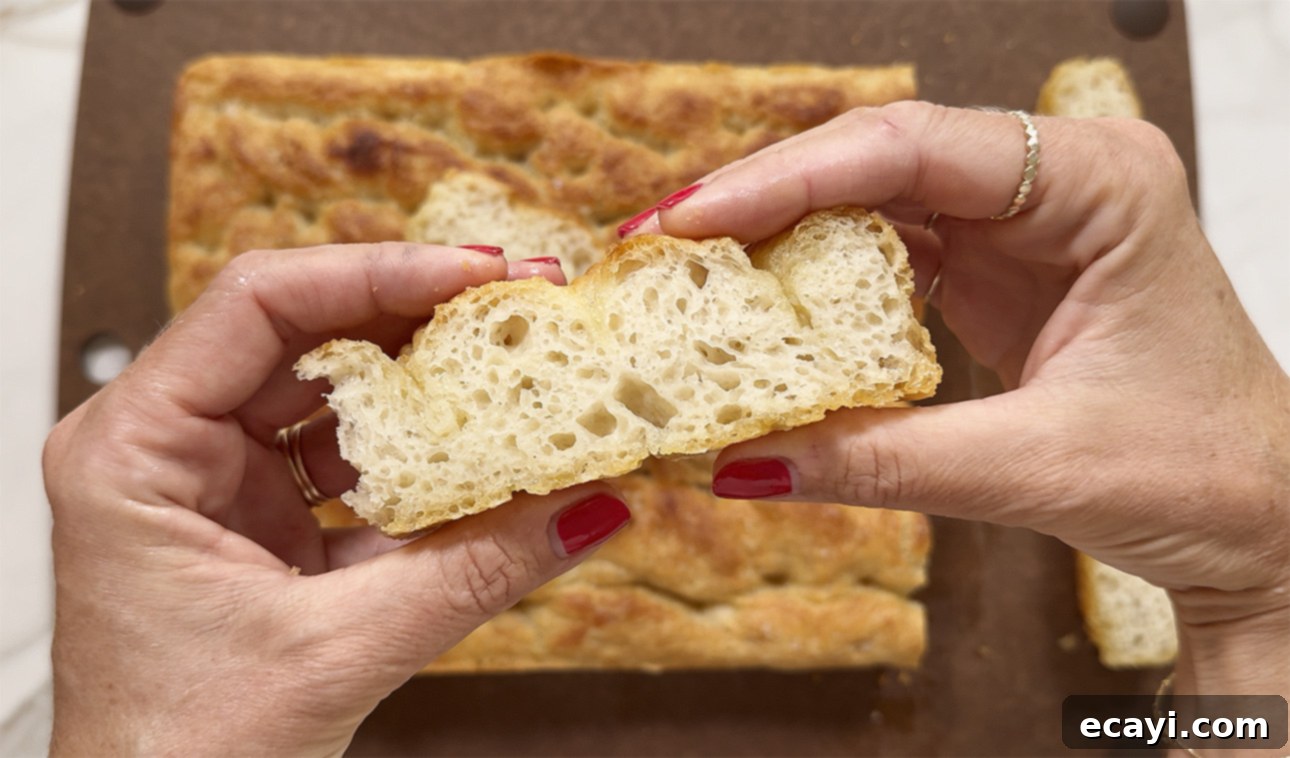
There’s absolutely no need to embark on the demanding journey of cultivating a finicky sourdough starter to create an exceptional focaccia. Instead, easy-to-find active dry yeast is precisely what you need to give this dough its characteristic rise and create the airy, light texture that defines great focaccia. Yeast works by consuming sugars in the flour and producing carbon dioxide, which creates pockets of air within the dough, leading to its signature open crumb. To ensure a successful rise, always double-check the expiration date on your yeast packet before you begin. Stale yeast is a common culprit for flat, dense bread, so fresh yeast is non-negotiable for achieving that delightful pillowy texture.
3. Water: The Catalyst for Yeast and Dough
Water serves several critical functions in our focaccia recipe: it hydrates the flour, allowing gluten to develop, and crucially, it activates the yeast. Warm water, ideally around 100°F (37°C), is perfect for this recipe as it creates an optimal environment for the yeast to bloom and become active. If you don’t have a thermometer, a good tactile test is to dip the tip of your finger into the water: it should feel barely warm, almost neutral, as this temperature is close to your body’s. It’s absolutely essential to ensure the water is at the correct temperature before introducing the yeast. Water that is too cold will inhibit yeast activity, leading to a slow or nonexistent rise, while water that is too hot will kill the yeast entirely, rendering your dough lifeless. Precision here ensures a vibrant and active dough.
4. Salt: Enhancing Flavor and Structure
Salt is far more than just a flavor enhancer in bread baking; it plays a vital role in regulating yeast activity and strengthening the gluten structure of the dough. In this recipe, a good quality kosher salt or fine sea salt is incorporated directly into the dough to develop its internal flavor. For the finishing touch, a generous sprinkle of flaky sea salt, such as the exquisite fleur de sel or the popular Maldon sea salt flakes, is added just before baking. This not only adds a beautiful visual appeal but also provides delightful bursts of crunchy, briny flavor in every bite.
There are several compelling reasons why I strongly advocate for using kosher salt, particularly Diamond Crystal, instead of regular iodized table salt in my no-knead focaccia recipe. Kosher salt boasts a coarser, irregular crystalline structure, which allows for a more even distribution throughout the dough and a slower dissolution rate. This gradual release of salinity enhances the bread’s flavor profile in a more nuanced way. Furthermore, unlike iodized salt, which often contains iodine and anti-caking agents that can impart a subtle metallic or bitter aftertaste, kosher salt offers a purer, cleaner flavor. Its softer, less dense nature also means you can use a slightly larger volume, providing better control over the focaccia’s overall saltiness without making it overly seasoned. These subtle differences contribute significantly to the superior taste and texture of your homemade focaccia.
5. Olive Oil: The Soul of Focaccia
Extra-virgin olive oil is not just an ingredient; it is the cornerstone of my no-knead focaccia recipe and indeed, the very essence of authentic Italian focaccia. This bread truly celebrates olive oil, utilizing a healthy, generous amount throughout the process. In my humble opinion, this liberal use of olive oil is precisely why focaccia is so incredibly delicious! Extra-virgin olive oil enriches the focaccia dough, making it wonderfully super rich and tender. Beyond its tenderizing qualities, it imparts a deep, fruity flavor that is unmistakably Mediterranean and is absolutely crucial for developing that beautiful, crisp, and golden crust that is the hallmark of a perfect focaccia.
You don’t necessarily need the most expensive, single-estate extra-virgin olive oil to make a fantastic focaccia. A smooth-tasting Italian variety that you enjoy cooking with will suffice. However, it is paramount to ensure your olive oil is fresh. Olive oil, like any fat, can go rancid over time, especially if exposed to light and air. There’s nothing more disappointing than a perfectly baked focaccia marred by the unpleasant taste of rancid oil. Always store your olive oil in a cool, dark place and check its aroma before adding it to your recipe to guarantee the best possible flavor for your focaccia.
6. Honey: A Touch of Sweetness and Yeast Fuel
This recipe incorporates a small but significant amount of honey, primarily to help activate the yeast. Yeast feeds on sugars, and the honey provides an immediate, easily accessible food source, kickstarting the fermentation process. Beyond its functional role, honey also introduces a subtle sweetness to the focaccia, which beautifully balances the bread’s savory flavors, adding a layer of complexity without making the bread taste overtly sweet. If honey isn’t readily available in your pantry, don’t worry—you can easily substitute an equal amount of granulated sugar, which will serve the same purpose in feeding the yeast and contributing a touch of sweetness.
7. Butter: The Secret for an Ultra-Crispy Bottom Crust
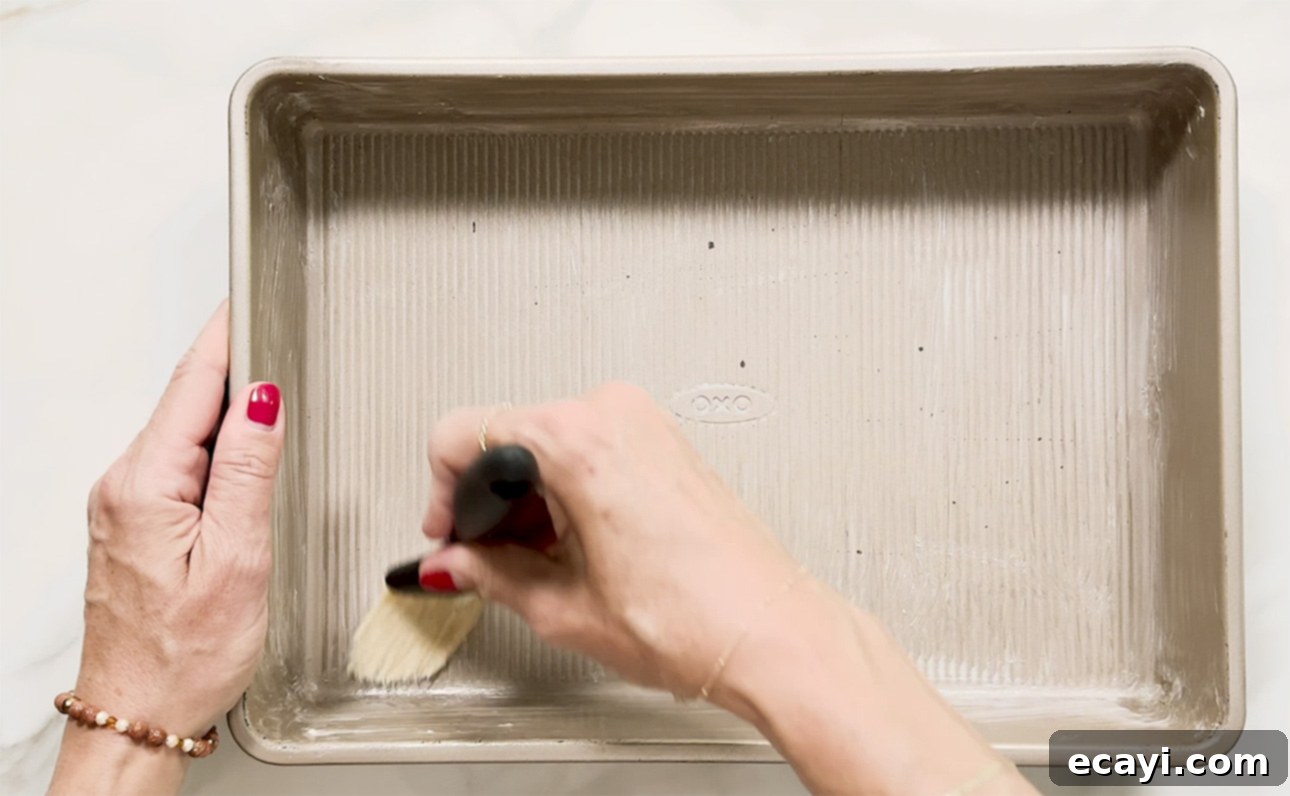
In my no-knead focaccia recipe, a generous slathering of butter is used to grease the baking pan. You might initially wonder why butter is necessary in a recipe that already utilizes a significant amount of olive oil. However, butter is truly a secret hack that consistently helps create an unbelievably extra-crunchy bottom crust, distinguishing your homemade focaccia from others. The milk solids in butter caramelize and brown during baking, creating a deep, rich flavor and an unparalleled crispy texture that olive oil alone can’t quite achieve. Furthermore, butter acts as an exceptional non-stick agent, ensuring that your perfectly baked focaccia will effortlessly slip right out of the pan, allowing you to enjoy it even more quickly and with perfect presentation!
Expert Tips for Making Easy, No-Knead Focaccia Truly Perfect
While this no-knead focaccia recipe is designed for simplicity and ease, following a few key tips and tricks can elevate your results, helping you achieve that consistently perfect texture and exceptional flavor every single time. These insights will ensure your homemade focaccia is nothing short of spectacular.
1. Double-Check Your Water Temperature for Active Yeast
When it comes to activating the active dry yeast, the water temperature is absolutely critical. It must be warm, not hot, ideally hovering around 100°F (37°C). This specific temperature range is optimal for yeast to thrive and become active. If the water is too hot, even slightly, it will unfortunately kill the delicate yeast organisms, rendering your dough inert and unable to rise. Conversely, if the water is too cold, the yeast will remain dormant, leading to a very slow or completely failed rise. Using an instant-read thermometer is the most reliable way to hit this sweet spot, ensuring your yeast is happy and ready to work its magic.
2. Patience is Key: Give the Dough Ample Time to Rise
While the actual hands-on work for my no-knead focaccia is remarkably easy, it’s important to understand that it’s not a quick recipe. Focaccia dough requires ample time to rise and develop its full, delicious flavor and characteristic airy, open texture. The rising process, or fermentation, is where the magic truly happens, transforming simple ingredients into complex, aromatic bread.
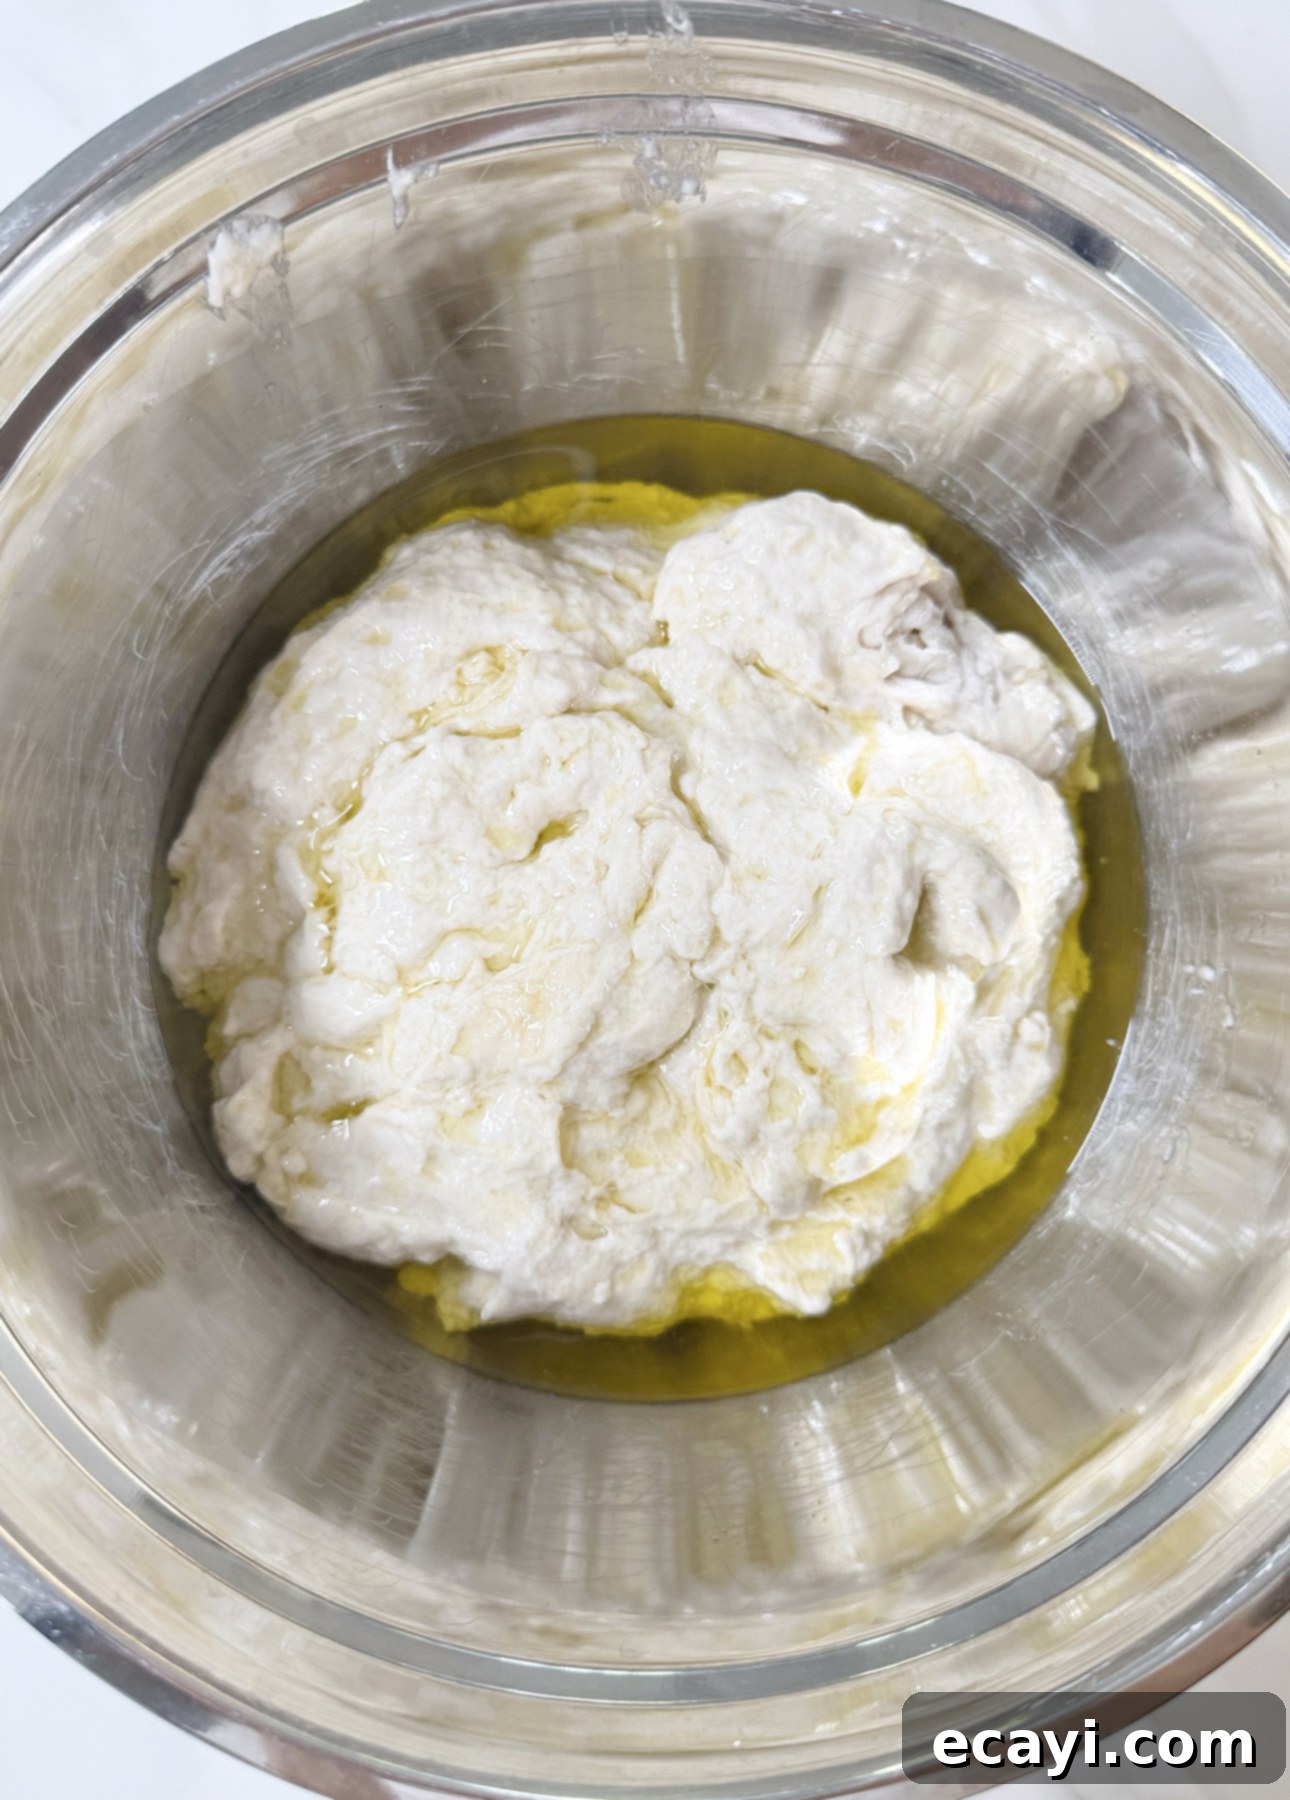
For the first rise, you have a couple of excellent options. You can either allow the dough to sit in a warm spot, such as a turned-off oven (a perfect draft-free environment), for approximately three hours. Alternatively, and highly recommended for superior flavor development, you can opt for an overnight rise in the refrigerator. This slower, cooler fermentation allows the yeast to work more gradually, producing a wider array of organic acids and alcohols that contribute to a much more complex, nuanced, and irresistible flavor profile in the finished focaccia.
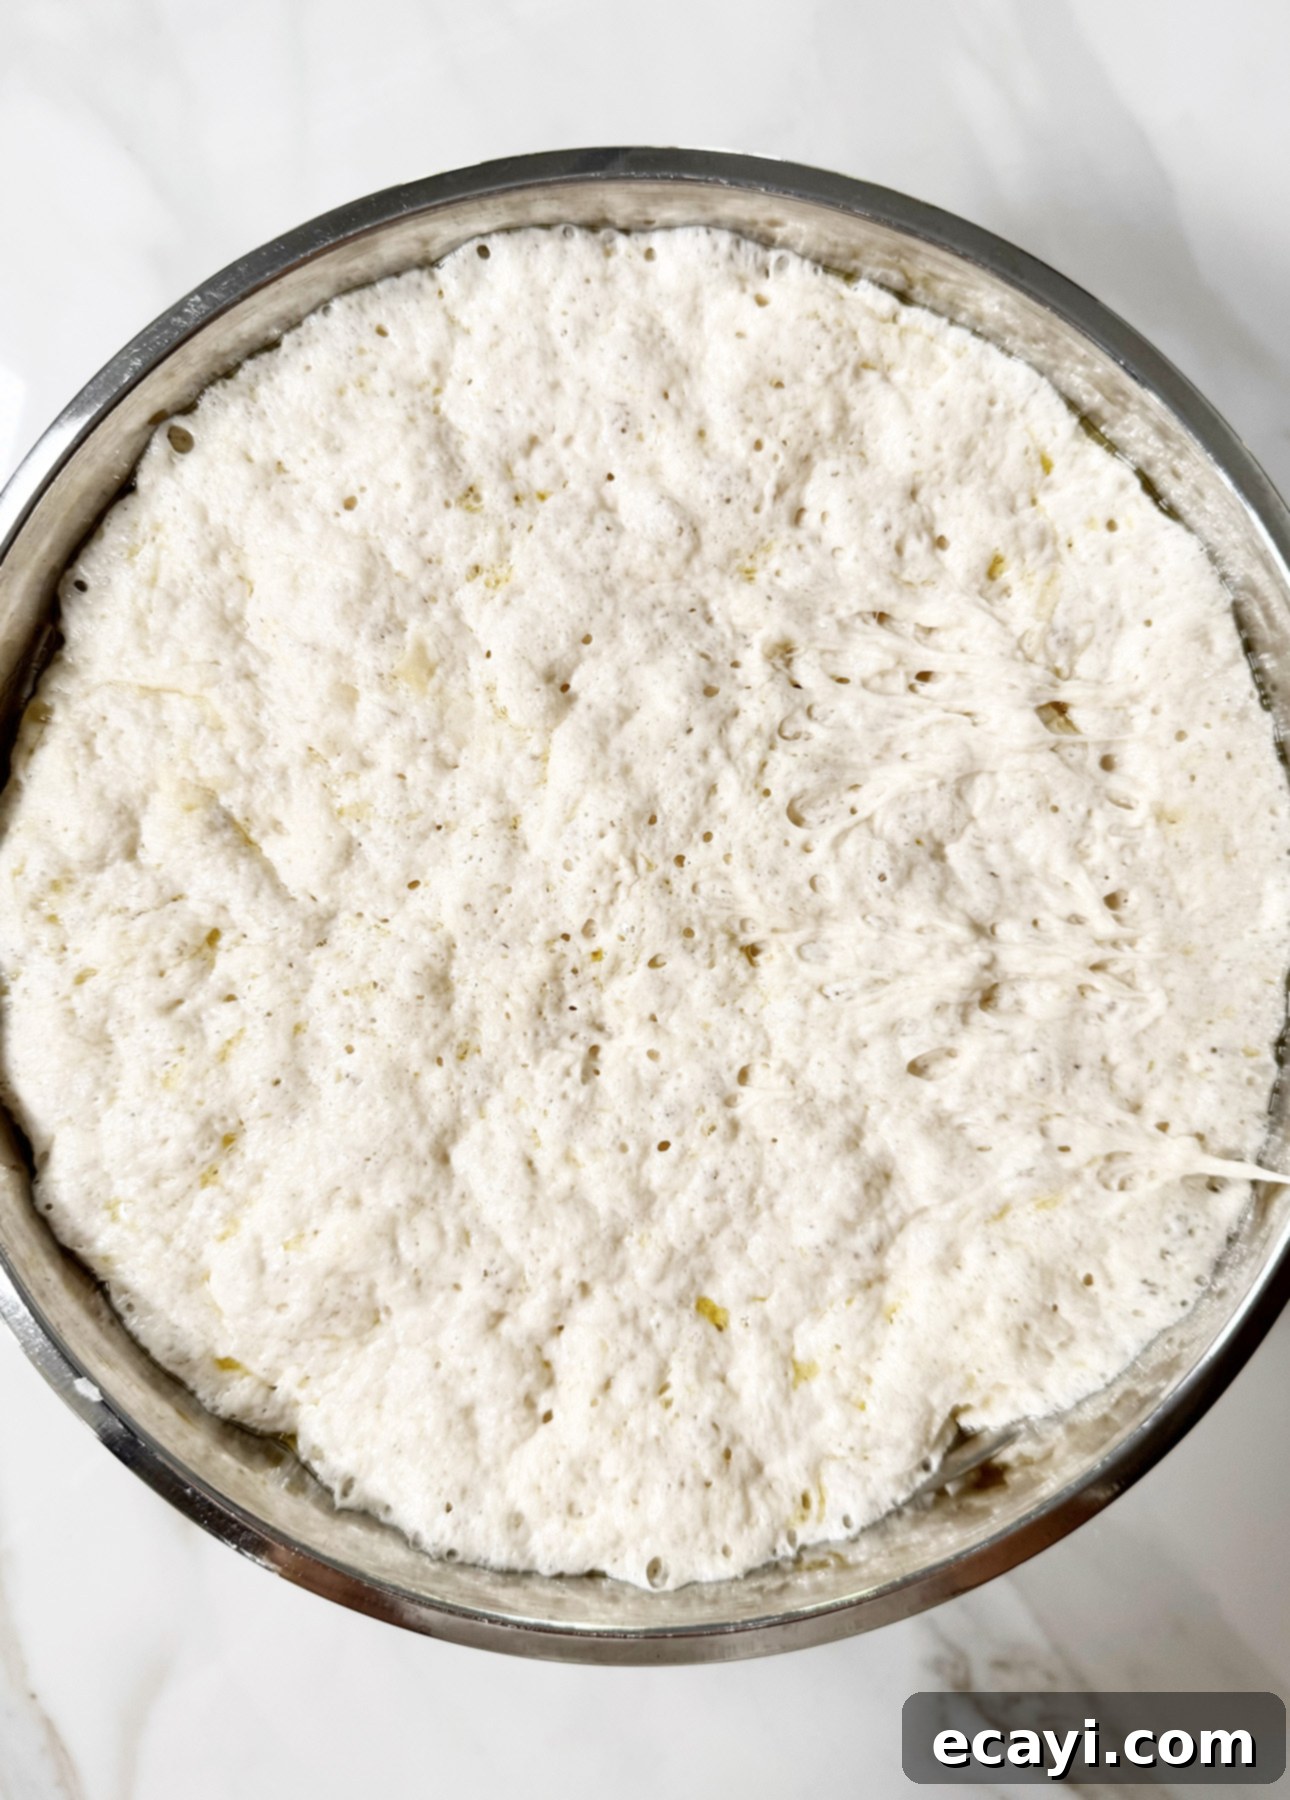
The second rise occurs directly in the pan in which your focaccia will bake. At this stage, it’s crucial to let the dough rest in a warm spot for at least 1 ½ to 2 hours, or until it has visibly doubled in size. This final proofing helps create that wonderfully airy, open crumb and ensures a light, tender bread. WARNING: If you utilize your oven for the second rise, remember to always remove the dough from the oven *before* you preheat it for baking! Accidentally baking a proofing dough at rising temperatures will ruin its delicate structure.
3. Master the Two-Fork Fold: A Gentle Approach to Gluten Development
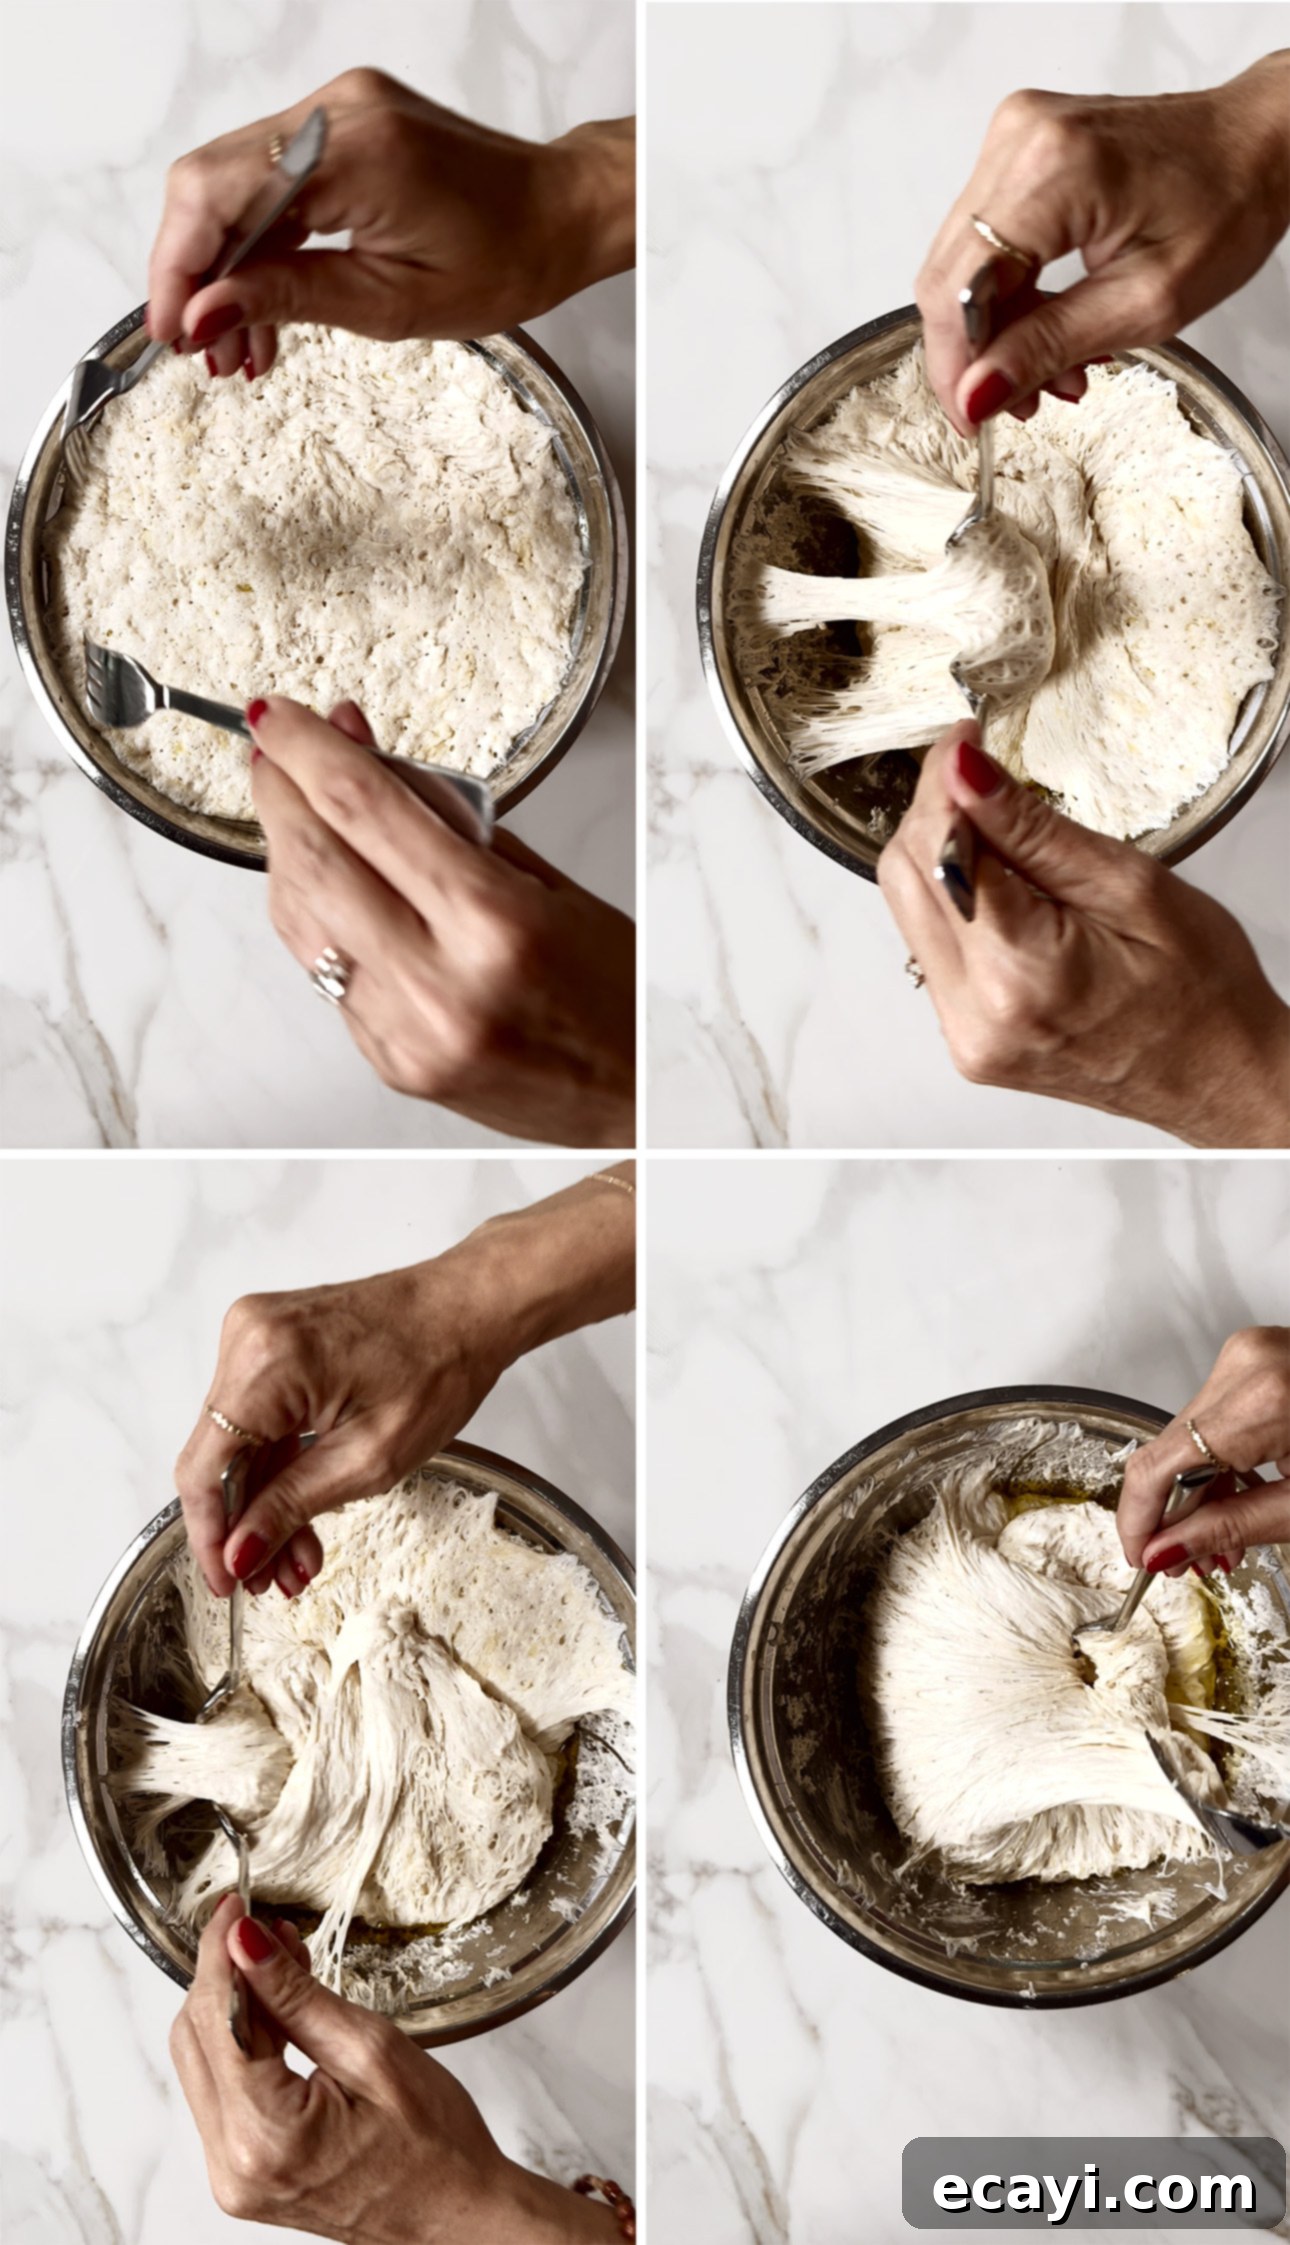
This no-knead recipe employs a clever and surprisingly effective two-fork technique to gently fold the dough, which helps to create structure without any traditional kneading. Unlike the vigorous pushing and pulling of classic kneading, this folding action works by delicately stretching and layering the dough, aligning the gluten strands. This method effectively deflates some of the gas trapped in the dough while simultaneously helping to develop and strengthen the gluten network, ultimately contributing to the focaccia’s characteristic airy and light texture. It’s a technique that feels counterintuitive but yields beautiful results. To visualize this easy and satisfying technique, be sure to watch my comprehensive no-knead focaccia video.
4. Embrace the Dimples: A Focaccia Trademark
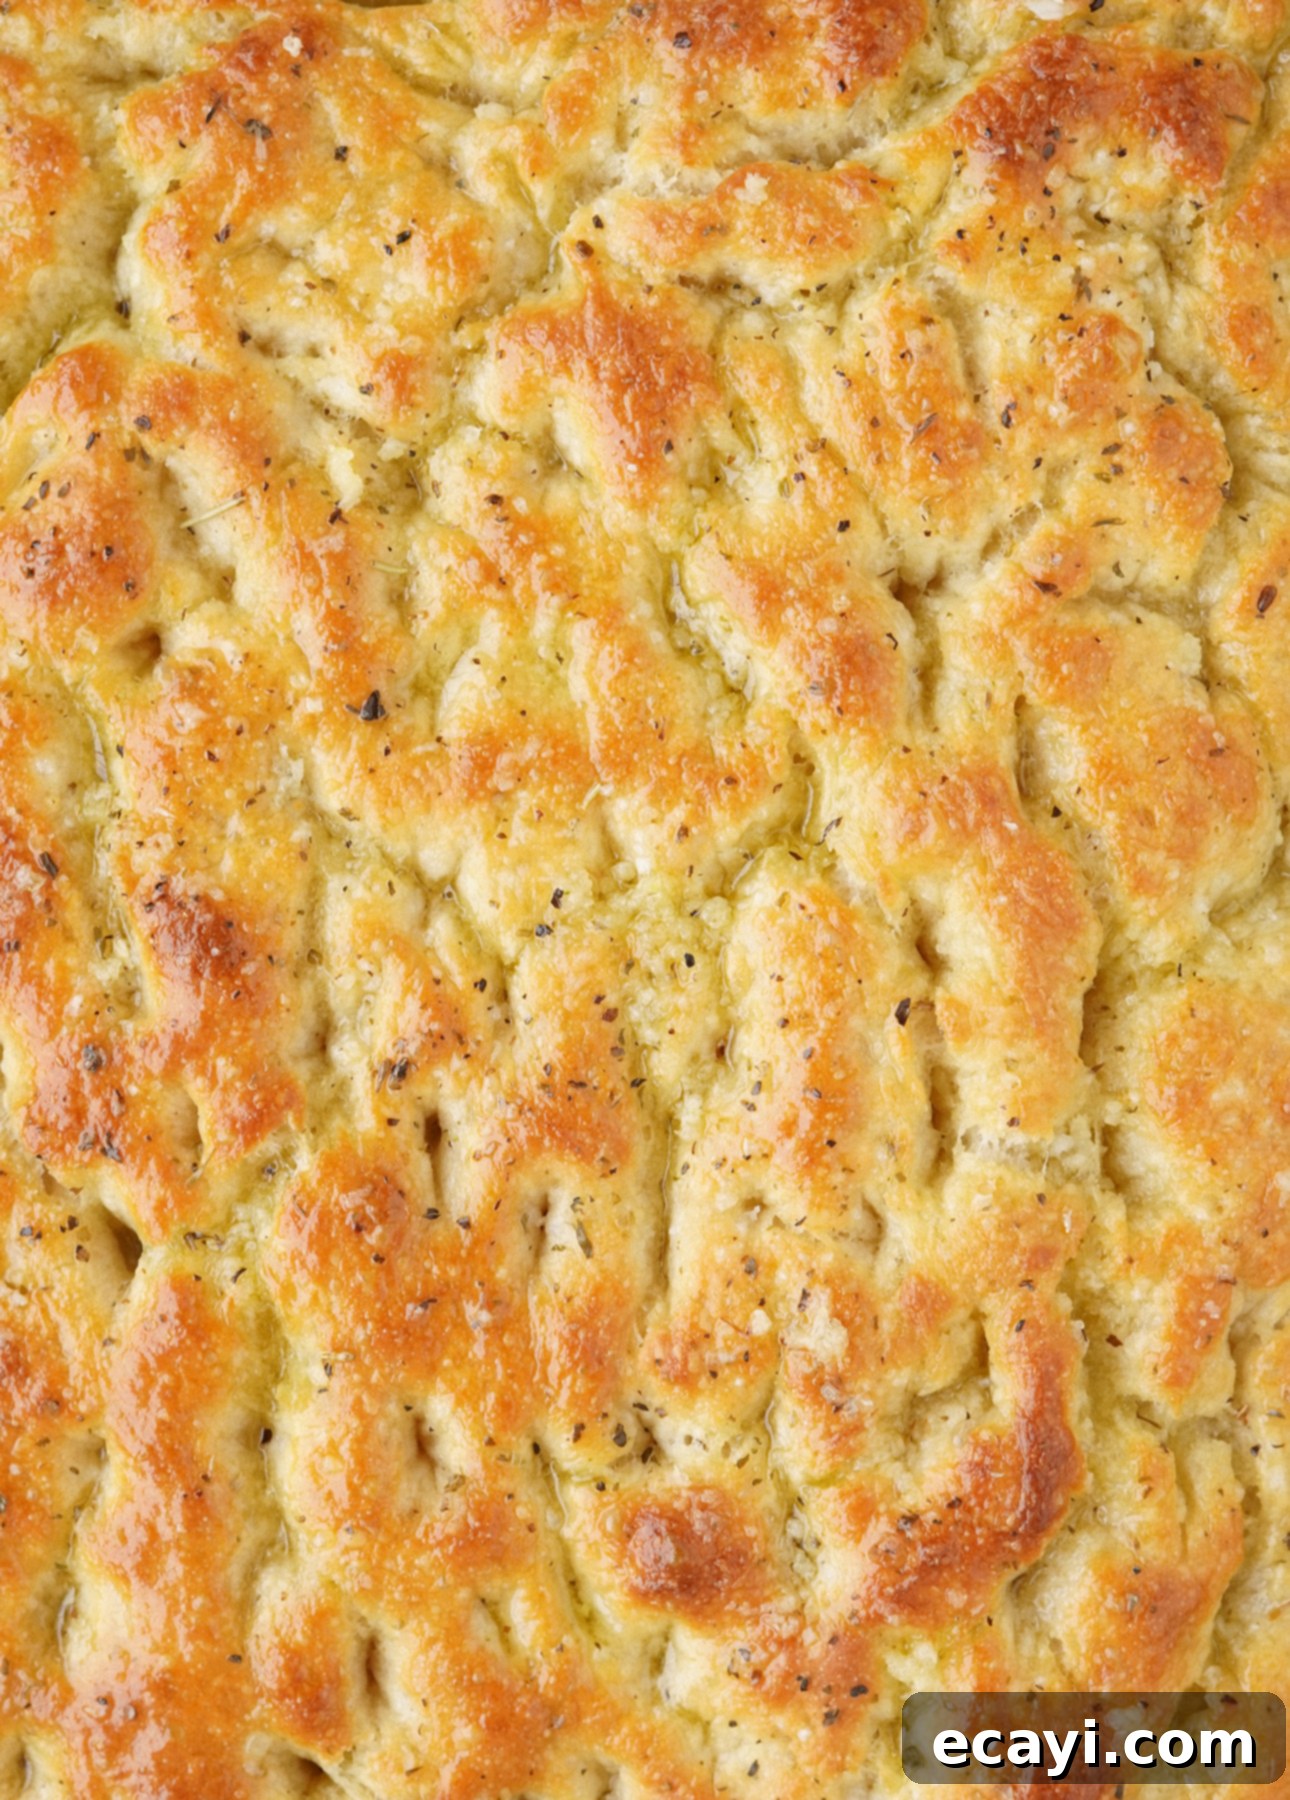
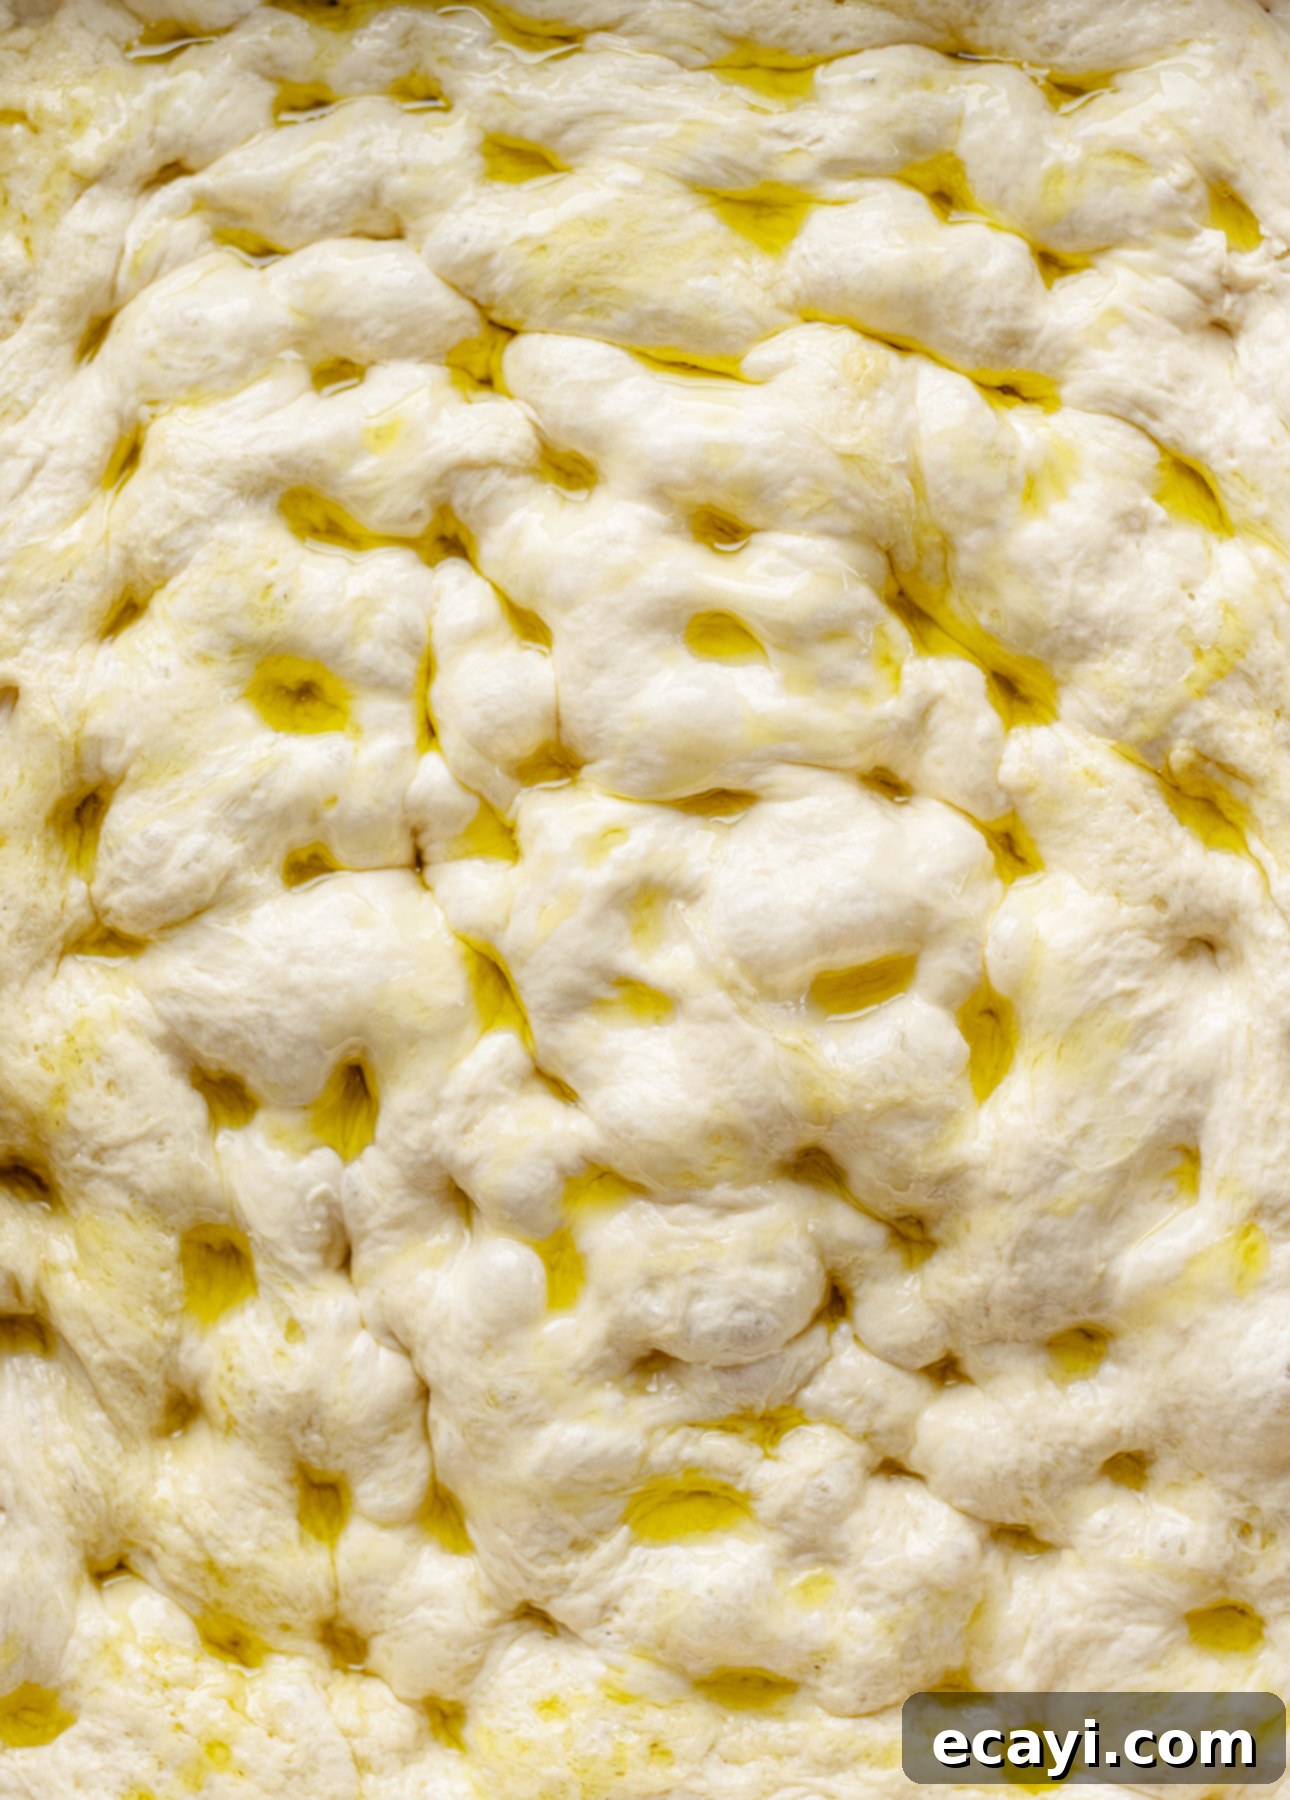
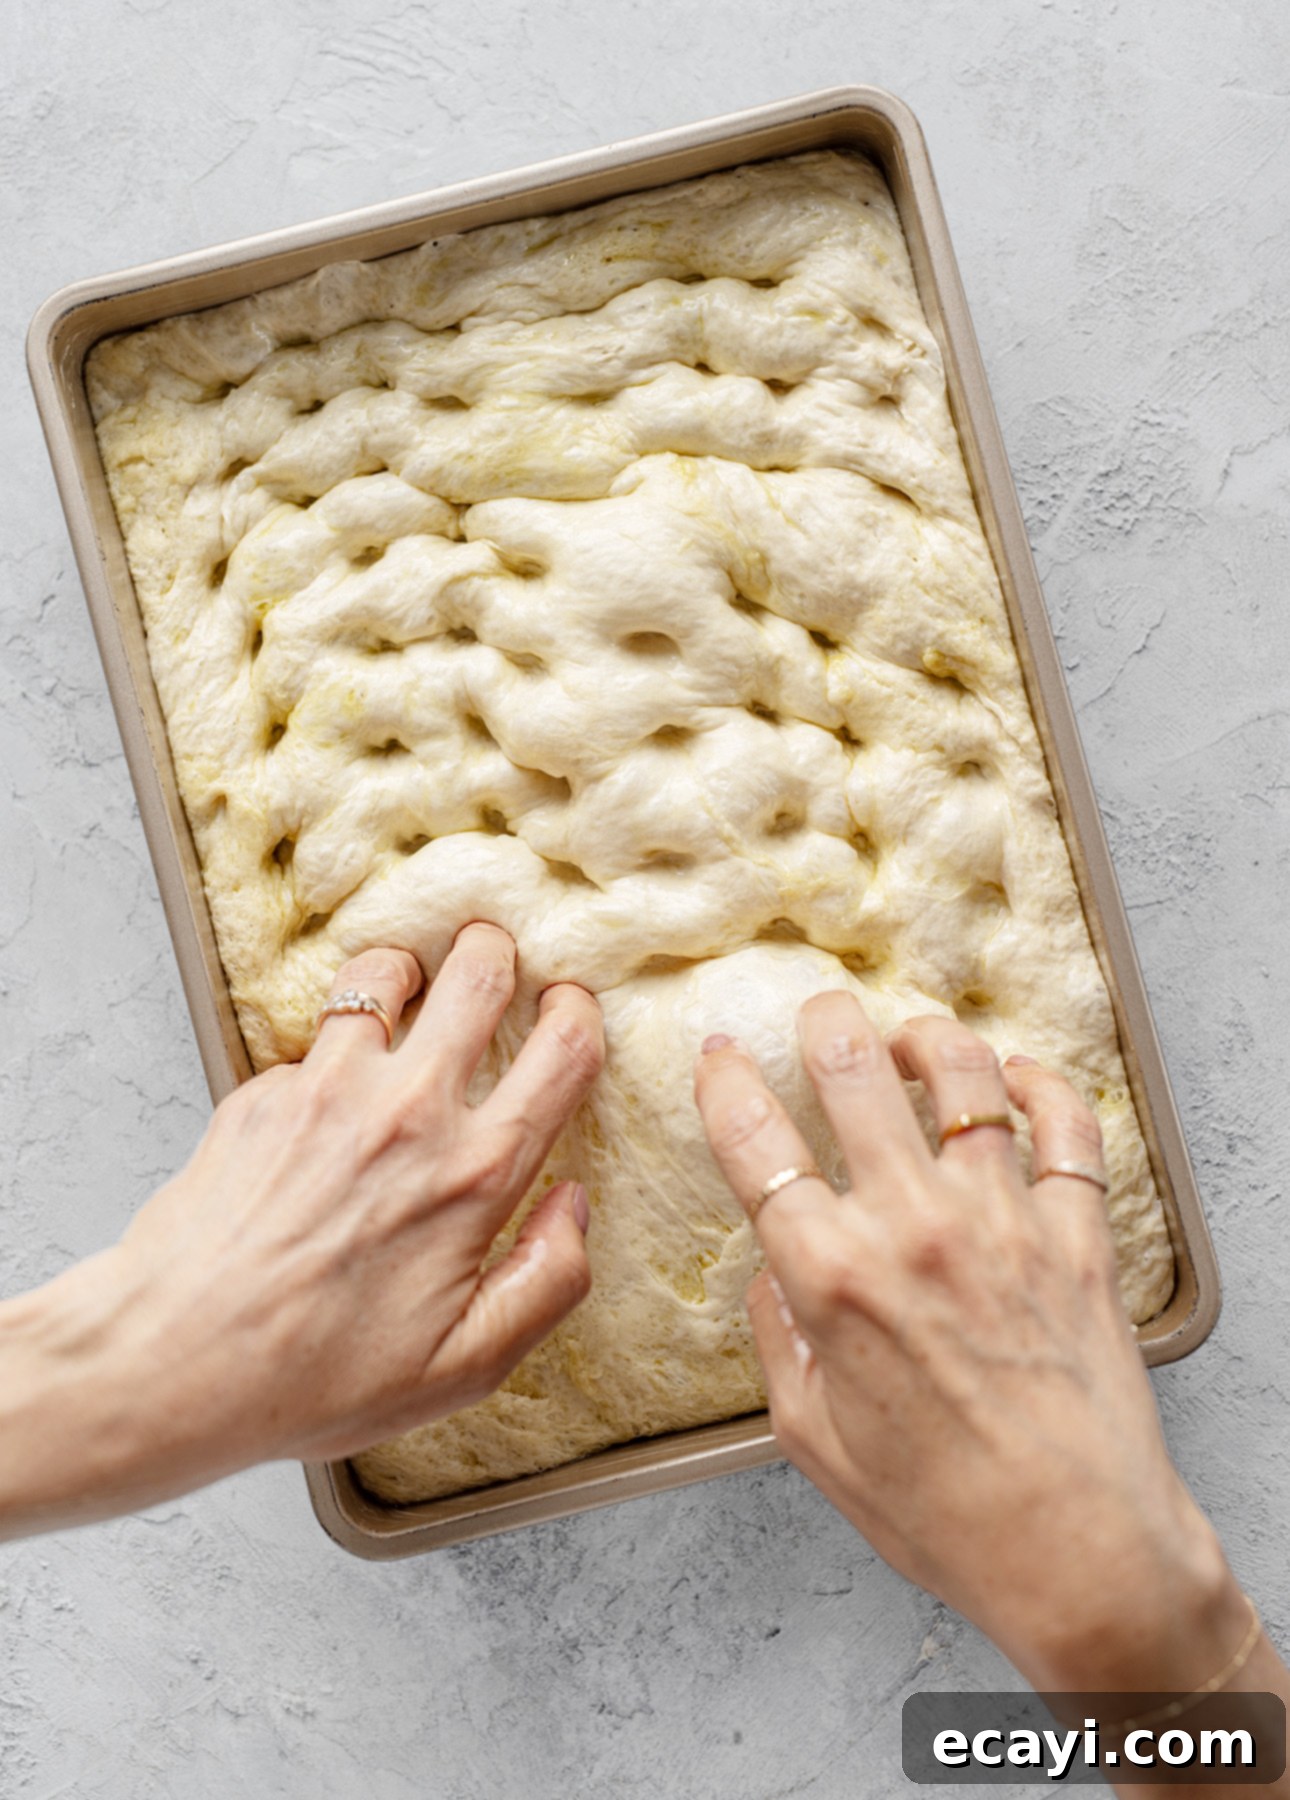
Before your focaccia goes into the oven, do not be shy when it comes to dimpling the dough. This is arguably the most fun and satisfying step in the entire recipe! Using oiled fingers, press deeply and confidently into the risen dough, creating numerous indentations that reach almost to the bottom of the pan. Think of it as energetically playing a piano on a pillowy, soft surface, really making your mark! These distinct dimples serve a crucial purpose: they help the generous amount of olive oil settle into the bread, creating tiny pockets of flavorful, golden oil. These pockets, along with the varied surface texture, are what give focaccia its signature unique and delightful chewiness and crispness, making each bite a textural marvel.
5. Don’t Skimp on Olive Oil: More is More for Focaccia
Let’s be clear: focaccia is not a “light” bread, nor should it be! The generous use of olive oil is one of its defining characteristics and a major contributor to its incredible flavor and texture. Even after you’ve diligently buttered the pan and coated the dough in a good amount of olive oil during its initial rise, there’s still room for more. You’ll need to add another tablespoon of olive oil to the pan *before* you place the dough in it for its second rise. This ensures absolutely no sticking and guarantees that renowned beautifully crisp and golden bottom crust.
Crucially, you’ll also want to drizzle a final generous amount of extra-virgin olive oil over the dimpled focaccia right before it goes into the oven. This last, liberal drizzle will pool into the focaccia’s signature indentations, forming tiny, glistening pockets of golden goodness. These pools of aromatic olive oil are what make biting into a fresh slice of focaccia such a dreamy, flavorful experience, delivering moisture, richness, and that distinct Italian taste.
6. Utilize the Broiler for an Extra-Crisp, Golden Finish
If you, like me, are a fervent fan of an extra-crispy, deeply golden-brown crust on your focaccia, then don’t hesitate to engage your broiler for the final few minutes of baking. This high-heat blast at the end of the cooking process works wonders. It promotes the Maillard reaction on the surface, responsible for that rich brown color and complex flavors, and evaporates any remaining surface moisture, resulting in an exceptionally crisp exterior. Just remember to keep a vigilant eye on the focaccia during this stage, as the broiler can quickly take it from perfectly golden to unfortunately charred. A minute or two under the broiler is often all it takes to achieve that coveted extra crunch and beautifully burnished top.
Creative Serving Ideas for Your Homemade No-Knead Focaccia
Now that you’ve successfully baked your magnificent no-knead focaccia, the real fun begins: exploring the myriad of ways to serve and enjoy it. This incredibly versatile Italian bread is perfect for a wide array of dishes and occasions, transforming from a simple snack into a gourmet meal component.
1. The Pure Joy of a Classic Snack
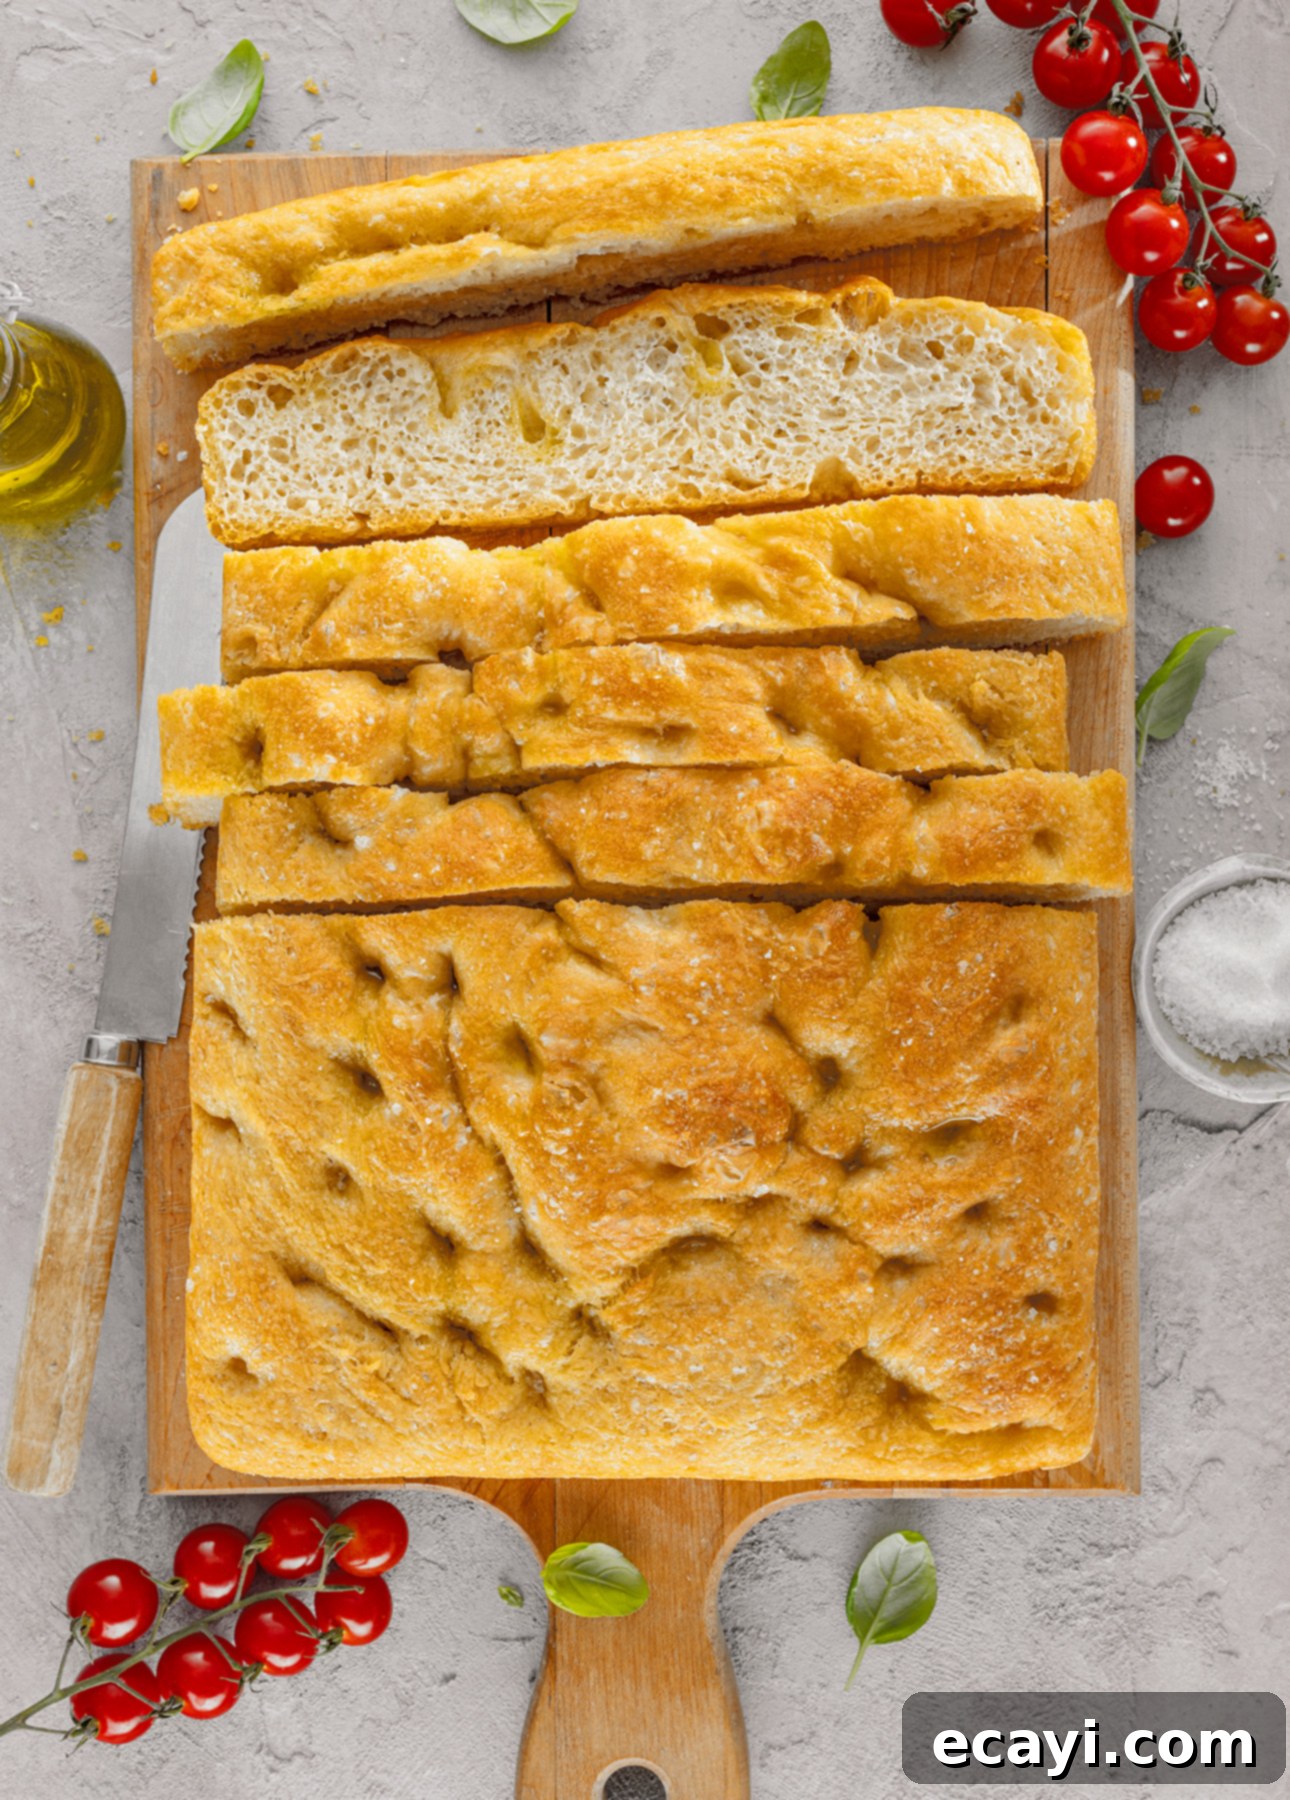
Sometimes, the simplest pleasures are the most profound. There’s nothing quite like enjoying a slice of focaccia fresh from the oven, still warm and fragrant. This is perhaps the purest and most satisfying way to appreciate the bread’s natural, savory flavors and its delightful contrast in textures—the tender, airy interior against the golden, crisp crust. A sprinkle of flaky sea salt is often all that’s needed to make this a truly transcendent snack.
2. Elevated Focaccia Sandwiches
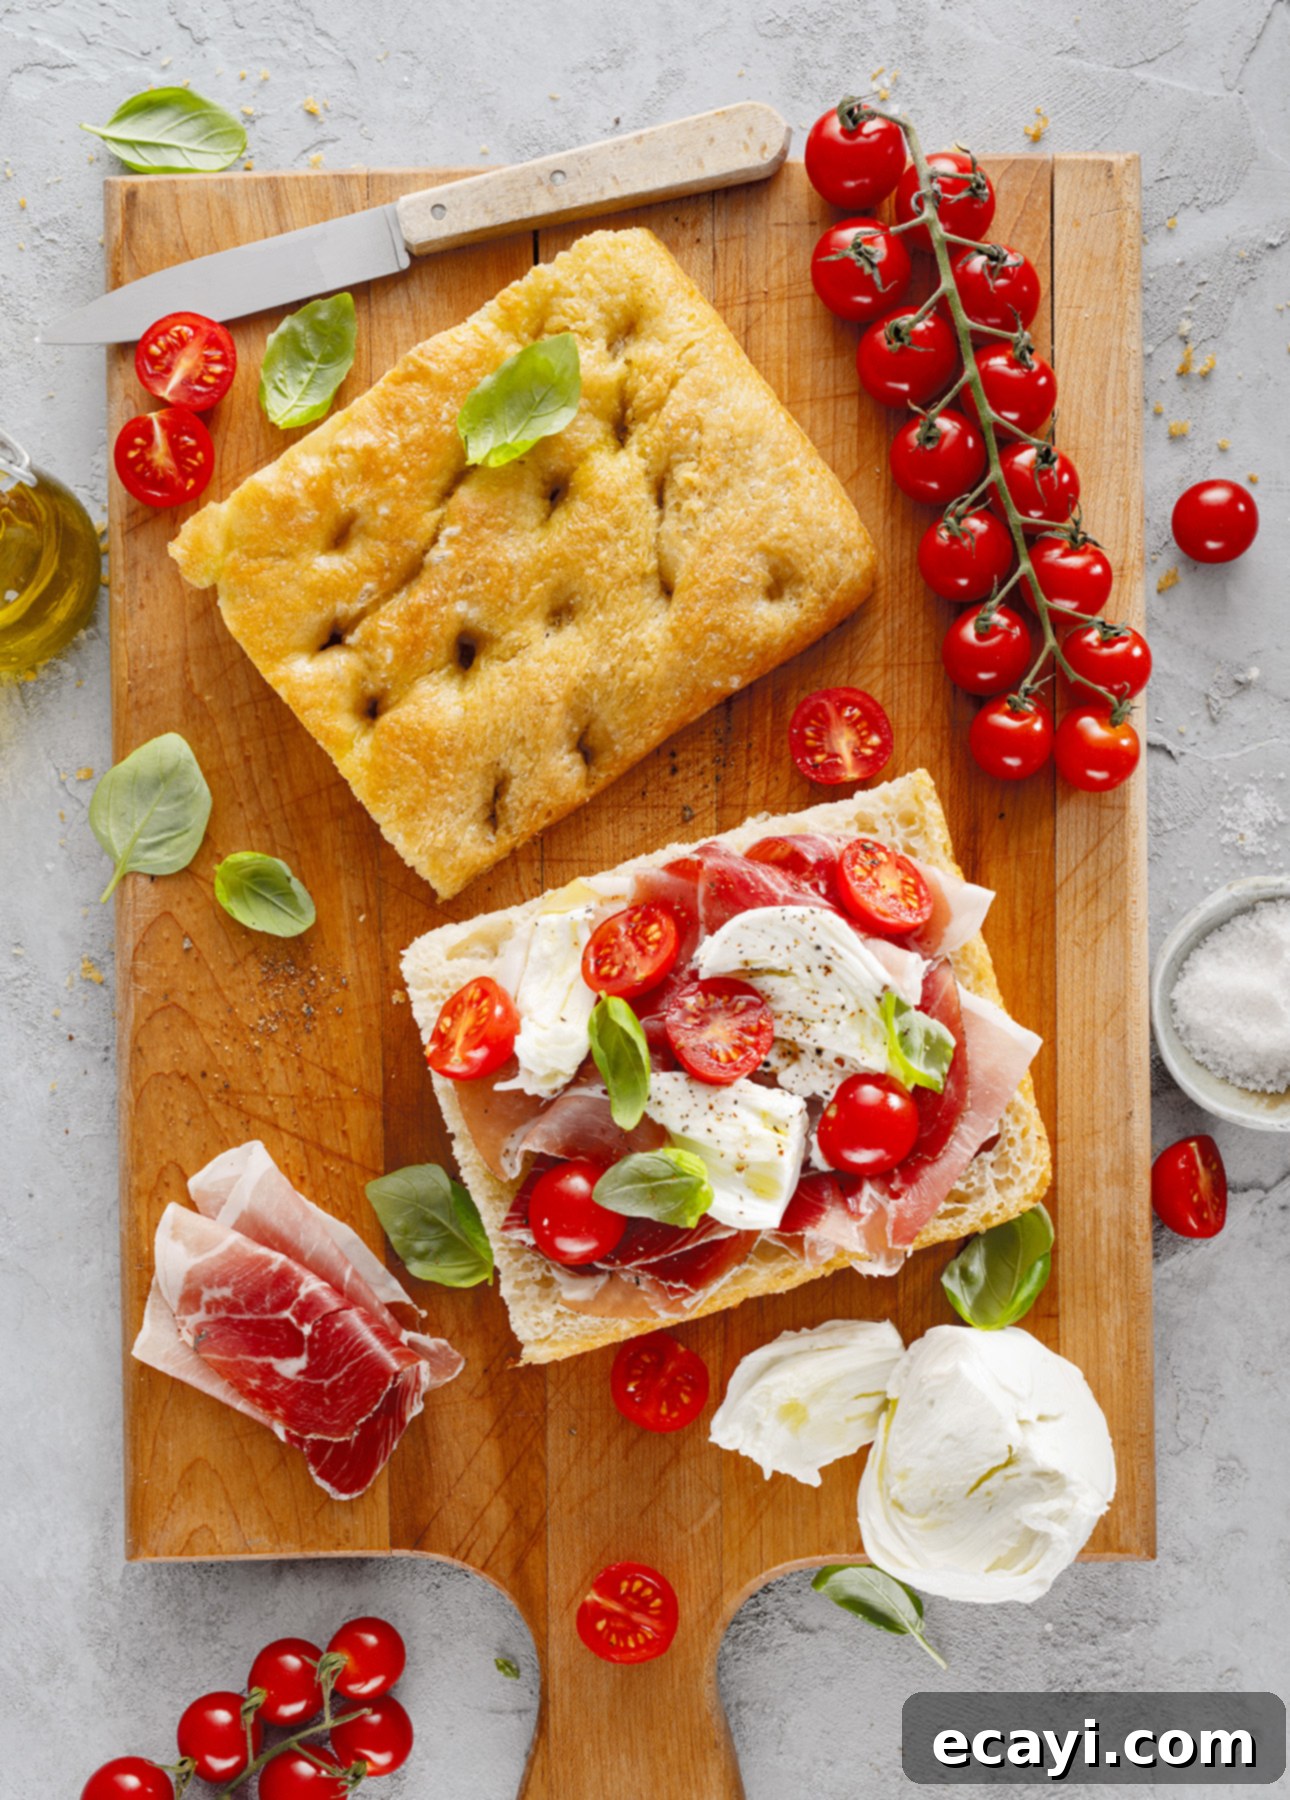
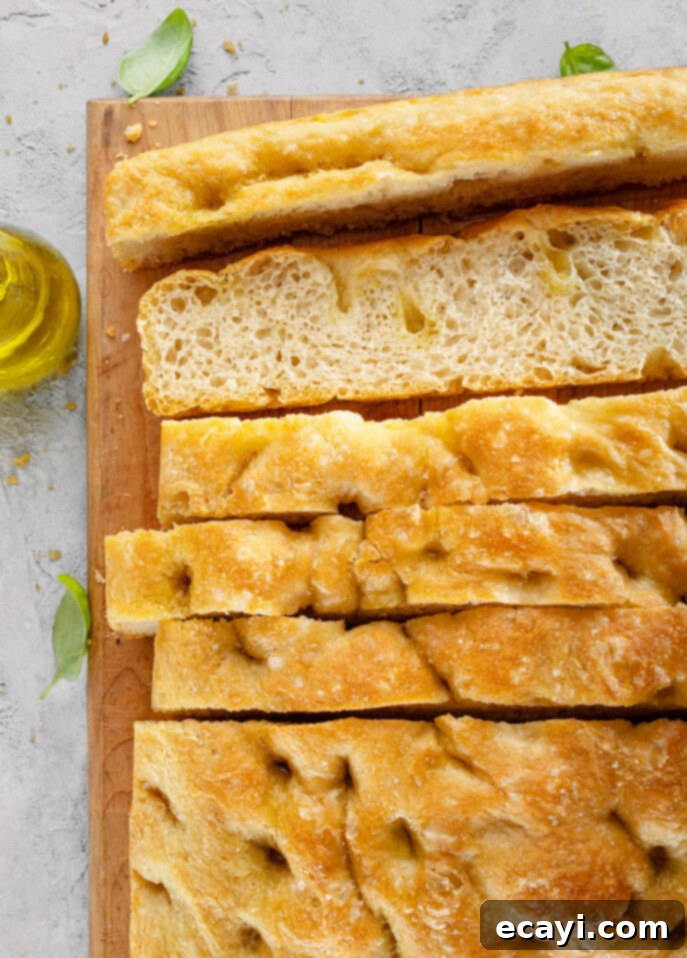
The thick, pillowy structure of no-knead focaccia makes it an absolutely ideal bread for crafting incredible sandwiches. Simply slice it horizontally and fill it with your favorite ingredients for a truly hearty and delicious lunch or dinner. Imagine layers of fresh mozzarella, savory prosciutto, thinly sliced roasted vegetables, crisp lettuce, or even a generous slathering of vibrant pesto. The focaccia’s robust texture holds up beautifully to moist fillings, while its inherent olive oil flavor complements a wide range of ingredients, creating a sandwich that’s far superior to your everyday fare.
3. Beautifully Topped Focaccia Creations
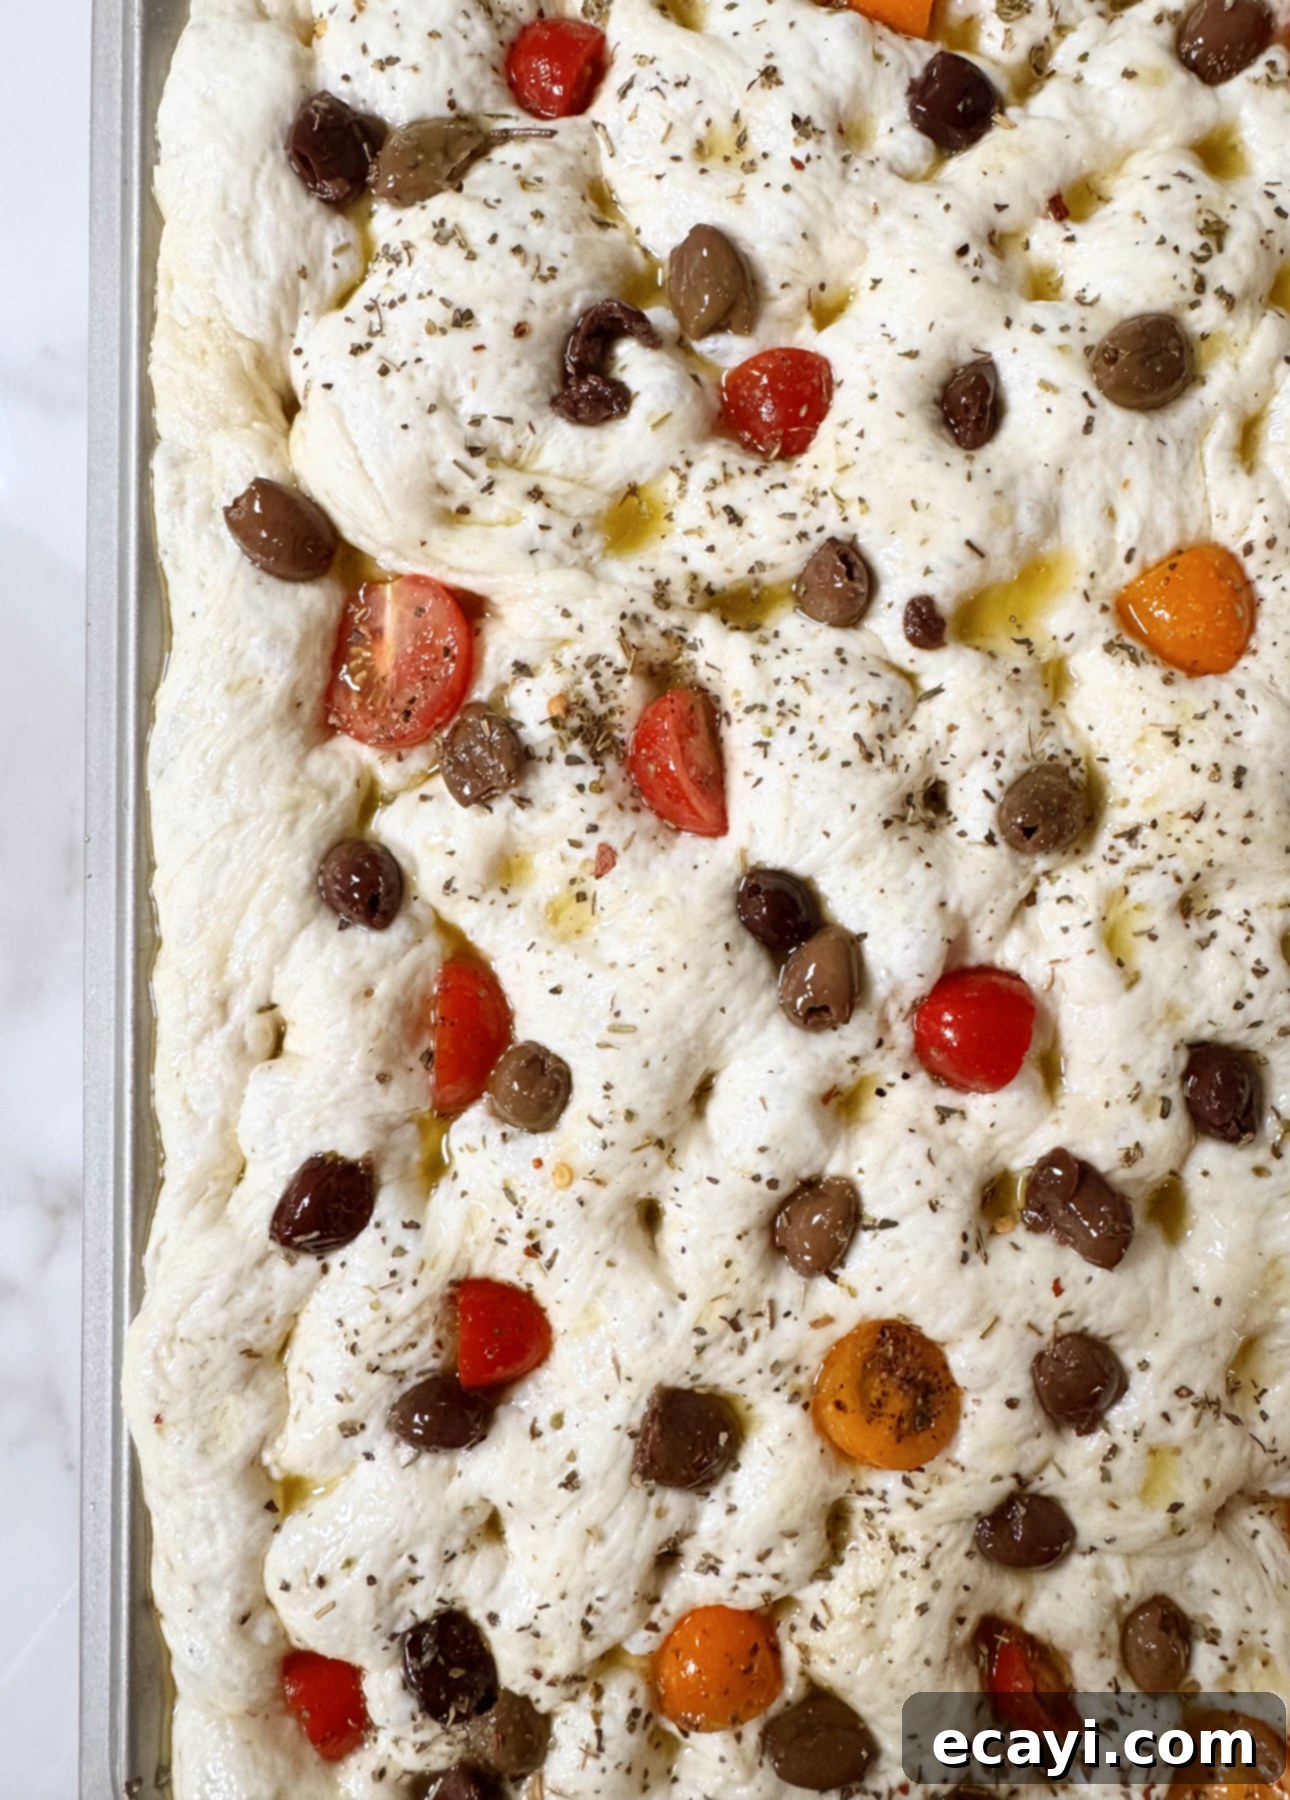
Elevate your focaccia even further by adding an array of delightful toppings before baking. Classic choices like fragrant rosemary, sweet cherry tomatoes, briny olives, thinly sliced garlic, or grated Parmesan cheese all make for visually stunning and wonderfully flavorful additions. These toppings will gently nestle into the dough’s signature dimples and bake right into the bread, infusing each bite with their distinct flavors and aromas. Get creative with combinations to match your mood and the season, transforming your focaccia into a culinary canvas.
4. A Delightful Pizza Alternative
For a fun and easy twist on pizza night, transform your homemade focaccia into a unique and flavorful pizza. Instead of a traditional pizza crust, use your focaccia as the base. If you prefer a thinner, crispier “pizza,” bake it in a large 18 x 13-inch pan. Once baked, simply top it generously with your favorite marinara sauce, a layer of gooey mozzarella, and any other pizza toppings your heart desires – from pepperoni to peppers. Return it to the oven and bake until the focaccia is golden brown and the cheese is beautifully melted and bubbly. The result is a lighter, airier, yet equally satisfying “pizza” experience.
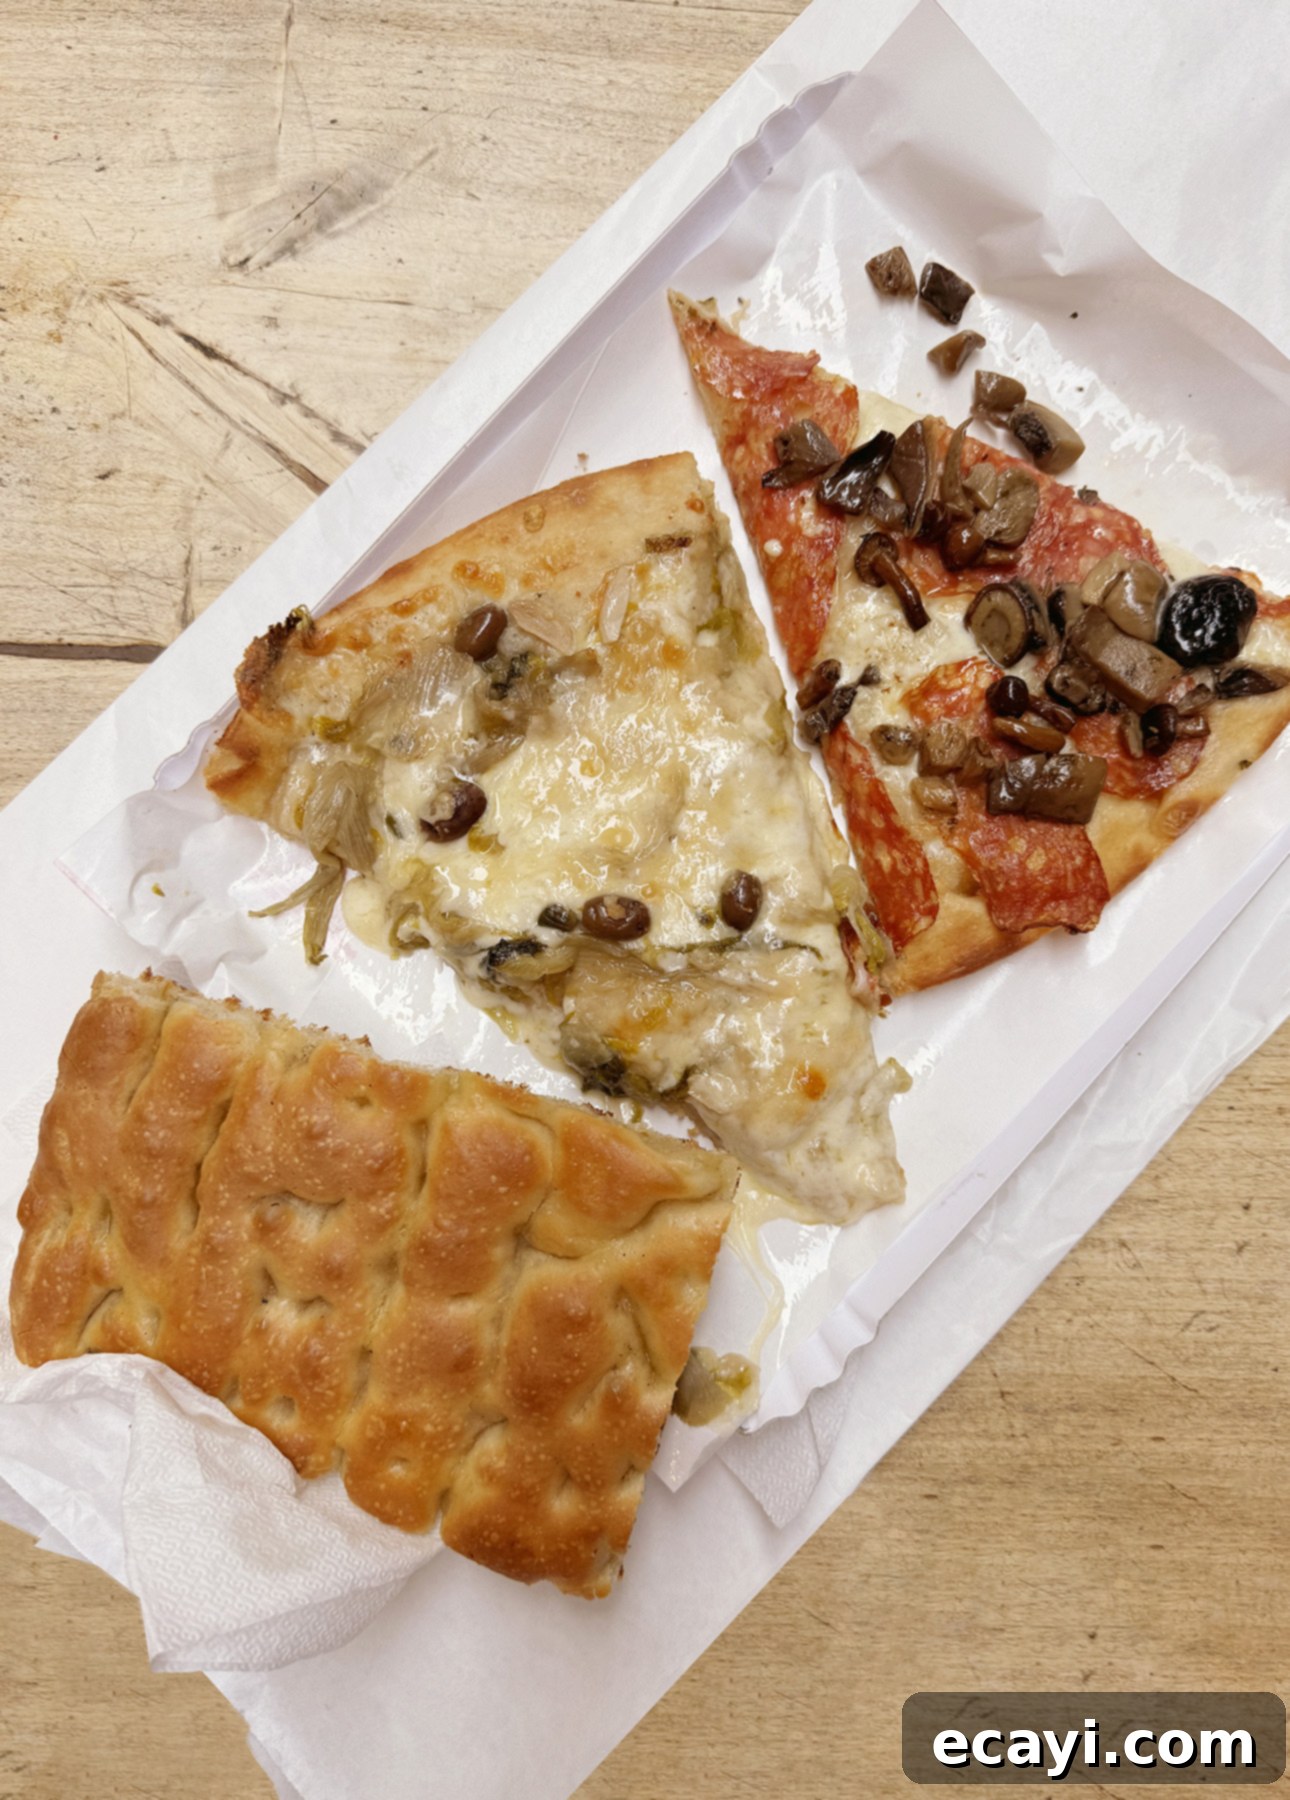
5. The Perfect Soup Companion
There are few pairings more comforting and delicious than a warm, hearty bowl of soup served alongside slices of fresh focaccia. Its slightly dense yet airy texture makes it the perfect bread for dipping, soaking up every last drop of flavorful broth or creamy goodness. Focaccia pairs beautifully with a vast range of soups, from rich and creamy tomato bisque to a classic, vegetable-laden minestrone. It adds a wonderful textural element and a satisfying complement to any soup course.
6. An Elegant Addition to Any Antipasto Platter
Elevate your next appetizer spread by featuring homemade focaccia. Cut your focaccia into smaller, bite-sized squares or elegant wedges and arrange it alongside a vibrant selection of cured meats, artisanal cheeses, marinated olives, and an assortment of marinated vegetables. Focaccia provides a sophisticated and incredibly flavorful base for these antipasto elements, making it an easy yet impressive appetizer platter that’s sure to delight your guests. Its rich olive oil flavor and tender crumb make it a perfect vehicle for carrying bold, savory flavors.
Pin Recipe
Easy No-Knead Focaccia Recipe
Ingredients
- 2 ½ cups water
- 2 tsp honey
- 1 packet active dry yeast (1 ¼ oz/35 g, or 2 ¼ tsp)
- 5 cups all-purpose flour, or Tipo 00 flour
- 1 tbsp kosher salt, or fine sea salt
- ¼ cup extra-virgin olive oil
- Butter, room temperature
- Fleur de sel, or Maldon Sea Salt Flakes
Instructions
-
In the microwave or in a small saucepan on the stove, heat up the water until it’s just warm (100°F/37°C). Transfer the water to a large mixing bowl. Stir in the honey, then sprinkle the active dry yeast over the surface. Let rest without mixing for about 5 minutes, until the mixture gets creamy and foamy. (If it doesn’t, it means your yeast is expired and you need to start again!)
-
Add the flour and salt and mix using a spatula until a craggy dough forms and no streaks of dry flour remain.
-
In a second large bowl, pour the olive oil, then tilt and rotate the bowl to make sure the oil fully coats the inside of the bowl. This will prevent the dough from sticking.
-
Transfer the dough to the oiled bowl, then turn the dough to coat it with oil. Cover the bowl with plastic wrap.
-
At this point, you can either:
– Let the no-knead focaccia dough rise in a warm place (such as your turned off oven) for 3 hours;
– Or refrigerate the dough overnight for a slower rise.
PRO TIP: A slower, cooler rise allows more complex flavors to develop, but the regular 3-hour rise also create a really delicious focaccia!
-
Meanwhile, generously butter a 13 x 9-in (33 x 23 cm) baking pan to make a thicker focaccia that’s perfect for sandwiches, or an 18 x 13-in (46 x 33 cm) baking sheet to create a thinner, crispy focaccia you can top with garnishes and snack on.
-
PRO TIP: Butter might seem like an unnecessary step, but it ensures the focaccia doesn’t stick, and also creates an extra-crunchy crust.
-
Keeping the dough in the bowl and using a fork in each hand, gather up the edges of dough farthest from you and lift up and over into the center of the bowl. Give the bowl a quarter turn and repeat. Do this twice more. This technique will deflate the dough and turn it into a rough ball.
-
Transfer the no-knead focaccia dough to the buttered prepared pan. Scrape out any oil left in the bowl over the dough, then flip the dough over to coat with oil. Gently stretch the dough to form a rough rectangle. (It doesn’t need to cover the entire surface of the pan at this point.)
-
Let rise, uncovered, in a warm spot until doubled in size, 1 ½ to 2 hours more.
-
To bake the focaccia, preheat the oven to 450°F (230°C).
WARNING: If you put the dough in the oven for the second rise, make sure to remove it before you turn the oven on!
-
If you’re using an 18 x 13-in (46 x 33 cm) baking sheet and the dough isn’t fully covering the surface of the pan, you can gently stretch it to ensure it does.
-
Lightly oil the tip of your fingers, then dimple the no-knead focaccia all over, making sure your fingers reach all the way to the bottom of the pan. Think of it as energetically playing piano on pillowy notes!
-
Drizzle with bit of extra-virgin olive oil, then sprinkle with flaky sea salt. At this step, you can also sprinkle herbs, sliced garlic, olives, cherry tomatoes, parmesan cheese, or any other garnishes you can dream of.
-
Bake the no-knead focaccia until it’s puffed and browned all over, about 25 minutes. If you can to give the focaccia extra color and crunchiness, you turn the oven up to broil for an extra couple of minutes at the end of the cooking time.
-
Transfer the pan with the focaccia to a wire rack and let cool for 10 minutes. Remove from the pan, slice, and enjoy!
Video
Notes
Did you make this?
Tell me how you liked it! Leave a comment or take a picture and tag it with @foodnouveau on Instagram.
Disclosure Notice: This site is a participant in the Amazon Associates Program, an affiliate advertising program designed to provide a means for the site to earn fees by linking to Amazon and affiliated sites.
If you click on an affiliate link, I may earn advertising or referral fees if you make a purchase through such links, at no extra cost to you. This helps me create new content for the blog–so thank you! Learn more about advertising on this site by reading my Disclosure Policy.
