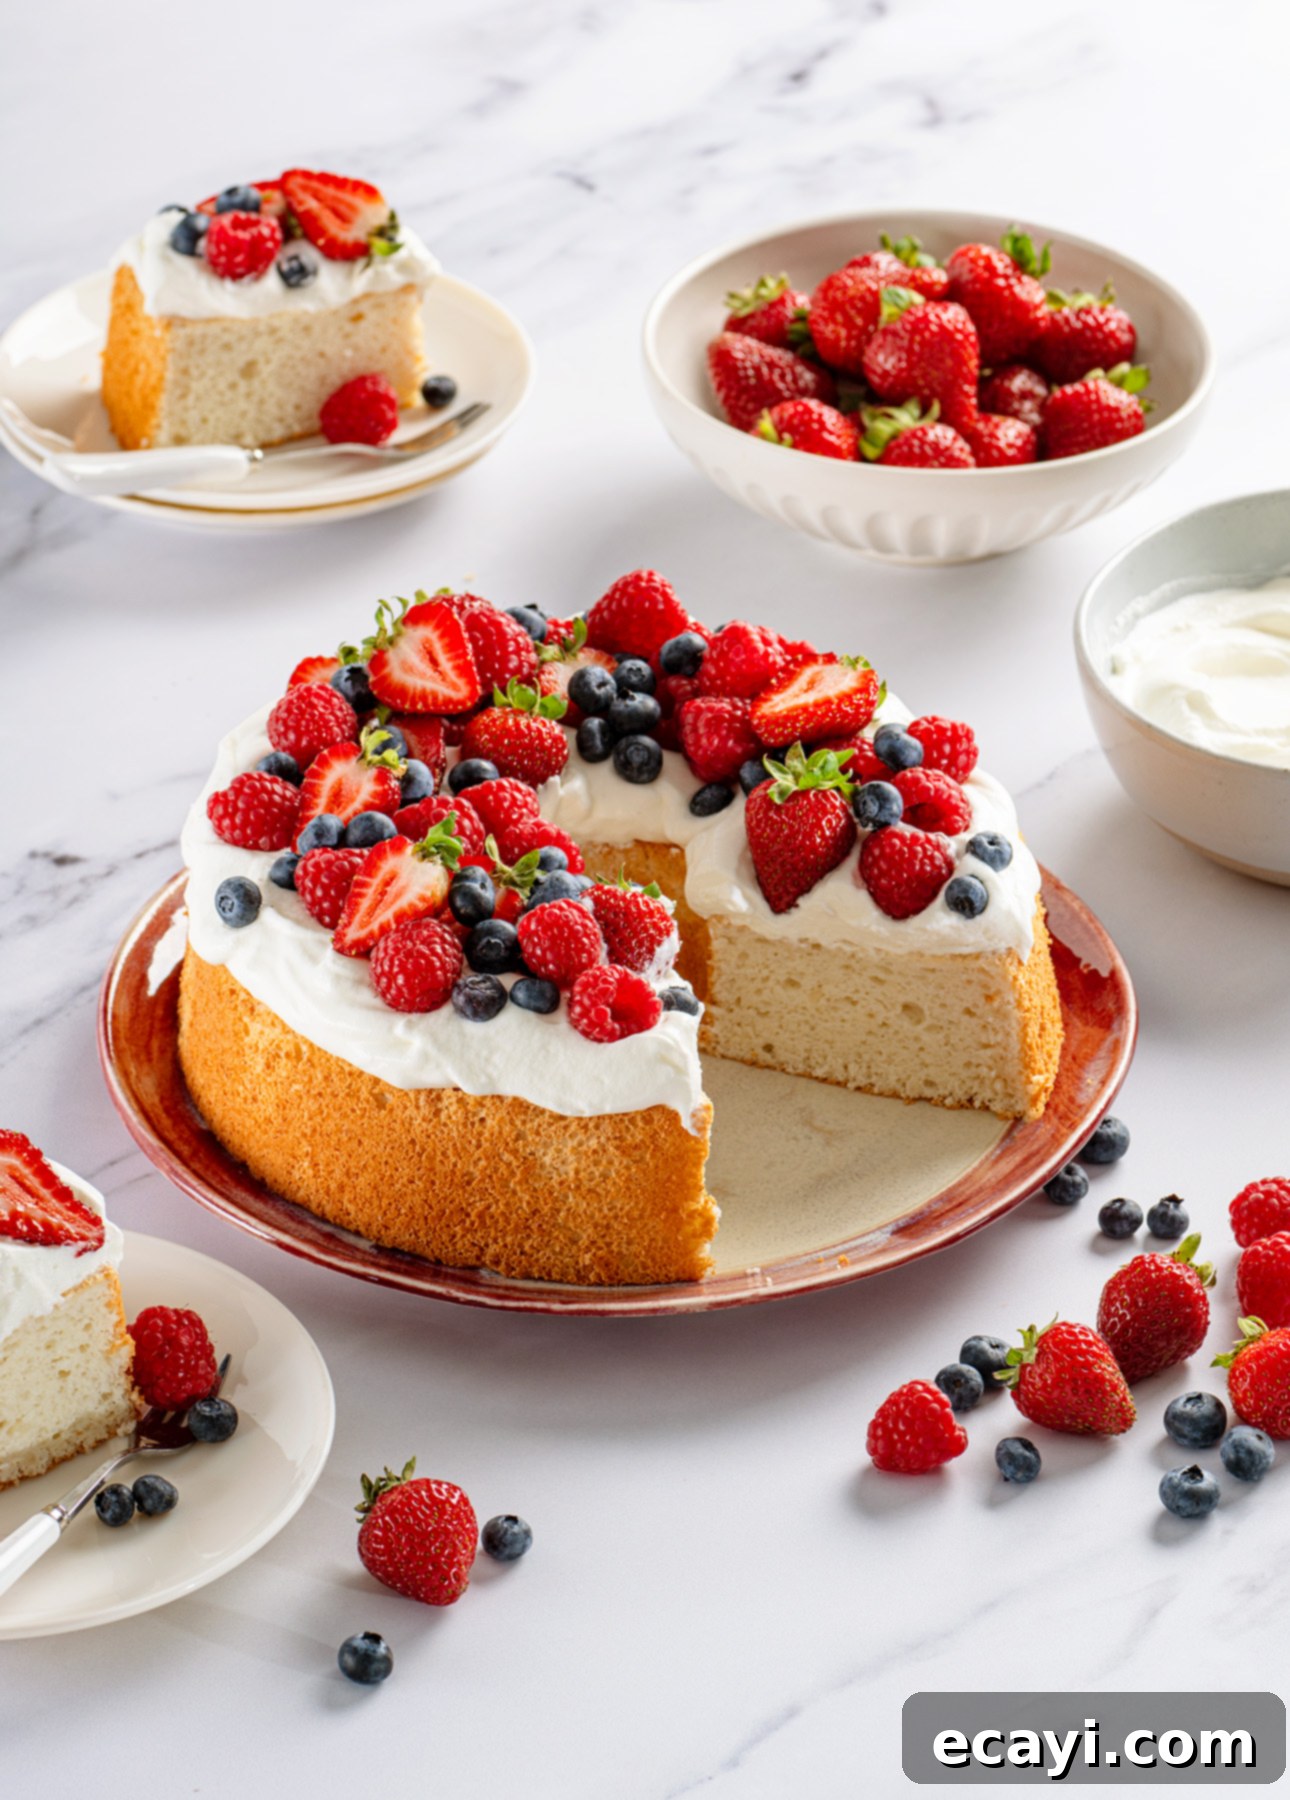
Effortless Elegance: Your Ultimate Guide to Baking the Perfect Homemade Angel Food Cake
Angel food cake holds a special place in many hearts, often conjuring images of warm summer days and joyous gatherings. This ethereal dessert, renowned for its impossibly light and airy texture, is the quintessential companion to vibrant seasonal berries and a generous dollop of freshly whipped cream. While its delicate appearance might suggest a complex baking endeavor, crafting a truly magnificent homemade angel food cake is surprisingly straightforward. It’s a testament to the magic that unfolds when simple ingredients are treated with a little know-how and care.
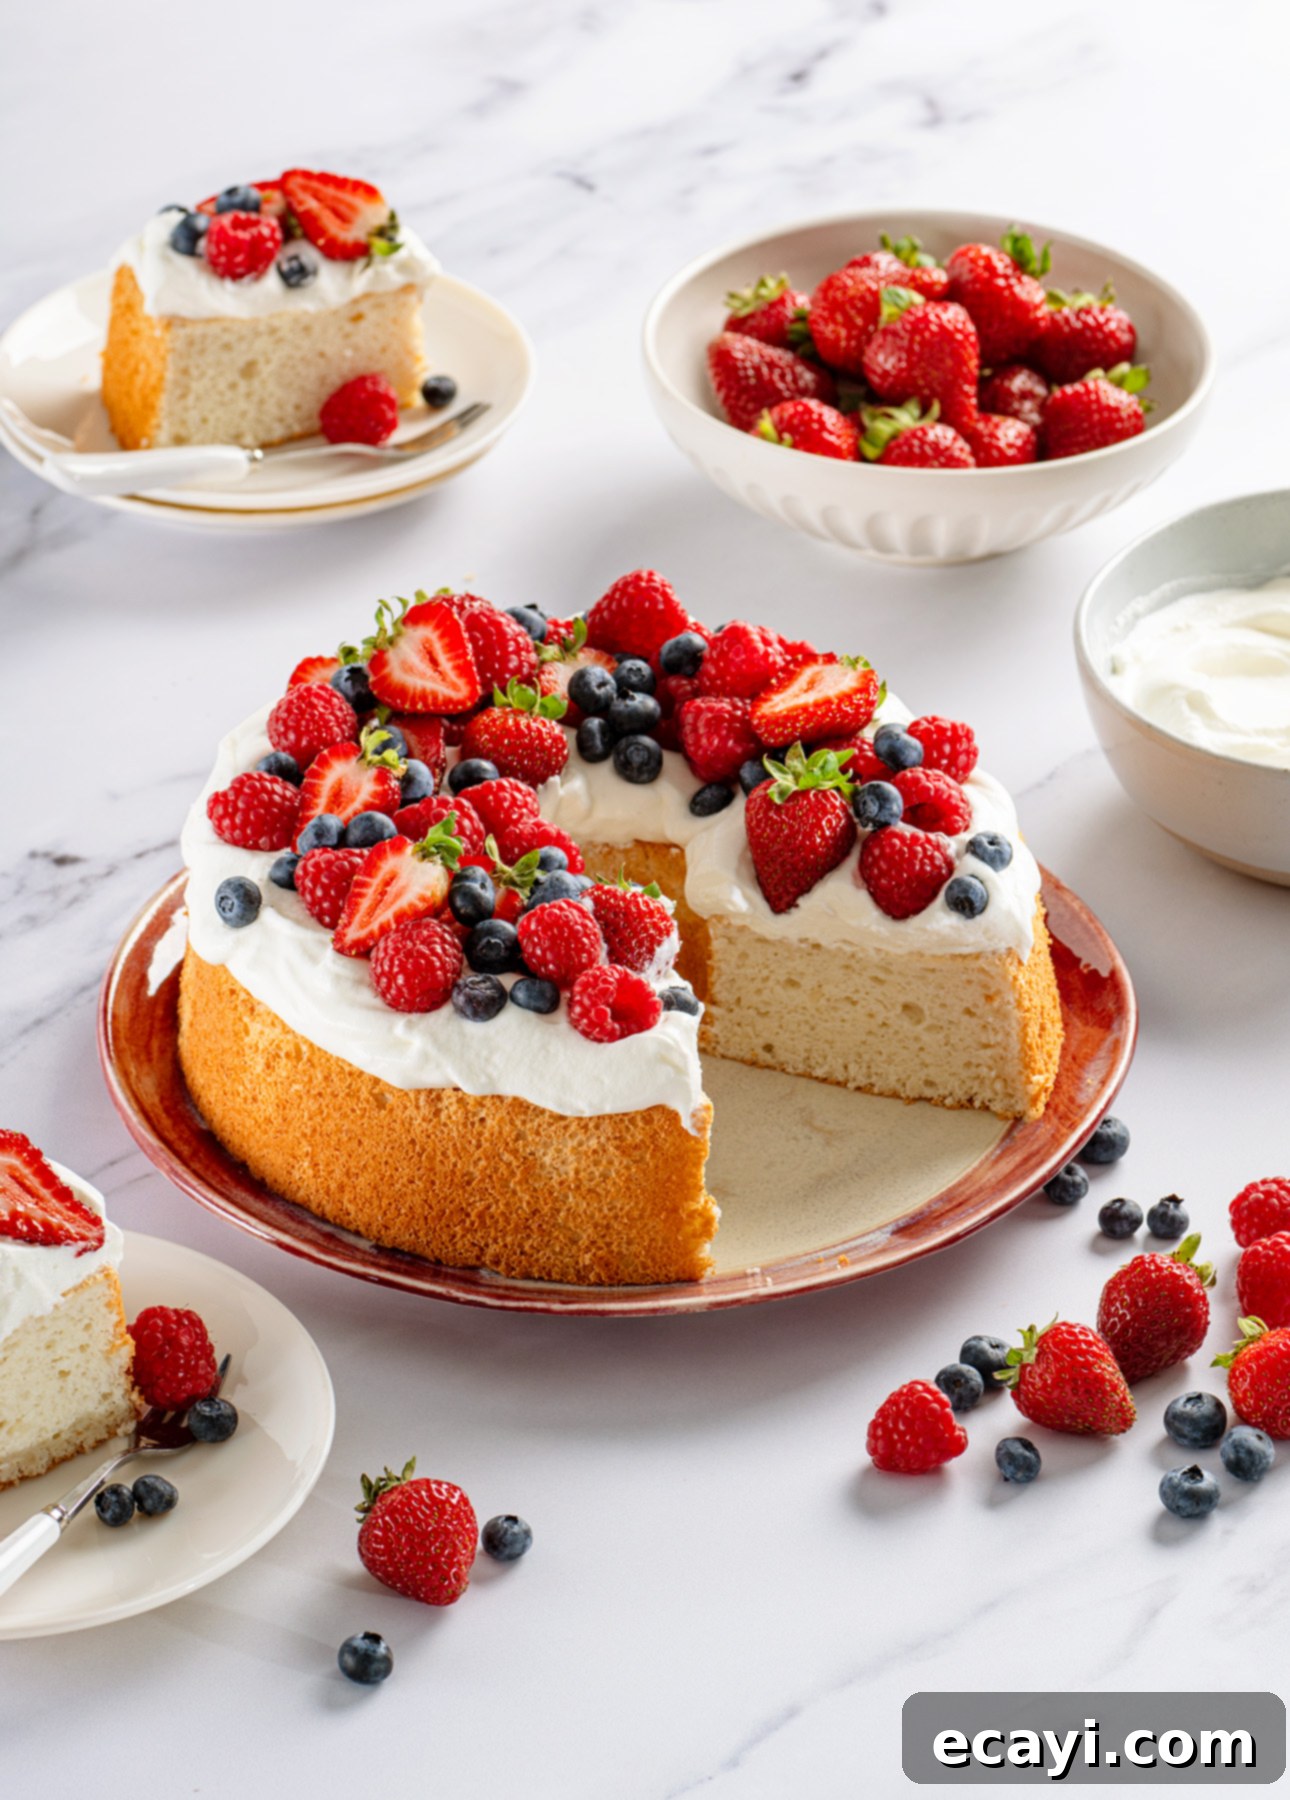
My own journey with angel food cake began in childhood. I vividly recall my mother arriving home with a pristine, cloud-like cake, eagerly awaited as the perfect partner for the season’s first strawberries. I’d claim the largest slice I could possibly manage, then lovingly “drown” it in a cascade of ruby-red berries and fluffy, sweet cream. The cake itself was a marvel – a vanilla-scented whisper of sweetness that dissolved on the tongue, creating a symphony of flavors with every bite. That cherished memory, that feeling of pure, airy nostalgia, is precisely what I aim to recreate and share with you through this comprehensive homemade angel food cake recipe.
This isn’t just a recipe; it’s an invitation to experience the joy of baking a dessert that truly lives up to its name. Forget the dense, often dry, store-bought versions. This guide will walk you through every step, from selecting the right ingredients to mastering the subtle techniques, ensuring your homemade angel food cake is nothing short of perfection. Prepare to be amazed by its feather-light crumb and delicate flavor, making it a favorite for any occasion.
This post contains affiliate links. Full disclosure is at the bottom of the article.
Why Homemade Angel Food Cake Deserves a Spot in Your Baking Repertoire
There’s a good reason why angel food cake remains a beloved classic. It’s truly the little black dress of desserts: effortlessly stunning on its own, yet serving as the perfect, elegant canvas for a myriad of toppings and accompaniments. Its understated beauty and pristine white crumb make it a showstopper at any table, whether dressed simply with fruit or adorned with a more elaborate glaze.
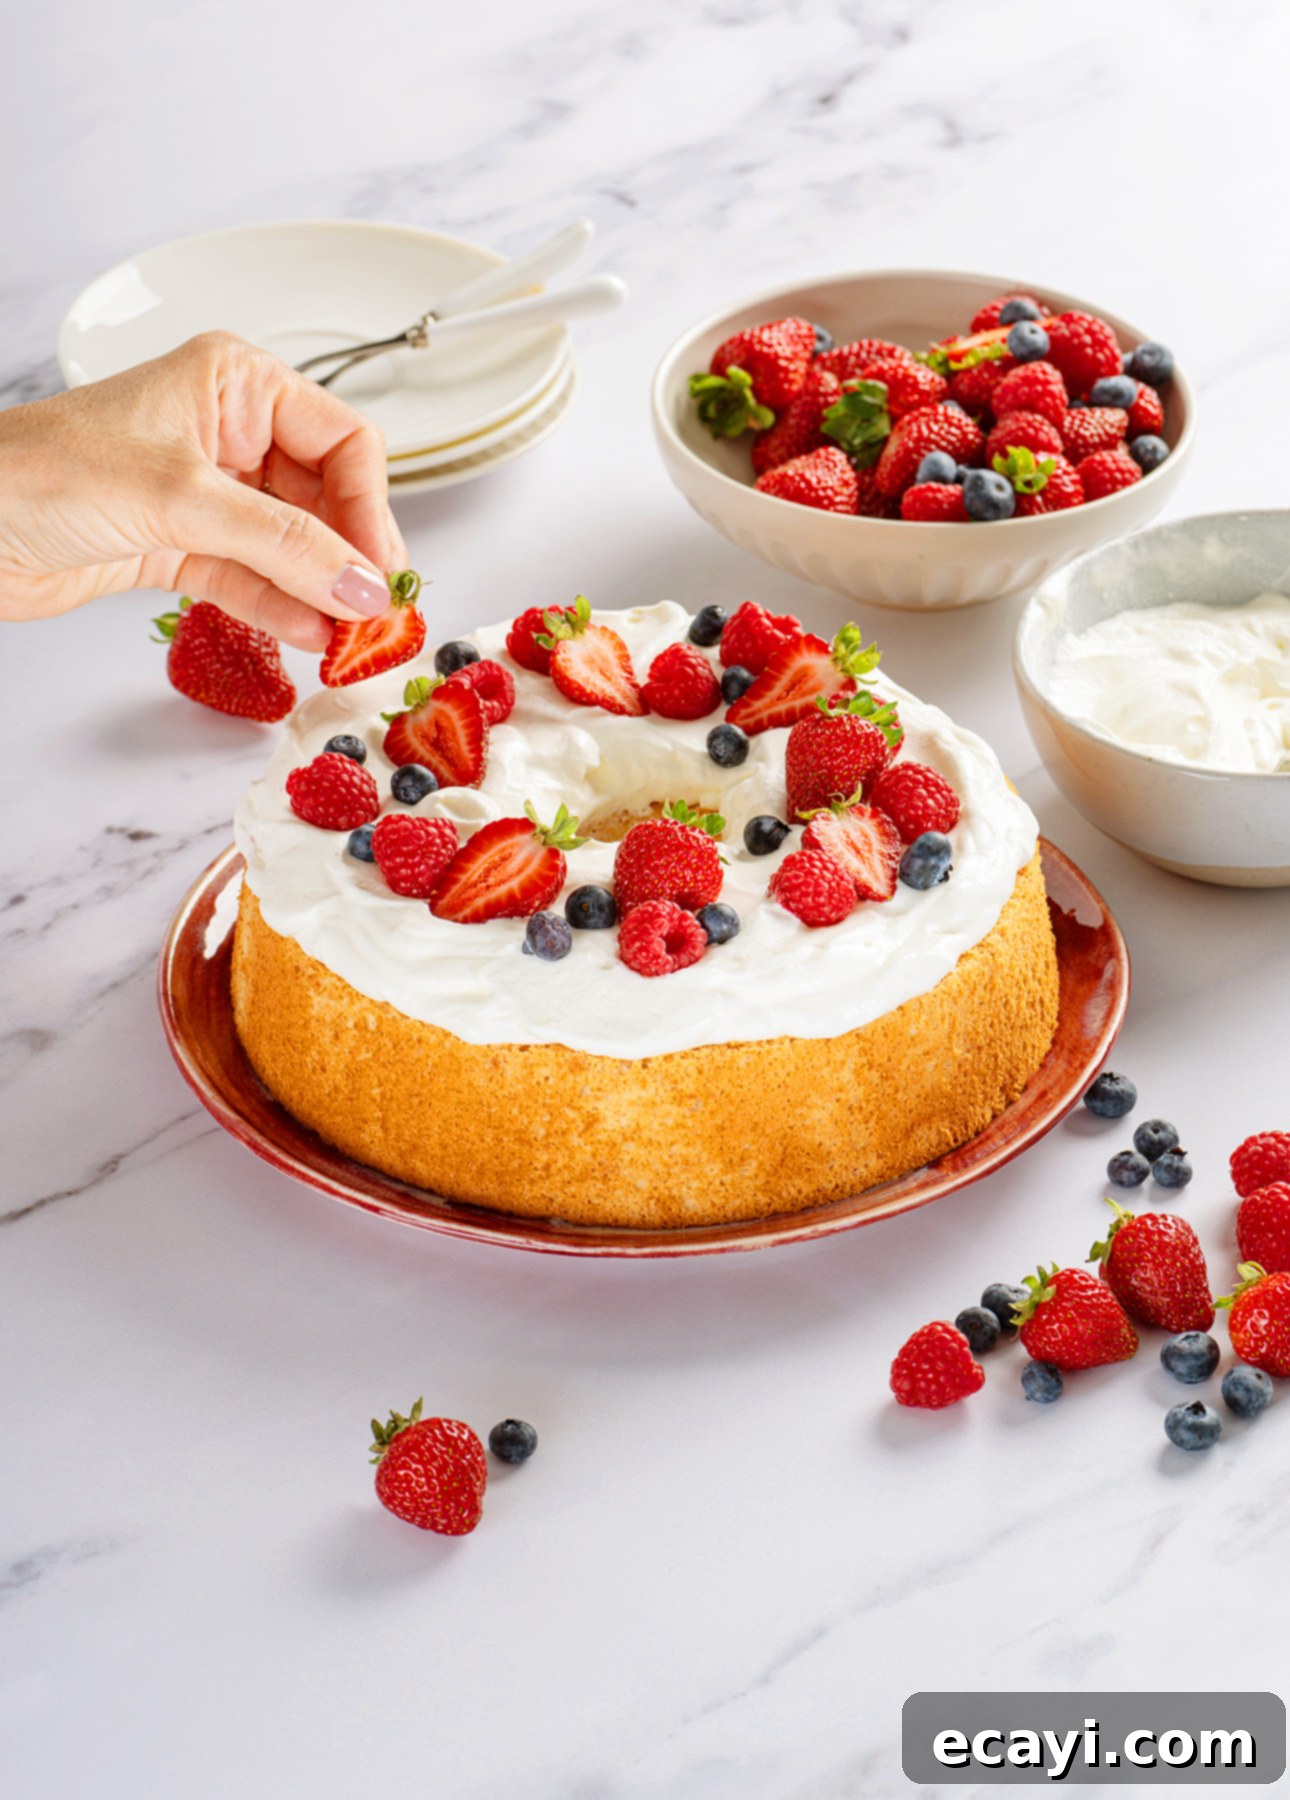
Many home bakers shy away from angel food cake, fearing it’s too intricate or delicate to attempt from scratch. However, I’m here to tell you that this couldn’t be further from the truth. While homemade angel food cake looks like it required hours of painstaking work and professional expertise, the reality is that it’s one of the simpler cakes to master in my baking repertoire. The secret lies not in complexity, but in understanding and respecting a few fundamental techniques. Once you grasp these nuances, you’ll quickly realize why this light, vanilla-kissed treat is such a culinary treasure.
This isn’t just an angel food cake recipe; it’s the angel food cake recipe that will transform your perception of this dessert forever. Once you taste the difference that fresh, carefully prepared ingredients and proper technique make, you’ll undoubtedly forget all about those inferior store-bought versions. Get ready to bake a cake that’s truly heavenly!
Mastering the Art: Essential Tips for Baking Flawless Angel Food Cake
Achieving an angel food cake that is perfectly light, tall, and ethereal isn’t about having advanced baking degrees; it’s about paying attention to a few simple, yet critical, details. Don’t be intimidated by what might seem like a list of rules. Think of these as my tried-and-true secrets, shared to ensure your baking success. Follow these guidelines, and you’ll consistently bake an angel food cake that truly lives up to its angelic name.
Clean Tools Are Non-Negotiable
This is perhaps the most crucial tip, and one I learned through past baking misfortunes. The enemy of perfectly whipped egg whites is fat, in any form. Even the slightest, seemingly invisible speck of oil or grease – left over from a previous baking adventure or simply on your hands – can prevent your egg whites from whipping up into the magnificent, stable fluff that angel food cake demands. Before you even think about cracking an egg, meticulously scrub your mixing bowl (preferably metal or glass, never plastic, which can retain grease) and whisk attachment with hot, soapy water. Rinse them thoroughly and dry them completely. A pristine, fat-free environment is your absolute foundation for success.
Treat Your Egg Whites Like Precious Jewels
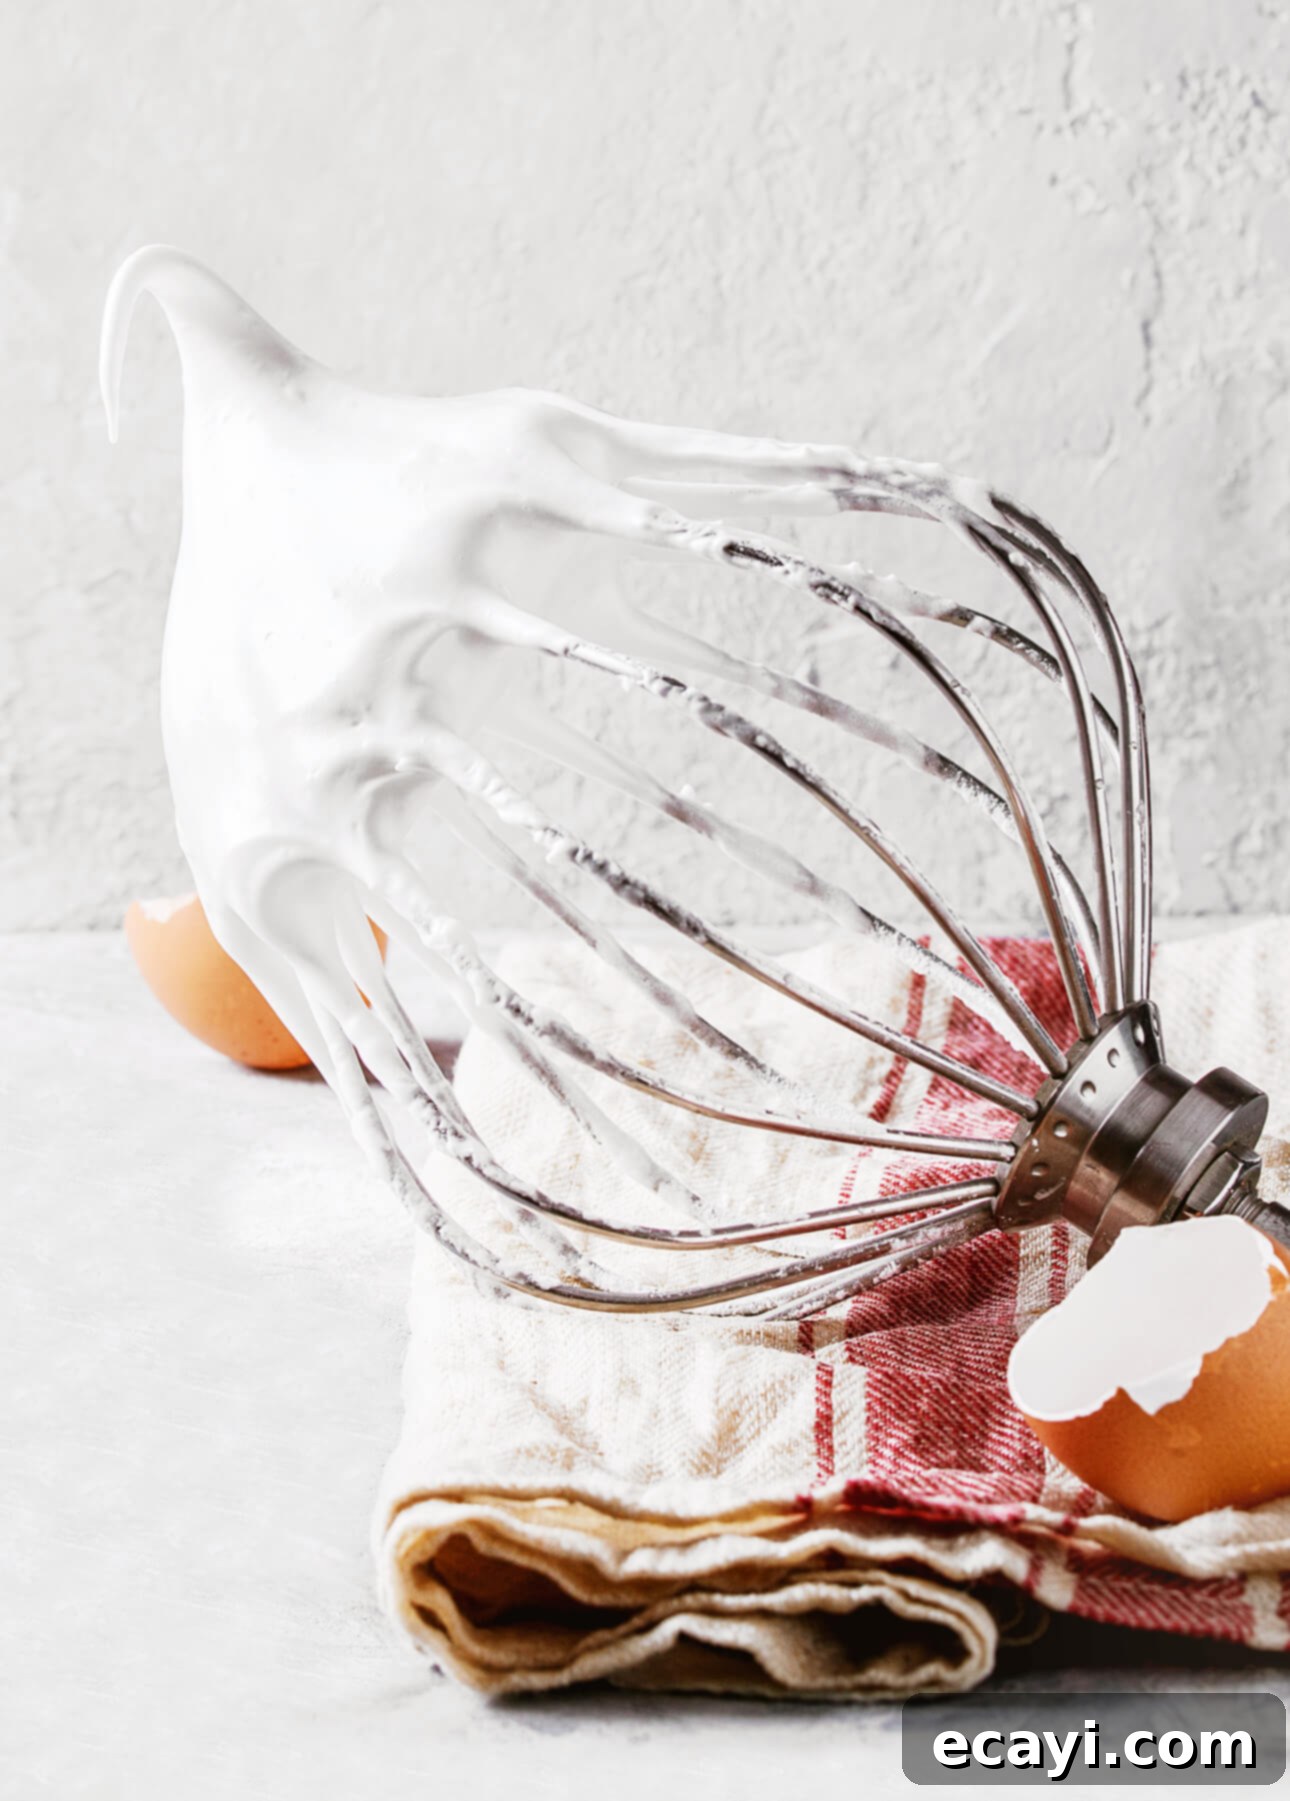
Egg whites, the star ingredient of this cake, are wonderfully temperamental. They are easiest to separate when they’re cold, so tackle that task straight from the refrigerator. However, for optimal volume and stability during whipping, they need to be at room temperature. After separating, let your egg whites sit on the counter for at least 30 minutes, or even up to an hour, allowing them to gently warm up. This crucial step relaxes their proteins, enabling them to incorporate more air and whip up into a much higher, more voluminous, and stable meringue. Also, be incredibly vigilant when separating; any trace of yolk will ruin your meringue. A simple trick is to separate each egg into a small, separate bowl before adding it to the main collection of whites. This way, if you accidentally break a yolk, it contaminates only one egg, not the whole batch.
Consider an Egg White Shortcut
For those moments when time is of the essence, or you simply want to avoid the fuss of separating a dozen eggs and then wondering what to do with the leftover yolks, liquid egg whites sold in a carton are an absolute lifesaver. Products such as NatureEgg Simply Egg Whites or Egg Beaters All Natural 100% Egg Whites work beautifully. They are pasteurized, consistently clean, and provide the exact volume you need. It significantly streamlines the preparation process, making homemade angel food cake even more accessible. And don’t worry, the flavor and texture will still be outstanding!
Cake Flour Is Your Secret Weapon for Tenderness
When it comes to angel food cake, standard all-purpose flour simply won’t do. This isn’t the time for a sturdy, protein-rich flour. Instead, cake flour is your essential ingredient. It is milled more finely and contains a lower protein content compared to all-purpose flour, giving it a ‘softer’ personality. This delicate composition is precisely what contributes to the incredibly tender, almost weightless, melt-in-your-mouth quality that makes homemade angel food cake so famously light and airy. It creates a finer, more delicate crumb structure that is characteristic of this heavenly dessert. If you don’t have cake flour, don’t despair—I provide a simple homemade substitution in the FAQ section below.
Sifting Flour and Sugar: A Ritual, Not a Suggestion
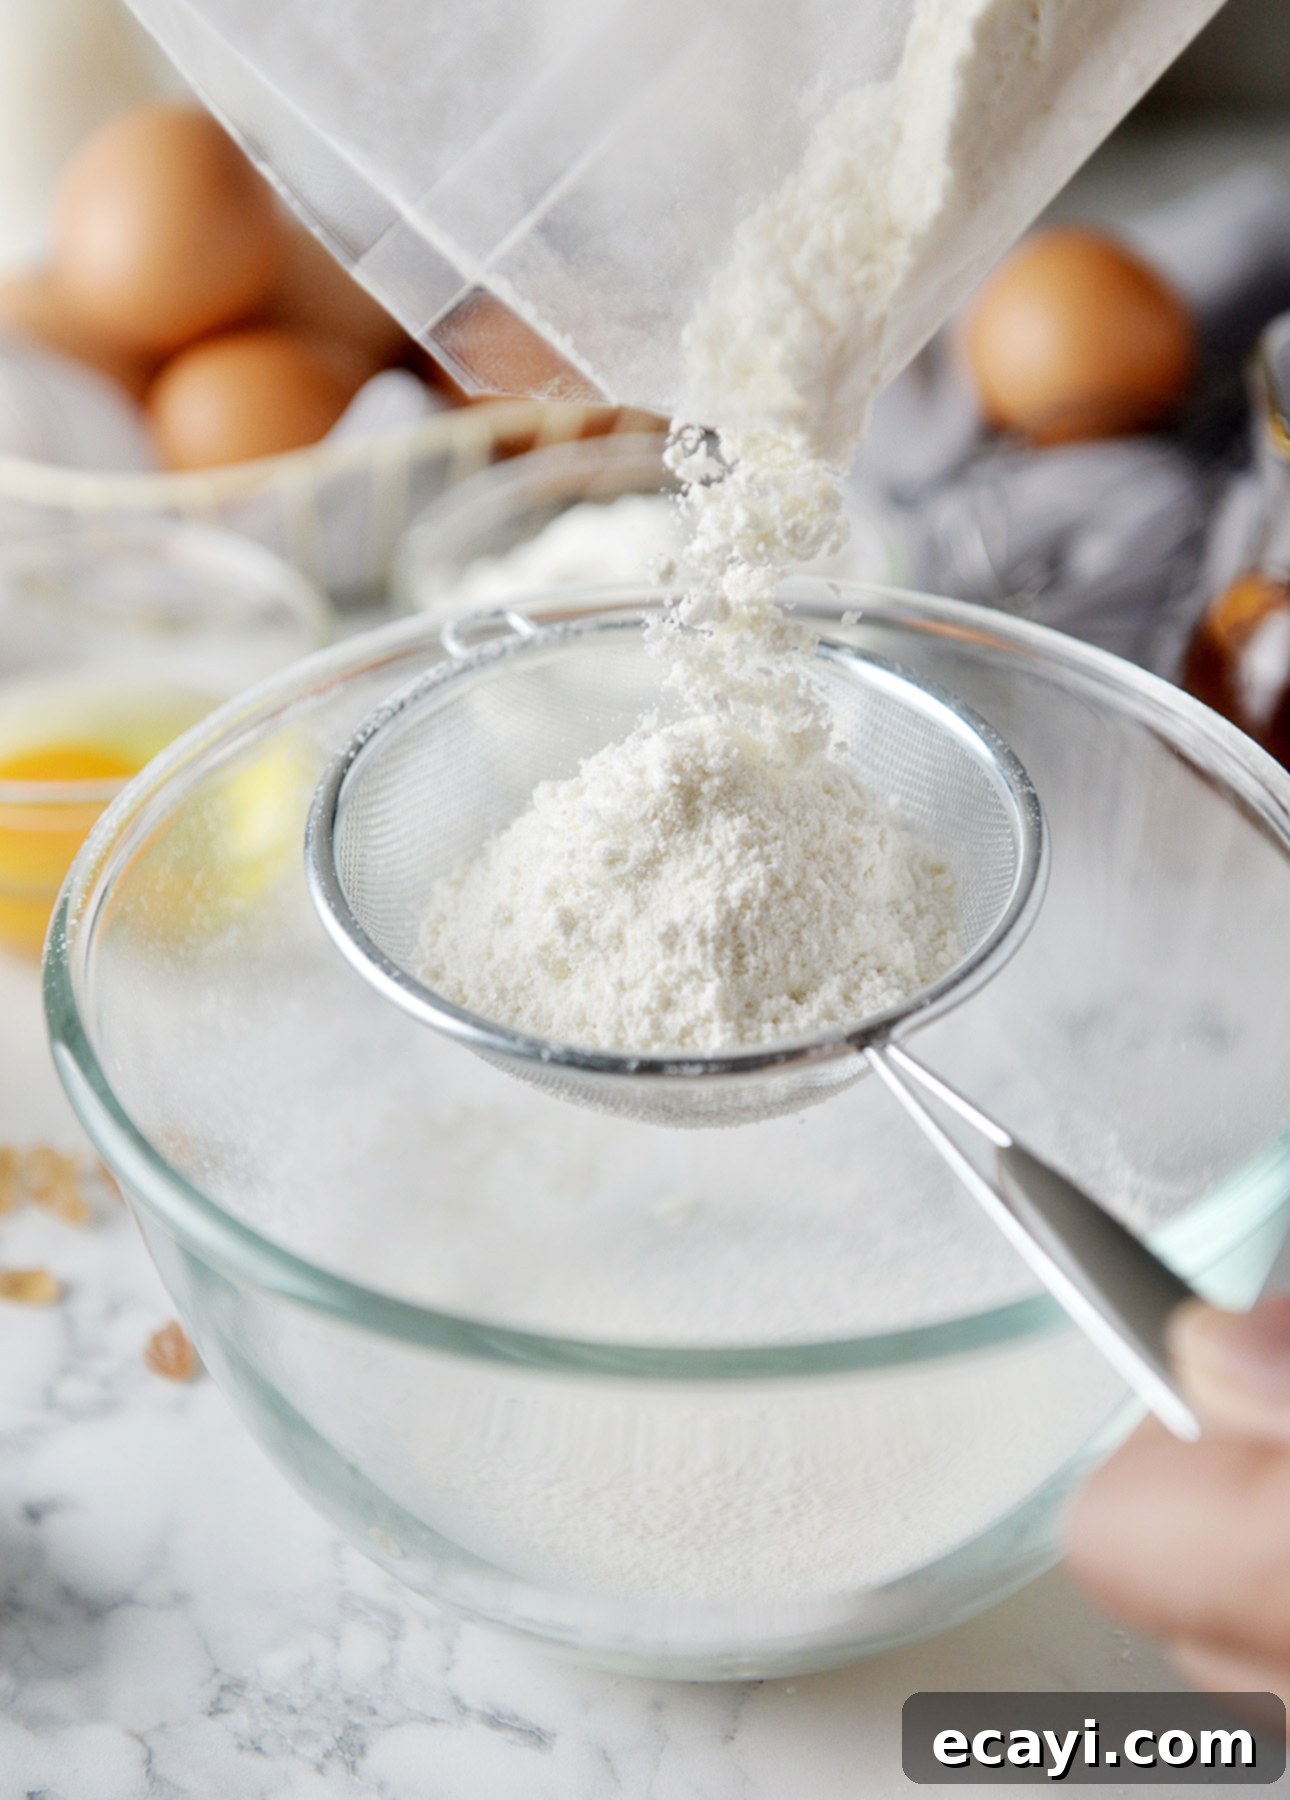
Do not, I repeat, do not skip the sifting step for both your cake flour and powdered sugar. This isn’t just about removing lumps; it’s a vital aeration process. Sifting ensures that your dry ingredients are as fine, light, and airy as possible. This ultra-fine consistency is paramount because it allows them to be gently folded into your beautifully whipped egg whites without deflating their precious volume. This meticulous sifting is what guarantees that signature, seamless crumb in your angel food cake, free of any small, dense pockets or unmixed bits.
The Art of Gentle Folding
Once your egg whites are whipped to perfection and your dry ingredients are meticulously sifted, the next critical step is combining them with the utmost care. This is not a vigorous mixing session; it is a gentle dance of folding. Use a large, flexible rubber spatula to carefully cut down through the center of the batter, then sweep from the bottom up and over the top, rotating your bowl as you go. The goal is to incorporate the flour and sugar just until no streaks remain, while preserving as much of that painstakingly incorporated air in the egg whites as possible. Overmixing will deflate the batter, resulting in a dense, less-than-angelic cake. Think slow, deliberate, and light movements.
Invest in the Right Pan: The Angel Food Cake Pan
You simply cannot achieve an authentic homemade angel food cake without the proper vessel: a classic, ungreased angel food cake pan with a removable bottom. This specialized pan is not just a suggestion; it’s a fundamental requirement. The ungreased sides provide the necessary ‘traction’ for the delicate batter to cling to as it rises, allowing the cake to climb high and develop its characteristic towering structure. Greasing the pan, even lightly, would cause the batter to slip and prevent it from rising properly. The central tube isn’t merely decorative; it ensures that heat circulates evenly, baking the cake thoroughly from the inside out, preventing a doughy center. If your pan doesn’t have little feet, consider one that does, or be prepared to improvise with an inverted bottle neck for cooling.
The Upside-Down Cooling Trick
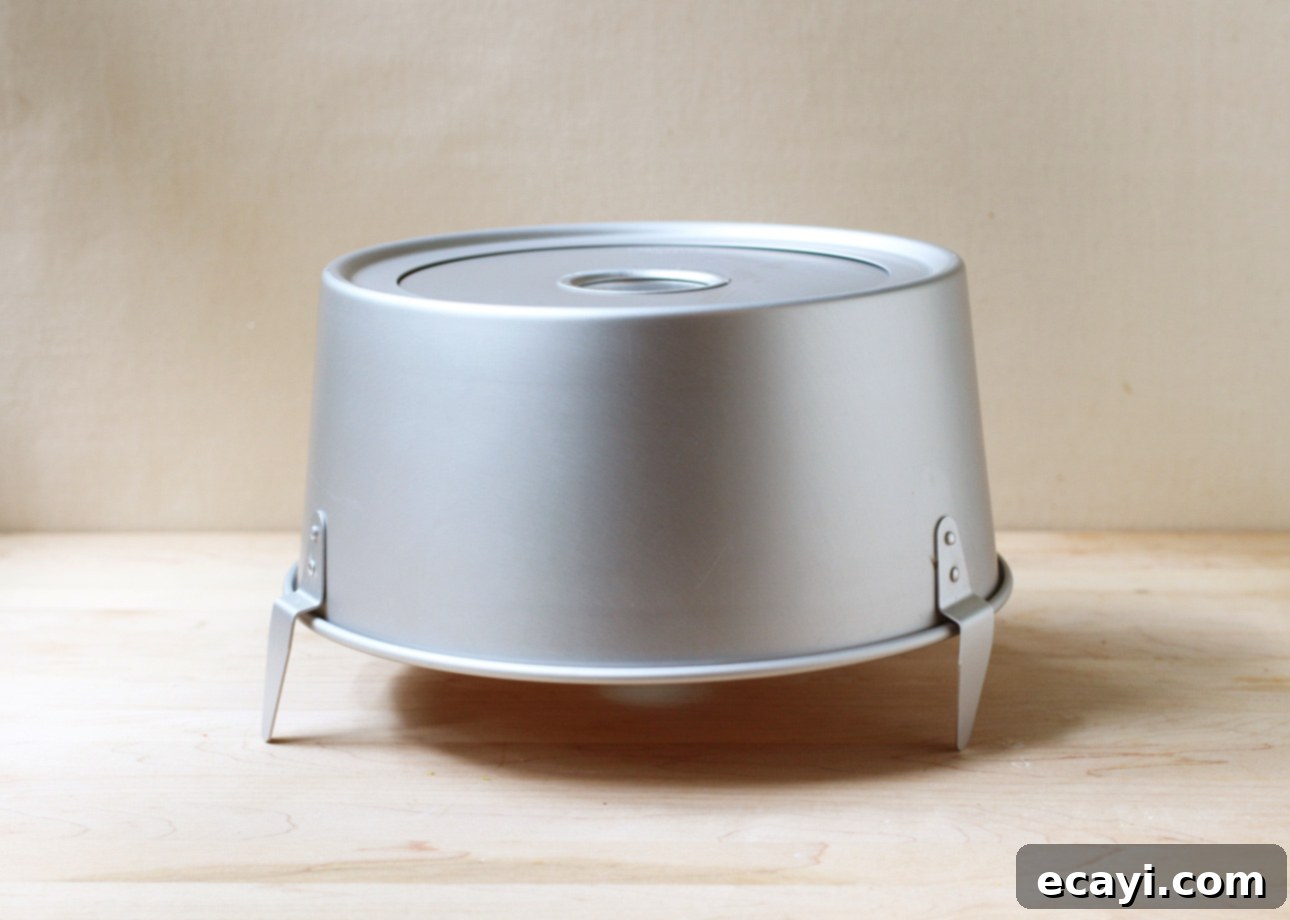
This might sound like the most counter-intuitive step, but it’s absolutely essential for preventing your magnificent angel food cake from collapsing. The moment your cake emerges from the oven, it must be immediately inverted. This ‘trust fall’ of baking allows the delicate, still-warm cake structure to stabilize without compressing under its own weight. Most traditional angel food cake pans come equipped with small feet for this purpose, but if yours doesn’t, simply invert the pan over the neck of a sturdy glass bottle (like a wine bottle). Don’t worry, your cake won’t fall out – that’s precisely why we never grease the pan. This cooling method ensures your cake maintains its impressive height and signature airy texture.
VIDEO: Watch How to Bake a Divine Angel Food Cake
Sometimes, seeing is believing – and learning is made even easier. To help you visualize each crucial step and technique, I’ve prepared a concise video guide. Make sure to watch my short ‘How to Make Angel Food Cake’ video to gain confidence and ensure your baking process is smooth and successful.
Frequently Asked Questions (FAQ) About Angel Food Cake
Baking angel food cake can sometimes bring up a few common questions. Here are the answers to some of the most frequently asked queries, designed to help you troubleshoot and bake with confidence.
- Can I use a Bundt pan? I strongly advise against using a Bundt pan for angel food cake, and here’s why it’s a significant risk. Bundt pans are typically non-stick, and their intricate designs create many nooks and crannies. Angel food cake batter relies heavily on having a surface to cling to as it rises to achieve its signature height and ethereal structure. A non-stick surface, or one with too many details, will cause the delicate batter to slide down rather than climb up, resulting in a dense, much shorter cake that doesn’t resemble true angel food cake. Stick with the classic ungreased tube pan for guaranteed success.
- Help! I’m out of cake flour. Is there a substitute? Don’t panic! While cake flour is ideal, you can absolutely create a very good substitute at home if you’re in a pinch. For every cup of all-purpose flour your recipe requires, simply scoop out two tablespoons of the all-purpose flour and replace it with two tablespoons of cornstarch. Whisk this mixture together really, really well to ensure the cornstarch is evenly distributed. This adjustment reduces the protein content of your flour, mimicking the characteristics of commercial cake flour and helping you achieve a softer, more tender crumb.
- What should I do with all these leftover egg yolks? Having a surplus of egg yolks after making angel food cake is a fantastic opportunity for another delicious culinary project! Don’t let them go to waste. Egg yolks are the foundation for so many rich and flavorful dishes. They’re perfect for whipping up an irresistible, creamy hollandaise sauce (ideal for Eggs Benedict!), making plump and tender homemade gnocchi, churning out luscious homemade gelato, crafting decadent chocolate pots de crème, or preparing a silky smooth chocolate pastry cream – which, incidentally, would be absolutely divine spooned over this very angel food cake! The possibilities are endless.
- How should I store my homemade angel food cake? To keep your homemade angel food cake fresh and maintain its delicate texture, store it in an airtight container on the counter. A cake dome works wonderfully for this purpose, or you can use a large container that won’t crush the cake. Avoid refrigerating it, as the cold air can dry out the cake and make it dense. Stored properly, your lovely cake should remain fresh and airy for about 3 days, making it perfect for enjoying over a long weekend.
Creative Ways to Serve Your Heavenly Homemade Angel Food Cake
Angel food cake, with its delicate flavor and cloud-like texture, is truly a dream all on its own. However, its versatility means it also provides the perfect canvas for a variety of delicious toppings and accompaniments. Here are some of my favorite ways to elevate your homemade angel food cake and delight your guests:
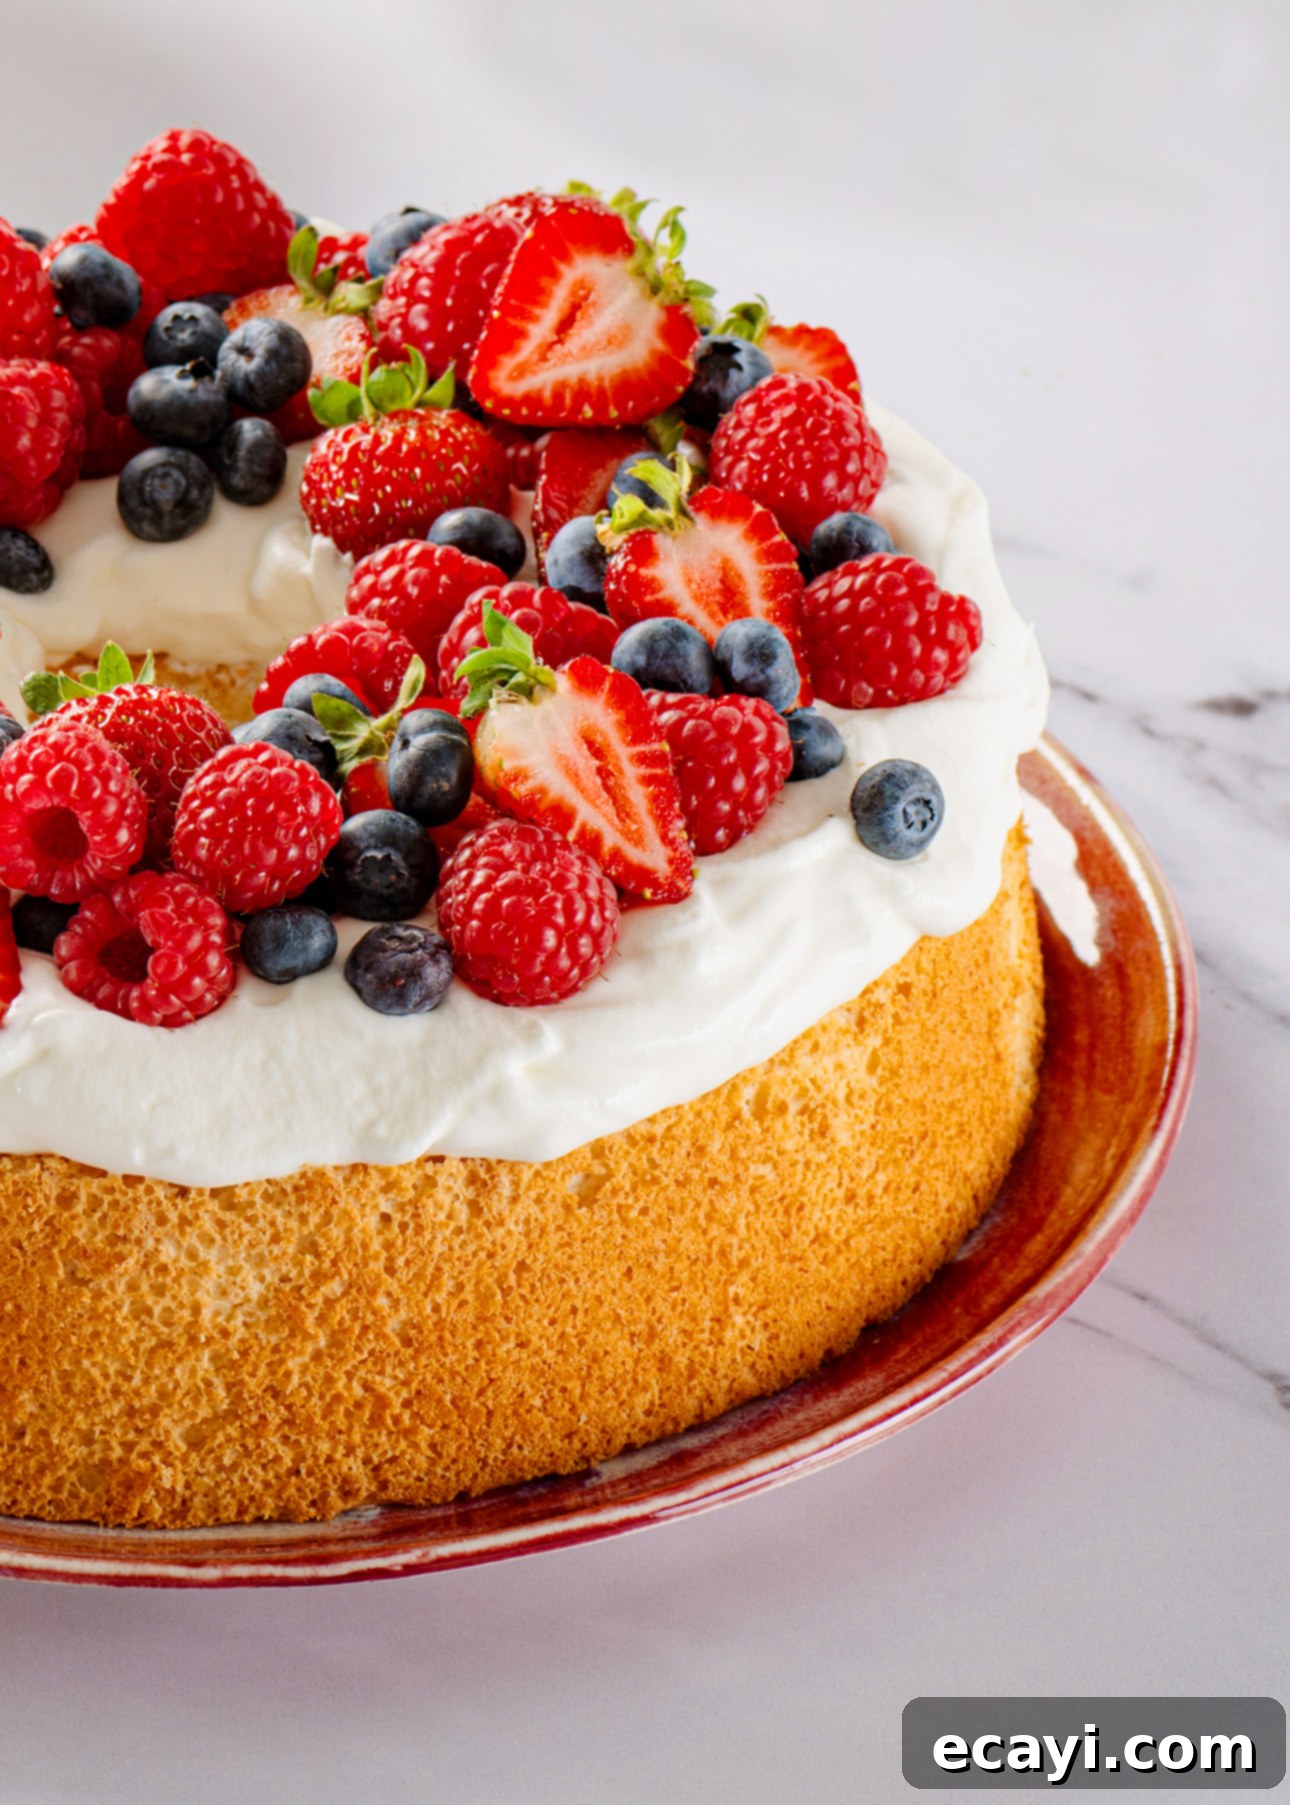
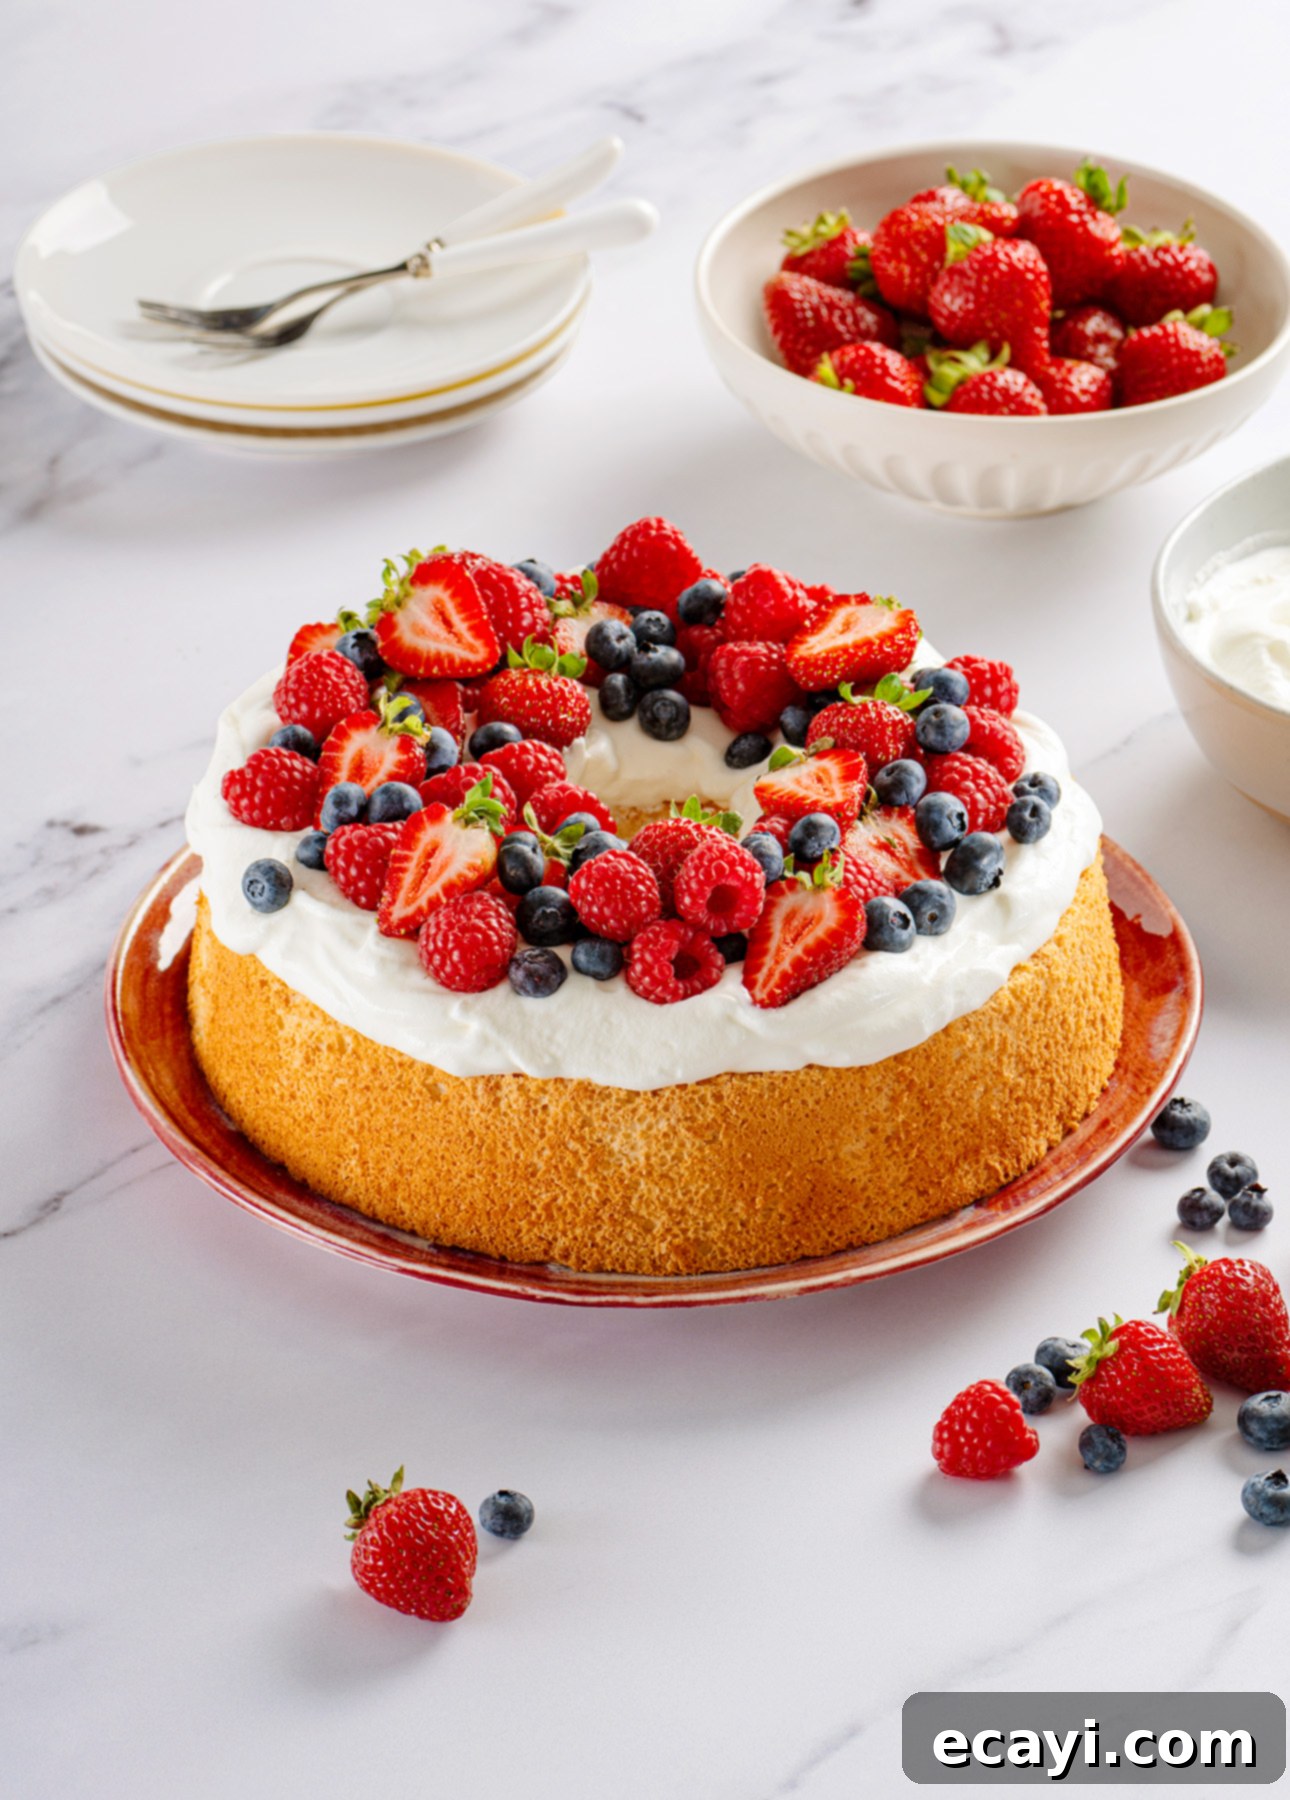
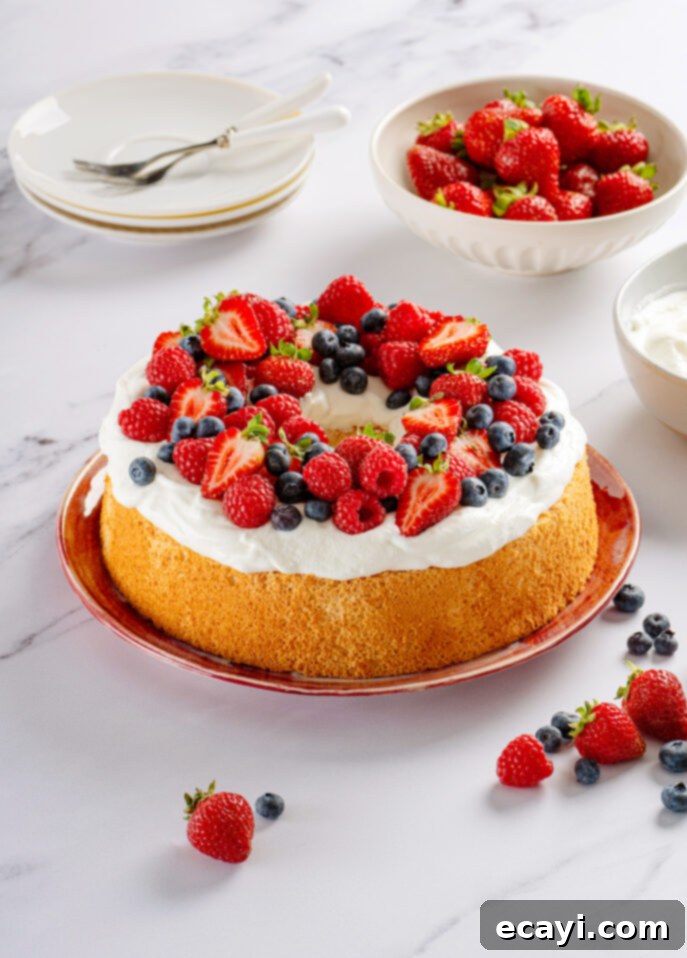
- The Timeless Classic: You simply can’t go wrong with this beloved combination. A generous dollop of freshly whipped cream, lightly sweetened and infused with a touch of vanilla, paired with a vibrant cascade of fresh, seasonal berries – think ripe strawberries, plump blueberries, and tangy raspberries. It’s a symphony of textures and flavors that never fails to impress.
- The Decadent Indulgence: For those moments when you crave something a little more luxurious, drizzle your slice with a slow, warm stream of rich chocolate sauce or a buttery, sweet butterscotch sauce. For an added layer of texture and nutty flavor, sprinkle with some perfectly toasted almonds or hazelnuts. This transformation turns a light cake into a truly opulent dessert.
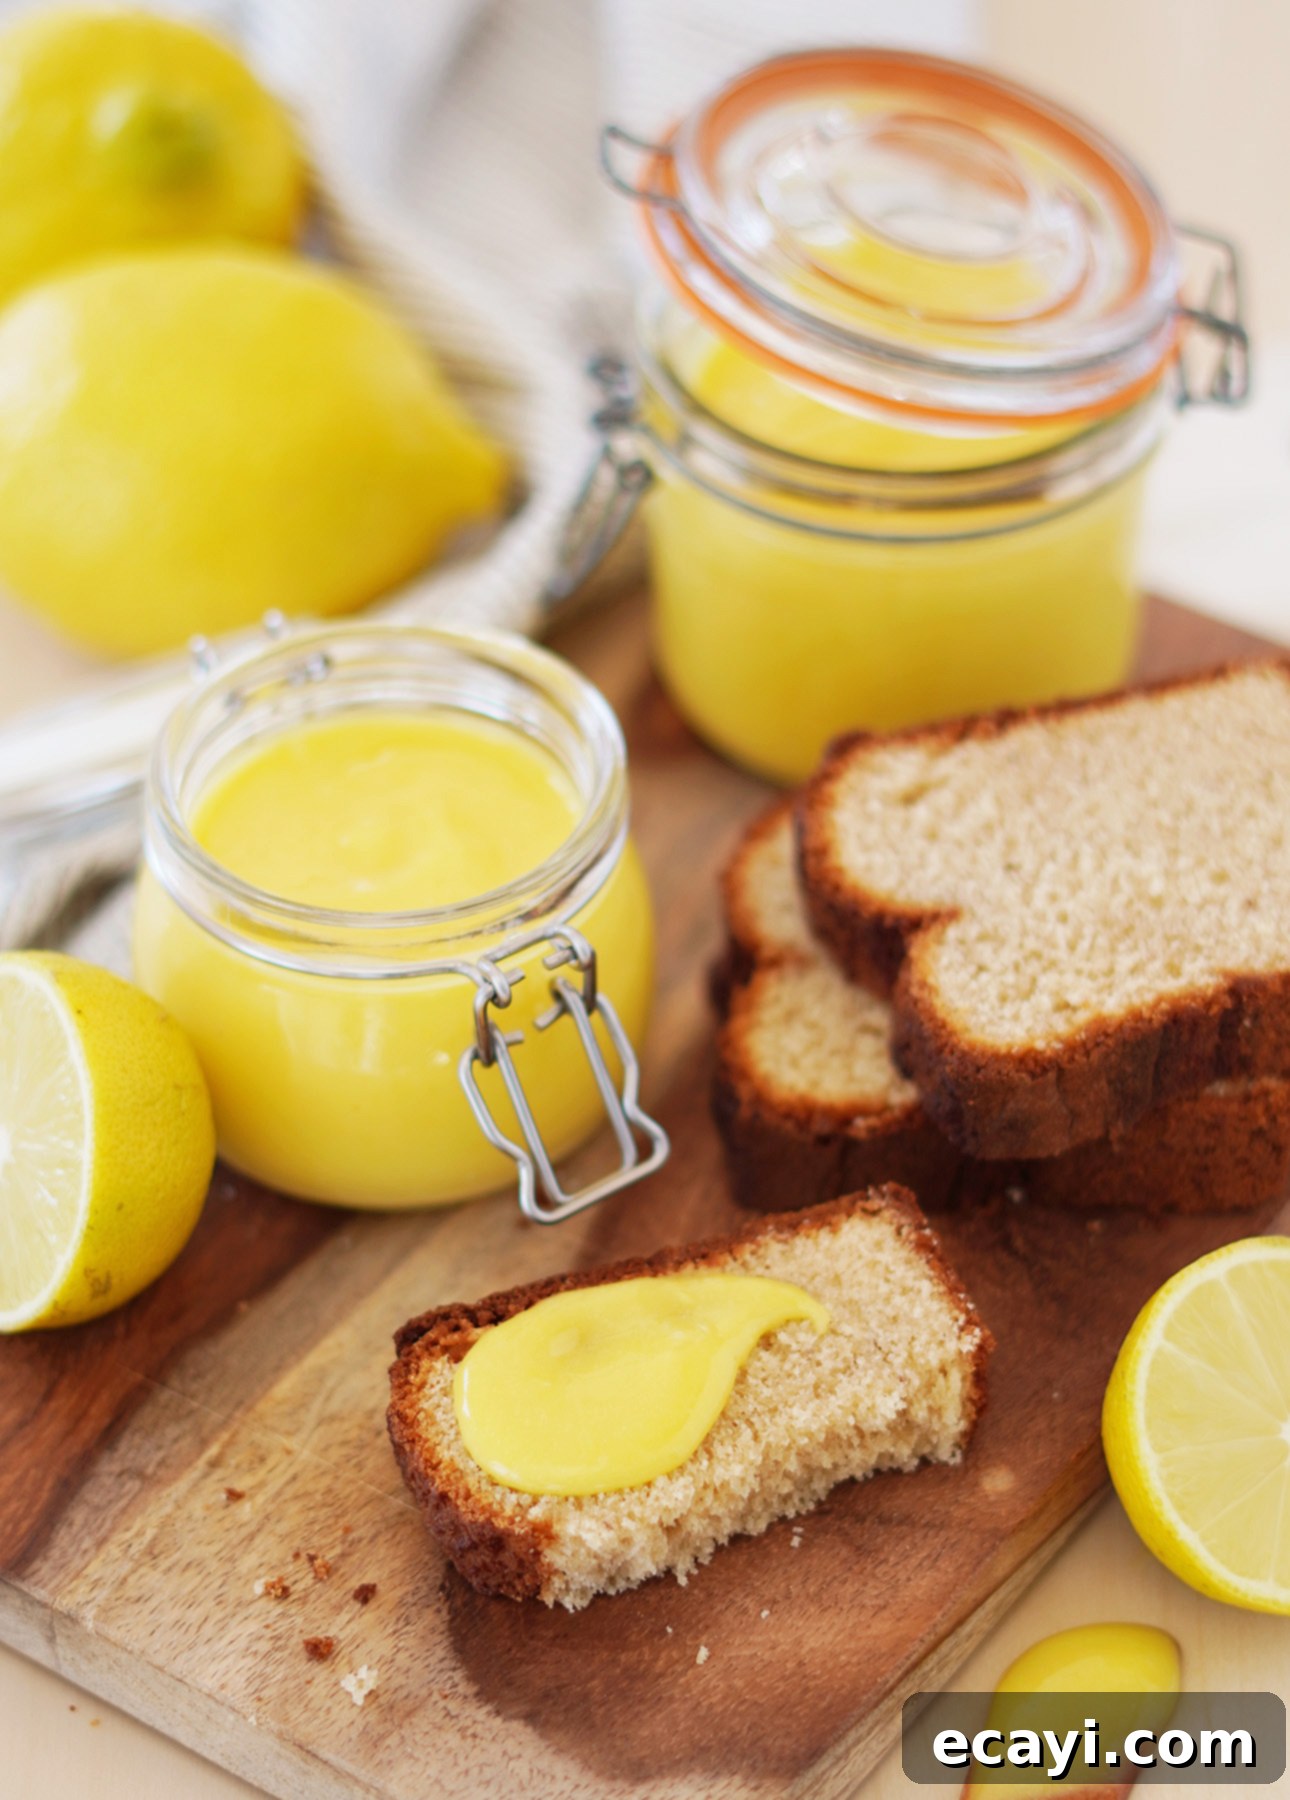
- The Zesty Brightener: To beautifully balance the sweetness of the cake, introduce a spoonful of bright, tart lemon curd. Its tangy citrus notes cut through the richness and add a refreshing contrast. For a pop of color and a subtle crunch, sprinkle with finely chopped pistachios. This combination is absolutely divine and incredibly elegant.
- The Wholesome Breakfast Treat: Who says cake can’t be part of a wholesome breakfast? Transform your angel food cake into a morning delight by topping it with a generous scoop of full-fat vanilla Greek yogurt, a medley of fresh fruits (like sliced bananas, berries, or peaches), and a sprinkling of your favorite nuts for healthy fats and crunch. It’s a surprisingly satisfying and delightful way to start your day.
Step-by-Step Guide to Baking Homemade Angel Food Cake
Jump to the full recipe
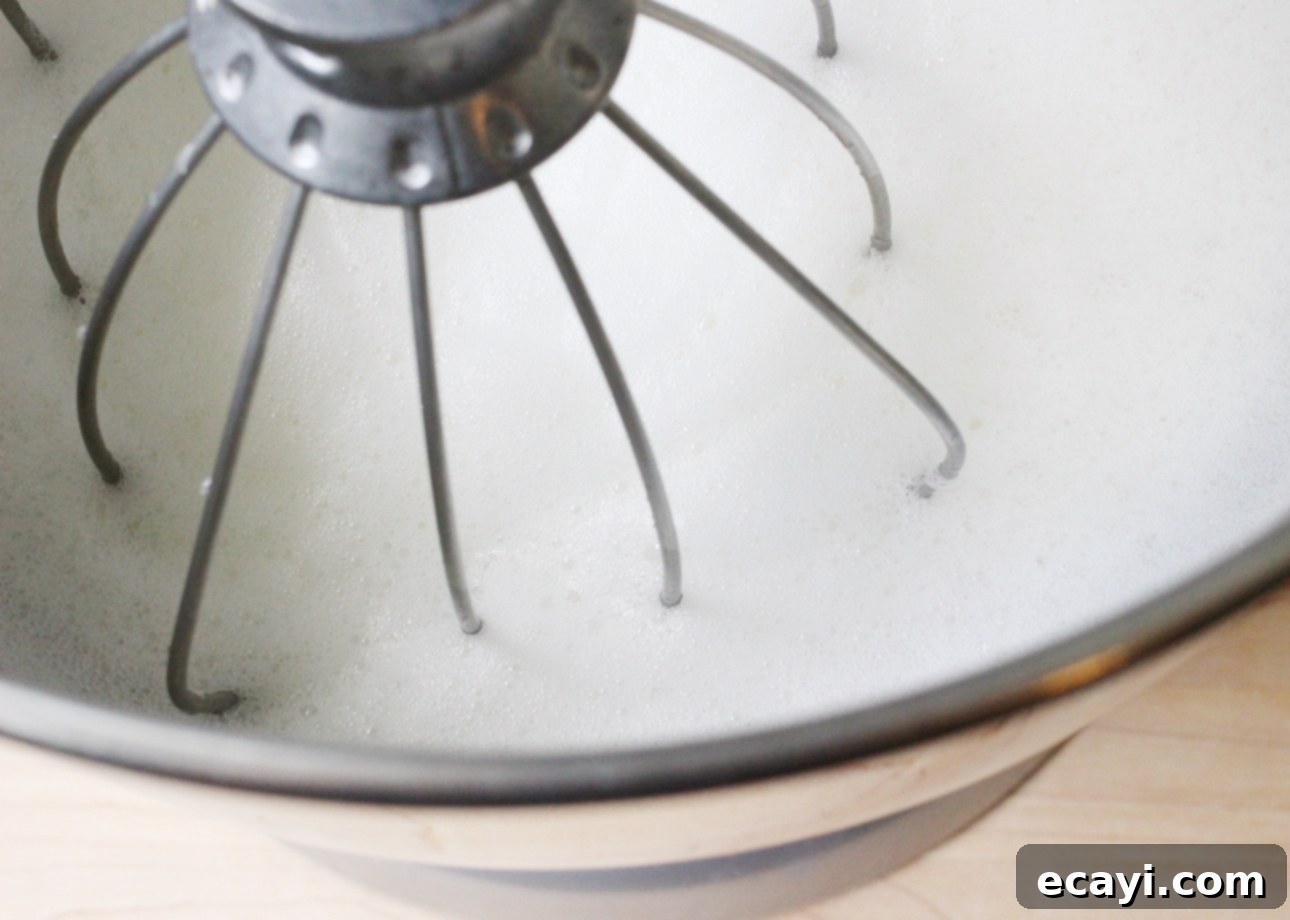
1. Prepare Your Oven and Egg Whites: Begin by ensuring your oven is preheated to 375°F (180°C). In the impeccably clean bowl of a stand mixer fitted with the whisk attachment (or a large stainless steel mixing bowl if you’re using a handheld mixer), add your room-temperature egg whites. Whisk them on medium-high speed until they become frothy and foamy, resembling soft soap suds.
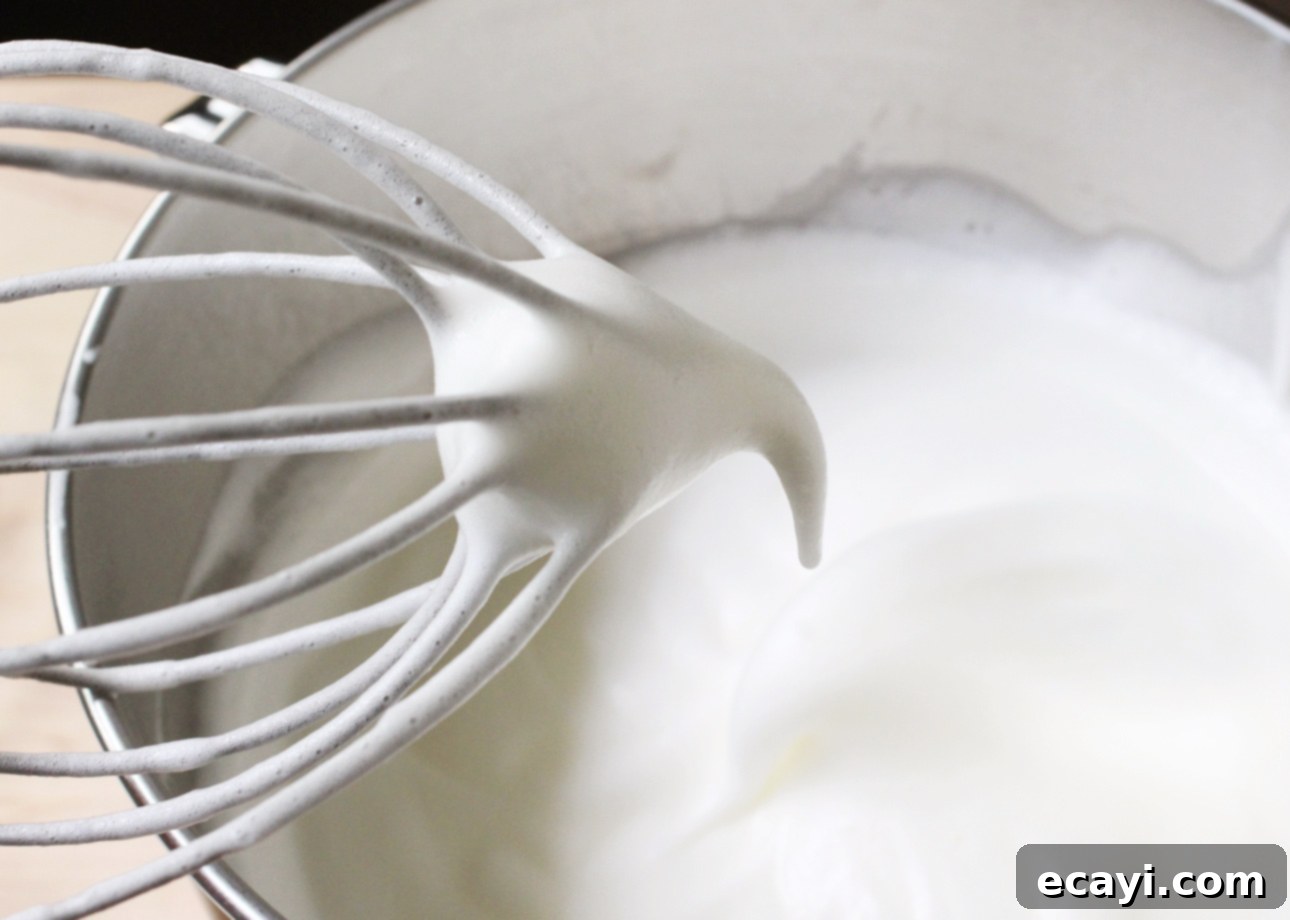
2. Add Cream of Tartar: Next, add the cream of tartar to the foamy egg whites. Continue beating on medium-high speed until soft peaks form. This means when you lift the whisk, the peaks will hold their shape briefly but then gently curl over at the tip.
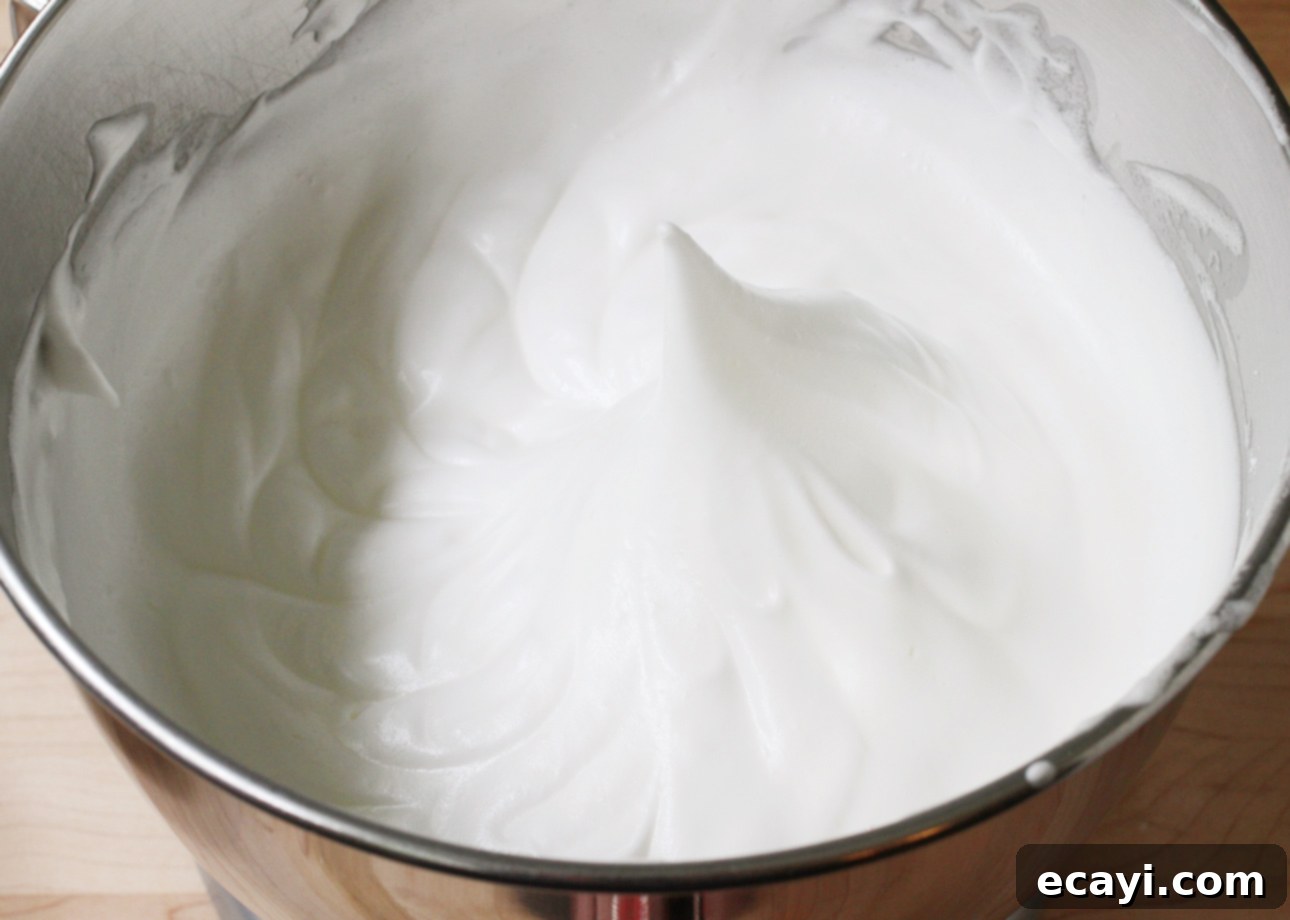
3. Incorporate Powdered Sugar for Stiff Peaks: With the mixer still running, gradually add the meticulously sifted powdered sugar, a couple of tablespoons at a time. Be patient with this step; it’s crucial to allow the sugar to fully dissolve and incorporate into the egg whites. Continue beating until all the sugar is incorporated, and you achieve stiff, glossy peaks. When you lift the whisk, the peaks should stand straight up and hold their shape firmly, indicating a stable meringue.
4. Add Flavoring: Gently fold in the pure vanilla extract or finely grated lemon zest (whichever you chose for flavoring) using a spatula until just combined. If you are using a stand mixer, carefully remove the bowl from its stand at this point to prepare for manual folding.
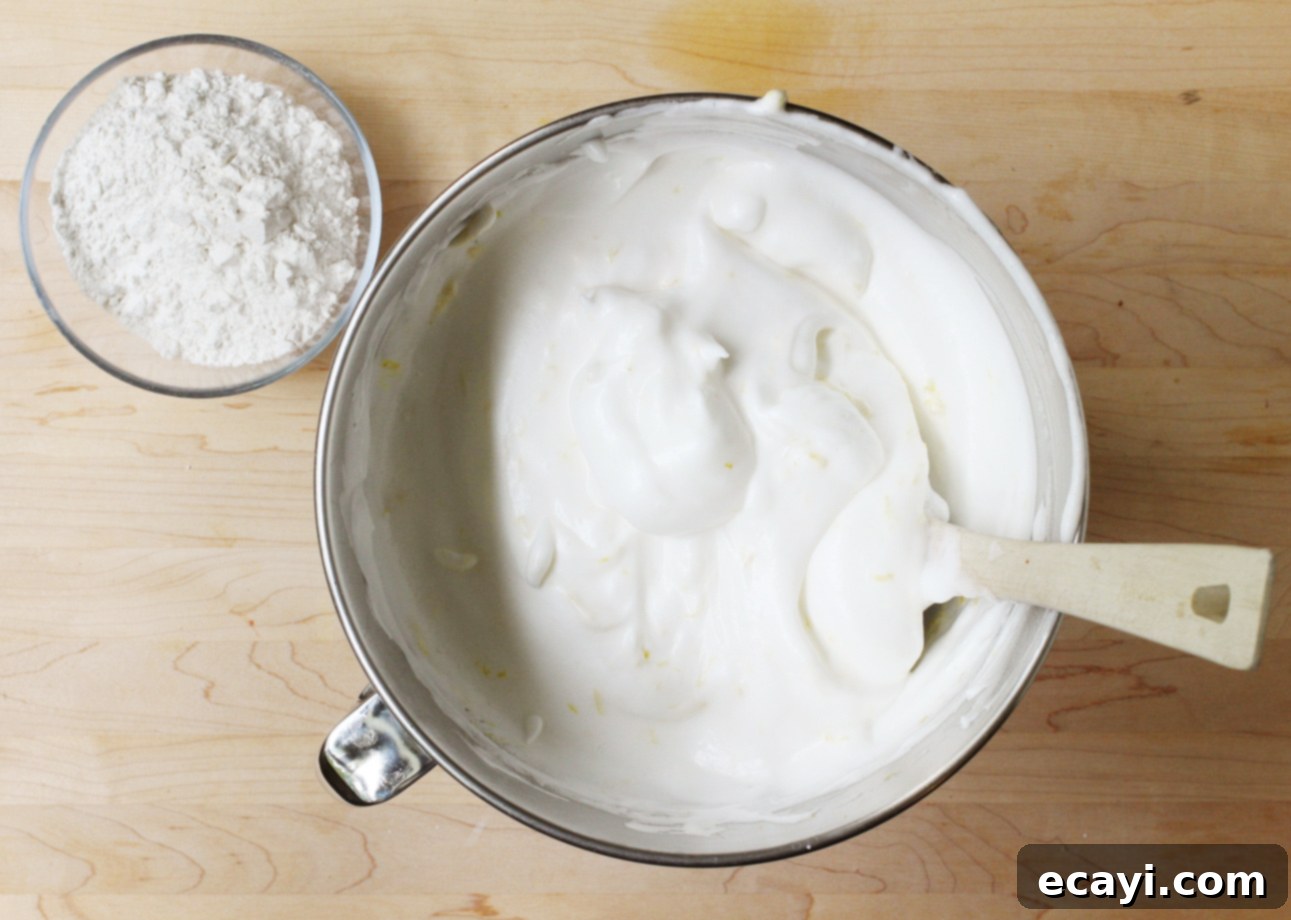
5. Gently Fold in Flour: Using your flexible spatula, gently fold in the sifted flour in four separate batches. To do this, repeatedly cut the spatula down through the center of the mixture, then sweep it from the bottom of the bowl up the sides and over the top. Rotate the bowl slightly after each fold. The key is to be extremely gentle to preserve the air in your meringue. Fold just until no streaks of flour remain; do not overmix.
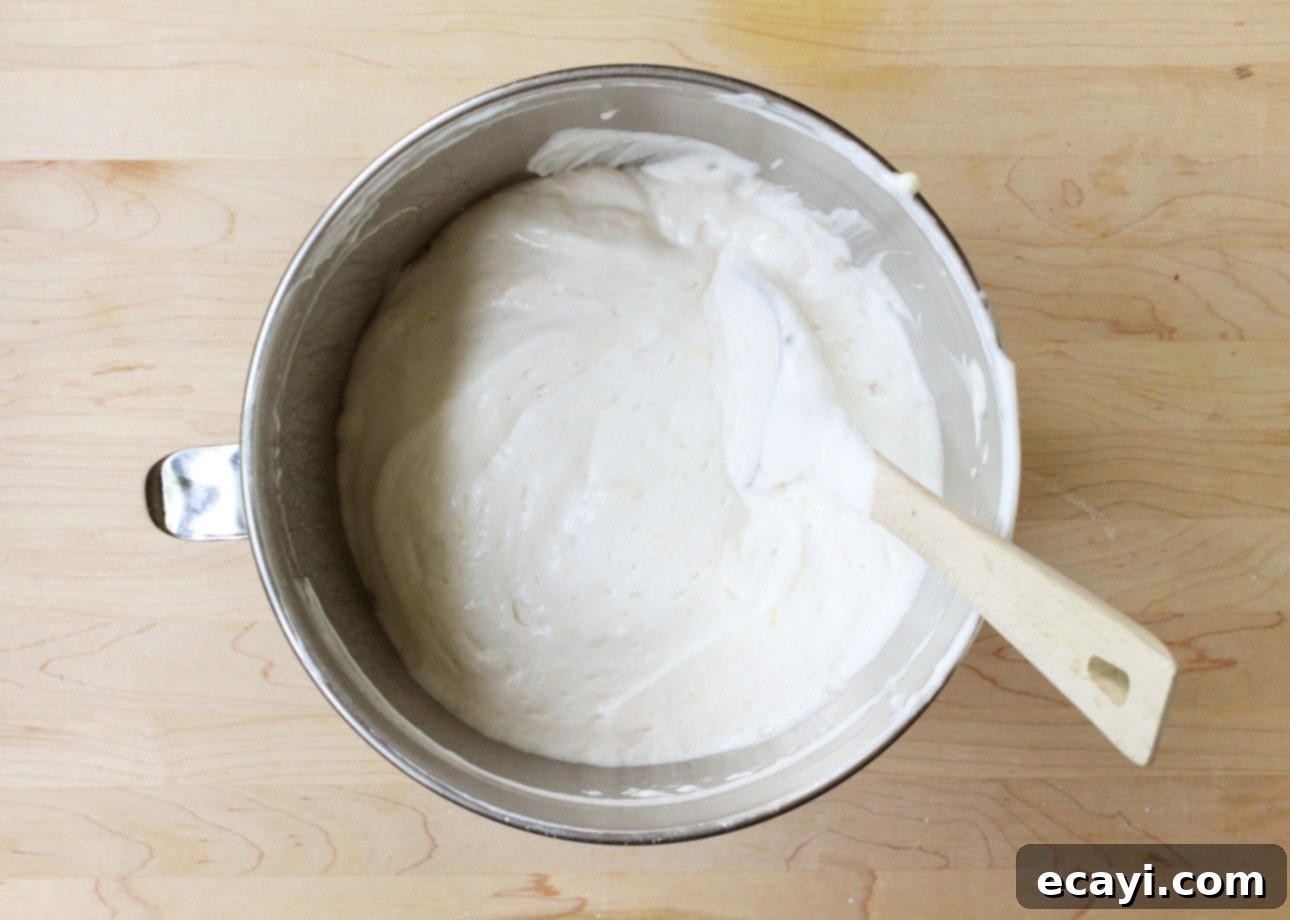
6. Transfer to Pan: Carefully transfer the delicate batter into your UNGREASED tube cake pan with a removable bottom. Use your spatula to gently spread and even out the top surface of the cake batter in the pan. Avoid tapping the pan, which can deflate the air.
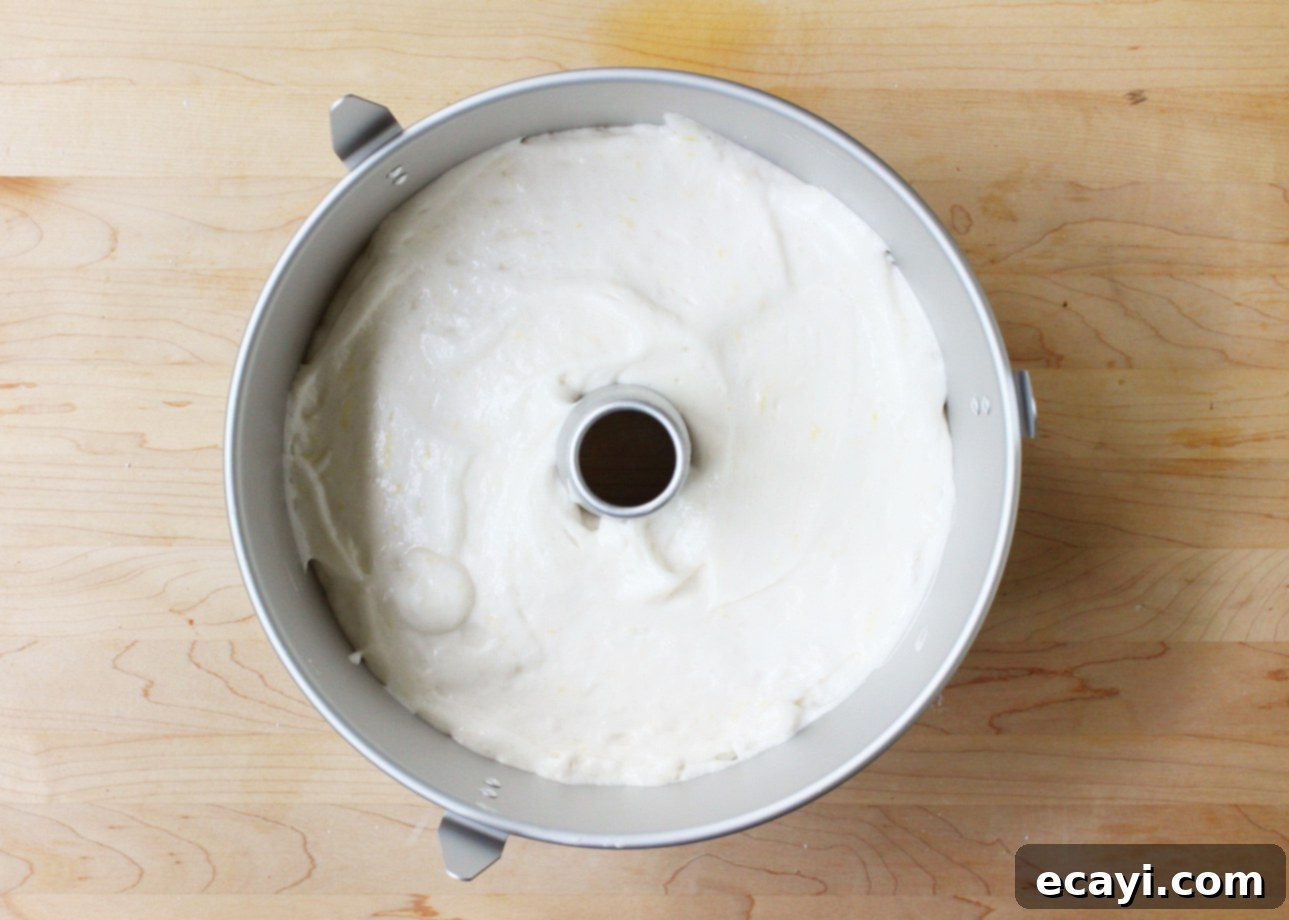
7. Bake and Invert to Cool: Bake your angel food cake in the preheated oven for approximately 30 to 35 minutes, or until the cake is beautifully golden brown on top and a wooden skewer or toothpick inserted into the center comes out clean. Immediately upon removing it from the oven, invert the hot pan onto a wire rack or use its built-in feet. Allow the cake to cool completely in this inverted position, which usually takes about 1 hour. This step is critical to prevent the cake from collapsing.
8. Unmold and Serve: Once the cake is completely cool, it’s time to unmold it. Carefully run a thin, sharp knife around the inside edge of the pan to loosen the cake. Then, lift the center part of the pan (with the cake still attached to it). Run the knife again around the base of the cake, separating it from the removable bottom, and then carefully around the central tube. Gently remove the tube part of the pan and transfer your stunning angel food cake onto a serving plate or a beautiful cake stand, ready to be adorned and enjoyed.
Pin Recipe
Homemade Angel Food Cake
Ingredients
- 12 large egg whites, or 1 ½ cups (375 ml) liquid egg whites (see notes)
- 1 tsp cream of tartar
- 1¼ cups powdered sugar, sifted
- 1 tsp pure vanilla extract, or the finely grated zest from 1 lemon
- 1 cup cake flour, sifted (see notes for substitution option)
Instructions
-
Preheat the oven to 375°F (180°C).
-
In the impeccably clean bowl of a stand mixer fitted with the whisk attachment (or in a large mixing bowl, if you’re using a handheld mixer), measure the egg whites and whisk until foamy.
-
Add the cream of tartar and beat until soft peaks form.
-
Keep on beating, adding the sifted powdered sugar a couple of tablespoons at a time, until all the sugar is incorporated and stiff peaks form.
-
Add the vanilla extract or lemon zest and fold to incorporate. If you’re using a stand mixer, remove the bowl from its stand.
-
Using a spatula, gently fold in the sifted flour in four batches by repeatedly cutting the spatula in the center of the mixture then coming up the sides.
-
Transfer the mixture into an UNGREASED tube cake pan with a removable bottom. Even out the top of the cake.
-
Bake for about 30 minutes or until the cake is golden and a toothpick inserted in the cake comes out clean. Invert the pan onto a wire rack or onto its feet and let the cake cool completely.
-
To unmold the cake, run a sharp knife around the inside of the pan, then lift the center part with the cake sitting on it. Run the knife around the center part of the cake and along the bottom to loosen it, then remove the tube part of the pan and set the cake onto a serving plate or cake stand.
-
SERVING: Always wait to garnish homemade angel food cake right before serving to make sure it stays fresh.
-
TOPPING IDEAS:
A big dollop of soft whipped cream and a tumble of fresh berries.
A slow drizzle of warm chocolate sauce or butterscotch sauce and some toasted almonds or hazelnuts.
A spoonful of bright, tart lemon curd to cut through the sweetness. Sprinkle with chopped pistachios for a pop of color.
Top with full-fat vanilla Greek yogurt, fresh fruits, and nuts.
-
STORAGE: Store homemade angel food cake under a cake dome, in a large airtight container, or carefully wrapped in plastic. The cake keeps at room temperature for up to 3 days.
Video
Notes
- If you don’t have cake flour on hand, you can make some at home. For every cup of all-purpose flour your recipe calls for, scoop out two tablespoons of the flour and replace it with two tablespoons of cornstarch. Whisk it together really well, and you’re good to go.
- Instead of separating eggs yourself, you can use egg whites sold in a carton (such as NatureEgg Simply Egg Whites or Egg Beaters All Natural 100% Egg Whites).
Did you make this?
Tell me how you liked it! Leave a comment or take a picture and tag it with @foodnouveau on Instagram.
Disclosure Notice: This site is a participant in the Amazon Associates Program, an affiliate advertising program designed to provide a means for the site to earn fees by linking to Amazon and affiliated sites.
If you click on an affiliate link, I may earn advertising or referral fees if you make a purchase through such links, at no extra cost to you. This helps me create new content for the blog, so thank you! Learn more about advertising on this site by reading my Disclosure Policy.
