Easy Raspberry Squares Recipe: Your New Favorite Tart & Sweet Berry Dessert Bars
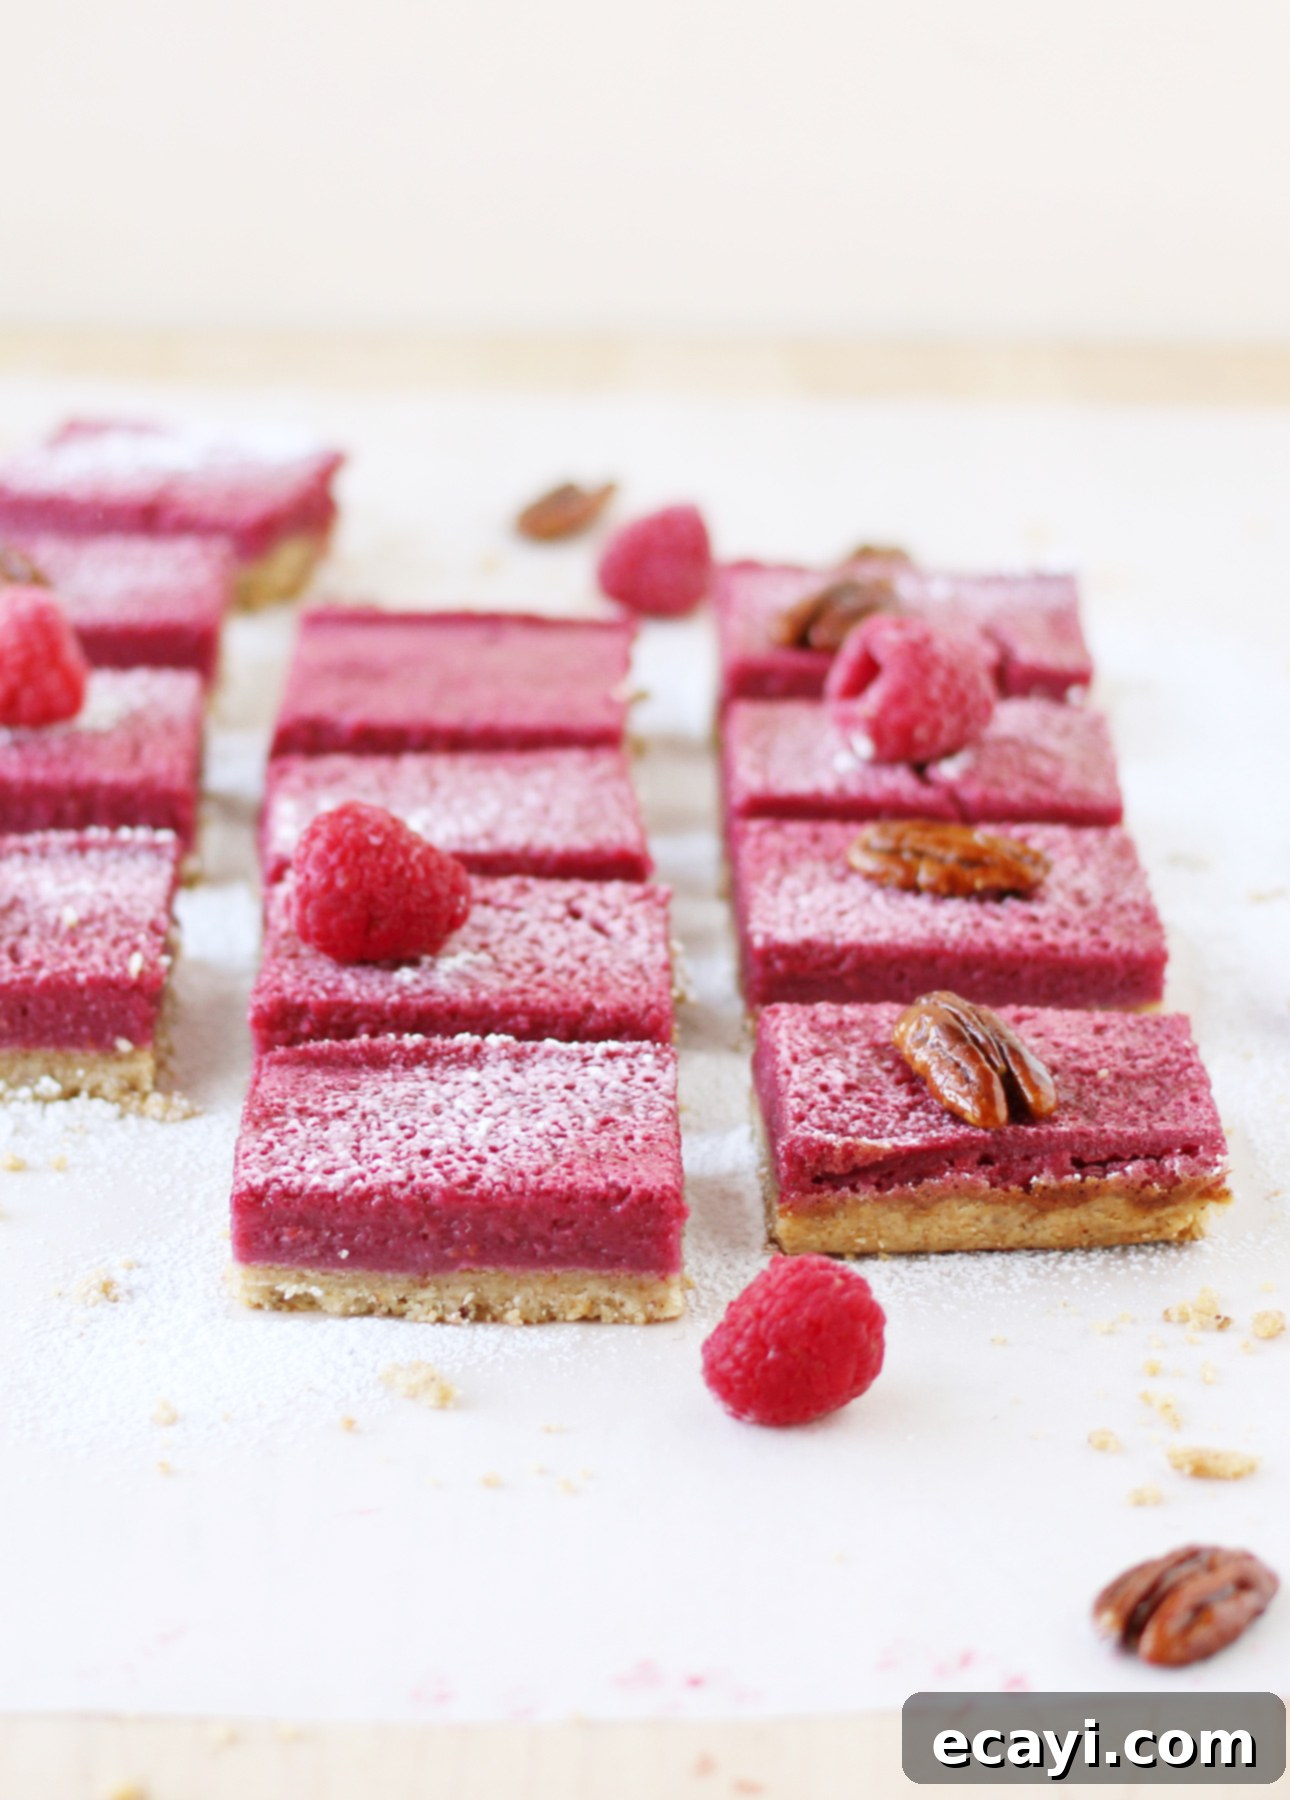
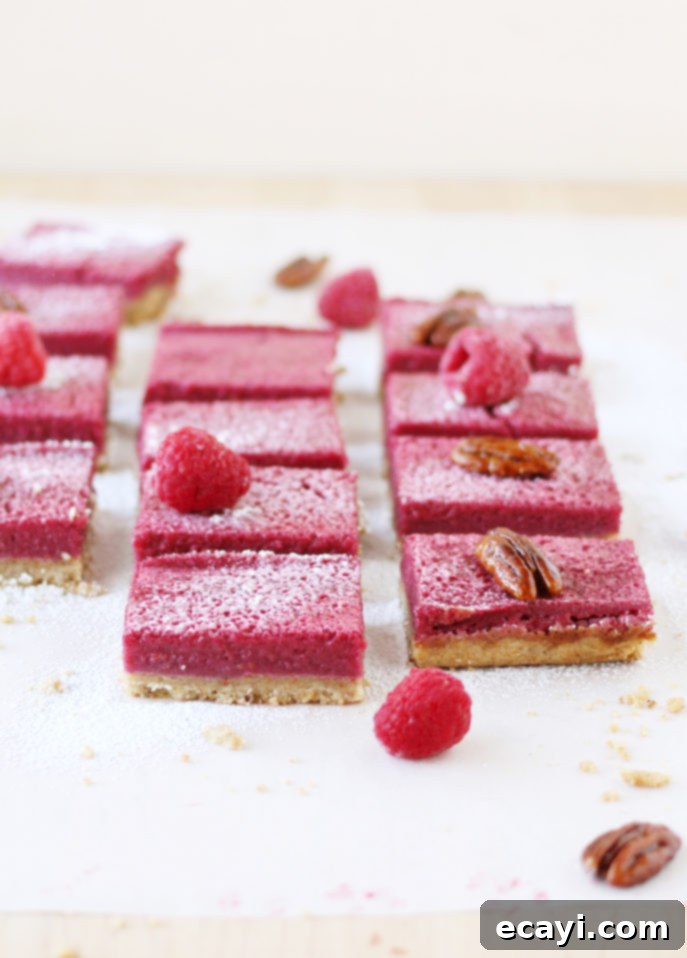
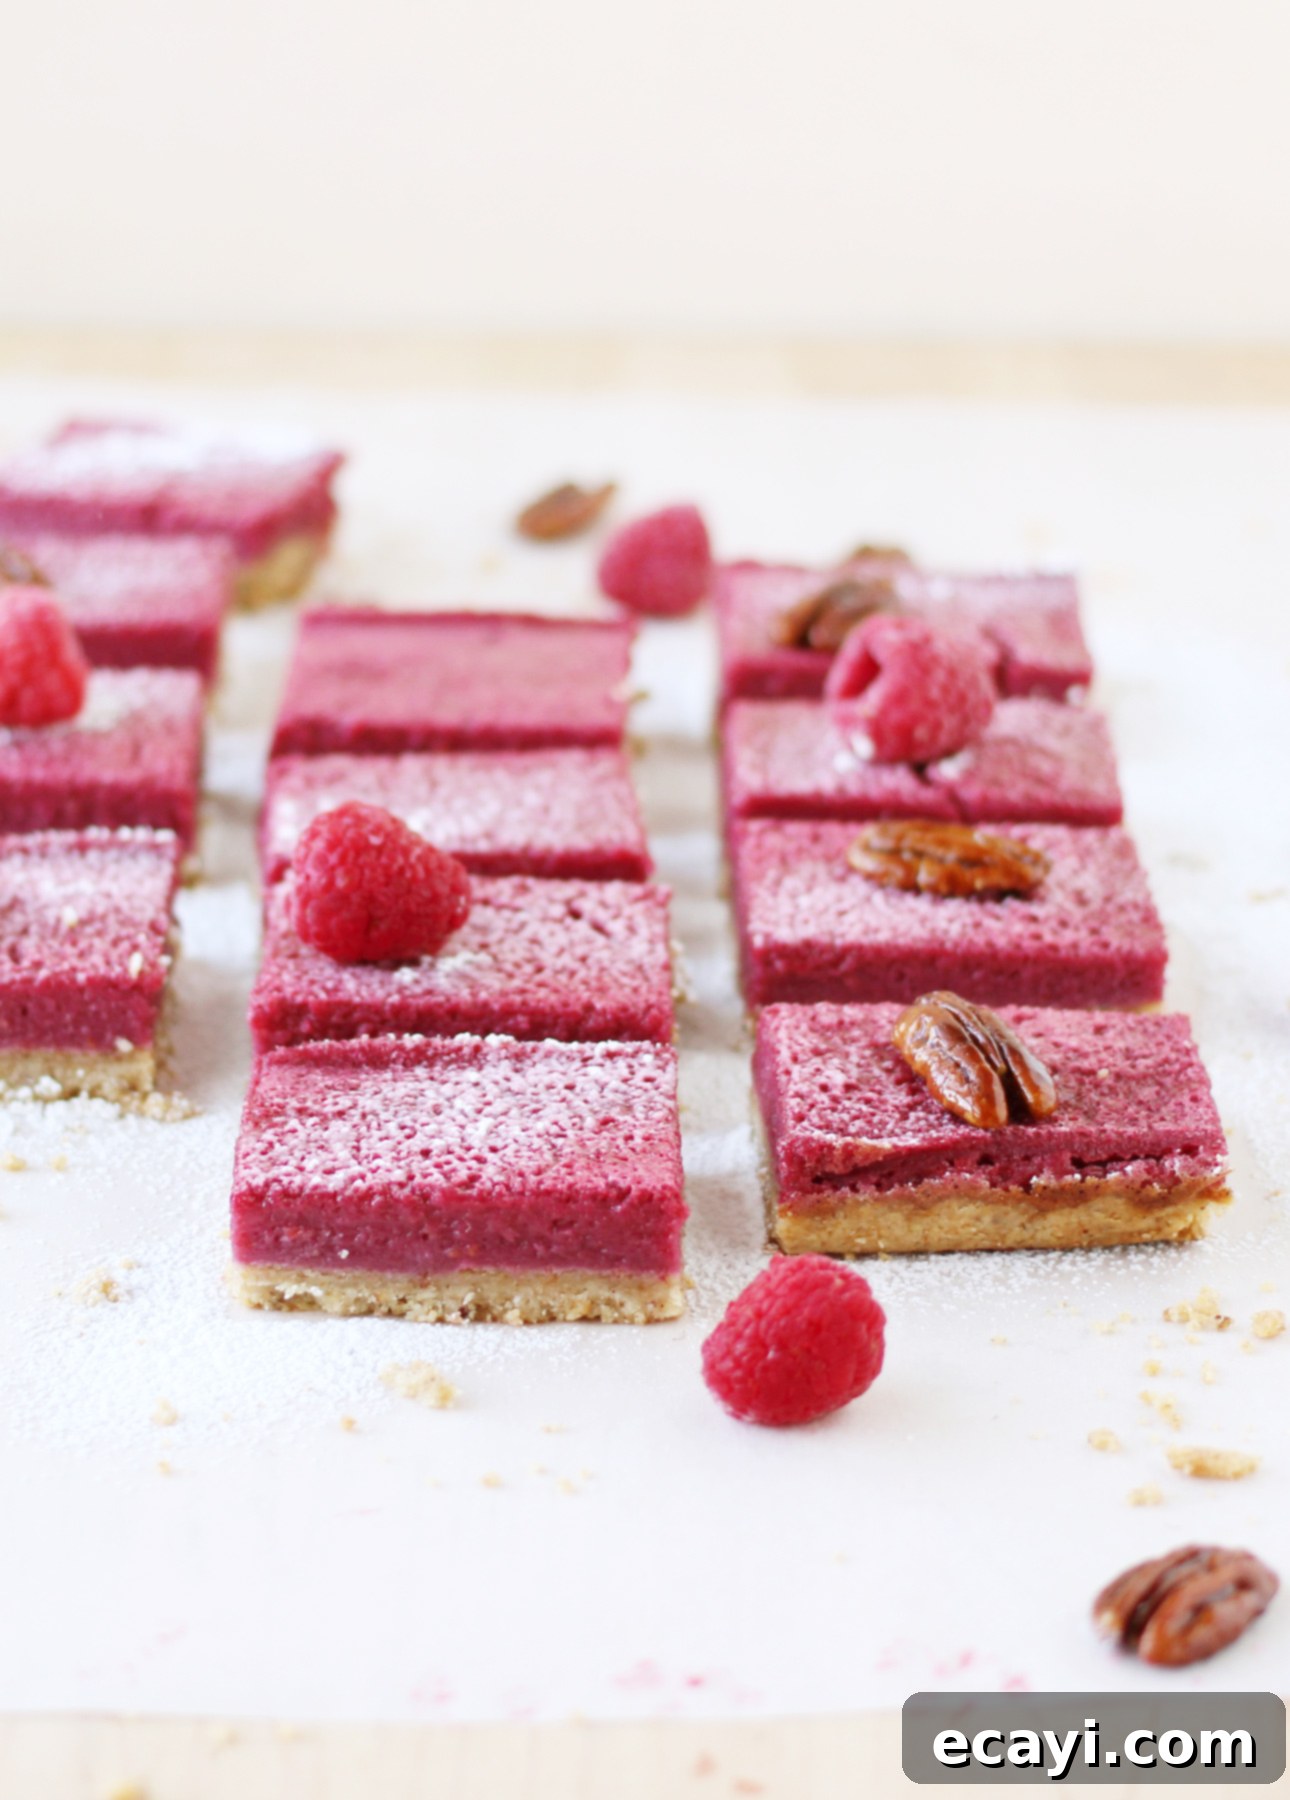
These raspberry squares are the berry cousin of lemon bars: bursting with fresh and slightly tart raspberries, they’re beautifully colorful, fruity, and just sweet enough.

This post contains affiliate links. Full disclosure is at the bottom of the article.
Are you ready to discover the true taste of summer? Imagine sinking your teeth into a refreshingly sweet and subtly tart dessert that captures the essence of fresh berries in every bite. That’s exactly what you’ll get with these incredible Raspberry Squares. Often hailed as the vibrant “berry cousin” to classic lemon bars, these squares are a delightful celebration of juicy, sun-ripened raspberries. They’re not just a dessert; they’re an experience – bursting with natural fruit flavor, boasting a gorgeous color, and hitting that perfect balance of sweetness without being cloying.
What makes this particular raspberry squares recipe stand out? It’s all about the details that create a harmonious texture and flavor profile. The crust, for instance, isn’t just any crust. We incorporate a touch of cornstarch to give it an exceptional crispness, allowing us to reduce the amount of butter while still achieving that satisfying crunch. Finely ground pecans are also mixed into the crust, adding a subtle nutty depth that beautifully complements the bright, bold taste of the raspberries. It’s a foundation that’s both sturdy and flavorful, the perfect counterpoint to the luscious filling.
And speaking of the filling, prepare for a true fruit-lover’s dream. The star of the show here is, unequivocally, the raspberry. This filling is almost entirely composed of fresh raspberries, ensuring that their vibrant, slightly tart essence shines through. Instead of relying heavily on additional egg yolks or butter to set the filling, we use a small amount of cornstarch. This ingenious trick allows the fruit’s natural splendor to take center stage, creating a silky-smooth, intensely flavored filling that’s almost “sinless” in its lightness. The result is a dessert that feels indulgent yet refreshing, perfect for warm weather gatherings or a simple afternoon treat. While they are utterly fantastic on their own, a dusting of powdered sugar and a few extra fresh raspberries on top provide an elegant finish and an extra pop of flavor.
Why You’ll Fall in Love with These Raspberry Bars
These raspberry squares are more than just a recipe; they’re a revelation for anyone who appreciates fresh fruit desserts. Here’s why they’re destined to become a staple in your baking repertoire:
- Vibrant Flavor: The recipe maximizes the natural taste of raspberries, creating a filling that’s intensely fruity, tart, and perfectly balanced with sweetness.
- Perfect Texture: Enjoy a delightful contrast between the wonderfully crisp, melt-in-your-mouth pecan crust and the smooth, jiggle-just-right fruit filling.
- Healthier Twist: By using cornstarch as a thickener in both the crust and filling, we achieve desired textures with less butter and egg yolks, letting the natural goodness of the fruit truly shine.
- Beautiful Presentation: Their striking red hue makes them a visually appealing treat, perfect for potlucks, parties, or simply brightening up your dessert table.
- Versatile & Adaptable: While fresh raspberries are ideal, this recipe also works beautifully with frozen berries, making it a year-round delight. Plus, we’ve included a dairy-free option!
Understanding the Key Ingredients
Every ingredient in this recipe plays a crucial role in achieving the perfect raspberry square. Let’s take a closer look at what makes this dessert so special:
- All-Purpose Flour: The foundation of our crust, providing structure.
- Ground Pecan Nuts: These add a subtle, buttery richness and a fantastic nutty aroma to the crust, complementing the tartness of the raspberries. You can easily grind whole pecans in a food processor.
- Powdered Sugar (Confectioners’ Sugar): Ensures a fine, tender crumb for the crust and dissolves beautifully.
- Cornstarch: A secret weapon! In the crust, it contributes to its incredible crispness and allows for a reduction in butter. In the filling, it’s the key to achieving that perfectly set, yet tender, fruit layer without needing excessive amounts of eggs or fat. This keeps the filling bright and fruit-forward.
- Kosher Salt: A pinch in both the crust and filling enhances all the flavors, balancing the sweetness and brightness.
- Canola Oil & Butter: The combination in the crust helps achieve a tender, yet crisp texture. The oil contributes to moisture without adding too much richness, while softened butter adds flavor.
- Fresh Raspberries: The undisputed star! Fresh berries offer the best flavor and vibrant color, but frozen (unthawed) raspberries are a perfectly acceptable substitute, allowing you to enjoy this treat any time of year.
- Water: Used to help break down the raspberries for the strained juice.
- Freshly Squeezed Lemon Juice: This is vital! It brightens the raspberry flavor, adds another layer of tartness, and helps to balance the overall sweetness of the filling. Don’t skip it!
- Large Eggs: Act as a binder and contribute to the creamy texture of the filling, working in conjunction with the cornstarch.
- Granulated Sugar: Provides the necessary sweetness to balance the tartness of the raspberries and lemon.

Pin Recipe
Fresh Raspberry Squares
Ingredients
Crust
- 1 cup 250 ml all-purpose flour
- ¼ cup 60 ml ground pecan nuts
- 1/3 cup 80 ml powdered sugar
- 3 tbsp 45 ml cornstarch
- ¼ tsp 1 ml kosher salt
- 3 tbsp 45 ml canola oil
- 3 tbsp 45 ml butter, softened
Filling
- 3 cups 750 ml fresh raspberries (you can use frozen – not thawed – raspberries too)
- 1/3 cup 80 ml water
- 2 tbsp 30 ml freshly squeezed lemon juice
- 2 large eggs
- 1/3 cup 80 ml granulated sugar
- 3 tbsp 45 ml cornstarch
- Pinch of kosher salt
To serve (optional)
- Powdered sugar
- Additional fresh raspberries
Instructions
-
1. Prepare Your Baking Pan: Preheat your oven to 350°F (175°C). Line an 8-inch (20-cm) square baking pan with parchment paper, ensuring it overhangs on two opposite sides. This “sling” will make it much easier to lift the finished squares out of the pan later.
-
2. Make the Crisp Pecan Crust: In a medium bowl, combine the all-purpose flour, finely ground pecan nuts, powdered sugar, cornstarch, and ¼ teaspoon of kosher salt. Whisk these dry ingredients together until thoroughly mixed. Add the canola oil and softened butter. Using a fork or your fingertips, work the wet ingredients into the dry mixture until it’s evenly combined and has a crumbly, sandy texture. Press this dough firmly and evenly into the bottom of your prepared baking pan. Bake for 15 to 20 minutes, or until the edges are just barely beginning to turn a light golden brown. This pre-baking step ensures a perfectly crisp base.
-
3. Prepare the Vibrant Raspberry Filling: While the crust is baking, start on the filling. Combine the fresh raspberries (or unthawed frozen raspberries) and water in a medium saucepan. Cook this mixture over high heat, stirring frequently. The goal is for the fruit to become very soft and mostly broken down, which usually takes about 4 to 6 minutes. Once soft, pour the cooked raspberry mixture through a fine-mesh strainer into a clean medium bowl. Press firmly on the solids with the back of a spoon or spatula to extract every last drop of flavorful liquid. Discard the remaining seeds and pulp. Measure the strained raspberry juice; you’ll need exactly 1 cup (250 ml). Adjust by removing any excess juice or adding a little water if you’re short. Stir in the freshly squeezed lemon juice.
-
4. Assemble the Filling: In another medium bowl, whisk together the granulated sugar, cornstarch, and a pinch of kosher salt until they are thoroughly combined, ensuring no lumps of cornstarch remain. Next, whisk in the two large eggs until the mixture is smooth. Slowly and gradually pour the warm raspberry juice mixture into the egg mixture while continuously whisking. This tempering step prevents the eggs from scrambling and ensures a silky-smooth filling. Once combined, carefully pour this vibrant raspberry filling over the pre-baked crust in your pan.
-
5. Bake and Cool: Return the pan to the oven and bake for another 15 to 20 minutes, or until the filling is just set. The center should still have a slight jiggle to it when gently shaken – this is exactly what you want, as it will continue to firm up beautifully as it cools. Remove the pan from the oven and let it cool completely to room temperature on a wire rack for about 1½ hours. Patience is key here; do not rush the cooling process, as it’s essential for the filling to fully set and for clean cuts. Once cool, gently slide a sharp knife along the two pan edges not covered by parchment paper, then use the parchment paper overhang to carefully lift the entire slab of raspberry squares out of the pan in one piece. Transfer to a cutting board and cut into 9 even squares.
-
6. Serving Suggestions: For an elegant touch, dust the cooled raspberry squares with powdered sugar and garnish with additional fresh raspberries just before serving. They are delightful on their own, but these simple additions elevate their presentation and flavor.
-
7. Storage Instructions: Any remaining squares should be stored in a single layer in an airtight container in the refrigerator. They will maintain their freshness and delicious taste for up to 3 days.
-
8. Make It Dairy-Free: For those with dietary restrictions or preferences, these raspberry squares can easily be made dairy-free. Simply substitute the regular butter in the crust with an equal amount of your favorite high-quality vegan butter or margarine. The texture and flavor will remain superb!
-
Recipe Credit: Marie Asselin, FoodNouveau.com. Adapted from a recipe by Eating Well Magazine.
Did you make this?
Tell me how you liked it! Leave a comment or take a picture and tag it with @foodnouveau on Instagram.
Tips for Perfect Raspberry Squares Every Time
Achieving bakery-quality raspberry squares at home is simple with a few key tips:
- Measure Accurately: Baking is a science, so precise measurements are crucial. Especially when dealing with cornstarch, ensure you’re leveling your scoops.
- Don’t Overwork the Crust: Mix the crust ingredients just until combined. Overworking can lead to a tough crust.
- Press Firmly: Ensure your crust is evenly and firmly pressed into the pan to prevent crumbling and create a solid base for the filling.
- Strain Thoroughly: Taking the time to properly strain the cooked raspberries removes all the seeds, resulting in a wonderfully smooth and refined filling texture.
- Temper the Eggs Carefully: Slowly adding the warm raspberry juice to the egg mixture while whisking constantly prevents the eggs from cooking prematurely and ensures a smooth, lump-free filling.
- Mind the Bake Time: The filling should look set around the edges but still have a slight “jiggle” in the center. It will continue to set as it cools, so resist the urge to overbake.
- Cool Completely: This is arguably the most important step for clean, beautiful cuts. The filling needs ample time to firm up. Rushing it will result in a messy, unset dessert.
Variations to Explore
While this classic raspberry square recipe is perfect as is, feel free to get creative with variations:
- Mixed Berry Squares: Substitute some of the raspberries with other berries like blackberries or blueberries for a different flavor profile.
- Citrus Zest: Add a teaspoon of lemon or orange zest to the crust mixture for an extra layer of bright flavor.
- Almond Extract: A few drops of almond extract in the filling can beautifully complement the raspberry and pecan flavors.
- Coconut Crust: For a tropical twist, replace half of the ground pecans with shredded unsweetened coconut in the crust.
Love Fruit Squares? Discover More Recipes for Every Season!
If these Fresh Raspberry Squares have ignited your passion for fruit-filled bar desserts, then you’re in for a treat! The versatility of fruit squares means you can enjoy them year-round, adapting to whatever seasonal bounty is available. From zesty citrus in winter to succulent stone fruits in summer, there’s a fruit square for every occasion.
Dive deeper into the world of delightful fruit treats and expand your baking horizons. Check out my comprehensive guide, Fruit Square Recipes for All Seasons: How to Turn Seasonal Bounty into Delightful Treats (Dairy-Free, Gluten-Free Options). This post provides detailed instructions, additional creative recipes, and even a downloadable (and printable!) PDF document to help you master the art of fruit squares. It’s packed with tips on ingredient substitutions, crust variations, and how to adapt fillings for various fruits, ensuring you can whip up a perfect batch no matter the time of year or your dietary needs.
This site is a participant in the Amazon Associates Program, an affiliate advertising program designed to provide a means for the site to earn fees by linking to Amazon and affiliated sites.
If you click on an affiliate link, I may earn advertising or referral fees if you make a purchase through such links, at no extra cost to you. This helps me creating new content for the blog–so thank you! Learn more about advertising on this site by reading my Disclosure Policy.
