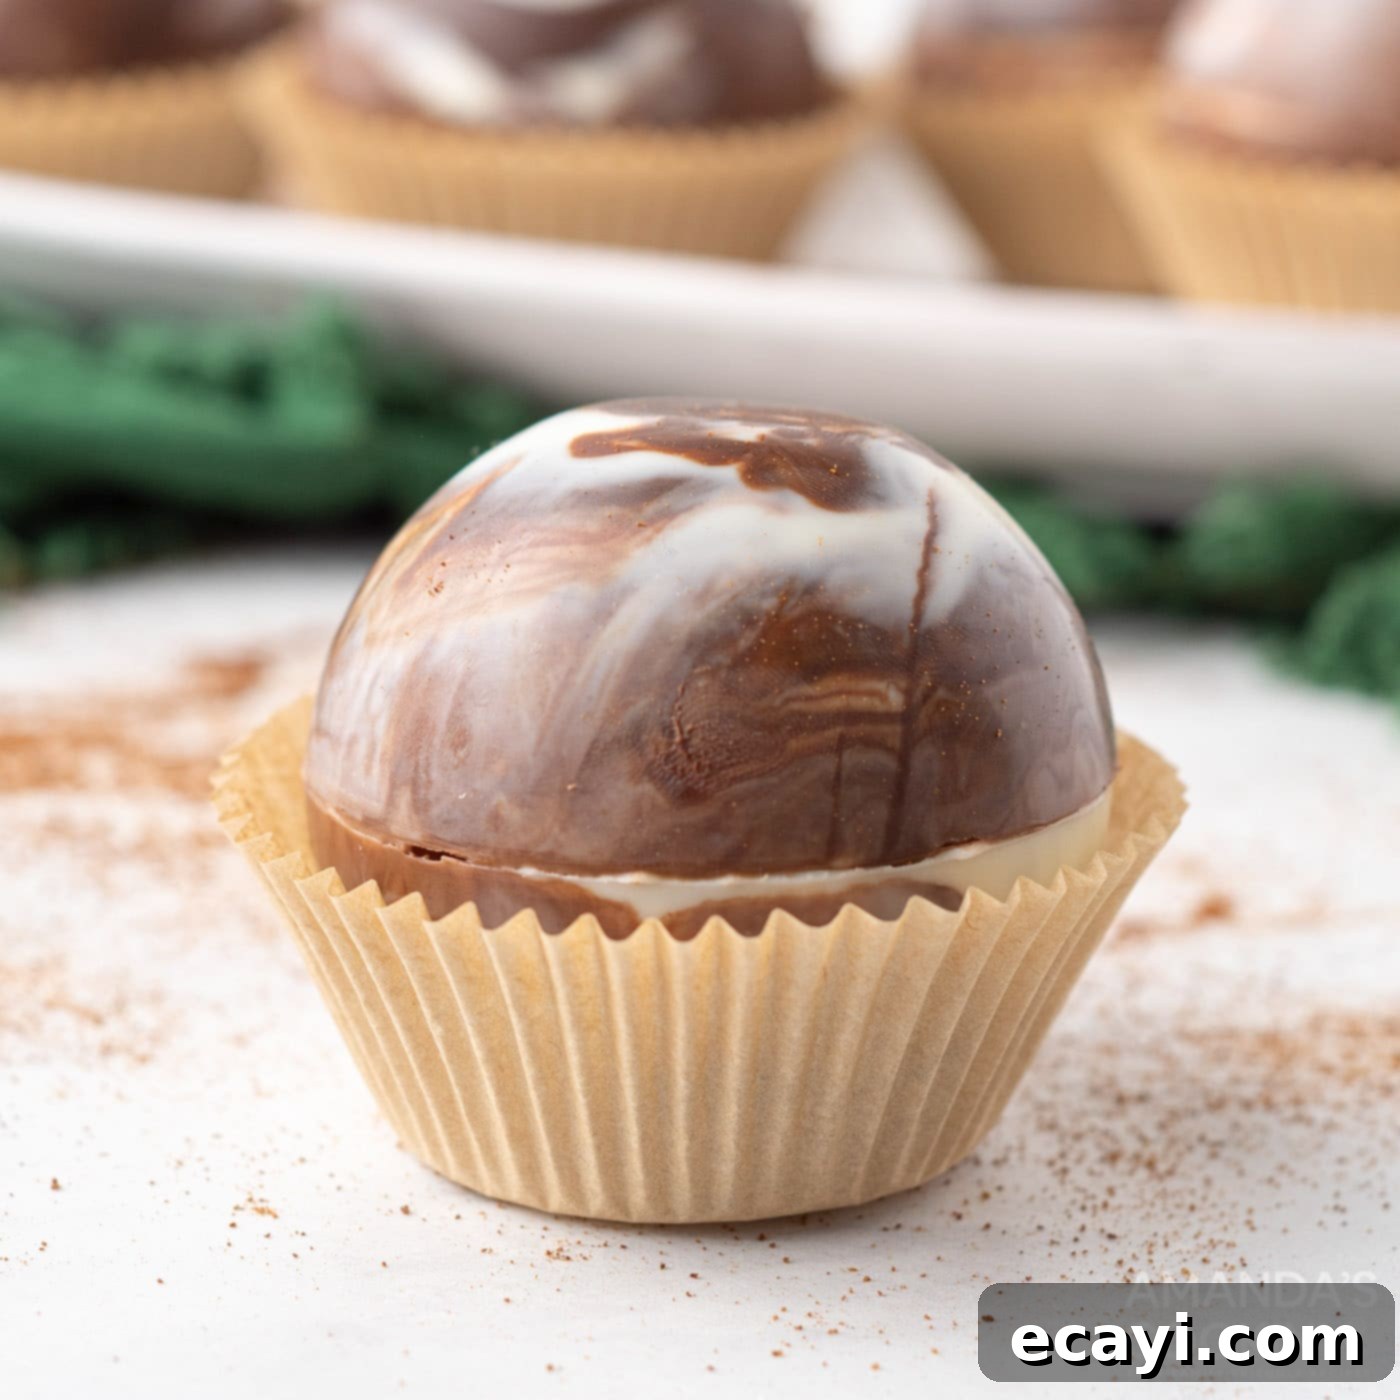
DIY Marbled Mocha Hot Cocoa Bombs: The Perfect Espresso Chocolate Treat for Coffee Lovers
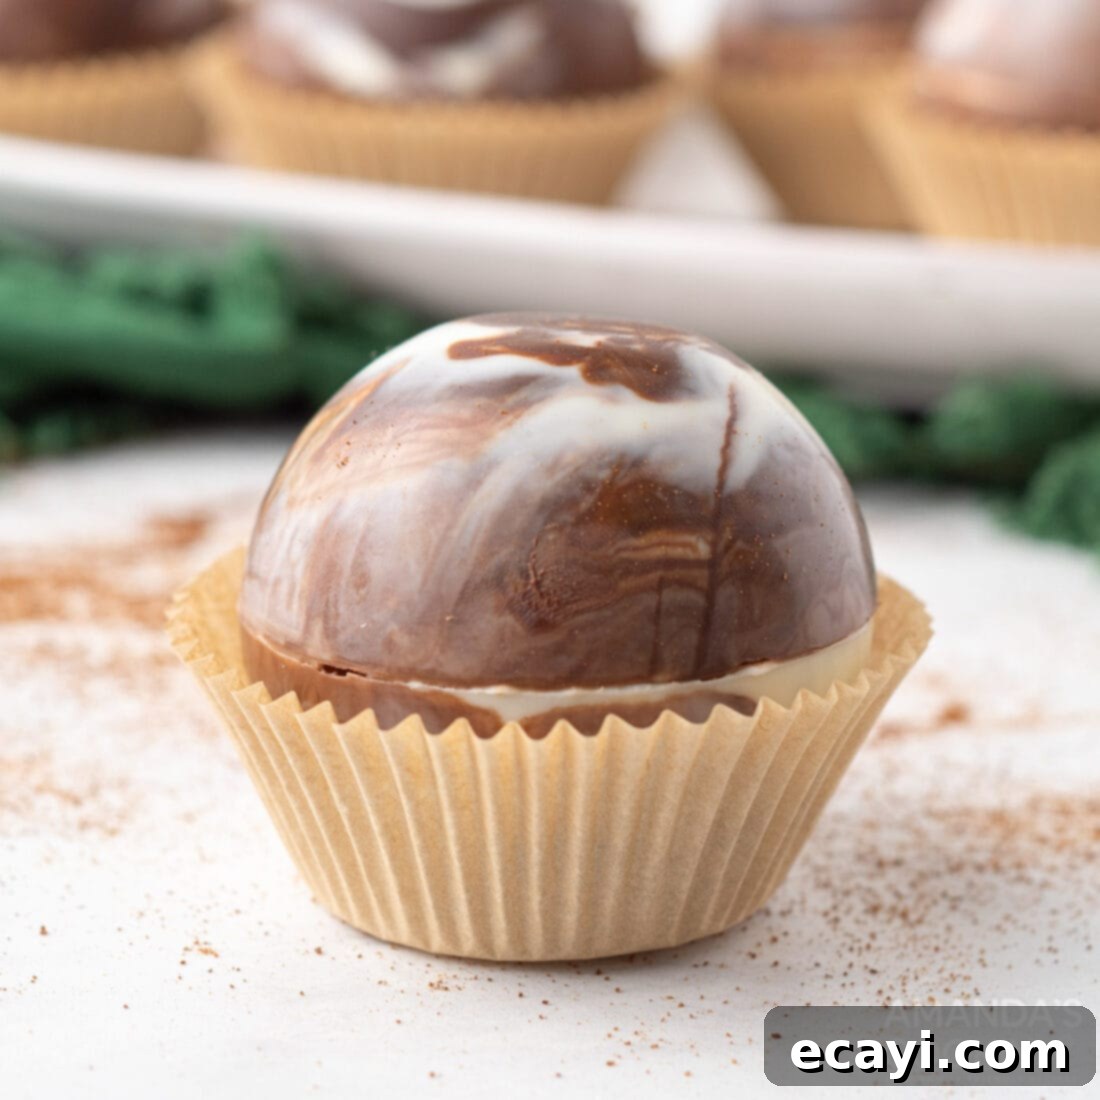
Step aside, traditional hot cocoa bombs! For every coffee enthusiast who adores a rich mocha, these Marbled Mocha Hot Cocoa Bombs are an absolute game-changer. Imagine a stunning chocolate sphere, elegantly swirled with both dark and white chocolate, waiting to melt into a luxurious, warm beverage. Each bomb is generously packed with premium hot cocoa powder and a delightful boost of instant espresso, creating a deep, complex mocha flavor that’s both comforting and invigorating. Topped with a sprinkle of mini marshmallows, these treats are a coffee lover’s dream and make for an extraordinary homemade gift.
Crafting these marbled mocha delights is not only incredibly satisfying but also allows you to customize them to perfection. The visual appeal alone makes them fantastic for gifting during holidays, birthdays, or just because. Dive into this detailed guide to create your own barista-worthy hot mocha experience, right in your kitchen.
Why These Marbled Mocha Hot Cocoa Bombs Are a Must-Try
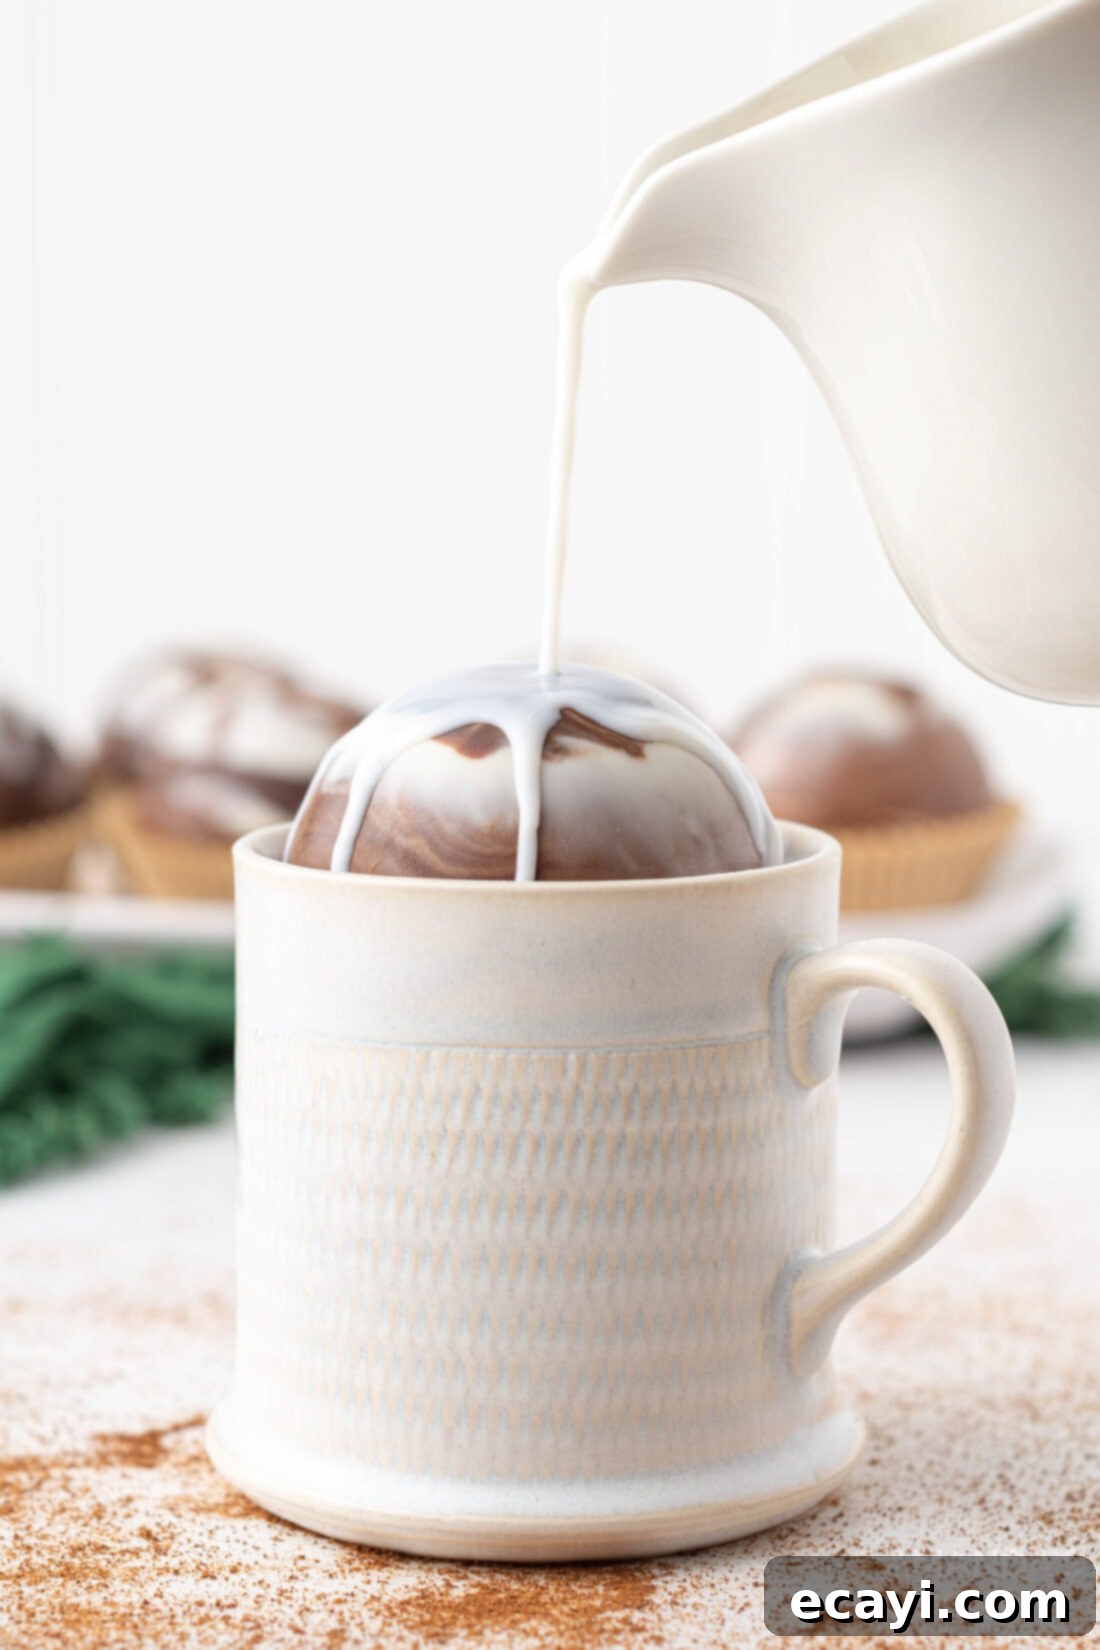
This recipe transforms the popular hot cocoa bomb concept into a sophisticated treat for adults and coffee aficionados. The secret to its success lies in the combination of high-quality ingredients and a simple, yet effective, construction. When warm milk is poured over the chocolate shell, it doesn’t just melt; it creates a captivating cascade, releasing the hidden treasures within. The semi-sweet and white chocolate shell melts smoothly, forming a rich, creamy base for your drink. This dual-chocolate approach not only creates a beautiful marbled aesthetic but also adds layers of flavor to the final beverage.
Inside, the blend of hot cocoa powder provides that classic chocolatey comfort, while the instant espresso powder introduces a delightful coffee depth, perfectly mimicking a gourmet mocha. This isn’t just hot chocolate with a hint of coffee; it’s a carefully balanced fusion of flavors designed to tantalize your taste buds. As the ingredients are released, they emulsify beautifully with the warm milk, resulting in a perfectly smooth, rich, and velvety hot drink with no lingering clumps. The mini marshmallows, of course, add a classic touch of sweetness and textural contrast, puffing up delightfully in the warmth. It’s an interactive, delicious experience that makes every sip special.
Essential Ingredients for Your Mocha Hot Cocoa Bombs
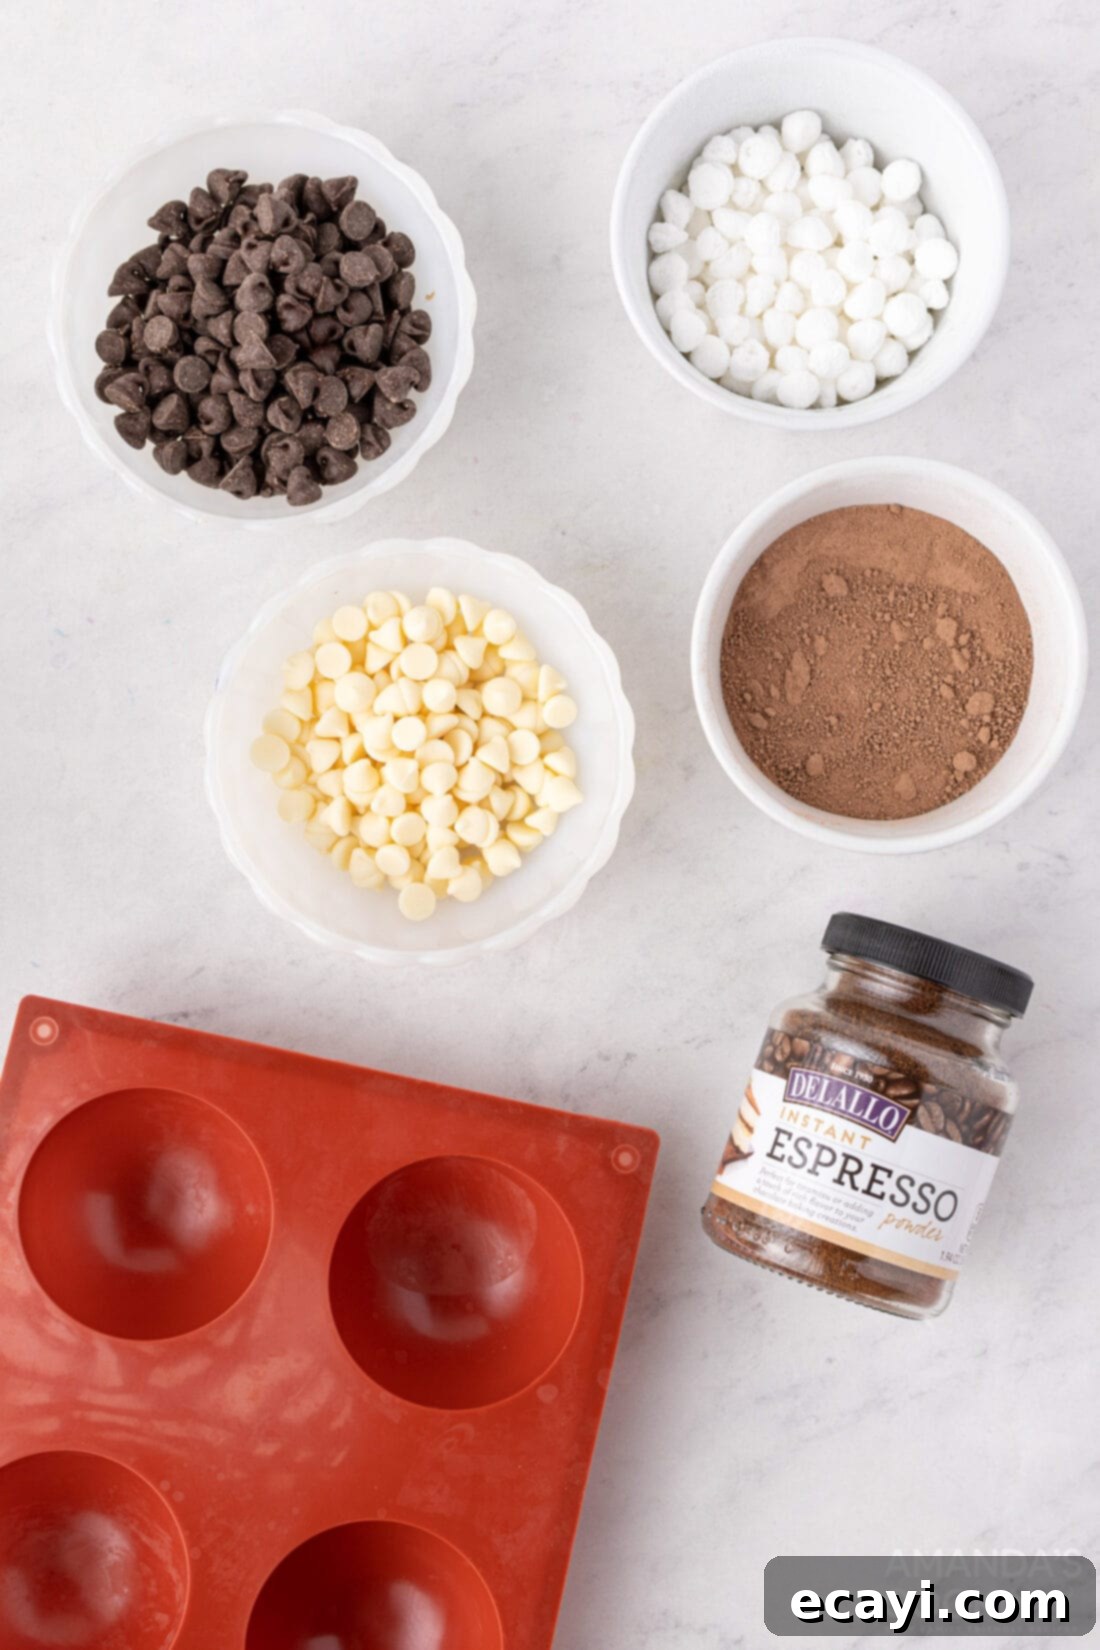
Crafting these delectable mocha bombs requires a few key ingredients, each playing a crucial role in both flavor and structure. Quality matters here, especially when it comes to chocolate, to ensure your bombs melt perfectly and taste fantastic.
- Semi-Sweet Chocolate Chips: These form the dark base of your marbled shell. Semi-sweet chocolate provides a rich, deep chocolate flavor that pairs wonderfully with coffee. Choose a good quality brand for better melting and flavor.
- White Chocolate Chips (Ghirardelli’s Recommended): This is vital for the stunning marbled effect and adds a creamy sweetness. The original recipe specifically recommends Ghirardelli’s white chocolate chips, and for good reason. Ghirardelli’s white chocolate melts exceptionally smoothly and consistently, making it much easier to work with without it seizing or becoming grainy. Generic white chocolate often contains different stabilizers and fats that can seize easily when melted, leading to frustration and wasted ingredients.
- Hot Cocoa Powder: The heart of your hot chocolate! Use your favorite high-quality hot cocoa powder. Dutch-processed cocoa powder often provides a darker color and milder flavor, while natural cocoa powder is brighter and more acidic. Either will work, but a good quality powder ensures a delicious, rich hot chocolate.
- Instant Espresso Powder: This is the magic ingredient that transforms a simple hot cocoa bomb into a mocha masterpiece. Instant espresso powder provides a concentrated coffee flavor that enhances the chocolate without making the drink taste overly bitter or like plain coffee. It’s different from instant coffee granules, which might not dissolve as smoothly or have the same depth of flavor. Look for fine instant espresso powder for best results.
- Mini Marshmallows: A classic hot chocolate topping! Mini marshmallows are perfect for tucking inside the bomb, adding a fluffy, sweet surprise when they float to the top of your warm drink.
- Milk or Water (for serving): While not part of the bomb itself, warm milk or water is essential for dissolving the bomb. Whole milk or a dairy-free alternative will provide the creamiest texture and richest flavor for your mocha.
Step-by-Step Guide: Crafting Your Marbled Mocha Hot Cocoa Bombs
These step-by-step photos and instructions are here to help you visualize how to make this recipe. You can Jump to Recipe to get the printable version of this recipe, complete with measurements and instructions at the bottom.
- Melt the Chocolates: In two separate small, microwave-safe bowls, melt your semi-sweet and white chocolate chips. Heat them in 30-second increments, stirring well after each interval. This usually takes about 60-90 seconds in total. Be careful not to overheat the chocolate, as this can cause it to seize, especially white chocolate. Alternatively, a double boiler offers a gentler, more controlled melting method.
- Coat the Molds with Marbled Effect: Take your clean, dry silicone half-sphere molds. Spoon approximately 1 tablespoon of the melted semi-sweet chocolate into each half sphere, followed by about 1 tablespoon of the melted white chocolate. Using the back of a small spoon or a clean pastry brush, gently swirl the two chocolates together a maximum of 3-4 times. Over-swirling will cause the colors to fully mix and you’ll lose the beautiful marbled effect. Spread the swirled chocolate evenly to coat the entire inside surface of each mold, ensuring there are no thin spots.
- Chill to Set: Place the filled molds into the refrigerator or freezer for 10-12 minutes, or until the chocolate is completely hardened and easily pulls away from the silicone. This step is crucial for maintaining the bomb’s shape.
- Reinforce the Edges: Once set, carefully remove the molds from the fridge/freezer. Use a small amount of your remaining melted chocolate to reinforce the edges of each half sphere. This adds structural integrity and helps create a strong seal later. Let these reinforced edges set again until hardened.
- Gently Demold: With extreme care, gently peel back the silicone molds to release each chocolate half-sphere. Minimize handling the chocolate directly, as the warmth from your hands can melt it and leave visible fingerprints. Work quickly and consider wearing food-safe gloves if you want pristine surfaces.
- Fill with Hot Cocoa: In 6 of your chocolate half-spheres, spoon 1 tablespoon of your chosen hot cocoa powder. Distribute it evenly at the bottom of the sphere.
- Add Espresso and Marshmallows: On top of the hot cocoa powder in each of the 6 filled spheres, add 1 teaspoon of instant espresso powder. Then, generously sprinkle in a small handful of mini marshmallows. These are your delicious surprises!
- Prepare for Sealing: Warm a small, flat plate in the microwave for about 45 seconds. The plate should be warm to the touch, but not scorching hot. This will be used to create a clean, even edge for sealing your bombs.
- Seal the Bombs: Take an empty chocolate half-sphere and place its rim onto the warm plate for just a few seconds until the edge slightly melts and becomes smooth. Immediately place this melted edge onto the corresponding filled half-sphere, ensuring the edges align perfectly. Gently press them together to form a complete sphere. Run a clean finger around the seam to smooth any excess melted chocolate and create a clean seal. Let the assembled bomb set for a minute or two to fully harden. Repeat this process for the remaining 5 spheres until all your mocha hot cocoa bombs are assembled.
- Enjoy Your Mocha Hot Cocoa: To prepare your drink, place one finished cocoa bomb into your favorite mug.
- Pour and Stir: Top the cocoa bomb with 6 ounces (about ¾ cup) of warm milk or water. As the warm liquid hits the chocolate, watch the bomb gracefully melt, releasing its delightful contents. Once the shell has fully melted, stir well to ensure all the cocoa, espresso, and chocolate are thoroughly emulsified into a smooth, rich hot mocha. Serve immediately and savor every comforting sip!
Frequently Asked Questions About Hot Cocoa Bombs
Proper storage is key to maintaining the quality and appearance of your hot cocoa bombs. Like any delicate chocolate candy, it’s best to store them in a cool, dark place away from direct heat, sunlight, and strong odors. An airtight container at room temperature is usually sufficient for a few days to a week. If you plan to keep them for longer, or if your kitchen is particularly warm, storing them in the refrigerator in an airtight container can extend their shelf life significantly. Just ensure they are protected from moisture and condensation, which can cause sugar bloom on the chocolate surface.
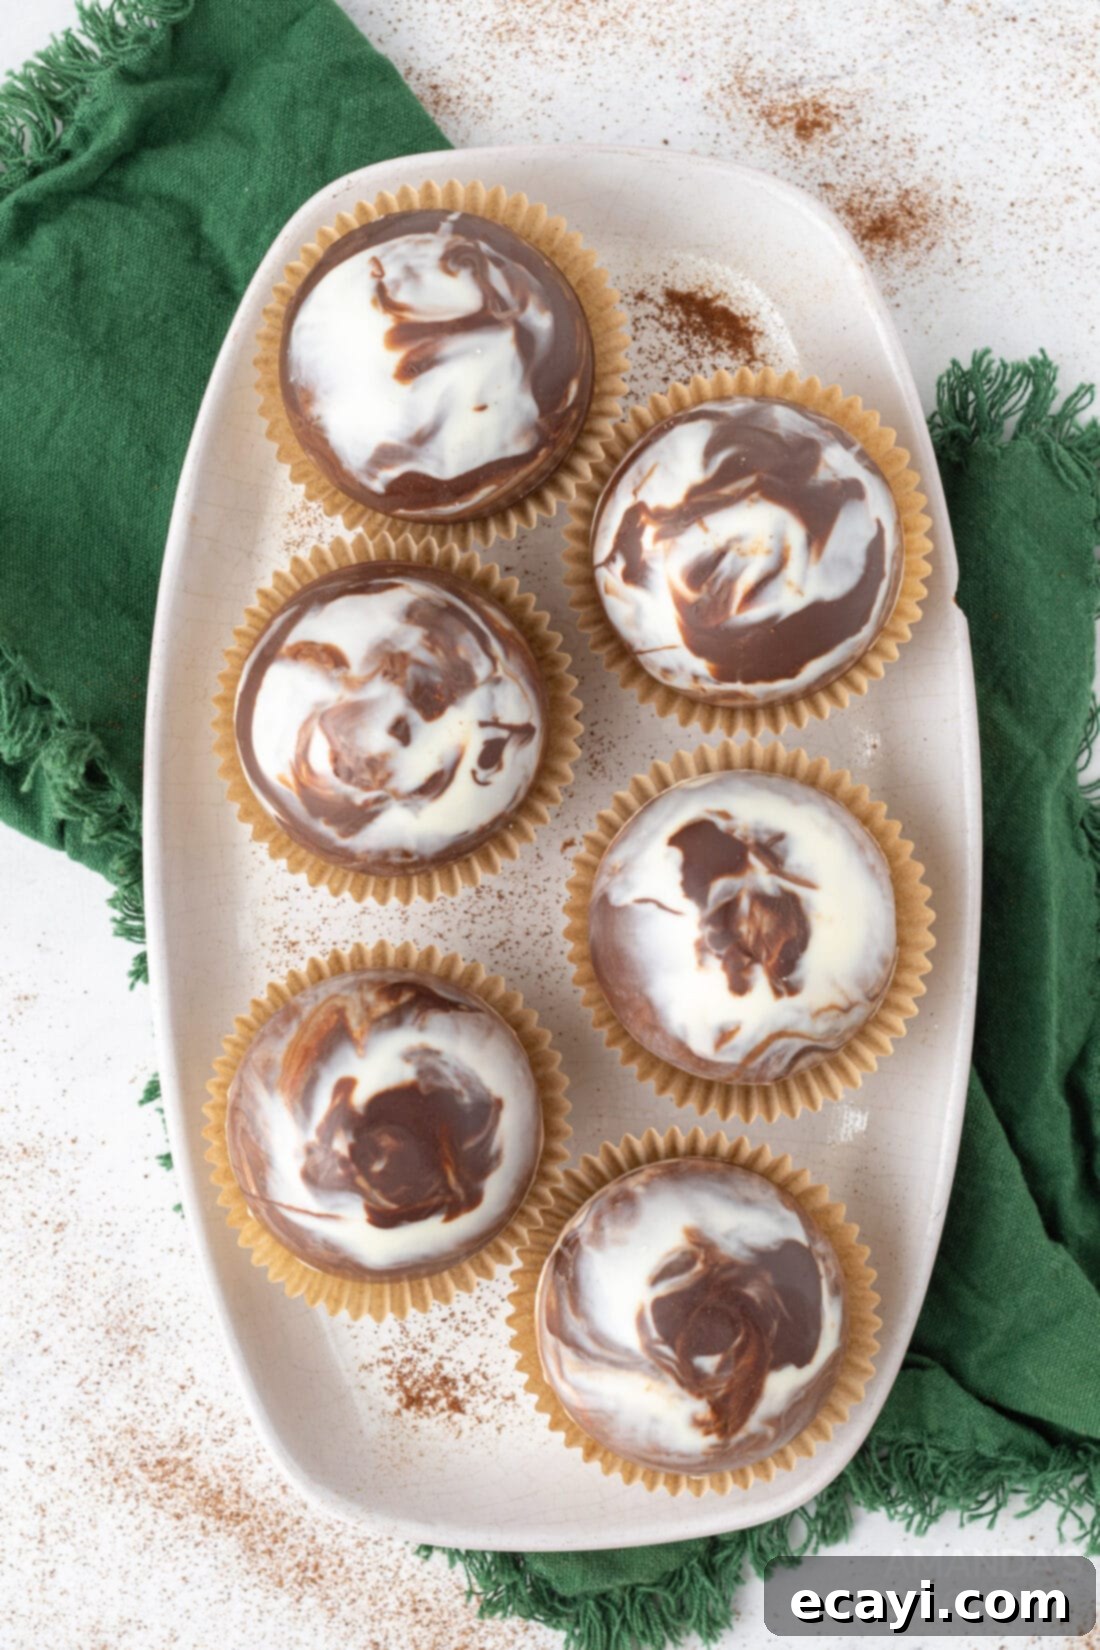
These marbled mocha hot cocoa bombs are inherently beautiful, making them perfect for gifting! A simple yet elegant presentation can elevate them further. Placing each bomb into a white paper cupcake liner or a decorative silicone liner will not only protect them but also dress them up beautifully. For individual gifts, slip the lined bomb into a clear cellophane bag and tie it with a festive ribbon. You can also create small gift sets by packaging a few bombs in a small decorative box, perhaps alongside a personalized mug or a mini whisk. Don’t forget to include a tag with simple instructions for making the hot cocoa!
Preventing white chocolate from seizing is crucial for a smooth, workable consistency, especially when creating the marbled effect. The original recipe specifically recommends using Ghirardelli’s white chocolate chips because they are renowned for melting beautifully and resisting seizing. Generic white chocolate brands often contain less cocoa butter and more sugar or other additives, making them prone to seizing when exposed to even a tiny amount of moisture or excessive heat. To prevent seizing: always use a clean, dry bowl and utensils, melt chocolate in short bursts (30-second increments in the microwave) stirring thoroughly between each, or use a double boiler over simmering (not boiling) water. Never let water or steam come into contact with the melting chocolate.
While instant coffee can be used in a pinch, instant espresso powder is highly recommended for these mocha bombs. Espresso powder is much finer, dissolves more readily, and offers a more concentrated, richer coffee flavor that blends seamlessly with chocolate. Instant coffee granules might not dissolve as smoothly, and their flavor can sometimes be harsher or less pronounced, impacting the overall mocha experience. For the best flavor and texture, stick with instant espresso powder if possible.
Achieving a beautiful marbled effect requires a light touch. After spooning both semi-sweet and white chocolate into the mold, swirl them together gently with the back of a spoon or a pastry brush. The key is to swirl no more than 3-4 times. Over-swirling will cause the chocolates to fully combine, losing the distinct marbled patterns and resulting in a uniform, lighter brown color. You want to see distinct streaks of both dark and white chocolate for that striking visual appeal. Ensure your molds are clean and completely dry before adding any chocolate.
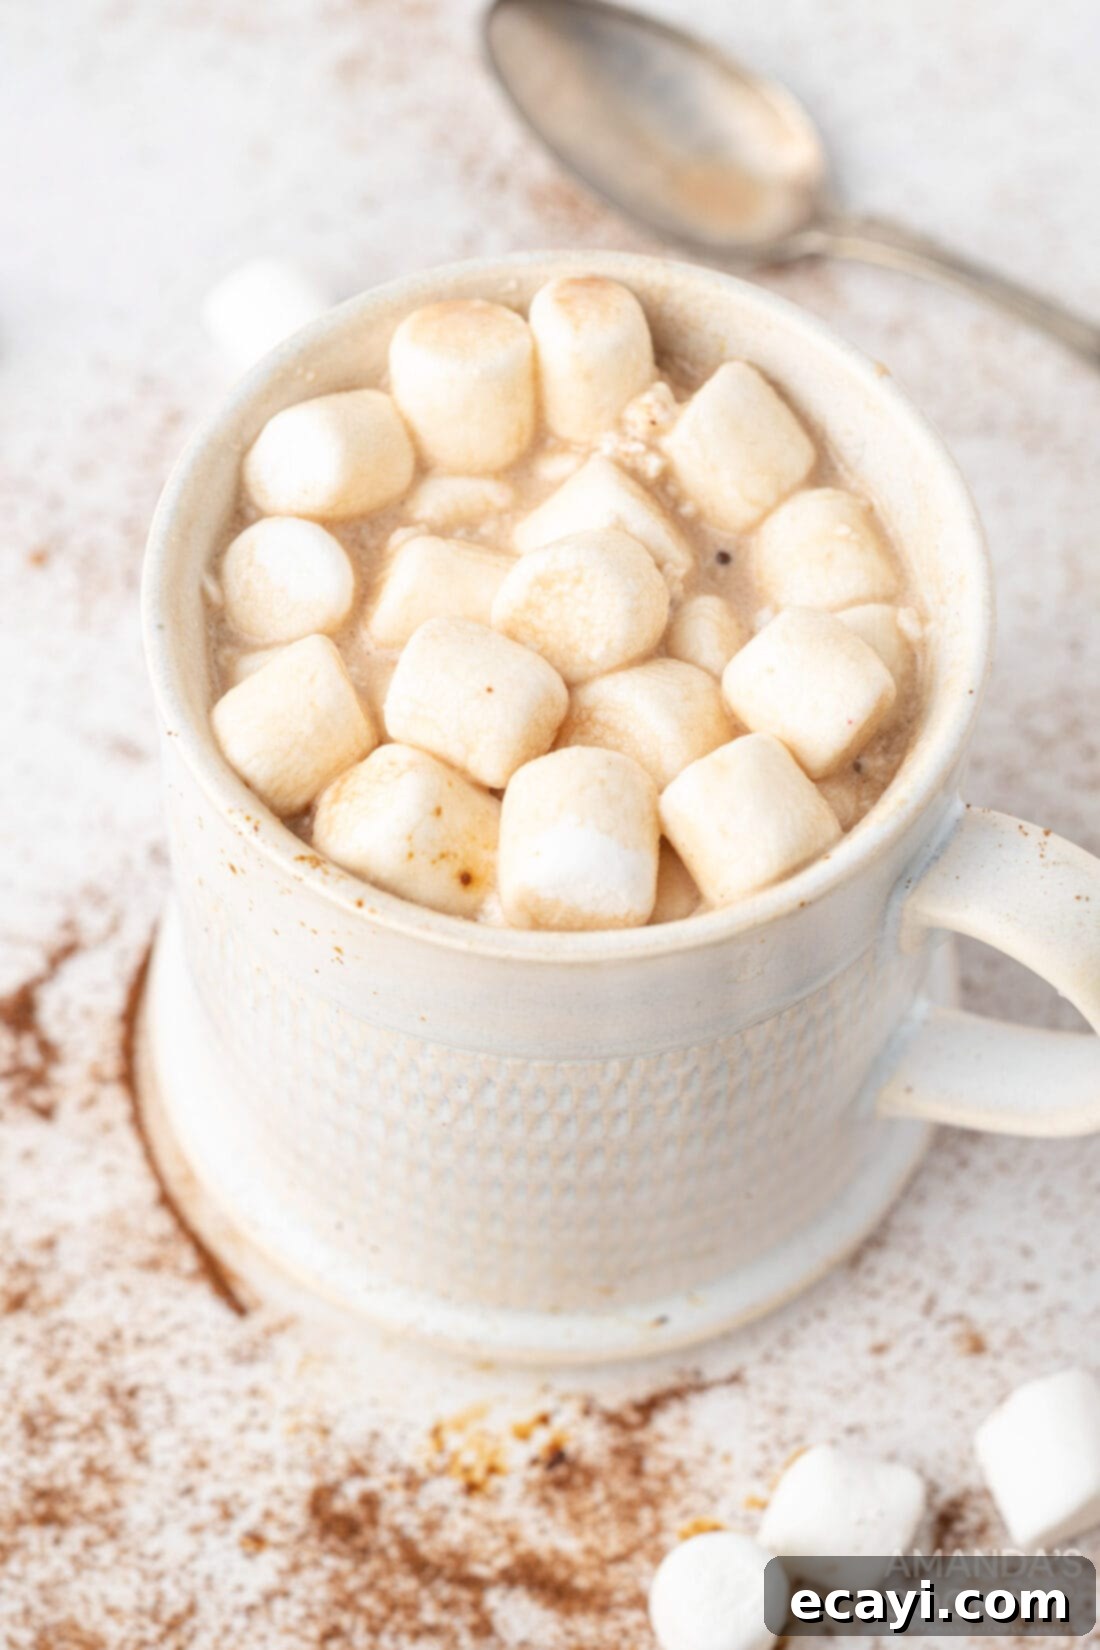
Hot cocoa bombs have captured the hearts of many, and it’s time for coffee enthusiasts to join the fun! These delicious marbled mocha hot cocoa bombs offer a unique blend of rich chocolate and robust espresso, creating a sophisticated and indulgent treat. Whether you’re making them for yourself, as thoughtful gifts, or for a special occasion, they are sure to impress. Get creative with your marbling and enjoy the delightful explosion of flavors.
Discover More Hot Cocoa Bomb Recipes
If you’ve fallen in love with making hot cocoa bombs, we have plenty more ideas to keep your creativity flowing and your taste buds happy. Explore these other fantastic hot cocoa bomb variations:
- Caramel Hot Cocoa Bombs: A sweet and buttery twist on the classic.
- Strawberry White Chocolate Hot Cocoa Bombs: A fruity and creamy delight.
- Red Velvet Hot Cocoa Bombs: Indulgent and beautiful, just like the cake.
I love to bake and cook and share my kitchen experience with all of you! Remembering to come back each day can be tough, that’s why I offer a convenient newsletter every time a new recipe posts. Simply subscribe and start receiving your free daily recipes!
Marbled Mocha Hot Cocoa Bombs
IMPORTANT – There are often Frequently Asked Questions within the blog post that you may find helpful. Simply scroll back up to read them!
Print It
Pin It
Rate It
Save ItSaved!
Ingredients
- ½ cup semi sweet chocolate chips
- ½ cup white chocolate chips Ghirardelli’s
- 6 tablespoons hot cocoa powder
- 6 teaspoons instant espresso powder
- Mini marshmallows
Things You’ll Need
-
Silicone sphere molds
-
Double boiler
Before You Begin
Instructions
-
In two small, microwave safe bowls, melt semi sweet and white chocolate chips in 30 second increments stirring in between. It should take about 60-90 seconds. Alternatively, you can use a double boiler.
-
Spoon about 1 tablespoon of each into each half sphere mold. Using the back of a spoon or a pastry brush, gently swirl the chocolate together for a marbled effect and spread to coat the sides. Don’t swirl more than 4 times in each mold as the colors will mix and be indistinguishable.
-
Let set in the fridge or the freezer for 10-12 minutes or until hardened.
-
Reinforce the edges with a little of the remaining chocolate. Let set until hardened.
-
Carefully remove each half sphere from the molds. Be sure to handle each half sphere very little as the chocolate will melt from the warmth of your hands and fingerprints will be visible.
-
In 6 of the half spheres, spoon 1 tablespoon of the hot cocoa powder.
-
Top with 1 teaspoon of the espresso powder and a couple mini marshmallows.
-
Warm a small plate in the microwave for 45 seconds. Place an empty half sphere on the plate for a few seconds until the edge begins to melt.
-
Place empty half onto the corresponding filled half sphere ensuring that the edges are aligned. Run a clean finger around the edge to clean up any excess melted chocolate. Let set for a minute. Repeat with remaining 5 spheres until all of the cocoa bombs are assembled.
-
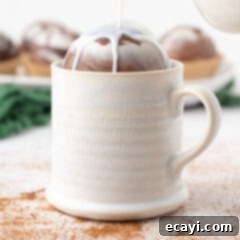
To make hot cocoa, place a cocoa bomb into a mug and top with 6 oz of warm milk or water.
-
Once the shell has melted, stir to emulsify. Serve immediately and enjoy!
Nutrition
The recipes on this blog are tested with a conventional gas oven and gas stovetop. It’s important to note that some ovens, especially as they age, can cook and bake inconsistently. Using an inexpensive oven thermometer can assure you that your oven is truly heating to the proper temperature. If you use a toaster oven or countertop oven, please keep in mind that they may not distribute heat the same as a conventional full sized oven and you may need to adjust your cooking/baking times. In the case of recipes made with a pressure cooker, air fryer, slow cooker, or other appliance, a link to the appliances we use is listed within each respective recipe. For baking recipes where measurements are given by weight, please note that results may not be the same if cups are used instead, and we can’t guarantee success with that method.
