Easy Skillet Chicken Thighs: Your Go-To Recipe for Flavorful, Tender Meals in Under 40 Minutes
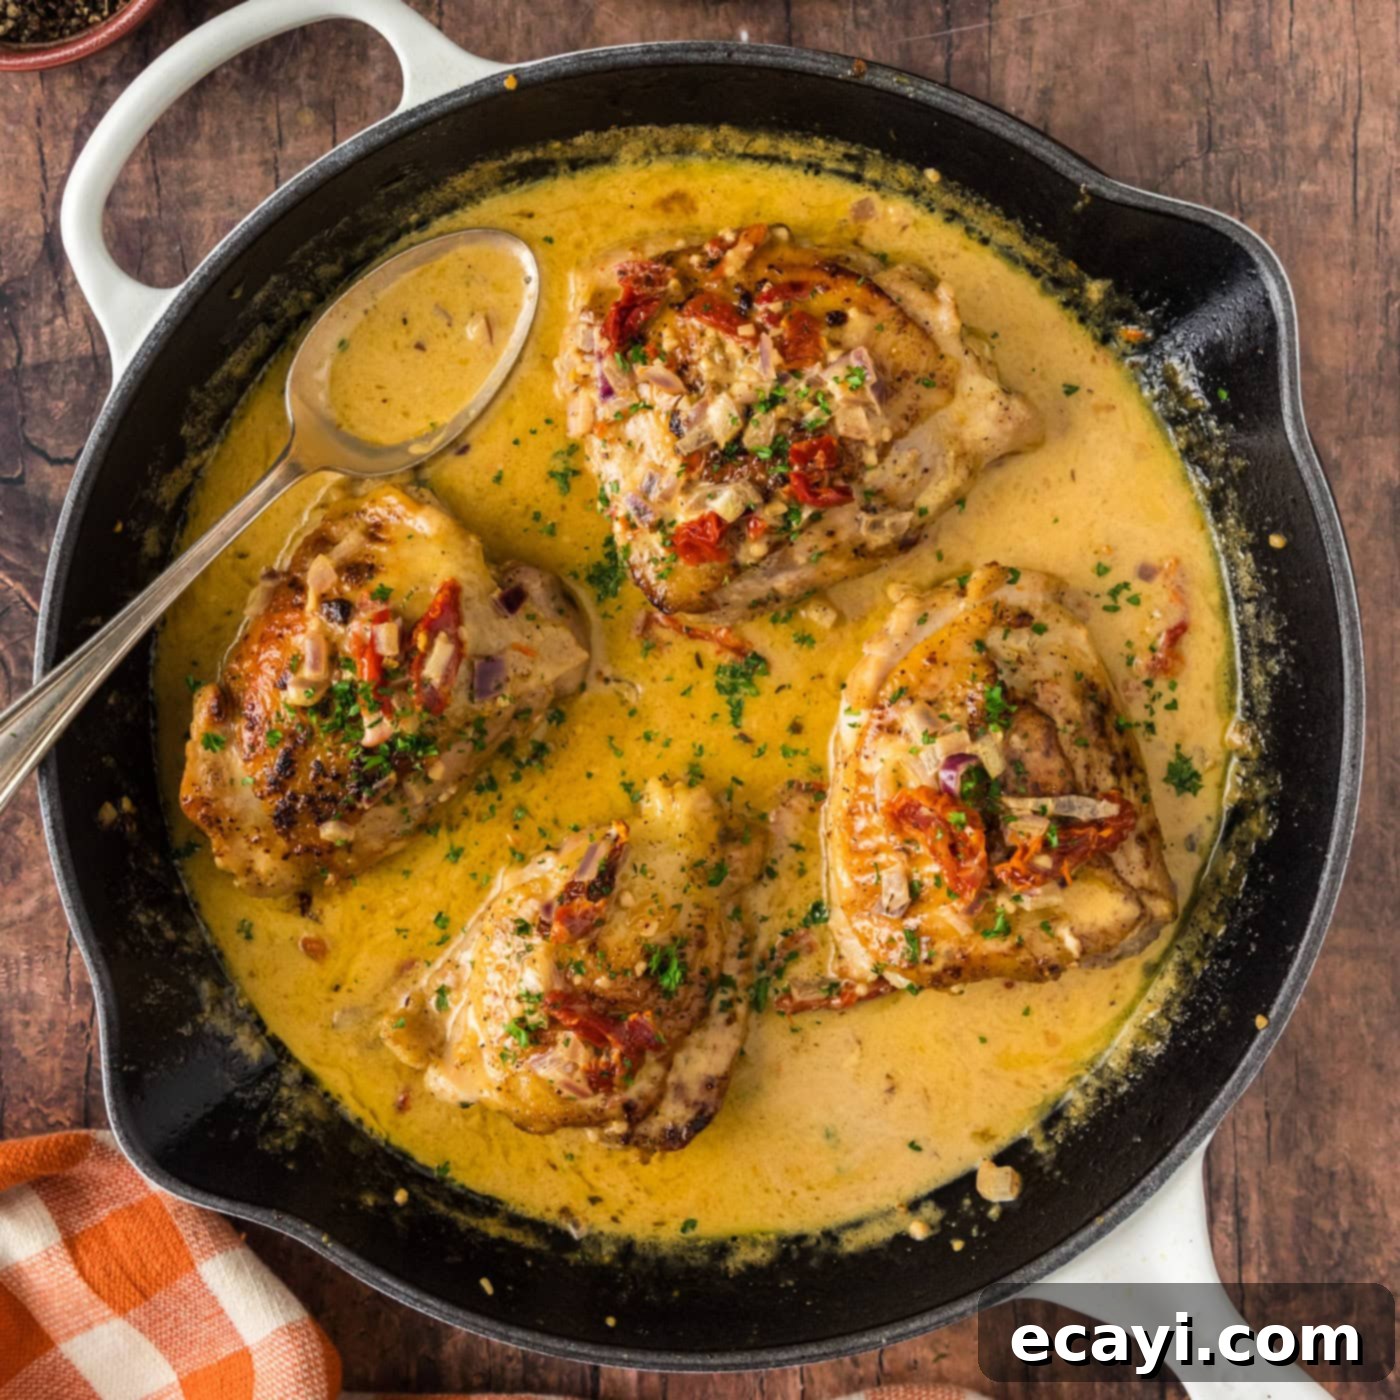
Looking for a weeknight dinner that’s quick, packed with flavor, and requires minimal cleanup? This incredibly easy skillet chicken thighs recipe is your answer! Crafted right on your stovetop in just about 35 minutes, it utilizes common ingredients you likely already have in your pantry. The result? Perfectly tender, juicy chicken thighs coated in a rich, creamy sauce, promising a delicious and satisfying meal every single time. Forget bland chicken; this dish is anything but ordinary, making it an instant family favorite.
Why You’ll Love This Skillet Chicken Thighs Recipe
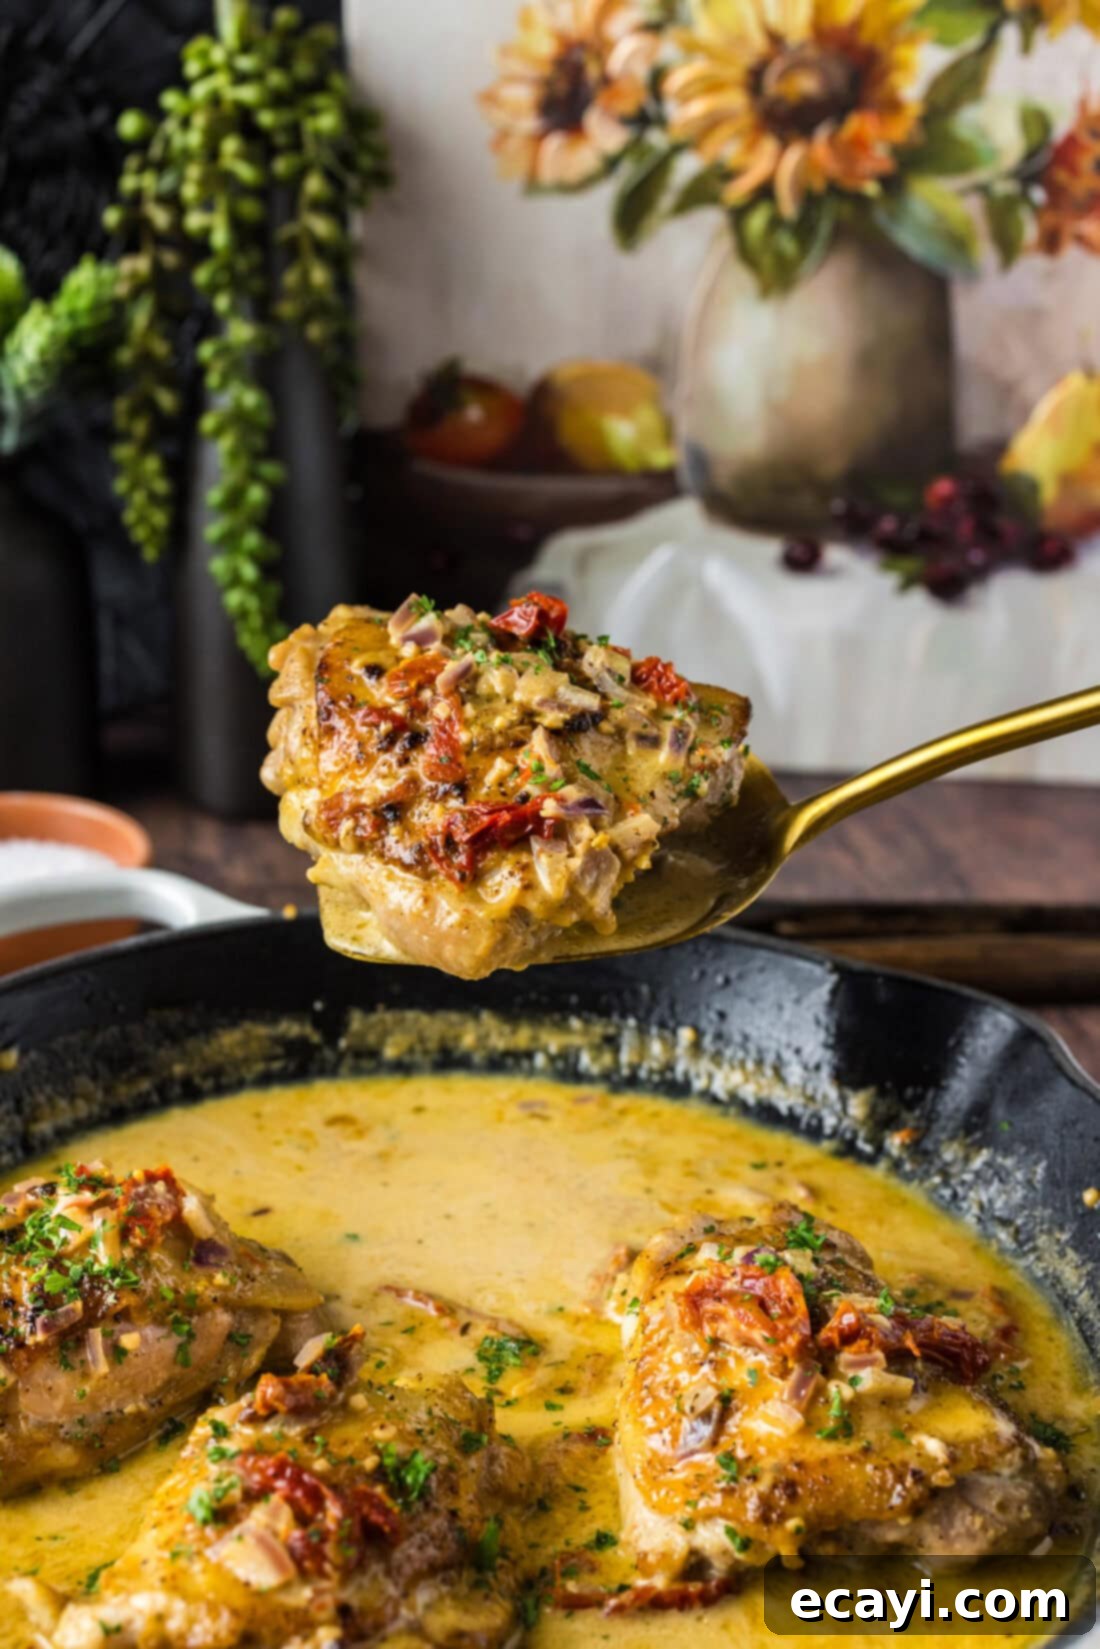
This recipe stands out for several compelling reasons, making it a staple in any home cook’s repertoire. First and foremost, the bone-in, skin-on chicken thighs are the star. These cuts are inherently more flavorful and forgiving than chicken breasts, ensuring a moist and succulent result that’s hard to achieve with leaner cuts. When seared correctly, the skin crisps up beautifully, adding an irresistible textural contrast to the tender meat beneath.
But the true magic happens with the luscious, creamy sauce. Each chicken thigh is enveloped in a velvety emulsion infused with the bright, concentrated sweetness of sun-dried tomatoes, the pungent warmth of fresh garlic, and the subtle bite of red onion. A careful selection of spices and seasonings elevates these core flavors, creating a complex yet harmonious profile that’s anything but bland. This isn’t just a creamy sauce; it’s a flavor bomb designed to tantalize your taste buds.
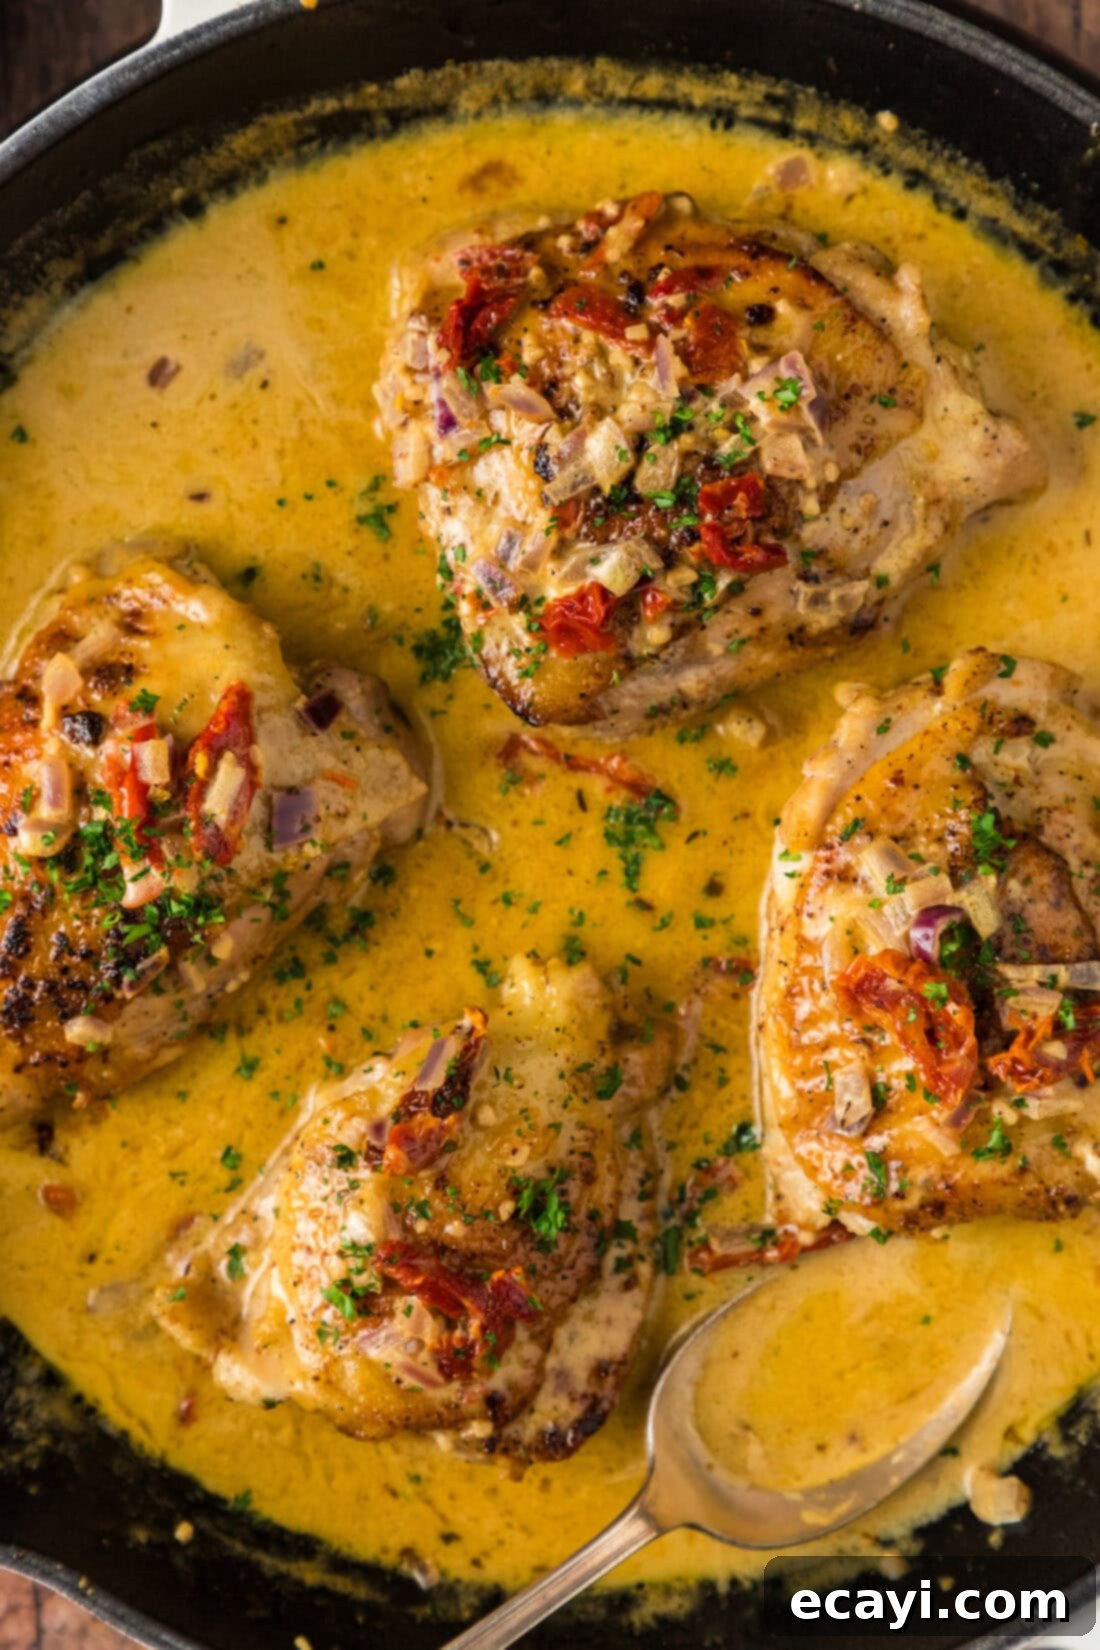
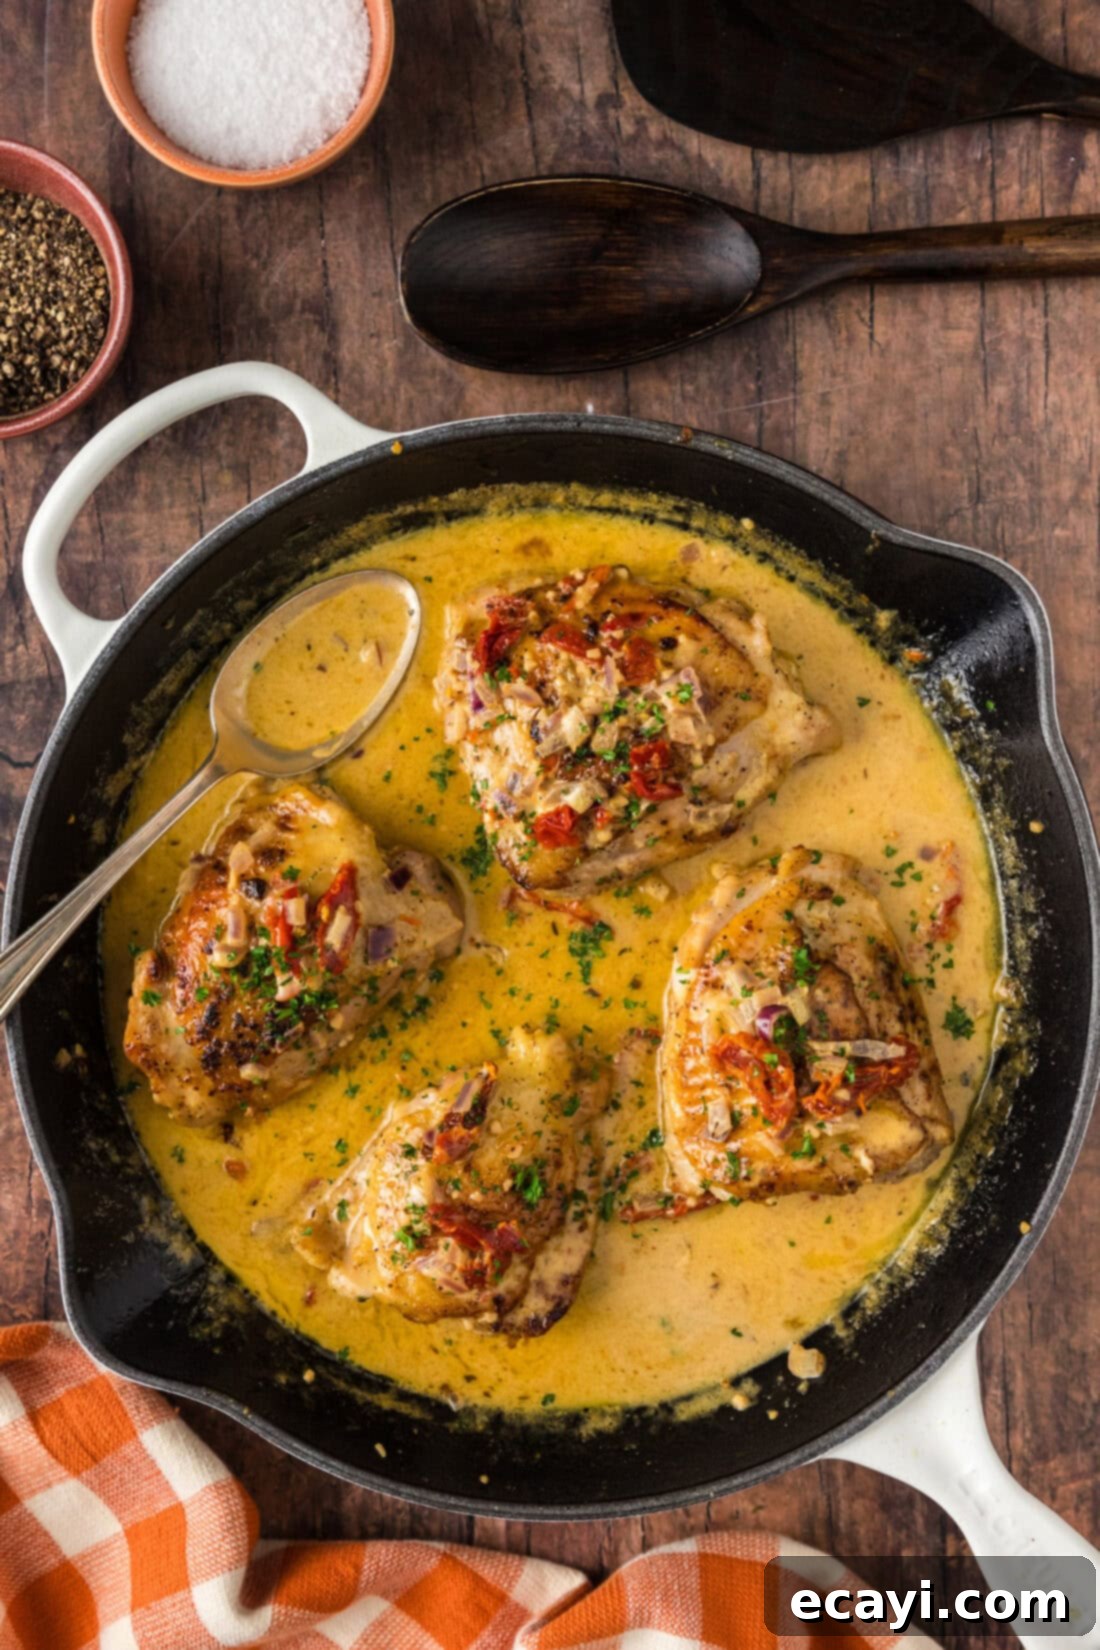
Beyond the incredible taste, the practicality of this dish is undeniable. It’s a fantastic departure from standard grilled or baked chicken, offering a gourmet experience with minimal effort. Plus, the entire meal comes together in a single skillet, dramatically reducing post-dinner cleanup. Whether you’re a busy parent, a culinary novice, or simply looking for a delicious and efficient meal solution, these skillet chicken thighs deliver on all fronts. Just one glance at these golden-brown beauties, simmering in their rich sauce, and you’ll understand their undeniable appeal!
Essential Ingredients for Your Skillet Chicken Thighs
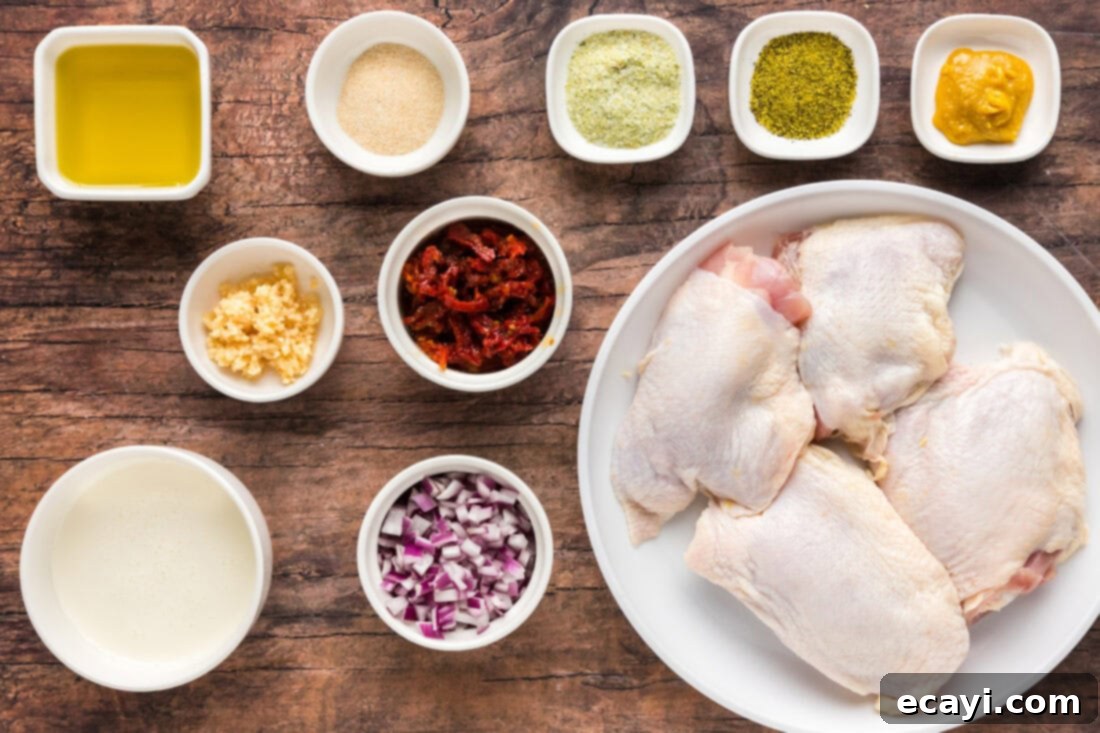
Gathering your ingredients is the first step to creating this delightful meal. You’ll be pleased to find that most are common pantry staples, making this recipe not only delicious but also convenient. For precise measurements, a detailed list, and complete cooking instructions, please refer to the printable recipe card available at the conclusion of this post.
Ingredient Spotlight & Smart Swaps
Understanding your ingredients and knowing when and how to make substitutions can greatly enhance your cooking experience and adapt this recipe to your preferences or what you have on hand.
CHICKEN – This recipe specifically calls for bone-in, skin-on chicken thighs. We prefer them for their superior flavor and ability to remain incredibly juicy during cooking. The skin, when properly seared, becomes beautifully crisp, adding wonderful texture. If you opt for boneless, skinless chicken thighs, they will cook faster, so be sure to monitor the internal temperature closely. For any chicken cut, the goal is 165°F (74°C) internal temperature. Chicken breasts can also be used, but remember they are much leaner and will cook even more quickly, increasing the risk of drying out if overcooked. Pounding them to an even thickness can help with consistent cooking.
SAUCE BASE – Our go-to for many recipes, including this one, is a concentrated bouillon base (like Better Than Bouillon) instead of traditional broth or stock. It offers intense flavor, takes up minimal pantry space, and is easily reconstituted with water. If you don’t have bouillon paste, you can absolutely use an equal amount of chicken broth or stock. Just ensure it’s a good quality brand for the best flavor. For a richer sauce, consider a low-sodium chicken broth and adjust seasoning as needed.
AROMATICS – Minced garlic and chopped red onion form the flavorful foundation of our sauce. Fresh garlic is always recommended for its potent aroma and taste, but pre-minced jarred garlic can be a time-saver in a pinch. Red onion offers a slightly sweeter, milder flavor compared to yellow or white onions, which can be substituted if necessary, though the flavor profile might be slightly sharper.
CREAM – Heavy whipping cream is essential for achieving that luxurious, velvety texture in the sauce. For a slightly lighter option, half-and-half can be used, but the sauce will be thinner. We don’t recommend using milk as it might curdle when heated. For a dairy-free alternative, full-fat coconut milk can create a creamy texture, but it will impart a distinct coconut flavor, altering the dish’s profile considerably.
SUN-DRIED TOMATOES – These gems provide a burst of concentrated, sweet-tart tomato flavor that beautifully complements the creamy sauce. We typically use oil-packed sun-dried tomatoes, drained of their oil, as they tend to be softer and more pliable. If using dry-packed sun-dried tomatoes, reconstitute them in hot water for about 15-20 minutes before chopping to ensure they are tender.
SPICES – A simple yet effective blend of garlic salt, lemon pepper, and onion powder seasons the chicken. This combination adds layers of savory, zesty, and aromatic notes. Feel free to adjust these to your taste. A pinch of dried Italian herbs or a touch of smoked paprika could also add interesting dimensions.
Step-by-Step: Crafting Your Skillet Chicken Thighs
These step-by-step photos and detailed instructions are provided to help you visualize the process of making this delectable recipe. For a convenient printable version of this recipe, complete with precise measurements and comprehensive instructions, simply Jump to Recipe at the bottom of this page.
- Prepare the Chicken Seasoning: In a medium mixing bowl, combine the garlic salt, lemon pepper, onion powder, and 1 1/2 Tablespoons of olive oil. Whisk these ingredients thoroughly until they form a well-blended paste. This ensures an even distribution of flavor on the chicken.
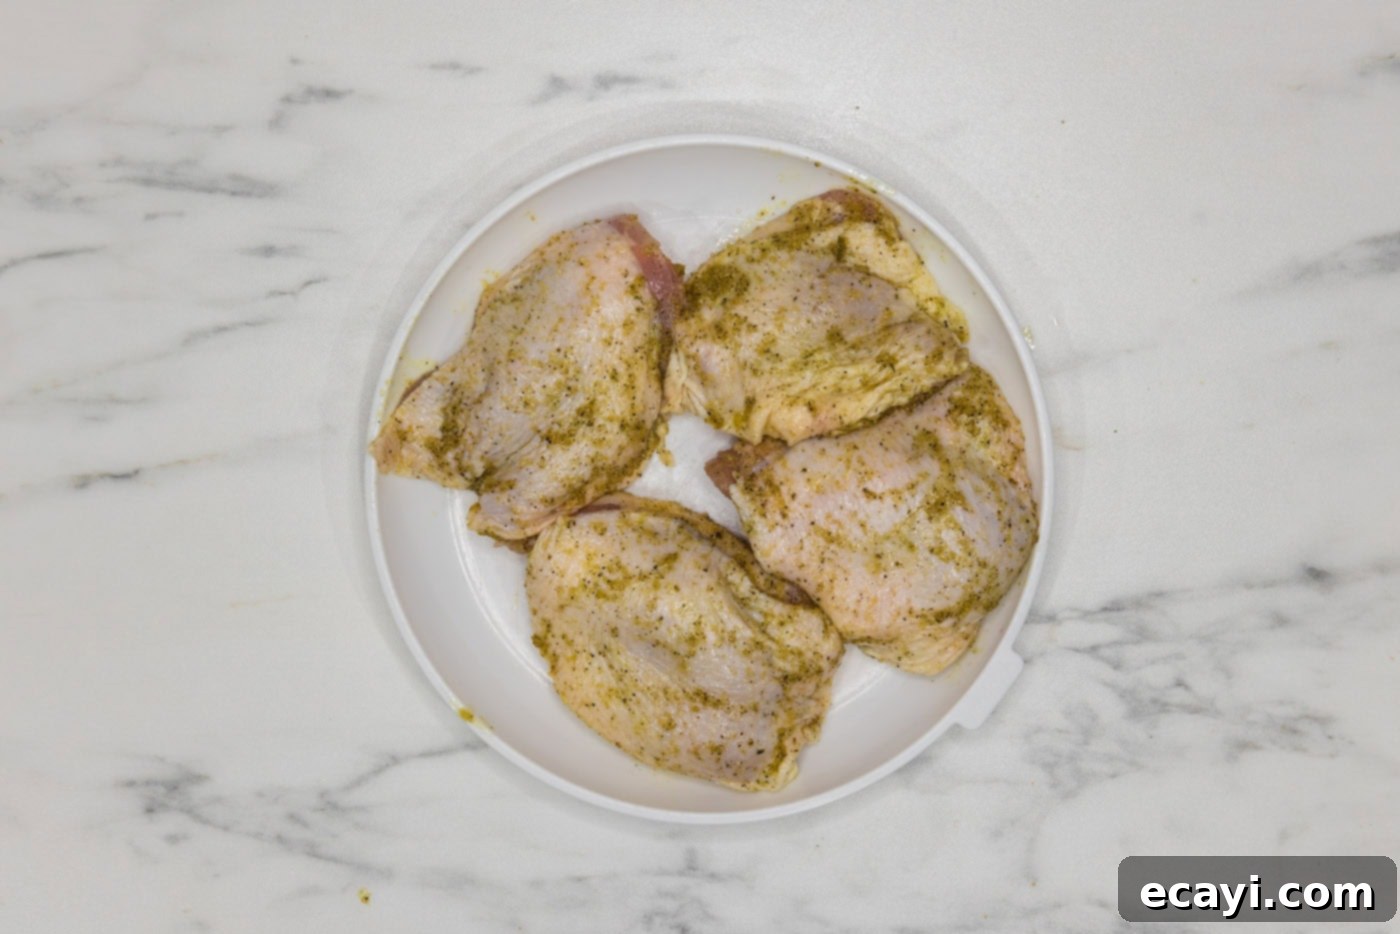
- Season the Chicken: With gloved hands (or simply clean hands), generously rub the prepared seasoning mixture all over the chicken thighs. Make sure every crevice and surface is coated to maximize flavor absorption and promote a beautiful crust during searing.

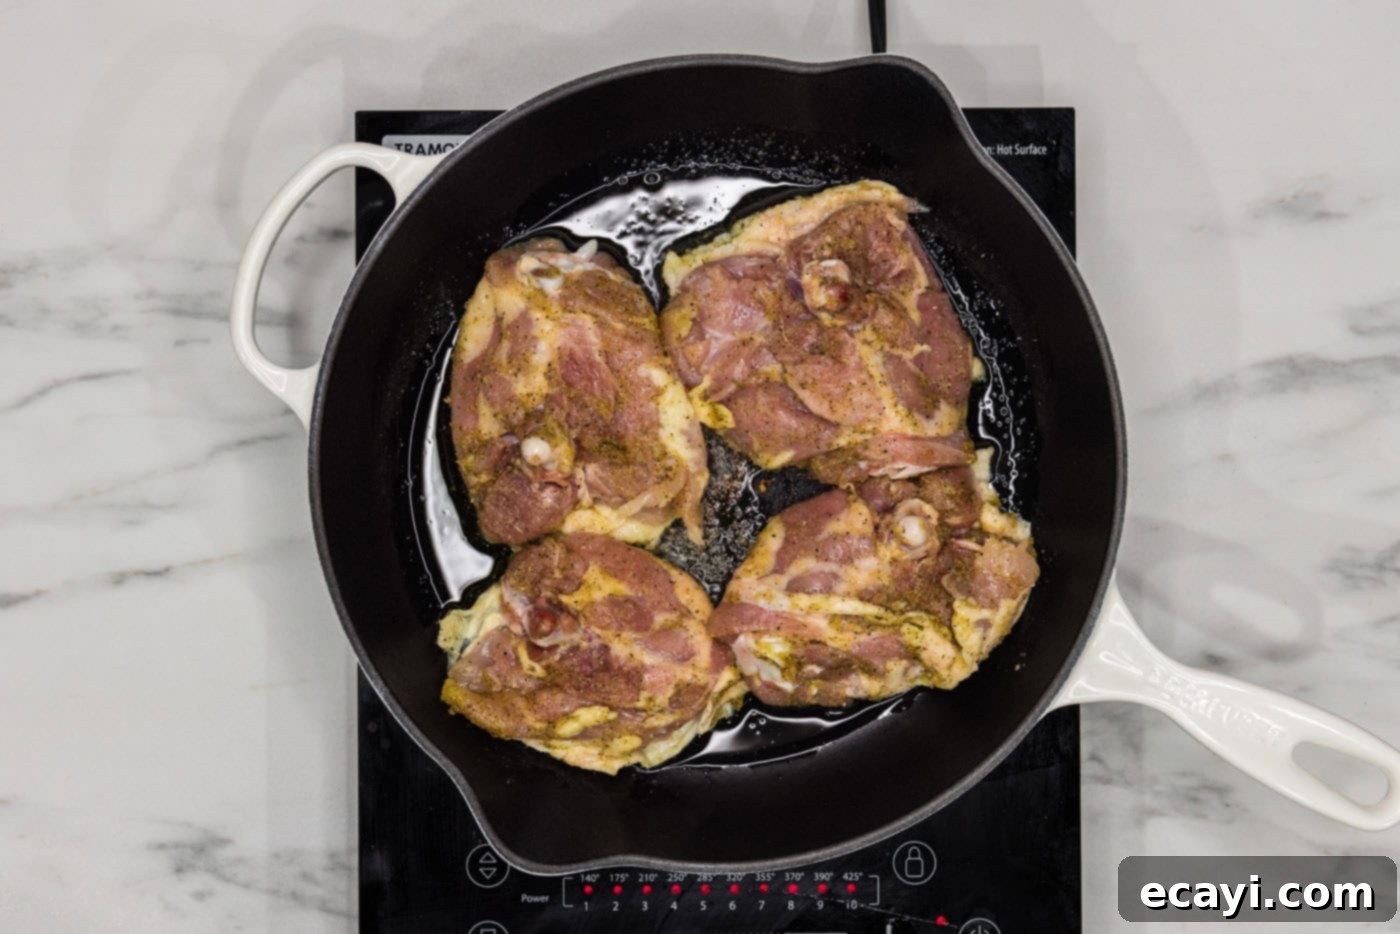
Ensure the chicken is thoroughly coated with the spice mixture. - Sear the Chicken: Heat the remaining 1 1/2 Tablespoons of olive oil in a large, heavy-bottomed skillet (cast iron or stainless steel works best) over medium-high heat. Wait until the oil is shimmering and just starting to lightly smoke – this indicates it’s hot enough for a good sear. Carefully add the seasoned chicken thighs to the hot oil, skin side down.

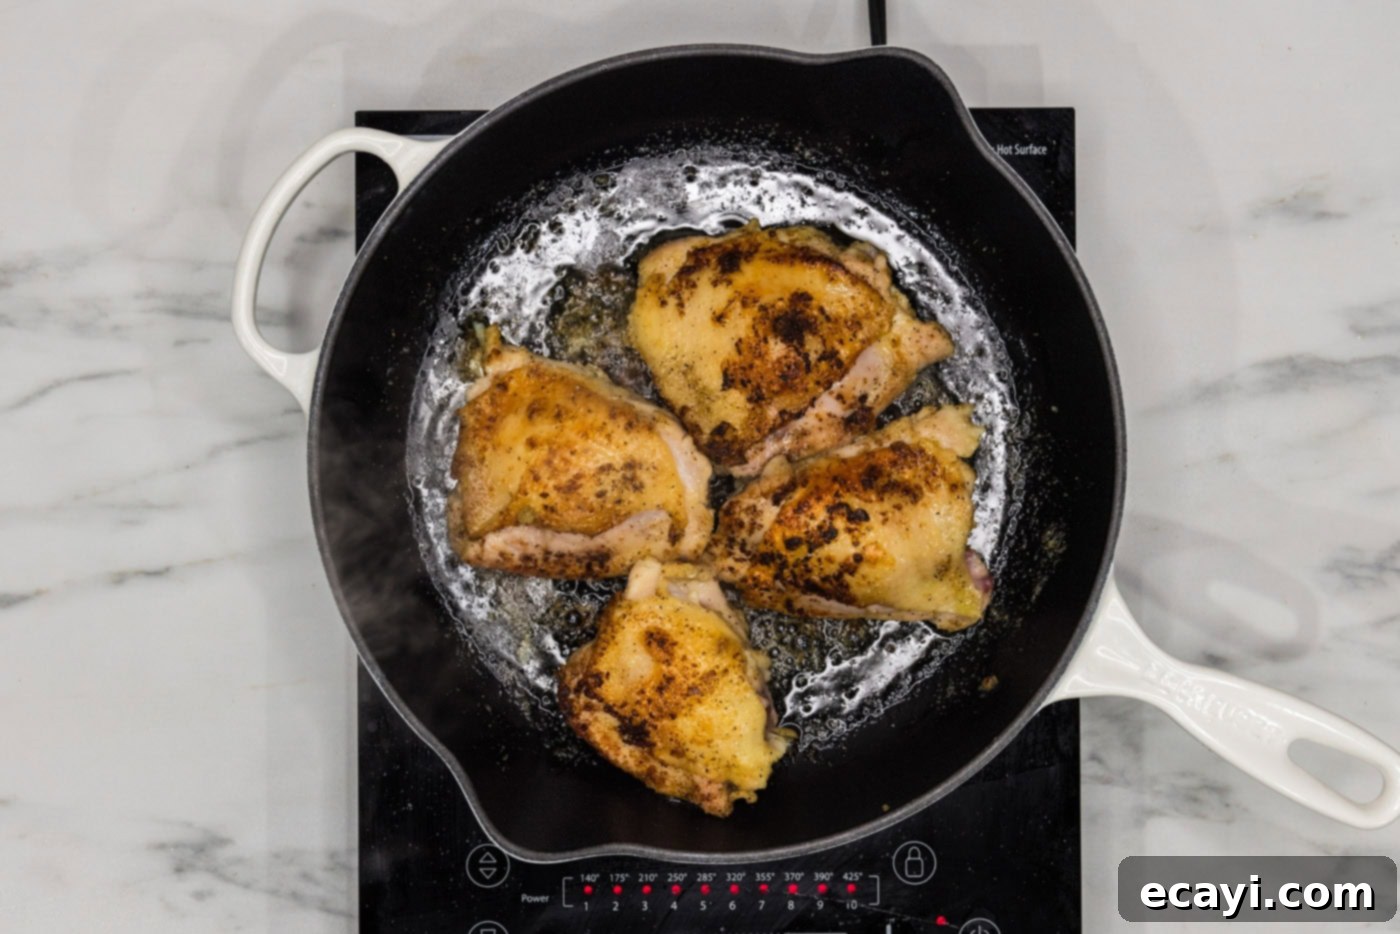
Place chicken skin-side down in the hot skillet for a crispy finish. - First Turn and Continue Searing: Cook the thighs in the skillet, undisturbed, until the skin is beautifully browned and crispy, which typically takes about 4 minutes. Then, turn the thighs over and cook on the other side for an additional 4 minutes to develop a nice color.

Achieve a golden-brown sear on both sides of the chicken. - Cook Chicken Through: Continue turning and cooking the chicken every few minutes, reducing the heat slightly if the pan gets too hot, until the internal temperature reaches 165°F (74°C). Use an instant-read thermometer inserted into the thickest part of the thigh, avoiding the bone, to ensure accuracy. This usually takes a total of 15-20 minutes, depending on the thickness of your chicken. Once cooked, remove the chicken from the skillet and set aside on a plate, tented loosely with foil to keep warm.
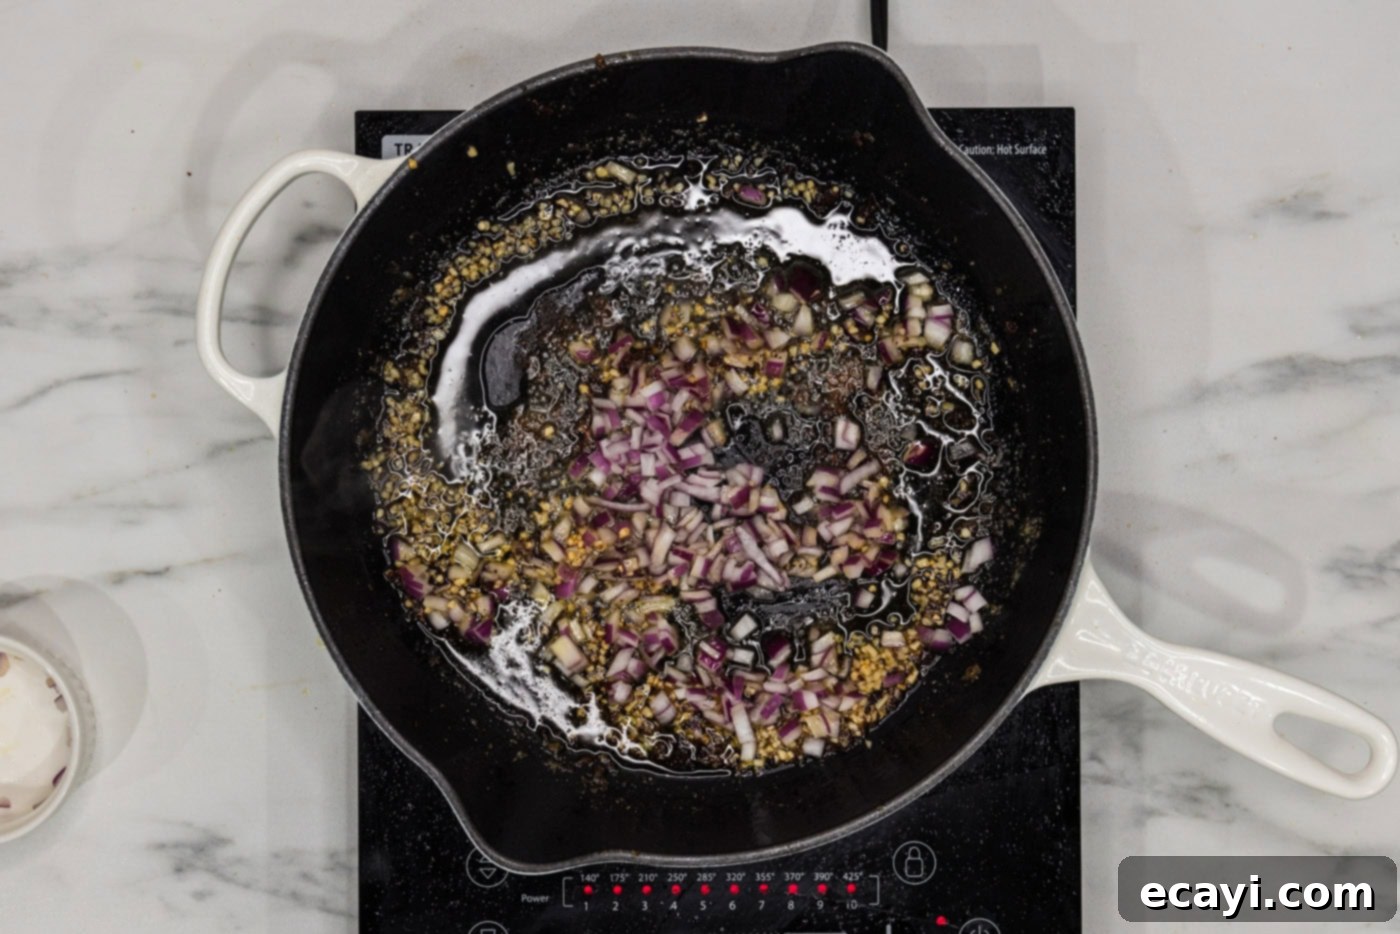
- Sauté Onion: Add the chopped red onion to the same skillet (don’t clean it, as the fond from the chicken adds immense flavor!) and sauté for about one minute, stirring occasionally to coat it in the residual oil and chicken drippings.
- Add Garlic: Stir in the minced garlic and sauté for another 30 seconds. Be careful not to burn the garlic, as it can turn bitter very quickly.

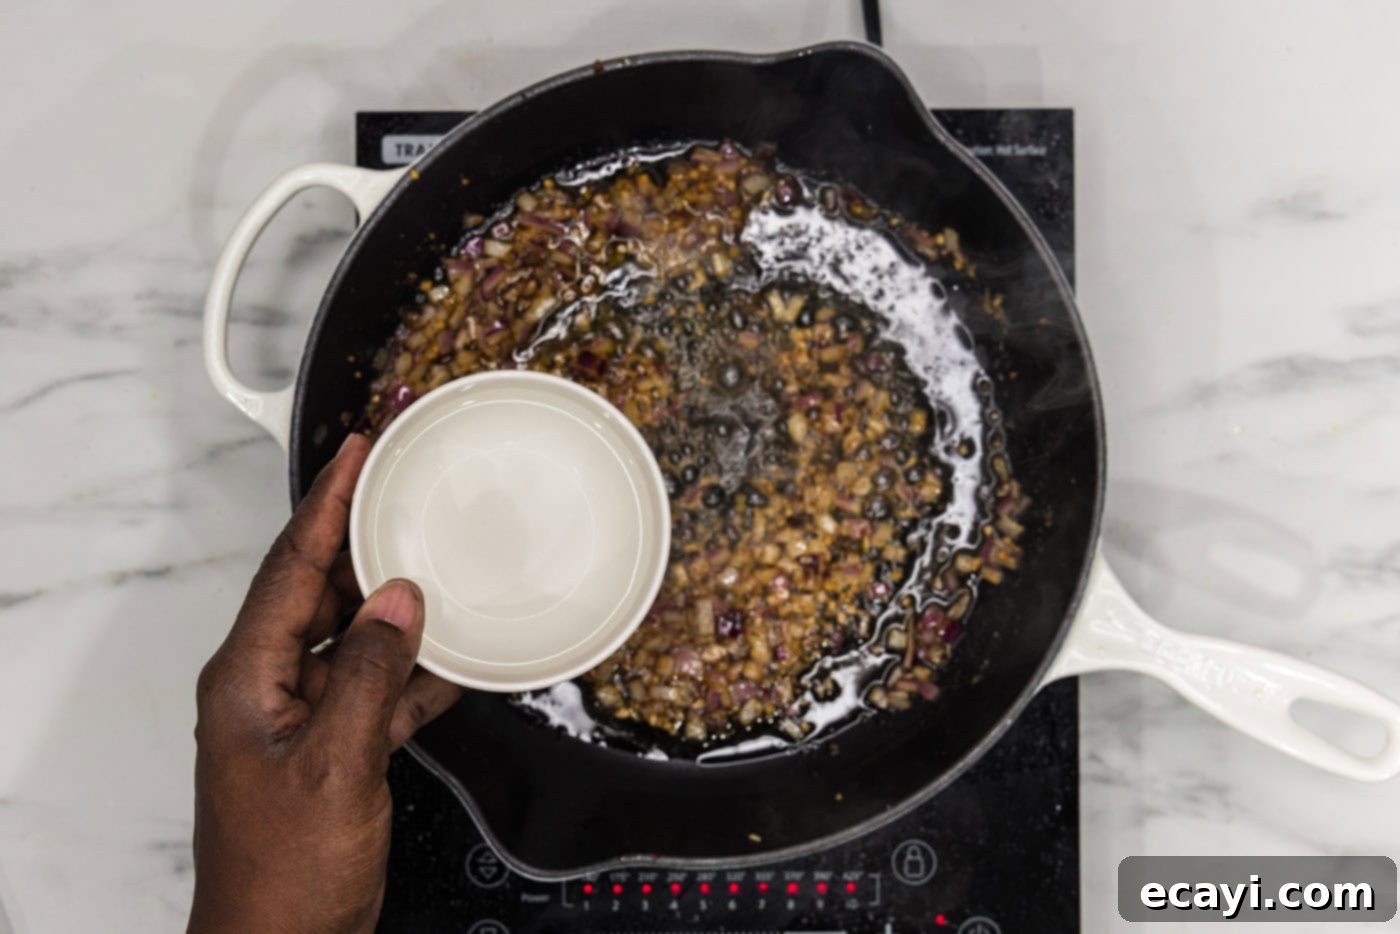
Sautéing aromatics builds the base for the flavorful sauce. - Deglaze and Build Base: Add the chicken base (or broth/stock) and water to the skillet. Stir vigorously, scraping the bottom of the pan to loosen any browned bits (fond) left from the chicken. Bring this mixture to a gentle boil, allowing the flavors to meld.

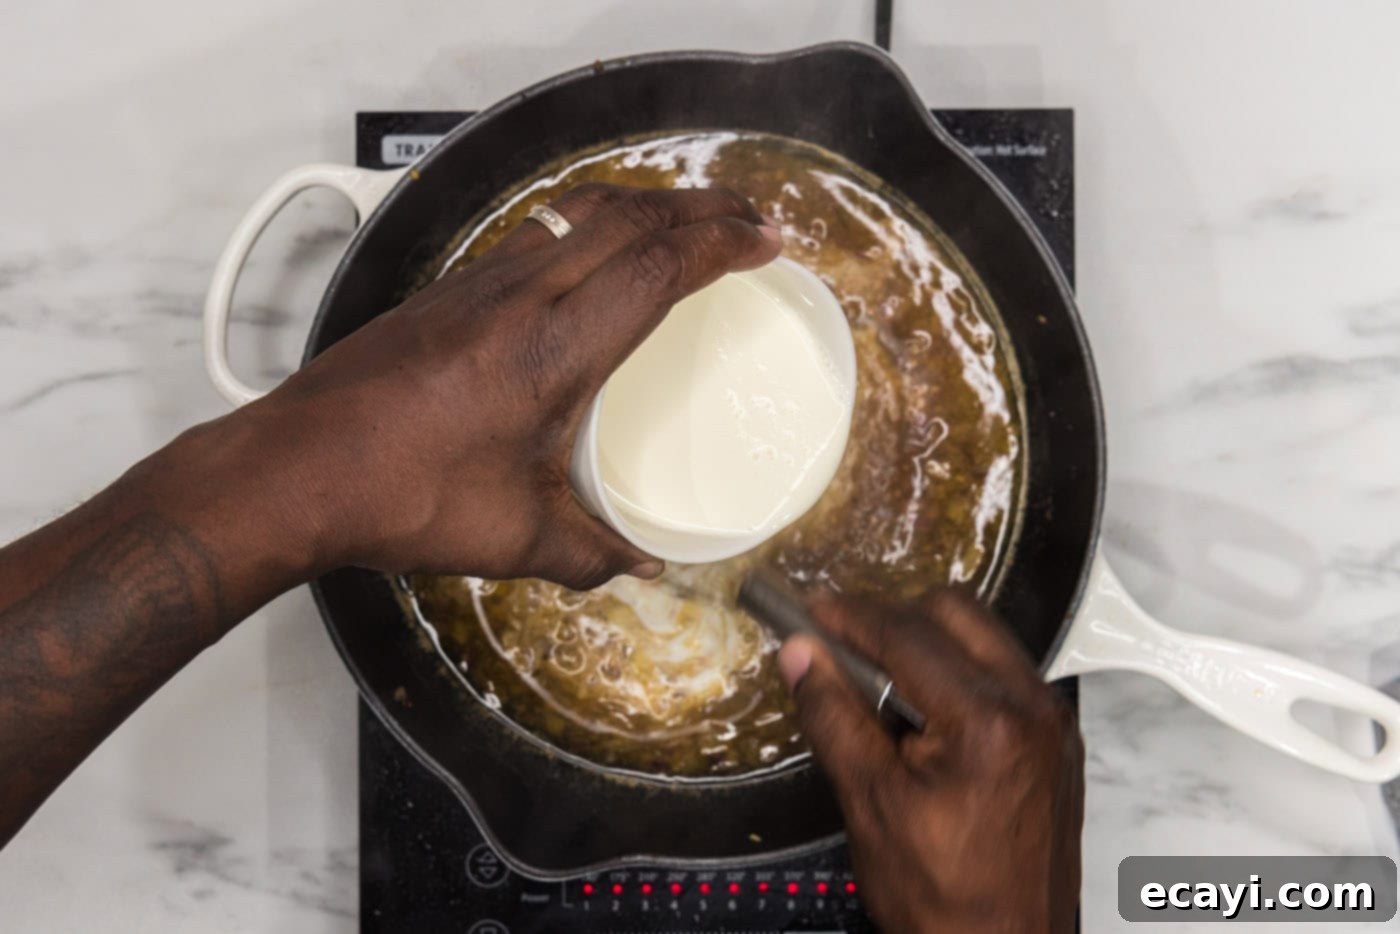
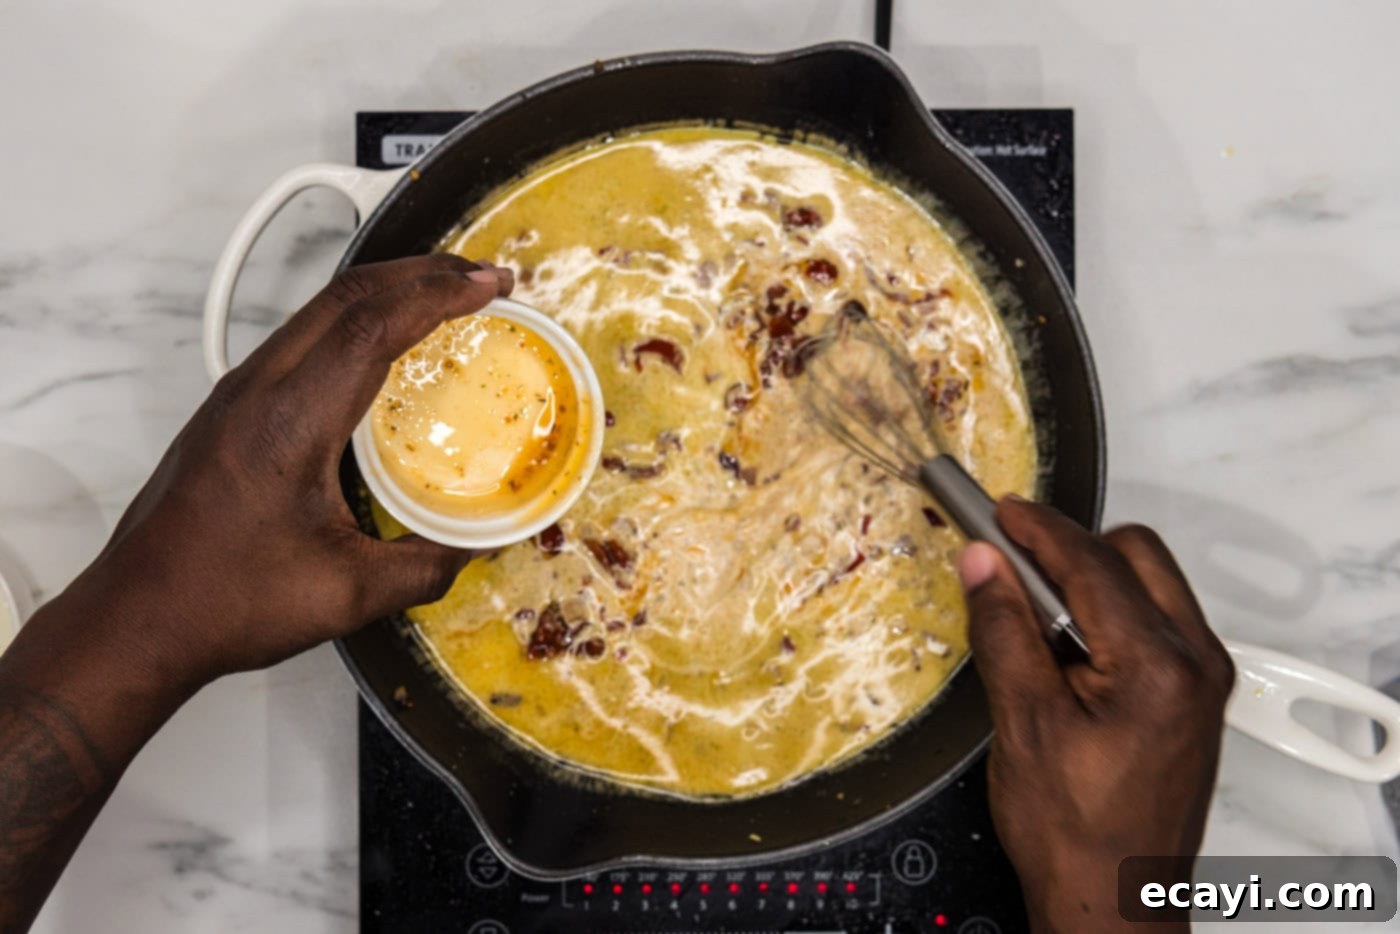
Deglazing the pan incorporates all the rich flavors. - Create the Creamy Sauce: Whisk in the heavy cream and sun-dried tomatoes. Continue to whisk gently as the sauce comes back to a boil. Allow it to simmer for a minute or two, letting it thicken slightly. The sun-dried tomatoes will release their vibrant flavor into the creamy base.

Whisk in heavy cream for a rich, luxurious sauce. 
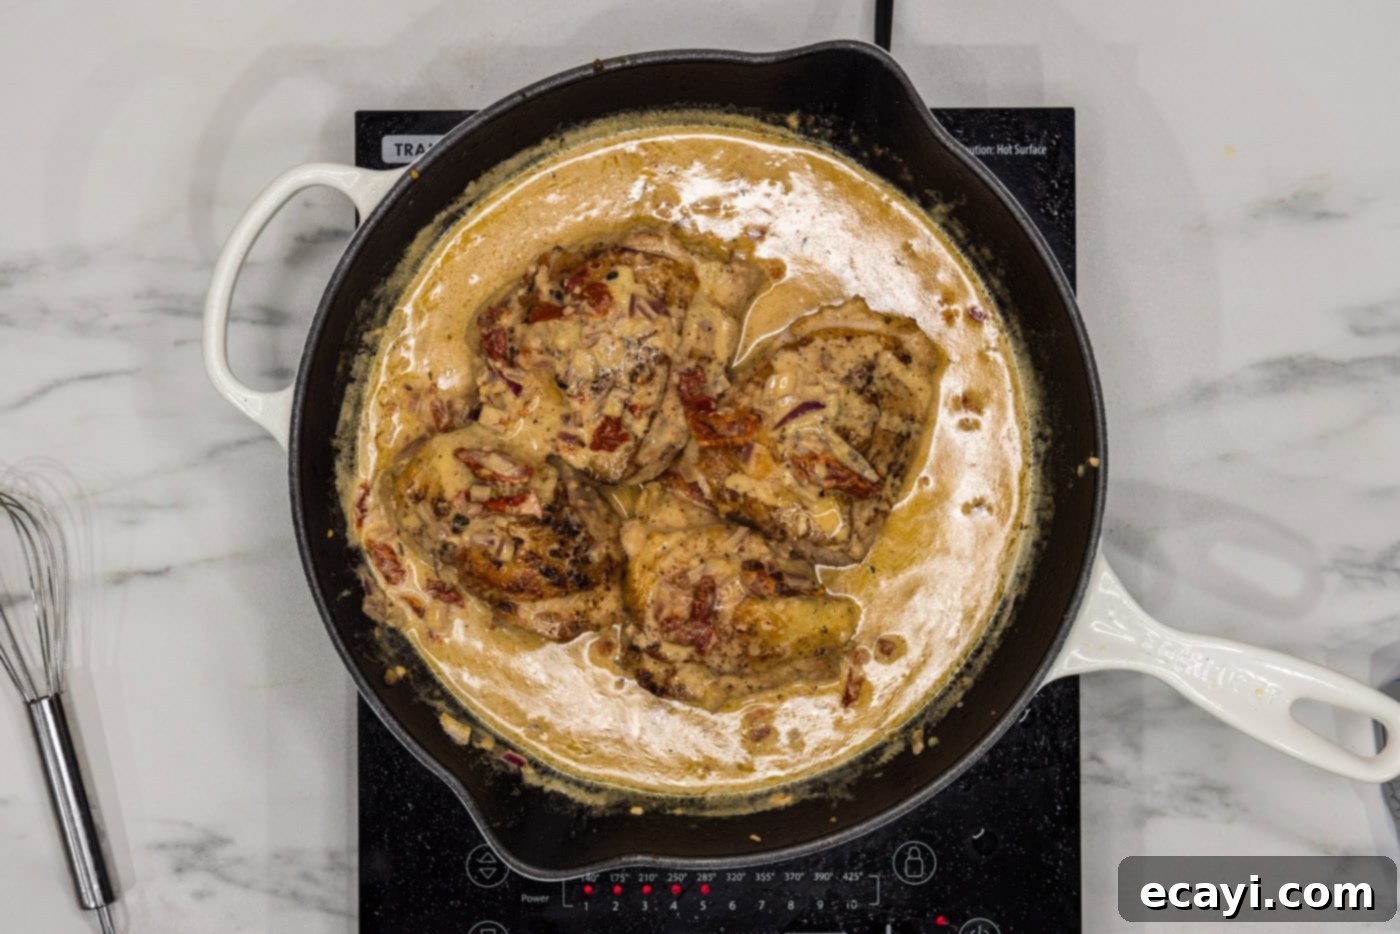
The sauce thickens beautifully with the addition of cream and tomatoes. - Combine and Serve: Reduce the heat to medium-low. Carefully return the cooked chicken thighs to the skillet, nestling them into the creamy sauce. Spoon some of the delicious sauce over the chicken to ensure it’s thoroughly coated and reheats gently. Let it simmer for a few more minutes to ensure the chicken is warmed through and has absorbed the flavors of the sauce.

The finished dish, ready to be served and enjoyed!
Frequently Asked Questions & Expert Tips
Leftovers should be stored in an airtight container in the refrigerator for up to 3-4 days. To reheat, we recommend placing the chicken thighs in a baking dish with a little extra sauce or chicken broth, covering it tightly with aluminum foil, and baking in a 350°F (175°C) oven for about 15-20 minutes, or until thoroughly warmed through. This method helps maintain moisture and flavor. You can also reheat gently on the stovetop over low heat.
Absolutely! While chicken thighs offer unparalleled juiciness, chicken breasts can certainly be substituted. Keep in mind that chicken breasts are leaner and will likely cook much faster than thighs. To prevent them from drying out, we highly recommend using a meat thermometer to monitor their internal temperature. Once they reach 165°F (74°C), remove them from the skillet immediately. For best results, consider pounding chicken breasts to an even thickness to promote uniform cooking.
Yes, this dish freezes quite well! Allow the chicken and sauce to cool completely. Transfer them to an airtight, freezer-safe container or a heavy-duty freezer bag. It can be frozen for up to 2-3 months. Thaw overnight in the refrigerator before reheating using the oven method described above to ensure even heating and prevent drying.
If your sauce isn’t as thick as you’d like, you have a few options. You can simply simmer it uncovered for a few extra minutes, allowing some of the liquid to evaporate. Alternatively, you can create a quick slurry by whisking together 1 teaspoon of cornstarch with 1 Tablespoon of cold water, then slowly whisking this mixture into the simmering sauce. Let it cook for another minute or two until it reaches your desired consistency. Another trick is to remove some of the chicken before adding the cream and reduce the remaining liquid by half before adding the cream.
Delicious Serving Suggestions
These skillet chicken thighs are incredibly versatile and pair beautifully with a variety of sides. For a comforting meal, serve them alongside creamy mashed potatoes or fluffy white rice, allowing the generous pan sauce to be drizzled over everything. If you prefer a lighter accompaniment, a crisp leafy salad with a tangy vinaigrette, steamed green beans, or roasted asparagus will complement the richness of the chicken. Don’t forget some crusty bread to soak up every last drop of that incredible sauce! For a heartier side, consider quinoa, couscous, or even a simple pasta tossed with a bit of olive oil and fresh parsley. Enjoy!
More Irresistible Chicken Recipes to Try
If you’ve enjoyed this delightful chicken dish, you’re in for a treat! We have a wide array of other chicken recipes that are just as flavorful and easy to make. Explore these options for your next meal:
- Marry Me Chicken: A truly romantic and delicious chicken dish that’s rich and creamy.
- Baked Chicken Thighs: A simple, hands-off method for perfectly tender chicken every time.
- Instant Pot Chicken Thighs: For those extra busy nights, get dinner on the table even faster.
- Air Fryer Chicken Thighs: Achieve crispy perfection with minimal oil in your air fryer.
I absolutely love to bake and cook, and there’s nothing I enjoy more than sharing my kitchen adventures and delicious recipes with all of you! Remembering to come back each day for new ideas can be tough, which is why I offer a super convenient newsletter every time a new recipe posts. Simply subscribe here and start receiving your free daily recipes directly in your inbox – never miss a flavorful moment!

Skillet Chicken Thighs
IMPORTANT – There are often Frequently Asked Questions within the blog post that you may find helpful. Simply scroll back up to read them!
Print It
Pin It
Rate It
Save ItSaved!
Ingredients
- 2 ½ pounds chicken thighs bone-in, skin-on
- 1 teaspoon garlic salt
- 1 teaspoon lemon pepper
- 1 teaspoon onion powder
- 3 Tablespoons olive oil divided
- 1 ½ Tablespoons minced garlic
- ½ cup chopped red onion
- 2 teaspoons Better than Bouillon chicken base
- ¾ cup water
- ½ cup heavy whipping cream
- ½ cup sun dried tomatoes
Things You’ll Need
-
Large heavy bottomed skillet
-
Whisk
Before You Begin
- We use a concentrated bouillon base for most of our recipes instead of broth or stock. It’s convenient, takes up a lot less space, and is easily reconstituted with water. You can certainly use broth or stock instead.
- Always pat chicken thighs dry with paper towels before seasoning and searing. This is crucial for achieving crispy skin and a good brown crust.
- Use a good quality, heavy-bottomed skillet for even heat distribution and better searing. Cast iron or stainless steel are excellent choices.
Instructions
-
To a mixing bowl add garlic salt, lemon pepper, onion powder, and 1 1/2 Tablespoons of the olive oil. Whisk to combine.
-
With gloved hands, rub the seasoning mixture all over the chicken things.
-
Heat the remaining 1 1/2 Tablespoons of olive oil in a skillet over medium-high heat until shimmering. Add chicken thighs to the hot oil, skin side down.
-
Cook thighs in skillet until skin is nicely browned, about 4 minutes. Turn thighs over and cook an additional 4 minutes.
-
Continue turning and cooking every few minutes until an internal temperature of 165 F is reached. About 15-20 minutes total.
-
Remove chicken from skillet. Add onion and saute another minute, stirring to coat.
-
Add minced garlic and saute for 30 seconds.
-
Add chicken base and water to the skillet, stirring to combine. Bring to a boil.
-
Whisk in heavy cream and sun dried tomatoes. Bring to a boil.
-
Reduce heat to medium-low and add chicken back to the skillet, spooning some of the sauce over the chicken.
Expert Tips & FAQs
- Store leftovers in an air-tight container kept in the refrigerator for 3-4 days. To reheat, place the chicken thighs in a baking dish and cover with aluminum foil. Bake in a 350F oven until warmed through, around 15-20 minutes.
- For extra crispy skin, pat the chicken thighs very dry with paper towels before seasoning.
- Don’t overcrowd the pan when searing the chicken. Cook in batches if necessary to ensure proper browning and prevent steaming.
- Always use an instant-read thermometer to check for doneness. Chicken is safe to eat at 165°F (74°C).
Nutrition
The recipes on this blog are tested with a conventional gas oven and gas stovetop. It’s important to note that some ovens, especially as they age, can cook and bake inconsistently. Using an inexpensive oven thermometer can assure you that your oven is truly heating to the proper temperature. If you use a toaster oven or countertop oven, please keep in mind that they may not distribute heat the same as a conventional full sized oven and you may need to adjust your cooking/baking times. In the case of recipes made with a pressure cooker, air fryer, slow cooker, or other appliance, a link to the appliances we use is listed within each respective recipe. For baking recipes where measurements are given by weight, please note that results may not be the same if cups are used instead, and we can’t guarantee success with that method.
