Festive Christmas Kiss Cookies: The Ultimate Holiday Peanut Butter Blossom Recipe
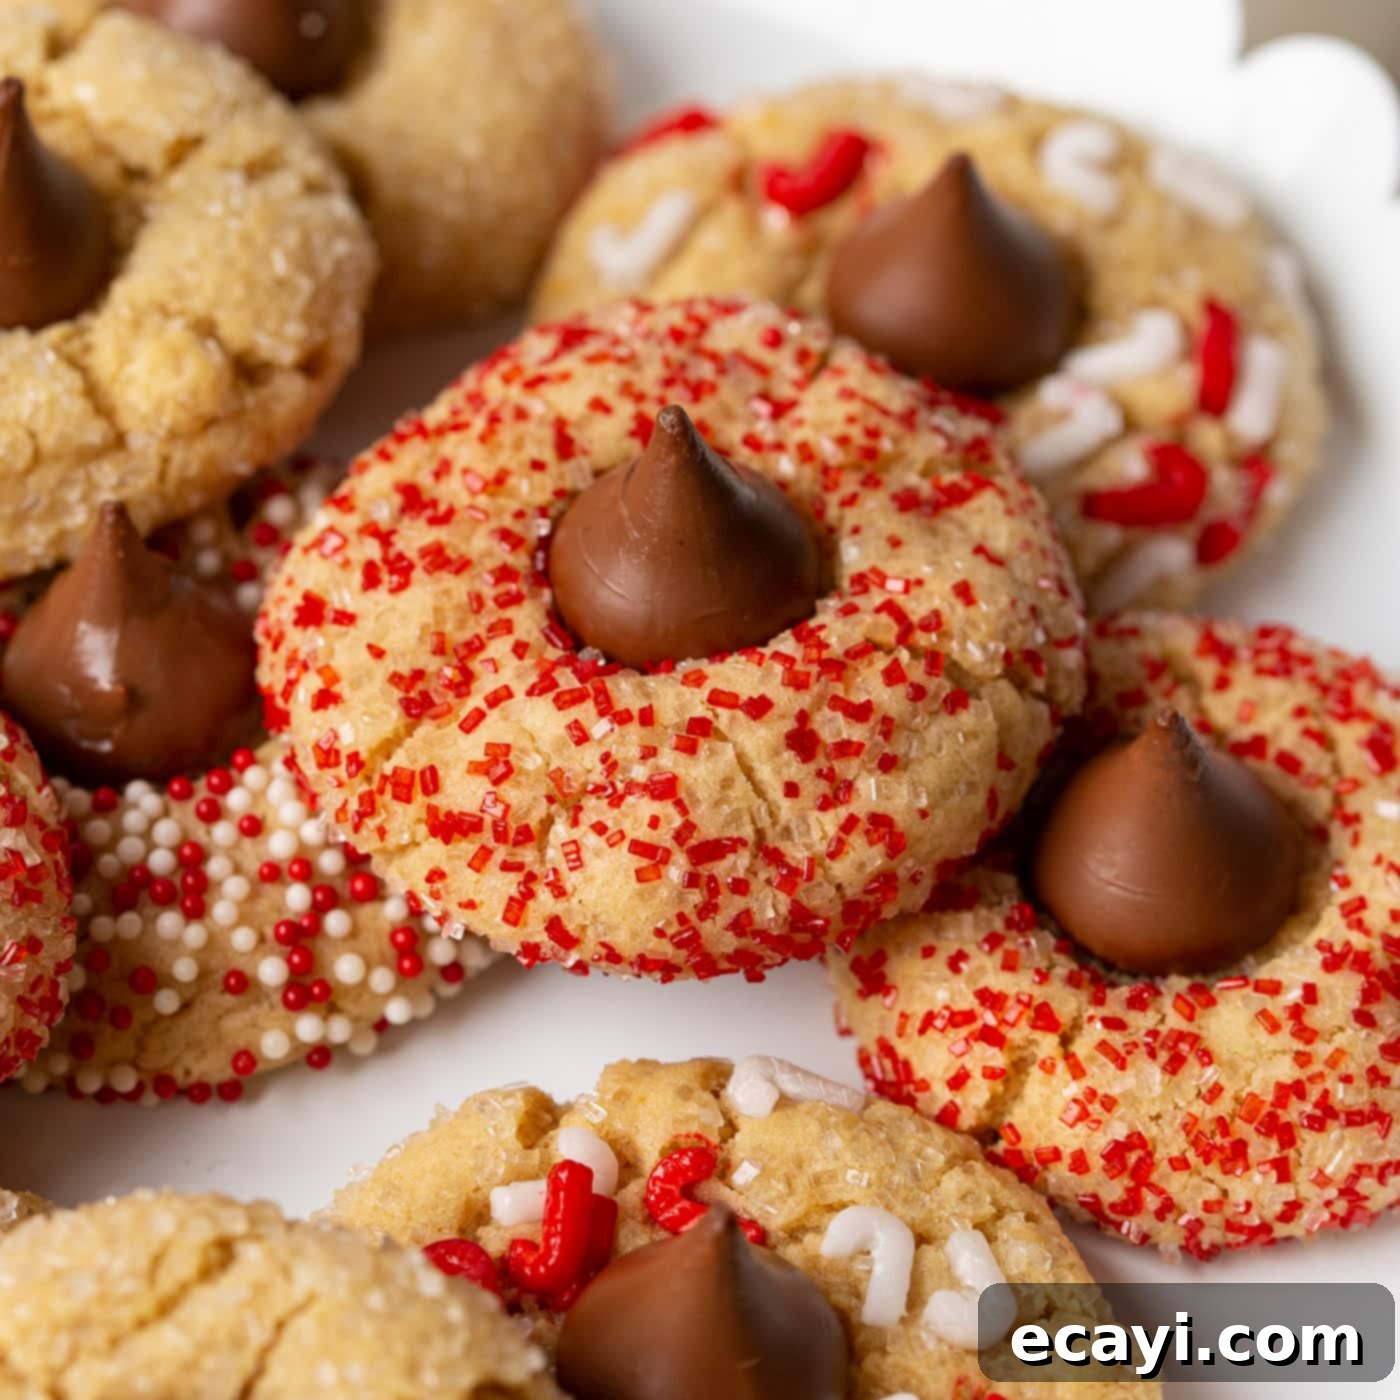
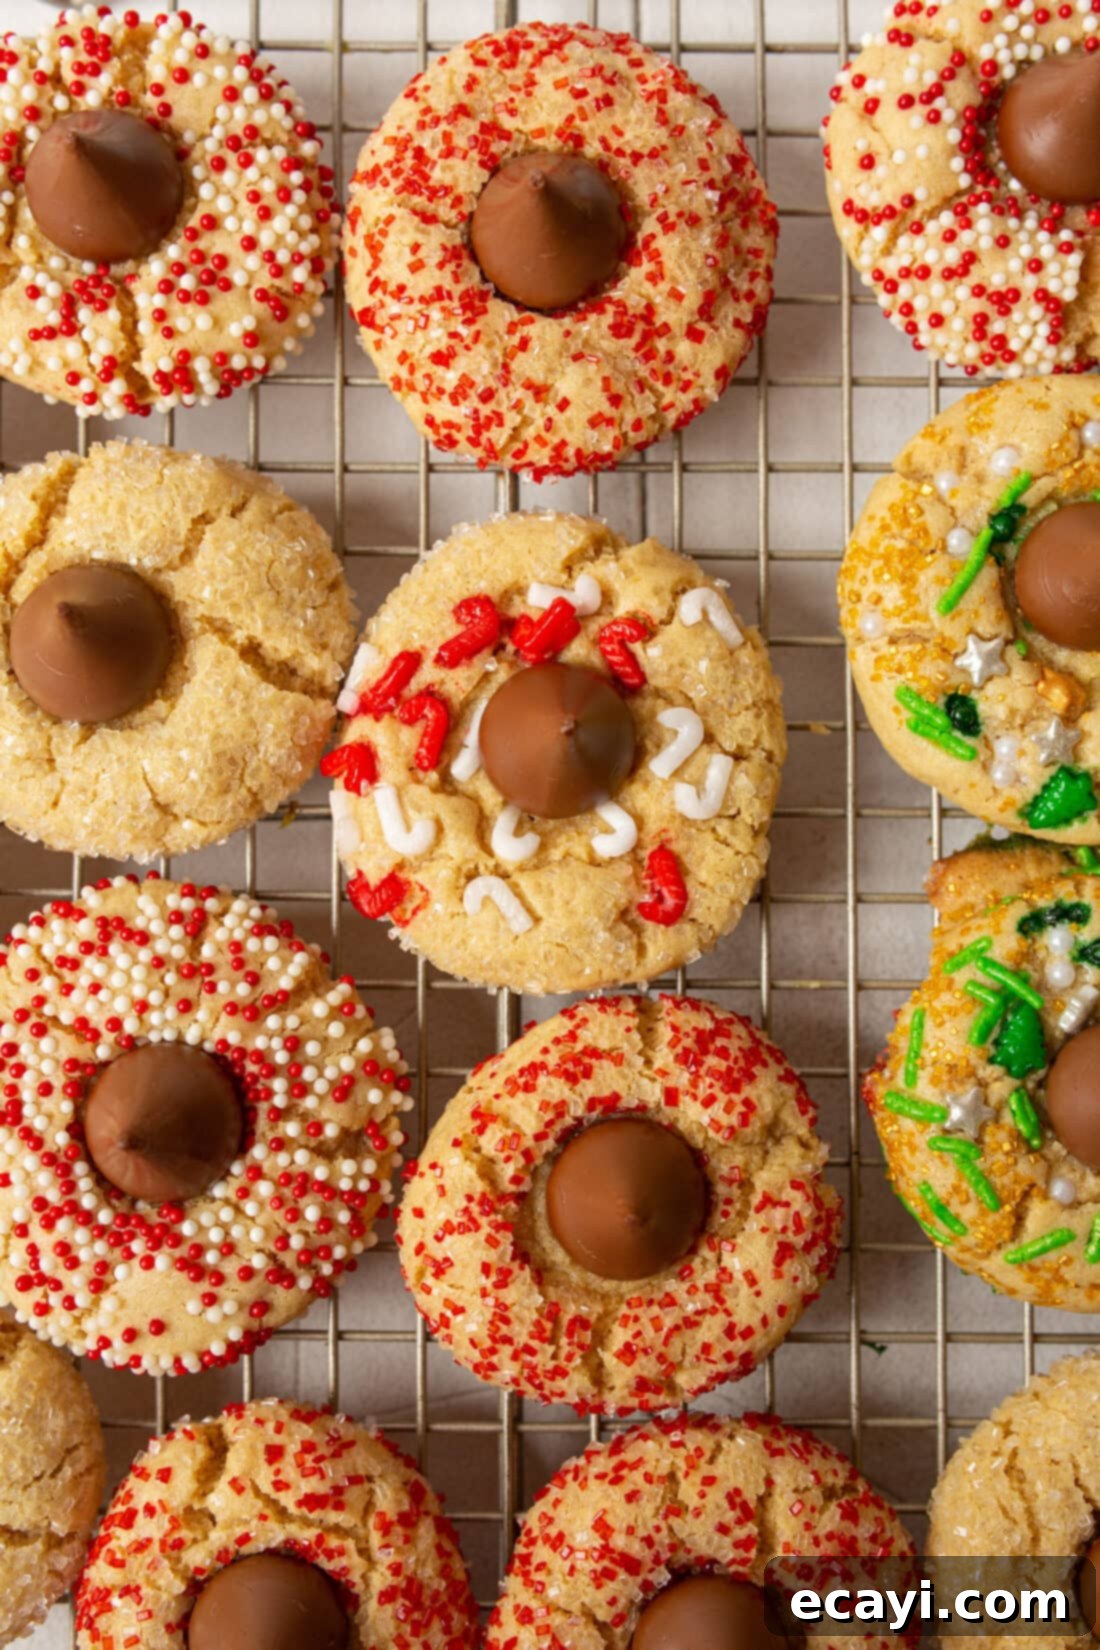
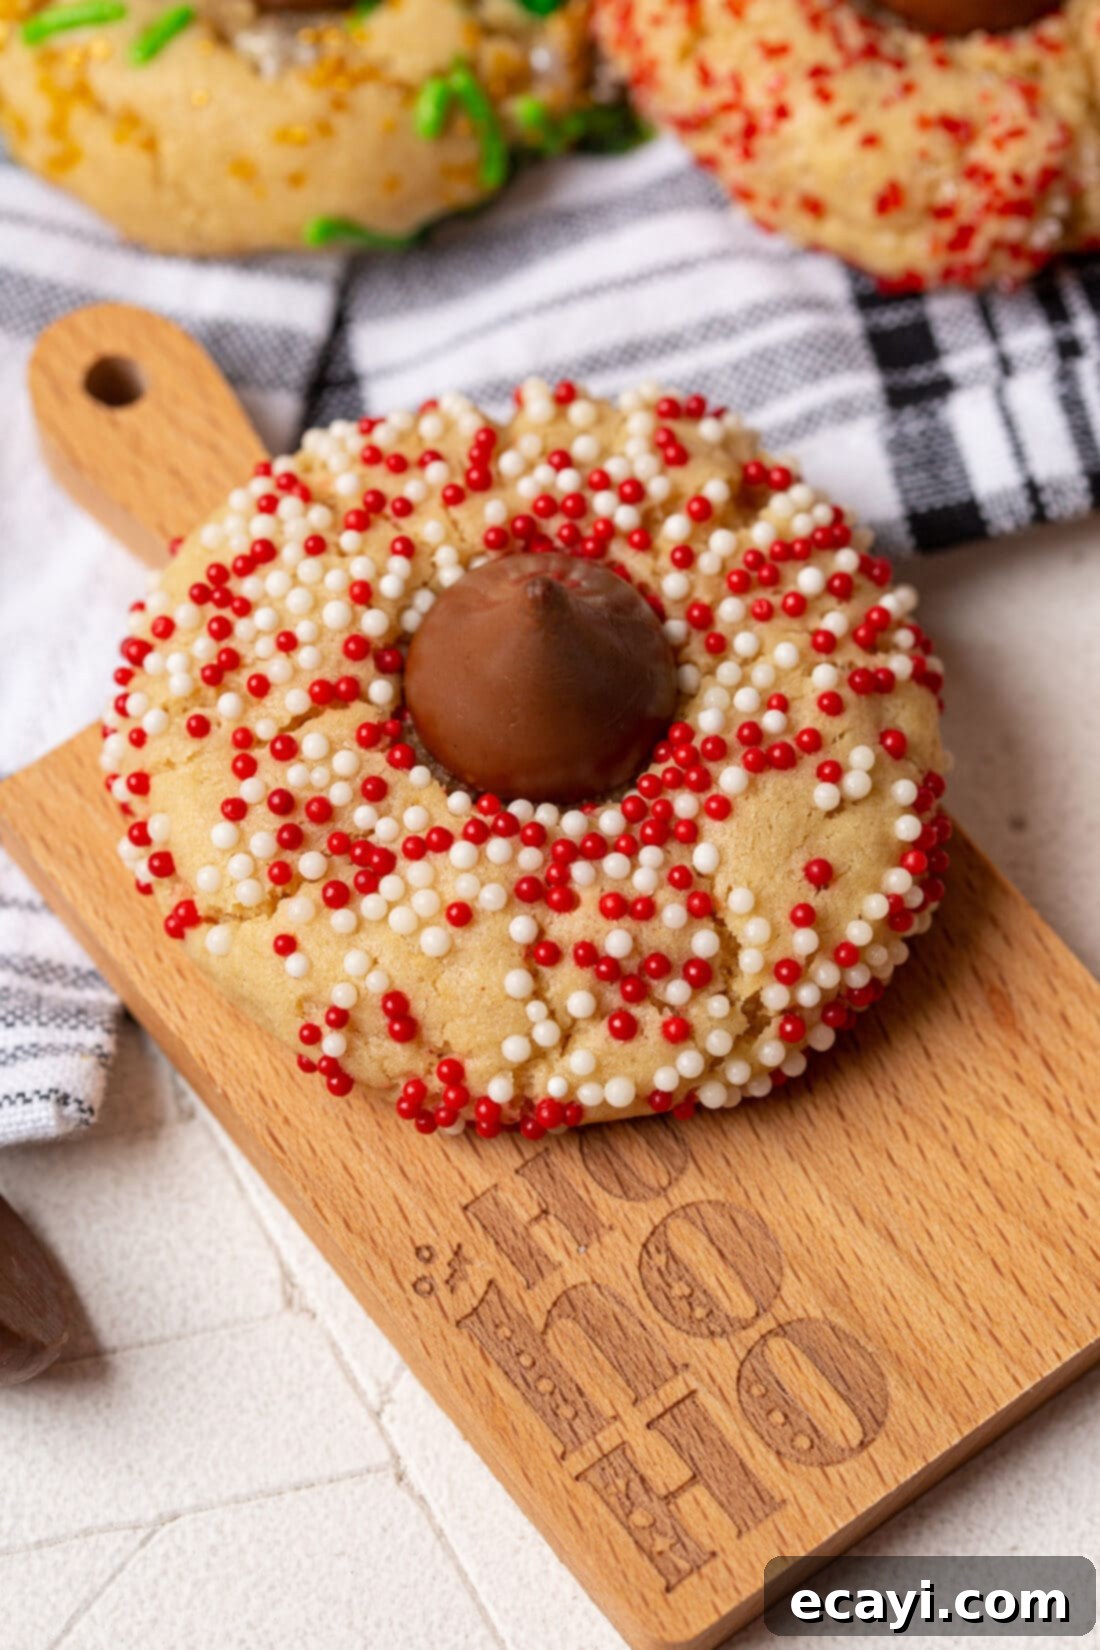
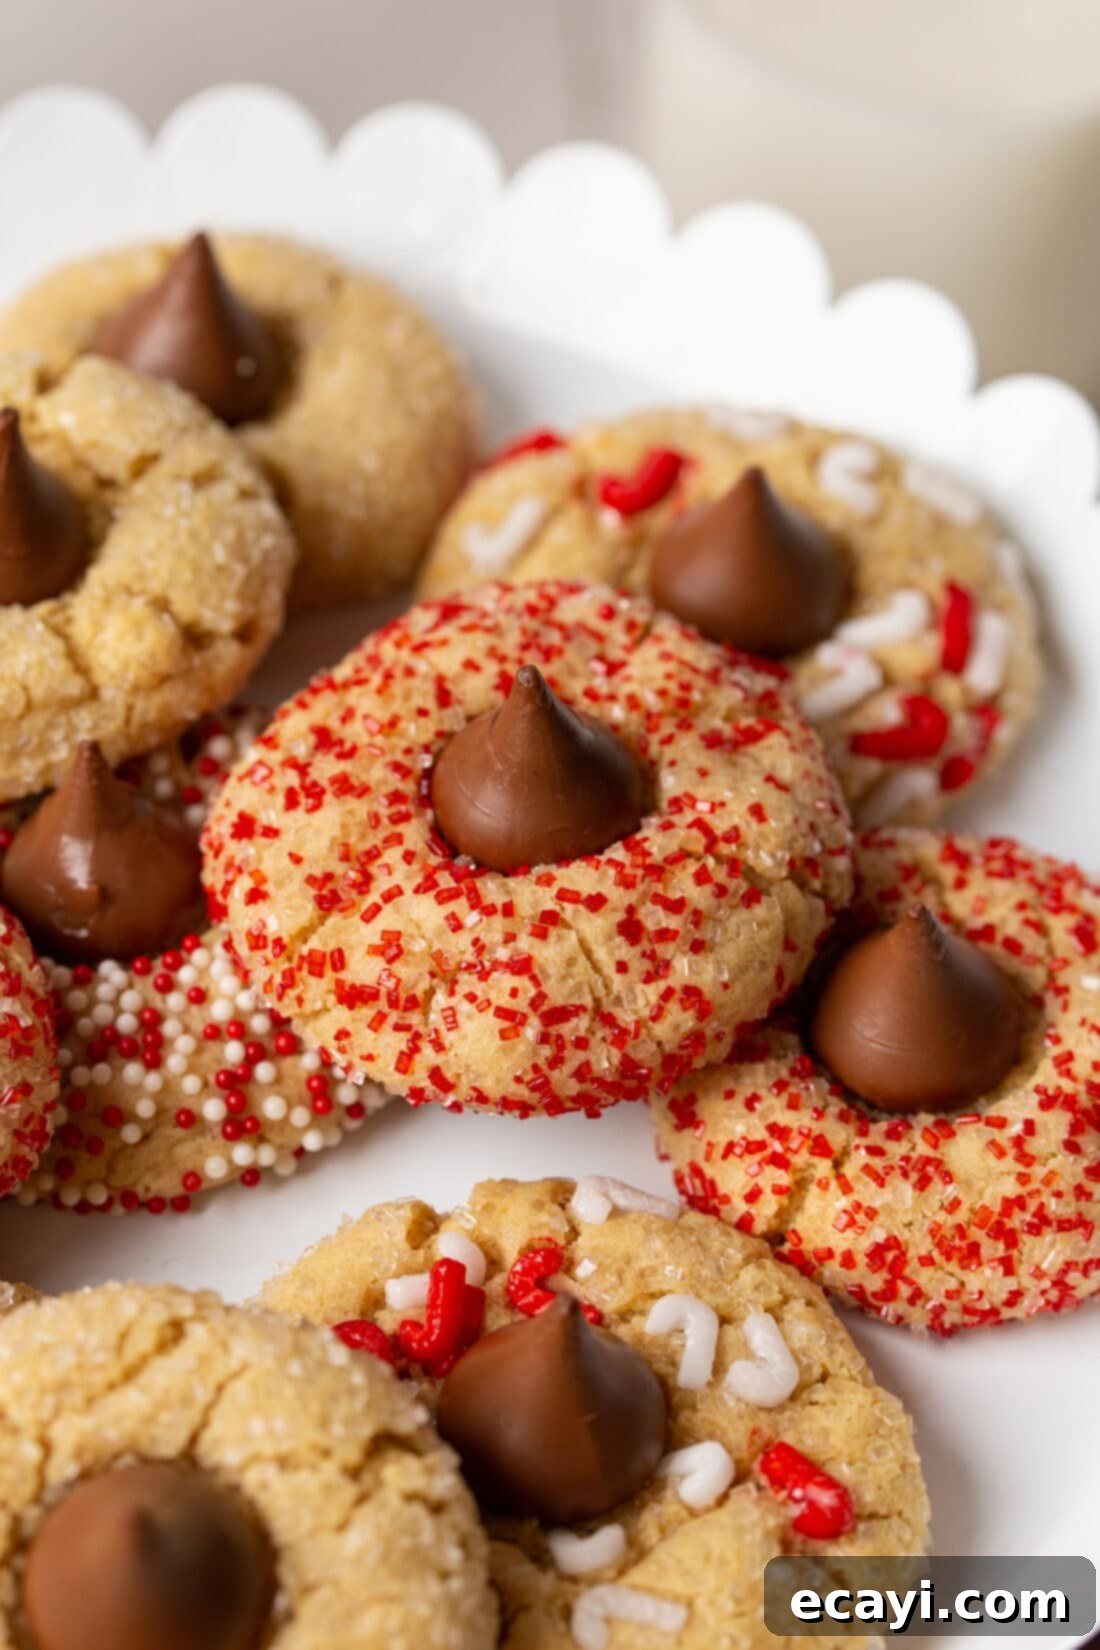
Soft, chewy, and irresistibly festive, Christmas Kiss Cookies are a beloved holiday baking essential. These delightful treats take the classic peanut butter blossom to a new level with a generous coating of vibrant sprinkles and the iconic chocolate Hershey’s Kiss nestled perfectly on top. Simple to make yet stunning to behold, they’re guaranteed to bring cheer to any holiday gathering or cookie exchange. Their rich peanut butter flavor, combined with the sweet chocolate and satisfying crunch of sprinkles, creates a truly unforgettable experience.
Why This Christmas Cookie Recipe is a Holiday Must-Have
You might recognize these charming cookies as a festive twist on traditional peanut butter blossoms. While the base recipe remains a cherished classic, our Christmas Kiss Cookies stand out with the delightful addition of colorful holiday sprinkles. This simple change transforms them into a truly magical treat, perfect for celebrating the season. What makes this recipe truly special is its incredible versatility – you can effortlessly adapt it for any holiday by simply changing the color of your sprinkles! Imagine red and pink for Valentine’s Day, green for St. Patrick’s Day, or pastel hues for Easter. But for Christmas, we embrace the classic reds, greens, silvers, and whites, making each cookie a mini celebration of holiday joy.
These cookies aren’t just visually appealing; they’re incredibly easy to make, even for novice bakers. The straightforward steps and familiar ingredients make them a low-stress option during the busy holiday season. The combination of rich, tender peanut butter cookie and a melty chocolate kiss creates a flavor and texture profile that’s universally loved and incredibly comforting. They are a fantastic choice for cookie exchanges, potlucks, and holiday parties because they travel well and are always a crowd-pleaser. Plus, preparing them is a fun activity for the whole family, especially when it comes to rolling the dough balls in festive sprinkles, adding a touch of personalized magic to each bite.
Essential Ingredients for Your Christmas Kiss Cookies
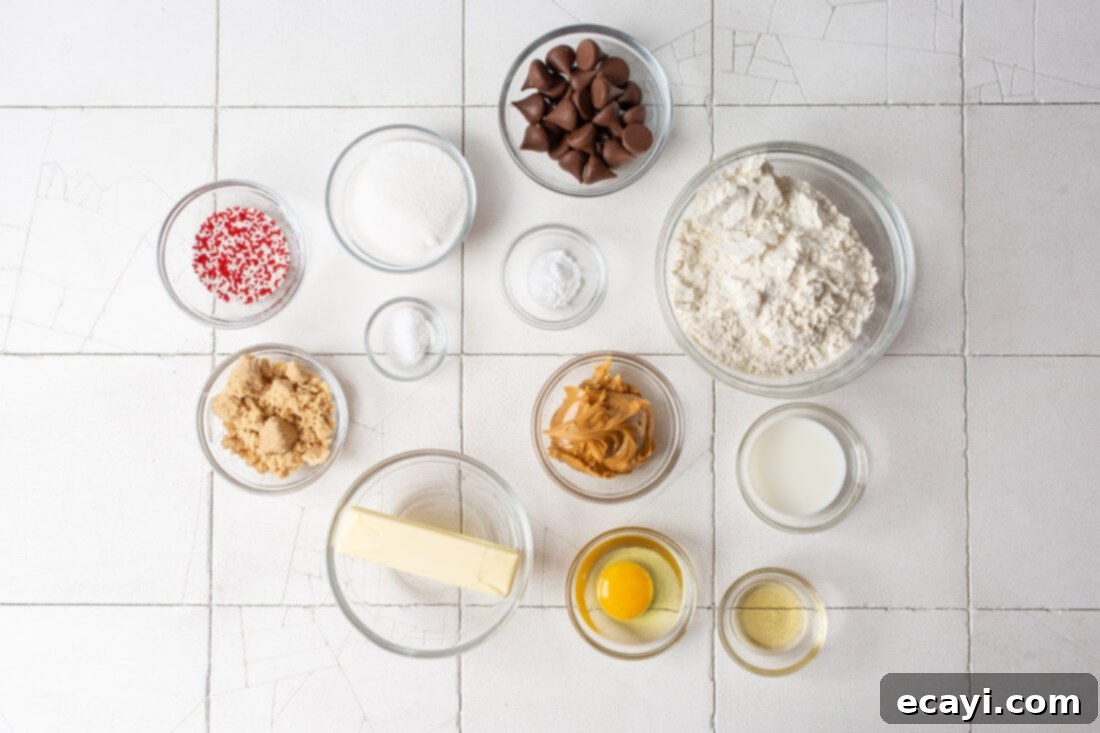
To create these enchanting Christmas Kiss Cookies, you’ll need a selection of common pantry staples. While the full, printable recipe with precise measurements and detailed instructions is conveniently located at the end of this post, let’s explore the key components that bring these delicious cookies to life. Using high-quality ingredients and ensuring they are at the correct temperature are small but crucial steps that make a significant difference in the final taste and texture of your baked goods. We’ll dive into the specifics below to ensure your cookies turn out perfectly soft, chewy, and utterly delightful, making them a highlight of your holiday spread.
Remember, baking is a science, and accurate measurements are paramount for consistent results. We always recommend using a kitchen scale for flour to ensure consistency, though standard cup measurements are provided for convenience. Taking a few moments to properly measure and prepare your ingredients will pay off in a batch of perfectly baked Christmas Kiss Cookies that everyone will rave about. Get ready to gather your ingredients and embark on a sweet baking adventure, creating memories along with delicious treats!
Ingredient Information and Expert Substitution Suggestions
Understanding each ingredient’s role and knowing possible substitutions can empower you to bake with confidence, catering to various dietary needs or simply experimenting with new flavors. Here’s a closer look at what goes into our festive Christmas Kiss Cookies:
Dough Essentials: Butter, Peanut Butter, and Sugars
- Butter: This recipe calls for 1 stick (4 oz or 113 grams) of unsalted butter, softened to room temperature. The temperature of your butter is crucial! Softened butter creams beautifully with sugar, creating a light and airy base for your cookie dough. If your butter is too cold, it won’t incorporate properly, leading to a dense and potentially crumbly cookie. If it’s melted, your cookies might spread too much and become greasy. To quickly bring butter to room temperature, slice it into tablespoon-sized pieces and let it sit on the counter for about 25-30 minutes, or gently microwave for 5-10 seconds on low power, being very careful not to melt it entirely.
- Peanut Butter: It’s crucial to use smooth, creamy peanut butter for these cookies, not the chunky variety. The smooth texture ensures an even distribution of flavor and a consistent, pliable cookie dough, resulting in a soft and uniform cookie. For those with peanut allergies or who prefer other flavors, feel free to swap the peanut butter with an equal amount of creamy almond butter, cashew butter, or even sunflower seed butter. Each alternative will lend a unique, delicious flavor profile to your blossoms, allowing for wonderful customization.
- Granulated Sugar & Light Brown Sugar: The thoughtful combination of both white granulated sugar and light brown sugar is key to achieving the cookie’s perfect balance of slightly crisp edges and a wonderfully soft, chewy interior. Granulated sugar primarily contributes to crispness and aids in browning, giving the cookies their golden hue. Light brown sugar, with its molasses content, adds essential moisture, a richer depth of flavor, and that delightful chewiness that everyone loves. Don’t skip either; their synergistic effect is what makes these cookies so special.
- Egg, Milk, and Vanilla Extract: These liquid ingredients are vital for binding the dough together, adding necessary moisture, and enhancing the overall flavor profile of the cookies. A large egg acts as a primary binder, providing structure and richness. A tablespoon of milk (whole milk, half-and-half, oat milk, or any nut milk works beautifully) ensures the dough has the right consistency, making it pliable and easy to work with. Vanilla extract is a powerful flavor enhancer that perfectly complements the nutty notes of the peanut butter. Always opt for pure vanilla extract for the best, most authentic taste.
- All-Purpose Flour, Baking Soda, and Salt: All-purpose flour provides the fundamental structure for the cookies, giving them their shape and body. Baking soda acts as a leavening agent, creating the perfect rise and contributing to the cookies’ characteristic tender texture. Salt is essential for balancing the sweetness and expertly brings out the complex flavors of all the other ingredients, preventing the cookies from tasting overly sweet. Always measure your dry ingredients accurately, especially flour; too much can lead to dry, dense, and crumbly cookies, while too little can result in excessive spreading.
The Festive Finish: Sprinkles and Chocolate Kisses
- Sprinkles: The festive sprinkles are what truly transform these into “Christmas Kiss Cookies,” giving them their signature holiday look. We recommend using a vibrant mix of red, green, and white sprinkles (jimmies work great for their distinct texture, but nonpareils or sanding sugar can also be used for different visual effects). The key is to choose high-quality sprinkles that are vibrant and hold their color well during the baking process. The beauty of this ingredient is its versatility; you can customize the colors for any holiday or occasion, making these cookies incredibly adaptable! For a simpler, non-holiday version, you can simply roll the dough in regular granulated sugar before baking.
- Hershey’s Kisses: The iconic chocolate kiss, gently pressed into the center of each warm cookie, is the defining feature of this beloved treat. While classic milk chocolate Hershey’s Kisses are traditional and always a hit, don’t hesitate to experiment with different flavors to add an exciting twist! Candy cane Hershey Kisses offer a refreshing minty burst, hot cocoa kisses provide a rich, warm chocolate flavor, mint truffle kisses add a decadent and sophisticated touch, and sugar cookie kisses bring another layer of sweet, comforting flavor. The choice is yours, and each variation creates a unique and delightful experience. Remember to unwrap all your Hershey’s Kisses before the cookies come out of the oven, as you’ll need to place them quickly while the cookies are still warm and pliable.
How to Make Your Own Irresistible Christmas Kiss Cookies
These step-by-step photos and instructions are here to help you visualize how to make this recipe. For a convenient printable version of this recipe, complete with precise measurements and detailed instructions, simply Jump to Recipe at the bottom of this post.
- Prepare Your Oven and Baking Sheets: Begin by preheating your oven to a consistent 375°F (190°C). Accuracy here is important for even baking, so if you have an oven thermometer, it’s a great time to use it. While the oven heats up, line your baking sheets with parchment paper or silicone baking mats. This crucial step prevents the cookies from sticking, ensures even heat distribution, and makes for incredibly easy cleanup.
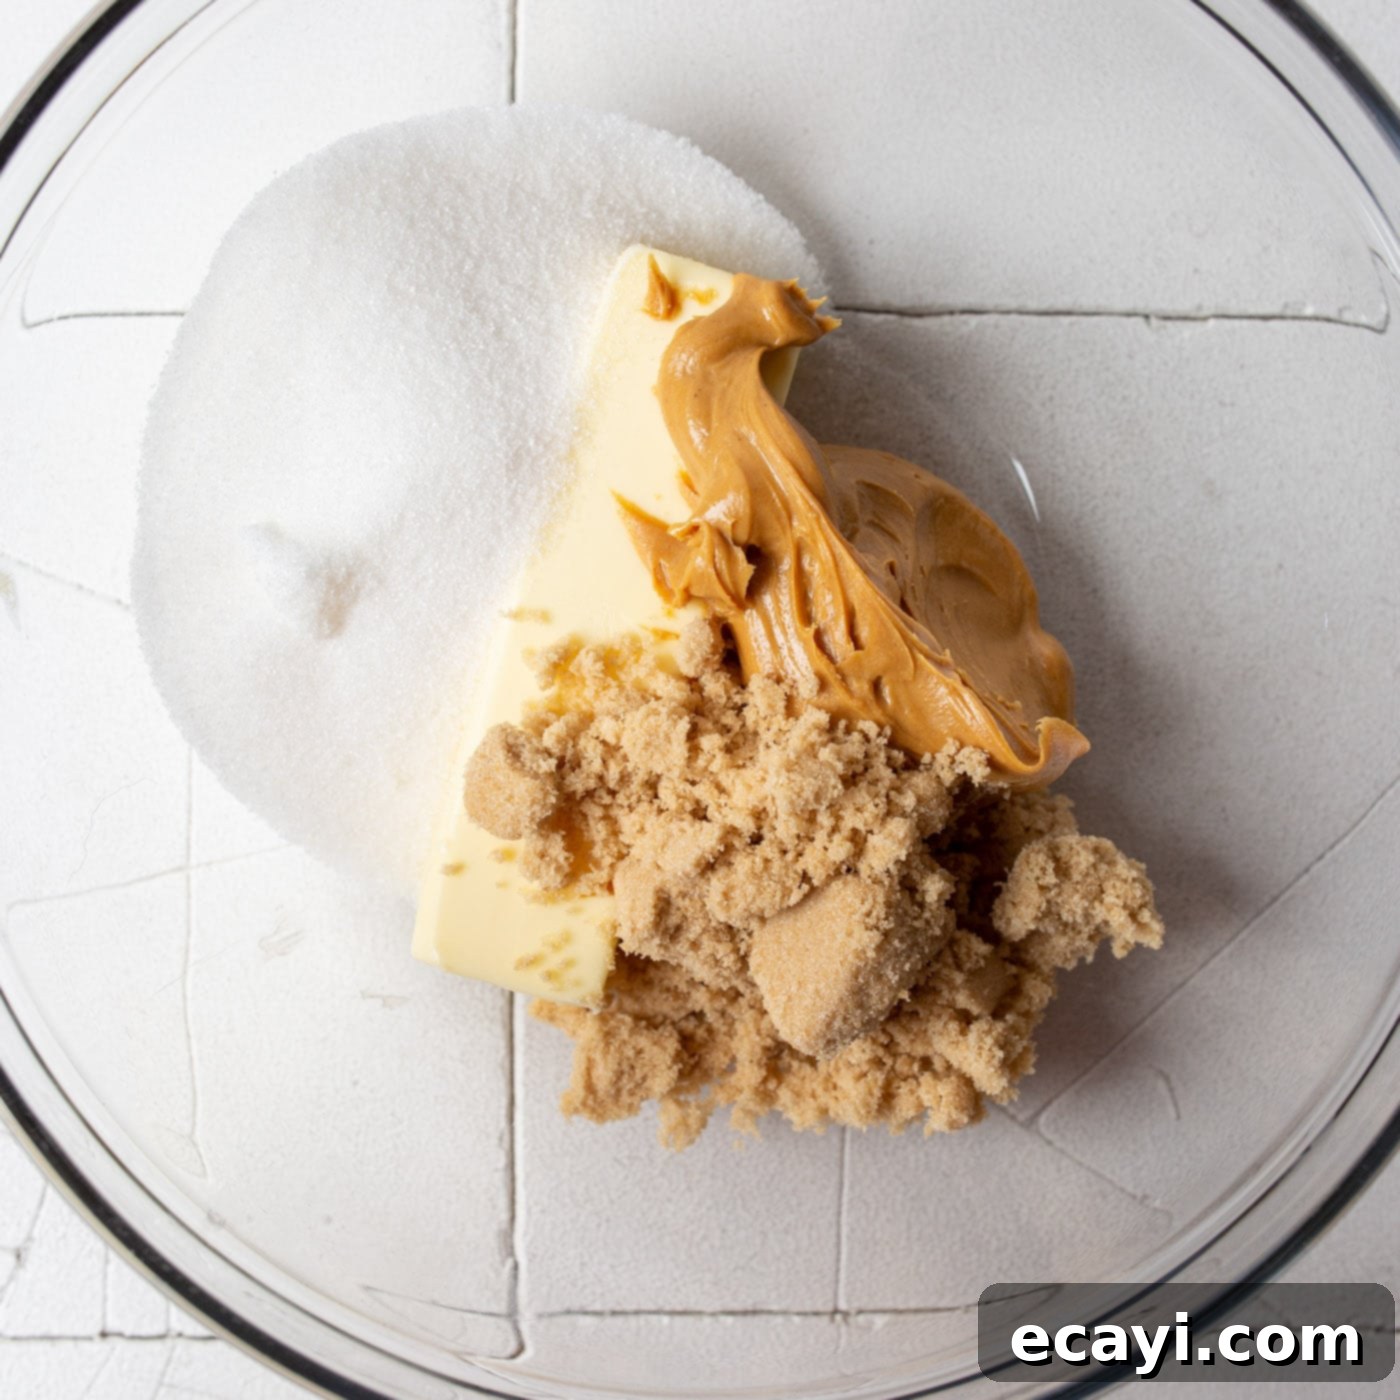
- Cream Wet Ingredients: In a large mixing bowl, combine the softened butter, smooth peanut butter, granulated sugar, and light brown sugar. Using a hand mixer (or a stand mixer fitted with the paddle attachment), beat these ingredients together until the mixture is light, fluffy, and perfectly well combined. This creaming process incorporates essential air into the mixture, which is fundamental for achieving a soft and tender cookie texture. Remember to scrape down the sides of the bowl as needed to ensure all ingredients are thoroughly mixed.

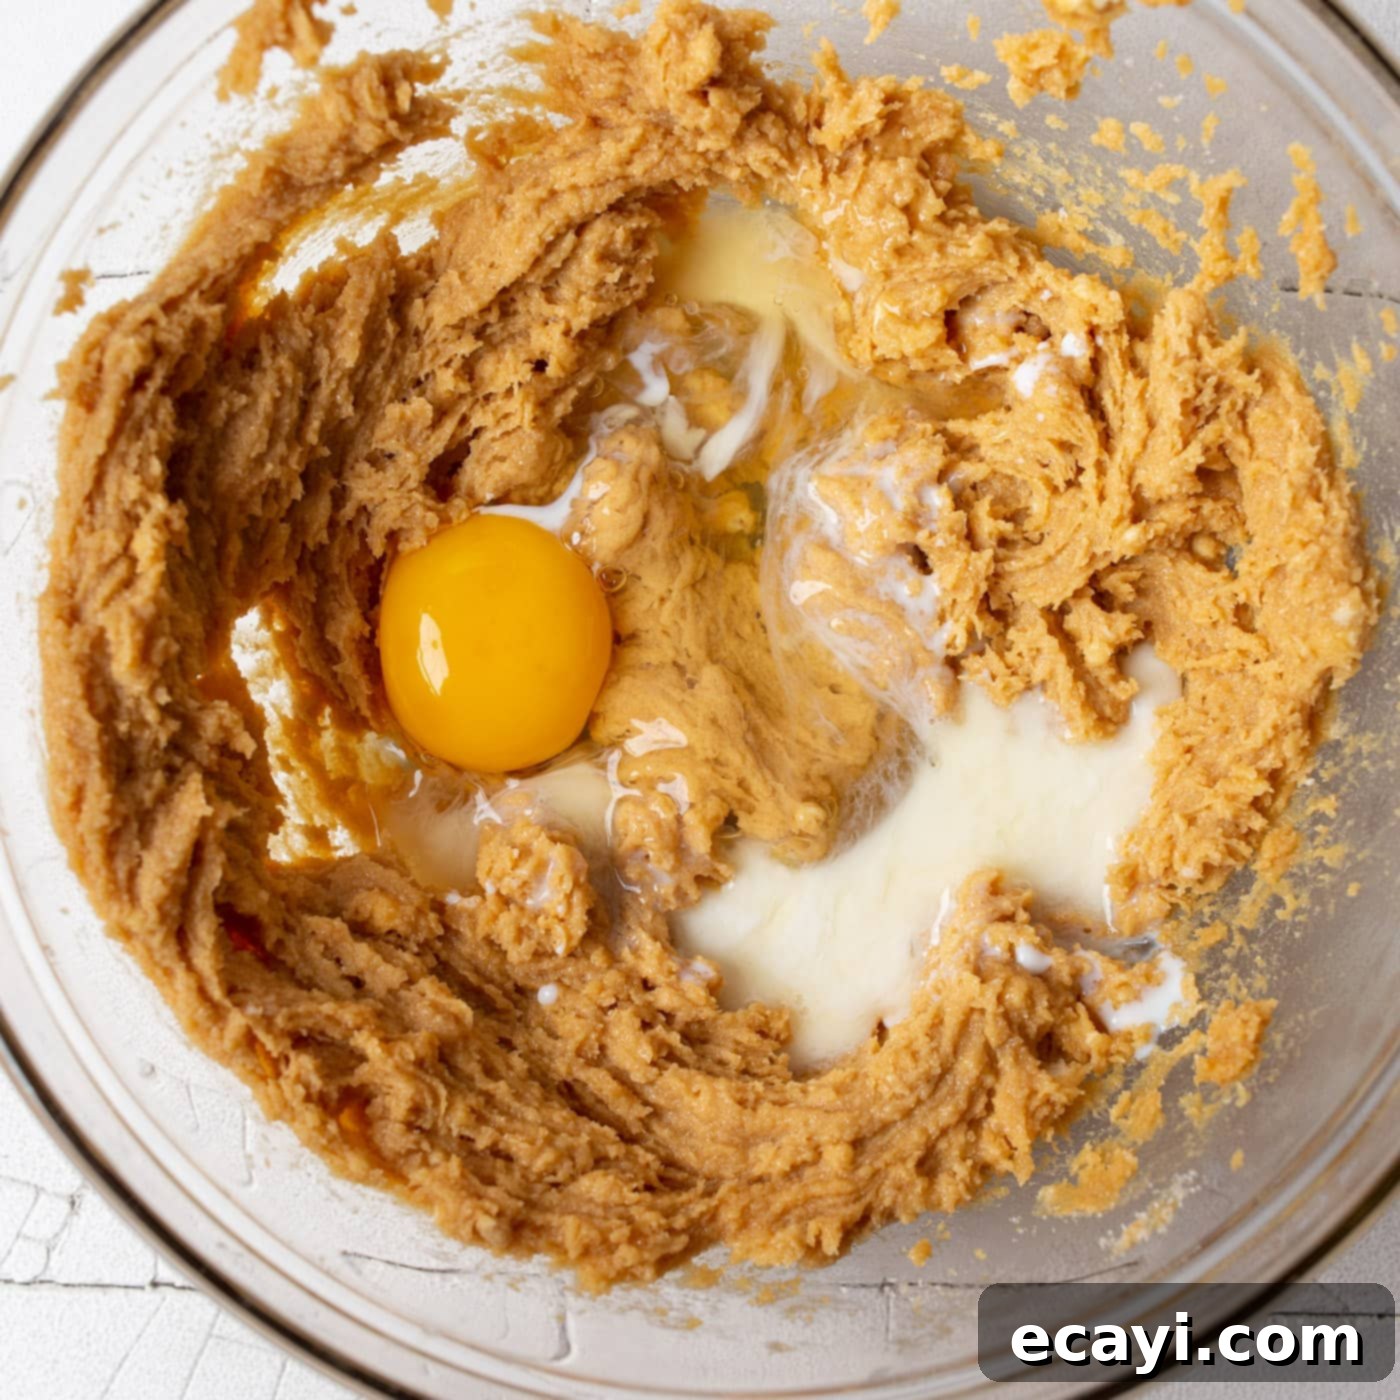
- Incorporate Egg, Milk, and Vanilla: To the creamed mixture, add the large egg, milk (or half-and-half/nut milk), and vanilla extract. Continue to beat on low speed, mixing just until all ingredients are fully incorporated and the mixture appears smooth and homogenous. Be careful not to overmix at this stage; gentle incorporation is key.

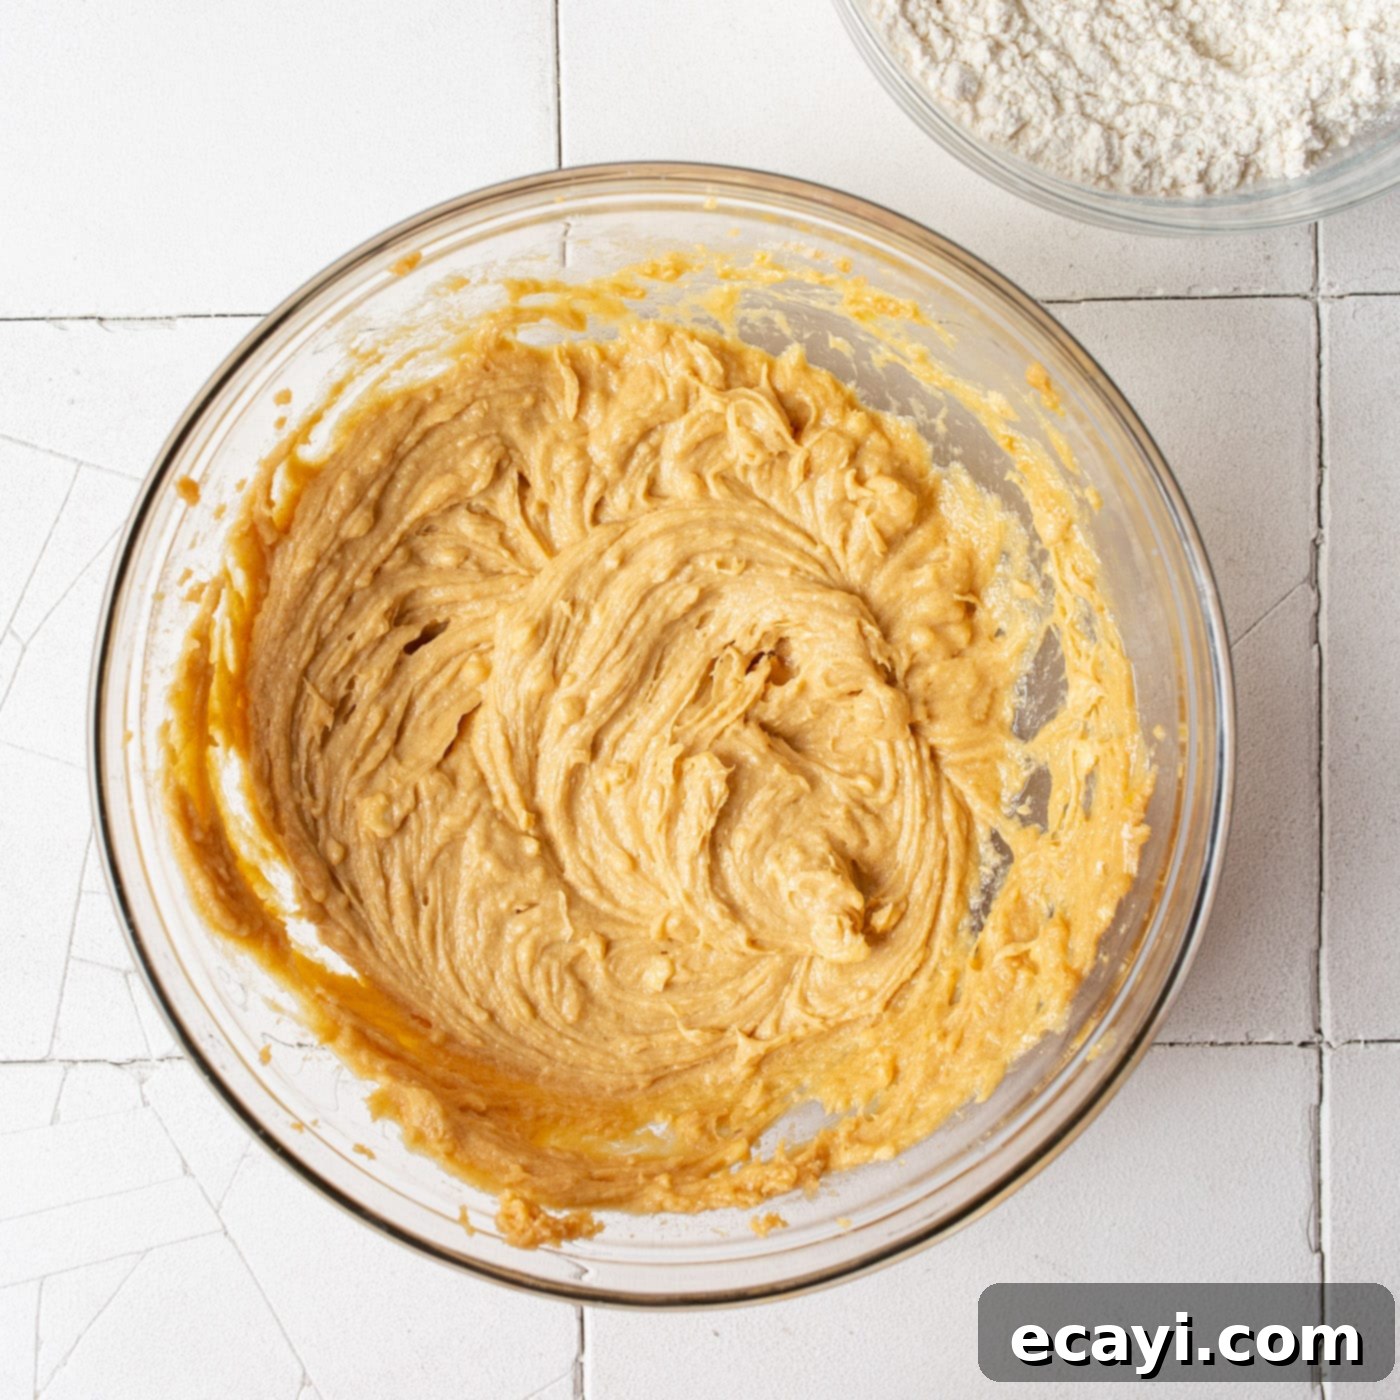
- Combine Dry Ingredients: In a separate medium-sized bowl, whisk together the all-purpose flour, baking soda, and salt. Whisking ensures these dry ingredients are evenly distributed, which is important for consistent leavening and flavor throughout the entire batch of dough.
- Mix Wet and Dry Ingredients: Gradually add the dry ingredient mixture to the wet ingredients in the large bowl. Mix on low speed, just until everything is combined and a soft, cohesive dough forms. It’s important to avoid overmixing, as this can overdevelop the gluten in the flour, resulting in tough, less tender cookies. Once combined, cover the dough tightly with plastic wrap and refrigerate it for at least 1 hour. Chilling the dough is a crucial step that helps prevent the cookies from spreading excessively during baking, resulting in a thicker, chewier cookie and allowing the flavors to meld beautifully.

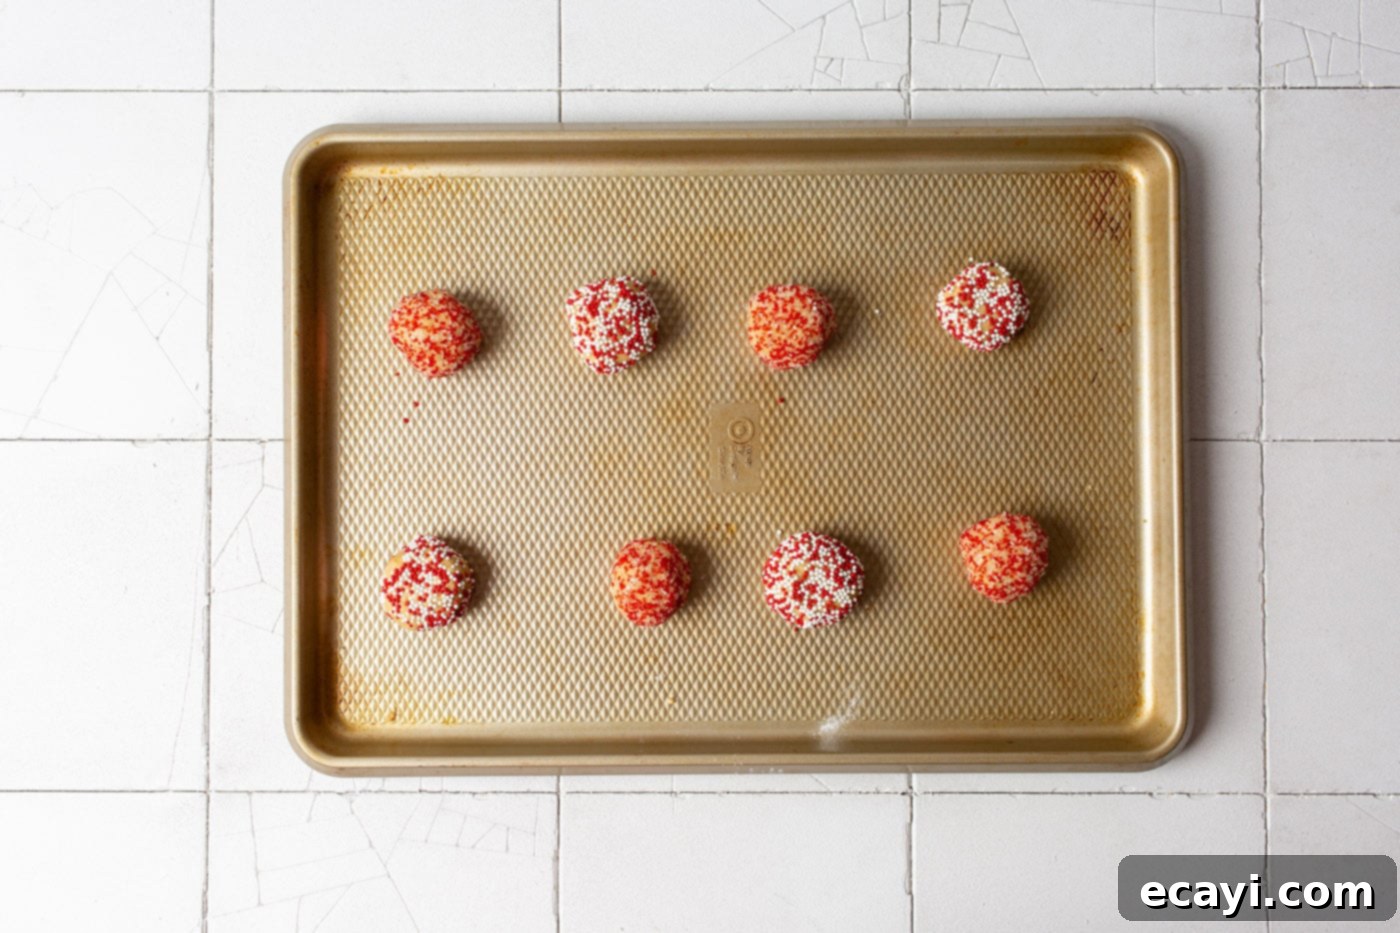
- Shape and Decorate: Once the dough is thoroughly chilled, use a 1 Tablespoon cookie scoop to portion out even balls of dough. This ensures uniform size and consistent baking. Roll each dough ball gently between your palms to smooth it, then immediately roll it generously in a bowl of festive sprinkles, ensuring an even coating. The sprinkles will adhere best to the slightly sticky, chilled dough.

- Bake the Cookies: Place the sprinkle-coated dough balls onto your prepared baking sheets, ensuring they are about 2 inches apart to allow for proper spreading without merging. Bake in the preheated oven at 375°F (190°C) for 8-10 minutes. The cookies should appear lightly golden brown around the edges and still look slightly soft and puffed in the center. Overbaking can lead to dry cookies, so keep a close eye on them.
- Add the Hershey’s Kisses: Immediately after removing the cookies from the oven, while they are still hot and pliable, gently press a Hershey’s Kiss into the center of each warm cookie. Apply just enough pressure for the kiss to stick firmly and for the cookie dough to slightly crack around the base of the chocolate, creating that signature “blossom” effect. Return the baking sheets to the oven for an additional 2 minutes. This brief second bake helps the chocolate soften beautifully and adhere perfectly to the cookie without fully melting and losing its iconic shape. Carefully remove from the oven and allow the cookies to cool on the baking sheet for 5-10 minutes before transferring them to a wire cooling rack to cool completely. This resting period allows the cookies to set their structure and prevents them from breaking apart.
Frequently Asked Questions & Expert Baking Tips
These delicious cookies will stay fresh, soft, and chewy at room temperature for 3-4 days when stored in an airtight container. To prevent the chocolate kisses from sticking to each other or to the container lid, you can place a piece of parchment paper or wax paper between layers of cookies. For longer storage, Christmas Kiss Cookies freeze exceptionally well. Arrange cooled cookies in a single layer on a baking sheet to flash freeze for an hour, then transfer to an airtight freezer-safe container or bag. They will keep well for up to 3 months. Thaw at room temperature before serving, or enjoy them slightly chilled!
Absolutely! Freezing the dough is a fantastic way to prepare for holiday baking in advance, saving you time and stress during busy periods. You have a couple of convenient options: you can wrap the entire batch of raw cookie dough tightly in plastic wrap, then place it into a freezer-safe bag for up to 3 months. Alternatively, for grab-and-bake convenience, you can portion the dough into individual balls first. To do this, scoop the dough balls as directed in the recipe (1 Tablespoon size), arrange them on a wax paper-lined baking sheet, and freeze for a couple of hours until they are solid. Once frozen, transfer the individual dough balls to a freezer-safe bag or container and store for up to 3 months.
When you’re ready to bake, preheat your oven according to the recipe instructions (375°F/190°C). Remove the frozen dough balls from the freezer and place them on your prepared baking sheet. Allow them to thaw slightly while the oven preheats – about 15-20 minutes. Roll the semi-thawed dough balls in sprinkles, then bake as per the original recipe instructions (8-10 minutes plus 2 minutes with the kiss). You might need to add an extra minute or two to the initial baking time if baking from mostly frozen, so watch for those lightly golden edges.
Flat cookies are a common baking challenge often caused by a few factors. Most frequently, it’s due to butter that’s too soft or melted, or cookie dough that hasn’t been chilled sufficiently. Ensure your butter is at room temperature (soft enough to indent with a finger but not greasy or melted) and that the dough chills for the full hour (or even longer if your kitchen is warm). Using fresh baking soda is also important, as old baking soda loses its leavening power. Lastly, overmixing the dough can develop the gluten in the flour too much, which can also contribute to flatter, tougher cookies. For best results, follow the chilling instructions carefully.
The trick to keeping those iconic Hershey’s Kisses perfectly shaped is all in the timing! Place the unwrapped kisses onto the *hot* cookies immediately after they come out of the first bake. The residual heat of the cookies will begin to soften the chocolate. Then, return them to the oven for just 1-2 minutes. This brief second bake warms the chocolate just enough to adhere perfectly and become slightly gooey and soft without fully melting and losing its distinctive point. If you prefer a firmer kiss, you can skip the second bake entirely and just let the residual heat of the warm cookies soften the chocolate as they cool on the wire rack. Make sure to have your kisses unwrapped and ready before the cookies come out of the oven.
Serving Suggestions & Holiday Versatility
Christmas Kiss Cookies have truly earned their place as a beloved holiday staple, a delightful and vibrant evolution of the classic peanut butter blossom! These charming, chocolate-topped treats are perfect for a multitude of festive occasions and are sure to be a hit wherever they go.
- Cookie Exchanges: With their eye-catching sprinkles and classic flavor, they are an ideal candidate for cookie exchanges, standing out beautifully among other holiday treats.
- Holiday Parties: Serve them at your holiday gatherings, where they’ll be a guaranteed hit with guests of all ages, from children to adults. Arrange them artfully on a festive platter with other seasonal desserts for a stunning and delicious spread.
- Thoughtful Gift Giving: Package these charming cookies in decorative boxes or festive bags for thoughtful homemade gifts. They make perfect presents for friends, family, teachers, neighbors, or anyone deserving of a sweet gesture during the holidays. Their charming appearance makes them a particularly welcome gift.
- Any Holiday, Any Season: Beyond Christmas, these cookies are incredibly adaptable. Simply change the color of your sprinkles to fit the theme of any holiday or special occasion! Imagine the possibilities:
- Valentine’s Day: Roll them in red and pink sprinkles or sanding sugar for a romantic touch.
- St. Patrick’s Day: Use bright green sprinkles to celebrate the luck of the Irish.
- Easter/Spring: Adorn them with pastel-colored sprinkles for a delicate spring feel.
- Halloween: Opt for spooky orange and black sprinkles, or even tiny candy eyeballs for a fun, ghoulish treat.
- Birthdays: Customize them with sprinkles matching the birthday person’s favorite colors or party theme.
If you prefer not to use sprinkles, you can simply leave the cookies plain or roll them in regular granulated sugar before baking for a simpler, yet equally delicious, finish. Consider drizzling them with melted white chocolate, dark chocolate, or a luscious caramel sauce for an extra touch of indulgence and visual appeal.
More Irresistible Cookie Recipes to Try
If you love baking cookies, especially around the holidays, you’ll be thrilled to explore more of our delightful recipes. From classic comfort to unique festive flavors, there’s a cookie for every palate and occasion. Expand your baking repertoire with these tried-and-true favorites that are perfect for sharing or savoring yourself:
- Eggnog Cookies: These soft, tender cookies are infused with the warm, spiced flavors of classic eggnog, complete with a hint of nutmeg and rum extract, making them a true taste of the holidays.
- Snowball Cookies: Buttery, nutty, and irresistibly crumbly, these delicate melt-in-your-mouth cookies are generously coated in powdered sugar, resembling festive snowballs perfect for winter.
- Hot Cocoa Cookies: Indulge in rich, chewy chocolate cookies topped with fluffy marshmallow fluff and a decadent chocolate drizzle, tasting just like a warm, comforting mug of hot cocoa.
- Stained Glass Cookies: These stunning and colorful cookies feature a translucent “stained glass” candy center, making them not only delicious but also beautiful showpieces for decorating and gifting.
- Red Velvet Crinkle Cookies: Experience the magic of vibrant red, soft, and fudgy cookies with a distinctive powdered sugar crinkle finish, a festive and decadent treat.
- Easy Decorated Sugar Cookies: A simple, reliable recipe for classic cut-out sugar cookies that are perfect for decorating with icing, sprinkles, and edible glitter for any celebration or holiday.
- Cherry Pie Cookies: Enjoy the comforting flavors of cherry pie in a delightful, bite-sized cookie form. These miniature pie-like treats are filled with sweet cherry goodness.
- Paintbrush Cookies: Unleash your creativity with these unique and fun cookies, decorated with edible paints for a truly artistic and personalized dessert experience.
- Melted Snowman Cookies: These adorable and whimsical cookies are designed to look like a snowman mid-melt, complete with frosting, candy accents, and sprinkles, always a favorite with kids!
I love to bake and cook and share my kitchen experience with all of you! Remembering to come back each day can be tough, that’s why I offer a convenient newsletter every time a new recipe posts. Simply subscribe and start receiving your free daily recipes!

Christmas Kiss Cookies
Christmas Kiss Cookies are a beloved holiday treat, a vibrant spin on classic peanut butter blossoms. Perfect for cookie exchanges, festive parties, or as heartwarming homemade gifts!
IMPORTANT – There are often Frequently Asked Questions within the blog post that you may find helpful. Simply scroll back up to read them!
Print It
Pin It
Rate It
Course: Dessert
Cuisine: American
Servings: 25 cookies
Total Time: 1 hr 30 mins
Calories: 199
Author: Amanda Davis
Ingredients
- 1 ¾ cups all-purpose flour
- 1 tsp baking soda
- ½ tsp salt
- 4 oz butter (1 stick, at room temperature)
- ½ cup smooth peanut butter (or other creamy nut butter)
- ½ cup granulated sugar (plus more for rolling if desired)
- ½ cup light brown sugar
- 1 large egg
- 1 Tbsp milk (or half-and-half, oat milk or nut milk)
- 1 tsp vanilla extract
- ½ cup sprinkles
- 11 oz Hershey kisses (approx. 5 dozen Hershey Kisses with the foils removed)
Things You’ll Need
- Hand mixer
- Cookie scoop
- Baking sheets
- Mixing bowls
Before You Begin (Tips & Notes)
- These cookies will store well at room temperature in an airtight container for 3-4 days. If you would like to keep them longer, you can freeze them.
- To freeze the cookie dough, either wrap the whole batch of dough tightly in plastic wrap then place it in a freezer bag, or portion the dough into individual balls first. Freeze the individual dough balls on a wax paper-lined sheet for a couple of hours. Place frozen dough balls in a freezer bag and return to the freezer for up to 3 months. To bake, preheat the oven according to the recipe. Remove frozen dough balls and place on baking sheet to thaw while oven preheats. Roll balls in sprinkles or sugar. Bake according to recipe instructions.
Instructions
- Preheat oven to 375F (190°C). Line baking sheets with parchment paper.
- In a large bowl, beat together the butter, peanut butter, granulated sugar, and light brown sugar until light and fluffy.
- Add the egg, milk, and vanilla extract. Beat again until just combined.
- In a separate medium bowl, whisk together the all-purpose flour, baking soda, and salt.
- Add the dry ingredients to the wet ingredients. Mix on low speed until just combined to form a soft dough. Refrigerate dough for 1 hour.
- Use a 1 Tablespoon scoop to make balls of dough. Roll each dough ball generously in a bowl of sprinkles.
- Place on a prepared baking sheet about 2 inches apart. Bake at 375F (190°C) for 8-10 minutes, until edges are lightly golden and centers are still slightly soft.
- Immediately remove from oven and gently press a Hershey’s Kiss into the middle of each warm cookie, pressing just enough for it to stick and for the dough to crack slightly. Place back into the oven for an additional 2 minutes to soften the chocolate. Remove and allow to cool slightly on the baking sheet (5-10 minutes) before transferring to a wire cooling rack to cool completely.
Nutrition
Serving: 1 cookie | Calories: 199cal | Carbohydrates: 27g | Protein: 3g | Fat: 9g | Saturated Fat: 5g | Polyunsaturated Fat: 1g | Monounsaturated Fat: 2g | Trans Fat: 1g | Cholesterol: 20mg | Sodium: 165mg | Potassium: 55mg | Fiber: 1g | Sugar: 18g | Vitamin A: 125IU | Calcium: 33mg | Iron: 1mg
Tried this Recipe? Pin it for Later!
Follow on Pinterest @AmandasCookin or tag #AmandasCookin!
The recipes on this blog are tested with a conventional gas oven and gas stovetop. It’s important to note that some ovens, especially as they age, can cook and bake inconsistently. Using an inexpensive oven thermometer can assure you that your oven is truly heating to the proper temperature. If you use a toaster oven or countertop oven, please keep in mind that they may not distribute heat the same as a conventional full-sized oven and you may need to adjust your cooking/baking times. In the case of recipes made with a pressure cooker, air fryer, slow cooker, or other appliance, a link to the appliances we use is listed within each respective recipe. For baking recipes where measurements are given by weight, please note that results may not be the same if cups are used instead, and we can’t guarantee success with that method.
