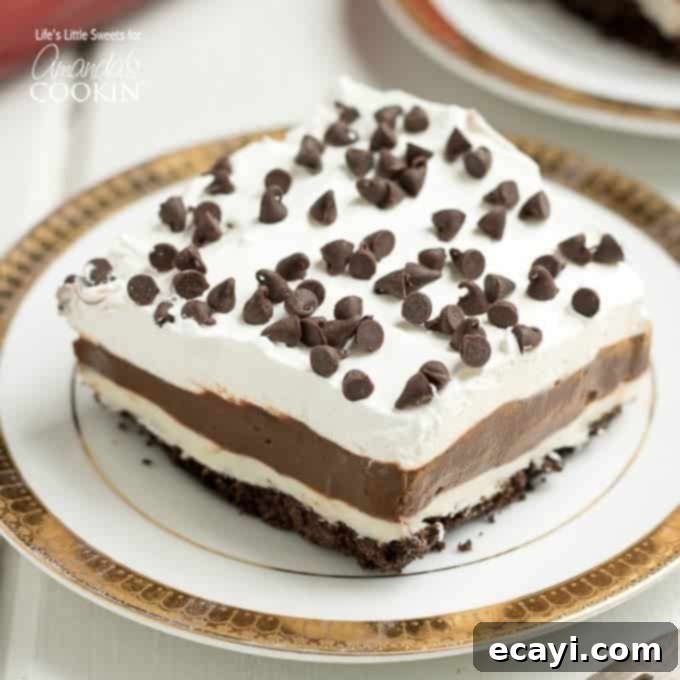
Indulge in the Ultimate No-Bake Mocha Lush Dessert: A Creamy, Layered Delight for Any Occasion
Prepare to delight your taste buds with this incredible Mocha Lush recipe! This light, airy, and refreshingly cool dessert offers a symphony of delicious chocolate and invigorating mocha flavors, creating a truly irresistible treat. Boasting multiple creamy and sweet layers, this recipe even includes a convenient no-bake option for the crust, making it perfect for those hot summer days when turning on the oven simply isn’t an option. If you’ve enjoyed my other popular layered treats like the Coconut Cream Lush and Lemon Lush recipes, you’re in for another crowd-pleasing winner. Just like its siblings, this Mocha Lush recipe is designed to feed a gathering, yielding 12 generous slices that everyone will adore.
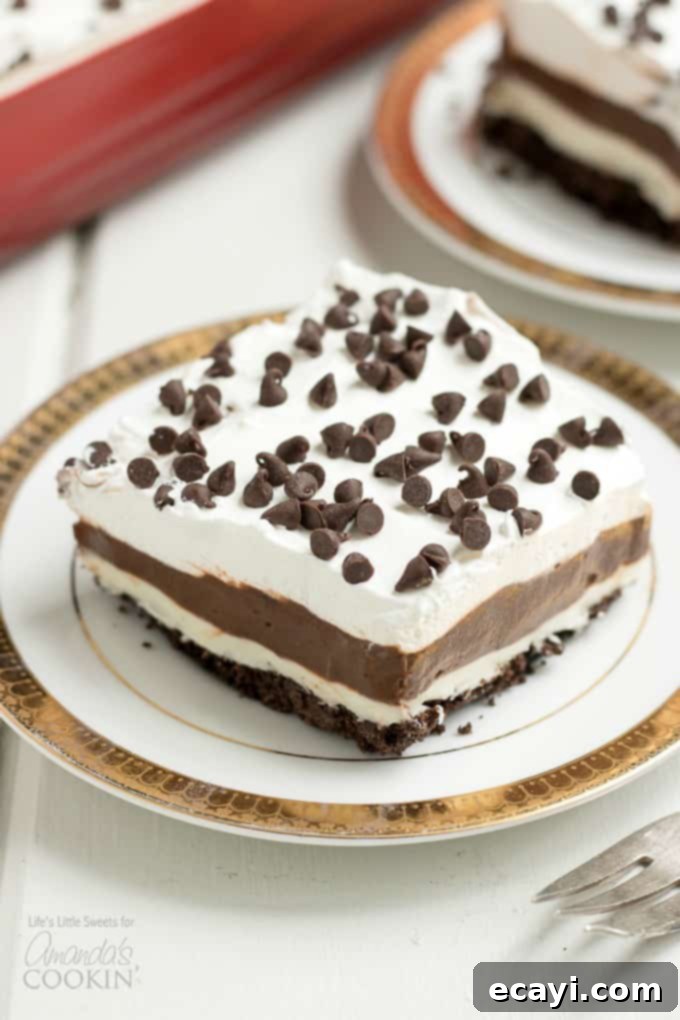
What Makes Mocha Lush So Irresistible?
This Mocha Lush dessert isn’t just a recipe; it’s an experience. It falls into the category of one-pan desserts, designed for minimal fuss and maximum enjoyment. The beauty of a lush dessert lies in its simplicity and its delightful layering of textures and tastes. While it shares a visual resemblance with a chocolate lasagna, I assure you that its unique blend of coffee-infused chocolate elevates it to a completely different level of decadence. This particular recipe offers a fantastic no-bake option for the bottom crust, which is a lifesaver on scorching summer afternoons when you want a cool dessert without heating up your kitchen. Its ease of preparation and impressive presentation make it an ideal choice for potlucks, family gatherings, or any celebration where you want to impress without stress.
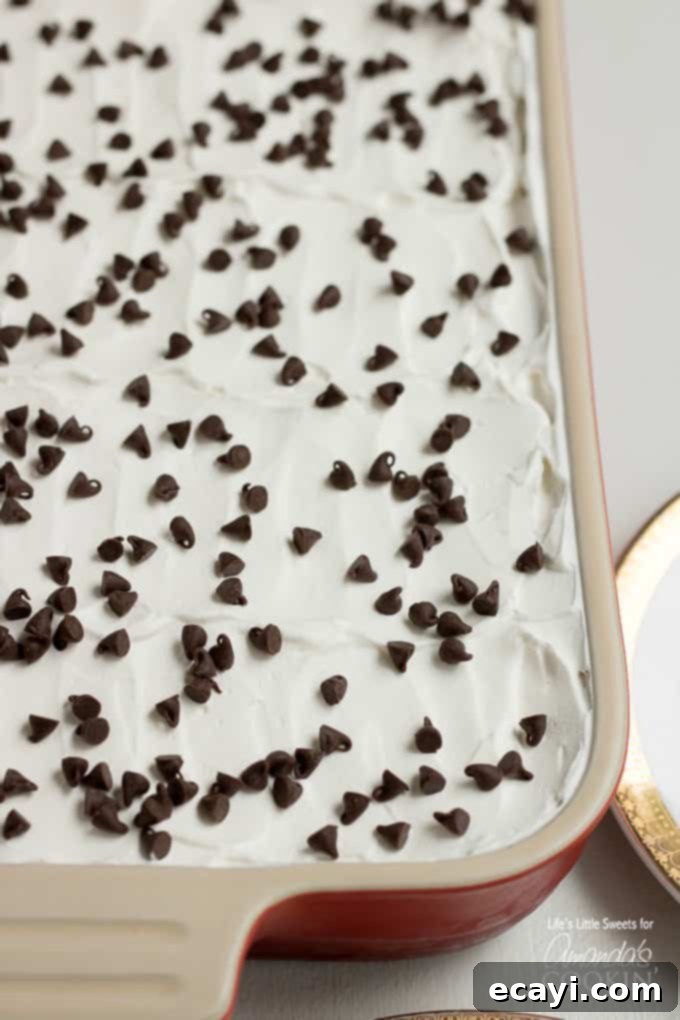
Why This Mocha Lush Will Become Your Go-To Dessert
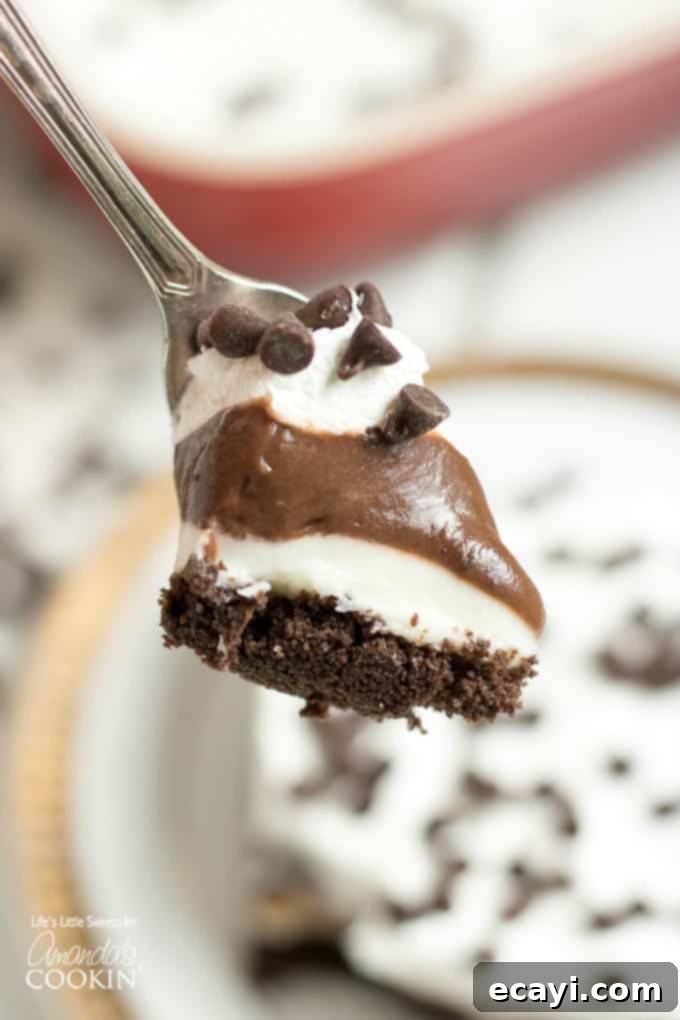
There are countless reasons why this Mocha Lush will quickly earn a permanent spot in your recipe collection. Firstly, its versatility is unmatched. Whether you opt for the quick no-bake chocolate graham cracker crust or the slightly more traditional baked pecan crust, you have options to suit your preference and time constraints. Secondly, the flavor profile is simply divine. The rich, deep chocolate perfectly harmonizes with the bold, aromatic coffee, creating that classic mocha taste that dessert lovers adore. Each spoonful delivers a delightful combination of crunchy crust, tangy cream cheese, smooth mocha pudding, and a light, fluffy whipped topping, all adorned with mini chocolate chips.
This dessert isn’t just delicious; it’s also incredibly practical. It’s designed to feed a crowd, making it perfect for holidays like Mother’s Day, Memorial Day, Independence Day, Father’s Day, or Labor Day. It’s equally suited for any casual BBQ, potluck, or family gathering. The fact that it can be made ahead of time and served chilled means less stress on the day of your event, allowing you to relax and enjoy the company of your guests. Plus, who can resist a beautiful, layered dessert that looks as good as it tastes?
Essential Ingredients for Your Delicious Mocha Lush
Crafting this phenomenal Mocha Lush requires a few key components, each contributing to its delightful layers. Here’s a detailed look at what you’ll need:
Bottom Chocolate Graham Cracker Crust Layer (for the quick no-bake crust option):
- 2 (5 ounce) packages of chocolate graham crackers: These should be finely ground. You can easily achieve this using a food processor for a uniform crumb, or by placing them in a Ziploc bag and crushing them manually with a rolling pin.
- 5-8 tablespoons of unsalted butter, melted and cooled: The amount of butter can vary slightly. I’ve found that depending on the humidity in your kitchen, you might need a little more or less butter to achieve the perfect consistency for pressing into the pan. You want a mixture that holds together when pressed, but isn’t overly greasy.
Bottom Pecan Crust Layer (for the traditional baked crust option):
- 2 cups all-purpose flour: Forms the base of this classic baked crust.
- 1 cup unsalted butter, melted and cooled: Binds the flour and pecans together, creating a rich, buttery foundation.
- 1/2 cup finely chopped or food processor processed pecans: Pecans add a wonderful nutty flavor and a delicate crunch to the crust. Using a mini food processor is great for achieving the fine texture needed.
- 1/4 cup granulated white sugar: Provides just the right amount of sweetness to balance the nutty and buttery flavors.
Cream Cheese Layer:
- 2 (8 ounce) packages cream cheese, softened to room temperature: It’s crucial for the cream cheese to be at room temperature to ensure a smooth, lump-free mixture.
- 1 cup granulated white sugar: Sweetens the cream cheese layer, making it wonderfully decadent.
- 1-2 tablespoons fresh squeezed lemon juice: The lemon juice is a secret ingredient! It cuts through the richness of the cream cheese, adding a bright, zesty note that enhances the overall flavor balance. Two tablespoons often work best for a noticeable tang.
Mocha Pudding Layer:
- 2 (3.4 ounce) packages instant chocolate pudding mix: Instant pudding makes this layer quick and easy.
- 4 cups milk: You can also use 3 1/2 cups if you prefer a slightly thicker pudding layer, which can be beneficial for cleaner slices.
- 2 packets of Starbucks Via (Italian Roast or another dark roast flavor) or 1 teaspoon instant coffee powder: This is where the “mocha” magic happens. The instant coffee or espresso powder infuses the chocolate pudding with a rich, deep coffee flavor, transforming it into a true mocha delight. Adjust to your preferred coffee intensity.
Whipped Topping & Chocolate Morsels Layer:
- 1 (8 ounce) container whipped topping (I used Cool Whip): Thawed whipped topping provides a light, airy finish. You can substitute with the same amount of freshly whipped cream if you prefer a homemade touch, but note the freezing considerations below.
- 1/4 cup (or more) mini semi-sweet chocolate morsels: These add a delicate chocolate garnish and an extra burst of chocolate flavor with every bite. I prefer mini morsels as they are easier to bite into than larger chocolate chips.
- Optional: Sprinkle finely chopped pecans on top: If you chose the bottom pecan crust option, adding a sprinkle of pecans on top creates a beautiful visual and echoes the flavor of the crust.
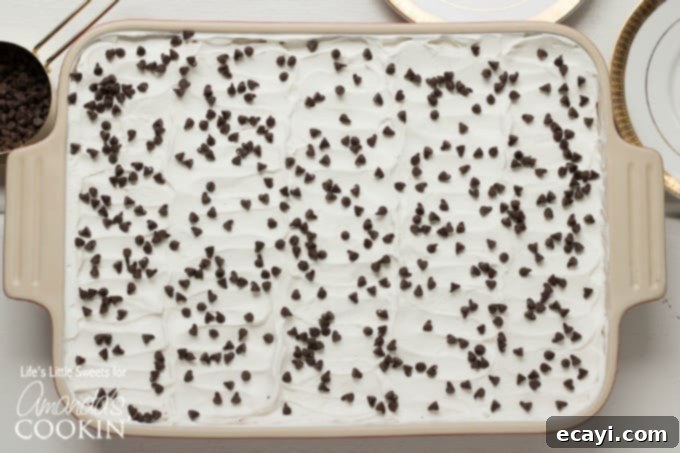
Recommended Kitchen Tools for Effortless Mocha Lush Creation
Having the right tools can make all the difference in preparing your Mocha Lush smoothly and efficiently. Here is a helpful list of kitchen tools that will assist you:
- 9-inch x 13-inch baking pan: The ideal size for creating those perfect, crowd-friendly slices.
- Food processor: Invaluable for finely grinding graham crackers or pecans for your crust.
- Large mixing bowls: Essential for combining ingredients for each layer without making a mess.
- Measuring cups: For accurate dry ingredient measurements.
- Wet measure: For precise liquid measurements like milk and melted butter.
- Baking spatula: Useful for scraping bowls and mixing ingredients.
- Whisk: Perfect for combining your pudding mix with milk until smooth and thick.
- Offset spatula: This is truly a game-changer for spreading your creamy layers evenly and smoothly across the pan.
- Spatula for serving: A sturdy serving spatula will help you get clean, beautiful slices from the pan.
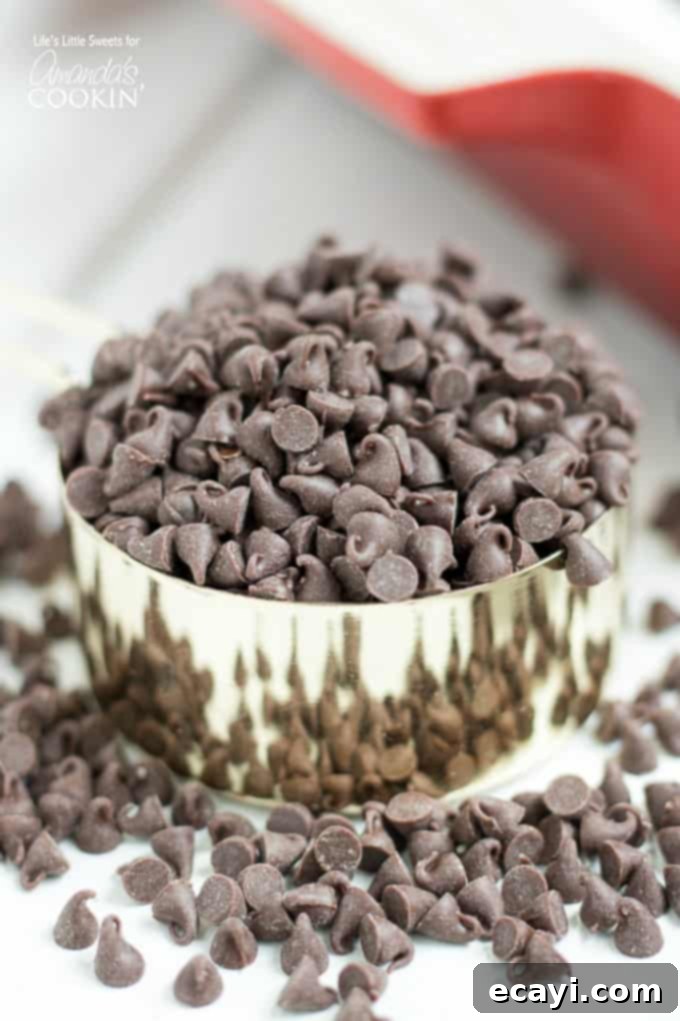
As mentioned in the ingredients, I highly recommend using mini semi-sweet chocolate morsels because their smaller size makes them easier to bite through in the finished Mocha Lush, ensuring a smoother texture experience with every forkful. This simple detail elevates the enjoyment of this fantastic dessert. The instant coffee powder used in the pudding layer adds an extra boost of flavor that truly complements and deepens the chocolate notes, creating a richer, more complex taste that is simply irresistible. Enjoying a slice of this magnificent Mocha Lush is even better when paired with a tall, cold glass of milk or a warm, comforting mug of coffee – a perfect combination!
Tips for Achieving the Perfect Mocha Lush
To ensure your Mocha Lush turns out perfectly every time, here are some helpful tips:
- Room Temperature Cream Cheese: Make sure your cream cheese is fully softened to room temperature. This is crucial for achieving a smooth, lump-free cream cheese layer. If it’s too cold, it will be difficult to mix evenly.
- Chilling the Crust: Whether you choose the no-bake graham cracker crust or the baked pecan crust, ensure it’s completely chilled or cooled before adding the next layers. This helps prevent the layers from melting into each other and ensures a firm foundation.
- Spreading Layers Evenly: An offset spatula is your best friend for spreading the cream cheese, pudding, and whipped topping layers smoothly and evenly. For distinct layers, gently wipe your spatula clean between each layer.
- Pudding Consistency: When whisking the instant pudding, follow the package directions, but remember that adding instant coffee powder might slightly affect setting time. Whisk until it’s visibly thickened and holds its shape before spreading.
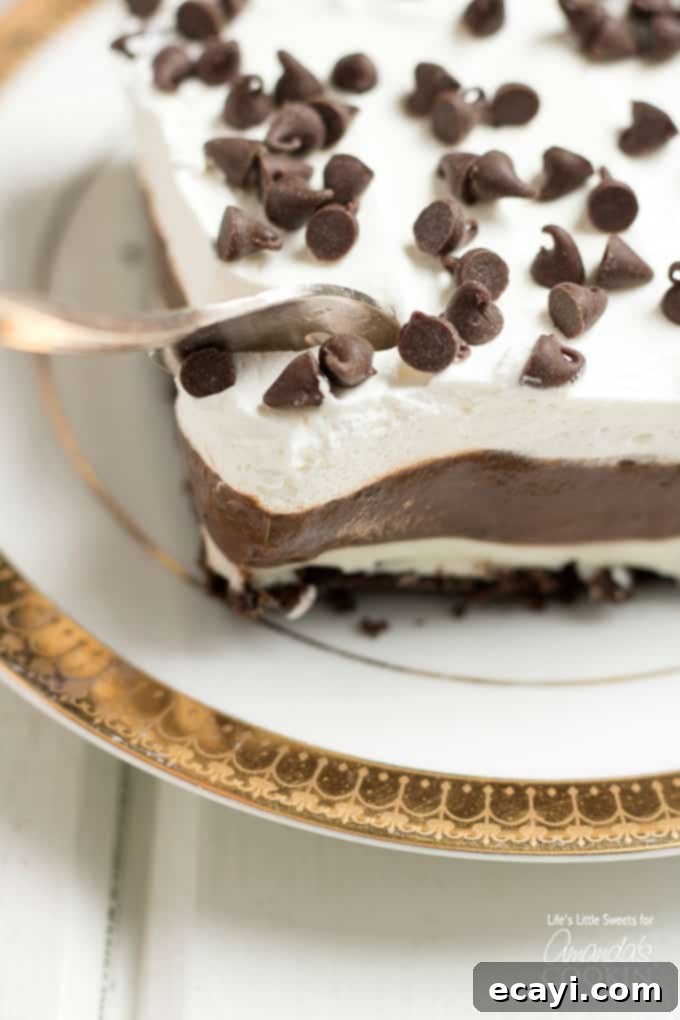
- For Defined Slices, Freeze! If you desire beautifully defined, clean slices, I highly recommend freezing the Mocha Lush overnight (at least 6 hours) before serving. This firms up all the layers perfectly. When ready to serve, use a sharp knife to cut through the frozen dessert, wiping the blade clean between cuts. It will defrost fairly quickly once at room temperature.
- Whipped Topping Note: If you choose to substitute homemade whipped cream for Cool Whip, avoid freezing the dessert overnight. Homemade whipped cream may not hold its structure as well as store-bought whipped topping after freezing and thawing.
- Clean Layer Edges: After refrigerating or freezing, if you want to emphasize the distinct layers when serving, you can gently run a butter knife along the inside edges of the pan. This often helps to reveal the beautiful stratification of your dessert.
Frequently Asked Questions About Mocha Lush
To help you perfect your Mocha Lush, here are answers to some common questions:
Can I make Mocha Lush ahead of time?
Absolutely! Mocha Lush is an excellent make-ahead dessert. It needs significant chilling time anyway, so preparing it the day before your event is ideal. This allows all the flavors to meld beautifully and the layers to set firmly, making for easier slicing and serving.
How long does Mocha Lush last?
When stored properly in an airtight container in the refrigerator, Mocha Lush will stay fresh and delicious for 3-4 days. For longer storage, you can freeze it (keeping in mind the note about homemade whipped cream) for up to a month.
Can I adjust the coffee flavor?
Yes, definitely! The amount of instant coffee powder or Starbucks Via packets can be adjusted to your personal preference. If you prefer a milder coffee note, start with less. For an extra bold mocha flavor, you can slightly increase the amount. Just be mindful not to add too much liquid if using concentrated coffee, as it might affect the pudding’s setting consistency.
What if I don’t like pecans or graham crackers?
No problem! For the no-bake crust, you can substitute other finely crushed cookies like Oreos (for an even deeper chocolate flavor) or shortbread cookies. If you’re using the baked crust option, feel free to omit the pecans if you have a nut allergy or preference, or replace them with another nut like walnuts.
Can I use sugar-free ingredients?
Yes, you can adapt this recipe to be sugar-free or low-sugar by using sugar-free instant pudding mixes, a sugar substitute for the cream cheese layer, and sugar-free whipped topping. Adjust to your dietary needs and taste preferences.
How do I get clean slices?
As detailed in the tips section, freezing the dessert overnight is the best way to get super clean, defined slices. When cutting, use a sharp, thin knife and wipe the blade clean with a damp cloth between each slice to prevent dragging the layers. For a non-frozen dessert, ensuring it’s thoroughly chilled (at least 4-6 hours) will still help significantly.
Who can resist a slice of this luscious Mocha Lush? It’s truly a dessert that brings joy with every bite.
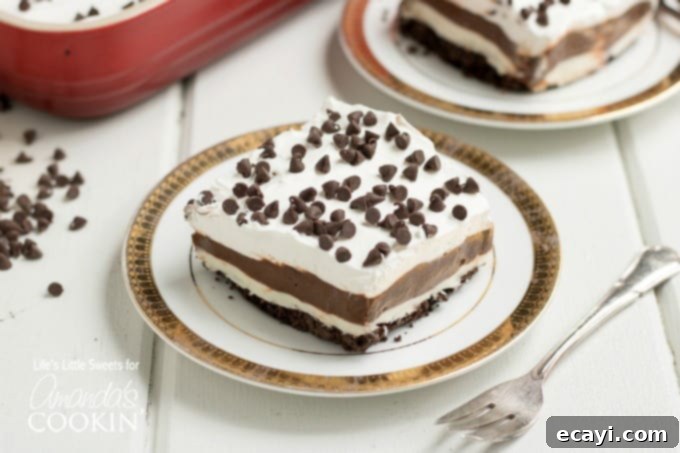
I know you will absolutely love making and sharing this Mocha Lush recipe! It’s the perfect blend of rich chocolate and vibrant coffee, all wrapped up in a creamy, refreshing package. Give it a try for your next gathering, and watch it disappear!
Discover More Irresistible One-Pan Desserts for Your Next Event!
If you’re a fan of easy, delicious one-pan desserts, be sure to explore these other fantastic options from my collection. They are all perfect for BBQs, potlucks, or any occasion where you need a delightful dessert that feeds a crowd without a lot of fuss:
- Pineapple Dream Dessert
- Boston Cream Poke Cake
- No Bake Chocolate Eclair Cake
- Strawberry Icebox Cake
- Pistachio Lush
- Cherry Lush
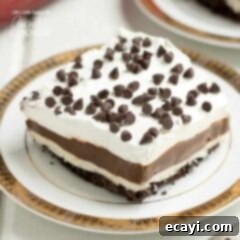
Mocha Lush
IMPORTANT – There are often Frequently Asked Questions within the blog post that you may find helpful. Simply scroll back up to read them!
Print It
Rate It
Save ItSaved!
Ingredients
Bottom Chocolate Graham Cracker Crust Layer (for no bake crust option):
- 10 ounces chocolate graham crackers, finely ground using a food processor or manually crushing 2 5-ounce packages
- 5-8 tablespoons unsalted butter melted and cooled *I give a range for the amount because I have found that depending on the humidity, you may need more or less butter
Bottom Pecan Crust Layer (for baked crust option):
- 2 cups all-purpose flour
- 1 cup unsalted butter melted and cooled
- ½ cup finely chopped or food processor processed pecans
- ¼ cup granulated white sugar
Cream Cheese Layer:
- 16 ounces cream cheese softened to room temperature
- 1 cup granulated white sugar
- 2 tablespoons fresh squeezed lemon juice
Mocha Pudding Layer:
- 6.8 ounces instant chocolate pudding 2 3.4-ounce packages
- 4 cups milk you can also do 3 1/2, if you want it slightly thicker
- 1 teaspoon instant coffee powder or 2 packets of Starbucks Via
Whipped Topping & Chocolate Morsels Layer:
- 8 ounces Cool Whip
- ¼ cup mini semi sweet chocolate morsels
- Optional: Sprinkle finely chopped pecans on top (this would go if you chose the bottom pecan crust option
Before You Begin
Instructions
-
Bottom Chocolate Graham Cracker Crust (for a no-bake crust option): In a medium-large bowl, thoroughly mix the melted and cooled unsalted butter with the finely ground chocolate graham crackers until well combined. Press this mixture firmly and evenly into the bottom of a 9 x 13-inch pan. Cover the pan and chill it in the refrigerator until the next layer is ready to be added, allowing the crust to firm up.
-
Bottom Pecan Crust Layer (for traditional lush baked crust option): Preheat your oven to 350 degrees F (175 degrees C). In a large mixing bowl, combine the all-purpose flour, melted and cooled unsalted butter, finely ground pecans, and 1/4 cup of granulated white sugar. Mix until the ingredients are well incorporated and resemble coarse crumbs. Press this mixture firmly and evenly into the bottom of a 9 x 13-inch baking pan. Bake for 20-25 minutes (25 minutes often yields the best golden-brown finish) until the crust is beautifully golden. Allow the crust to cool completely to room temperature before adding any subsequent layers.
-
Cream Cheese Layer (2nd layer): Using a hand-held electric mixer (or stand mixer), combine the softened cream cheese, 1 cup of granulated sugar, and 1-2 tablespoons of fresh squeezed lemon juice (2 tablespoons generally provide the best flavor balance). Beat the mixture on medium speed until it is light, fluffy, and completely smooth, with no lumps remaining. Carefully spread this creamy mixture evenly over the chilled (or cooled) bottom crust, ensuring an even layer from edge to edge.
-
Mocha Pudding Layer: In a separate large mixing bowl, dissolve the 2 packets of Starbucks Italian Roast (or 1 teaspoon of your preferred instant coffee powder) into the milk. Whisk this coffee-milk mixture with the instant chocolate pudding mix. Continue whisking for 4-5 minutes, or until the pudding thickens to a firm, spreadable consistency. Ensure there are no lumps. Once thickened, gently spread the mocha pudding layer evenly over the cream cheese mixture, covering it completely.
-
Whipped Topping & Mini Semi-Sweet Chocolate Morsels Layer: Carefully spread the thawed whipped topping evenly over the mocha pudding layer, creating a light and fluffy top. Finish by sprinkling the 1/4 cup (or more) of mini semi-sweet chocolate morsels over the whipped topping. Optionally, if you opted for the pecan crust, you can also sprinkle some finely chopped pecans on top for a cohesive look and taste. For best results and more defined, clean slices, you can freeze the Mocha Lush overnight (at least 6 hours). However, if you chose to substitute homemade whipped cream, do not freeze, as it may not hold its texture as well as store-bought whipped topping like Cool Whip after thawing. Once chilled to your preference, slice and enjoy this delightful layered dessert!
Nutrition
The recipes on this blog are tested with a conventional gas oven and gas stovetop. It’s important to note that some ovens, especially as they age, can cook and bake inconsistently. Using an inexpensive oven thermometer can assure you that your oven is truly heating to the proper temperature. If you use a toaster oven or countertop oven, please keep in mind that they may not distribute heat the same as a conventional full sized oven and you may need to adjust your cooking/baking times. In the case of recipes made with a pressure cooker, air fryer, slow cooker, or other appliance, a link to the appliances we use is listed within each respective recipe. For baking recipes where measurements are given by weight, please note that results may not be the same if cups are used instead, and we can’t guarantee success with that method.
This post originally appeared here on June 12, 2016.
