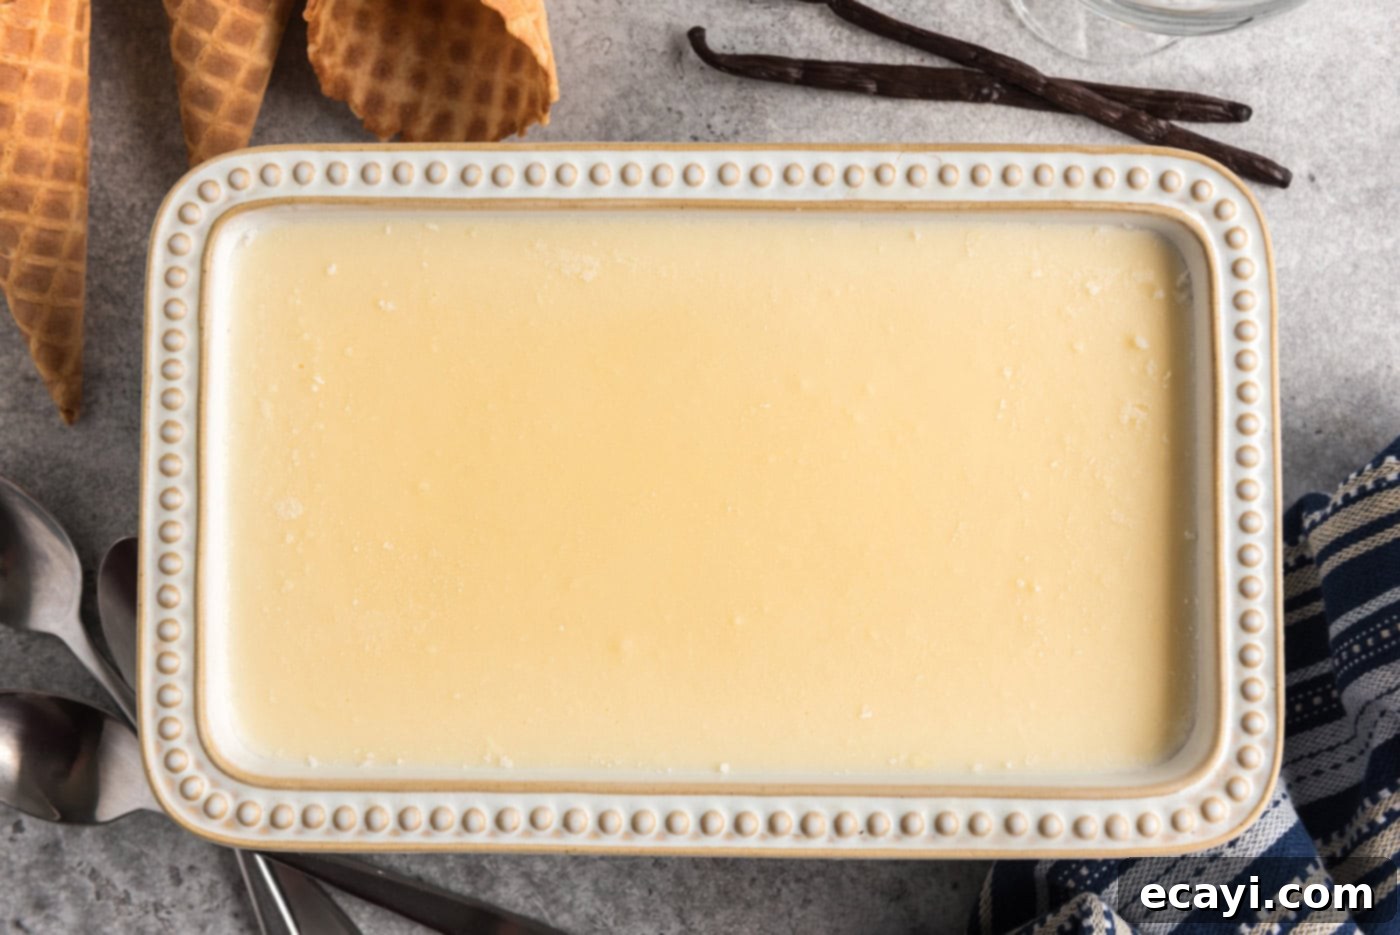
Ultimate Creamy Homemade Vanilla Ice Cream Recipe: Simple & Classic
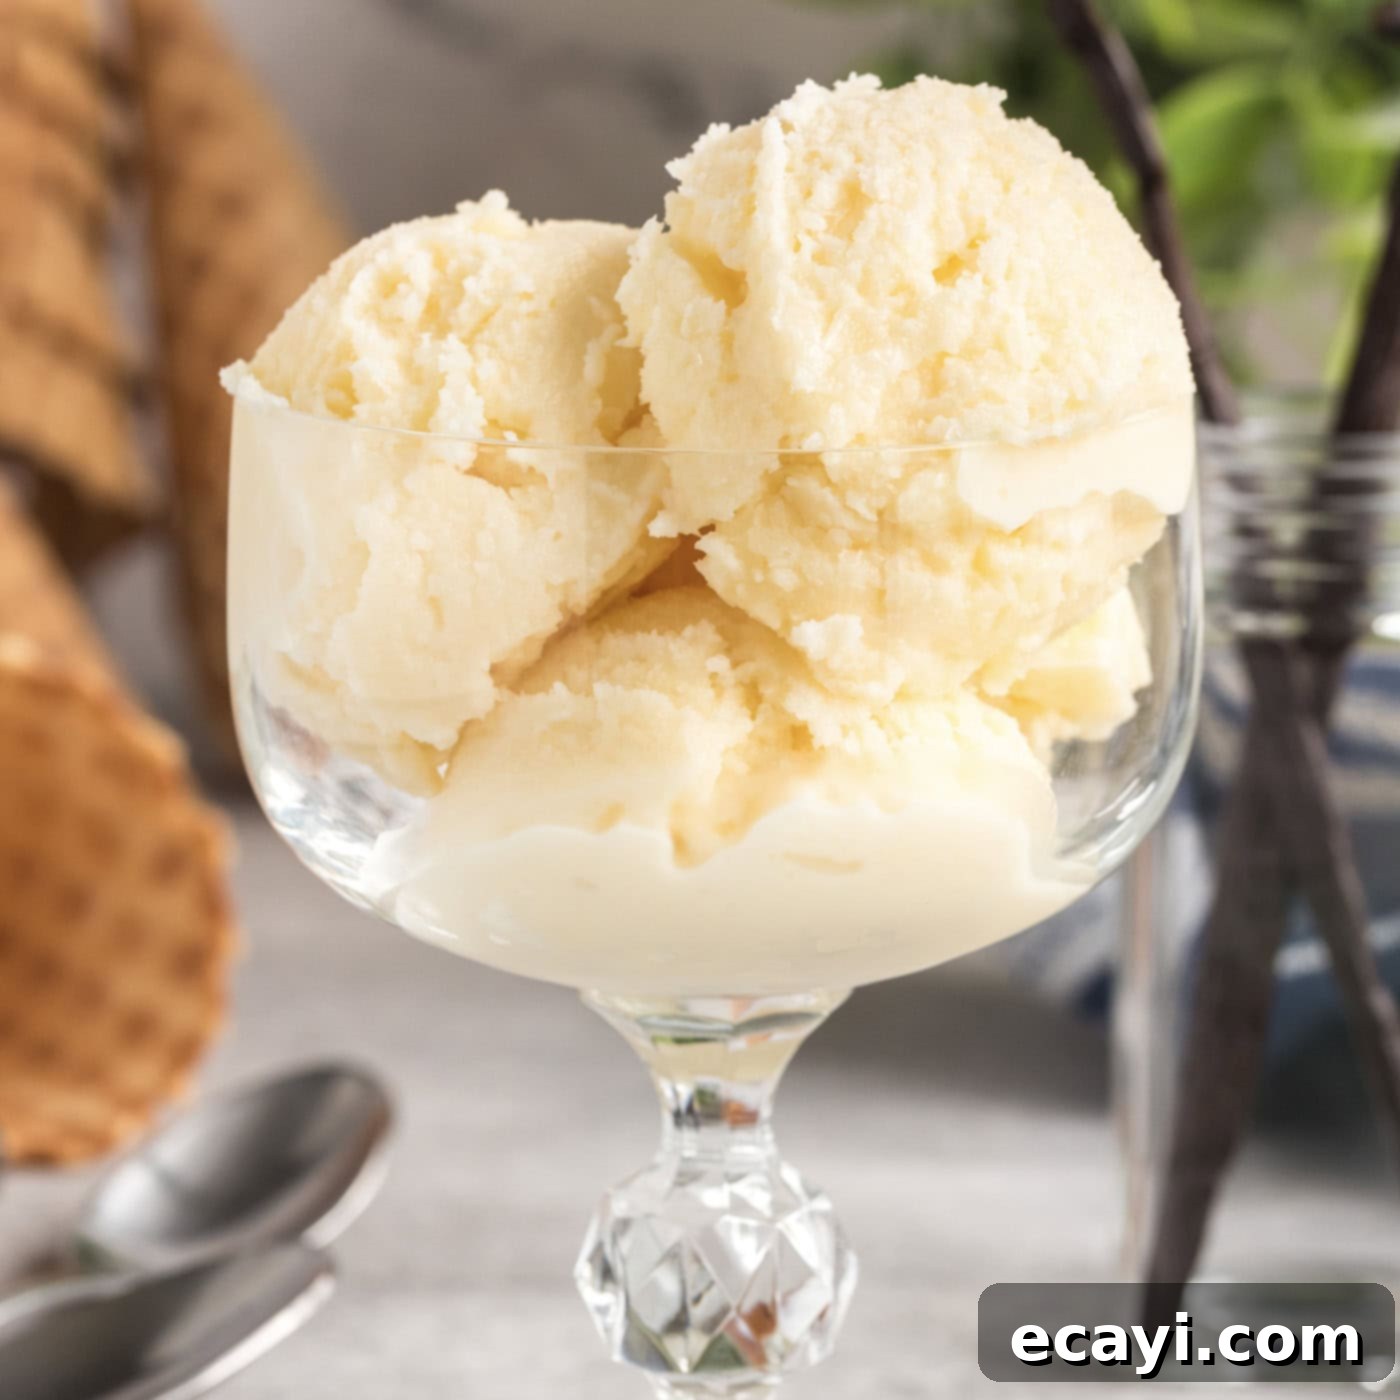
Indulge in the timeless delight of creamy old-fashioned homemade vanilla ice cream, crafted with just 6 essential ingredients. This classic dessert never loses its charm, offering a rich, smooth, and utterly satisfying experience that evokes nostalgic memories of simpler times. Perfect for any occasion, our easy recipe ensures a luxurious vanilla ice cream that stands head and shoulders above store-bought varieties.

Why This Classic Homemade Vanilla Ice Cream Recipe Works So Well
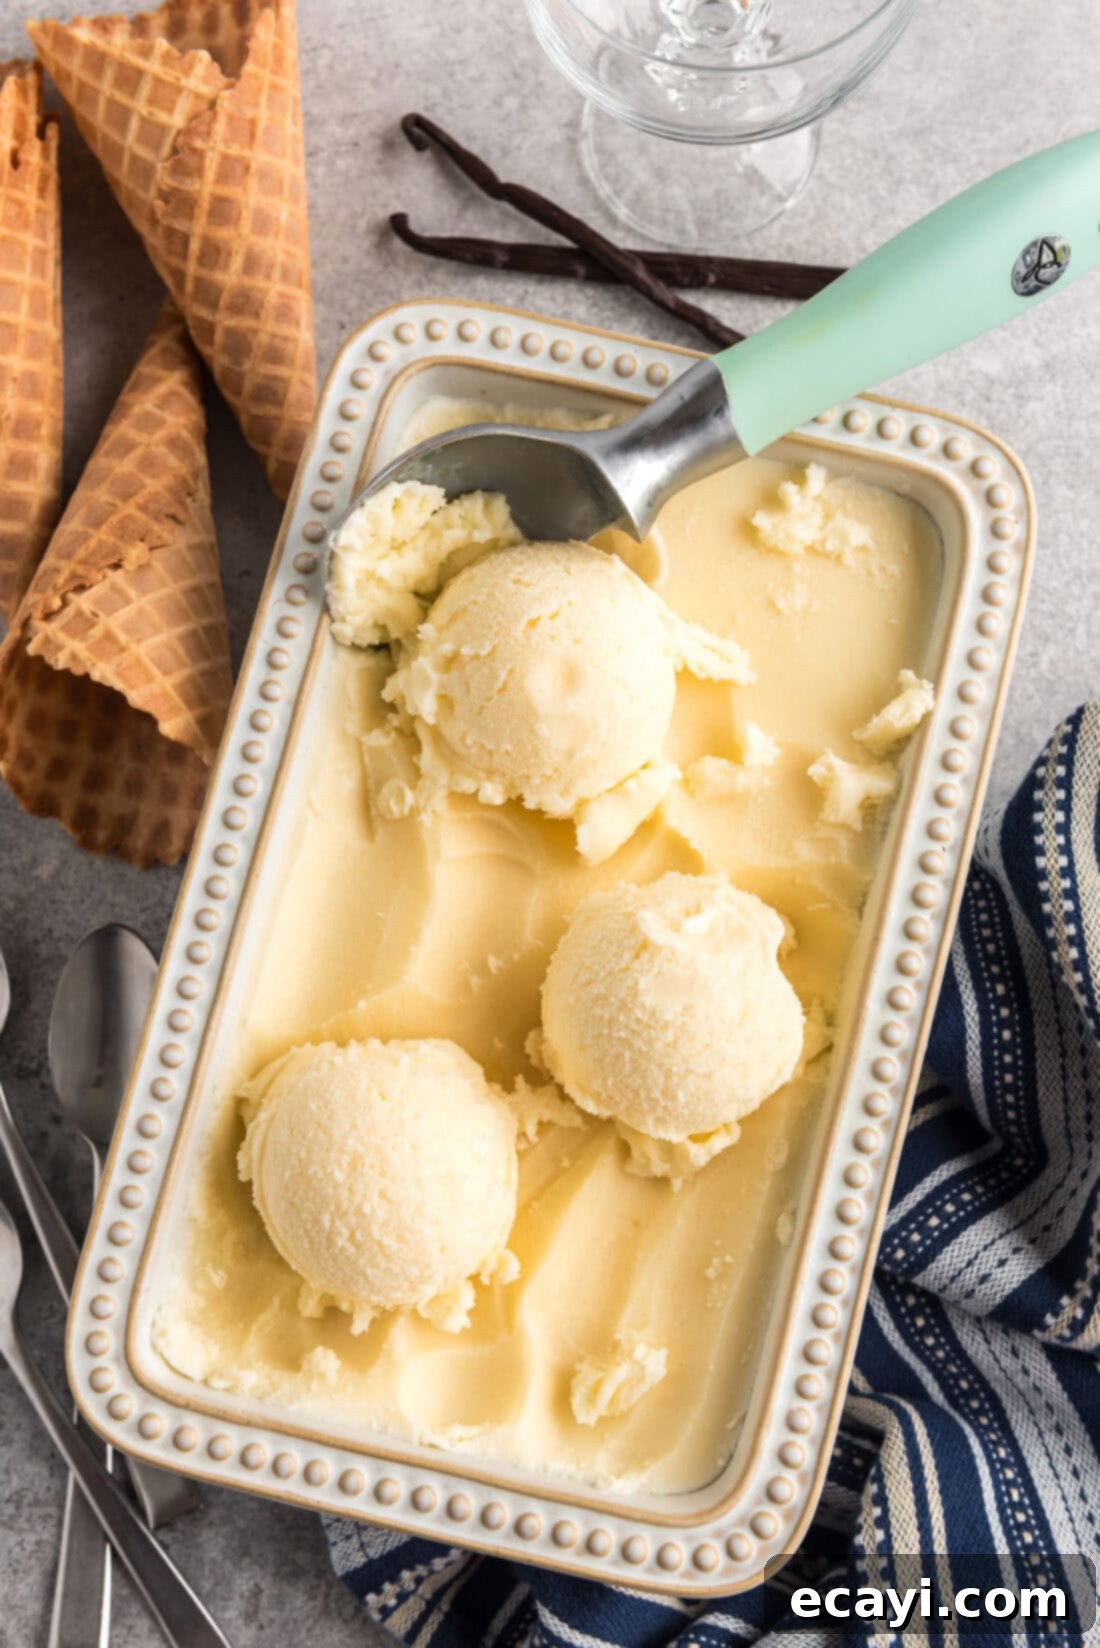
There’s an undeniable magic to a generous scoop of old-fashioned homemade vanilla ice cream. It’s not just a dessert; it’s a comforting classic that brings joy with every spoonful. This particular recipe stands out for its incredible creaminess, rich flavor, and remarkable simplicity. When we say simple, we mean utilizing readily available, accessible ingredients like farm-fresh eggs, decadent heavy whipping cream, wholesome milk, granulated sugar, and pure vanilla extract. There are no complicated steps or obscure items required, making it an ideal project for home cooks of all skill levels.
Forget about heaps of unnecessary mix-ins or fillers that often detract from the pure essence of ice cream. This classic vanilla ice cream recipe focuses on perfecting the foundational flavor and achieving that perfectly scoopable consistency, reminiscent of traditional ice milk but with an elevated, luxurious texture. Time and again, this recipe proves that a well-executed vanilla base is truly superior in the vast world of frozen desserts. It’s the kind of nostalgic, creamy vanilla ice cream you might remember from your childhood summers, lovingly made right at home with the help of a reliable ice cream machine. The result is absolutely divine – a smooth, rich, and intensely flavored treat that’s perfect on its own or as a canvas for your favorite toppings.
RELATED – If you prefer making ice cream without a machine, you might enjoy exploring my no-churn ice cream recipe instead for a similarly delightful, yet simpler, frozen dessert.
Essential Ingredients for Your Homemade Vanilla Ice Cream
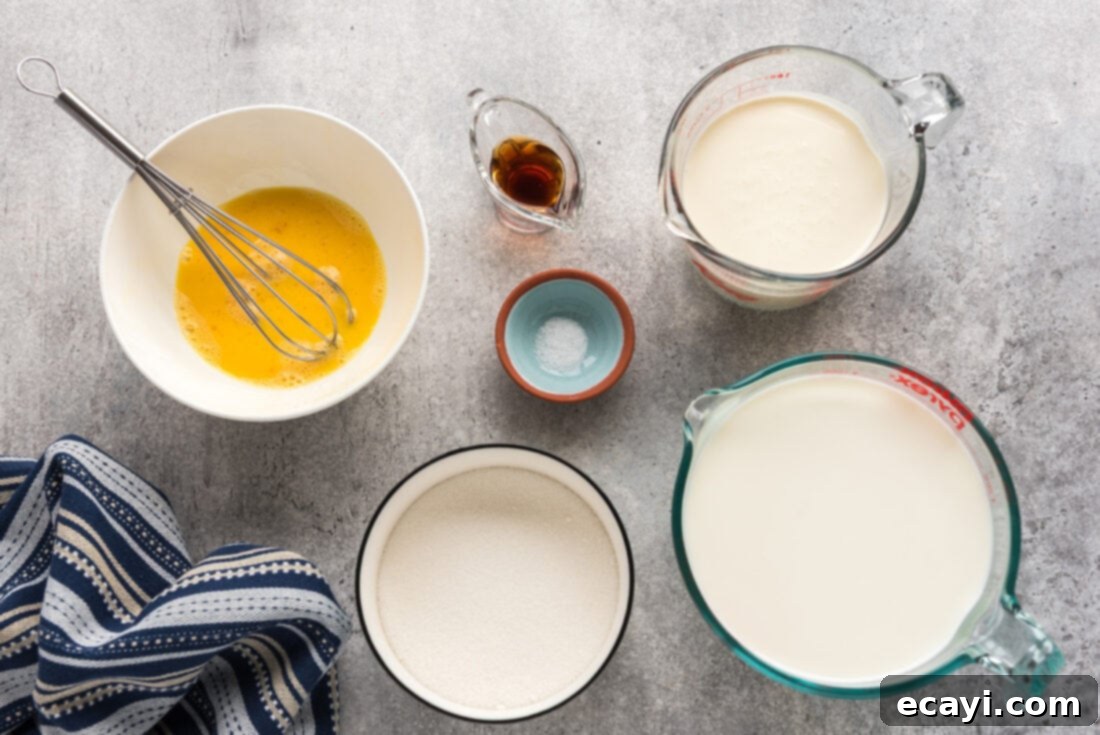
To embark on your journey to the best homemade vanilla ice cream, you’ll need just a handful of quality ingredients. For precise measurements, detailed instructions, and a printable version of this recipe, please refer to the complete recipe card located at the end of this post.
Key Ingredient Insights & Substitution Tips
Each ingredient plays a crucial role in creating the perfect texture and flavor for this creamy vanilla ice cream:
EGGS – Eggs are fundamental to achieving the rich, thick, custard-like base that defines classic ice cream. They act as an emulsifier, binding the fats and liquids together, and their proteins help to thicken the mixture when gently cooked. This thickening process is essential for providing body and preventing the formation of large, icy crystals, resulting in a wonderfully smooth and scoopable texture. Using fresh, high-quality eggs will significantly enhance the final product.
HEAVY CREAM – Heavy whipping cream is the star of the show when it comes to creating truly creamy homemade vanilla ice cream. Containing approximately 36% milk fat (or more), this ingredient is critical for reducing the formation of undesirable ice crystals as the mixture freezes. The high fat content coats the water molecules, preventing them from coalescing into large, hard crystals. This ensures your ice cream remains silky-smooth and luxurious, not icy or brittle. Do not substitute with lower-fat creams if you want the ultimate creamy consistency.
VANILLA EXTRACT – This recipe brilliantly utilizes pure vanilla extract, making it significantly more convenient and cost-effective than using whole vanilla beans without compromising on flavor. While vanilla beans offer a visual speckled effect and a subtle, complex aroma, a good quality pure vanilla extract delivers that iconic, sweet vanilla flavor that is universally loved. For an even more intense vanilla presence, consider a good quality vanilla bean paste, which combines the convenience of extract with some of the visual appeal of beans.
WHOLE MILK – For the richest and creamiest results, we highly recommend using whole milk in this recipe. Its higher fat content complements the heavy cream, contributing to an overall smoother texture and a fuller, more satisfying mouthfeel. Lower-fat milks may lead to an ice cream that is less rich and more prone to developing ice crystals, so stick with whole milk for the best possible experience.
GRANULATED SUGAR – Beyond its obvious role in sweetening the ice cream, granulated sugar also plays a vital part in the texture. Sugar helps to lower the freezing point of the mixture, which is crucial for preventing it from freezing solid and making it delightfully scoopable right out of the freezer. It also contributes to the smooth mouthfeel and enhances the overall flavor balance.
SALT – Just a dash of salt is all you need to elevate the flavors in this homemade vanilla ice cream. Salt doesn’t make the ice cream taste salty; instead, it balances the sweetness and brings out the deeper, more nuanced notes of the vanilla and dairy, making every bite more vibrant and delicious.
Step-by-Step Guide: How to Make Homemade Vanilla Ice Cream
These step-by-step photos and detailed instructions are provided to help you visualize each stage of making this incredible recipe. For a convenient, printable version of this recipe, complete with exact measurements and full instructions, you can easily Jump to Recipe at the bottom of this page.
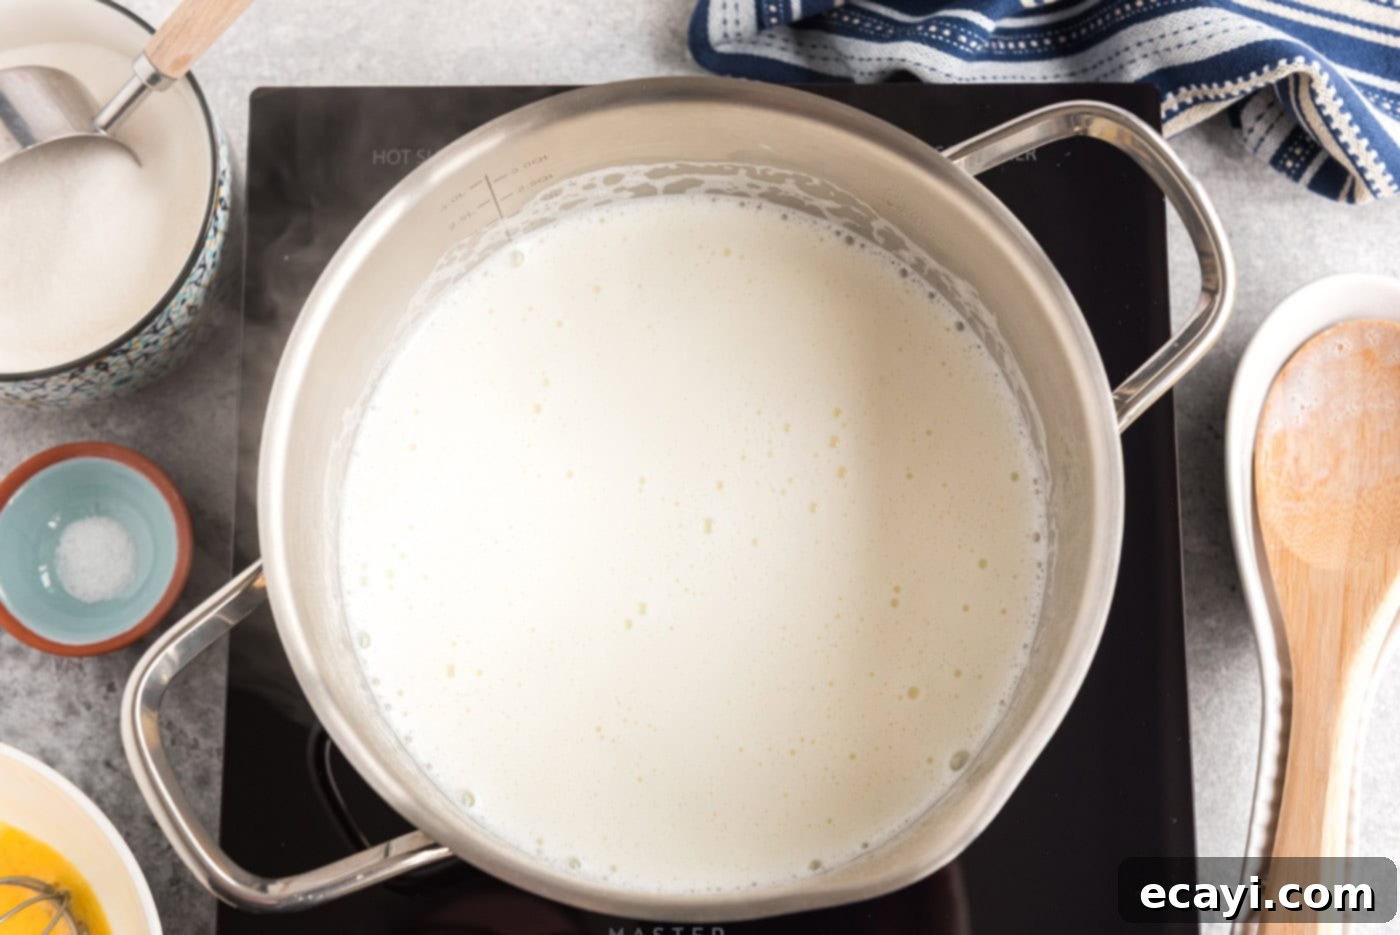
- Heat the Milk Base: Begin by pouring the whole milk into a sturdy saucepan. Heat the milk over medium-low heat, stirring occasionally, until small bubbles just begin to appear around the edges of the pan. This indicates that the milk is scalded, but not boiling. At this point, carefully stir in the granulated sugar and the dash of salt. Continue stirring until both the sugar and salt are completely dissolved into the warm milk, ensuring a smooth base for your ice cream.

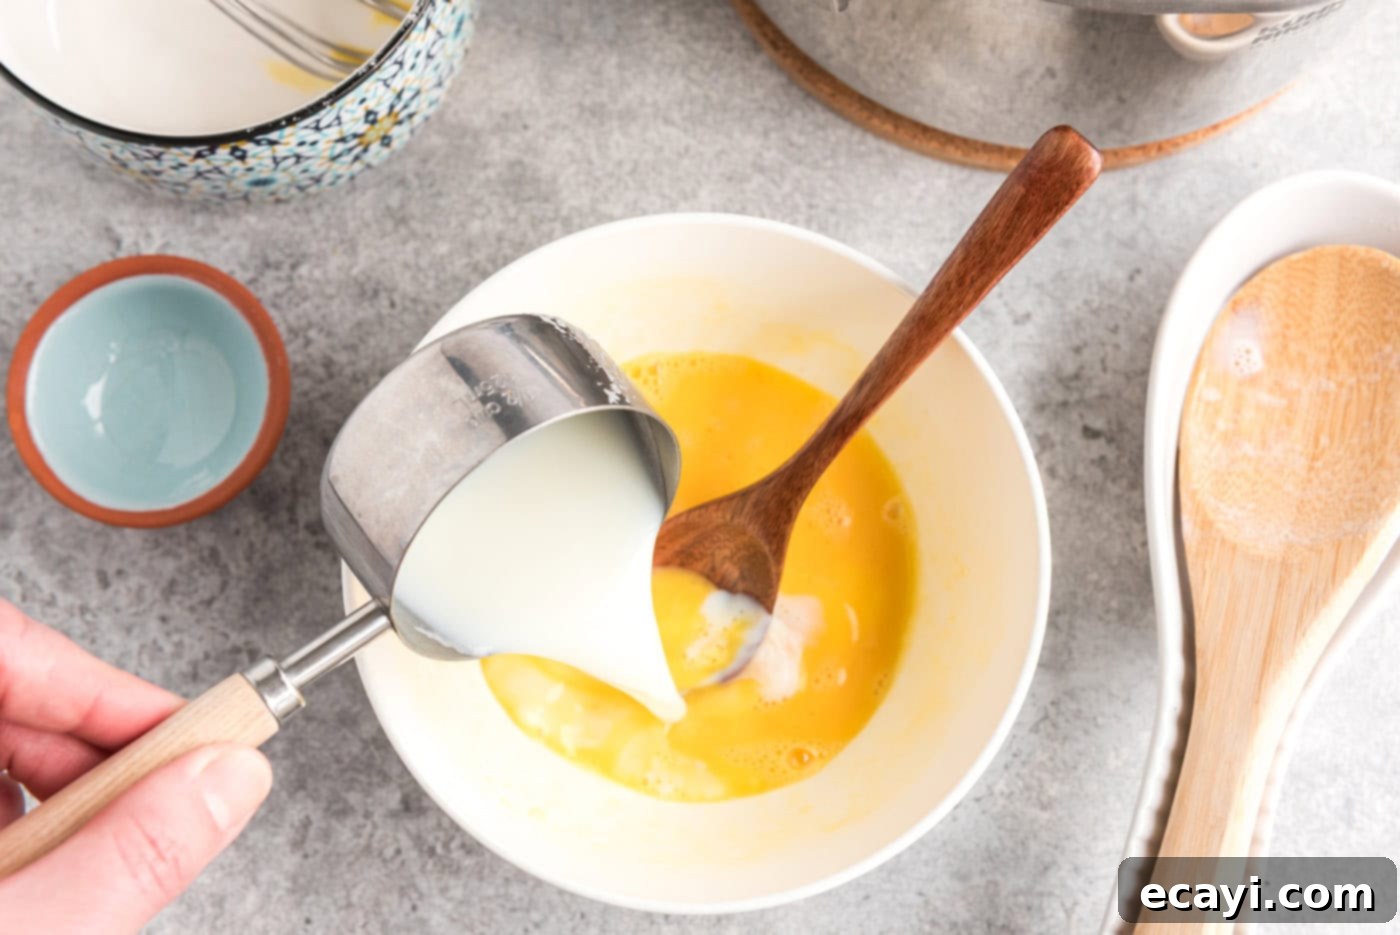
- Temper the Eggs: In a separate bowl, lightly beat the eggs. This next step is crucial for achieving a smooth custard and preventing the eggs from scrambling. Carefully ladle about 1/2 cup of the hot milk mixture into the beaten eggs. Whisk continuously and vigorously as you slowly pour the hot milk into the eggs. This process, known as tempering, gradually raises the temperature of the eggs, allowing them to blend seamlessly without cooking prematurely.

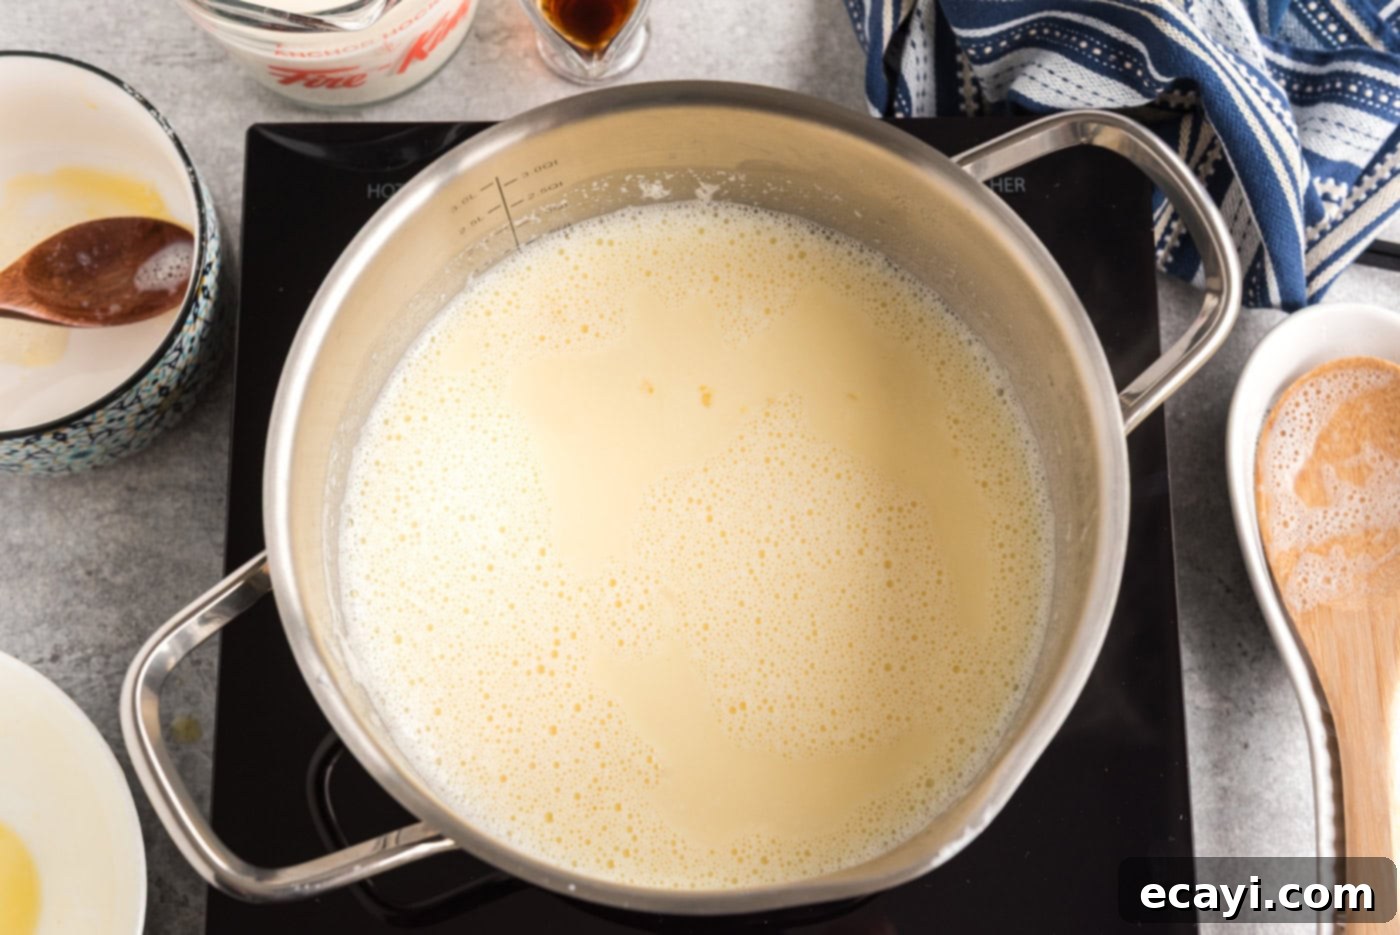
- Cook the Custard: Once tempered, slowly pour the egg and milk mixture back into the saucepan with the remaining hot milk. Place the saucepan back over low heat. Cook, stirring constantly with a wooden spoon or spatula, for approximately 2 minutes. The mixture should thicken slightly and coat the back of your spoon. It’s vital not to let the mixture boil, as this can curdle the eggs. Maintain a gentle simmer to ensure a smooth custard.

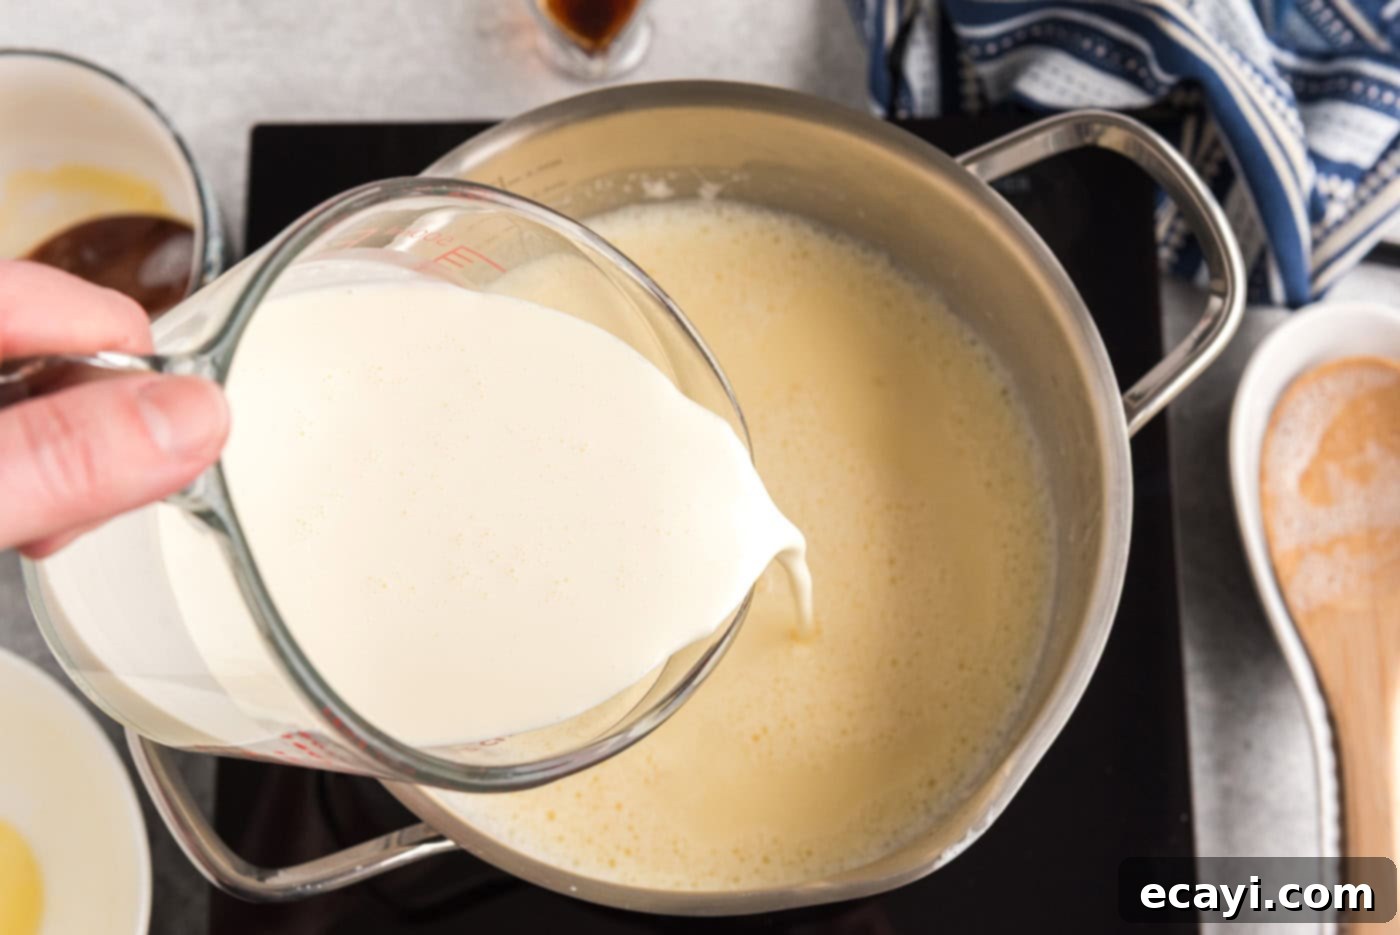
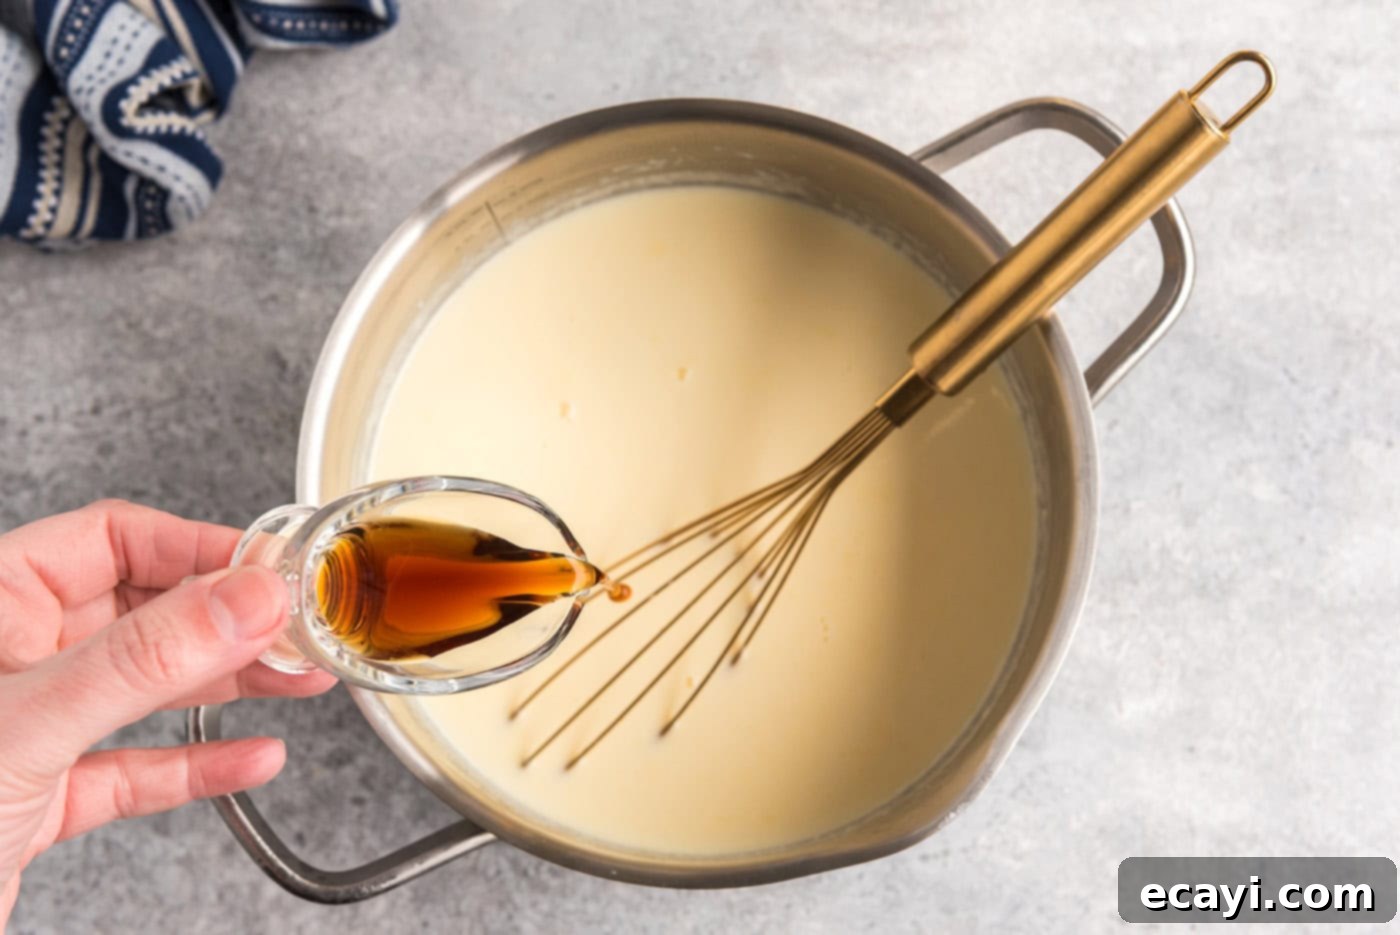
- Cool and Flavor: Remove the saucepan from the heat. Stir in the heavy whipping cream. It’s important to cool the mixture completely before adding the vanilla extract, as high heat can diminish vanilla’s delicate flavor. You can speed up the cooling process by placing the saucepan in an ice bath. Once the mixture is cool to the touch (or below 70°F/21°C), stir in the pure vanilla extract. Cover the mixture and refrigerate it for at least 4 hours, or preferably overnight, to allow it to chill thoroughly. A well-chilled base is essential for proper churning and a creamy end product.


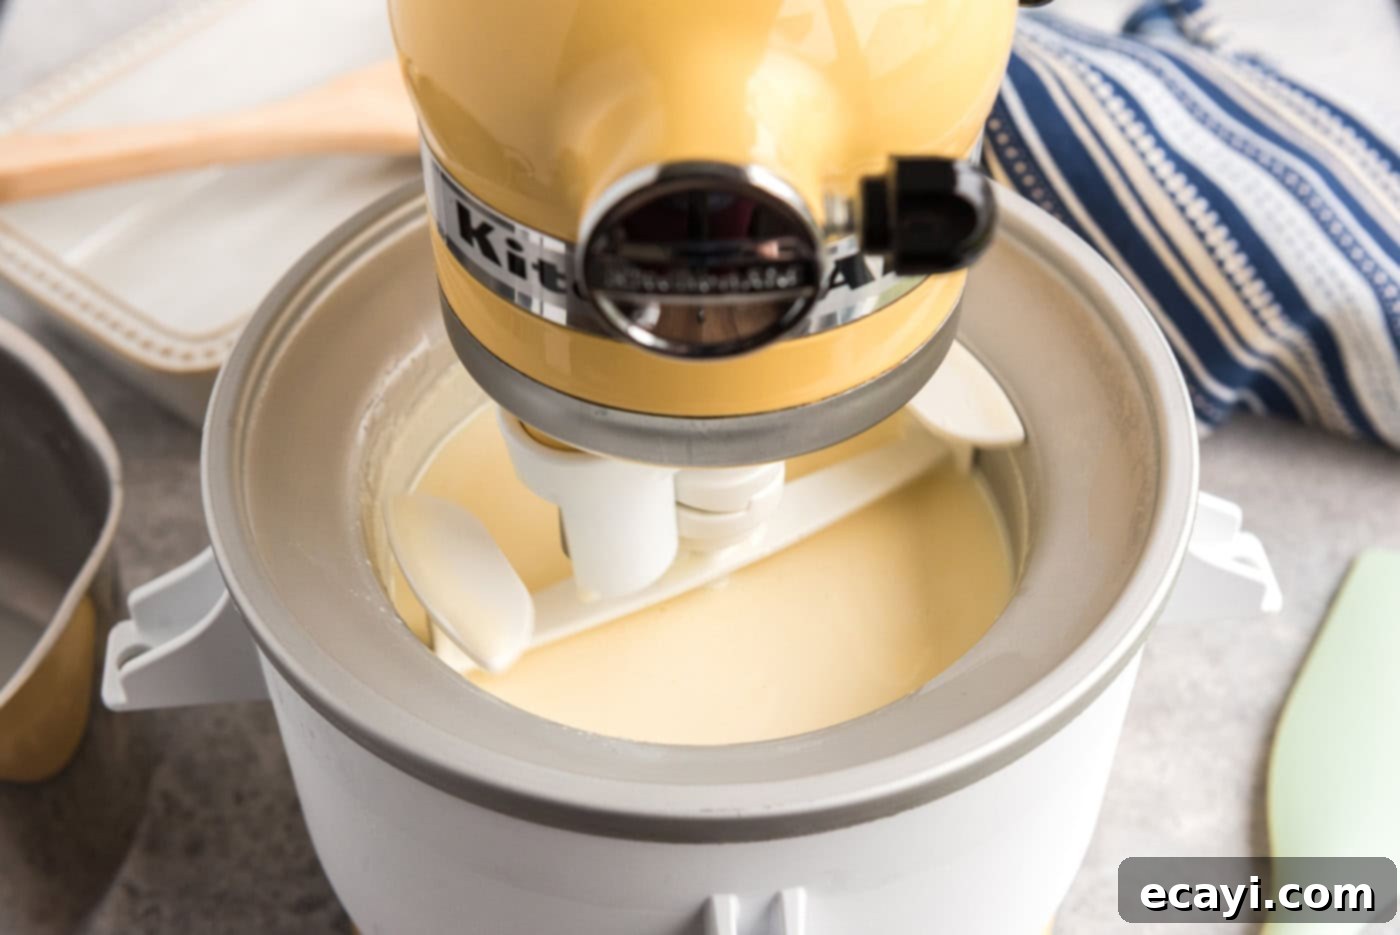
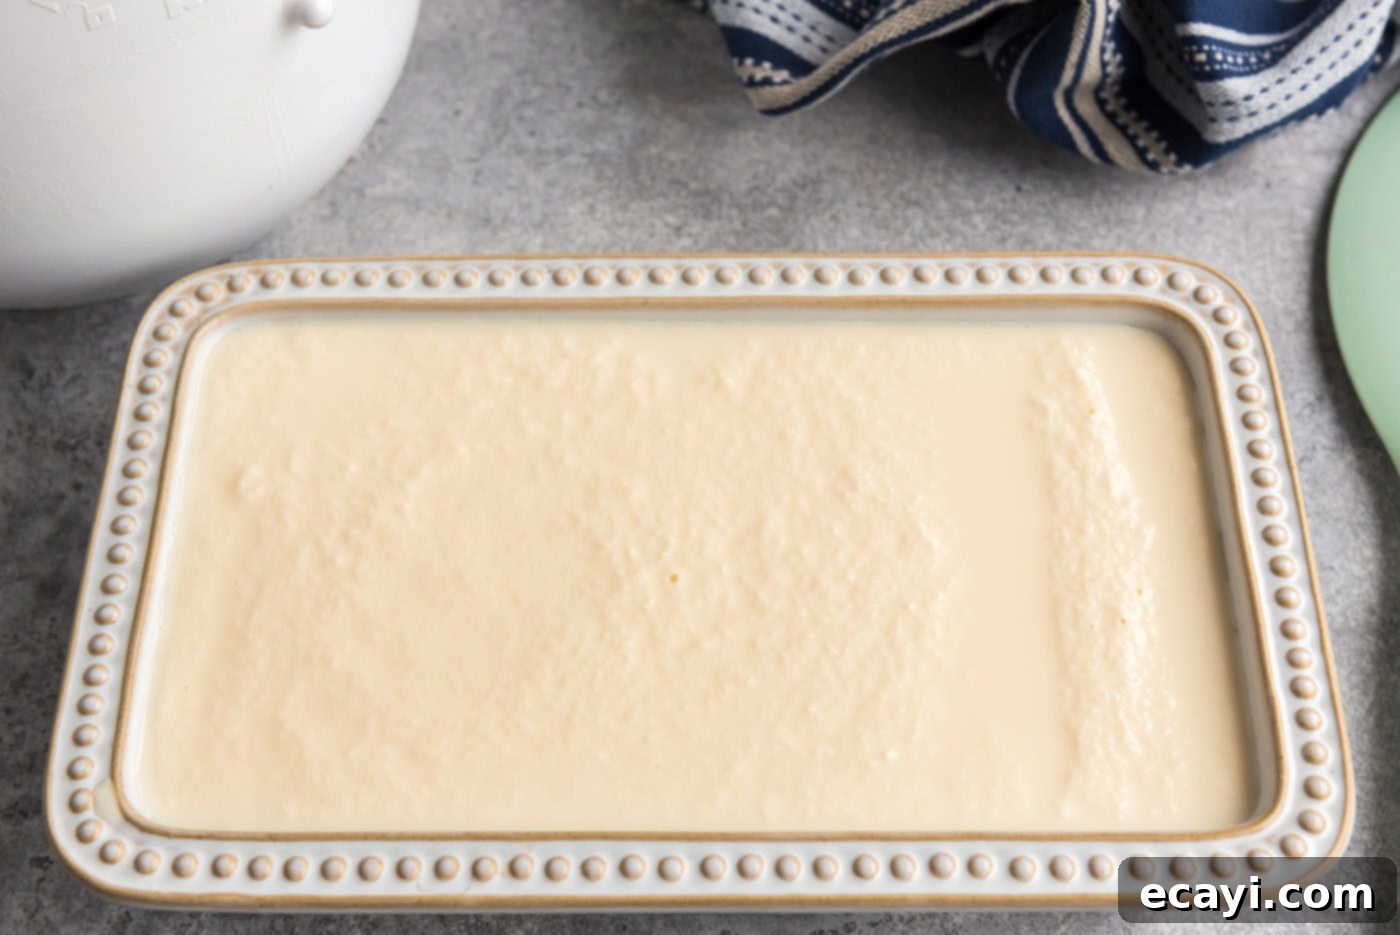
- Churn and Freeze: Once the base is thoroughly chilled, pour it into your pre-chilled ice cream machine. Follow your machine’s specific directions for churning. Churning typically takes about 20-30 minutes, or until the ice cream reaches a soft-serve consistency. The churning process incorporates air and prevents large ice crystals from forming, ensuring a smooth, desirable texture. After churning, transfer the soft ice cream to an airtight container and freeze for an additional 2-4 hours (or longer for a firmer consistency) to allow it to harden, or “ripen,” before serving.


Frequently Asked Questions & Expert Tips for Perfect Homemade Ice Cream
When stored properly in an airtight container, your homemade ice cream will maintain its quality and delicious flavor for up to 1 month in the freezer. To prevent freezer burn and preserve its creamy texture, press a piece of plastic wrap directly onto the surface of the ice cream before sealing the container.
Icy ice cream is typically caused by several factors: too much water in the mixture (e.g., using low-fat milk), not enough fat or sugar (which depress the freezing point), or improper churning. Ensure your ice cream base is thoroughly chilled before churning, and churn it until it reaches a thick, soft-serve consistency. Freezing it quickly after churning also helps prevent large ice crystals.
This particular recipe is designed for use with an ice cream maker, as the churning process is essential for achieving its signature creamy, airy texture. If you don’t have an ice cream machine, you might prefer trying our no-churn ice cream recipe, which offers a delicious alternative without specialized equipment.
For an exceptionally smooth ice cream, follow these tips: always use whole milk and heavy cream for their fat content; ensure your custard base is cooked gently and thoroughly, without boiling; strain the custard through a fine-mesh sieve after cooking to remove any tiny bits of cooked egg; chill the base completely before churning; and ensure your ice cream machine bowl is properly frozen. Churning immediately after chilling and then hardening in an airtight container will yield the best results.
Absolutely! Homemade ice cream is an excellent make-ahead dessert. Prepare the base a day or two in advance and keep it chilled in the refrigerator. Churn it on the day you plan to serve, and allow it to ripen in the freezer for a few hours. This makes entertaining much easier!
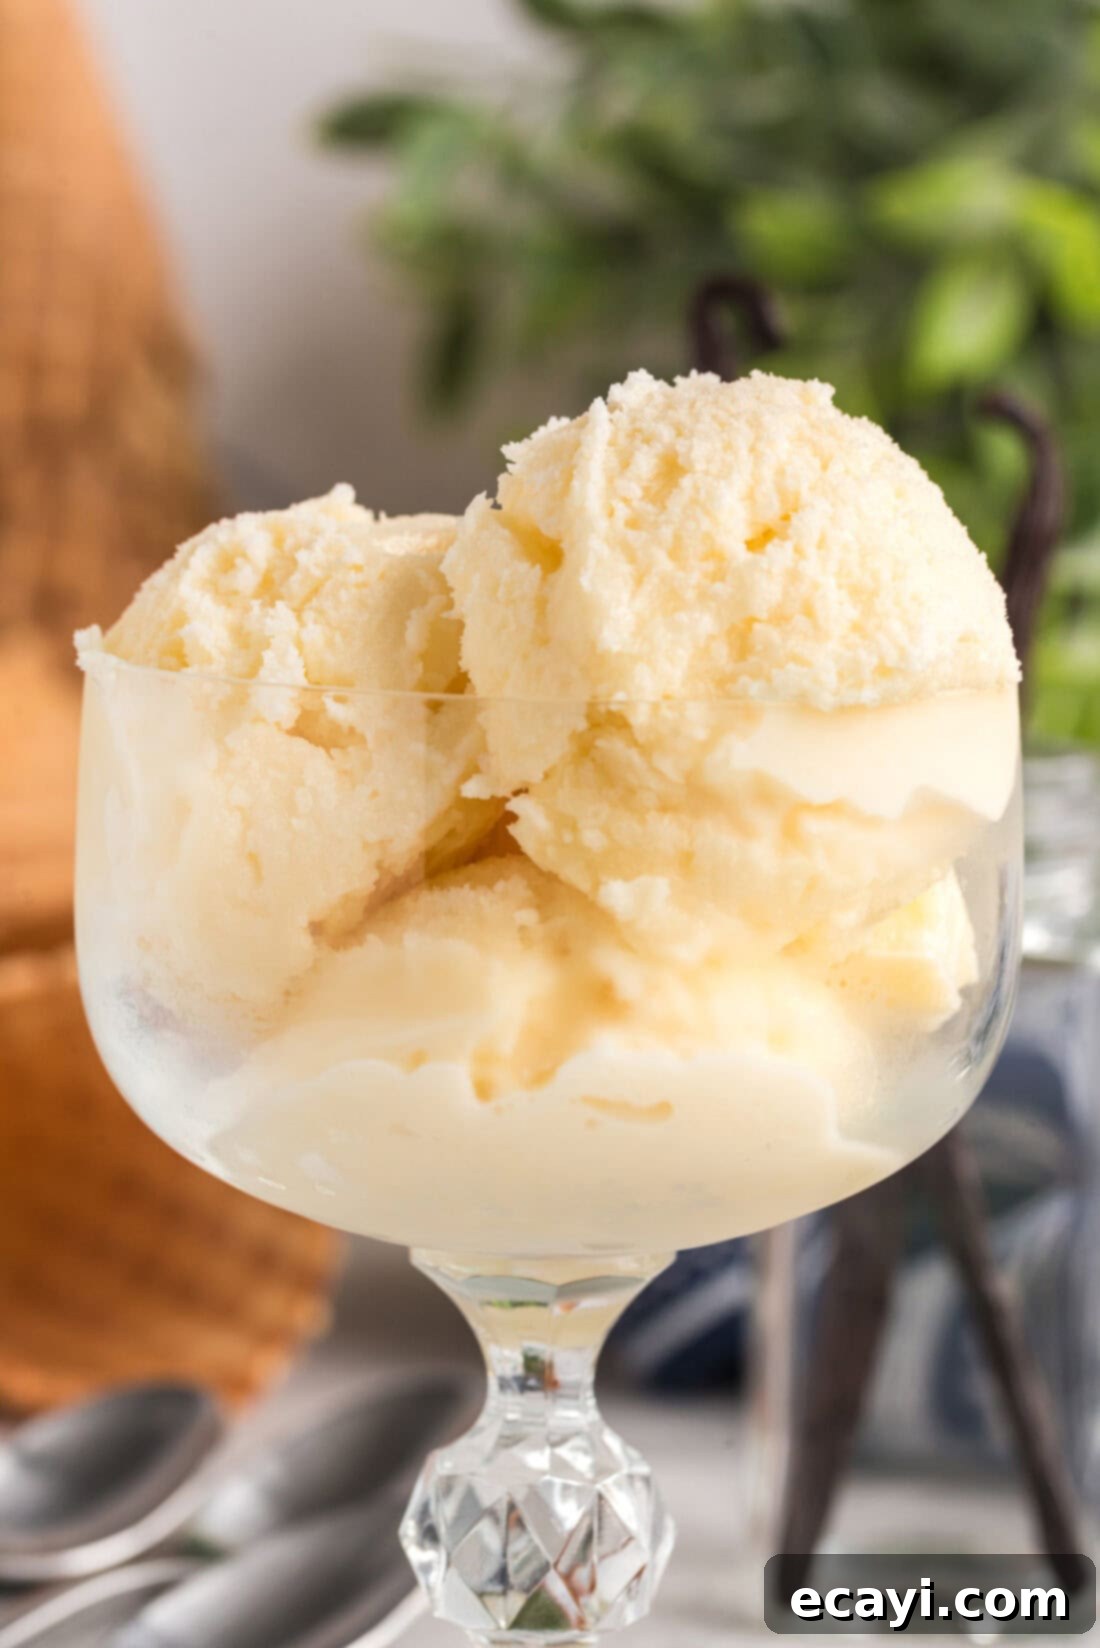
Delightful Serving Suggestions for Your Vanilla Ice Cream
Our homemade vanilla ice cream is incredibly versatile and practically begs for all sorts of delicious accompaniments. While it’s perfectly glorious scooped into a cone, cup, or bowl all on its own, here are some ideas to elevate your dessert experience:
- Classic Toppings: Drizzle with warm hot fudge sauce or rich caramel sauce. Sprinkle with crushed candies, chocolate chips, cookie crumbles, chopped nuts, or colorful sprinkles for added texture and fun.
- Fruit Pairings: Serve alongside fresh berries like strawberries, blueberries, or raspberries. A warm fruit compote, grilled peaches, or baked apples also make fantastic partners.
- Dessert Enhancer: Use it as the ultimate topper for warm desserts such as fudgy brownies, gooey cookie skillets, apple pie, peach cobbler, or cherry crisp. The contrast of warm and cold is simply irresistible.
- Beverage Creations: Blend it into a thick and creamy milkshake, create a refreshing root beer float, or add a scoop to a shot of espresso for a delightful affogato.
- Ice Cream Sandwiches: Sandwich a generous scoop between two soft cookies (like chocolate chip or oatmeal raisin) for a homemade treat.
No matter how you choose to enjoy it, this creamy vanilla ice cream is sure to be a hit!
Explore More Homemade Ice Cream Recipes
If you loved making this vanilla ice cream, you’re in for a treat! Discover other fantastic homemade ice cream recipes to churn up in your kitchen:
- Rich Homemade Chocolate Ice Cream
- Festive Peppermint Ice Cream
- Classic Rocky Road Ice Cream
- Elegant White Chocolate Ice Cream
- Refreshing Mint Chocolate Chip Ice Cream
I genuinely love to bake and cook, and my greatest pleasure is sharing my kitchen experiences and delicious recipes with all of you! Remembering to come back each day for new inspiration can be tough, which is why I offer a convenient newsletter every time a new recipe posts. Simply subscribe today and start receiving your free daily recipes directly to your inbox!
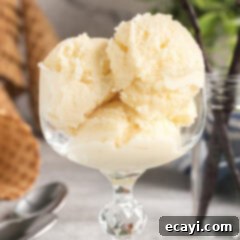
Homemade Vanilla Ice Cream
IMPORTANT – There are often Frequently Asked Questions within the blog post that you may find helpful. Simply scroll back up to read them!
Print It
Pin It
Rate It
Save It
Saved!
Prevent your screen from going dark
Course:
Dessert
Cuisine:
American
8 servings
362
Amanda Davis
Ingredients
- 1 quart whole milk 4 cups
- 1 ¼ cups granulated sugar
- dash of salt
- 2 eggs beaten
- 1 ½ cups heavy whipping cream
- 2 teaspoons pure vanilla extract
Things You’ll Need
-
Large saucepan
-
Ice cream maker
Before You Begin
- The freeze time will vary depending on the ice cream machine you use. Please refer to your machine’s manual for more detailed instructions and recommended chilling times.
- For the creamiest result, ensure your ice cream base is thoroughly chilled (at least 4 hours, or preferably overnight) before churning.
Instructions
-
Heat the whole milk in a large saucepan over medium-low heat until small bubbles begin to appear around the edges; do not boil. Stir in the granulated sugar and salt until completely dissolved.1 quart whole milk, 1 1/4 cups granulated sugar, dash of salt
-
In a separate bowl, beat the eggs. Carefully ladle about 1/2 cup of the hot milk mixture into the beaten eggs, whisking continuously to temper them.2 eggs
-
Slowly stir the tempered egg mixture back into the saucepan with the remaining milk. Cook over low heat, stirring constantly for about 2 minutes, until the mixture thickens slightly and coats the back of a spoon. Do not boil.
-
Remove from heat and stir in the heavy whipping cream. Let the mixture cool completely, then stir in the pure vanilla extract. Cover and refrigerate for at least 4 hours, or preferably overnight, until thoroughly chilled.1 1/2 cups heavy whipping cream, 2 teaspoons pure vanilla extract
-
Pour the chilled mixture into your ice cream machine and freeze according to the manufacturer’s directions, until it reaches a soft-serve consistency. Transfer to an airtight container and freeze for an additional 2-4 hours, or until firm, before serving.
Expert Tips & FAQs
- If stored properly in an air-tight container, your homemade ice cream will keep well for up to 1 month.
- To prevent icy ice cream, ensure your base is very cold before churning and churn until it’s thick.
- Strain your custard through a fine-mesh sieve after cooking to ensure the smoothest possible texture.
- For optimal flavor, always add vanilla extract after the base has cooled, as heat can diminish its potency.
Nutrition
Tried this Recipe? Pin it for Later!Follow on Pinterest @AmandasCookin or tag #AmandasCookin!
The recipes on this blog are tested with a conventional gas oven and gas stovetop. It’s important to note that some ovens, especially as they age, can cook and bake inconsistently. Using an inexpensive oven thermometer can assure you that your oven is truly heating to the proper temperature. If you use a toaster oven or countertop oven, please keep in mind that they may not distribute heat the same as a conventional full sized oven and you may need to adjust your cooking/baking times. In the case of recipes made with a pressure cooker, air fryer, slow cooker, or other appliance, a link to the appliances we use is listed within each respective recipe. For baking recipes where measurements are given by weight, please note that results may not be the same if cups are used instead, and we can’t guarantee success with that method.
This post originally appeared here on December 18, 2008 and has since been updated with new photos and expert tips to enhance your cooking experience.
