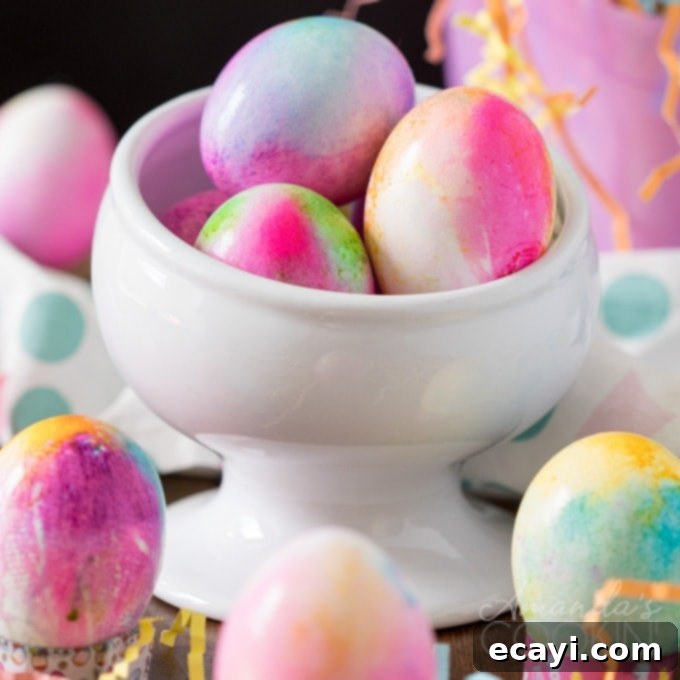
DIY Tie-Dye Easter Eggs: A Vibrant & Fun Easter Craft for All Ages
Easter is a time for joy, family, and, of course, beautifully decorated eggs! While traditional methods have their charm, why not shake things up this year with a truly unique and visually stunning craft? Making Tie-Dye Easter Eggs is an incredibly fun, creative, and distinct way to bring a burst of color to your holiday celebrations. Imagine vibrant swirls and mesmerizing patterns on each egg – a true artistic masterpiece created by you and your loved ones. Get ready to embrace a little delightful messiness, don your apron, gather your eggs, and let’s dive into this exciting Easter adventure!
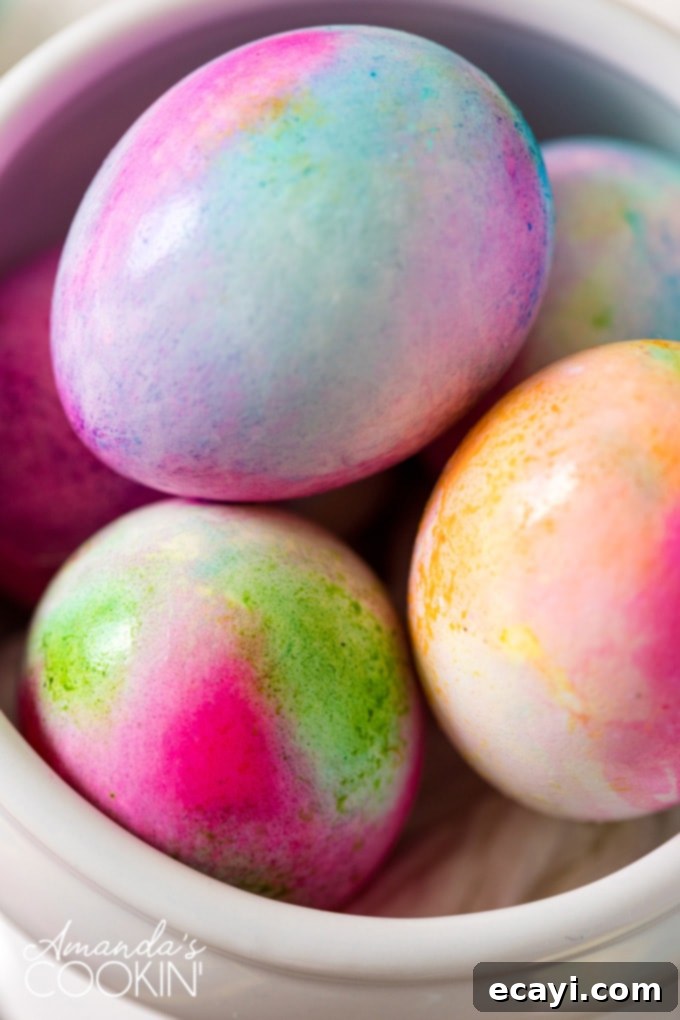
Unlock Your Creativity: Two Easy Methods for Tie-Dye Easter Eggs
Decorating Easter eggs has always been a cherished tradition, a highlight for children and adults alike. As kids grow, families often seek innovative ways to personalize their eggs beyond the standard pastel dips. That’s precisely why we’re thrilled to share these two fantastic, albeit a little messy, methods for crafting tie-dye Easter eggs. This guide will walk you through creating spectacular, marbled designs that are sure to impress. If you’re looking for even more unique techniques, you might also enjoy these awesome cracked colored eggs, adding another dimension to your Easter display.
Essential Supplies You’ll Need for Tie-Dye Egg Decorating
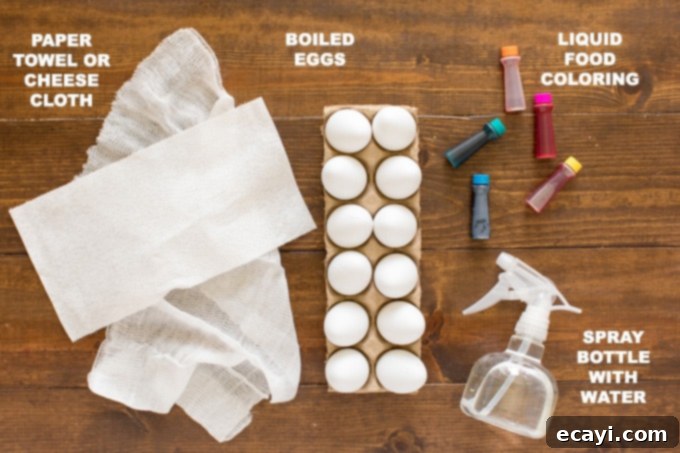
Before you begin your colorful journey, it’s crucial to have all your supplies organized. We’re going to explore two primary methods for decorating tie-dye eggs: one utilizing cheesecloth and another using sturdy paper towels. Both techniques yield beautiful, distinct results, and the choice is yours! Here’s a comprehensive list of what you’ll need to gather:
- Plastic wrap: Essential for protecting your counter or workspace from food coloring stains, ensuring an easier cleanup process.
- Cheesecloth OR Sturdy paper towels: These are the core materials that will hold your eggs and absorb the dye. Cheesecloth offers a fine, textured pattern, while sturdy paper towels can create more defined blotches. Choose high-quality, absorbent paper towels if you opt for that method.
- Liquid food coloring: The star of the show! Opt for gel food coloring for more vibrant, concentrated colors, or standard liquid drops for a softer effect. A variety of colors will allow for amazing combinations and truly unique tie-dye patterns.
- Small spray bottle with water (or a small cup of water): Used to help the food coloring spread and blend, creating that iconic tie-dye effect. The amount of water influences the color intensity.
- Rubber bands: To secure the cheesecloth or paper towel tightly around your eggs, holding the fabric firmly in place while the dye is applied and sets.
- Empty cardboard egg carton: Perfect for holding your freshly dyed eggs while they dry, preventing them from rolling, touching, and smudging their beautiful designs.
- Hard-boiled eggs: Ensure your eggs are completely cooled before starting. Room temperature or slightly chilled eggs work best for dye absorption.
- An apron or old clothes: Seriously, food coloring can stain! Protect yourself and your clothing from accidental splatters.
- Rubber gloves (optional, but highly recommended): Especially for kids or anyone sensitive to dyes, gloves will save your hands from temporary colorful tattoos, making cleanup a breeze.
Pro Tips for a Seamless Tie-Dye Easter Egg Experience
To ensure your tie-dye egg decorating goes as smoothly and enjoyably as possible, here are some invaluable tips to keep in mind. From drying techniques to stain removal, these suggestions will help you achieve the best results and manage any unexpected colorful encounters, making your Easter craft session stress-free and fun.
- Drying Your Masterpieces Efficiently: You can certainly let all your beautifully dyed eggs air dry naturally in a cardboard egg carton. This allows the colors to set gently. However, if you’re eager to see the results quickly or want to handle them sooner, a hairdryer set to a cool or low heat setting can significantly speed up the drying process. Just hold it a safe distance away and gently rotate the eggs.
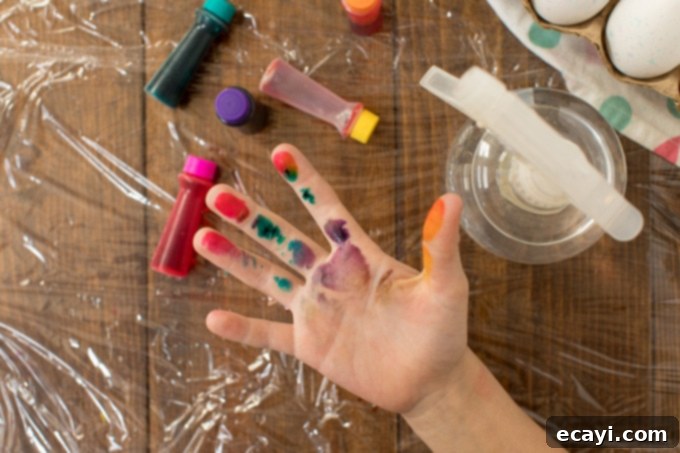
- Protecting Your Hands from Stains: Food coloring can be stubborn and leave temporary stains on skin. To avoid this, especially when involving younger children who love to get hands-on, wearing rubber gloves is highly recommended. It keeps the fun mess contained to the gloves, not your skin!
- Effective Stain Removal from Skin: If, despite your best efforts, you end up with food coloring on your skin, don’t fret! It’s usually temporary. First, rub your hands thoroughly with hand lotion or any cooking oil. This helps lift the dye. Then, create a paste by mixing white vinegar and salt. Rub this paste onto the stained areas. The acidity of the vinegar and the gentle abrasion of the salt work together to break down and remove the dye. Rinse well and repeat as necessary until the stains are completely gone.
- Choosing the Right Paper Towel for Method Two: If you opt for the paper towel method, the quality and thickness of your paper towel truly matter. A sturdy, absorbent brand will give you the best results, creating crisp patterns. If your paper towels are thinner or tear easily, simply double or even triple the number of sheets to create a more robust wrap for your egg, ensuring it holds its shape and distributes color effectively without tearing.
- Optimal Egg Preparation: For best results, use hard-boiled eggs that are completely cooled to room temperature. Hot eggs can cause the dye to set too quickly and unevenly, or even cook the dye onto the shell, while very cold eggs might not absorb the color as well.
- Thorough Workspace Preparation: Lay down a generous amount of plastic wrap, old newspapers, or a disposable tablecloth over your entire work surface. This project is meant to be fun and colorful, but those vibrant colors can easily transfer to unprotected surfaces, so better safe than sorry!
- Experiment with Color Combinations: Don’t be afraid to experiment with different color combinations. Consider using analogous colors (colors next to each other on the color wheel, like blue, green, yellow) for smooth, harmonious transitions, or complementary colors (opposite on the color wheel, like blue and orange, red and green) for bold, contrasting, and eye-catching effects.
Method One: The Classic Cheesecloth Tie-Dye Technique
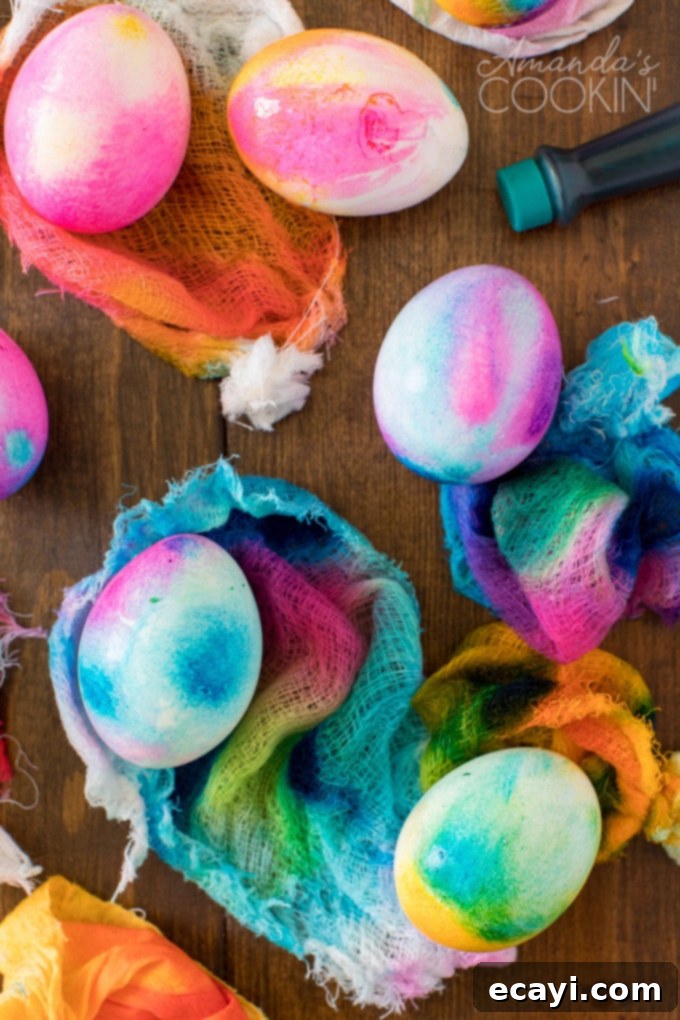
The cheesecloth method is fantastic for creating intricate, subtle, and beautifully diffused patterns, as the fine weave of the fabric helps to distribute the color in unique, organic ways. This technique often results in a delicate, watercolor-like appearance. Follow these steps for beautifully marbled eggs that are truly one-of-a-kind:
- Prepare Your Workstation and Cheesecloth: Begin by layering your counter or workspace with a protective sheet of plastic wrap. This step is crucial for easy cleanup, as food coloring can be tenacious. Next, take your cheesecloth and cut it into approximately 6-inch by 6-inch squares or rectangles. You’ll need enough fabric to fully wrap around an egg with some overlap for tying.
- Dampen the Cheesecloth: Get a piece of cheesecloth thoroughly wet under running water. Then, wring it out very well, squeezing out as much excess water as possible. You want it to be damp, not dripping wet. This ideal dampness helps the food coloring spread and blend evenly without diluting too quickly, preserving color intensity.
- Position the Egg: Carefully place one hard-boiled egg squarely in the center of the damp cheesecloth. Ensure there’s enough fabric on all sides so that you can easily gather it around the egg without too much strain or tearing.
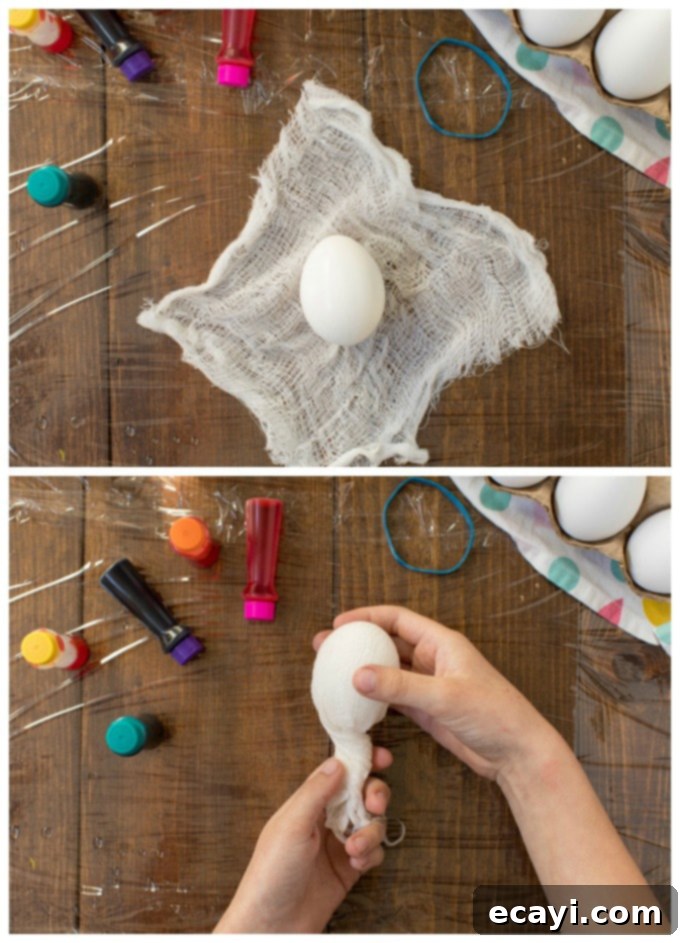
- Secure the Egg: Carefully gather all the ends of the cheesecloth together tightly around the egg, forming a small, snug pouch. Secure this pouch firmly with a rubber band. The tighter you wrap and secure the cheesecloth against the egg’s surface, the crisper and more defined the tie-dye lines and patterns will be.
- Apply Food Coloring: Holding the egg by the rubber-banded end (which acts as a convenient handle), begin to add drops of liquid food coloring directly onto the damp cheesecloth. Be creative and artistic with your color placement! You can create distinct color blocks, or strategically overlap colors for interesting blending effects.
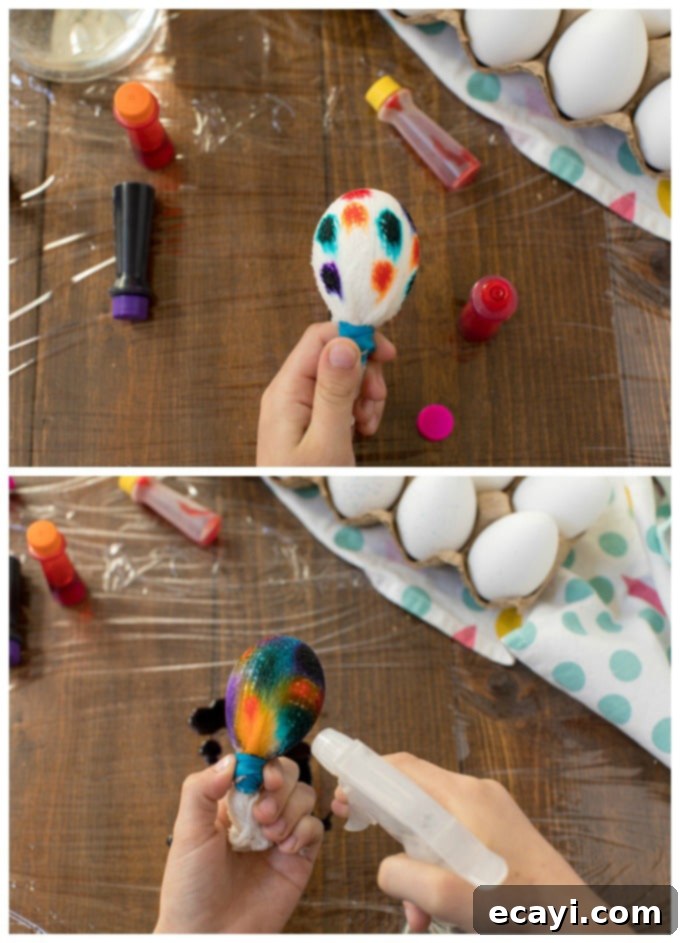
- Design Your Palette and Patterns: While you can cover the entire egg with color, consider leaving some small white spaces. These untouched areas can enhance the overall tie-dye effect and provide a beautiful contrast to the vibrant colors. Feel free to use as many or as few colors as you like; remember, the more colors you add in close proximity, the more they will naturally blend and swirl.
- Activate the Colors with Water: Using your small spray bottle, lightly mist the colored cheesecloth with water. Alternatively, if you don’t have a spray bottle, you can dip your fingers in a small cup of water and gently dab the surface of the colored cheesecloth. Here’s a key tip for color intensity: The less water you use, the darker, more concentrated, and vibrant your colors will be. Conversely, using more water will result in more muted, pastel, and watercolor-like effects. The primary idea is to allow the water to help the colors blend and spread, creating those beautiful marbled patterns, but without completely washing them out or combining them into a single, muddy color blob.
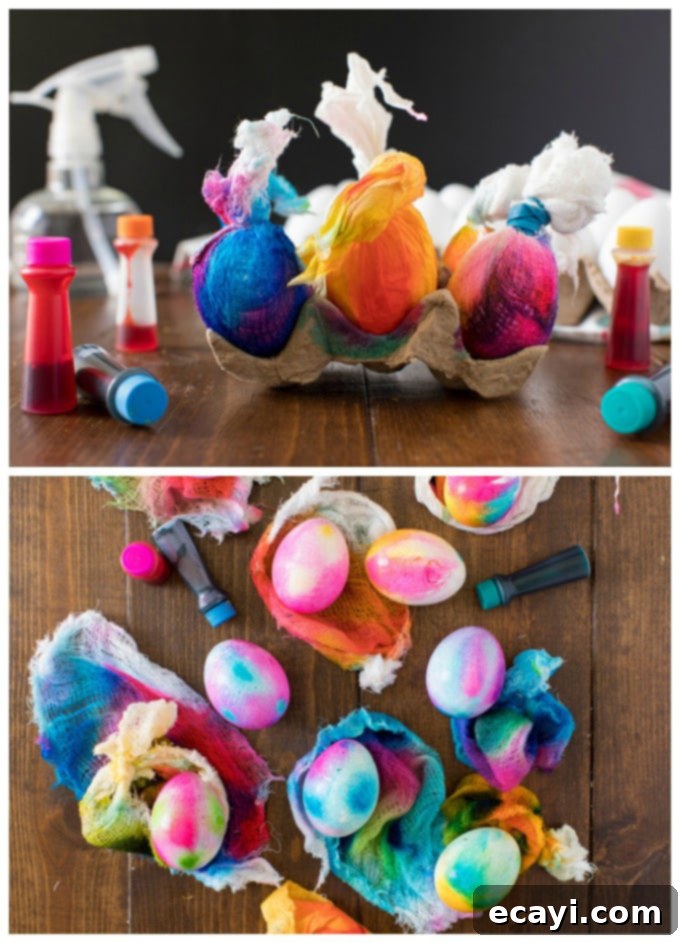
- Gently Squeeze for Definition: Once you’ve applied water and observed the colors beginning to merge and spread, carefully cup the wrapped egg in your hand and gently squeeze out any excess food coloring and water. This crucial step helps prevent oversaturation, deepens the colors, and can enhance the definition of your intricate tie-dye patterns.
- Allow to Dry Completely: Place your wrapped egg into an empty cardboard egg carton, which provides a stable and non-stick surface for drying. Let it dry completely. Patience is key here – the longer it dries, the more the colors will set into the eggshell. Remember, this step can be sped up with a hairdryer on a cool setting if you’re in a hurry to see your results!
As you can tell, this method truly embraces the joy of getting a little messy, but the vibrant, surprising reveal of each unique egg makes every colorful splatter and stained finger entirely worthwhile! Once dry, carefully unwrap your egg and revel in your amazing, one-of-a-kind creation!
Method Two: The Vibrant Paper Towel Tie-Dye Technique
For a slightly different approach that often yields bolder, more defined splotches and vibrant, sometimes more abstract, patterns, the paper towel method is a fantastic choice. It’s equally fun, easy to execute, and produces stunning results that are distinct from the cheesecloth method:
- Prepare the Paper Towel and Workspace: Just like with the cheesecloth method, start by lining your counter with a generous amount of plastic wrap to protect your surfaces. Take a single sheet of sturdy paper towel (or double or triple it if you find your paper towels are thin or prone to tearing). Get the paper towel thoroughly wet under running water, then wring out as much water as you can, leaving it just damp. Unfold the damp paper towel and lay it flat on your plastic-wrapped counter, ready for coloring.
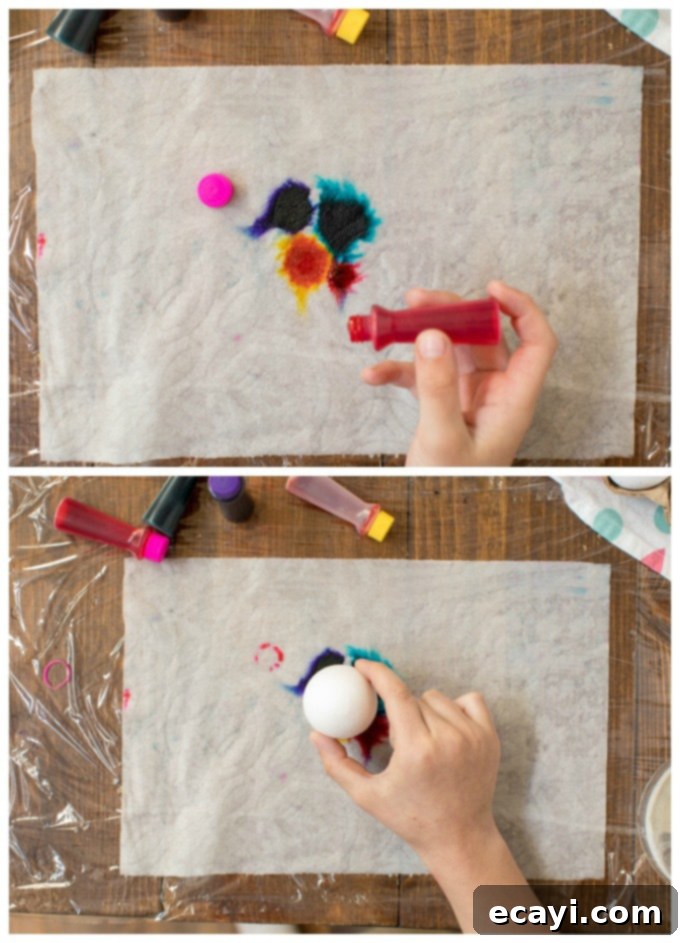
- Apply Food Coloring to Paper Towel: Drip several drops of various liquid food colorings directly into the center of the damp paper towel. Be generous and creative with your application. Aim for a circular pattern of colors, or random splashes, allowing the colors to slightly touch and begin to bleed into each other. This initial pre-blending on the paper towel itself is what gives this method its distinct, often more intense, look.
- Wrap the Egg with Colored Paper Towel: Gently place a hard-boiled egg directly in the center of the colored area on the paper towel. Then, carefully gather all the edges of the paper towel around the egg, scrunching and twisting it tightly to ensure the dyed paper towel makes full contact with the egg’s surface. Secure the twisted top with a rubber band if needed, or simply twist the paper towel firmly at the top to hold it in place.
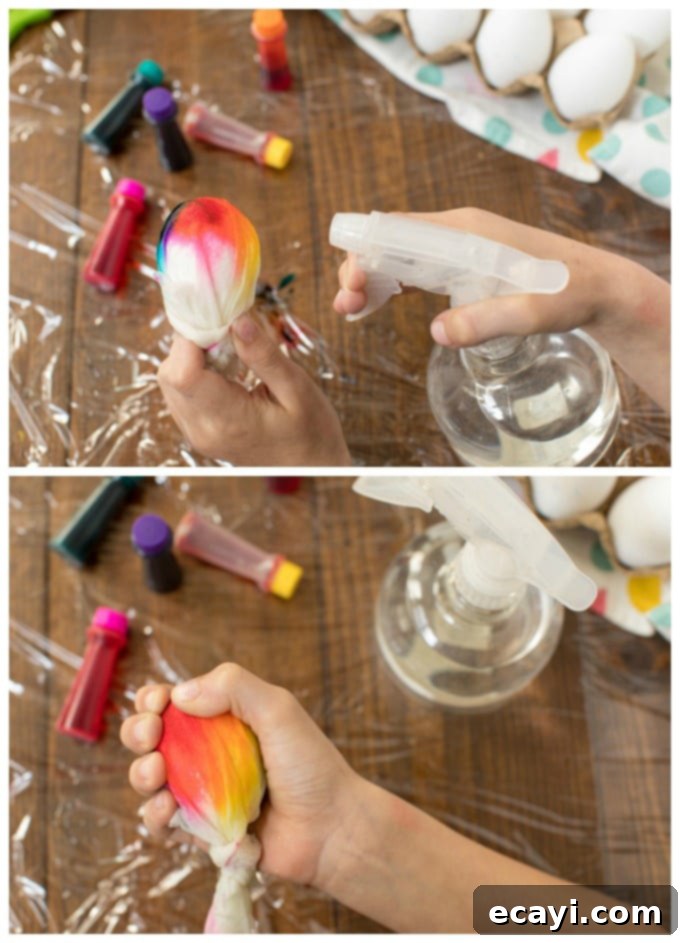
- Add More Water (Optional, but often recommended): If the colors haven’t spread as much as you’d like, or if you want to intensify the blending, use your spray bottle to lightly mist the outside of the paper towel-wrapped egg with a little more water. This encourages further blending and deeper saturation of the dye into the eggshell. Remember the rule of thumb: less water for darker, more defined colors; more water for a softer, more blended, almost watercolor-like appearance.
- Final Squeeze and Dry: Gently squeeze the entire paper towel-wrapped egg to remove any excess liquid. This helps set the colors and prevents pooling. Place it in a cardboard egg carton to dry completely. This method often results in a quicker drying time due to the thinner material. Once thoroughly dry, carefully unwrap it to reveal your wonderfully unique and vibrant tie-dye Easter egg!
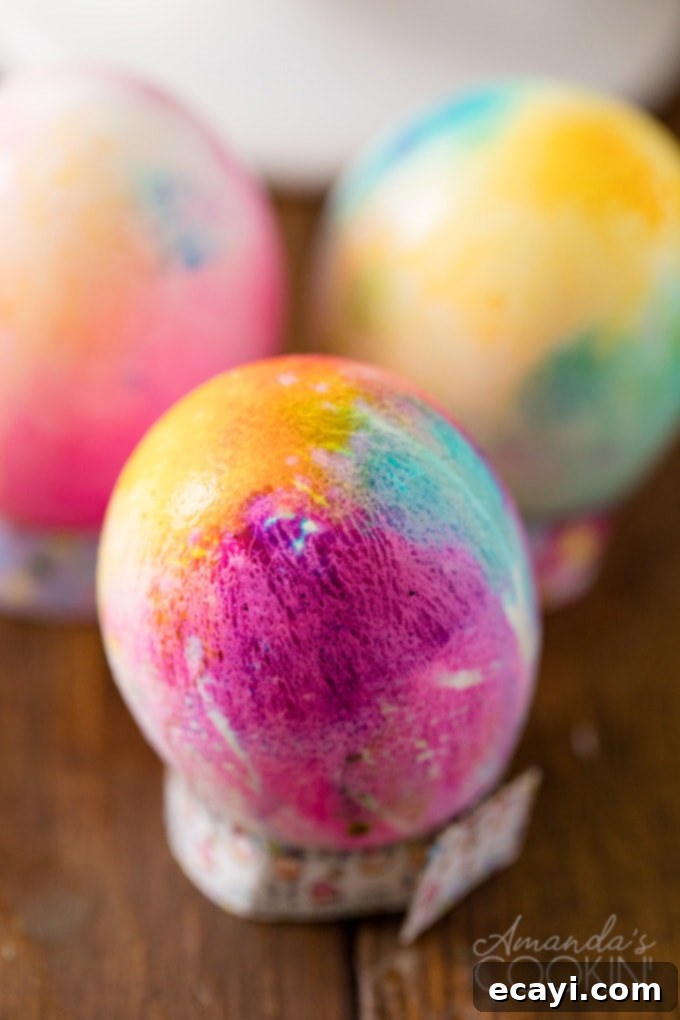
Displaying Your Magnificent Tie-Dye Easter Eggs
Once your vibrant tie-dye Easter eggs are dry and unwrapped, the fun doesn’t stop there! These beautiful, handcrafted creations deserve to be showcased and celebrated. Their unique patterns and dazzling colors make them perfect focal points for your Easter decorations. Here are some wonderful ideas for displaying your magnificent works of art and making them an unforgettable part of your Easter festivities:
- Elegant Egg Cups & Centerpieces: Display your pretty eggs in decorative egg cups on your dining table, a mantelpiece, or window sills for a simple yet charming arrangement. For a more elaborate centerpiece, arrange a collection of your tie-dye eggs in a clear glass bowl, a rustic wooden basket, or on a bed of faux grass, creating a stunning and colorful focal point.
- Thoughtful Easter Basket Gifts: Include them in traditional Easter baskets as a special, handmade treat. For an extra personal touch, print some adorable basket tags and attach them to small gift bags filled with your tie-dye eggs to give as thoughtful, unique gifts to friends, family, and neighbors.
- Exciting Easter Egg Hunts: Make your next Easter egg hunt even more vibrant and exciting by hiding these uniquely colored eggs. The bright, distinct patterns will make them stand out from store-bought eggs and add an extra layer of discovery to the game!
- Creative Scavenger Hunts: Elevate your Easter celebration by incorporating these eggs into a fun scavenger hunt. Hide clues with each tie-dye egg, leading participants on an engaging adventure to a grand prize at the end.
- DIY Easter Garlands & Wreaths: If you’re feeling extra crafty, consider carefully drilling small holes in cooled, empty eggshells (before dyeing them for optimal results). Once dyed and dry, string your finished tie-dye shells onto twine or ribbon to create a colorful garland to adorn your home, or attach them to an Easter wreath for a festive entryway decoration.
- Photo Booth Props: Use your vibrant eggs as fun and colorful props for Easter photo opportunities. They add an instant pop of color and charm to any festive picture!
No matter how you choose to display them, your handcrafted tie-dye Easter eggs are sure to bring smiles and admiration. For even more delightful Easter egg decorating ideas and a wealth of other festive crafts, be sure to explore my craft blog. I’ve previously shared a fantastic post featuring 7 Cool Ways to Decorate Easter Eggs, offering a variety of techniques and inspiration to spark your creativity this holiday season!

Tie Dye Easter Eggs
IMPORTANT – There are often Frequently Asked Questions within the blog post that you may find helpful. Simply scroll back up to read them!
Print It
Rate It
Save ItSaved!
Ingredients
- plastic wrap for the counter
- cheesecloth OR paper towels
- liquid food coloring
- a small spray bottle with water or a small cup of water
- rubber band
- empty cardboard egg carton to hold eggs
Before You Begin
- You can let all the eggs dry in a cardboard egg carton, or you can be like me and speed up the process using a hair dryer on cool setting.
- If you don’t want to deal with food coloring stains on skim, have kids wear rubber gloves.
- To remove food coloring from skin, first rub hands with hand lotion. Make a paste from white vinegar and salt and run onto stained skin. Rinse and repeat until gone.
- If using the paper towel method, you should use a sturdy paper towel. However, you can double or triple the number of sheets to make it stronger.
Instructions
Cheesecloth Method
-
Layer the counter with plastic wrap. Cut cheesecloth into 6″ lengths.
-
Get the cheesecloth wet and wring it out.
-
Place a boiled egg into the center of the cheesecloth.
-
Gather the ends of the cheesecloth together tightly around the egg and secure with a rubber band.
-
Hold egg by the rubber banded end and add drops of food coloring to the damp cheesecloth.
-
Leave some white space, but use whatever colors you like.
-
Spray it with water. The less water you use the darker the colors, the more water you use the more muted your colors will be. The idea is to allow the water to blend the colors together, but not completely combine them into one big color blob.
-
Carefully hug the egg with your hand and gently squeeze out any excess food coloring and water.
-
Place in the cardboard egg carton to dry.
Paper Towel Method
-
Layer the counter with plastic wrap. Take a piece of paper towel, get it wet and wring it the water, you just want it to be damp. Open it up and place it on the plastic wrap lined counter.
-
Drip some food coloring in the center of the paper towel.
-
Place egg in the center of the colors and gather the paper towel around the egg.
-
Get it wet using a spray bottle.
-
Squeeze out the excess and set in cardboard egg carton to dry.
The recipes on this blog are tested with a conventional gas oven and gas stovetop. It’s important to note that some ovens, especially as they age, can cook and bake inconsistently. Using an inexpensive oven thermometer can assure you that your oven is truly heating to the proper temperature. If you use a toaster oven or countertop oven, please keep in mind that they may not distribute heat the same as a conventional full sized oven and you may need to adjust your cooking/baking times. In the case of recipes made with a pressure cooker, air fryer, slow cooker, or other appliance, a link to the appliances we use is listed within each respective recipe. For baking recipes where measurements are given by weight, please note that results may not be the same if cups are used instead, and we can’t guarantee success with that method.
This post originally appeared here on Mar 3, 2014.
