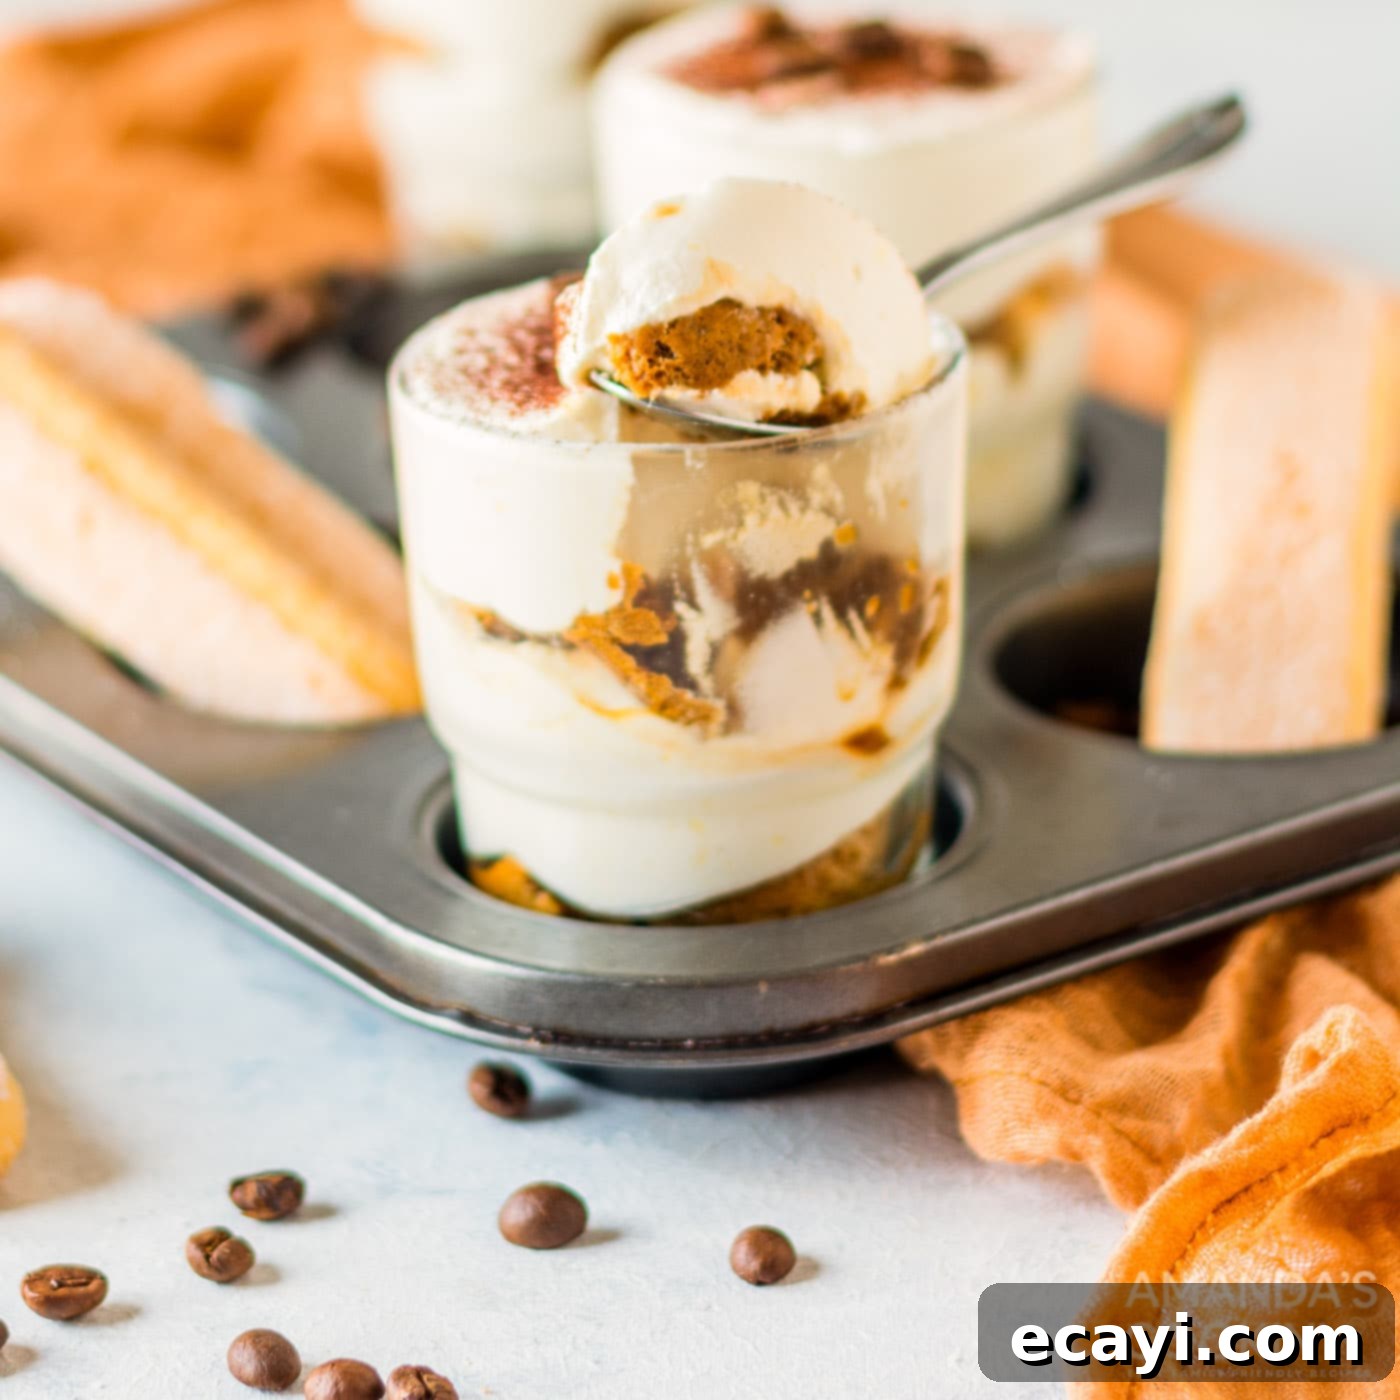
Easy Individual Tiramisu Cups: A No-Bake Decadent Delight for Any Occasion
Indulge in the rich, velvety layers of mascarpone cream and espresso-soaked ladyfingers with these utterly irresistible individual tiramisu cups. This no-bake dessert is an effortless way to create elegant, perfectly portioned treats that are ideal for solo enjoyment or for impressing guests at your next gathering. Forget the fuss of a large cake; these miniature delights offer all the classic Italian flavor in a convenient, charming package.
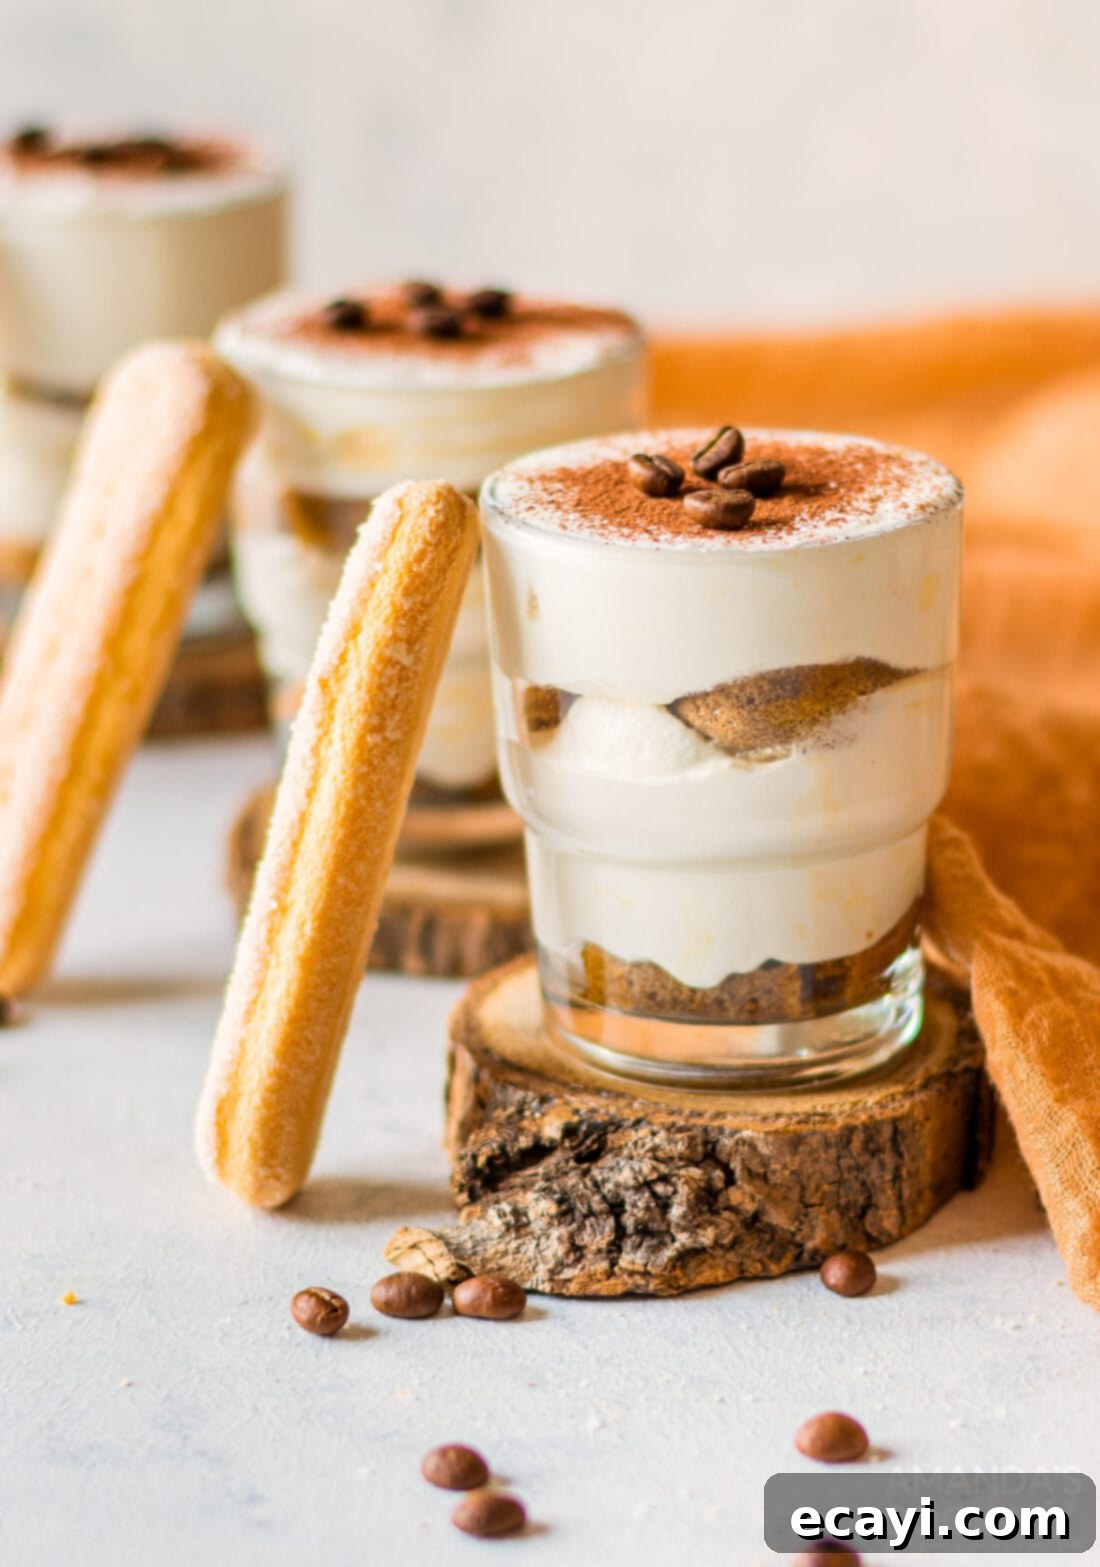
Why This Individual Tiramisu Recipe Works So Well
There are countless reasons why this individual tiramisu recipe stands out as a go-to dessert. First and foremost, its no-bake nature makes it incredibly simple to prepare, saving you precious time and effort without compromising on taste or quality. You won’t need to turn on your oven, making it a perfect choice for warm weather or when your oven is already occupied with other dishes.
The beauty of serving tiramisu in individual cups lies in its perfect portion control and elegant presentation. Each guest receives their own charming dessert, eliminating the need for messy slicing and serving. This also makes them wonderfully hygienic for potlucks and parties. The creamy, luscious layers of mascarpone cheese and coffee-infused ladyfingers combine to create a melt-in-your-mouth experience that is both light and incredibly satisfying.
We’ve explored many variations of tiramisu, from our popular tiramisu trifles in mason jars to our impressive full-sized tiramisu trifle. However, for a lighter yet deeply satisfying dessert, these individual servings are truly unmatched. They offer the perfect balance of richness and convenience, allowing everyone to savor their own personal piece of Italian heaven.
Key Ingredients You Will Need for Individual Tiramisu
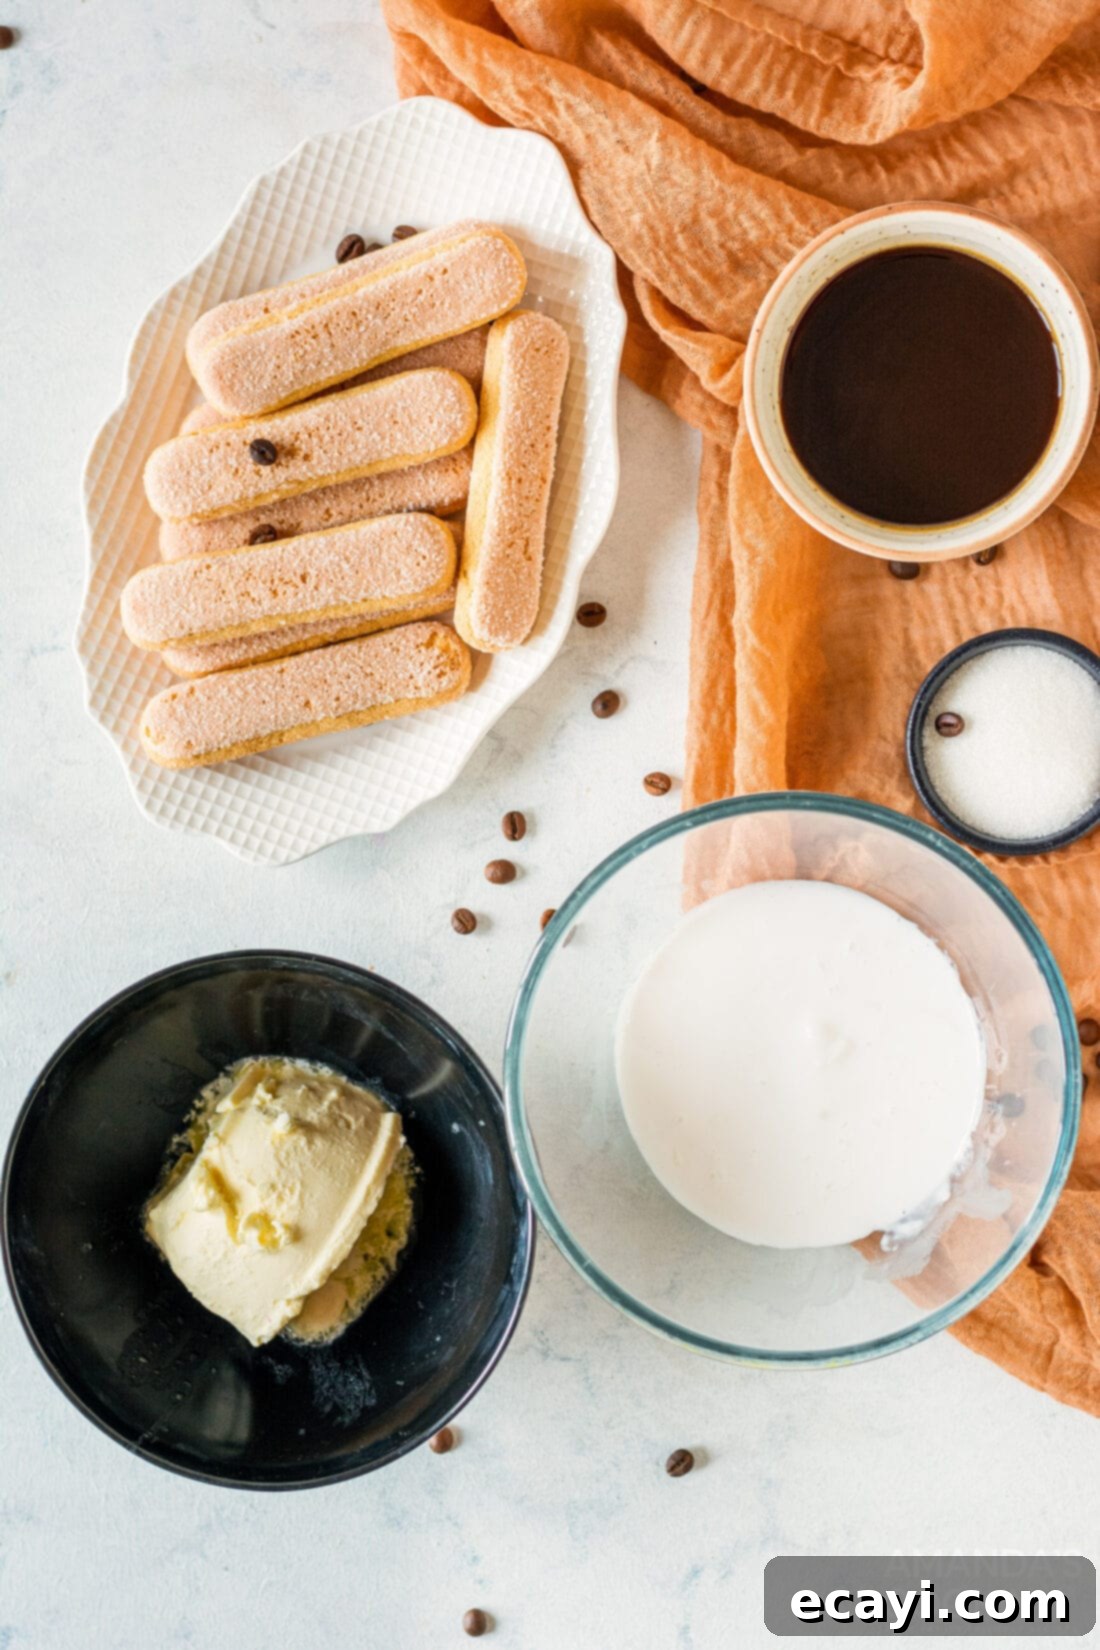
Crafting these delectable individual tiramisu cups requires a few simple, high-quality ingredients. While the full measurements and detailed instructions are available in the printable recipe card at the end of this post, here’s an overview of what you’ll need to gather:
- Heavy Whipping Cream: Essential for creating the light, airy base of our mascarpone cream.
- Mascarpone Cheese: The star of the show, providing that signature rich, luxurious texture.
- Instant Espresso Powder: Used in both the mascarpone mixture and for soaking the ladyfingers, it provides the characteristic coffee flavor.
- Granulated Sugar: Sweetens the mascarpone cream to perfection.
- Vanilla Extract: Enhances the overall flavor profile of the cream.
- Ladyfingers Biscuits: The sponge-like cookies that soak up the espresso, forming the cake-like layers.
- Cocoa Powder: An optional but highly recommended garnish for dusting the finished tiramisu.
Ingredient Deep Dive and Smart Substitution Suggestions
Understanding each ingredient’s role and potential substitutions can elevate your tiramisu experience. Here’s what you need to know:
Espresso – The Heart of Tiramisu
To keep things wonderfully simple and efficient, our recipe utilizes instant espresso powder. This ensures a consistent, strong coffee flavor without the need for specialized brewing equipment. If you’re a coffee connoisseur and prefer a more authentic touch, by all means, brew fresh espresso! Just remember to let it cool completely to room temperature before using, as hot liquid can affect the texture of your cream and make ladyfingers too soggy.
Substitution Tip: A strong dark roast coffee can be an excellent substitute for espresso. Brew it a bit stronger than usual to achieve that intense coffee kick necessary for tiramisu. Again, ensure it’s cooled before use.
Mascarpone – The Creamy Foundation
Mascarpone cheese is the non-negotiable hero of tiramisu, lending its signature rich, velvety texture and mild, slightly sweet flavor. This Italian cream cheese, often described as a triple-cream cheese, is much richer and less tangy than American cream cheese. When blended with sugar, a touch of espresso, and vanilla, then gently folded into whipped heavy cream, it creates the smooth, luxurious consistency that tiramisu is famous for.
Substitution Tip: While difficult to perfectly replicate mascarpone, a combination of cream cheese and heavy cream, or even crème fraîche, can be used in a pinch, though the flavor and texture will be noticeably different from authentic tiramisu. For best results, stick with mascarpone.
Ladyfingers – The Absorbent Layers
Ladyfingers (savoiardi) are light, sweet sponge cakes shaped like large fingers. Their porous texture is perfect for soaking up the espresso without becoming overly mushy. There are generally two types: crisp and soft. The crisp variety is more common and works wonderfully, but a softer variety can also be used if preferred. The key is a quick dip – just enough to moisten without saturating.
Heavy Whipping Cream – For Lightness and Volume
Heavy whipping cream is whipped to stiff peaks and then folded into the mascarpone mixture. This aerates the cream, making the tiramisu light and airy while still maintaining its decadent richness. Ensure your cream is very cold to achieve the best whipping results.
Sugar and Vanilla Extract – The Perfect Sweetness and Aroma
Granulated sugar provides the ideal level of sweetness to balance the bitterness of the coffee and the richness of the mascarpone. Vanilla extract adds a comforting warmth and aromatic depth, complementing the other flavors beautifully.
Cocoa Powder – The Finishing Touch
A dusting of good quality cocoa powder not only adds a beautiful visual contrast but also introduces a subtle hint of chocolatey bitterness that perfectly rounds out the tiramisu’s flavor profile. It’s truly the essential finishing touch.
Step-by-Step Guide: How to Make Individual Tiramisu
These step-by-step photos and detailed instructions are here to guide you through making this delicious recipe. For a quick reference or to print, you can Jump to Recipe to get the complete printable version with all measurements and instructions at the bottom of this post.
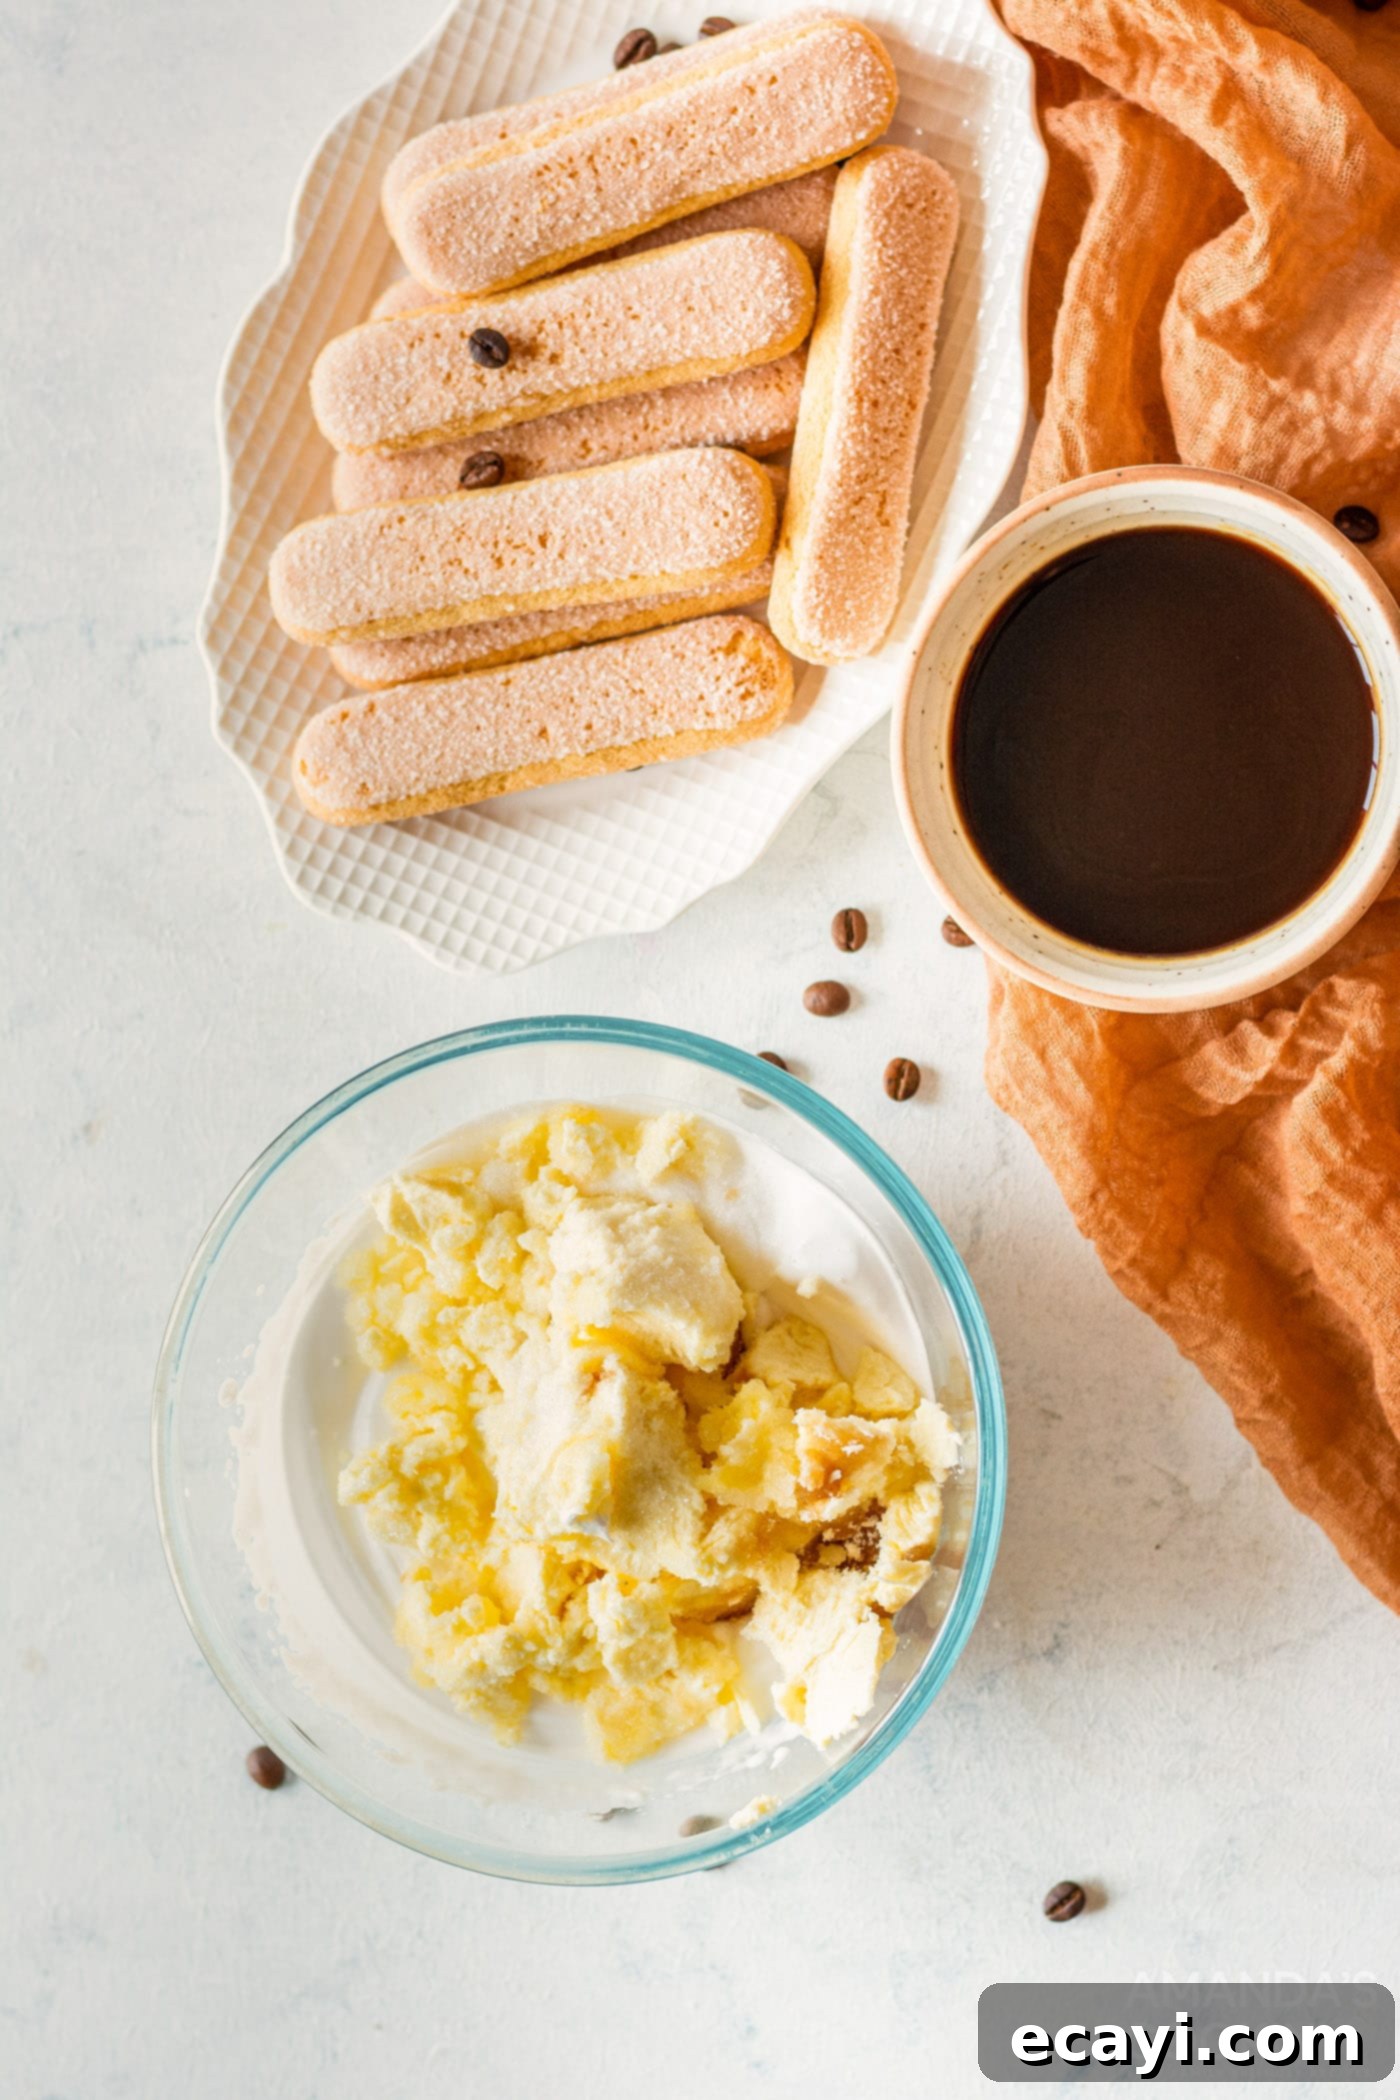
- Whip the Heavy Cream: In a large, chilled bowl, pour the heavy cream. Using a hand mixer (or a stand mixer with a whisk attachment), whip the cream on medium-high speed until it forms stiff peaks. This means when you lift the beaters, the cream stands up firmly. Be careful not to over-whip, or it may turn grainy. Set aside.
- Prepare the Mascarpone Mixture: In a separate bowl, combine the mascarpone cheese, ½ teaspoon of instant espresso powder, granulated sugar, and vanilla extract. Mix these ingredients thoroughly until the mixture is smooth and well combined.
- Combine the Cream and Mascarpone: Gently add the mascarpone mixture to the whipped heavy cream. First, use a spatula to fold them together until just combined. Then, switch back to your hand mixer and blend on low speed for a short burst, just until everything is smoothly incorporated and the mixture holds its shape, appearing creamy and luxurious. Transfer this creamy mixture to a Ziploc bag or a piping bag, and set it aside for layering.
- Prepare the Espresso Soak: Heat half a cup of water until warm (not boiling). Stir in 1 tablespoon of instant espresso powder until it is fully dissolved. Let this coffee mixture cool down to room temperature. Using it while still warm can make your ladyfingers soggy.
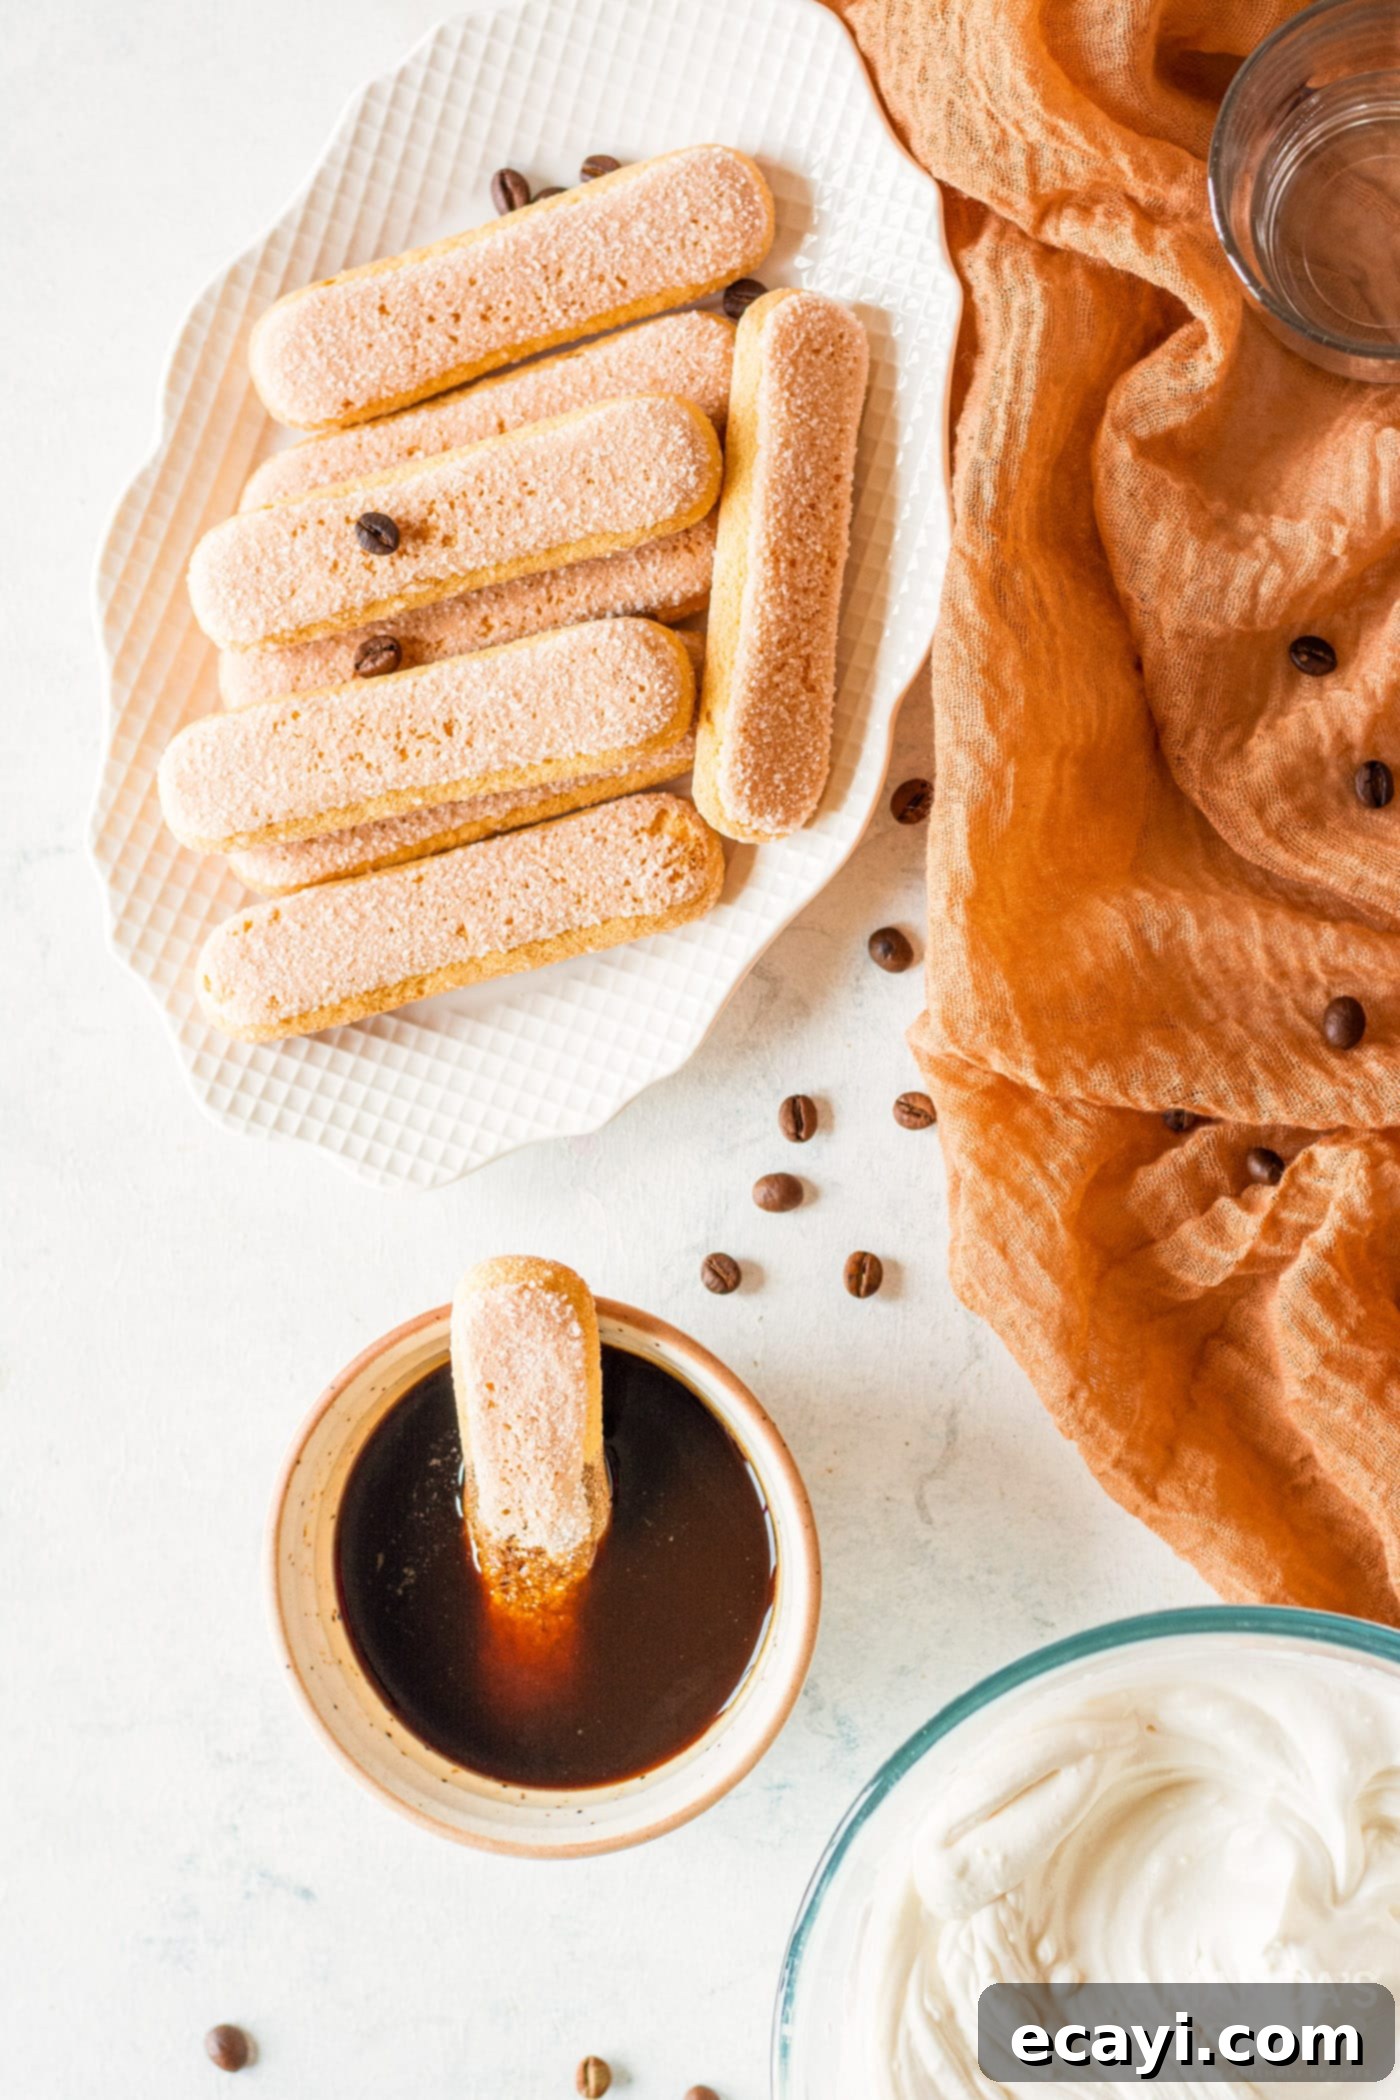
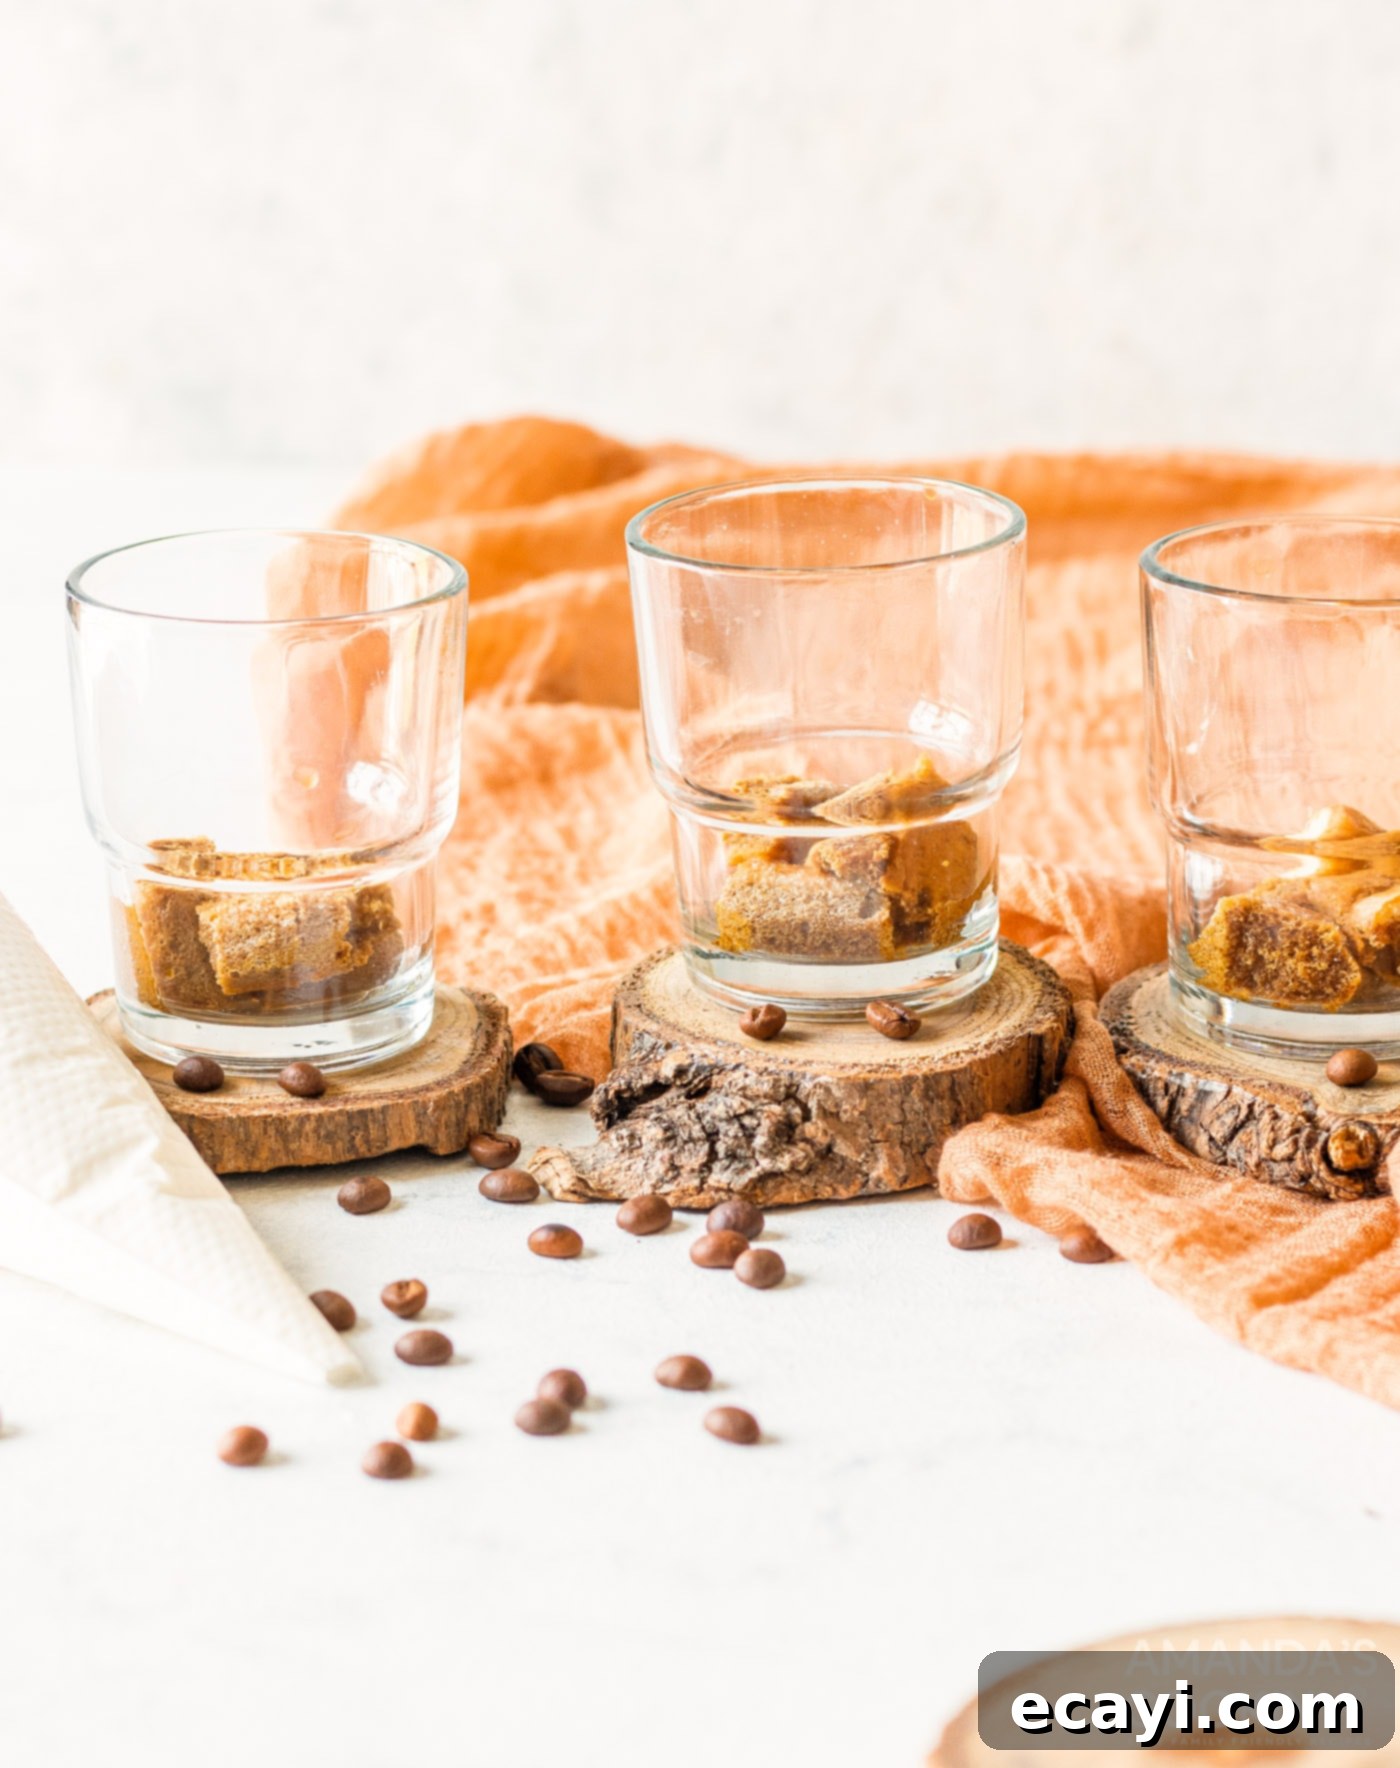
- Dip Ladyfingers and Begin Layering: Take your chosen individual serving bowls or glasses (4-5 oz works well). Briefly dip each ladyfinger into the cooled espresso mixture for about one second per side. It’s crucial not to over-soak them, as they will become too soft and break apart. Arrange a single layer of these espresso-soaked ladyfingers at the bottom of each serving cup. You may need to break some ladyfingers to fit.
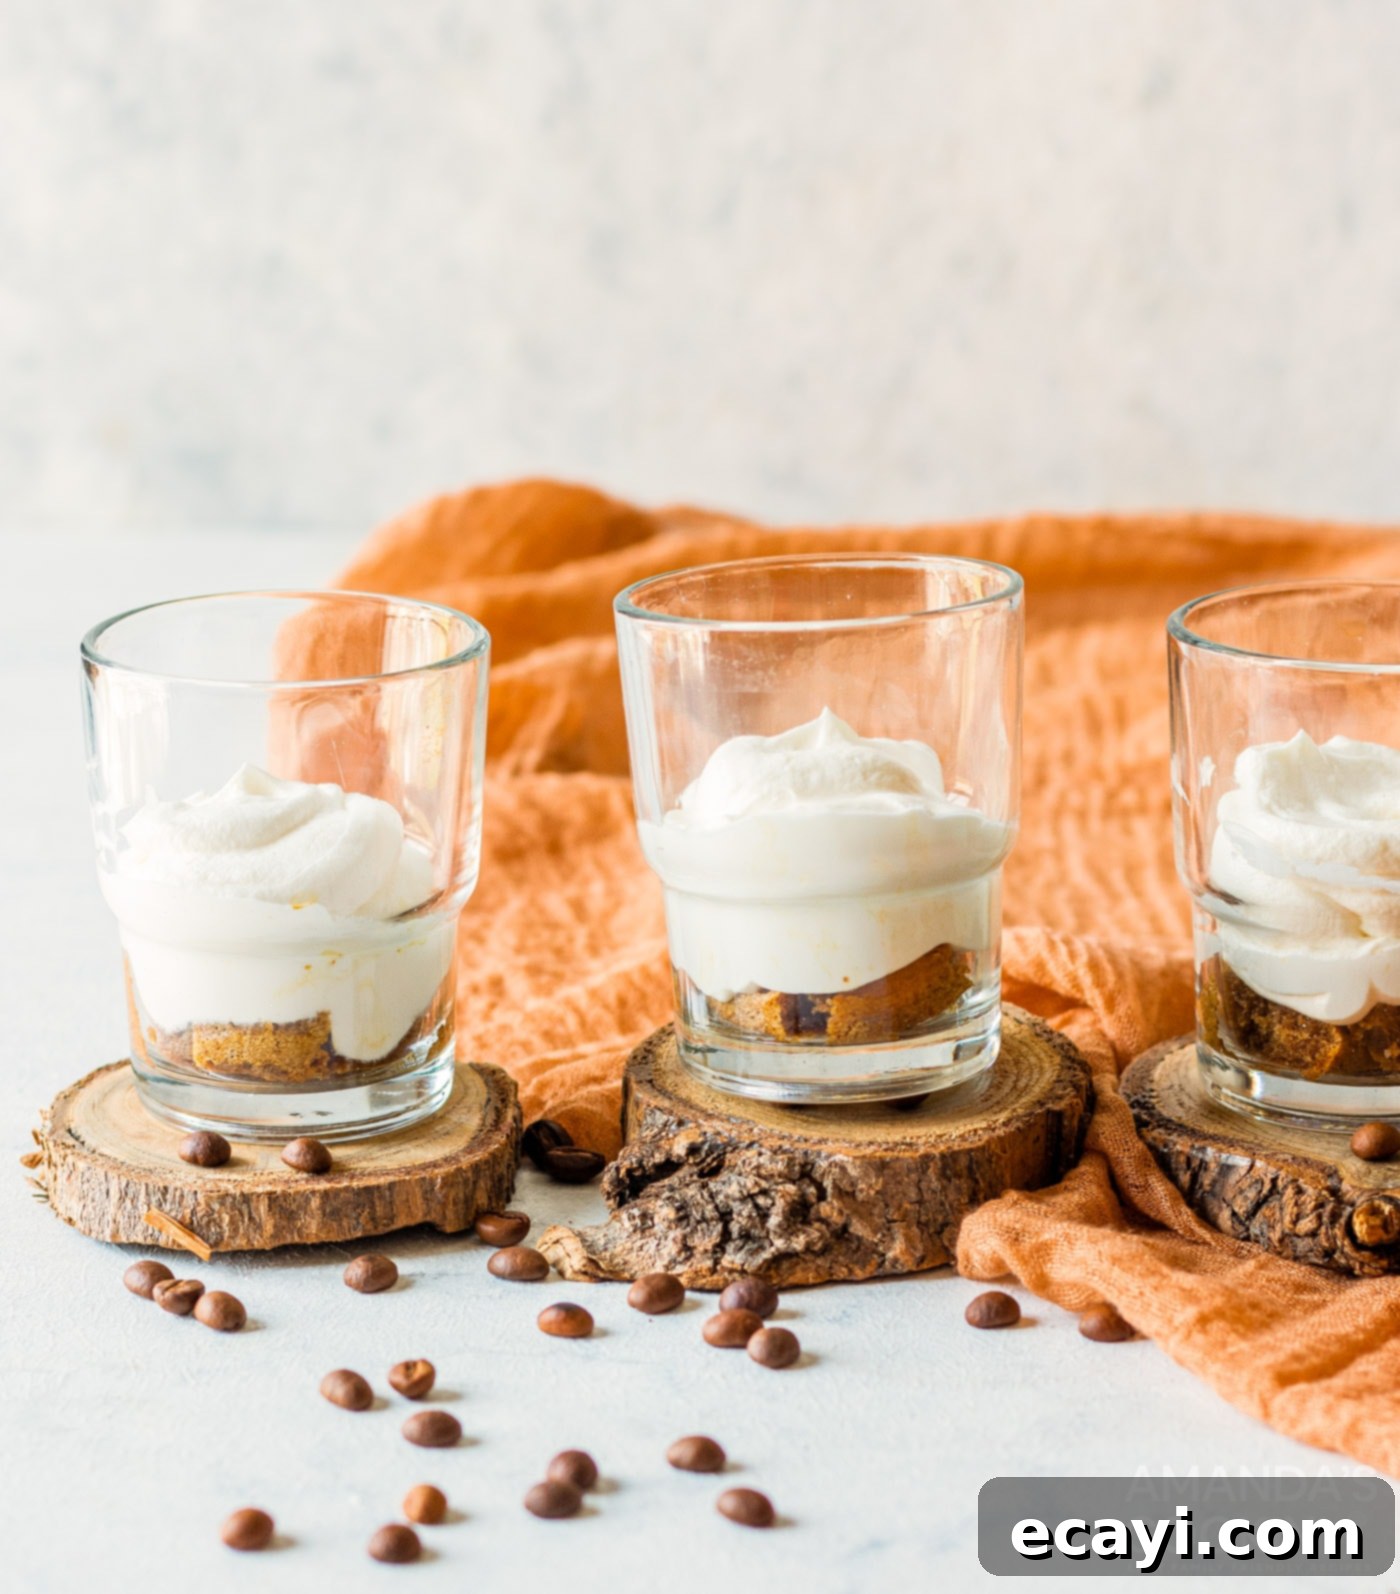
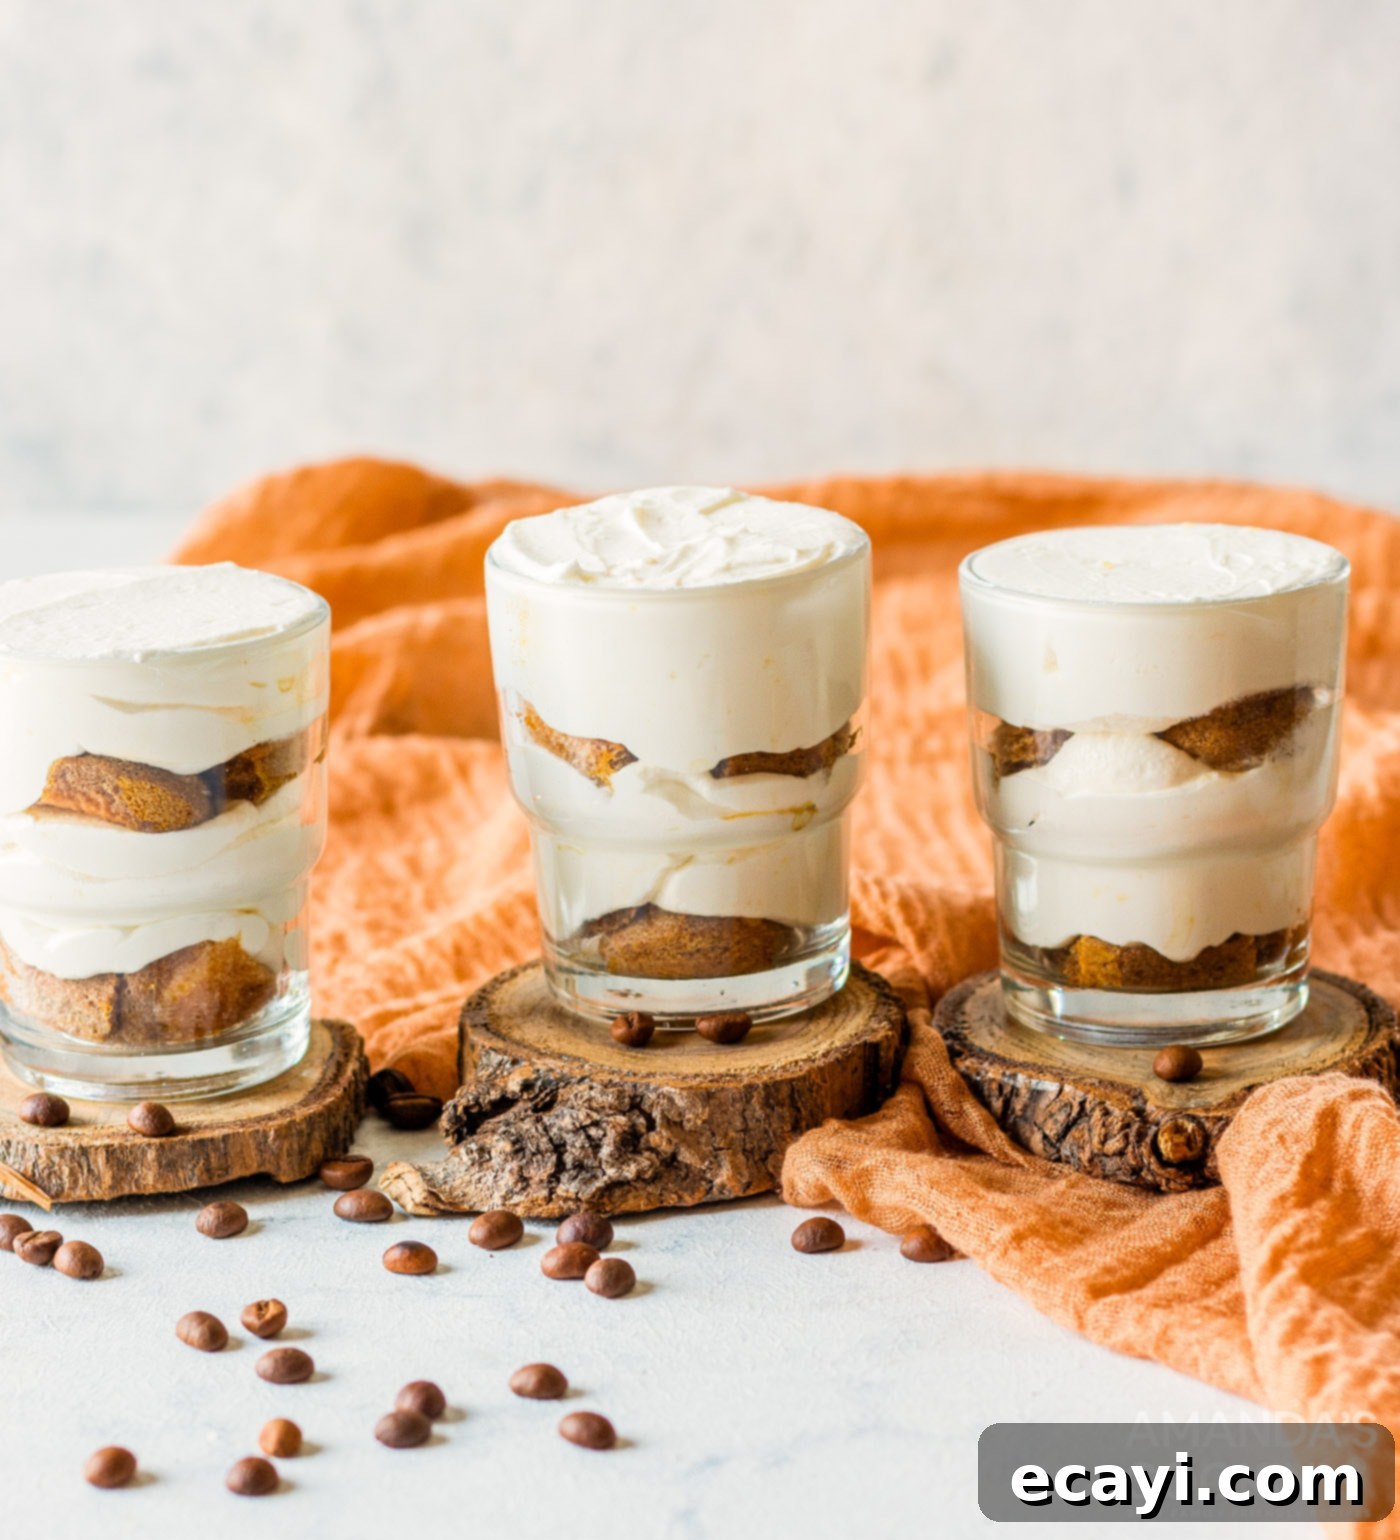
- Layer Cream and Ladyfingers: Pipe or spoon a generous layer of the mascarpone cream over the ladyfingers. Follow this with another layer of espresso-dipped ladyfingers, and then top with a final layer of the creamy mascarpone mixture. Continue this pattern until your cups are nearly full, ending with a cream layer.
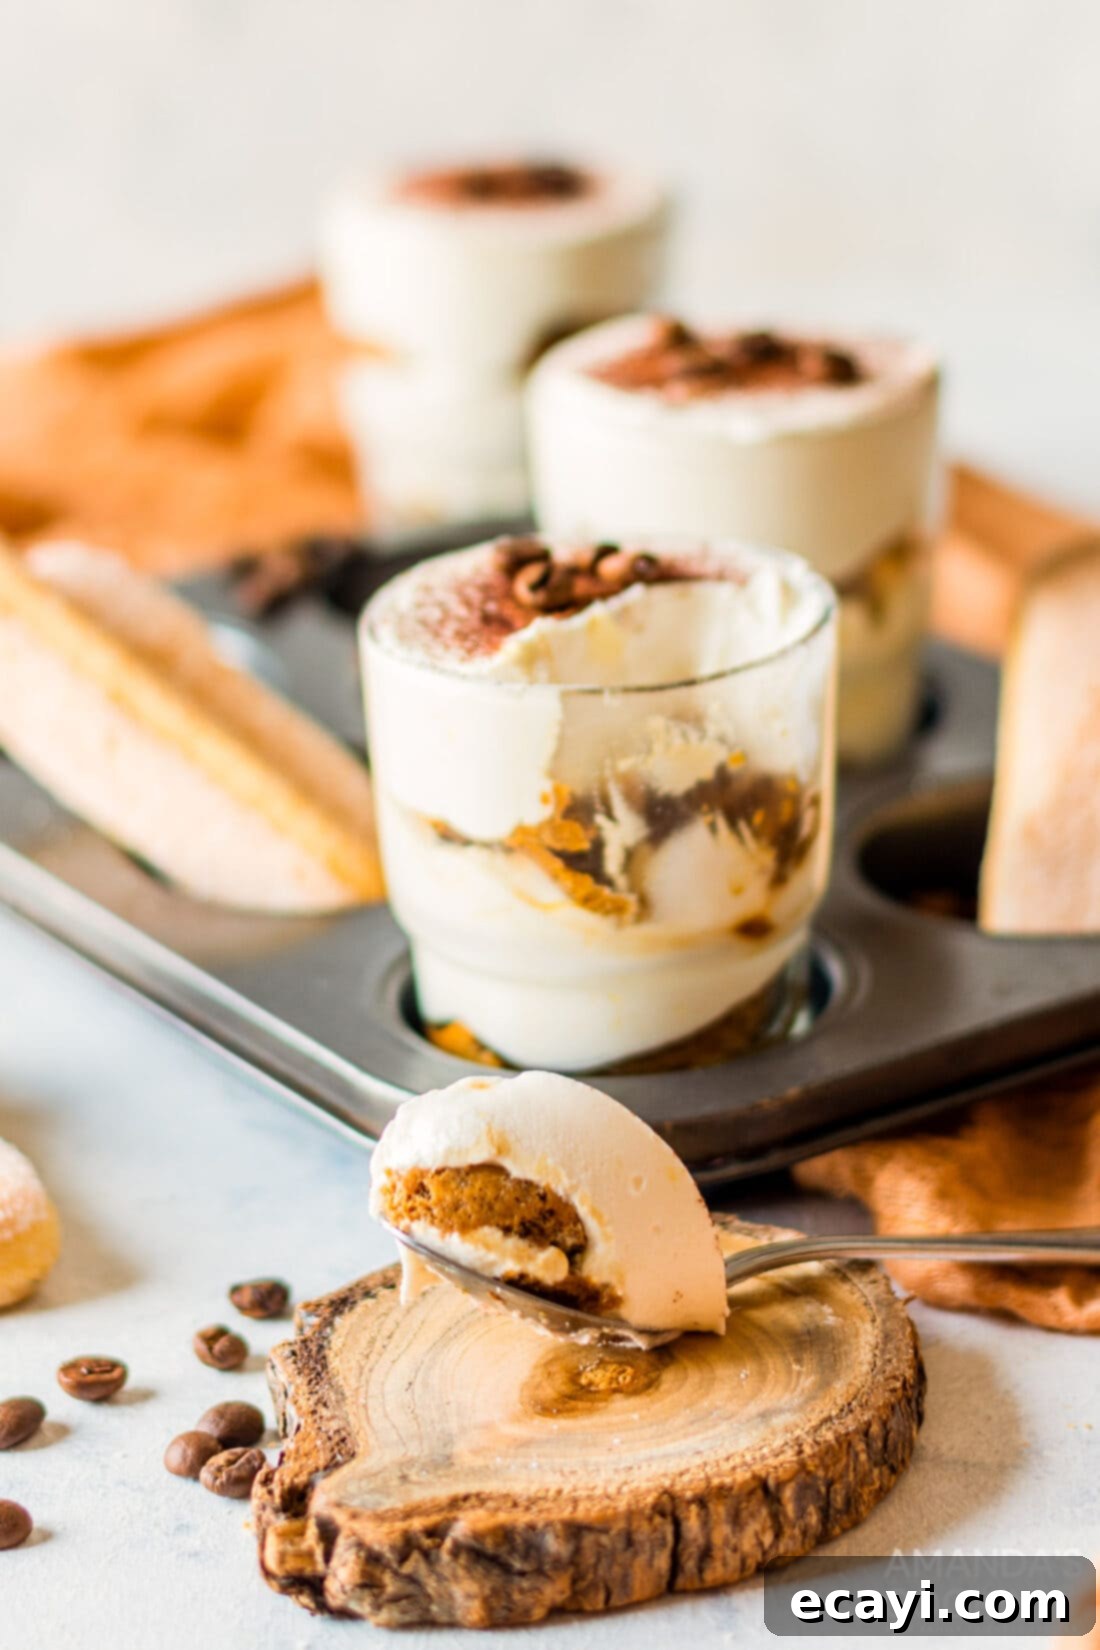
- Chill and Serve: Place the tiramisu cups in the refrigerator and chill for a minimum of 4 hours. This chilling period is crucial for the flavors to meld and for the cream to set properly. Just before serving, lightly dust the tops of each tiramisu cup with cocoa powder for an elegant finish.
Frequently Asked Questions & Expert Tips for Perfect Tiramisu
Absolutely! A strong dark roast coffee can be an excellent substitute for instant espresso powder. Just ensure you brew it extra strong to capture that deep coffee essence. It’s vital to allow the brewed coffee to come to room temperature before dipping the ladyfingers, as hot liquid can cause them to disintegrate.
Yes, making these tiramisu cups ahead of time is highly recommended! The flavors actually deepen and meld beautifully with a longer chill time. You can prepare the entire recipe one day in advance and store the cups in the refrigerator overnight. This allows the cream mixture to firm up perfectly. Remember to dust them with cocoa powder just before serving for the freshest look.
While I haven’t personally tested freezing these exact individual tiramisu cups, tiramisu generally freezes quite well. I would anticipate them doing just fine in the freezer for up to one to two months. Ensure you use freezer-safe serving glasses or containers with tight-fitting lids to prevent freezer burn. Thaw them in the refrigerator overnight before serving.
Individual tiramisu cups will last wonderfully in the refrigerator for up to 2 days after they’ve been assembled. Beyond this, the texture of the ladyfingers might become too soft, and the cream mixture may start to separate slightly, affecting the overall quality. Always store them covered to maintain freshness.
Tips for Tiramisu Success:
- Chill Your Bowl and Whisk: For the best whipped cream, place your mixing bowl and whisk (or stand mixer attachment) in the freezer for 10-15 minutes before whipping the heavy cream. Cold equipment helps the cream whip faster and achieve stiffer peaks.
- Don’t Over-Soak: This is perhaps the most critical tip. Ladyfingers are like sponges. A quick dip (a second or less per side) is all they need. You want them moistened, not soggy. They will absorb more liquid and soften further during the chilling process.
- Quality Ingredients Matter: Since tiramisu has relatively few ingredients, the quality of each one really shines through. Use good quality mascarpone, fresh heavy cream, and flavorful espresso.
- Piping Bag for Neatness: Using a Ziploc bag with a corner snipped off, or a professional piping bag, makes layering the cream much neater and gives your individual tiramisu a polished, professional look.
- Patience with Chilling: The minimum 4-hour chilling time is non-negotiable. This allows the mascarpone cream to set properly and, more importantly, gives the flavors time to meld and deepen, transforming into the true tiramisu experience. Overnight chilling is even better.
Serving Suggestions and Creative Variations
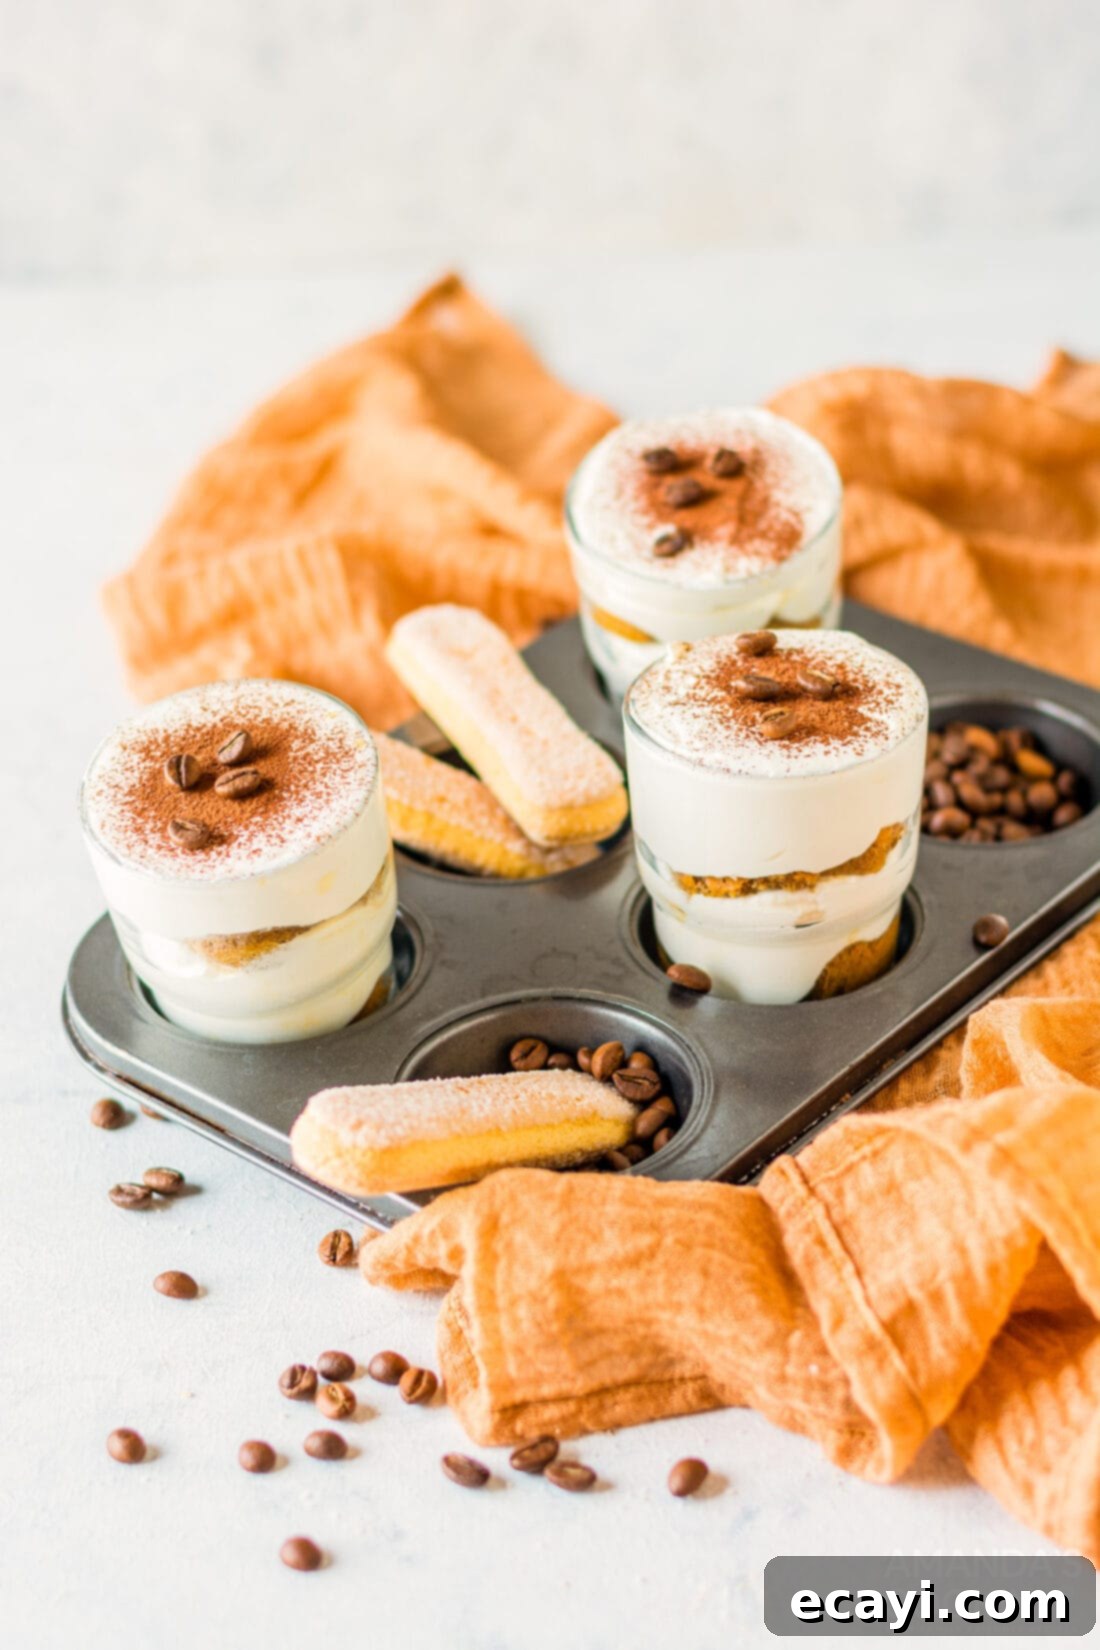
These individual tiramisu cups are inherently elegant, making them perfect for almost any occasion. We recommend serving them in 4-5 oz glasses, which perfectly showcase their beautiful layers. This recipe yields 4 servings, but it can easily be doubled or tripled to accommodate larger gatherings or parties. Simply adjust the ingredient quantities accordingly.
Presentation & Topping Ideas:
- Classic Cocoa Dusting: A light dusting of unsweetened cocoa powder just before serving is the traditional and most popular way to finish tiramisu.
- Chocolate Shavings: For an extra touch of decadence, sprinkle dark or milk chocolate shavings over the top.
- Whipped Topping: A small dollop of extra whipped cream on top, perhaps with a single coffee bean for garnish, adds another layer of visual appeal and creamy texture.
- Edible Gold Dust: For special occasions, a touch of edible gold dust can make your tiramisu cups sparkle.
Flavor Variations to Explore:
- Alcoholic Kick: For an adult version, add a tablespoon or two of a liqueur like Marsala wine, rum, brandy, or Kahlúa to the espresso soak. This adds a traditional depth of flavor.
- Citrus Zest: A tiny bit of orange or lemon zest mixed into the mascarpone cream can provide a bright, unexpected twist.
- Nutty Crunch: Sprinkle finely chopped toasted almonds or hazelnuts between layers for added texture.
- Caramel Drizzle: A light drizzle of caramel sauce over the top before serving could satisfy those with a sweet tooth.
Whether you stick to the classic preparation or experiment with creative variations, these individual tiramisu cups are sure to be a show-stopping dessert.
More Tiramisu Inspired Recipes to Love
If you’re a true tiramisu enthusiast, there’s a world of delightful variations waiting to be explored beyond these individual cups. Here are some other popular tiramisu-inspired recipes that we highly recommend you try:
- Tiramisu Cake: All the flavors of tiramisu in a stunning cake format.
- Tiramisu Trifle: A grand presentation perfect for large gatherings.
- Tiramisu Cheesecake: A rich and creamy fusion of two classic desserts.
- Tiramisu Icebox Cake: An even simpler, layered no-bake option.
- Bailey’s Tiramisu Parfaits: An Irish cream twist on the classic.
- Mason Jar Tiramisu Trifles: Similar to these cups, but with a different container style.
I absolutely love creating and sharing delicious recipes with you all! To make sure you never miss a new culinary adventure, I offer a convenient newsletter every time a fresh recipe is posted. Simply subscribe to start receiving your free daily recipes directly in your inbox!
Individual Tiramisu
IMPORTANT – There are often Frequently Asked Questions within the blog post that you may find helpful. Simply scroll back up to read them!
Print It
Pin It
Rate It
Save It
Saved!
Prevent your screen from going dark
Course:
Dessert
Cuisine:
American, Italian
4
tiramisu
4 hours
30 minutes
436
Amanda Davis
Ingredients
-
½
cup
heavy whipping cream -
½
cup
mascarpone cheese -
½
tsp
instant espresso powder
for the mascarpone mixture -
¼
cup
sugar -
1
tsp
vanilla extract -
1
Tbsp
instant espresso powder
to heat up in a cup -
15
ladyfingers biscuits
15-20 -
cocoa powder
optional, for garnish
Things You’ll Need
-
Hand mixer -
Mixing bowls
Before You Begin
- You should get 4 individual tiramisus in 4-5 oz serving glasses. Double or triple the ingredients as needed for larger gatherings.
- You can make these 1 day in advance and store them in the refrigerator. We like to make them the night before to allow the tiramisus to firm up overnight.
Instructions
-
In a large bowl, add the heavy cream and whip it up using a hand mixer until stiff peaks form.
-
In another bowl, add the mascarpone cheese, 1/2 tsp espresso powder, sugar, and vanilla extract mixing well.
-
Add this mixture to the heavy cream and combine using a spatula, then switch to a hand mixer and blend until everything is mixed well. The mixture should hold its shape and look creamy. Add this to a Ziploc bag or icing bag and keep it aside.
-
Take half a cup of water and heat it up, to this add 1 tbsp of espresso powder and mix well. Keep aside. Use it when it’s at room temperature.
-
Dip your ladyfinger for about a second in the espresso and start layering them in the serving bowls you like. It should go: one layer of espresso dipped ladyfingers, cream, espresso dipped ladyfinger, then cream.
-
Chill for a minimum of 4 hours. Dust with cocoa powder before serving.
Nutrition
Serving:
1
tiramisu
|
Calories:
436
cal
|
Carbohydrates:
40
g
|
Protein:
7
g
|
Fat:
27
g
|
Saturated Fat:
16
g
|
Polyunsaturated Fat:
1
g
|
Monounsaturated Fat:
5
g
|
Cholesterol:
160
mg
|
Sodium:
88
mg
|
Potassium:
119
mg
|
Fiber:
1
g
|
Sugar:
13
g
|
Vitamin A:
1060
IU
|
Vitamin C:
1
mg
|
Calcium:
80
mg
|
Iron:
2
mg
Tried this Recipe? Pin it for Later!
Follow on Pinterest @AmandasCookin or tag #AmandasCookin!
The recipes on this blog are tested with a conventional gas oven and gas stovetop. It’s important to note that some ovens, especially as they age, can cook and bake inconsistently. Using an inexpensive oven thermometer can assure you that your oven is truly heating to the proper temperature. If you use a toaster oven or countertop oven, please keep in mind that they may not distribute heat the same as a conventional full sized oven and you may need to adjust your cooking/baking times. In the case of recipes made with a pressure cooker, air fryer, slow cooker, or other appliance, a link to the appliances we use is listed within each respective recipe. For baking recipes where measurements are given by weight, please note that results may not be the same if cups are used instead, and we can’t guarantee success with that method.
