Decadent Black Forest Poke Cake: An Easy Chocolate Cherry Dream
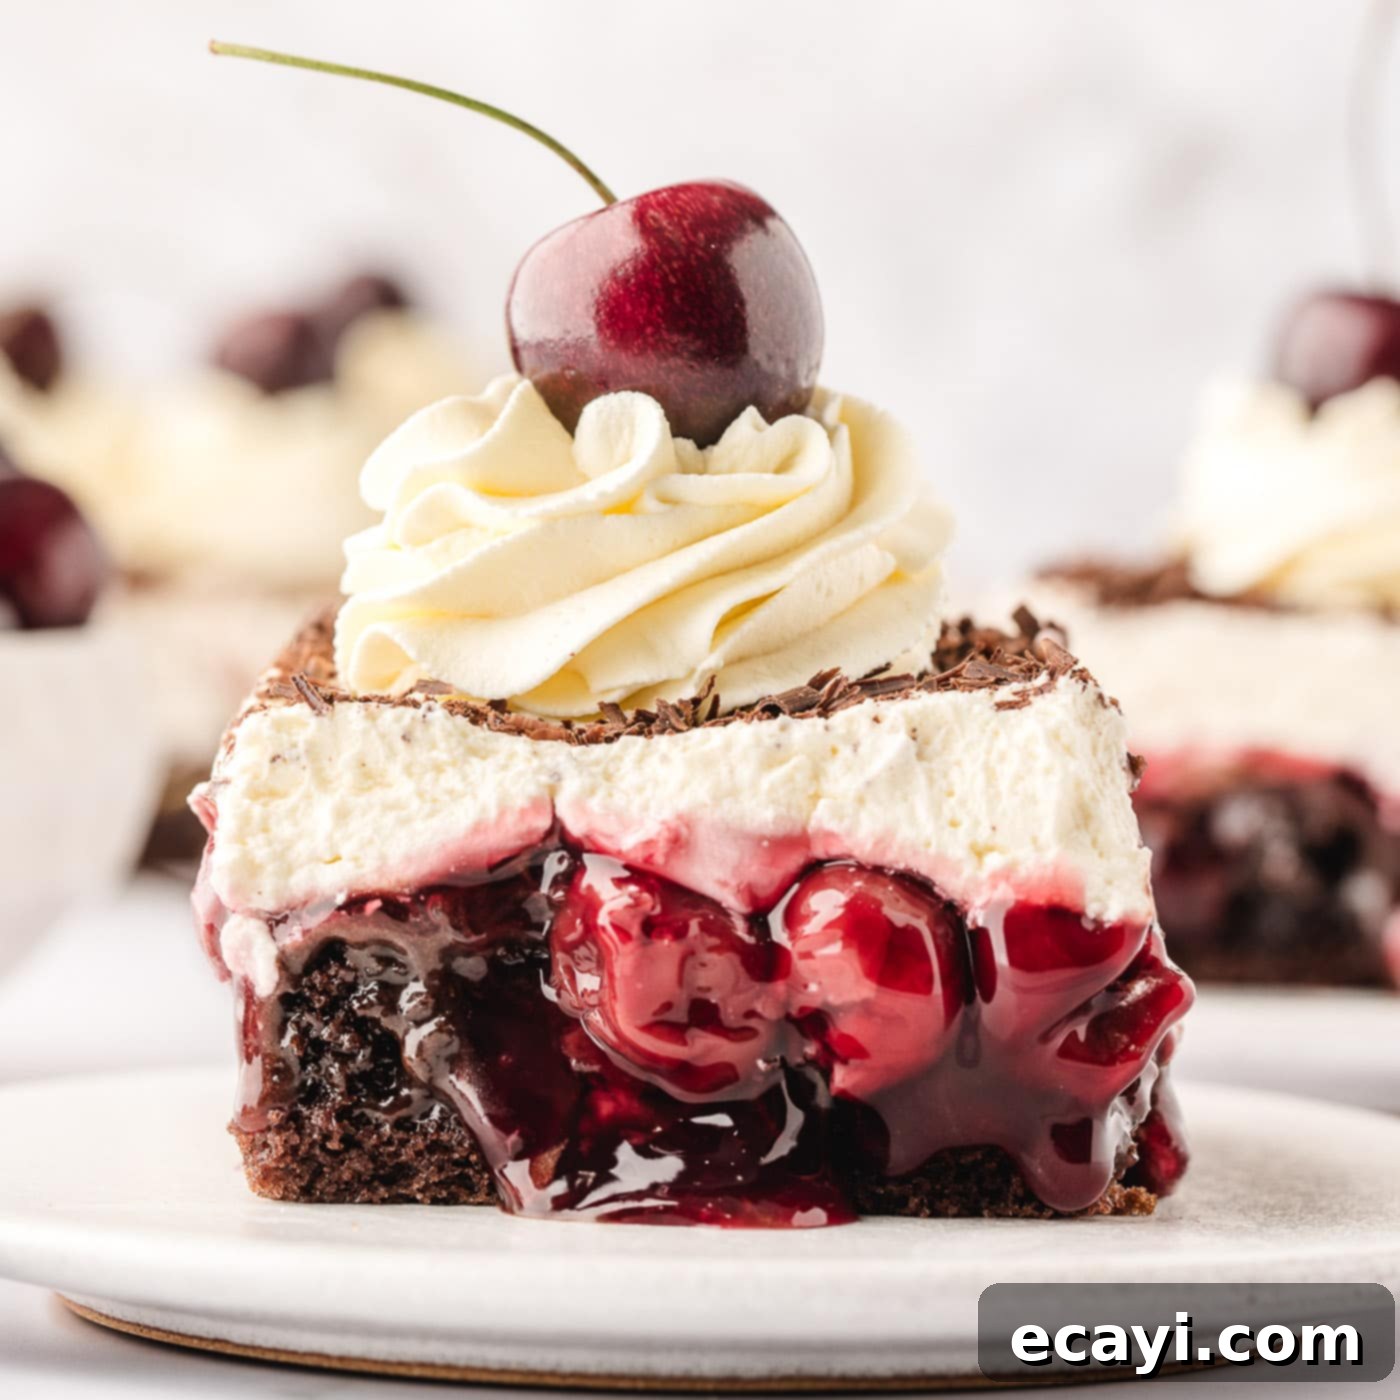
Prepare to impress with this stunning Black Forest Poke Cake, a dessert that artfully combines rich chocolate cake, luscious fudge sauce, sweet cherry pie filling, and a cloud of whipped cream. Despite its show-stopping appearance and complex layers of flavor, this incredible cake is surprisingly simple to make, starting conveniently with a boxed cake mix. It’s the perfect blend of elegance and ease, guaranteed to delight everyone who takes a bite.
Why This Easy Black Forest Poke Cake Recipe Is a Must-Try
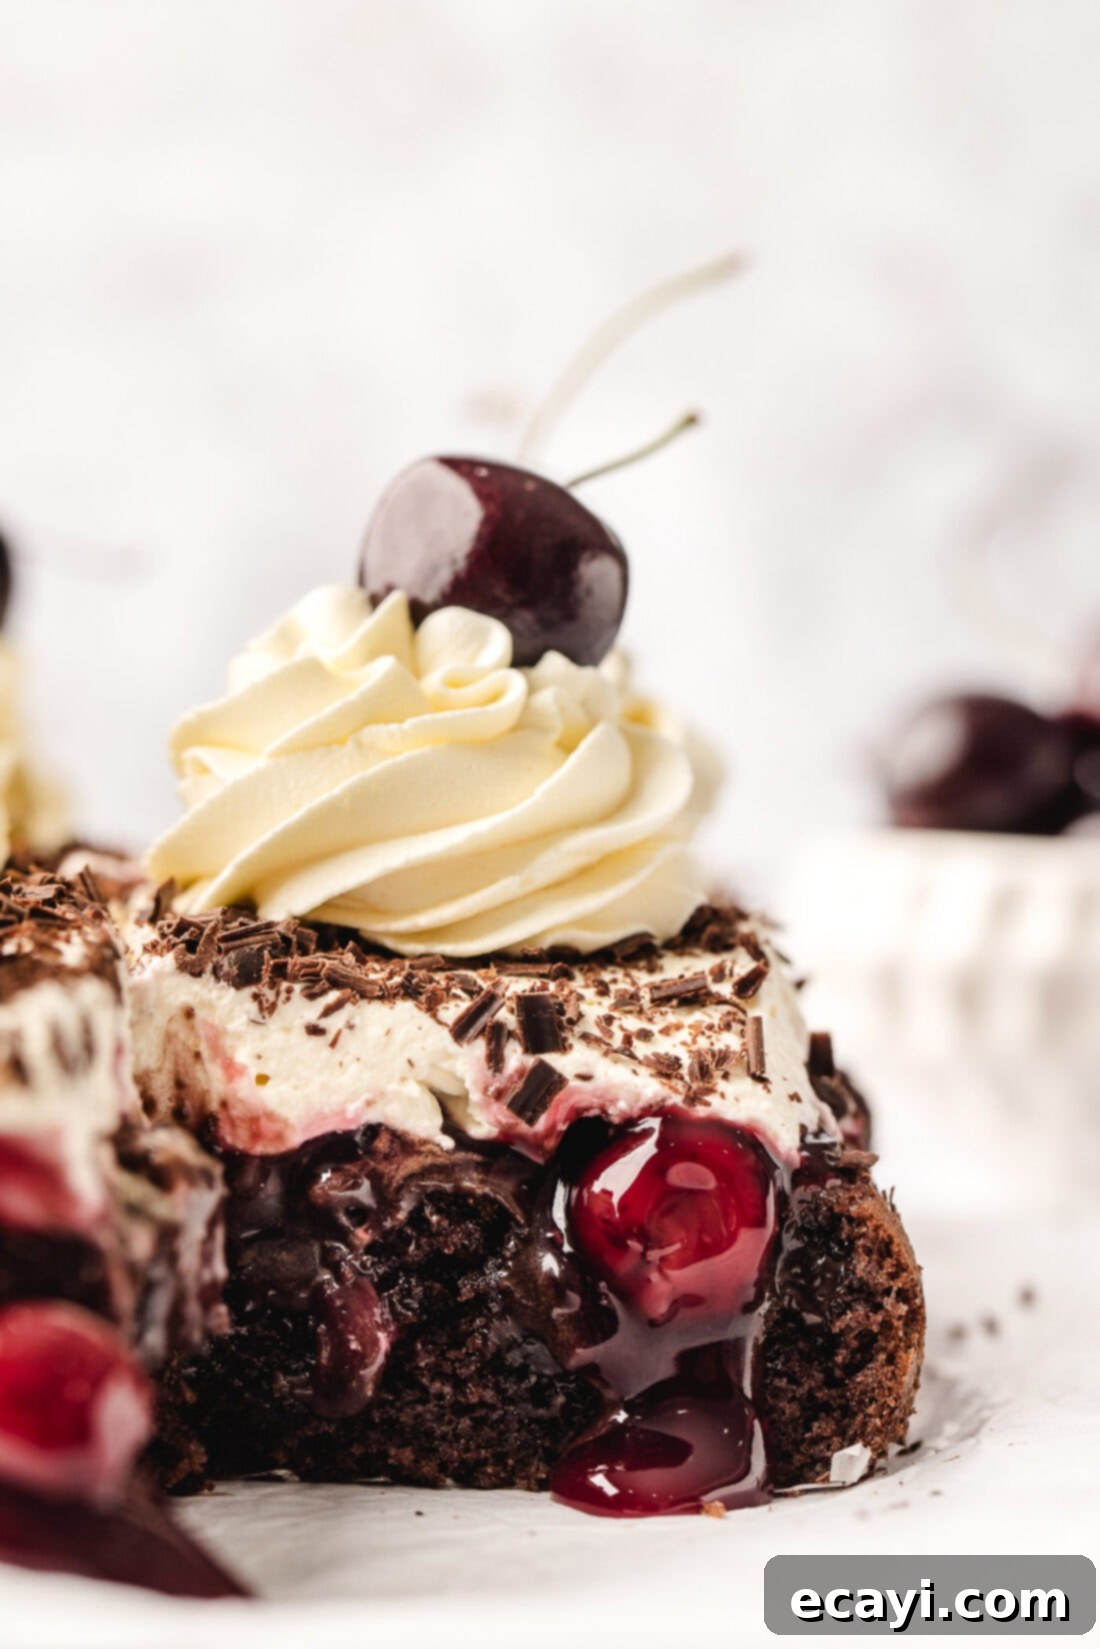
The beauty of this Black Forest Poke Cake lies in its deceptive simplicity. Your guests will be amazed to discover that such a decadent dessert began with a humble cake mix! Each forkful is a symphony of flavors and textures: the deep, moist chocolate cake, the gooey warmth of the fudge sauce, the bright burst of cherry pie filling, and the delicate sweetness of homemade whipped cream. It’s a dessert that not only looks incredible but delivers an unforgettable taste experience.
Poke cakes have earned their popularity for good reason – they utilize everyday ingredients and straightforward preparation methods to create impressive results. This Black Forest version is a prime example of culinary ingenuity. The process involves baking a simple chocolate cake, creating pockets of flavor by poking holes, layering on the rich fillings, and finally crowning it with a magnificent topping. The convenience of using a cake mix combined with canned pie filling or pudding forms the foundation of nearly every beloved poke cake recipe. These cakes are celebrated for their quick assembly, minimal fuss, and the use of accessible ingredients that you likely already have on hand or can easily find at any grocery store.
What sets our Black Forest Poke Cake apart is the harmonious blend of classic Black Forest elements. The chocolate cake provides a robust base, while the cherry pie filling adds the signature fruity tang that defines the traditional dessert. The fudge sauce infuses every crevice with an extra layer of chocolatey goodness, ensuring a truly moist and flavorful cake. This isn’t just a cake; it’s an experience, a delightful treat that’s perfect for any occasion, from casual family gatherings to more formal celebrations. It might just be the ultimate poke cake you’ll ever make!
Key Ingredients for Your Black Forest Poke Cake
Crafting this delicious Black Forest Poke Cake requires just a few readily available ingredients. While specific measurements and detailed instructions are provided in the printable recipe card at the end of this post, here’s an overview of what you’ll need to gather:
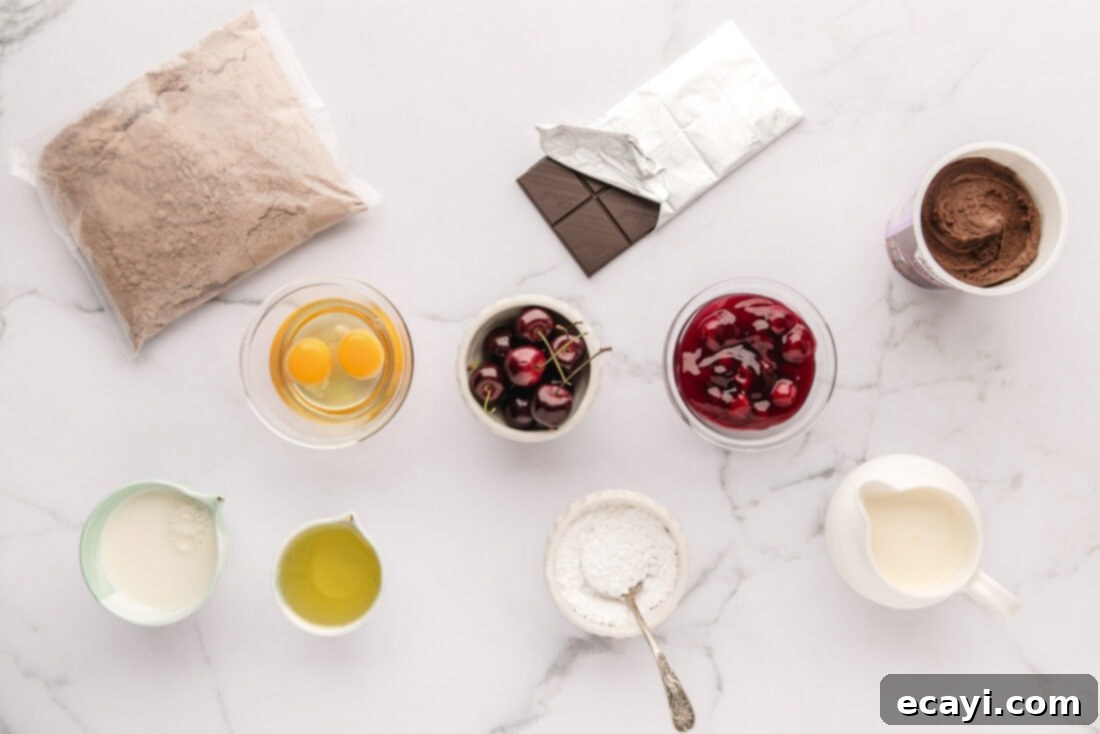
Ingredient Spotlight & Expert Substitution Tips
Understanding each component and its role is key to mastering this recipe. Here’s a deeper dive into the ingredients and some helpful substitution advice:
CHOCOLATE CAKE BASE – For the foundation of this delectable dessert, we opted for a Betty Crocker Devil’s Food Chocolate Cake mix. This choice provides a deep, rich chocolate flavor and a wonderfully moist crumb that perfectly complements the other Black Forest elements. While Devil’s Food is highly recommended for its intensity, you can certainly use your favorite brand of chocolate cake mix. Just remember to check the back of your chosen box for the additional ingredients required to prepare the batter, which typically include eggs, water or milk, and oil. The quality of your cake mix will directly influence the overall taste and texture of your poke cake, so choose one you love!
CHERRY PIE FILLING – The iconic cherry flavor is absolutely non-negotiable for an authentic Black Forest experience. We highly recommend sticking with canned cherry pie filling for its convenient consistency and sweet-tart balance. Substituting with another canned fruit filling, such as blueberry or apple, would alter the distinct Black Forest profile. However, if you’re a fan of baking from scratch, feel free to use your own homemade cherry pie filling. This would add an extra layer of personalized touch and fresh flavor to your cake.
FUDGE SAUCE – Any good quality chocolate fudge sauce will work beautifully here. Whether it’s store-bought or homemade hot fudge, the key is to ensure it’s pourable so it can seep into those glorious holes. We suggest heating the fudge sauce briefly in the microwave for about a minute, stirring it every 30 seconds. This process loosens it up, making it easy to spread evenly over the cake and allowing it to deeply penetrate the poked holes, creating incredibly moist and flavorful pockets throughout each slice.
SWEET WHIPPED CREAM TOPPING & GARNISHES – We believe the airiness of fresh homemade whipped cream creates a beautiful contrast to the richness of the chocolate and cherry layers. To make it, you’ll simply whisk heavy whipping cream with powdered sugar until it holds its shape. For those looking to save a little extra time without sacrificing flavor, a store-bought whipped topping like Cool Whip makes an excellent substitute. For the classic Black Forest look, we topped our cake with delicate chocolate shavings. Two to three squares of bittersweet chocolate, finely grated, typically provide an ample amount. To complete the presentation, fresh cherries are our preferred garnish, adding a pop of color and a touch of elegance. Alternatively, maraschino cherries or even a small spoonful of extra cherry pie filling can be used for a equally appealing finish.
Step-by-Step: Crafting Your Black Forest Poke Cake
These step-by-step photos and detailed instructions are designed to help you visualize the process and create a perfect cake. For a convenient printable version of this recipe, complete with precise measurements and comprehensive instructions, simply Jump to Recipe at the bottom of this page.
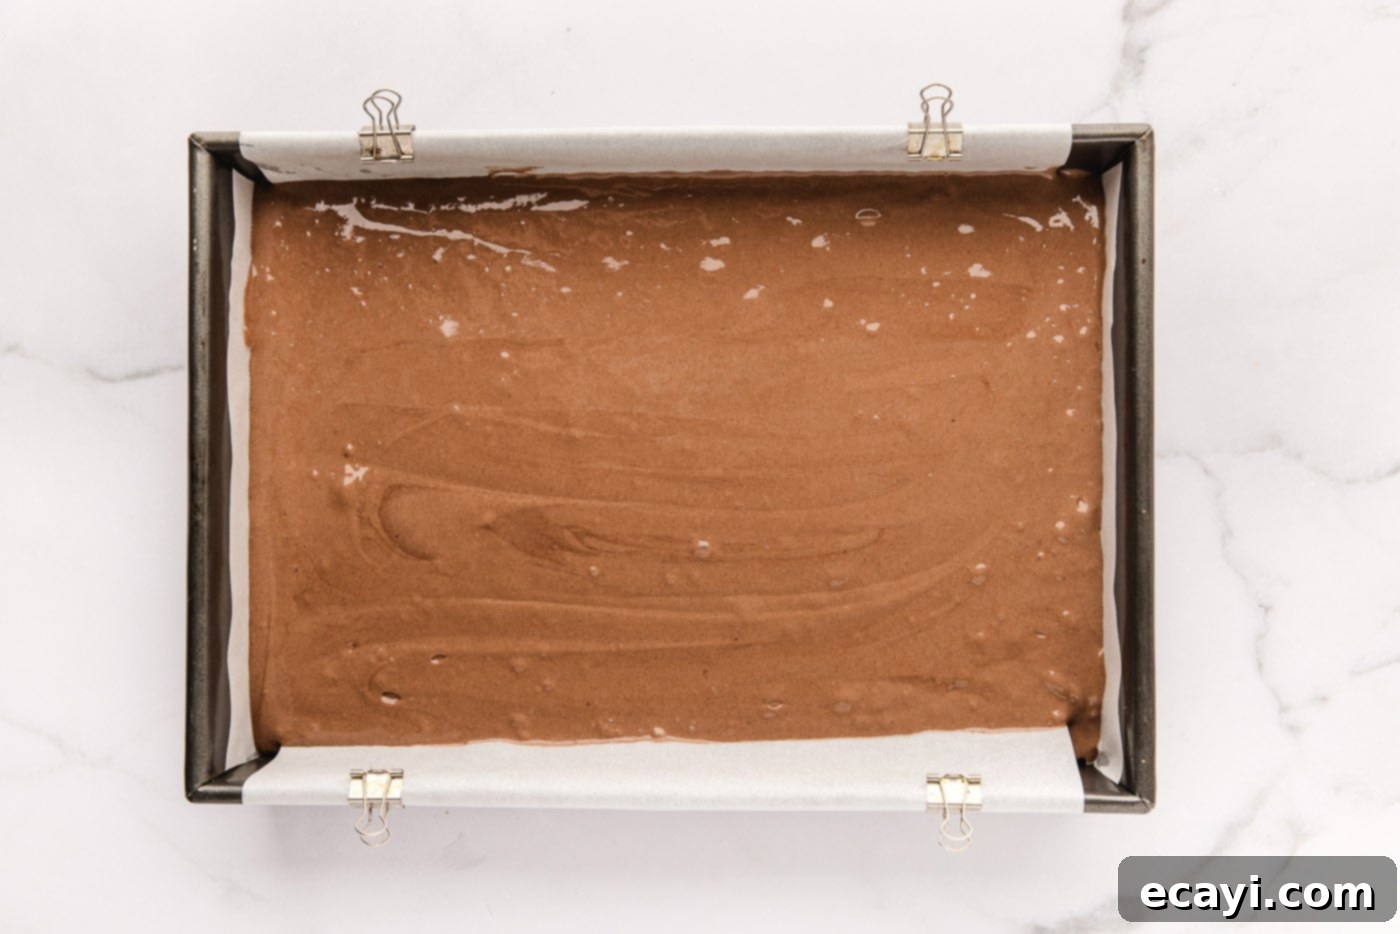
- Preheat your oven to 350°F (175°C). Prepare a 13×9 inch baking dish by lining it with parchment paper. This will prevent sticking and make for easy removal later. Lightly spray the parchment paper and the sides of the pan with cake release spray or cooking oil to ensure a smooth release.
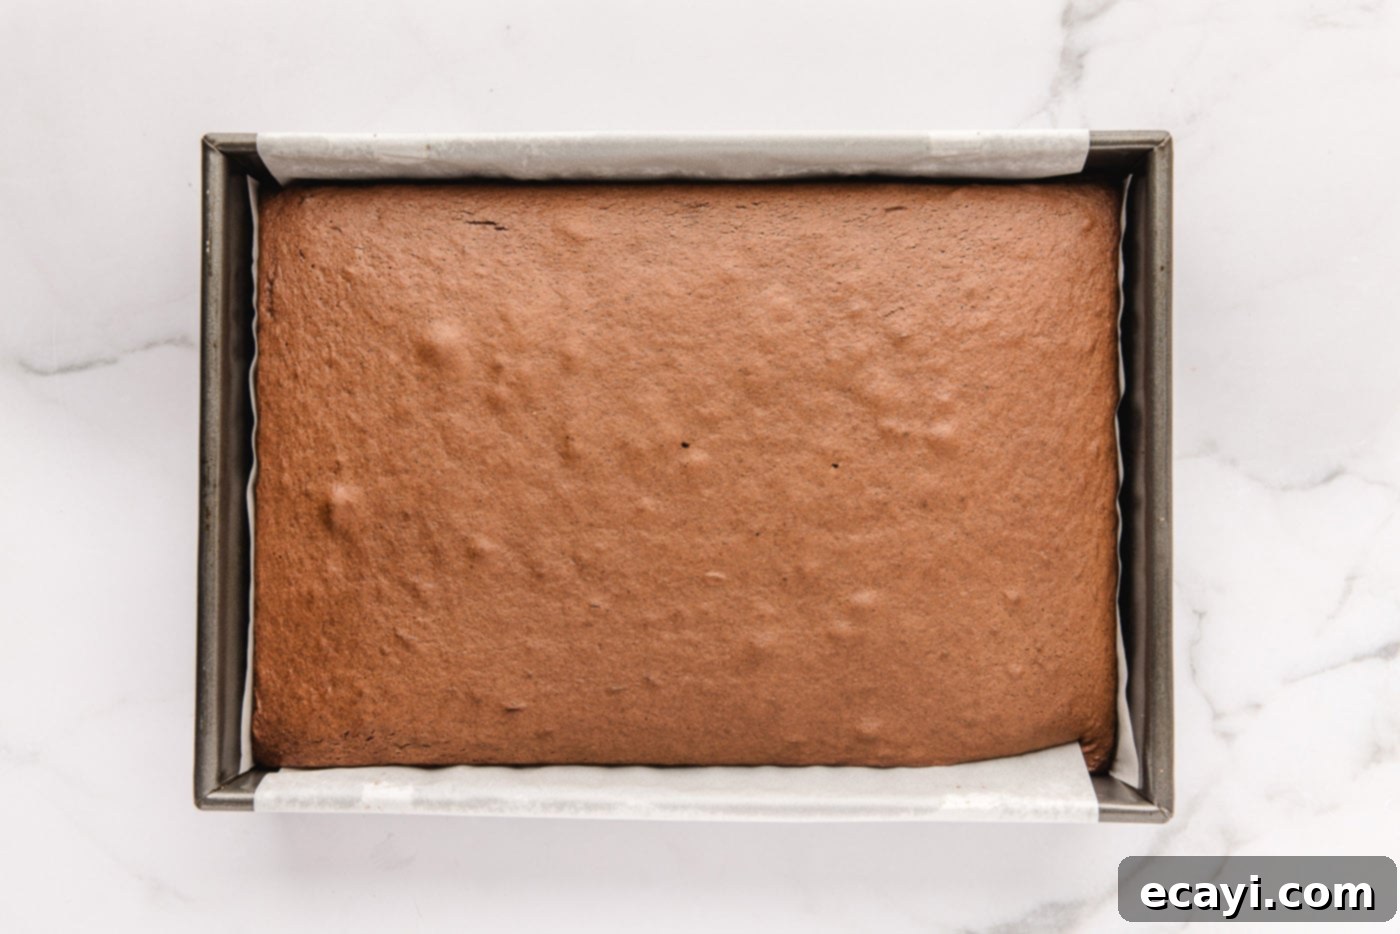
- Next, prepare your chocolate cake batter according to the specific instructions provided on your chosen cake mix box. Different brands may have slightly varied liquid or egg requirements, so always refer to the packaging. Once the batter is thoroughly mixed, carefully pour it into your prepared baking pan, ensuring it spreads evenly. Bake the cake following the time and temperature guidelines on the cake mix box. For reference, we typically bake ours for about 24 minutes, testing for doneness by inserting a toothpick into the center of the cake – it should come out clean or with a few moist crumbs attached.

- Once baked, remove the cake from the oven and allow it to cool in the pan for a minimum of 20 minutes. This cooling period is crucial.
PRO TIP – Attempting to poke holes in a cake that is too warm will result in the cake sticking to your spoon or tearing apart, compromising its structure. Patience here ensures a beautiful, intact cake.

- While the cake is cooling, prepare your chocolate fudge sauce. Pour the desired amount into a microwave-safe bowl and heat it in the microwave for about 1 minute, stirring every 30 seconds. The goal is a loose, pourable consistency that will easily flow into the cake’s holes.
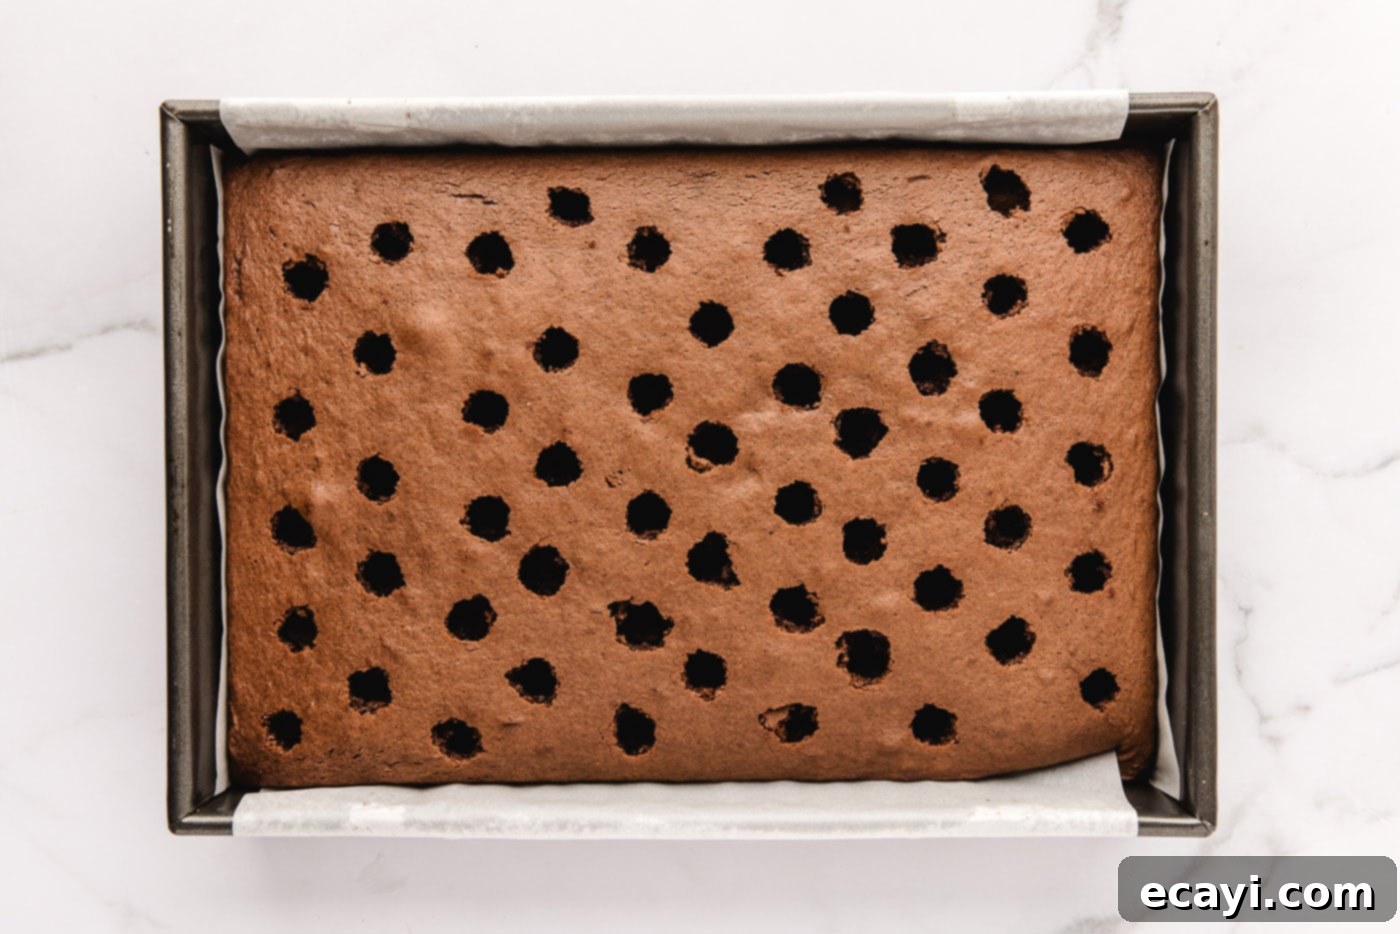
- Once the cake has cooled sufficiently, grab the end of a wooden spoon (or a similar round-ended utensil) and carefully poke holes all over the surface of the cake. Aim for holes that are deep enough to reach almost to the bottom of the cake without puncturing it, spaced about 1 inch apart. These holes are the channels for our delicious fillings!

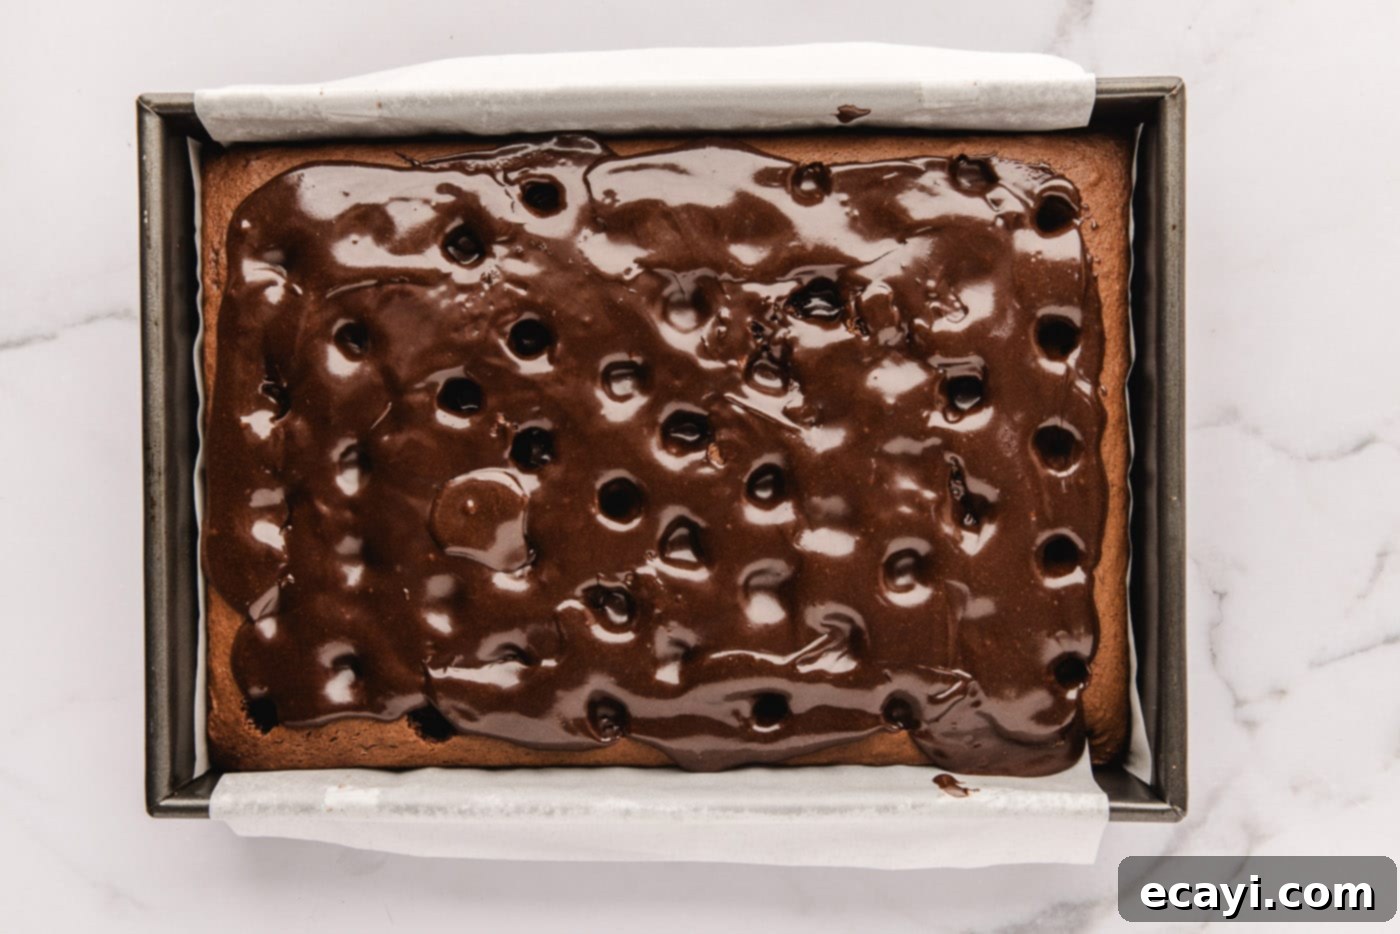
- Generously pour the warmed chocolate fudge sauce over the poked cake. Using the back of a spoon or an offset spatula, gently spread the sauce across the surface, encouraging it to seep down into each of the holes you’ve created. This ensures every bite will be infused with rich chocolate flavor.

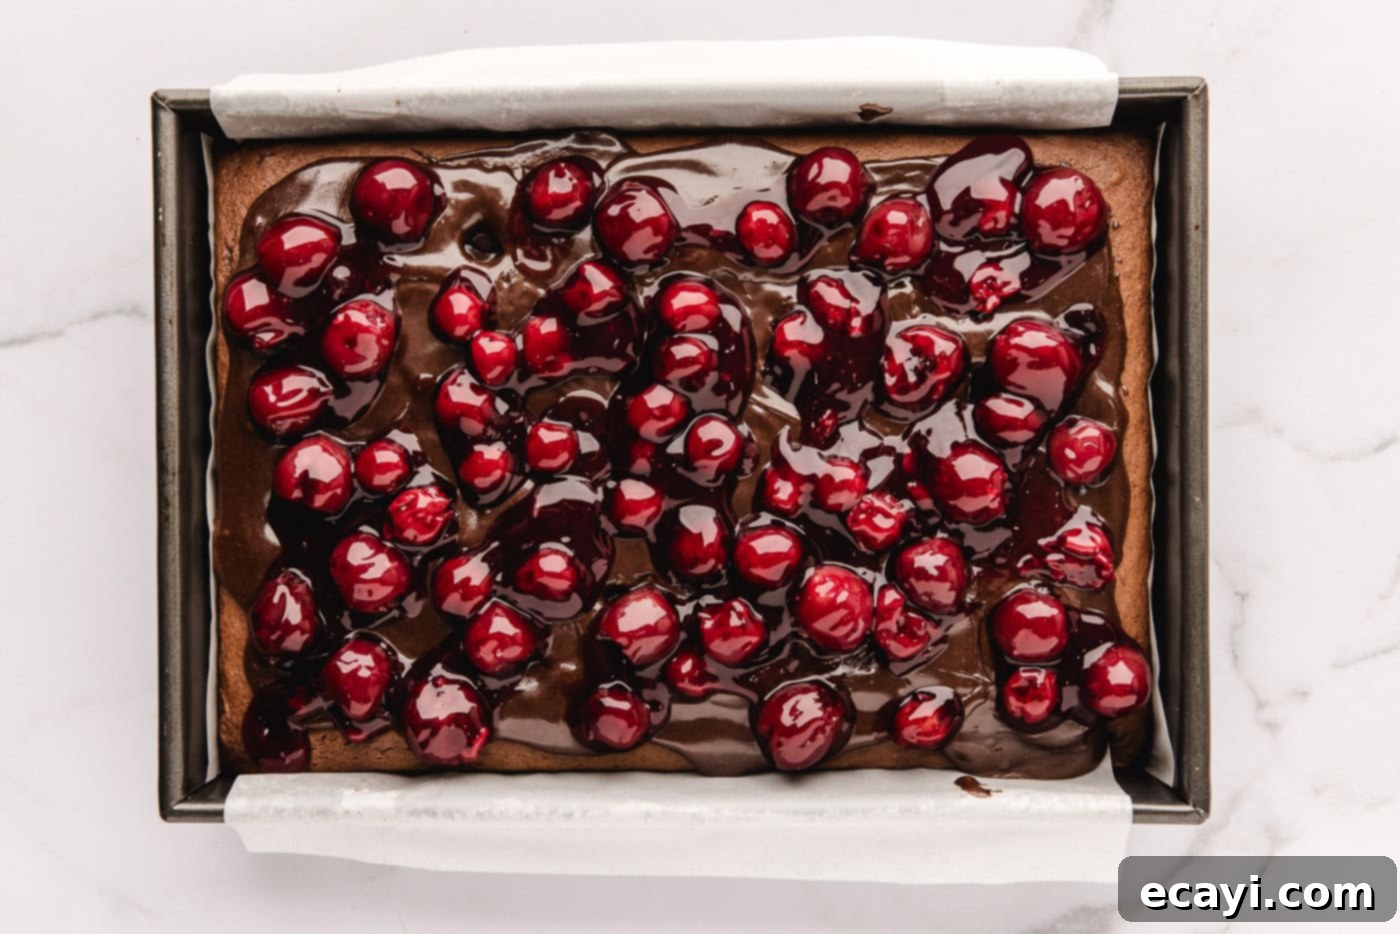
- Next, evenly distribute the cherry pie filling over the layer of fudge sauce. Spread it gently with a spatula, making sure to cover the entire surface of the cake. The vibrant red of the cherries will contrast beautifully with the dark chocolate layers.

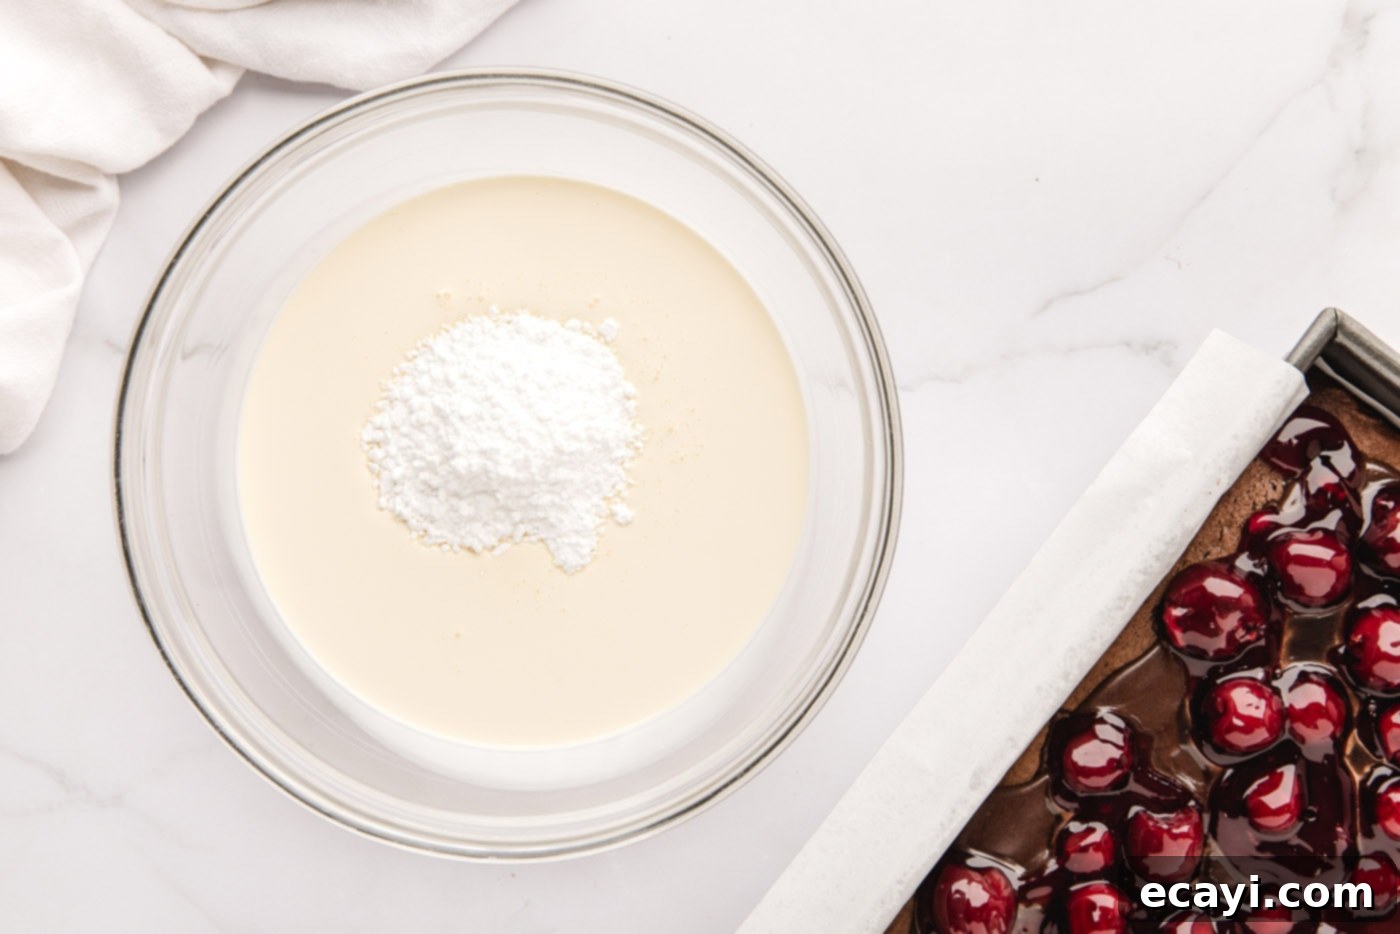
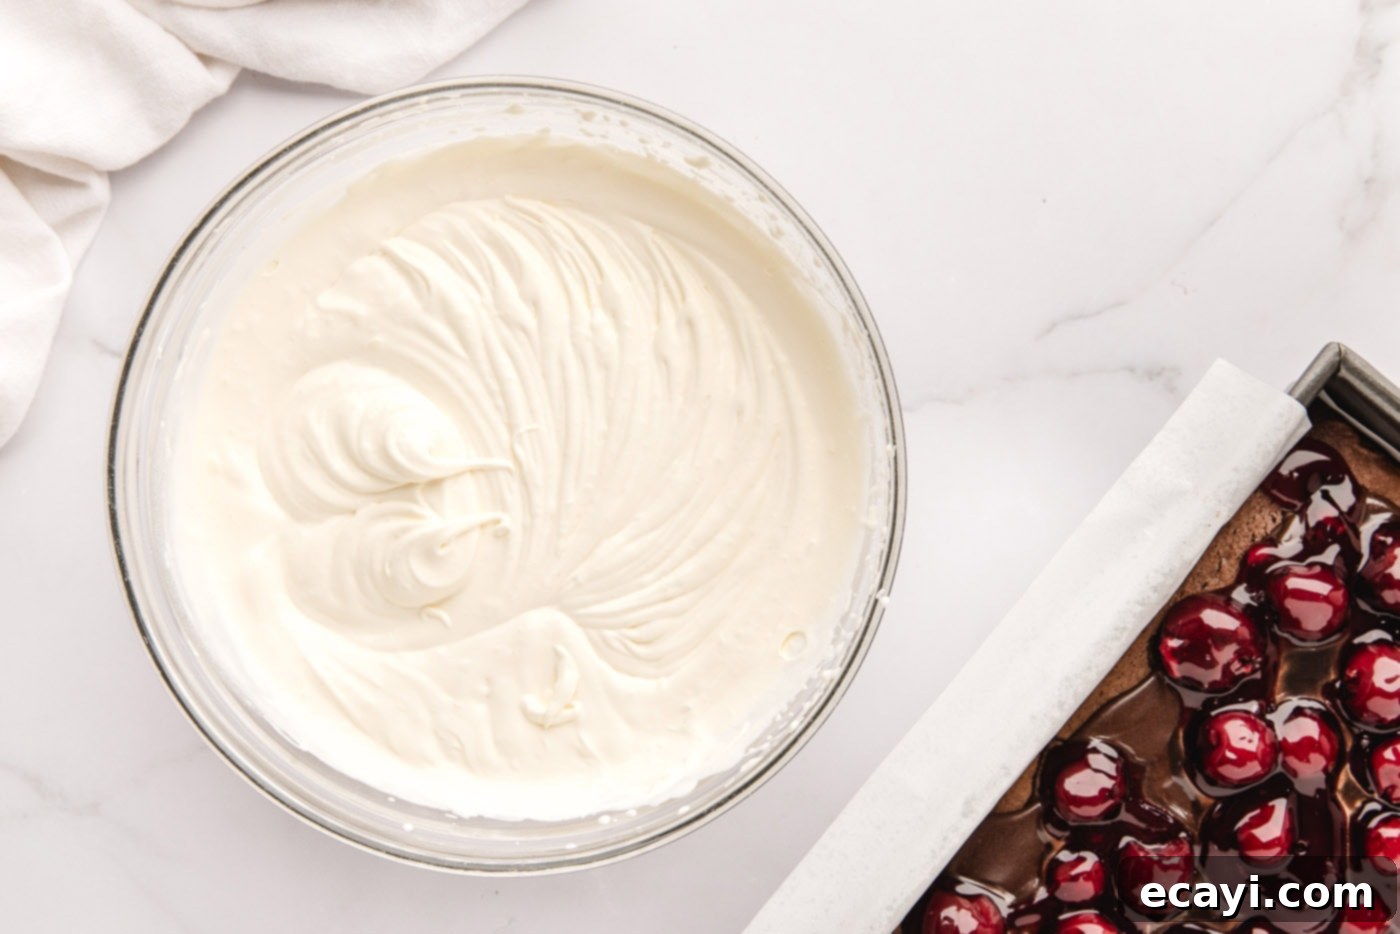
- In a clean mixing bowl, combine the heavy whipping cream and powdered sugar. Using an electric mixer (or a whisk and some elbow grease), whisk on high speed until the cream is light, fluffy, and holds firm peaks. Be careful not to over-whisk, or it may turn grainy.


- Transfer about one-third of the freshly whipped cream into a piping bag fitted with a star nozzle. This portion will be used for decorative swirls later.
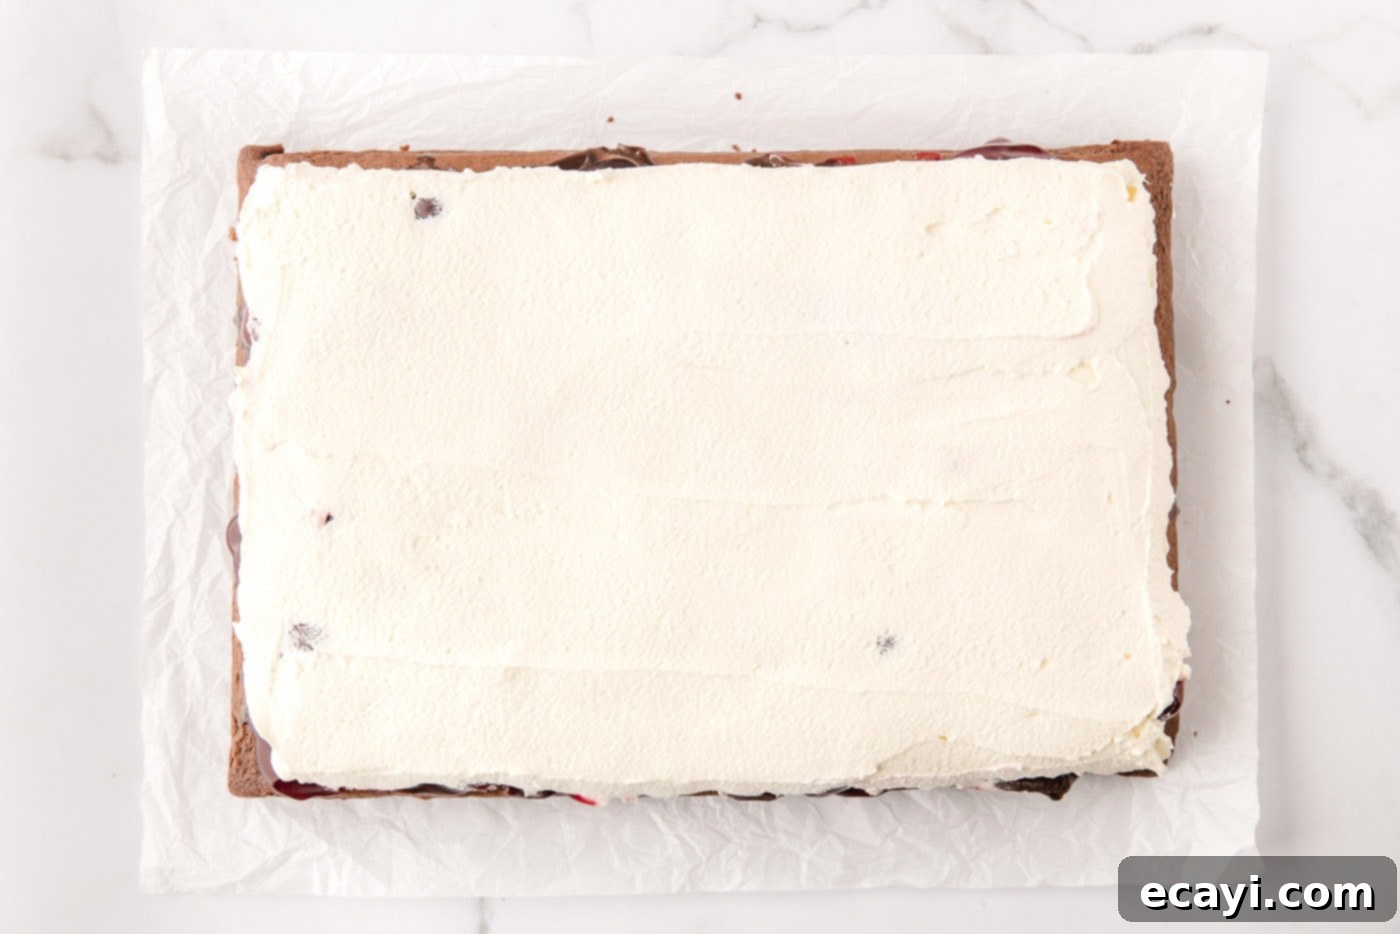
- Gently spread the remaining two-thirds of the whipped cream evenly over the cherry pie filling layer. Take care to spread it lightly, avoiding pressing down too hard, which could disturb the delicate layers beneath.

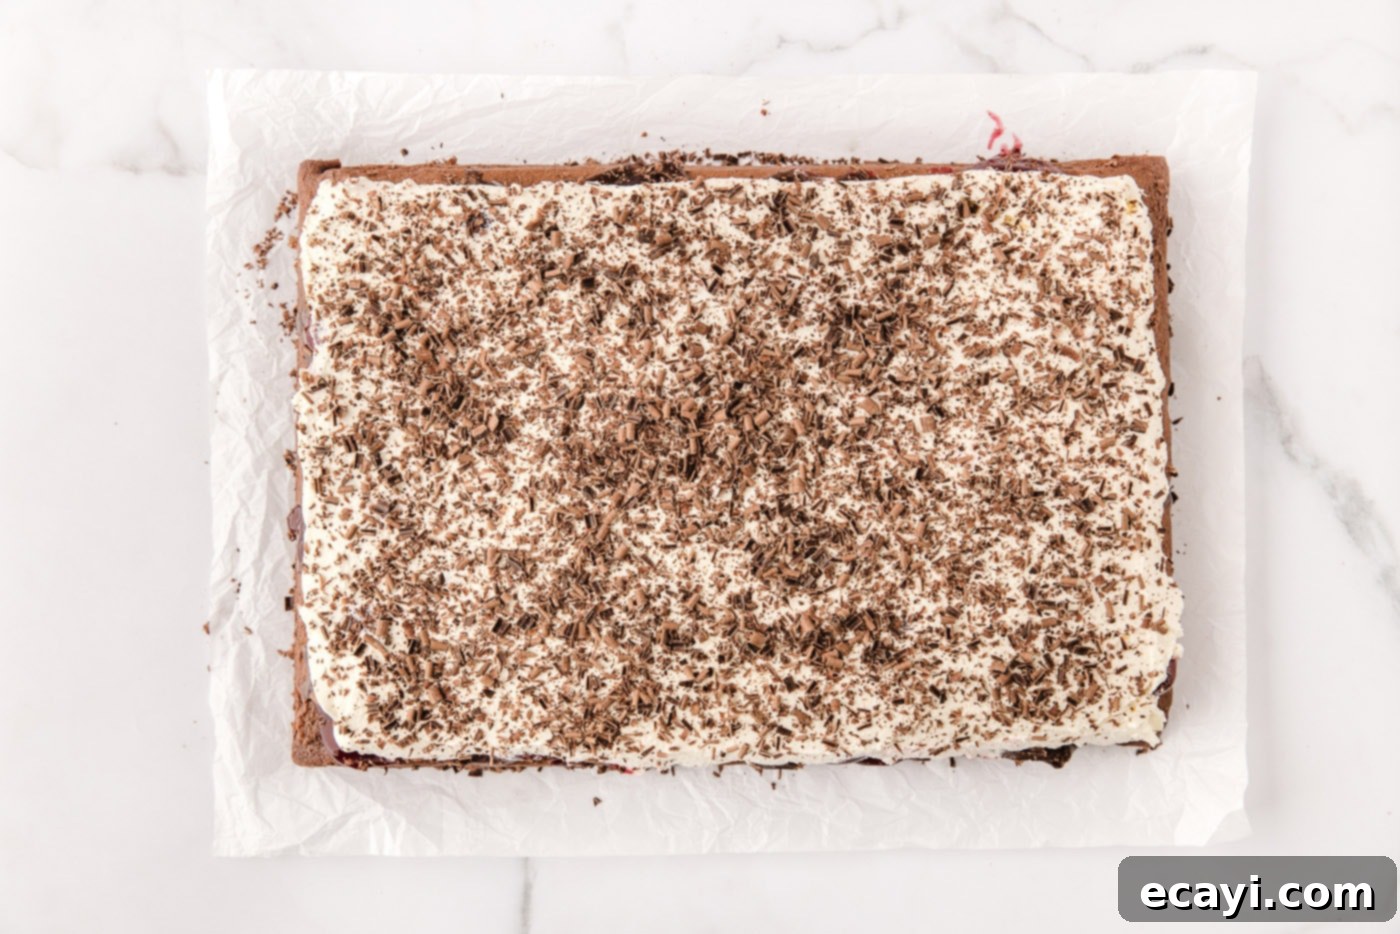
- For a classic Black Forest finish, use a cheese grater or a vegetable peeler to create delicate chocolate shavings directly over the surface of the whipped cream. This adds visual appeal and another layer of rich chocolate flavor.

- Using a sharp knife, carefully cut the finished cake into 12 equal slices. This cake is rich, so generous slices are satisfying!
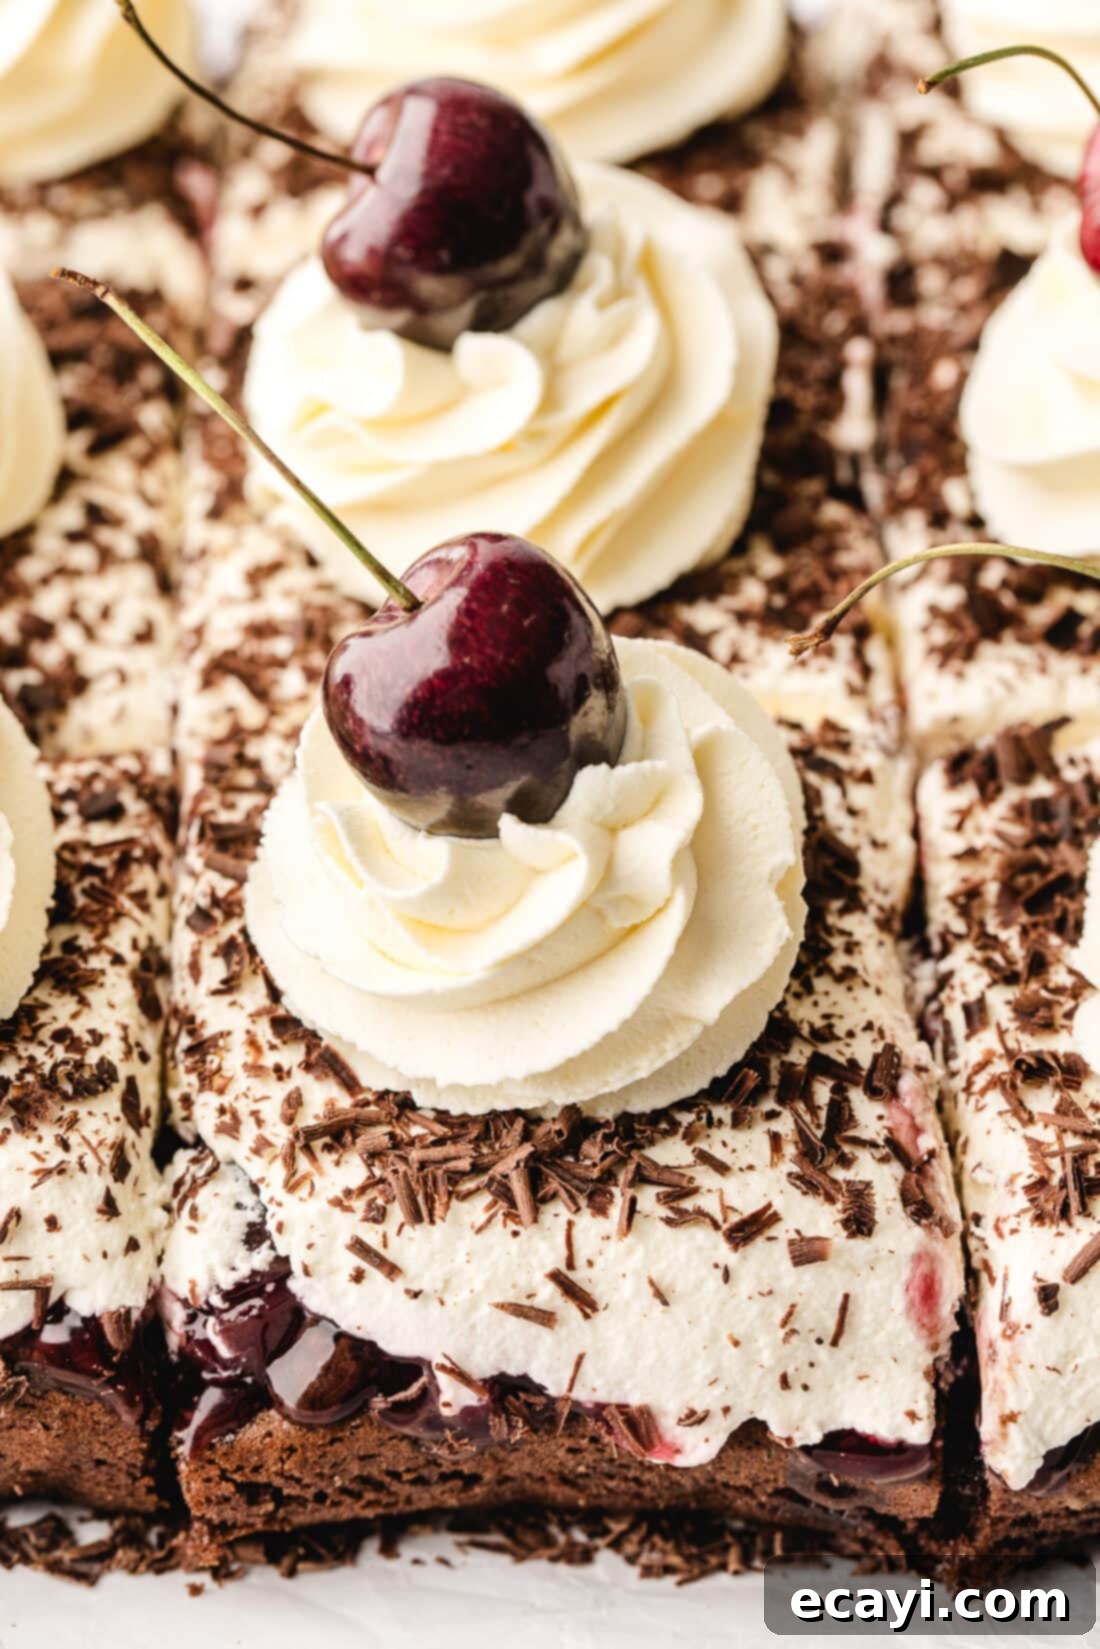
- Retrieve the piping bag with the reserved whipped cream. Pipe elegant swirls or rosettes on top of each individual slice of cake.
- Finally, adorn each piped swirl with a fresh cherry. This adds a final touch of color, freshness, and the quintessential Black Forest presentation.
Frequently Asked Questions & Expert Tips for Perfecting Your Cake
To maintain its freshness and delightful texture, store your Black Forest Poke Cake in an airtight container in the refrigerator. It will stay delicious for up to 4 days. If your cake has fresh cherry garnishes, it’s often best to add them just before serving to prevent them from becoming too soft.
Absolutely! This Black Forest Poke Cake is an excellent make-ahead dessert, often tasting even better the next day as the flavors meld and the cake becomes even moister. You can prepare and bake the chocolate cake layer a day or two in advance. Store the cooled cake, covered tightly with plastic wrap or in an airtight container, in the refrigerator until you are ready to assemble. The longer the cherry pie filling soaks into the surrounding cake, the more moisture and flavor the cake will absorb, creating a truly decadent experience. If you prefer the cake to be slightly less moist (though we highly recommend the full soak!), you can prepare and poke the holes in the cake, then store it covered in the refrigerator. Then, on the day of serving, simply pour on the fudge sauce and cherry filling, add the whipped cream, and apply your garnishes. This flexibility makes it ideal for entertaining.
While the recipe calls for cherry pie filling to ensure the characteristic gooey texture and sweet-tart balance, you can certainly incorporate fresh cherries. For garnishes, fresh cherries are highly recommended. If you wish to use fresh cherries in the filling, you would need to cook them down with a little sugar and cornstarch to create a thickened sauce, similar to homemade pie filling, to achieve the desired consistency and flavor intensity for soaking into the cake.
For the best whipped cream, ensure your heavy whipping cream is very cold. Chilling your mixing bowl and whisk attachment for 10-15 minutes before whipping can also help. Start whipping on medium speed, gradually increasing to high as the cream thickens. Add powdered sugar when soft peaks form, and continue whipping until stiff peaks are achieved. Be careful not to over-whip, as it can quickly turn into butter!
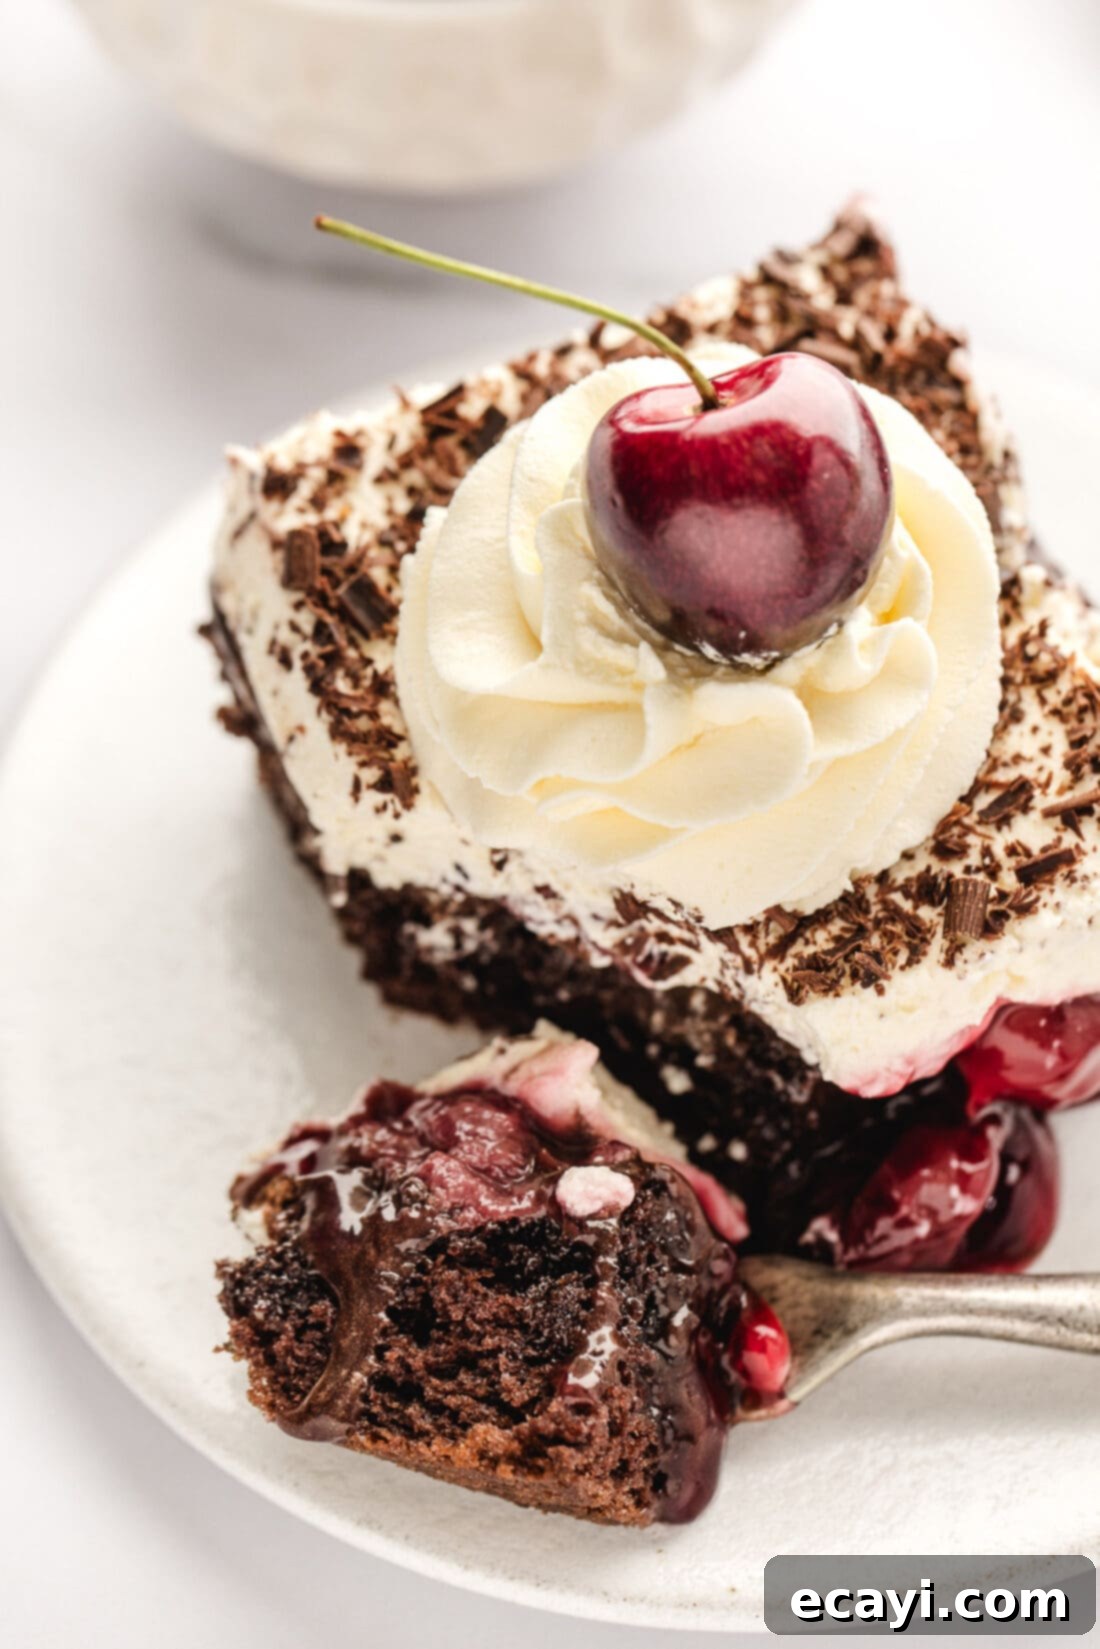
Elevate Your Black Forest Poke Cake: Creative Serving Ideas
While this Black Forest Poke Cake is truly a showstopper on its own, a few extra touches can enhance its presentation and flavor profile. For a sophisticated garnish, top each slice with a generous dusting of chocolate shavings, a sprinkle of mini chocolate chips, or an elegant drizzle of extra chocolate sauce. As mentioned, fresh cherries are our top choice for a vibrant, classic finish, but a small spoonful of additional cherry pie filling or bright maraschino cherries also makes for fantastic alternatives. Consider serving slices with a side of strong black coffee or a delicate cup of tea to complement its rich flavors. For an extra indulgent treat, a scoop of vanilla bean ice cream or a dollop of créme fraîche can add another dimension to this already spectacular dessert.
Discover More Irresistible Poke Cake Recipes
If you’ve fallen in love with the ease and deliciousness of poke cakes, you’re in for a treat! This versatile dessert category offers endless possibilities for flavor combinations and effortless baking. Here are a few more delightful poke cake recipes to inspire your next baking adventure:
- Chocolate Poke Cake
- Better Than Sex Cake
- Boston Cream Poke Cake
- Banana Pudding Poke Cake
- Cannoli Poke Cake
I love to bake and cook and share my kitchen experience with all of you! Remembering to come back each day can be tough, that’s why I offer a convenient newsletter every time a new recipe posts. Simply subscribe and start receiving your free daily recipes!
Black Forest Poke Cake
IMPORTANT – Don’t forget to check the Frequently Asked Questions and Expert Tips section within the blog post for helpful advice. Simply scroll back up to read them!
Print It
Pin It
Rate It
Save ItSaved!
Ingredients
- 15.25 ounce chocolate cake mix plus ingredients on the back of the box
- 21 ounces chocolate fudge sauce
- 21 ounce can of cherry pie filling
- 6 cups heavy whipping cream
- ½ cup powdered sugar
- bittersweet chocolate bar shaved, optional for garnish
- 12 fresh cherries optional as garnish
Equipment You’ll Need
-
13×9 baking dish
-
Wooden spoon
-
Vegetable peeler for shaving chocolate
-
Star piping tip (Wilton 1M) for piping whipped cream garnish
Before You Begin: Important Notes for Success
- We used a Betty Crocker Devil’s Food Chocolate Cake box mix for the cake layer. Feel free to use your favorite chocolate cake mix, but always refer to its specific instructions for additional ingredients like eggs, water, or oil.
- Any chocolate fudge sauce, including hot fudge, works well. Warming it slightly in the microwave makes it easy to spread and helps it soak into the cake beautifully, enhancing the cake’s moisture and flavor.
- To save time, you can substitute the homemade whipped cream with an 8-ounce tub of thawed Cool Whip.
- For garnishing, 2-3 squares of finely grated bittersweet chocolate provide a lovely touch. You can also use fresh cherries, maraschino cherries, or a small amount of extra cherry pie filling to decorate each slice.
Instructions
-
Preheat the oven to 350F (175°C). Line a 13×9 baking dish with parchment paper and spray it with cake release or cooking oil to grease thoroughly.
-
Prepare the chocolate cake batter according to the package instructions. Pour the batter into the prepared pan and bake as directed on the box (our cake baked for 24 minutes; a toothpick inserted into the center should come out clean).
-
Remove the cake from the oven and let it cool in the pan for at least 20 minutes.
TIP: Allow the cake to cool sufficiently before poking holes. If it’s too soft, the cake might stick to your utensil or tear, making it difficult to create neat holes for the filling.
-
Meanwhile, heat the chocolate fudge sauce in the microwave for approximately 1 minute, stirring every 30 seconds, until it’s loose and pourable.
-
Once the cake is cooled, use the round handle end of a wooden spoon to poke holes evenly over the entire surface of the cake. Ensure the holes are deep enough to penetrate most of the cake’s depth.
-
Pour the warmed chocolate fudge sauce over the cake. Gently spread it, encouraging the sauce to seep into all the poked holes.
-
Next, pour the cherry pie filling over the fudge sauce layer and spread it evenly across the cake’s surface.
-
In a large mixing bowl, combine the heavy cream and powdered sugar. Whisk with an electric mixer until the mixture becomes light, fluffy, and holds stiff peaks.
-
Transfer about one-third of the whipped cream into a piping bag fitted with a star nozzle for later decoration.
-
Spread the remaining whipped cream evenly over the cherry pie filling, taking care not to disturb the layers beneath.
-
Using a cheese grater or vegetable peeler, grate bittersweet chocolate over the entire surface of the whipped cream for elegant chocolate shavings.
-
With a sharp knife, carefully cut the cake into 12 equal slices.
-
Using the reserved whipped cream in the piping bag, pipe decorative swirls on top of each individual cake slice.
-
Finish by decorating each slice with a fresh cherry, adding a final touch of color and classic Black Forest flair.
Expert Tips & FAQs Summary
- Store any leftover Black Forest Poke Cake in an airtight container in the refrigerator for up to 4 days to maintain optimal freshness.
- Make Ahead Option: This cake is perfect for preparing in advance! You can bake the chocolate cake a day or two before serving and store it, covered, in the refrigerator. The cherry pie filling will continue to soak into the cake as it sits, making it even more moist and flavorful. If you prefer a slightly less moist cake, bake the cake, poke the holes, and then store it covered. When ready to serve, simply add the fudge sauce, cherry filling, whipped cream, and garnishes.
- For the best homemade whipped cream, ensure your heavy cream is very cold, and consider chilling your mixing bowl and whisk beforehand.
- While canned cherry pie filling provides ease and consistency, if using fresh cherries, cook them down with sugar and a thickener for a comparable filling consistency.
Nutrition Information
The recipes on this blog are tested with a conventional gas oven and gas stovetop. It’s important to note that some ovens, especially as they age, can cook and bake inconsistently. Using an inexpensive oven thermometer can assure you that your oven is truly heating to the proper temperature. If you use a toaster oven or countertop oven, please keep in mind that they may not distribute heat the same as a conventional full sized oven and you may need to adjust your cooking/baking times. In the case of recipes made with a pressure cooker, air fryer, slow cooker, or other appliance, a link to the appliances we use is listed within each respective recipe. For baking recipes where measurements are given by weight, please note that results may not be the same if cups are used instead, and we can’t guarantee success with that method.
