Mastering the Classic: Your Best Homemade Angel Food Cake Recipe for a Cloud-Like Dessert
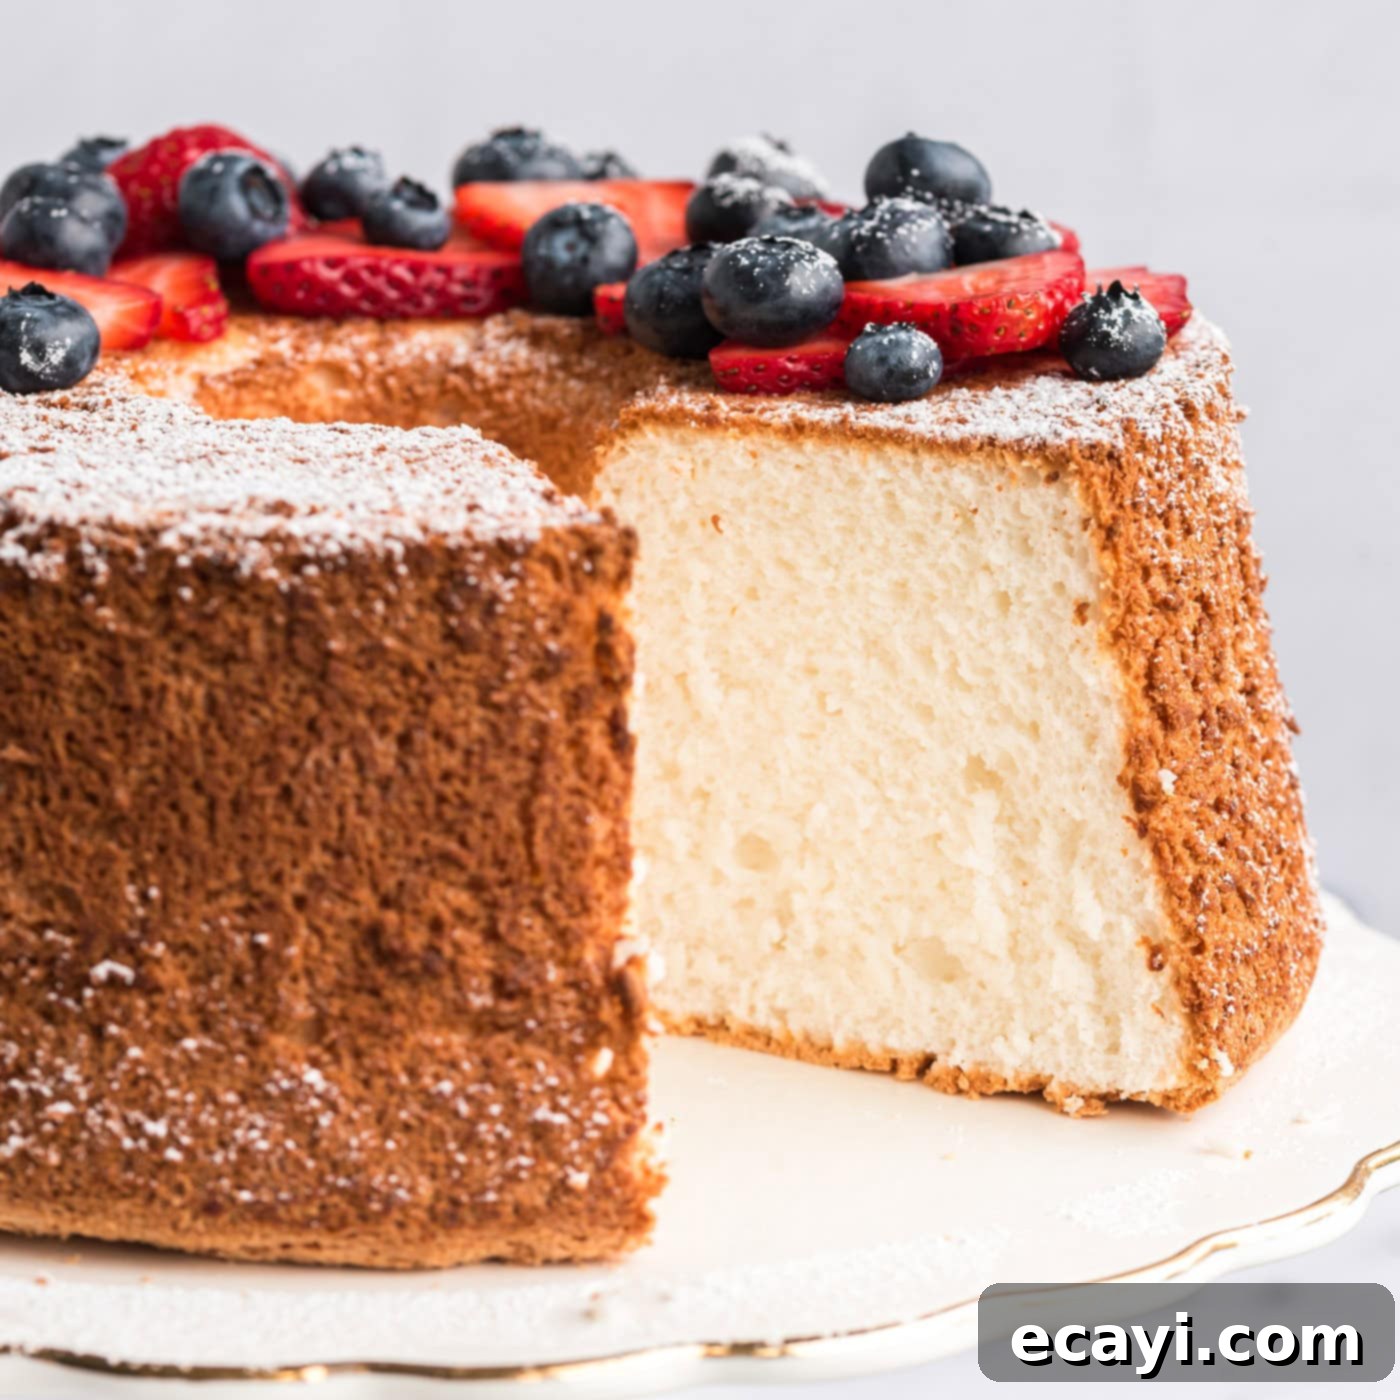
Prepare to bake the ultimate homemade angel food cake, a recipe perfected over years to deliver a truly dreamy, delicate crumb and an impossibly airy texture. Each bite is like sinking your teeth into a sweet, ethereal cloud, making it a dessert that consistently impresses and delights. This classic cake, known for its pristine white interior and light-as-air feel, is a testament to simple ingredients transformed into something extraordinary.
Why This Angel Food Cake Recipe is Your Go-To
This particular homemade angel food cake recipe has been a beloved staple for over a decade, first shared on this blog in 2012, but perfected long before. If you’ve ever felt intimidated by the idea of baking an angel food cake from scratch, this recipe is designed to be your reliable guide. It provides a robust foundation for success, ensuring a beautifully risen, light, and airy cake every time.
Angel food cake is a marvel of baking, relying entirely on whipped egg whites for its structure and magnificent height. Unlike many other cakes that use butter or oil, angel food cake is fat-free, giving it its unique light texture. This recipe consistently delivers a cake that is tall, impressively light, and utterly dreamy – much like a classic chiffon cake, yet with its own distinct character. Many home bakers shy away from making it from scratch, often opting for store-bought versions. However, once you experience the superior taste and texture of a freshly baked, homemade angel food cake, you’ll find it far surpasses anything from a box mix or grocery store, proving it’s not nearly as daunting as it seems. The satisfaction of creating such a delicate and impressive dessert from basic ingredients is truly rewarding.
Essential Ingredients for Your Perfect Angel Food Cake
Crafting a superb angel food cake relies on a few key, high-quality ingredients. While the full list with precise measurements can be found in the printable recipe card at the end of this post, let’s explore the role each component plays in achieving that signature light and airy texture. Having your ingredients ready and at the right temperature is crucial for the success of this delicate cake.
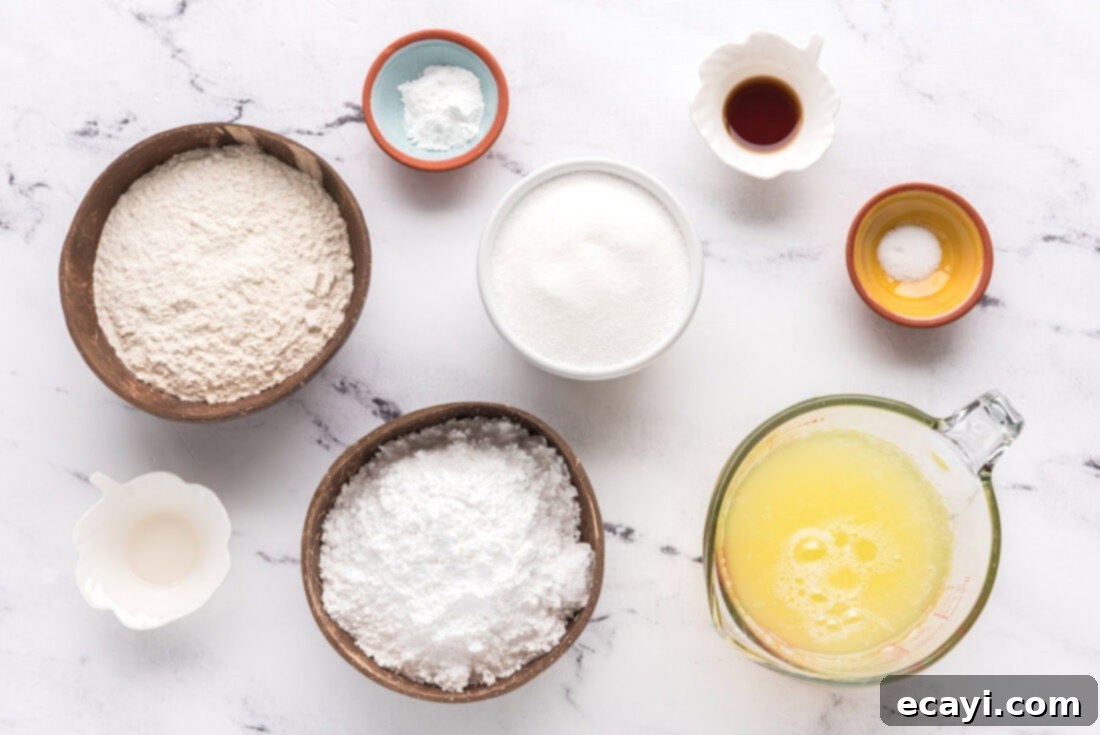
Ingredient Spotlight & Expert Tips
Understanding each ingredient’s function is key to mastering this classic cake:
EGG WHITES – These are the star of the show! Angel food cake relies entirely on properly whipped egg whites for its structure and leavening. It’s absolutely crucial to let your egg whites sit at room temperature for at least 30 minutes before whipping. Room temperature egg whites whip up faster, achieve greater volume, and create a more stable foam than cold whites, resulting in a taller, fluffier cake. Ensure your mixing bowl and whisk are impeccably clean and free of any grease, as even a tiny speck of fat can prevent the egg whites from whipping properly. Don’t waste those leftover egg yolks! They can be used to make rich desserts like homemade lemon meringue pie bars, creamy creme brulee, or custards.
CREAM OF TARTAR – This acidic powder is a vital stabilizer for your egg whites. It helps strengthen the protein structure in the egg whites, allowing them to reach maximum volume and preventing them from collapsing during mixing and baking. This results in a more stable, fluffy, and light cake with a beautifully fine crumb.
SUGAR – You’ll use a combination of both granulated sugar and powdered sugar (also known as confectioners’ sugar) in this recipe. Granulated sugar is gradually added to the egg whites to create a stable meringue, while the finely milled powdered sugar is sifted with the flour. The powdered sugar contributes to the delicate, tender crumb and helps prevent the cake from being too dense, ensuring that signature angel food cake texture.
EXTRACTS – A harmonious blend of vanilla extract and almond extract gives this cake its distinct and irresistible flavor profile. The vanilla provides a warm, classic sweetness, while the almond extract adds a subtle, fragrant depth that is characteristic of traditional angel food cake. Use high-quality extracts for the best flavor results.
How to Make Angel Food Cake: Step-by-Step Perfection
These step-by-step photos and detailed instructions are here to help you visualize how to make this recipe. For the complete printable version, with all measurements and instructions, simply Jump to Recipe at the bottom of this post.
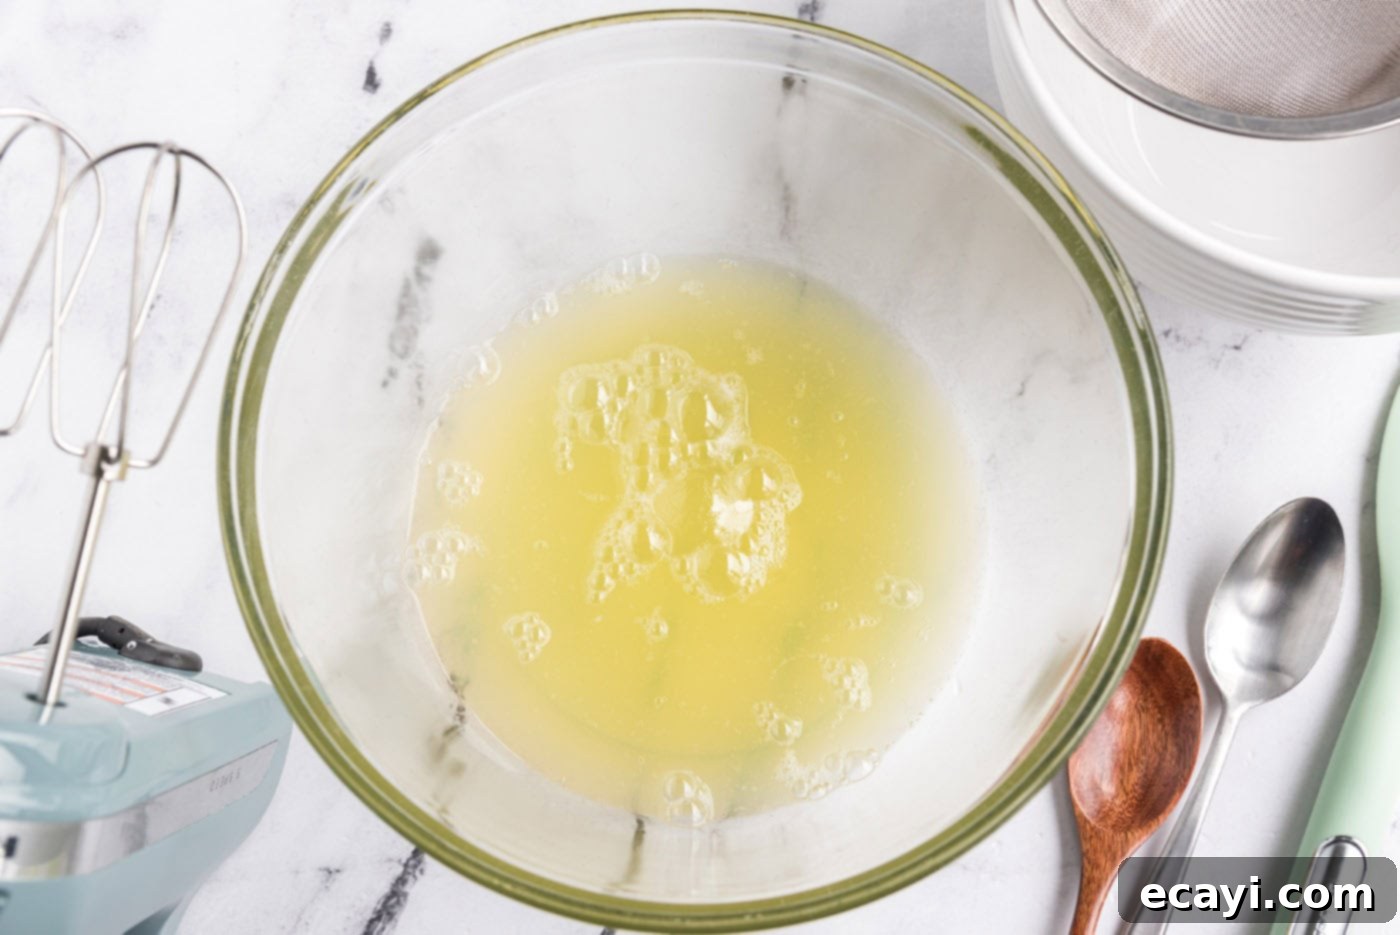
- **Prepare the Egg Whites:** Carefully measure your egg whites, ensuring you have exactly 1 1/2 cups. You may need to add or remove a small amount to reach this precise measurement. Place the egg whites in a very clean mixing bowl (preferably glass or metal, as plastic can retain grease) and let them sit at room temperature for 30 minutes. This crucial step ensures they whip up to their maximum volume and stability.

- **Preheat Oven:** While the egg whites are resting, preheat your oven to 350°F (175°C). This ensures the oven is at the correct temperature when the cake is ready to bake, preventing temperature fluctuations that can affect rise.
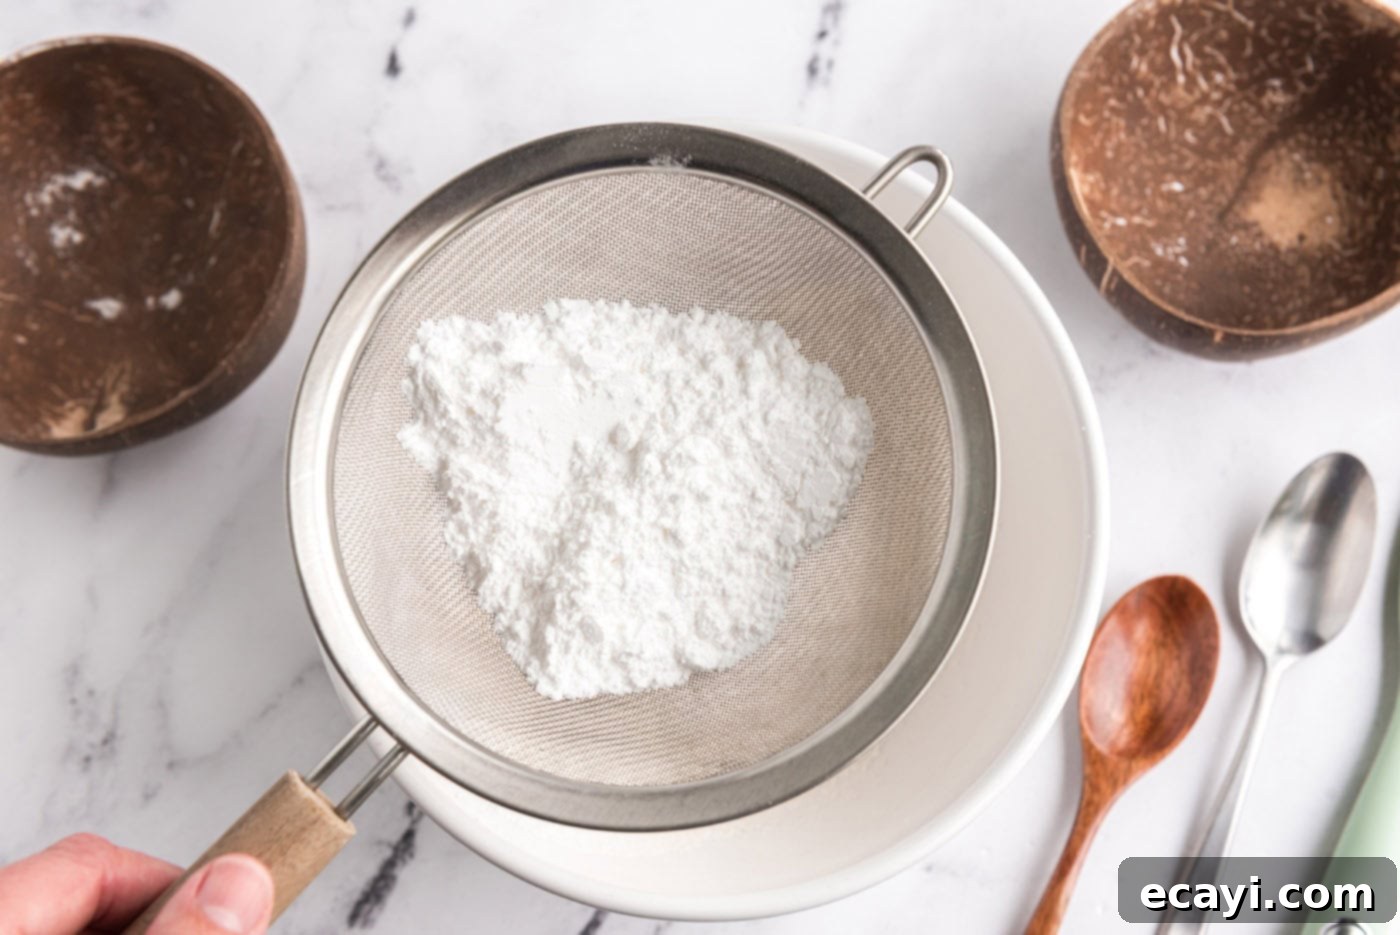
- **Sift Dry Ingredients:** In a separate bowl, sift the powdered sugar and all-purpose flour together *three times*. This triple sifting is essential for an angel food cake, as it aerates the flour, prevents lumps, and ensures the dry ingredients are perfectly light and evenly distributed, contributing to the cake’s delicate texture. Set this mixture aside.

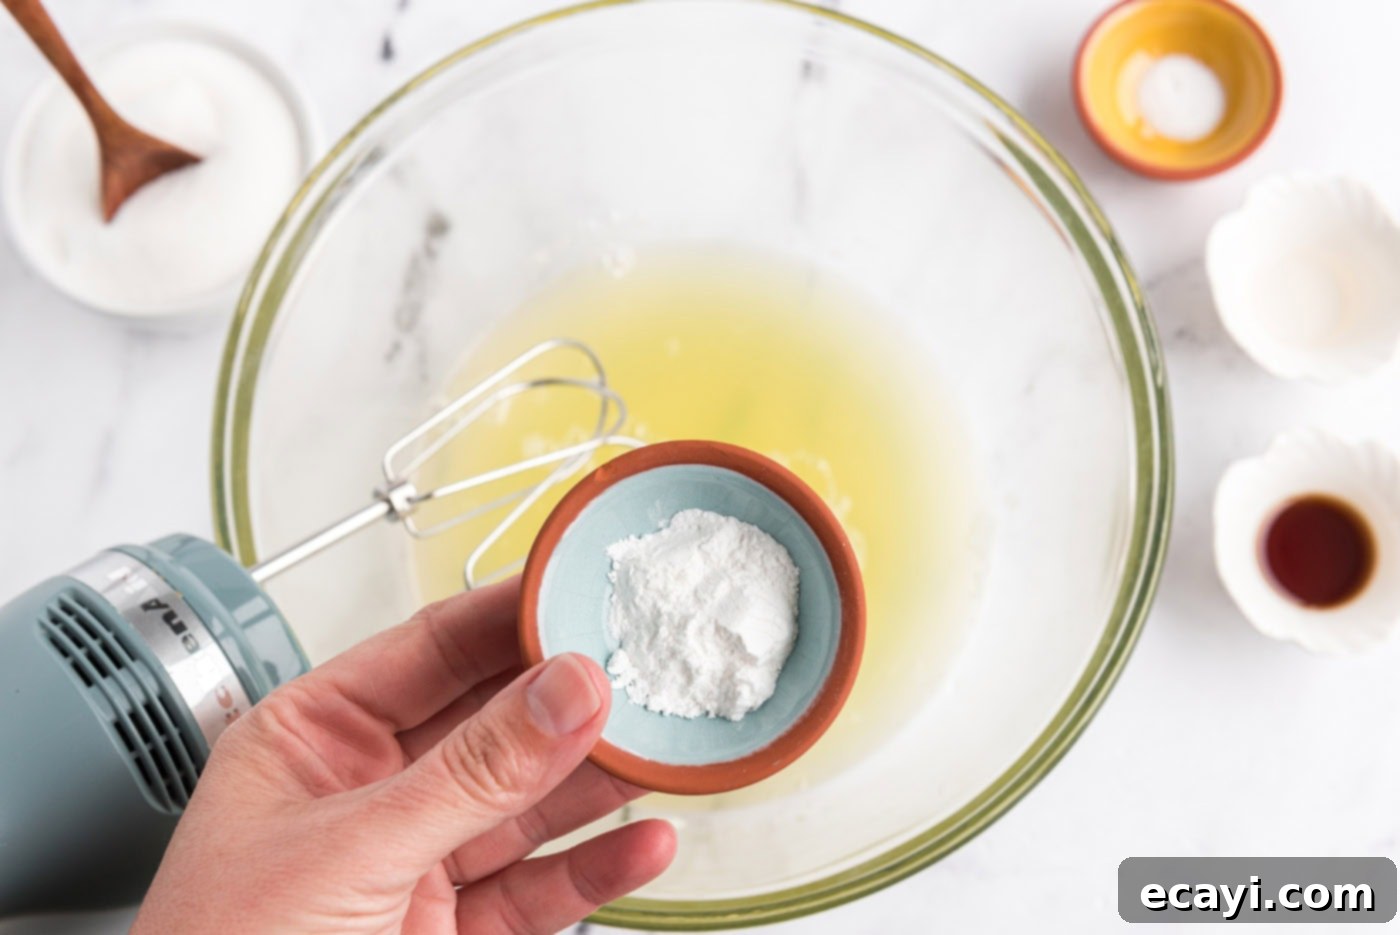
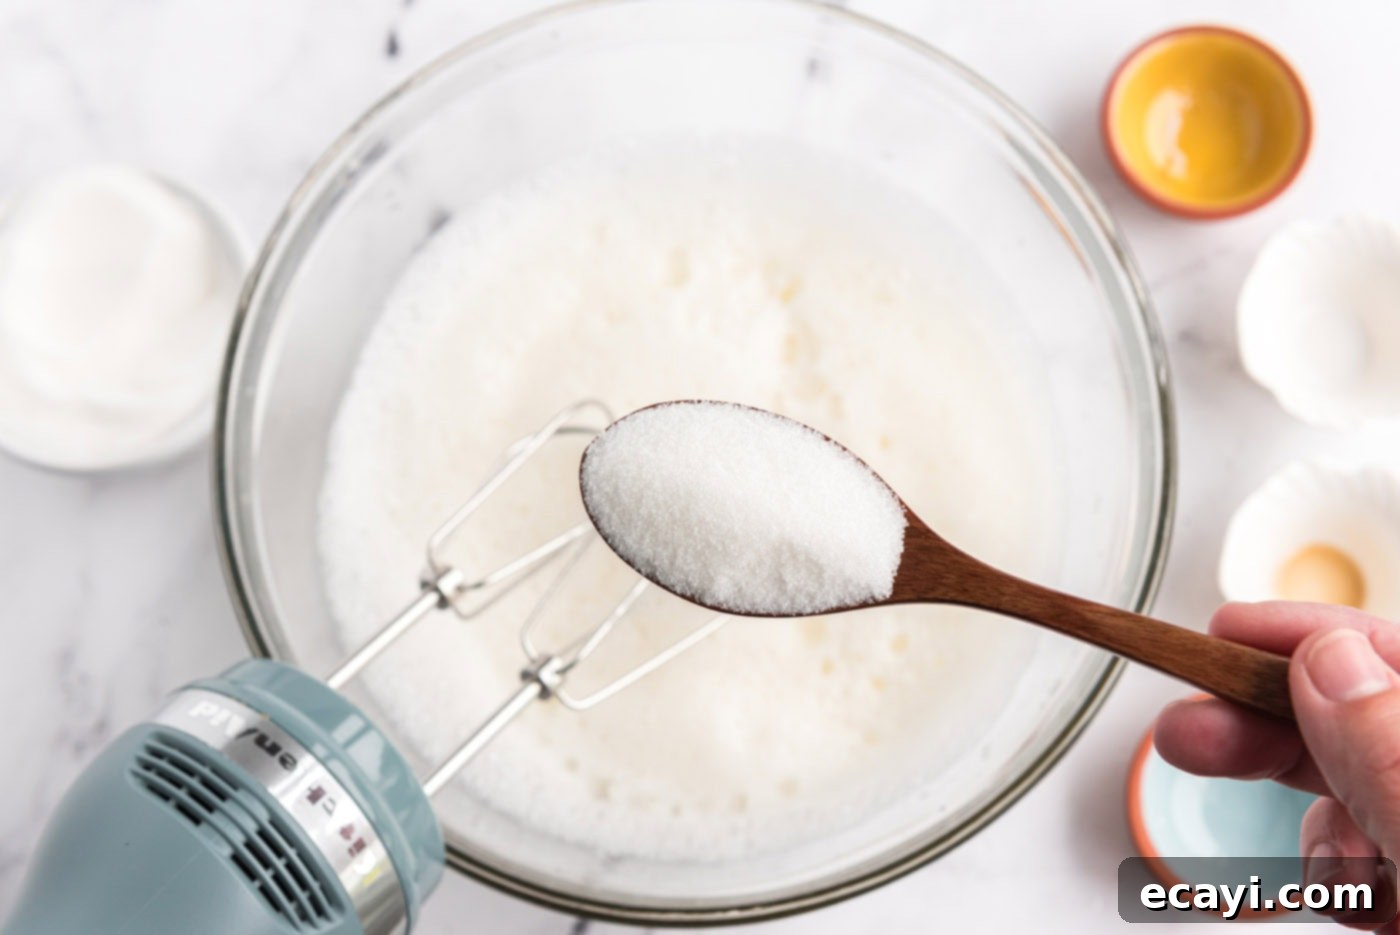
- **Whip Egg Whites into Meringue:** Add the cream of tartar, both vanilla and almond extracts, and the salt to your room temperature egg whites. Using an electric mixer (stand mixer with whisk attachment or handheld mixer), begin beating the mixture on high speed. Gradually, about a tablespoon at a time, add the granulated sugar to the whipping egg whites. Continue beating until the sugar is completely dissolved and stiff, glossy peaks form. The meringue should be firm enough to hold its shape when the whisk is lifted, but not dry or crumbly. This process creates the stable foam that gives angel food cake its signature volume.


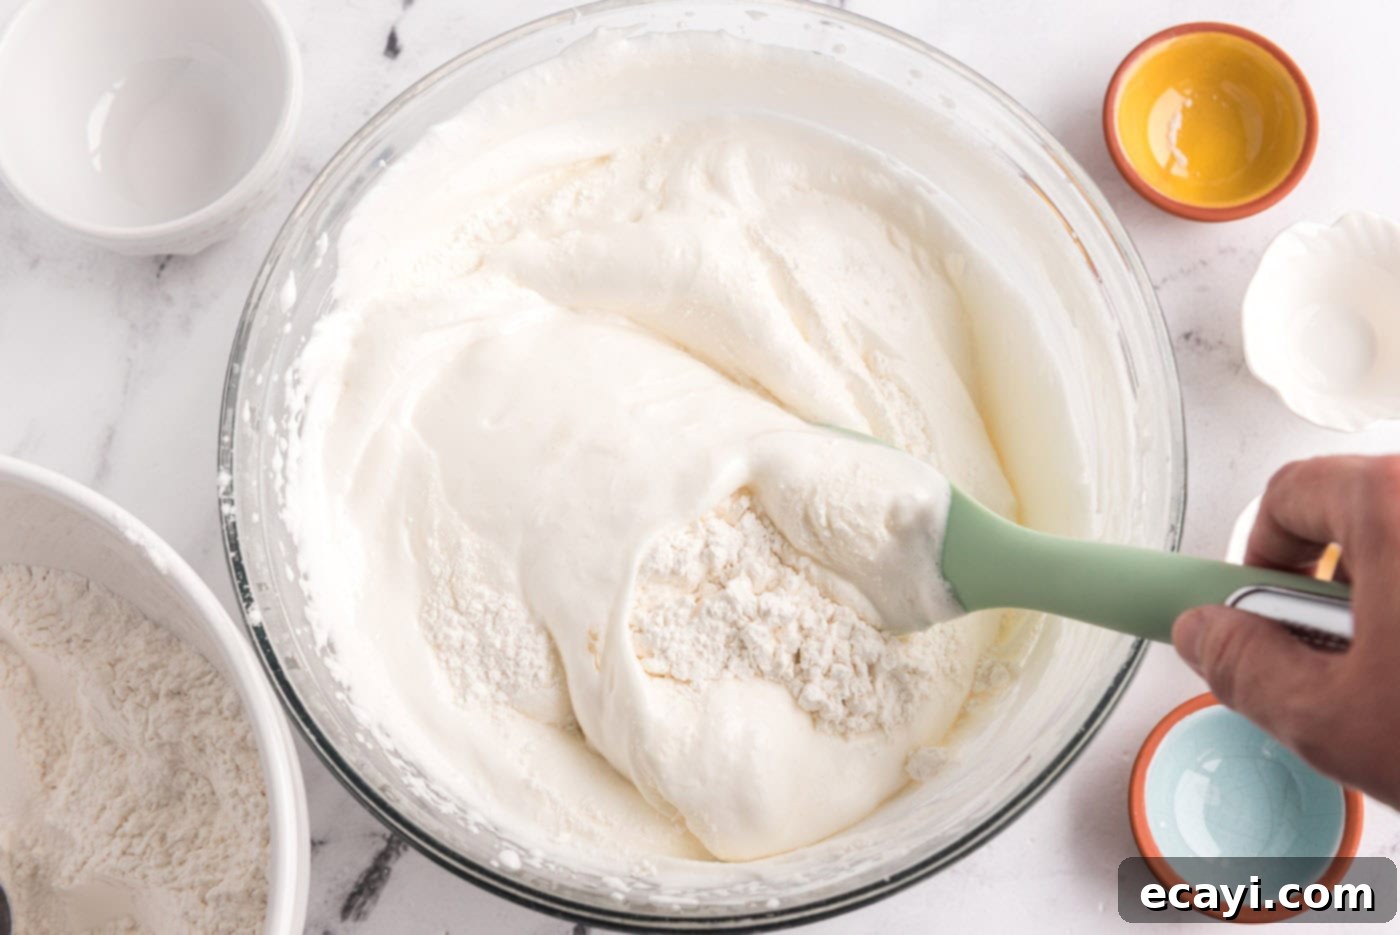
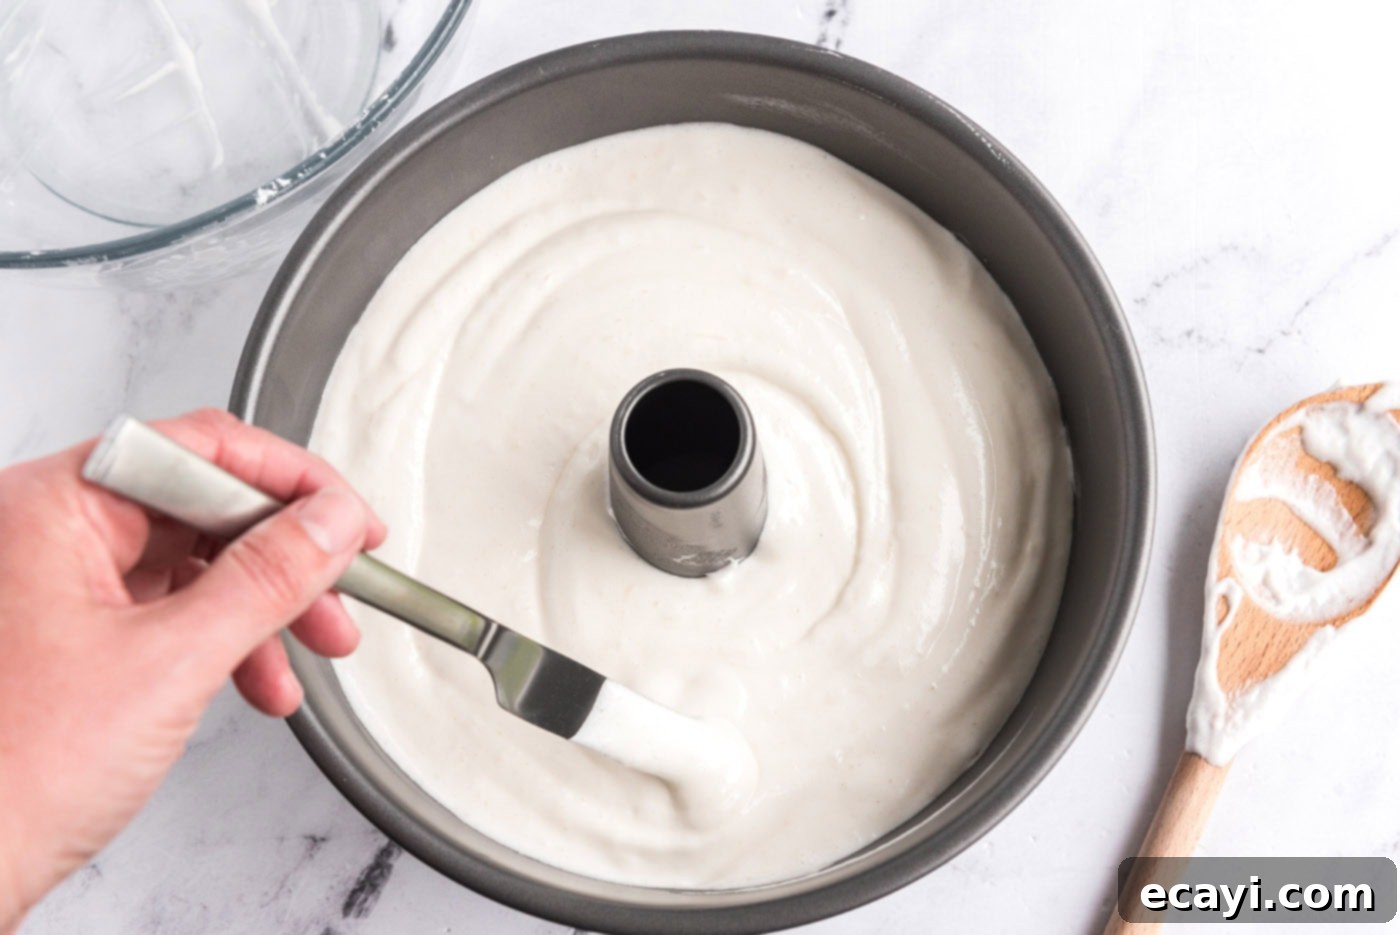
- **Fold in Dry Ingredients:** Gently, using a rubber spatula, fold the sifted flour mixture into the whipped egg white mixture. Do this in increments, about 1/4 cup at a time, incorporating each addition fully before adding the next. Use a light, cutting motion through the center and folding up from the bottom to retain as much air as possible in the meringue. Once fully incorporated, gently spoon the batter into an ungreased 10-inch tube pan. Crucially, the pan must not be greased; the batter needs to cling to the sides of the pan to climb and rise high during baking. After transferring the batter, cut through it several times with a knife or thin spatula to release any large air pockets, ensuring an even crumb.


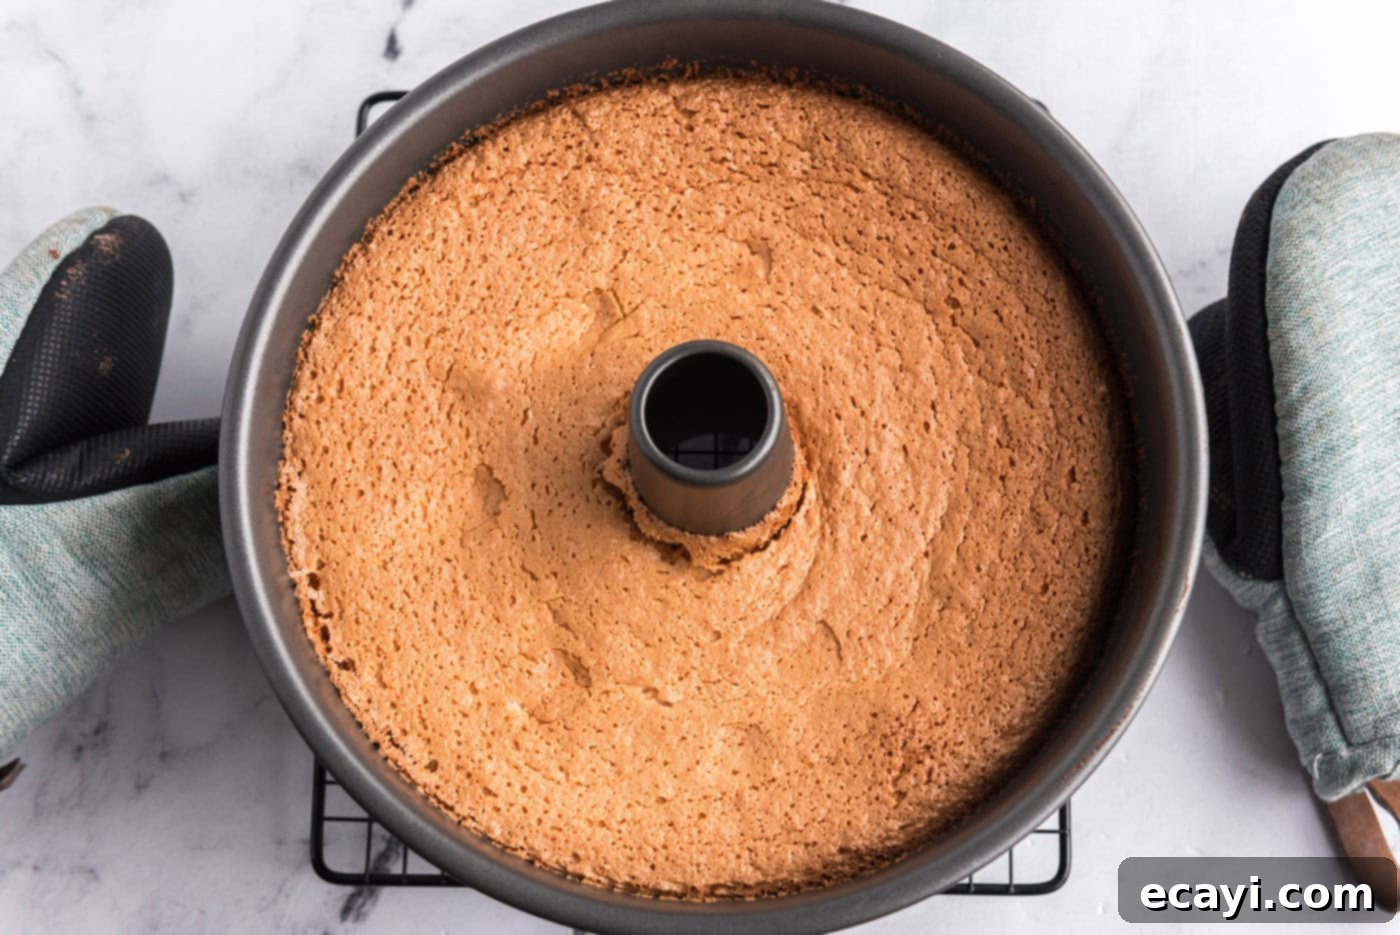
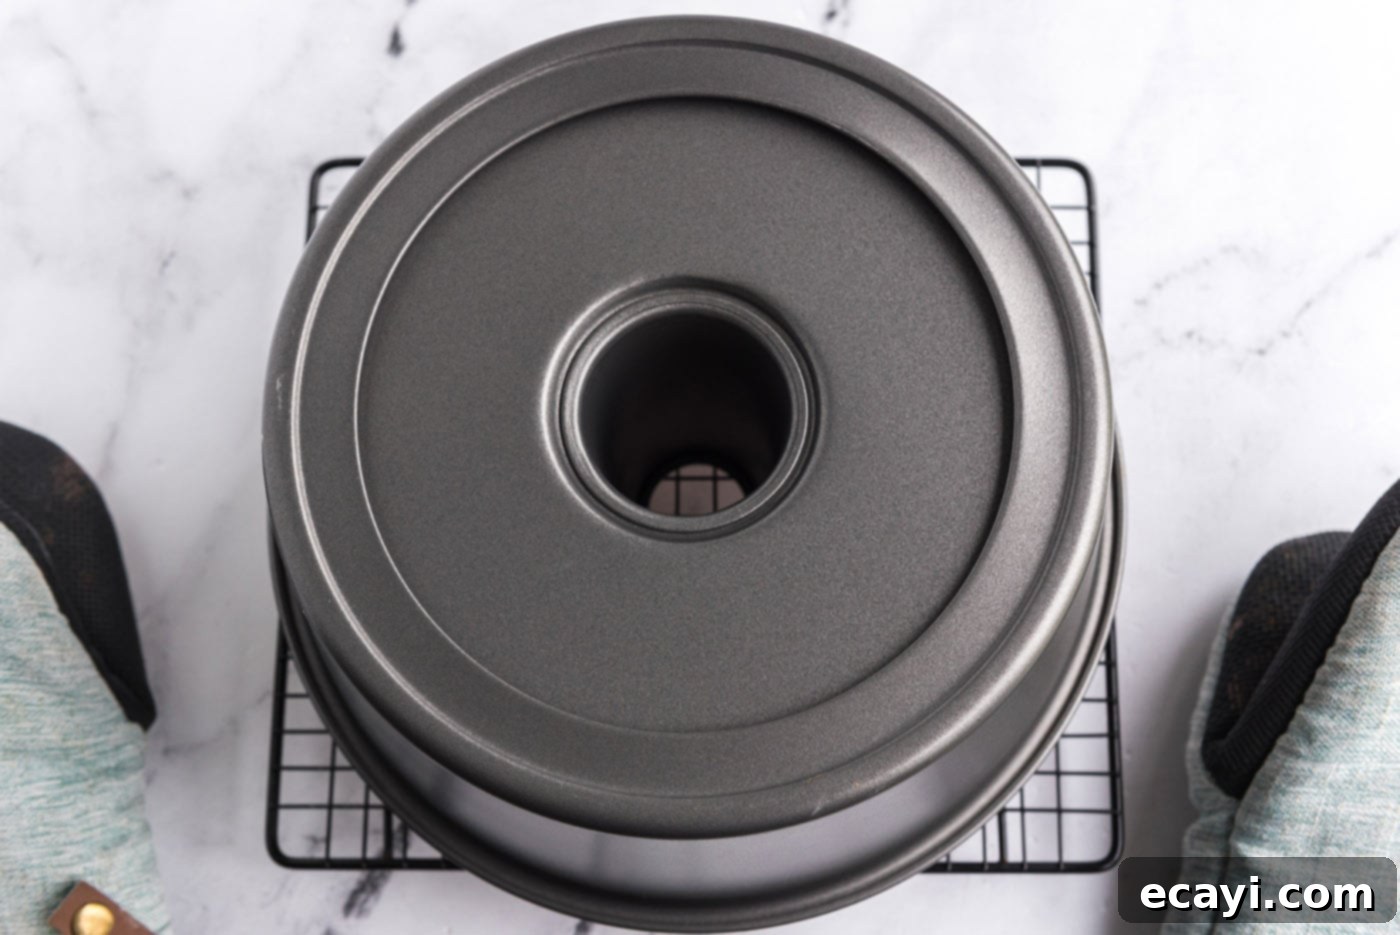
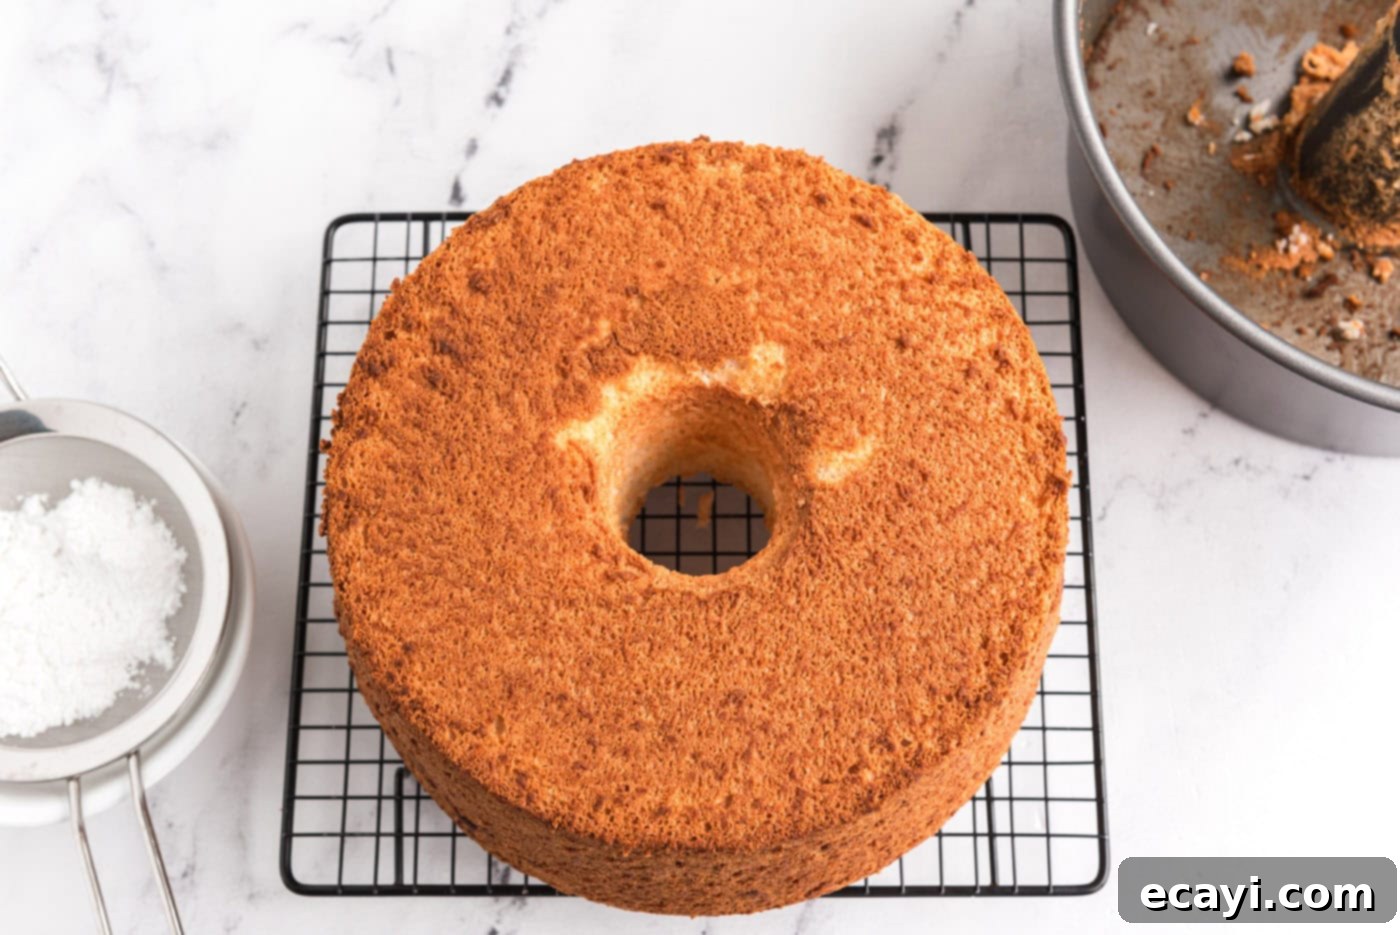
- **Bake and Cool:** Bake the cake in your preheated oven at 350°F (175°C) for 40-45 minutes, or until the top is golden brown and springs back lightly when gently touched. Immediately upon removing from the oven, invert the tube pan. Most tube pans have feet for this purpose, or you can invert it over a bottle. This prevents the delicate cake from collapsing and ensures it cools properly without losing its height. Allow the cake to cool completely, undisturbed, in the inverted pan before attempting to remove it. This typically takes 1.5 to 2 hours. Once fully cooled, run a thin knife around the edges and center core of the pan to release the cake.


Frequently Asked Questions & Expert Tips for Angel Food Cake
Creating a simple yet elegant glaze for your angel food cake is incredibly easy. Combine 1 cup of sifted powdered sugar with about 1 tablespoon of milk in a small bowl. Whisk until smooth. For a thinner glaze, add a few more drops of milk; for a thicker consistency, add a tiny bit more powdered sugar. You can also experiment with flavor by adding a splash of vanilla extract, almond extract, or a citrus zest to the glaze.
Homemade angel food cake is always best enjoyed fresh on the day it’s baked. However, if you have leftovers, proper storage is key to maintaining its delicate texture. Store the cake in an air-tight container, such as a specialized cake carrier, or wrap it thoroughly in plastic wrap, followed by a layer of aluminum foil. It’s essential to prevent any air exposure, which can quickly dry out the cake. Store the cake at room temperature; refrigeration can actually make it go stale faster.
Yes, you can freeze angel food cake, though it’s important to note that freezing can sometimes lead to a slightly drier texture upon thawing. To freeze, ensure the cake is completely cooled. Wrap it tightly first in plastic wrap, then follow with a layer of aluminum foil to protect against freezer burn. For added protection, place the wrapped cake in a large freezer-safe bag. It can be frozen whole or sliced for up to 2 months. Thaw at room temperature. Remember to add any garnishes, such as whipped cream or fresh fruit, just before serving, as these do not freeze well.
Absolutely! Angel food cake can be prepared a day in advance without compromising its quality significantly. Once the cake has cooled completely, wrap it very well in plastic wrap or place it securely in an air-tight container. Store it at room temperature until you are ready to serve. While it’s delightful fresh from the oven, it remains wonderfully soft and flavorful the day after baking, making it a great option for entertaining.
There are a few common reasons why an angel food cake might fall. One primary reason is undermixed egg whites; they need to reach stiff, glossy peaks to hold the cake’s structure. Overfolding the flour into the meringue, which deflates the air, can also cause collapse. Another crucial factor is removing the cake from the pan too soon before it has completely cooled while inverted. The inverted cooling process allows the cake to set its delicate structure against gravity.
A classic two-piece, ungreased aluminum tube pan (often 10-inch) with a removable bottom and small ‘feet’ is essential for angel food cake. The removable bottom helps with easy release, and the ungreased sides allow the batter to climb as it bakes, contributing to its height. The ‘feet’ are crucial for inverting the hot cake immediately after baking, preventing it from compressing as it cools.
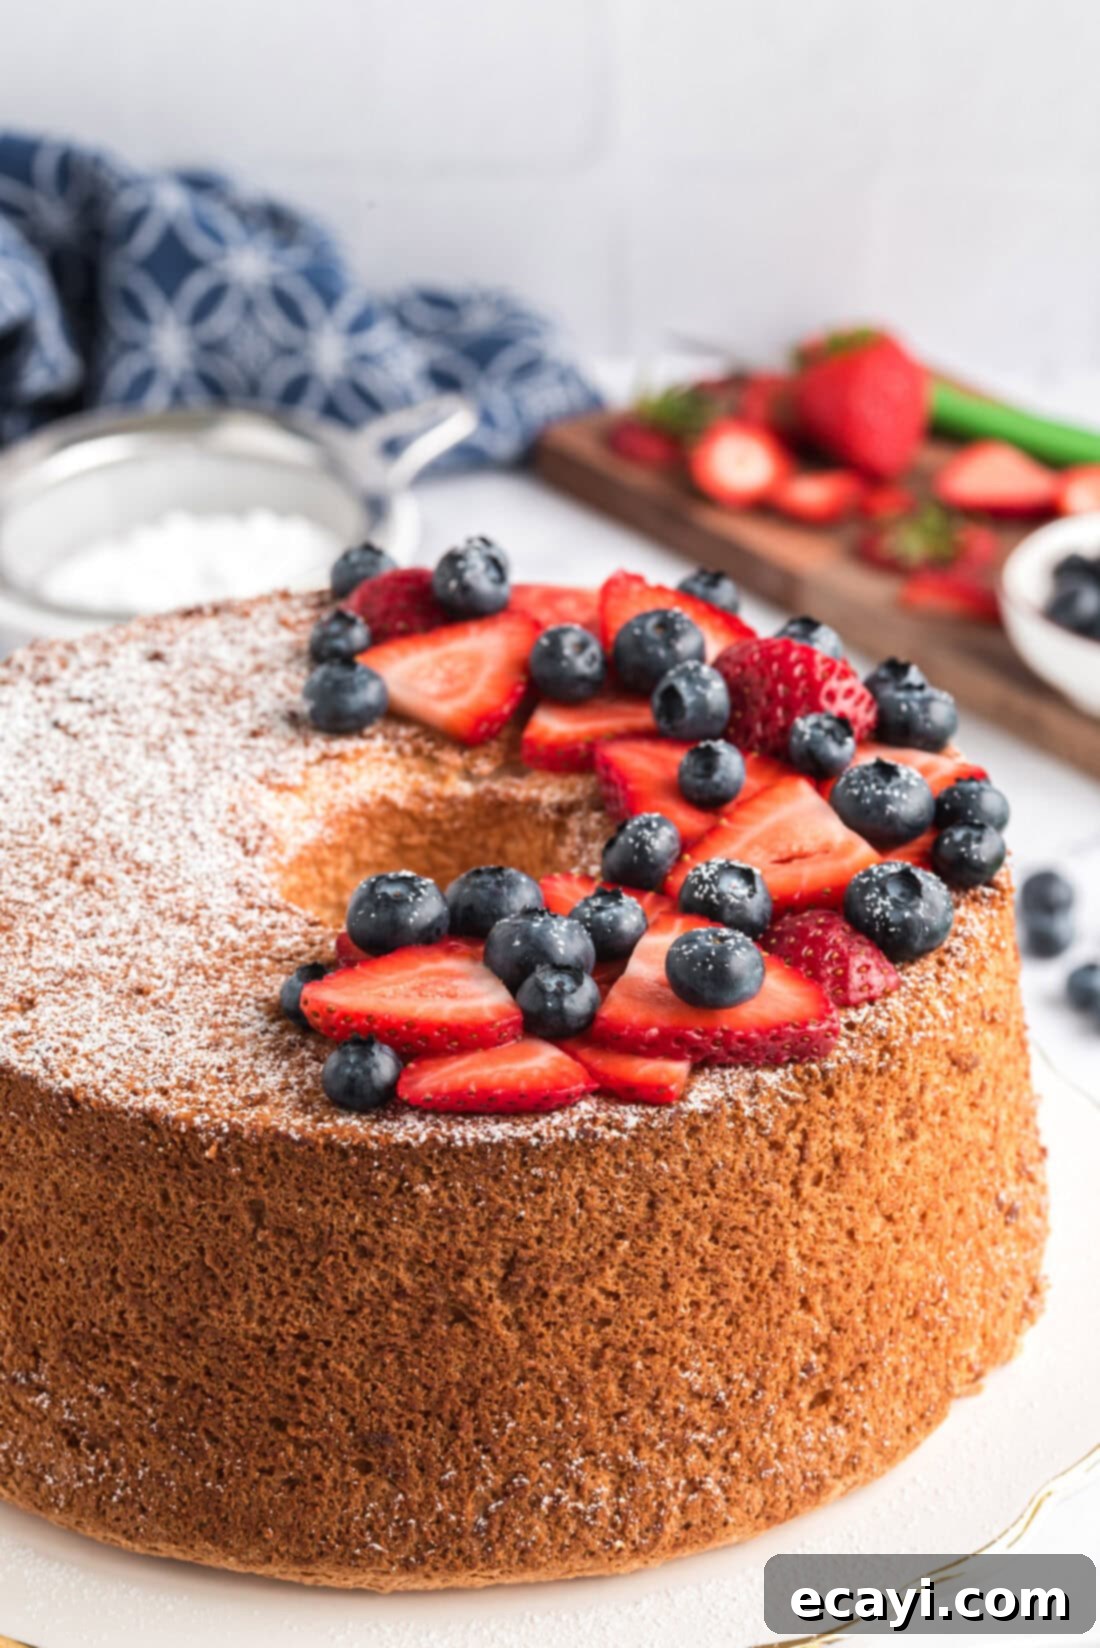
Serving Suggestions for Your Heavenly Angel Food Cake
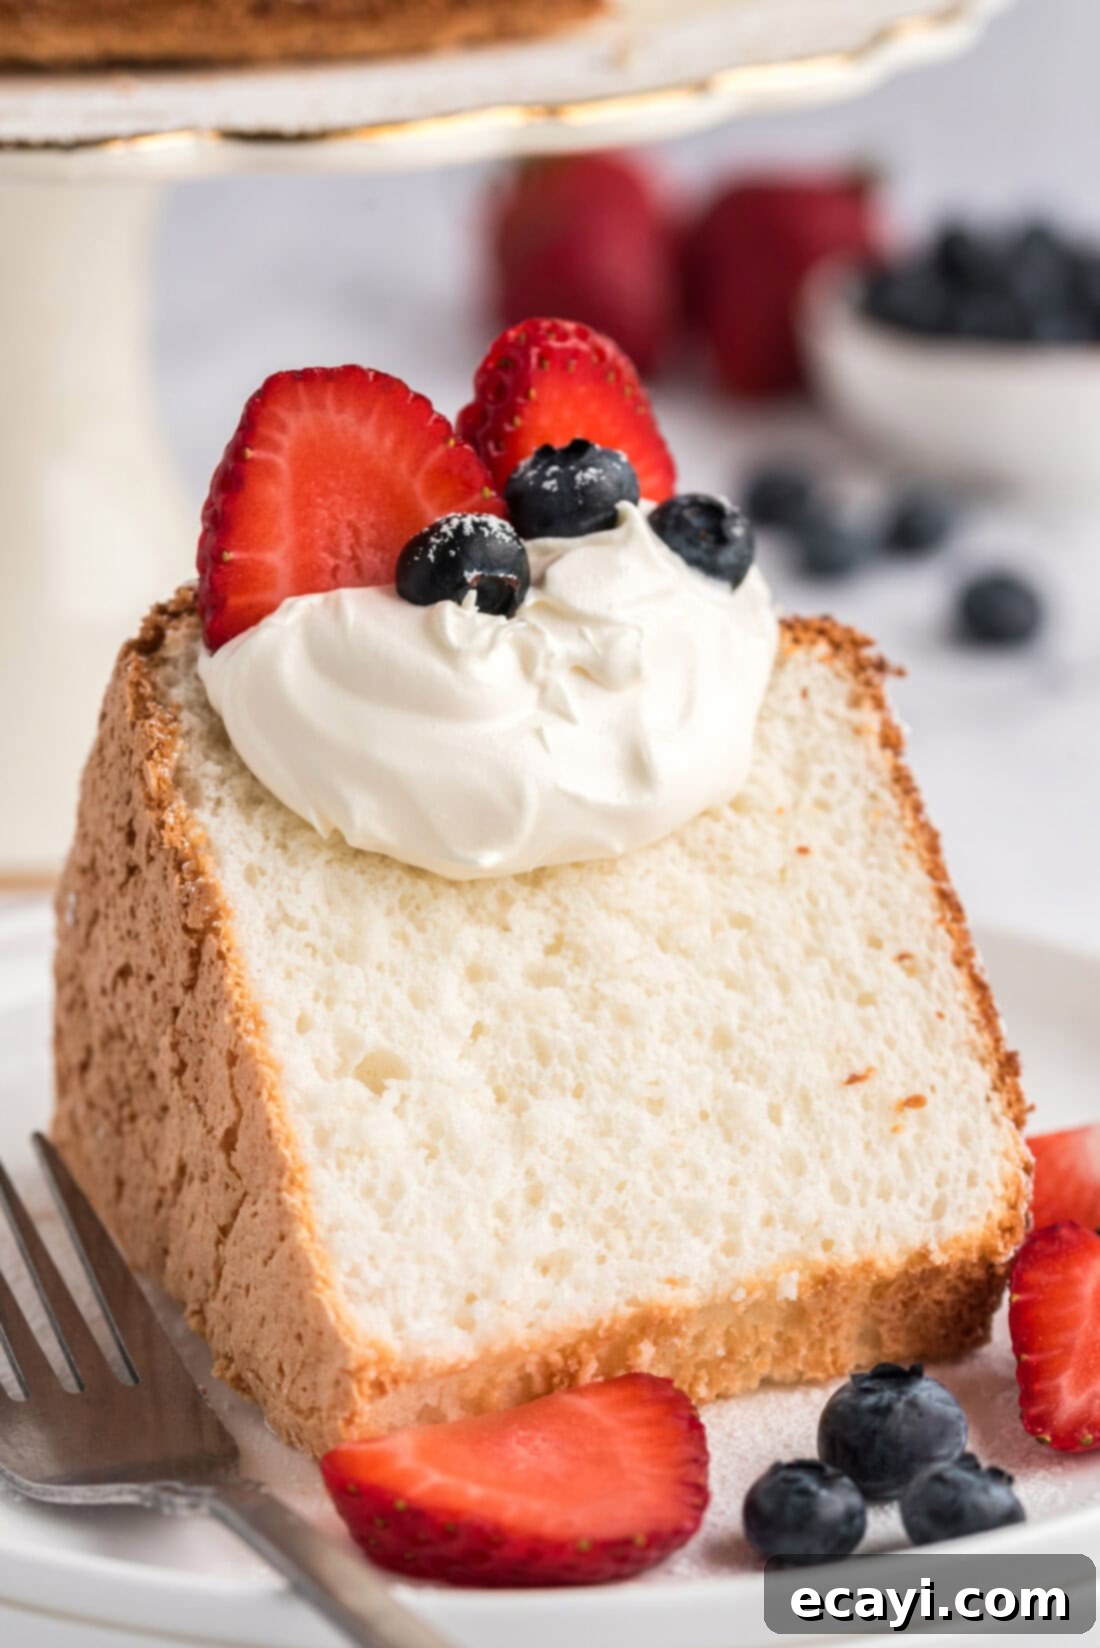
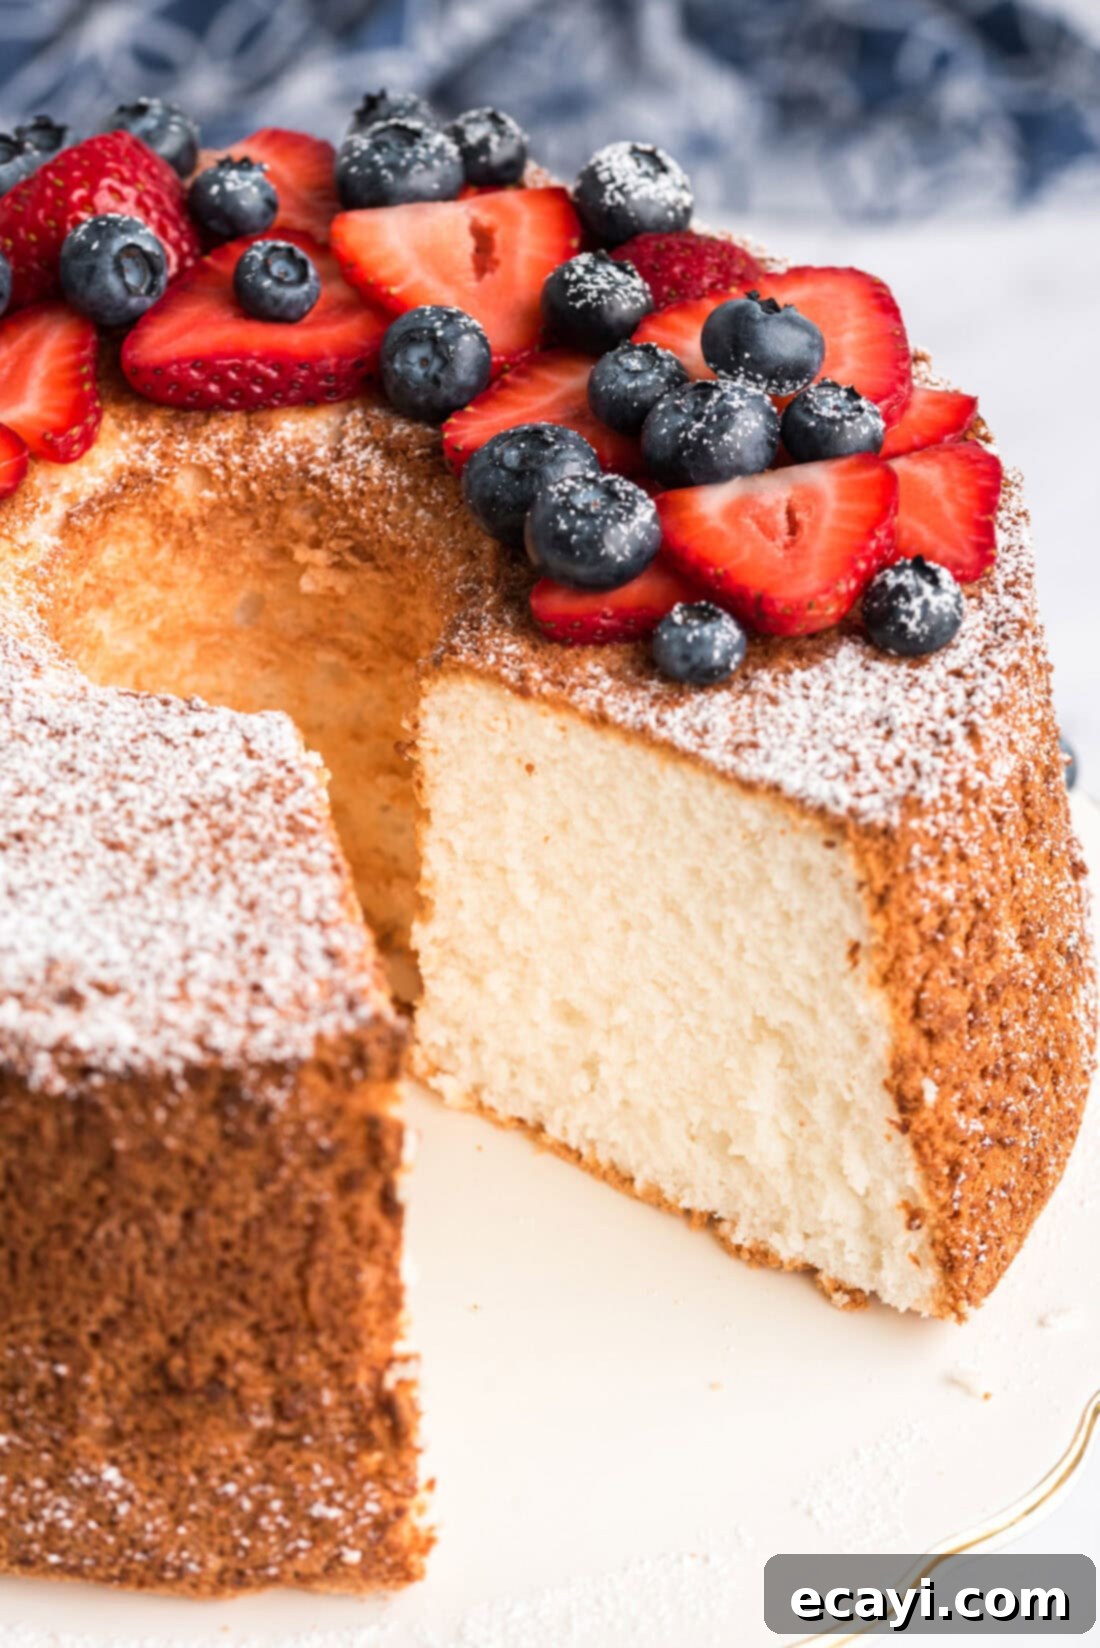
The beauty of homemade angel food cake lies in its versatility. It can be elegantly simple or dressed up for any occasion. Serve it plain with a delicate dusting of powdered sugar, or with the optional simple powdered sugar glaze mentioned in our FAQs. For a burst of color and fresh flavor, top it with a generous mound of fresh seasonal berries – strawberries, blueberries, raspberries, or a mix of all three are always a hit. A dollop of freshly whipped cream or a scoop of vanilla bean ice cream also makes a delightful addition. This cake is also wonderfully versatile for creating more elaborate desserts: cube it and layer it in a stunning strawberry shortcake trifle or a vibrant lemon blueberry trifle. It pairs perfectly with a warm cup of coffee or a comforting mug of tea, making it an ideal treat for morning indulgence or an afternoon pick-me-up. For a richer flavor profile, consider serving slices with a fruit compote, a drizzle of chocolate sauce, or even a tangy lemon curd.
More Delightful Cake Recipes to Try
If you’ve enjoyed mastering this angel food cake, you might love exploring other fantastic cake recipes from our collection:
- Chiffon Cake: Another light and airy classic.
- Chantilly Cake: A rich and elegant layer cake.
- Banana Bundt Cake: Moist and flavorful, perfect for any gathering.
- Whipping Cream Pound Cake: A dense yet tender classic with a beautiful crumb.
I love to bake and cook and share my kitchen experience with all of you! Remembering to come back each day can be tough, that’s why I offer a convenient newsletter every time a new recipe posts. Simply subscribe and start receiving your free daily recipes!
Homemade Angel Food Cake
IMPORTANT – There are often Frequently Asked Questions within the blog post that you may find helpful. Simply scroll back up to read them!
Print It
Pin It
Rate It
Save ItSaved!
Ingredients
- 12 egg whites
- 1 ¼ cups powdered sugar
- 1 cup all-purpose flour
- 1 ½ teaspoons cream of tartar
- 1 ½ teaspoons vanilla extract
- ½ teaspoon almond extract
- ¼ teaspoon salt
- 1 cup granulated sugar
Things You’ll Need
-
Electric mixer
-
10 inch tube pan
Before You Begin
- Make sure you let the egg whites sit for 30 minutes at room temperature before you whip them. Egg whites are imperative to the success of this recipe. They work as the leavening agent that gives the cake its rise.
- Cream of tartar will help stabilize the egg whites leaving you with a fluffy, light cake.
Instructions
-
Measure egg whites, adding or removing whites as needed to equal 1 1/2 cups. Place in a mixing bowl and let stand at room temperature for 30 minutes.
-
Preheat oven to 350F.
-
Meanwhile, sift confectioners’ sugar and flour together three times; set aside.
-
Add the cream of tartar, both extracts, and the salt to the egg whites and beat on high speed using an electric mixer. Gradually add the granulated sugar, beating until sugar is dissolved and stiff peaks form.
-
Fold the flour mixture into the egg white mixture, 1/4 cup at a time. Gently spoon into an ungreased 10 inch tube pan. Cut through the batter with a knife to remove air pockets.
-
Bake at 350 degrees F for 40-45 minutes or until the cake springs back when lightly touched. Immediately invert the pan. Cool completely before removing the cake from the pan.
Expert Tips & FAQs
- Homemade angel food cake is best enjoyed fresh, however, leftovers can be stored in an air-tight container such as a cake carrier or wrapped well in plastic wrap followed by a layer of aluminum foil. Be sure to cover the entire cake so it is not exposed to air. Store the cake at room temperature.
- Freezing – Do note that freezing it can sometimes lead to dry cake. To do so, wrap it well in plastic wrap followed by a layer of aluminum foil. Pop it in a large freezer-safe bag and freeze for up to 2 months. You can freeze the cake whole or sliced. Wait to add any garnish until just before eating.
- Make Ahead – you can prepare the cake a day in advance, wrap it well with plastic wrap, or secure it in an air-tight container kept at room temperature until ready to serve. This cake is best eaten fresh or the day after making it.
- To Make a Glaze – easily whip up a simple glaze with sifted powdered sugar and milk. Add a tablespoon of milk to a cup of powdered sugar and stir. Adjust the ingredients as needed to make your glaze thinner or thicker until you reach your desired consistency.
Nutrition
The recipes on this blog are tested with a conventional gas oven and gas stovetop. It’s important to note that some ovens, especially as they age, can cook and bake inconsistently. Using an inexpensive oven thermometer can assure you that your oven is truly heating to the proper temperature. If you use a toaster oven or countertop oven, please keep in mind that they may not distribute heat the same as a conventional full sized oven and you may need to adjust your cooking/baking times. In the case of recipes made with a pressure cooker, air fryer, slow cooker, or other appliance, a link to the appliances we use is listed within each respective recipe. For baking recipes where measurements are given by weight, please note that results may not be the same if cups are used instead, and we can’t guarantee success with that method.
This post originally appeared here on August 1, 2012 and has since been updated with new photos and expert tips.
