Decadent Marbled Mint Cheesecake Brownies: The Ultimate Fudgy Swirl Treat
As someone who absolutely loves celebrating holidays and special occasions with themed treats, I can’t let a moment pass without creating a memorable dessert or drink. While these Marbled Mint Cheesecake Brownies are undeniably delicious any time of the year, they truly shine during our St. Patrick’s Day festivities. Their vibrant green swirl and refreshing mint flavor make them the perfect festive indulgence!
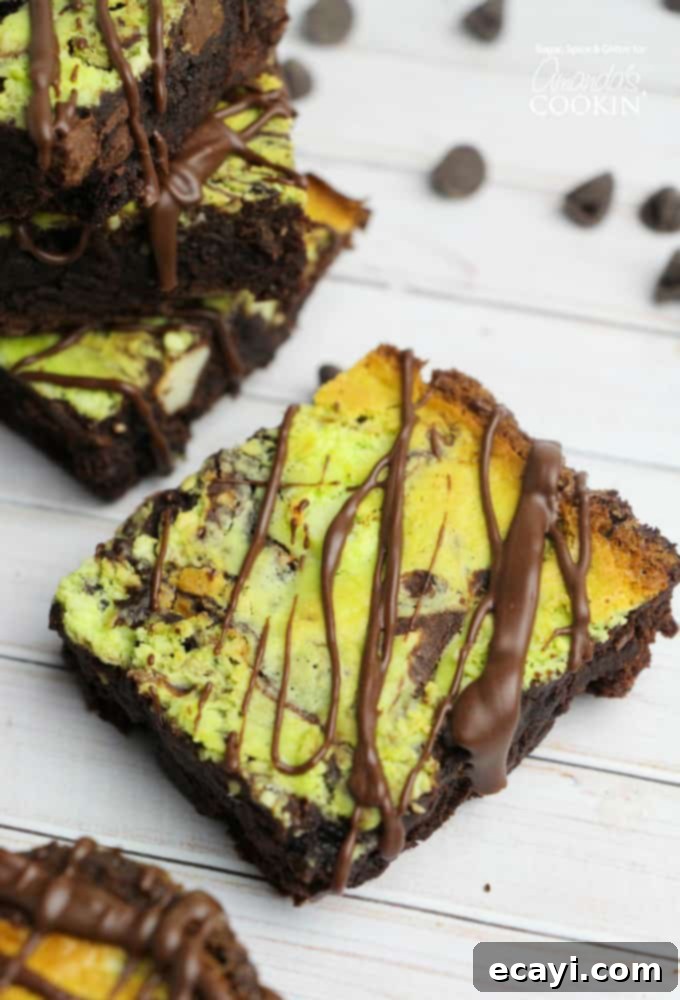
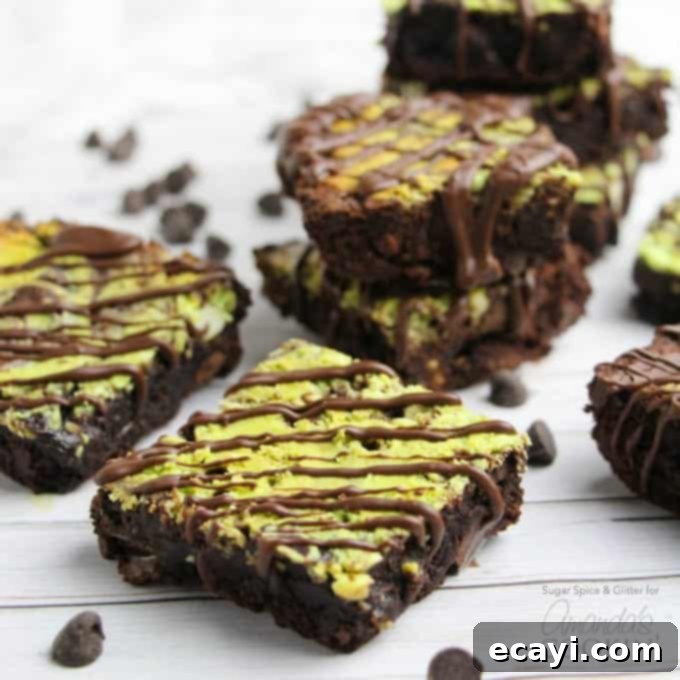
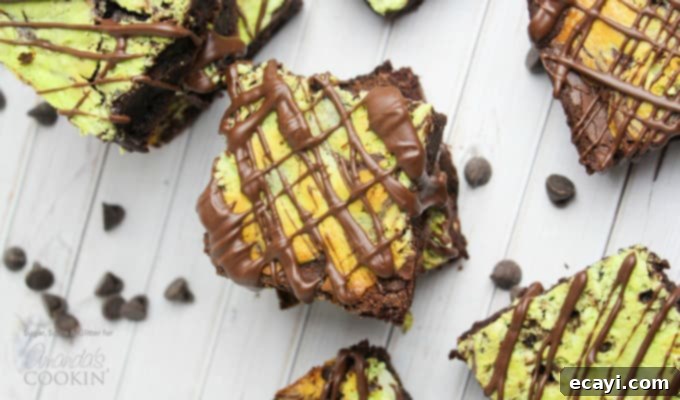
These brownies aren’t just a holiday novelty; they’re a testament to the irresistible combination of rich chocolate and creamy, tangy cheesecake, elevated by a refreshing burst of mint. Each bite offers a harmonious blend of textures and tastes: the crisp, crinkly top gives way to a dense, fudgy chocolate brownie base, beautifully contrasted by a smooth, cool mint cheesecake swirl. This recipe promises a truly decadent experience that will delight anyone who tries them.

Crafting the Perfect Marbled Mint Cheesecake Brownies
My quest for the perfect brownie recipe culminated a couple of years ago, and since then, there’s been no looking back. While I do have a kid-friendly black bean brownie recipe for those days when I’m aiming for something a bit healthier, this particular recipe is my absolute go-to for creating truly rich, decadent brownies. What sets them apart is that sought-after crispy, crinkly top – the hallmark of a perfectly baked brownie – combined with an ideal middle ground between intensely fudgy and slightly cakey texture.
The beauty of this brownie base lies in its incredible versatility. It serves as a fantastic foundation, ready to be transformed into countless delightful variations. There are endless possibilities when it comes to brownie recipes and ways to enhance them. You can easily add a luscious frosting, incorporate exciting new mix-ins like nuts, candies, or dried fruits, or, as we’ve done here, create a show-stopping marbled cheesecake brownie. This recipe truly invites creativity in the kitchen.
Exploring Flavor Possibilities for Your Cheesecake Swirl
For this particular recipe, we embraced the festive spirit of St. Patrick’s Day by opting for a vibrant mint flavor in the cheesecake swirl. The refreshing coolness of mint complements the deep chocolate of the brownie beautifully, creating a harmonious and invigorating taste profile. However, the cheesecake swirl is incredibly adaptable, allowing you to customize it for any occasion or preference. You can truly make the cheesecake swirl any flavor that pairs wonderfully with chocolate. Consider classic combinations like zesty orange, warm vanilla bean, or spicy cinnamon. These all sound incredibly delicious and are definitely on my list for future kitchen experiments!
Beyond these suggestions, imagine the possibilities with other extracts or additions: a hint of almond for a sophisticated touch, a splash of raspberry for a fruity contrast, or even a touch of coffee extract to intensify the chocolate notes. Don’t be afraid to experiment and find your favorite combination. Remember, a little goes a long way, especially with powerful extracts. For instance, you might be tempted to add more than 1/2 teaspoon of mint extract, but trust me – that small amount provides a significant, refreshing punch without overwhelming the rich chocolate.
Achieving the Perfect Marbling Effect
When it comes to marbling, there’s a specific technique that I’ve found works best for these particular brownies, especially given the different densities of the cheesecake and brownie batters. While a simple knife swirl often works for other marbled desserts, I’ve discovered a crucial change to make next time I prepare this recipe: instead of just running a knife through the top, use a spoon to actually *dig into* the brownie layer, gently pulling up spoonfuls of the rich brownie batter as you create the swirl. This method ensures that the thicker brownie batter and the lighter cheesecake mixture truly intertwine, resulting in a more pronounced and visually appealing marbled design throughout the entire brownie, rather than just on the surface.
Just a quick note: This post includes affiliate links, which means if you make a purchase through them, I may earn a small commission at no extra cost to you. These commissions help support my kitchen experiments and bring you more delicious recipes!

Find the full printable version of this recipe below, complete with detailed instructions and exact measurements. Before you dive into the recipe, here are a few kitchen tools that will make your baking experience even smoother.
Essential Kitchen Tools for Marbled Mint Cheesecake Brownies
- 8×8″ square pan: The perfect size for baking these fudgy brownies.
- Medium saucepan: For melting butter and combining initial brownie ingredients.
- 2 medium-sized mixing bowls: Essential for preparing the brownie and cheesecake batters separately.
- Whisk or wooden spoon: For stirring and combining ingredients.
- Electric mixer: To ensure your cheesecake mixture is perfectly smooth and lump-free.
- Measuring cups and spoons: For accurate ingredient measurements, crucial for baking success.
- Toothpicks: To check for doneness without overbaking.
- Spoons: For dolloping and creating that beautiful marble effect.
- Knife: For slicing your cooled brownies into perfect squares.

Marbled Mint Cheesecake Brownies Recipe
These Marbled Mint Cheesecake Brownies are a truly indulgent treat. They feature a rich, decadent chocolate brownie base with a perfectly crispy top, beautifully swirled with a creamy, refreshing mint cheesecake layer. The balance of fudgy chocolate and cool mint makes every bite a delightful experience, perfect for sharing (or not!).
Note: Frequently asked questions and additional tips can often be found within the blog post above, so feel free to scroll back up for more insights!
Marbled Mint Cheesecake Brownies
Course: Desserts
Cuisine: American
Servings: 24 brownies
Total Time: 45 mins
Calories: 159 per brownie
Author: Amanda Davis
Ingredients
- ⅔ cup butter
- 1 ¼ cups white sugar
- ¾ cup cocoa powder
- ½ teaspoon salt
- ½ teaspoon baking powder
- 2 large eggs
- 1 teaspoon vanilla extract
- ⅔ cup flour
- ½ cup milk chocolate chips
For the Cheesecake Layer:
- 1 large egg
- 1-8oz package cream cheese, softened
- ⅓ cup sugar
- ½ teaspoon mint extract
- Green food dye (optional)
Instructions
- Preheat oven to 325°F (160°C).
- Grease an 8×8-inch square pan, or line it with parchment paper and grease. Set aside.
- In a small bowl, sift together the cocoa powder, salt, and baking powder. Set aside.
- Place the butter in a medium saucepan over medium heat and cook for 8-10 minutes until slightly golden brown. Small pieces of milk fat will turn a chocolate brown; this is normal and adds flavor.
- Remove the pan from the stove and immediately stir in the white sugar with a wooden spoon.
- Add in the cocoa mixture and then allow the brownie batter to cool to room temperature, about 5-8 minutes.
- Meanwhile, prepare the cheesecake mixture.
- Combine the egg, softened cream cheese, sugar, and mint extract in a separate bowl. Beat with an electric mixer until the mixture is completely smooth and lump-free.
- If desired, add a few drops of green food dye to the cheesecake mixture and mix until you achieve your preferred shade of green. Set aside.
- Returning to the cooled brownie batter, add in the 2 large eggs one at a time, beating thoroughly after each addition. Then stir in the vanilla extract and flour, beating well for 2 minutes until just combined.
- Fold in the milk chocolate chips.
- Evenly spread the brownie mixture into the prepared baking pan.
- Add dollops of the green cheesecake mixture overtop of the brownie mixture. Use a spoon to gently dig into the brownie layer and swirl the two batters together to create a beautiful marbled design.
- Cover the pan loosely with aluminum foil and bake for 22-25 minutes, or until the cheesecake layer appears set.
- Remove the foil and check the doneness of the brownies with a toothpick inserted into the brownie portion (not the cheesecake part). If it comes out with moist crumbs, you may need to bake uncovered for an additional 5 minutes.
- Allow the brownies to cool completely in the pan before slicing into squares. Optionally, drizzle with melted chocolate for an extra touch of indulgence before serving.
Nutrition
Serving: 1 brownie | Calories: 159 cal | Carbohydrates: 20 g | Protein: 2 g | Fat: 8 g | Saturated Fat: 5 g | Cholesterol: 42 mg | Sodium: 120 mg | Potassium: 69 mg | Fiber: 1 g | Sugar: 15 g | Vitamin A: 265 IU | Calcium: 22 mg | Iron: 0.7 mg
Tried this Recipe? Pin it for Later!
Follow on Pinterest @AmandasCookin or tag #AmandasCookin!
Do you enjoy planning special treats for the holidays, or simply love a reason to bake something extraordinary? These decadent mint cheesecake brownies are perfect for sharing with family and friends, or for savoring all by yourself with a cup of coffee. Their vibrant appearance and delightful taste make them a fantastic centerpiece for any dessert table.
If you’re a fan of rich chocolate desserts and refreshing mint, you’ll love exploring these other popular recipes: the ever-popular Chocolate Lasagna, classic Chocolate Chocolate Cupcakes, this amazing Chocolate Mint Brownies recipe (for a double dose of minty goodness!), a delightful MINT Chocolate Lasagna, incredible Oreo Cheesecake Bars, or our creamy Homemade Mint Chocolate Chip Ice Cream! Each offers a unique way to enjoy chocolate and mint, or simply a comforting, sweet indulgence.
Happy baking, and enjoy every fudgy, minty bite!
The recipes on this blog are typically tested with a conventional gas oven and gas stovetop. Please be aware that oven performance can vary, especially as appliances age. Using an inexpensive oven thermometer can help ensure your oven maintains the correct temperature. If you use a toaster oven or countertop oven, cooking and baking times may need adjustment due to differences in heat distribution. For recipes made with specialized appliances like pressure cookers or air fryers, specific links to the models we use are provided within their respective posts. In baking, precise measurements are key, and for recipes where measurements are given by weight, results may not be identical if volume measurements (cups) are used instead. We recommend using the specified method for the best outcome.
