Effortless Indulgence: The Ultimate No-Bake Chocolate Peanut Butter Bars Recipe
Craving a decadent dessert that comes together in a flash? Look no further than these incredible no-bake chocolate peanut butter bars! This recipe is a true game-changer for anyone who loves the classic combination of rich chocolate and creamy peanut butter but doesn’t want to turn on the oven. You’ll be amazed at how simple they are to prepare, requiring less than 30 minutes of active time before they’re ready to chill and enjoy. Chances are, most – if not all – of the essential ingredients are already staples in your pantry, making this a go-to treat for any occasion, or no occasion at all!
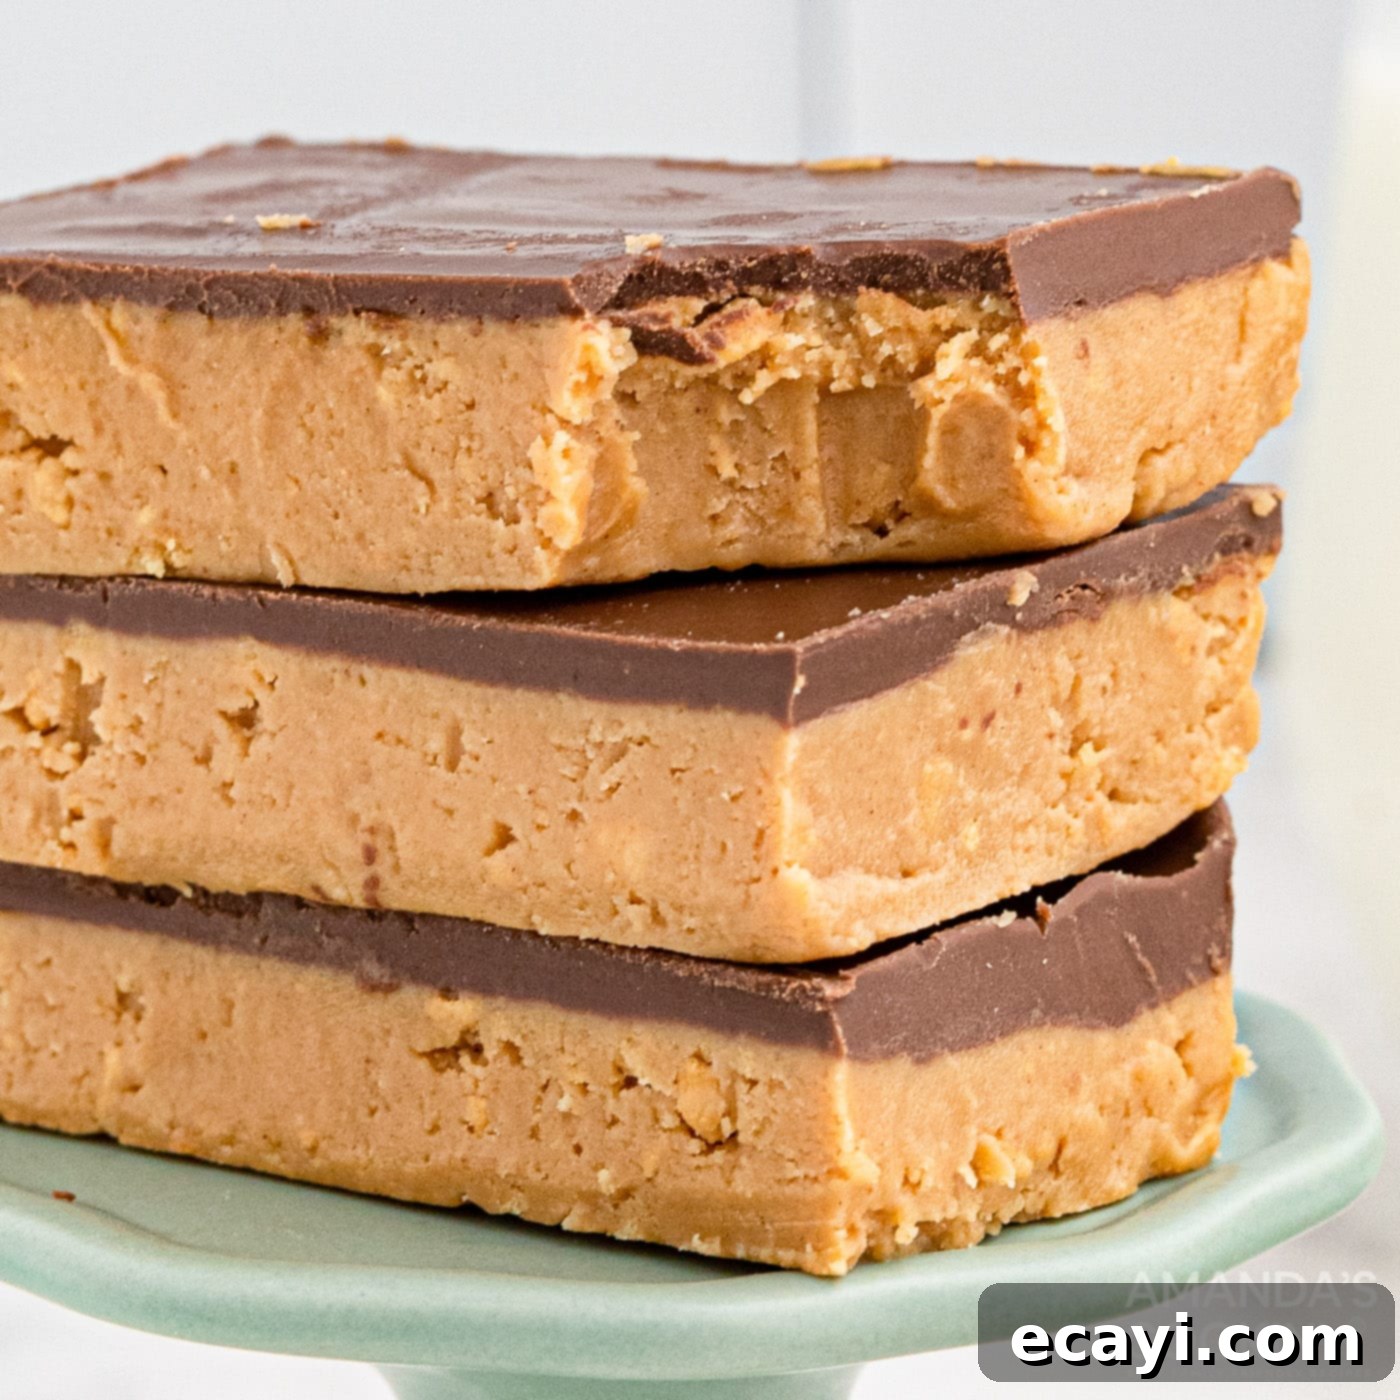
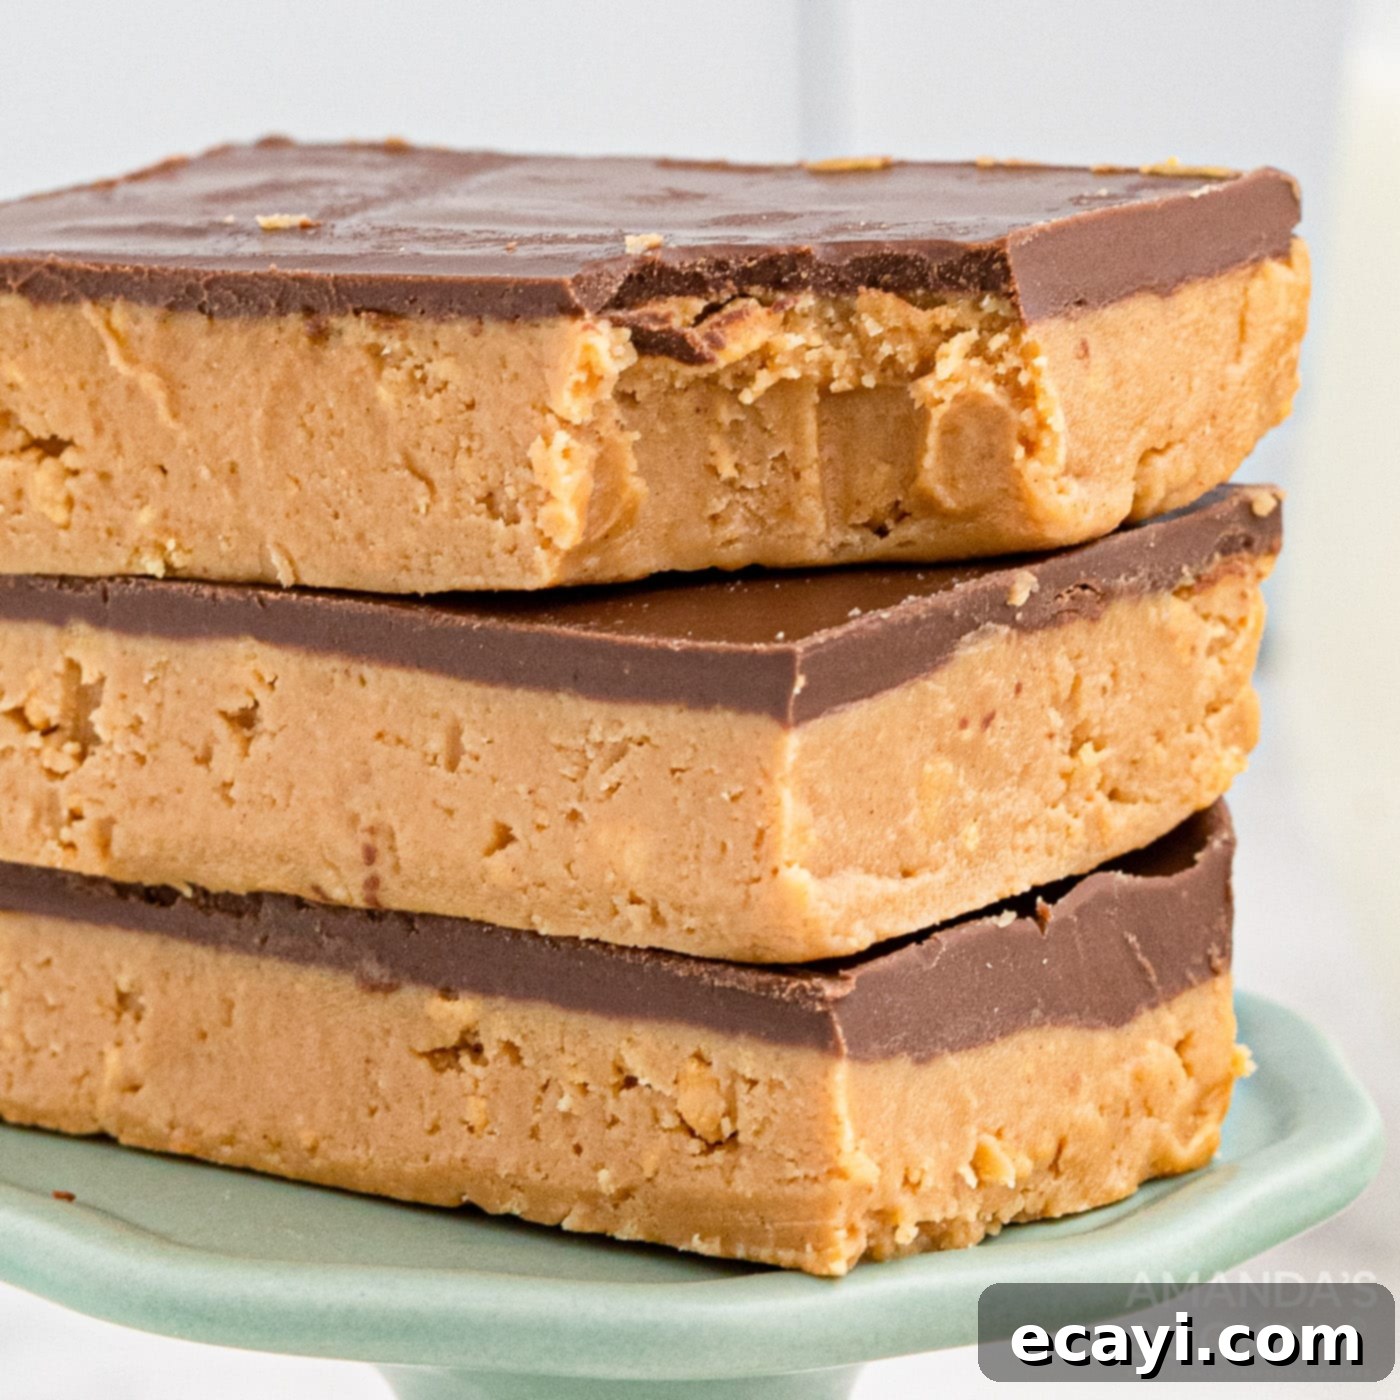
Imagine sinking your teeth into a perfectly balanced bar, with a smooth, dense peanut butter base crowned by a luscious chocolate topping. These bars aren’t just easy; they’re irresistibly delicious and guaranteed to be a crowd-pleaser. Whether you’re a seasoned baker or a complete novice in the kitchen, you’ll find this recipe straightforward and incredibly rewarding. Get ready to whip up a batch of pure bliss!
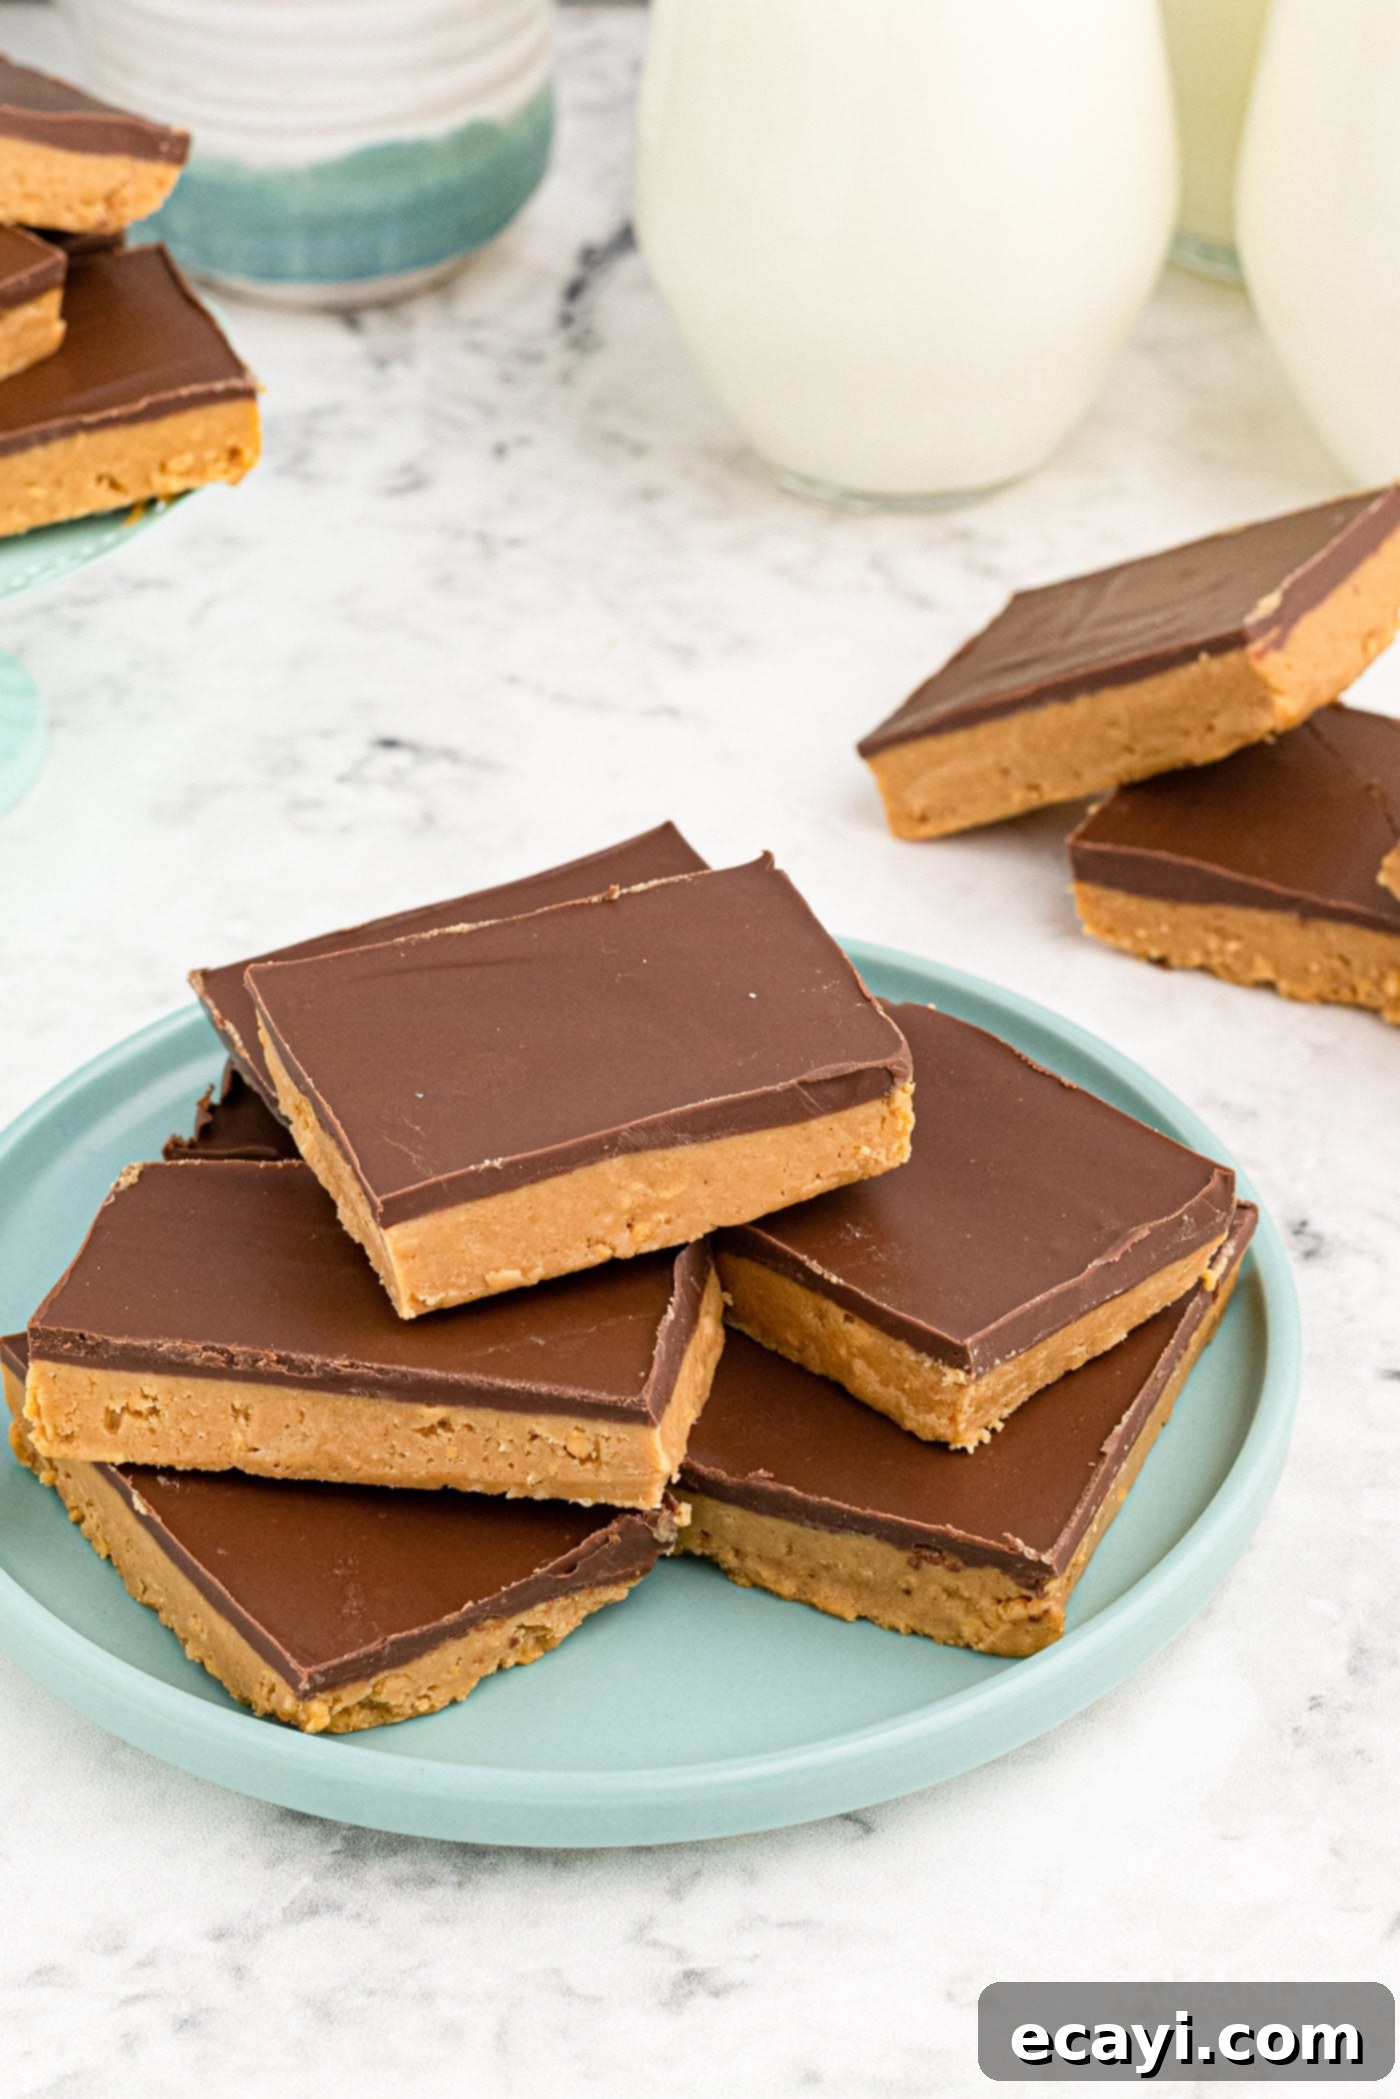
Why These No-Bake Peanut Butter Bars Are a Must-Try
There’s a reason why no-bake desserts consistently rank among the most popular recipes, and these chocolate peanut butter bars perfectly embody all the advantages. Their simplicity is unparalleled, making them accessible to everyone regardless of baking experience. This recipe is an ideal choice for busy individuals, last-minute gatherings, or simply when you desire a homemade treat without the fuss of complex steps or lengthy baking times.
Beyond their ease, these bars are particularly fantastic for a variety of situations. During the warm summer months, the last thing many of us want is to heat up our homes by cranking up the oven. No-bake treats like these allow you to enjoy a cool, refreshing dessert without breaking a sweat. They’re also incredibly versatile, perfect for potlucks, picnics, birthday parties, or simply as a comforting after-dinner indulgence. Their quick preparation time means you can effortlessly whip them up for unexpected guests or satisfy those sudden sweet cravings, especially when a teenager makes a last-minute request for something delicious!
The magic of these peanut butter bars lies in their minimal effort and maximum flavor payoff. The rich, sweet, and slightly salty profile of peanut butter pairs impeccably with the smooth, melting chocolate. Plus, with ingredients you likely already have on hand, there’s no need for a special trip to the grocery store. It’s a truly stress-free way to create a memorable dessert that everyone will adore.
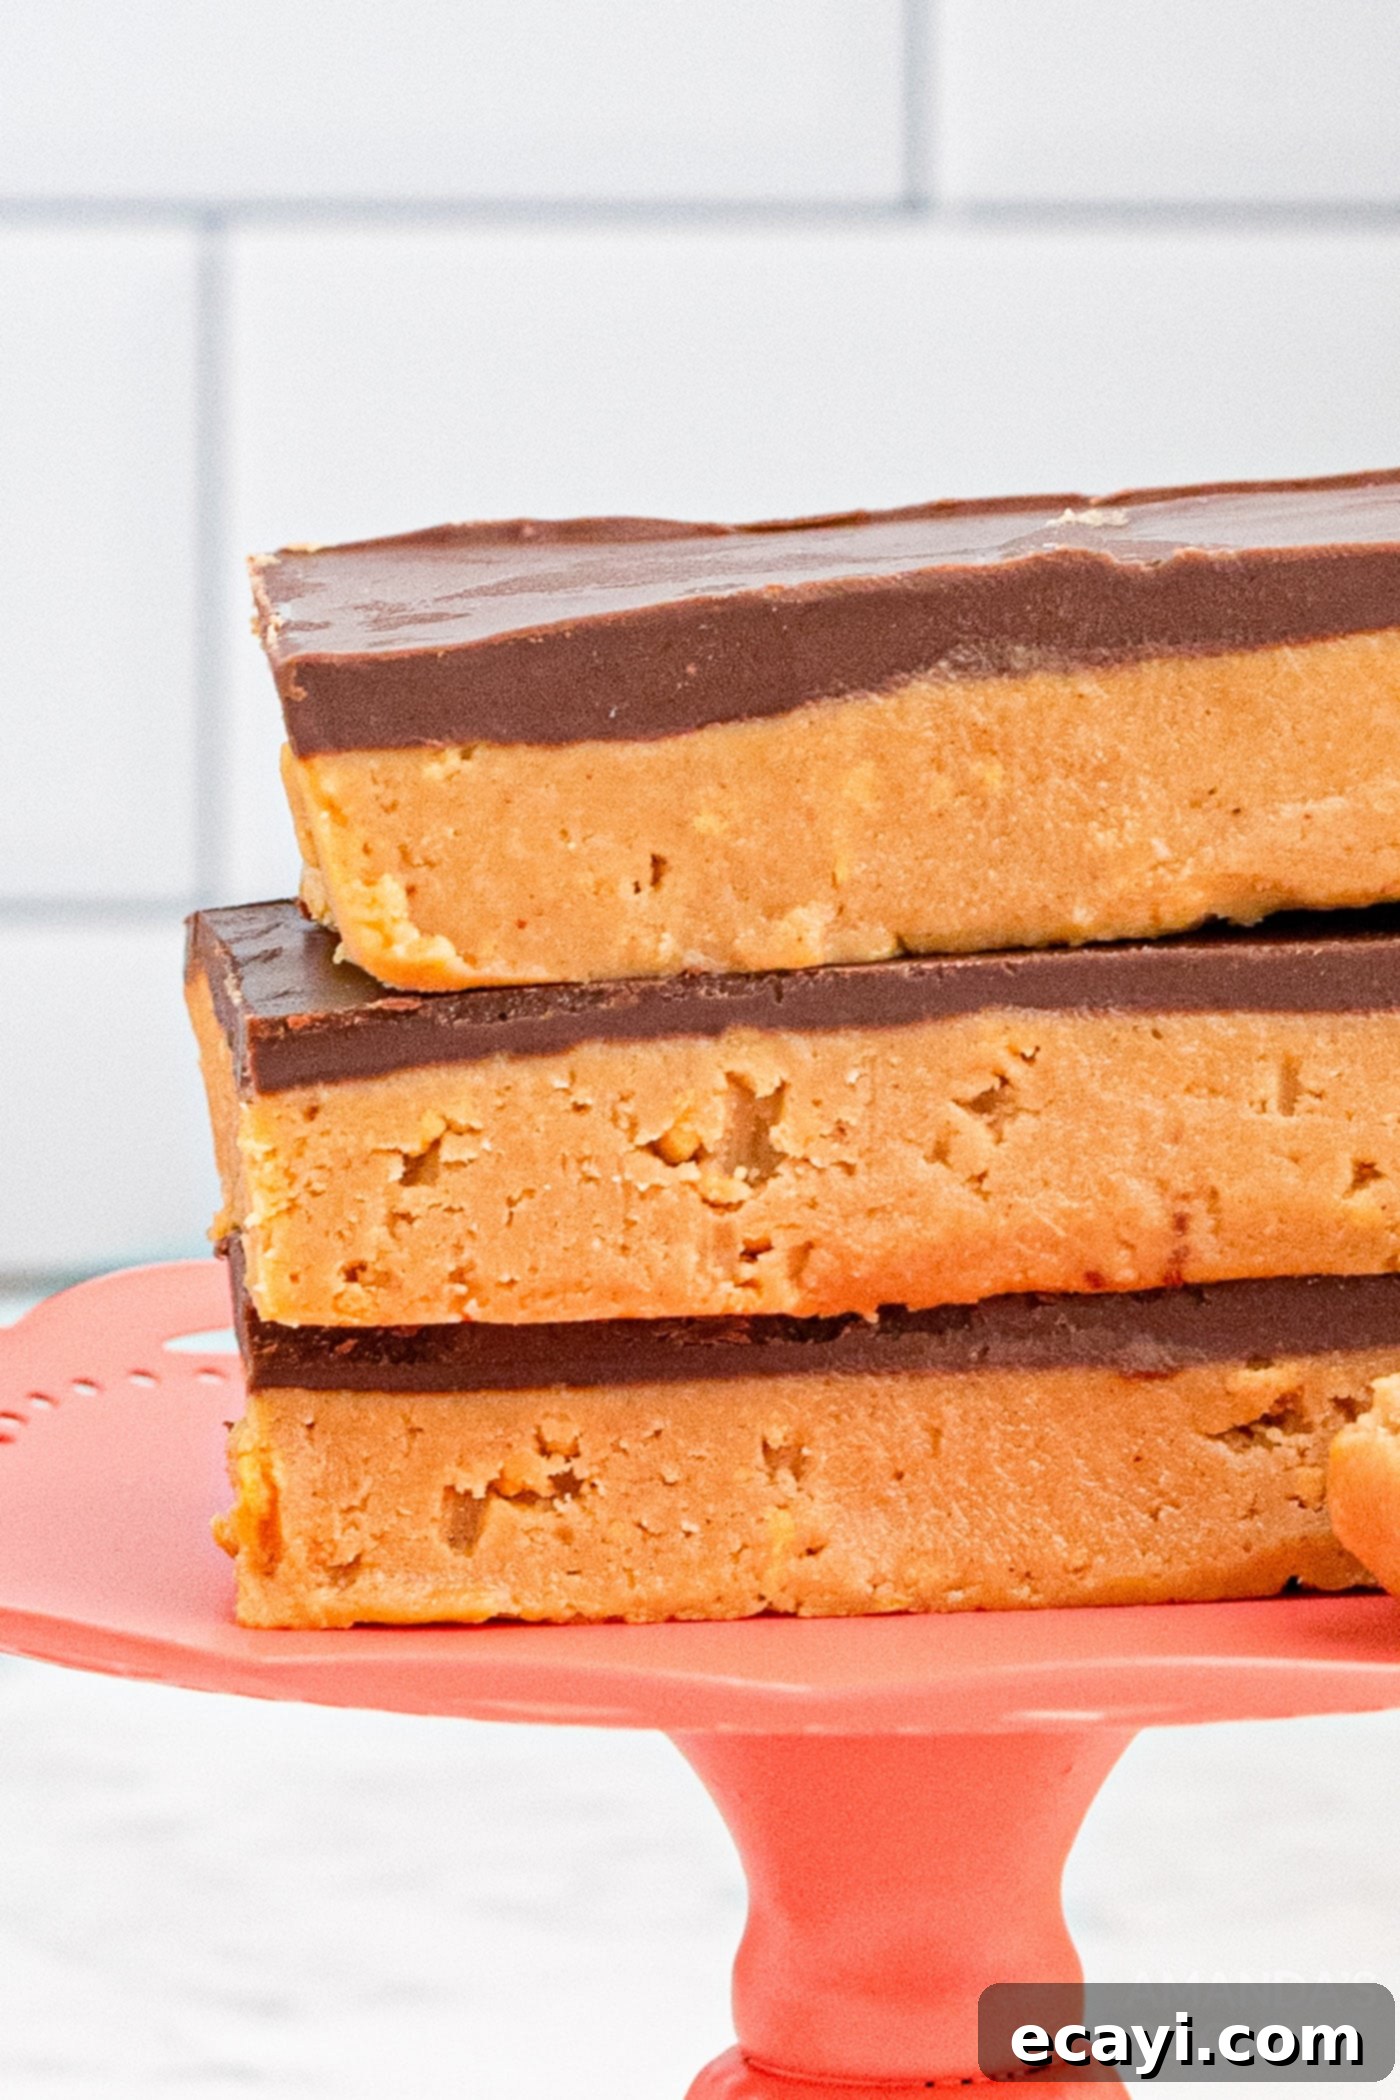
Essential Ingredients for Your No-Bake Peanut Butter Bars
One of the best features of this recipe is its straightforward ingredient list. You’ll only need a handful of common items to create these delightful bars. Each ingredient plays a crucial role in achieving the perfect texture and flavor profile that makes these no-bake peanut butter bars so irresistible. Here’s a closer look at what you’ll need to gather:
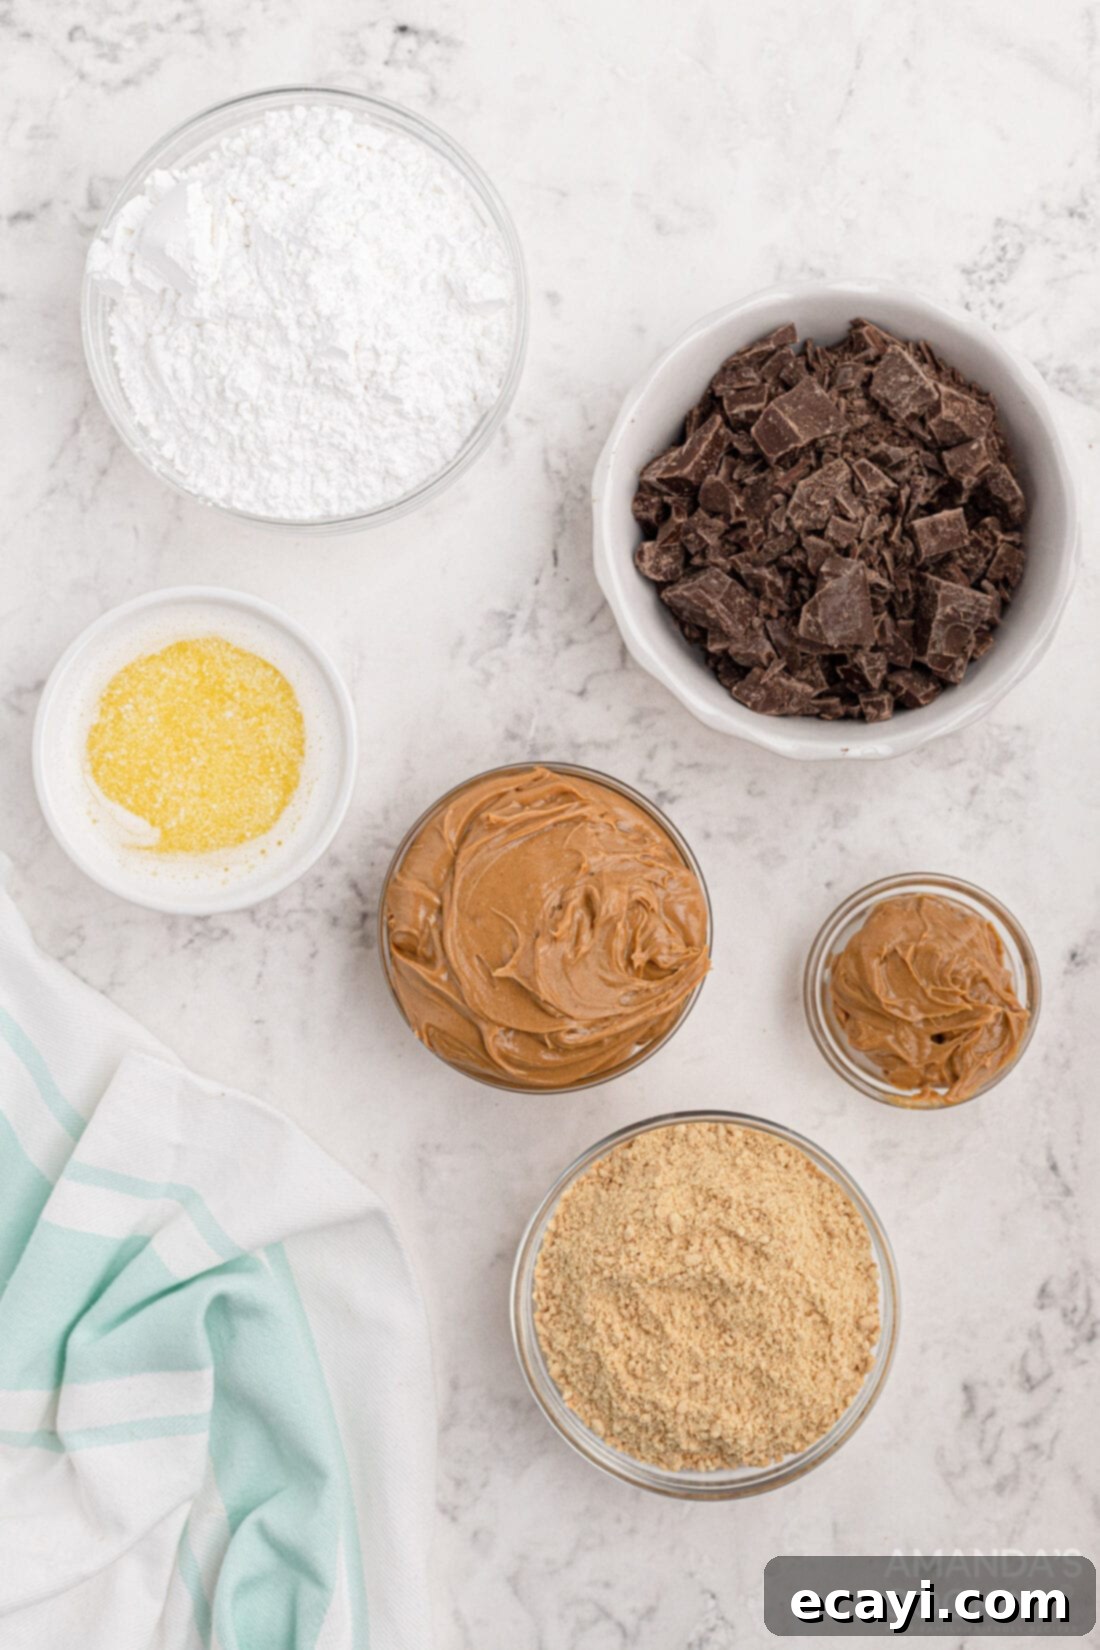
Ingredient Spotlight and Substitution Suggestions
Understanding your ingredients and their potential substitutes can elevate your baking (or no-baking!) experience. Here are some insights to help you perfect your chocolate peanut butter bars:
CHOCOLATE – For the optimal topping, I typically opt for high-quality baking chocolate. It melts beautifully, creating a silky-smooth ganache-like layer that sets wonderfully. However, if baking chocolate isn’t readily available, standard chocolate chips work just as well! You have the freedom to choose your preferred chocolate type: semi-sweet chocolate offers a classic balance, dark chocolate provides a richer, less sweet contrast to the peanut butter, and milk chocolate will give you a sweeter, more familiar “Reese’s-like” flavor profile. Experiment to find your favorite!
PEANUT BUTTER – This recipe thrives on creamy peanut butter, the kind found in most grocery stores (like Jif or Skippy). Its stable consistency is key to helping the bars firm up correctly. I have not personally tested this recipe with natural peanut butter, which tends to separate oils and has a looser texture. If you choose to use natural peanut butter, be aware that the bars might not harden as much. To counteract this, some of my adventurous readers have suggested adding a little extra binder, such as additional animal cracker crumbs or graham cracker crumbs, to help the mixture solidify properly. This small adjustment can make a big difference in achieving the desired bar consistency.
BUTTER – Unsalted butter is preferred, as it allows you to control the overall saltiness of the bars. Since peanut butter often contains salt, using unsalted butter prevents the dessert from becoming overly salty. Ensure it’s fully melted before combining with the other base ingredients for a smooth mixture.
POWDERED SUGAR – Also known as confectioners’ sugar, this fine sugar is essential for achieving the smooth, melt-in-your-mouth texture of the peanut butter base. Granulated sugar won’t work as effectively here, as it would create a grainy texture.
ANIMAL CRACKER CRUMBS – These provide the necessary structure and a subtle sweetness to the base. They’re a fantastic choice, but you have great flexibility here! Vanilla wafers are an excellent alternative, offering a slightly richer vanilla flavor. Graham cracker crumbs are another popular and equally delicious option, adding a classic “pie crust” dimension. Even Biscoff cookies or digestive biscuits, finely crushed, could provide an interesting flavor twist. The key is to ensure they are finely crushed to integrate smoothly into the base.
Crafting Your Irresistible No-Bake Peanut Butter Bars
These step-by-step photos and detailed instructions are provided to help you visualize the process of making this delightful recipe. For the complete printable version of this recipe, including exact measurements and a comprehensive list of instructions, simply Jump to Recipe at the bottom of this page.
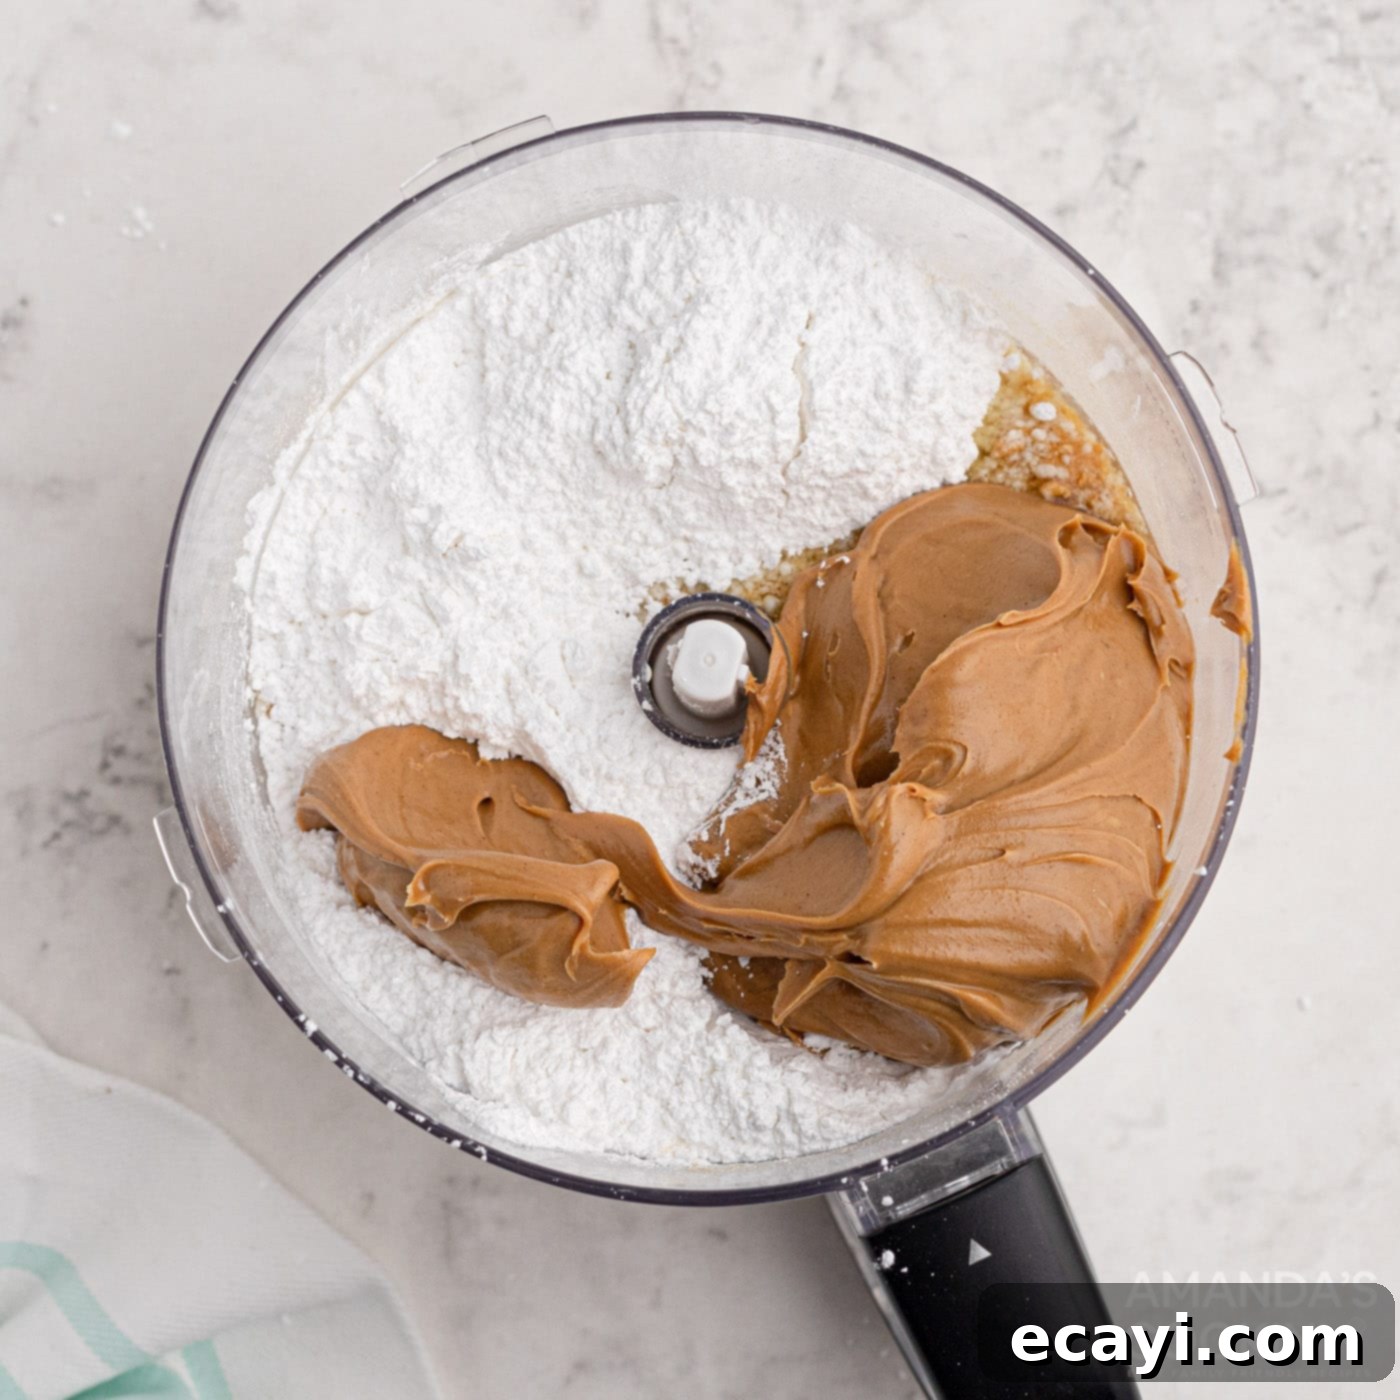
- Prepare the Peanut Butter Base: Begin by combining the melted unsalted butter, animal cracker crumbs (or your chosen alternative), powdered sugar, and creamy peanut butter in either a stand mixer or a food processor. Process or mix until all ingredients are thoroughly combined and the mixture is smooth and uniform. This step is crucial for achieving the signature dense and chewy texture of the bars. Once mixed, press this delicious base evenly into a 13×9 inch baking pan. Ensure it’s pressed firmly to create a solid foundation.

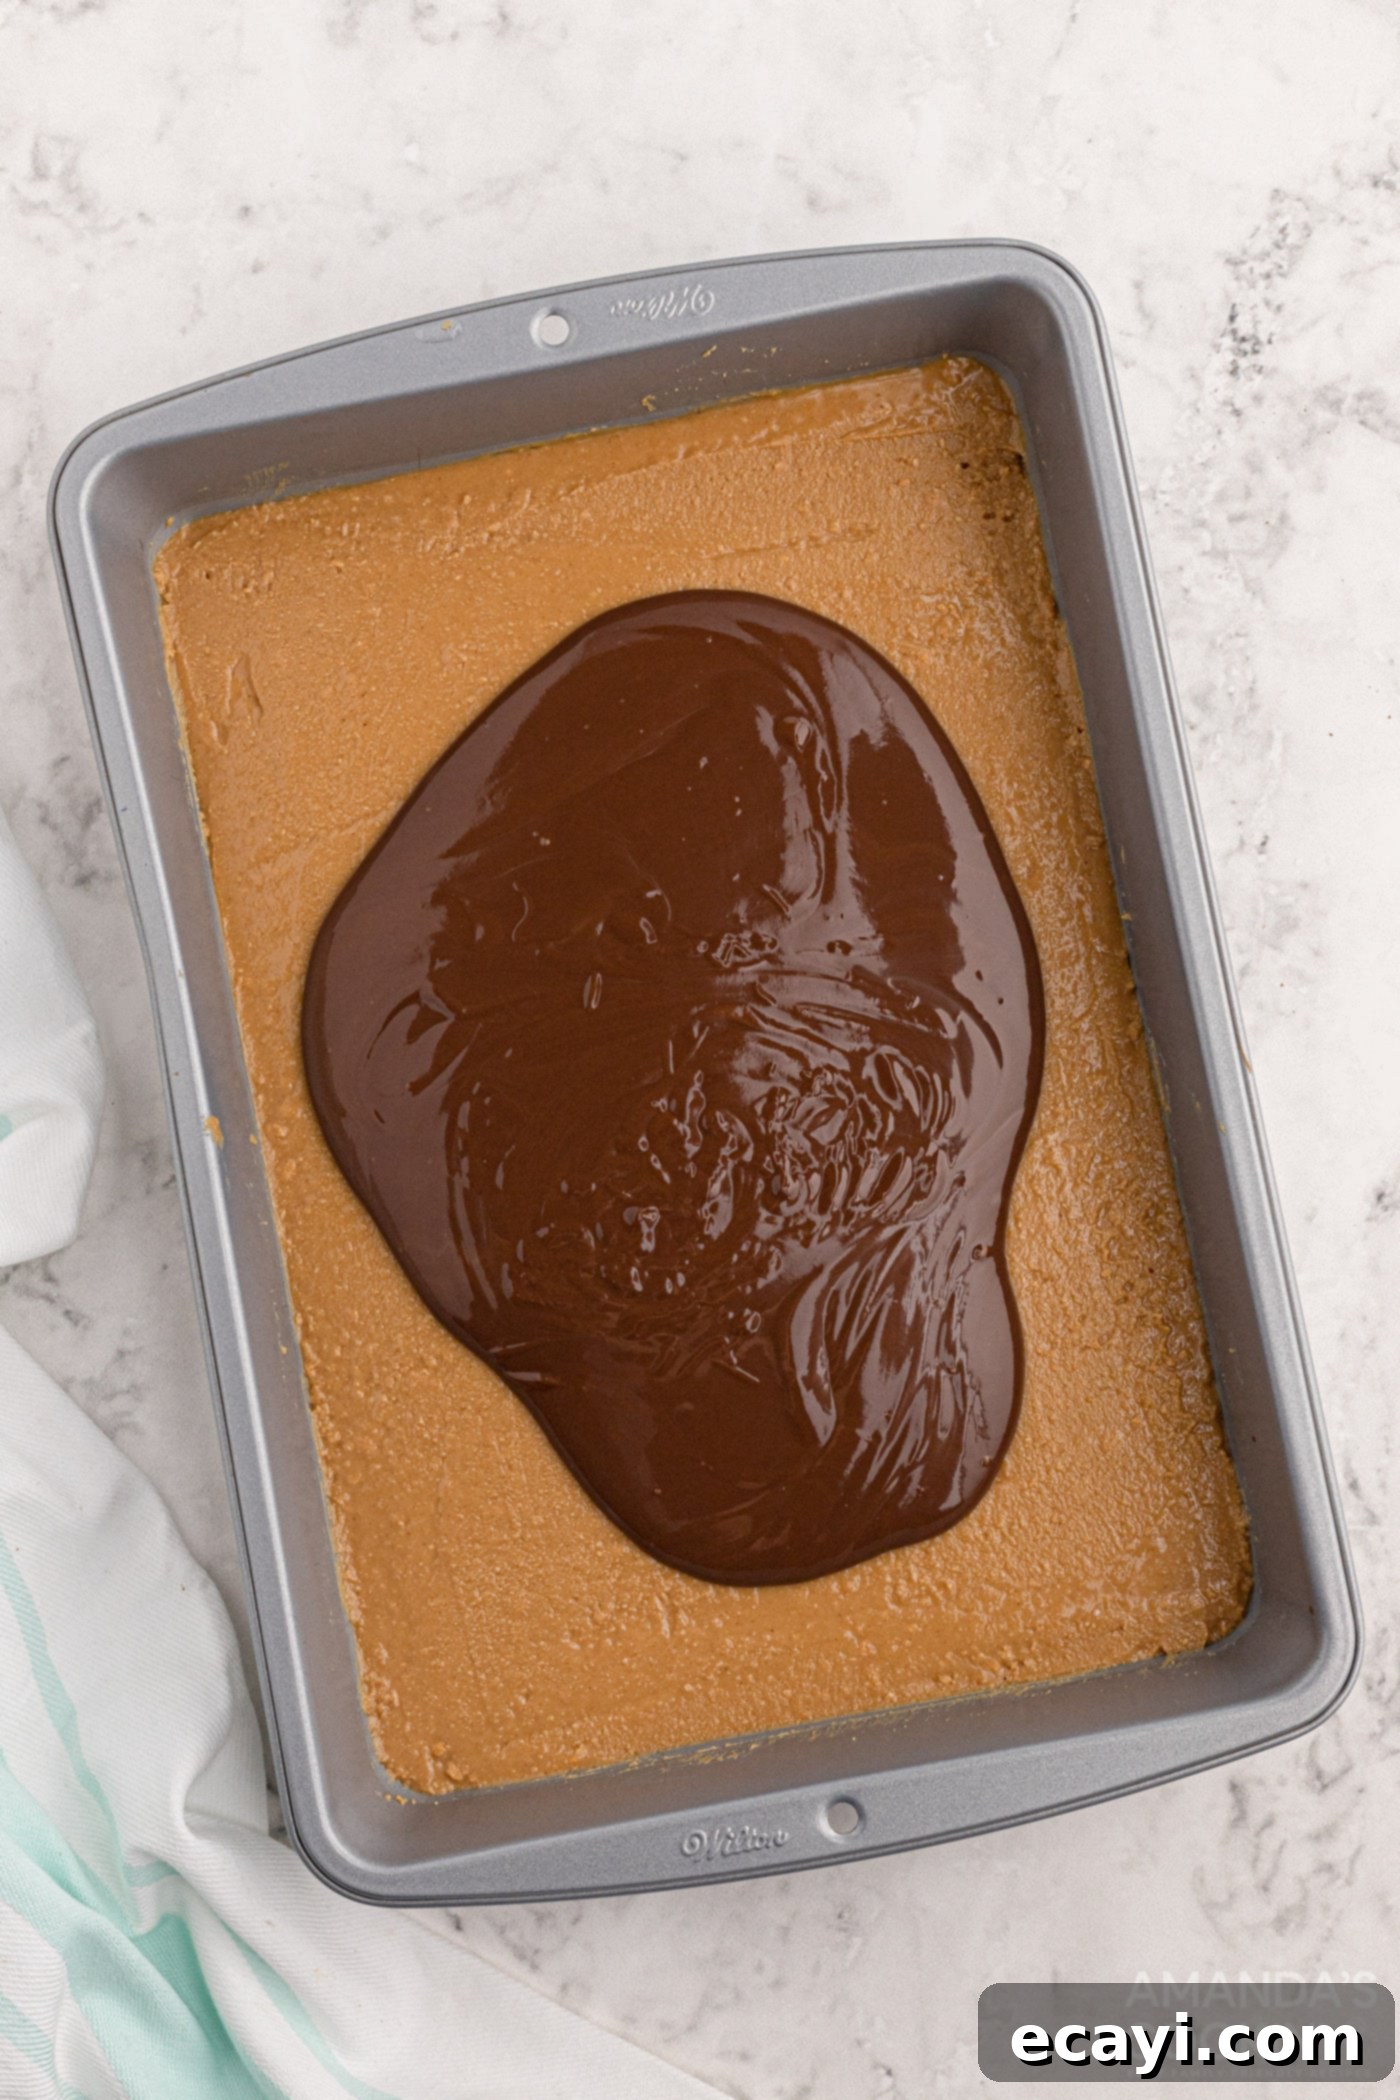
- Create the Chocolate Topping: For the decadent topping, melt the chocolate (either baking chocolate or chips) and the remaining peanut butter together. The easiest method is to use a microwave: heat in 1-minute intervals, stirring well after each interval. If it’s not completely smooth after the first minute, continue heating in short 10-second bursts, stirring vigorously in between, until you achieve a glossy, pourable consistency. Be careful not to overheat the chocolate, as it can seize.

- Layer and Chill: Once your chocolate topping is perfectly smooth, pour it evenly over the pressed peanut butter layer in your baking pan. Use a spatula to gently spread it all the way to the edges, ensuring every inch of the bar is covered in chocolatey goodness.
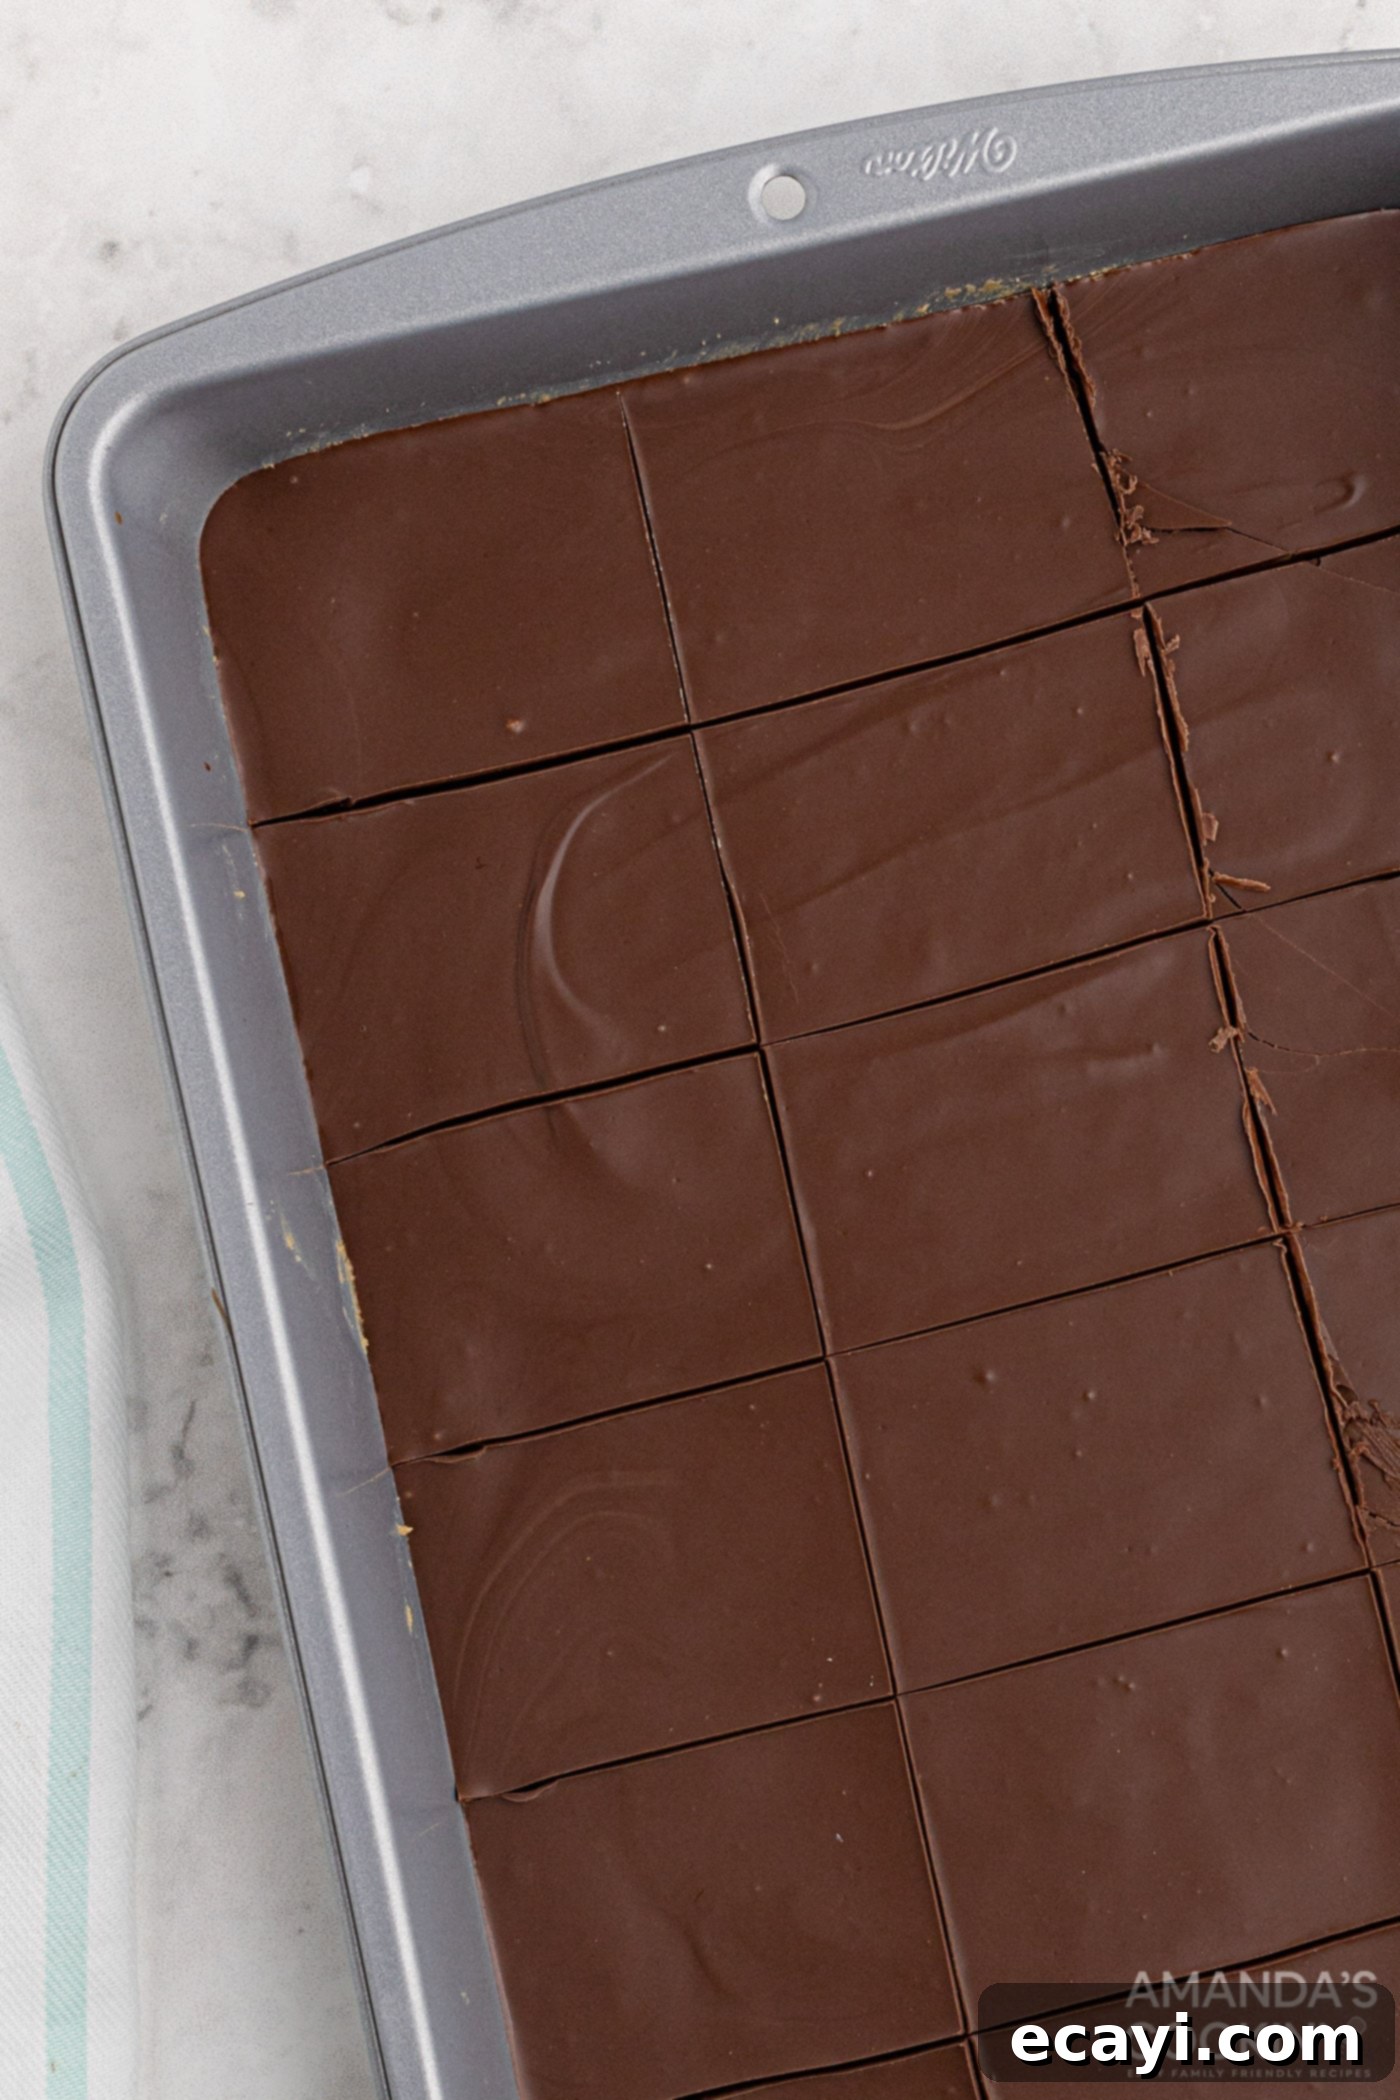
- Chill and Serve: Now comes the waiting game, but thankfully, it’s not a long one! Transfer your dessert to the refrigerator to chill for approximately one hour. This allows both the peanut butter base and the chocolate topping to firm up beautifully, making the bars easy to cut. If you’re in a hurry, you can speed up the process by placing them in the freezer for about 15-20 minutes. Once firm, remove the pan, use a sharp knife (running it under hot water and wiping it clean between cuts can help achieve cleaner edges) to cut the dessert into individual bars, and serve.

Frequently Asked Questions About No-Bake Peanut Butter Bars
No problem at all! While a food processor is great for achieving the smoothest mixture quickly, you can absolutely use a hand mixer or even a sturdy blender. If using a hand mixer, ensure you mix until the crumbs are very finely incorporated with the wet ingredients. A blender might require scraping down the sides more often to ensure everything is evenly blended. The goal is a uniform, pliable peanut butter base.
They are wonderfully reminiscent of Reese’s Peanut Butter Cups, especially with the rich peanut butter filling and chocolate topping! This recipe traditionally uses semi-sweet chocolate for the topping, which provides a lovely contrast. If you prefer a sweeter, more classic Reese’s flavor profile, simply substitute milk chocolate for the semi-sweet chocolate. Whether you use baking chocolate or chocolate chips, the result will be a delightful, familiar taste that peanut butter cup lovers will adore.
Yes, absolutely! These no-bake peanut butter bars freeze beautifully, making them excellent for meal prep or saving for future cravings. I recommend flash freezing the individual bars first on a baking sheet lined with parchment paper until they are mostly solid. Once firm, transfer them to a large zip-top freezer bag or an airtight container, separating layers with parchment paper to prevent sticking. They can be frozen for up to 3 months. To enjoy, simply thaw them in the refrigerator or at room temperature for a quick treat.
These bars are best stored in an airtight container in the refrigerator. This helps them maintain their firm texture and prevents the chocolate from melting, especially in warmer environments. They will stay fresh and delicious in the fridge for up to a week. For longer storage, as mentioned above, freezing is an excellent option.
Yes, with a few simple substitutions, you can easily adapt this recipe. For a gluten-free version, simply use gluten-free graham cracker crumbs or any other suitable gluten-free crushed cookies for the base. To make them vegan, use a plant-based butter alternative (ensure it’s suitable for baking) and choose a dairy-free chocolate for the topping. Always double-check ingredient labels to ensure they meet your dietary needs.
These bars are a fantastic canvas for creativity! You can sprinkle mini chocolate chips or chopped peanuts on top of the melted chocolate layer before chilling for added texture and flavor. A drizzle of white chocolate or a sprinkle of sea salt can also elevate the presentation and taste. For an extra crunch in the base, consider adding a tablespoon or two of finely chopped pretzels. The possibilities are endless!
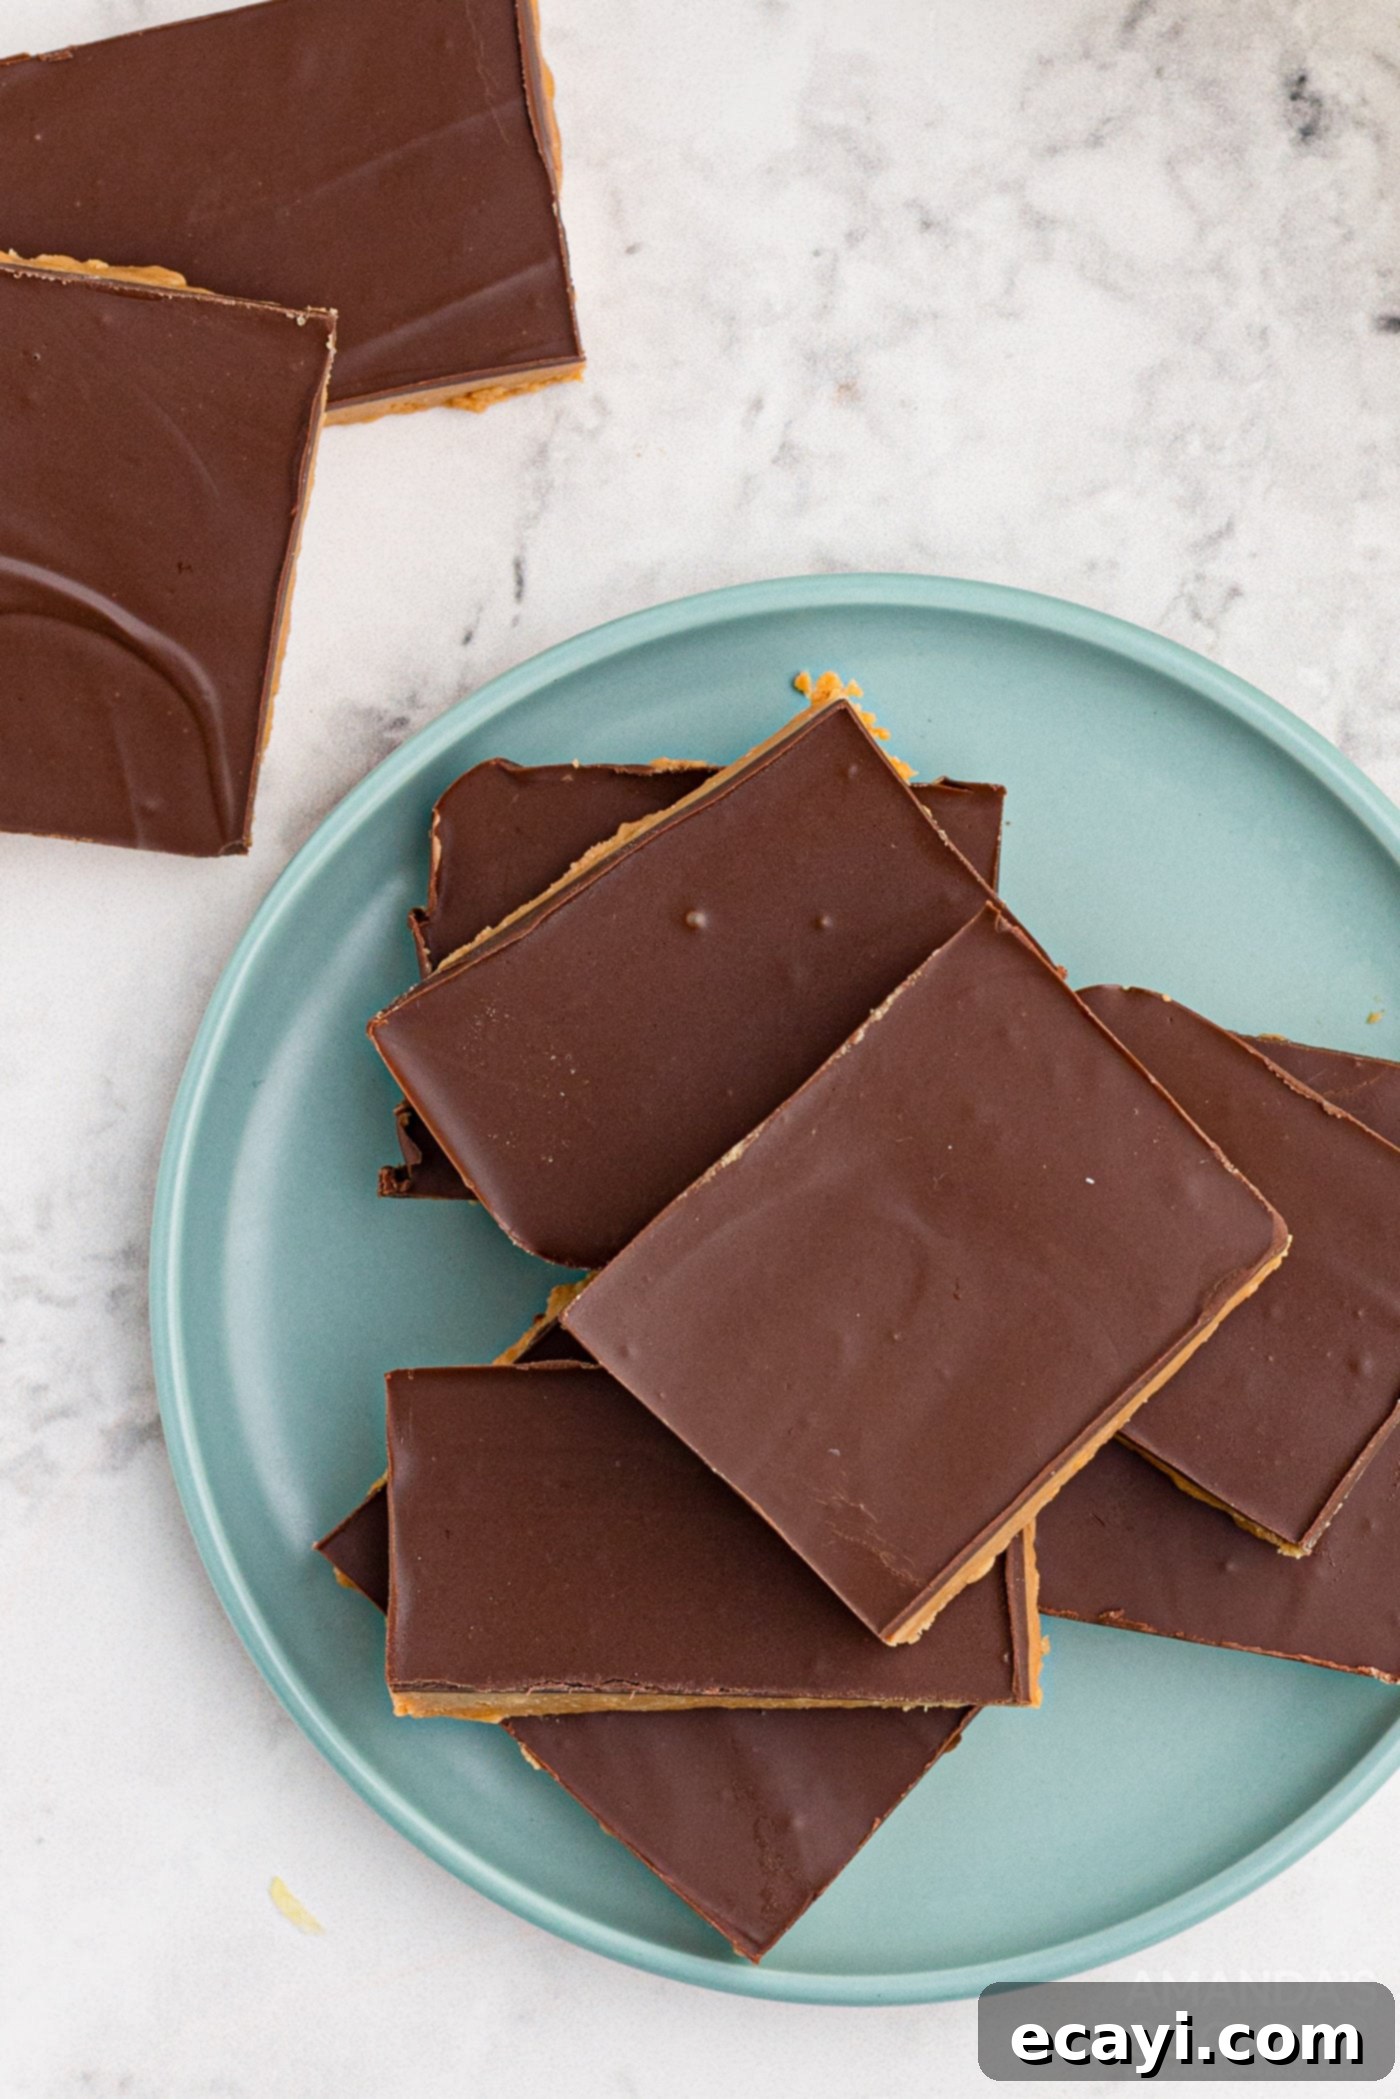
In conclusion, if you’re a devoted fan of the harmonious pairing of chocolate and peanut butter, these no-bake chocolate-topped peanut butter bars are an absolute must-make. They are incredibly easy to prepare, require minimal kitchen equipment, and are ready to satisfy your sweet tooth in a remarkably short amount of time. Enjoy creating this delightful dessert and sharing it with loved ones!
More Irresistible Peanut Butter Recipes to Explore
If these delicious bars have sparked your love for all things peanut butter, you’re in luck! Here are more fantastic recipes featuring this beloved ingredient:
- Peanut Butter Blossoms
- Soft and Chewy Peanut Butter Cookies
- Decadent Chocolate Peanut Butter Lasagna
- Creamy Peanut Butter Apple Dip
- Rich Chocolate Peanut Butter Cookies
- Dreamy No-Bake Peanut Butter Pie
- Fudge Brownies with Silky Peanut Butter Frosting
- Classic Chocolate Peanut Butter Balls
- Homemade Peanut Butter Cups
- Indulgent Chocolate Peanut Butter Cupcakes
- Crunchy No-Bake Peanut Butter Cornflake Cookies
I absolutely love spending time in the kitchen, experimenting with new flavors, and sharing my culinary discoveries and experiences with all of you! Remembering to visit back daily for new recipes can be tricky, which is why I offer a convenient newsletter delivered straight to your inbox every time a fresh recipe is posted. Simply subscribe today and start receiving your free daily recipes, ensuring you never miss out on a delicious idea!
No Bake Peanut Butter Bars
IMPORTANT – There are often Frequently Asked Questions within the blog post that you may find helpful. Simply scroll back up to read them!
Print It
Pin It
Rate It
Save ItSaved!
Ingredients
- 1 cup unsalted butter melted
- 2 cups animal cracker crumbs or vanilla wafers, graham crackers, etc
- 2 cups powdered sugar
- 1 ½ cups creamy peanut butter
Topping
- ¼ cup peanut butter
- 10 oz semi-sweet chocolate chopped
Things You’ll Need
-
Food processor
-
13×9 baking pan
Before You Begin
- You can use a hand mixer or even a blender if you don’t have a food processor. We like the food processor because it makes for the smoothest mixture.
- This recipe uses semi-sweet chocolate for the topping. If you want it a bit sweeter, and closer to the flavor of a Reese’s Peanut Butter Cup, simply substitute milk chocolate for the semi-sweet. I prefer to use baking chocolate, but you can certainly use chocolate chips instead.
Instructions
-
In a mixer or a food processor, combine the first four ingredients until smooth. Spread into a 13×9 baking pan.1 cup unsalted butter, 2 cups animal cracker crumbs, 2 cups powdered sugar, 1 1/2 cups creamy peanut butter
-
For the topping, melt the chocolate and peanut butter together in the microwave for 1 minute. Stir. If not completely melted you can heat in 10 second intervals until smooth. Spread over the top of the peanut butter layer.1/4 cup peanut butter, 10 oz semi-sweet chocolate
-
Chill dessert in the refrigerator for about an hour, or in the freezer for 15 minutes. Cut into bars and serve.
Nutrition
The recipes on this blog are tested with a conventional gas oven and gas stovetop. It’s important to note that some ovens, especially as they age, can cook and bake inconsistently. Using an inexpensive oven thermometer can assure you that your oven is truly heating to the proper temperature. If you use a toaster oven or countertop oven, please keep in mind that they may not distribute heat the same as a conventional full-sized oven and you may need to adjust your cooking/baking times. In the case of recipes made with a pressure cooker, air fryer, slow cooker, or other appliance, a link to the appliances we use is listed within each respective recipe. For baking recipes where measurements are given by weight, please note that results may not be the same if cups are used instead, and we can’t guarantee success with that method.
This delightful recipe for no-bake peanut butter bars was initially shared on April 15, 2013. It has since undergone a comprehensive update, now featuring expanded expert tips, valuable insights, and fresh, inspiring new photos to enhance your cooking experience.
