Irresistible White Chocolate Candy Cane Pretzel Sticks: Your Ultimate Guide to a Sweet & Salty Holiday Treat
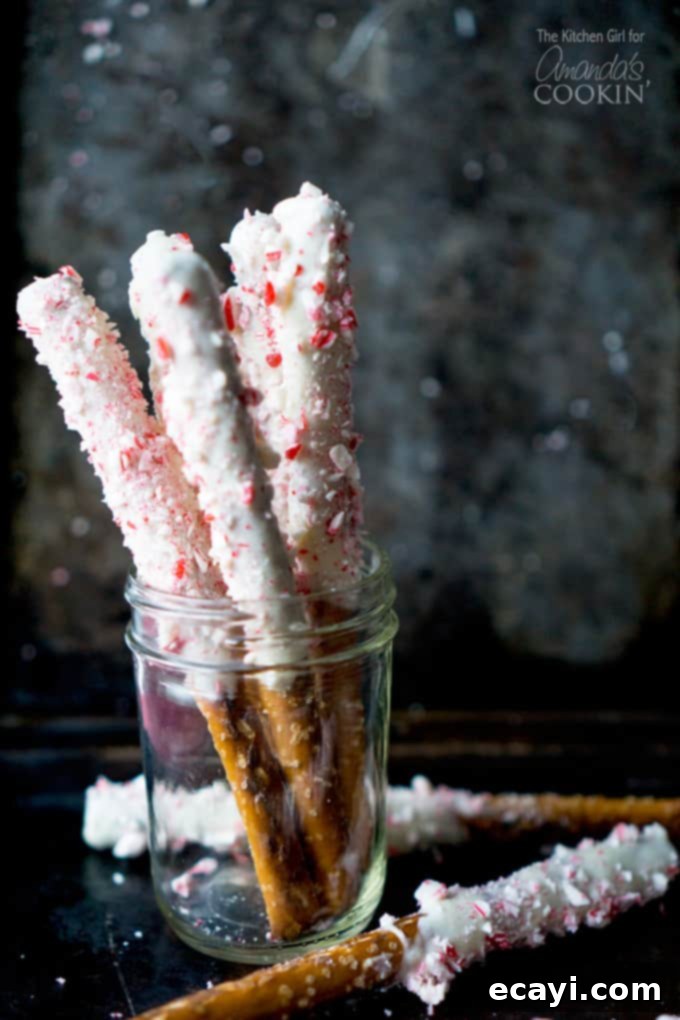
Get ready to embrace the festive spirit with one of the most delightfully addictive holiday treats: White Chocolate Candy Cane Pretzel Sticks! These enchanting sweet and salty Christmas wands are not only incredibly fun to prepare but even more satisfying to devour. Loved by both kids and adults, they strike the perfect balance between crunchy pretzel, smooth white chocolate, and refreshing peppermint. While they might seem simple, mastering the perfect chocolate coating can be a little tricky. Don’t worry, we’re here to guide you through every step to ensure your pretzel sticks are nothing short of spectacular!

The Secret to Perfect White Chocolate Candy Cane Pretzel Sticks
At first glance, melting chocolate, dipping pretzels, and dusting them with crushed candy cane sounds like a breeze, right? Well, it can actually be quite a delicate process. The key to success, and the most common stumbling block, hinges entirely on achieving that flawless chocolate coating. Many recipes often suggest using “candy coating” or “candy melts” because they are formulated to melt smoothly and harden quickly without tempering. However, for a truly gourmet experience that elevates these festive treats from good to absolutely extraordinary, I highly recommend opting for real, high-quality white chocolate.
When I first ventured into creating this recipe, my aim was to use a premium chocolate product – the kind you’d happily snack on straight from the bag, whose rich flavor makes it disappear from your pantry in no time. Living in the Bay Area, we are fortunate to have access to renowned gourmet chocolate brands like Guittard and Ghirardelli. Both offer exceptional quality, and after years of extensive use, I honestly can’t definitively pick a “better” one; they both deliver incredible results.
Choosing the Best Chocolate for Your Pretzel Rods
For this particular recipe, I chose Guittard Vanilla Milk Chips. And let me tell you, I’m incredibly pleased I “rebelled” against the standard non-gourmet candy coatings. You can genuinely taste the superior quality of these chips – they are absolutely perfect for the job. Beyond their exquisite flavor, Guittard Vanilla Milk Chips also boast other fantastic qualities: they are non-GMO, peanut-free, gluten-free, and crafted with real vanilla, which is a huge win for both taste and dietary considerations. Using a premium white chocolate like this makes all the difference, transforming a simple holiday snack into a genuinely luxurious indulgence.
Why avoid candy melts if real chocolate is tricky? While candy melts are convenient due to their stable nature (they don’t require tempering), they often contain hydrogenated oils and artificial flavors, which can result in a waxy texture and a less authentic chocolate taste. Real chocolate, made with cocoa butter, offers a richer, smoother mouthfeel and a more complex flavor profile that truly shines through with the peppermint. The slight extra effort for real chocolate is well worth the payoff in taste and quality.
Mastering the Melt: Tips for a Smooth Chocolate Coating
Working with real white chocolate requires a bit more care than candy melts, but it’s entirely manageable with these tips:
- Low and Slow is the Way to Go: Whether you’re using a microwave or a double boiler, gentle heat is crucial. Overheating white chocolate can cause it to seize (become thick and clumpy) or scorch, ruining its texture and flavor.
- Microwave Method: Place your white chocolate chips in a microwave-safe bowl. Heat on medium power (50% or 70%) in short intervals of 30-50 seconds. Stir thoroughly after each interval. White chocolate holds its shape even when melted, so stirring is essential to determine its true consistency. Continue heating and stirring until the chocolate is smooth and lump-free. Don’t rush this step!
- Double Boiler Method: If you prefer a more controlled approach, a double boiler is excellent. Place your chocolate in a heatproof bowl set over a saucepan of simmering water (ensure the bottom of the bowl doesn’t touch the water). The steam gently melts the chocolate. Stir constantly until smooth.
- Keep it Dry: Water is white chocolate’s enemy! Even a tiny drop of water or steam can cause white chocolate to seize and become grainy and unusable. Ensure all your bowls, spatulas, and utensils are completely dry.
- Optimal Consistency: You want a smooth, flowing consistency that coats the pretzels evenly without being too thick or too thin. If your chocolate is too thick, you can try adding a very small amount (half a teaspoon at a time) of coconut oil or a neutral oil like canola to thin it slightly, stirring well after each addition. Be cautious, as too much oil can affect setting.

Essential Ingredients for These Delicious Holiday Pretzel Sticks:
- 8 oz bag salted pretzel rods: The rods are key for easy dipping and a satisfying crunch. The saltiness provides a fantastic contrast to the sweet chocolate and peppermint.
- 10 oz or 12 oz bag vanilla milk chips or white melting chocolate: As discussed, opt for high-quality gourmet chips for the best flavor and texture.
- 3 oz peppermint stick: One standard peppermint stick is usually enough, but having a little extra doesn’t hurt, especially if you love a strong minty flavor. You can also use individual candy canes.
Helpful Kitchen Tools for Your White Chocolate Candy Cane Pretzel Sticks:
Having the right tools can make the process much smoother and more enjoyable. Here’s what you’ll find beneficial:
- Bumpy-sided tenderizing tool (or a rolling pin): Perfect for crushing your candy canes evenly. The bumpy side helps create varied textures, from fine dust to small chunks. A sturdy rolling pin and a Ziploc bag work just as well.
- Microwave-safe bowl: For quickly and efficiently melting your white chocolate. Ensure it’s deep enough to prevent spills.
- 2 baking sheets: One can serve as a surface for crushing the candy cane (protecting your countertop) and the other for laying out your finished pretzel sticks to set.
- (Optional) Parchment paper or silicone baking mats: These create a non-stick surface, making it easy to remove your coated pretzels once they’ve set, and simplify cleanup.
- 6-8” tall glass jar or mug: This is a game-changer for dipping! Its height allows you to fully immerse the pretzel rods in the melted chocolate with minimal mess and ensures an even coating. A narrow opening also helps conserve chocolate.

Tips for Decorating Your Pretzel Sticks Like a Pro:
Once your chocolate is perfectly melted and your candy canes are crushed, the fun begins! Here are some pointers for a beautiful finish:
- Crushing the Candy Cane: Place the peppermint stick in a sturdy Ziploc bag. Using the bumpy side of a meat tenderizer or a rolling pin, gently tap and roll over the candy cane. Aim for a mix of fine dust and small, irregular pieces. This variety in texture adds visual appeal and a delightful crunch. Avoid pulverizing it into a powder, as this can melt into the chocolate.
- Efficient Dipping: The tall glass jar is your best friend here. Dip one pretzel rod into the melted chocolate, leaving a small portion at the top uncoated for a handle. To remove excess chocolate, gently tap the end of the pretzel against the rim of the jar, or scrape it lightly against the side while rotating. This creates that smooth, professional finish.
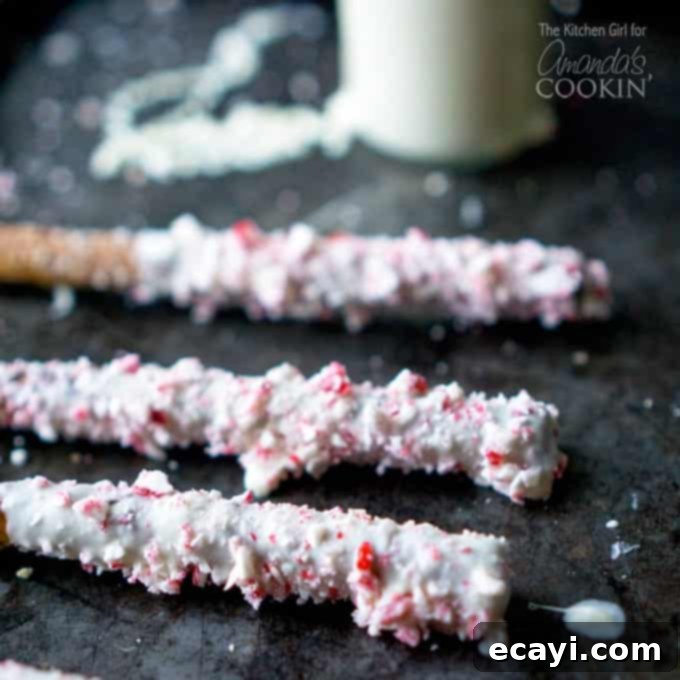
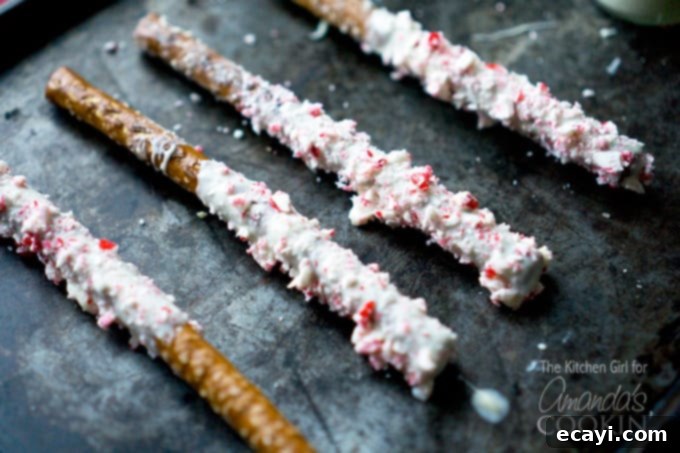
- Immediate Dusting: Work quickly! As soon as you dip a pretzel, lay it over your crushed candy cane pieces on the baking sheet and sprinkle more over it, gently pressing to adhere. The chocolate sets relatively fast, so you want the peppermint to stick before it hardens.
- Setting & Storage: The coated pretzels will set at room temperature, typically within 20-30 minutes. If you’re in a hurry or want to prevent any melting in a warm kitchen, pop the baking sheet into the refrigerator for about 10 minutes. Once completely firm, store them in an airtight container at room temperature. They’ll stay fresh and delicious for up to a week, though they rarely last that long!
Make It a Holiday Tradition!
These White Chocolate Candy Cane Pretzel Sticks are more than just a treat; they’re a joyful activity that brings families together during the holiday season. The simple steps make it a fantastic project for kids, allowing them to participate in the holiday baking fun. They also make wonderful homemade gifts when packaged in clear cellophane bags with a festive ribbon. Imagine the delight of your friends and family receiving a batch of these sweet, salty, and minty delights!
If you’re looking for other gourmet holiday snacks that are equally addictive and easy to make, be sure to check out my Black Truffle Salted Dark Chocolate Drizzled Nuts. These are an unexpected savory-sweet combination that will impress any connoisseur. And for a show-stopping dish that will be remembered at your next holiday gathering, try my No-Cook Cranberry Pomegranate Relish served warm over creamy brie cheese. These recipes are designed to add a touch of gourmet elegance to your festive spread without all the fuss.

White Chocolate Candy Cane Pretzel Sticks
IMPORTANT – There are often Frequently Asked Questions within the blog post that you may find helpful. Simply scroll back up to read them!
Print It
Pin It
Rate It
Save ItSaved!
Ingredients
- 8 oz bag Salted Pretzel Rods
- 10 or 12 oz bag gourmet Vanilla Milk Chips or White Melting Chocolate
- 3 oz Peppermint Stick
Instructions
Prep steps (10 minutes):
-
Lay peppermint on a baking sheet; using the bumpy side of a tenderizer, gently crack and crush into small, mixed-sized pieces.
-
Heat vanilla milk chocolate chips in microwave-safe bowl on medium power at 30-50 second intervals until chocolate is melted with no lumps; stir as needed during intervals (alternatively, heat chocolate using double-boiler method).
-
Carefully pour melted chocolate into tall glass jar or cup.
To decorate pretzels (10-15 minutes):
-
Dunk pretzel sticks (one at a time) into melted chocolate; to remove without excess chocolate, rest it against the side of the jar and twist as you pull upward, leaving an evenly coated finish.
-
Immediately dust the chocolate-coated stick with peppermint pieces (before it sets) and lay finished stick on baking sheet; repeat this process with each stick.
-
Coating will naturally set within 30 minutes at room temperature. To speed this process, place baking sheet of coated pretzels in refrigerator for 10 minutes.
-
Store in airtight container at room temperature up to 1 week.
The recipes on this blog are tested with a conventional gas oven and gas stovetop. It’s important to note that some ovens, especially as they age, can cook and bake inconsistently. Using an inexpensive oven thermometer can assure you that your oven is truly heating to the proper temperature. If you use a toaster oven or countertop oven, please keep in mind that they may not distribute heat the same as a conventional full sized oven and you may need to adjust your cooking/baking times. In the case of recipes made with a pressure cooker, air fryer, slow cooker, or other appliance, a link to the appliances we use is listed within each respective recipe. For baking recipes where measurements are given by weight, please note that results may not be the same if cups are used instead, and we can’t guarantee success with that method.
