Easy No-Knead Everything Peasant Bread Recipe: Your Go-To Homemade Loaf
There’s something incredibly satisfying about the aroma of freshly baked bread filling your home. It’s a comforting scent that evokes warmth and tradition, yet the thought of making bread from scratch can often feel daunting. Visions of elaborate kneading, precise shaping, and complex rising schedules might deter even enthusiastic home cooks. But what if we told you there’s a way to achieve that perfect, chewy, and flavorful homemade loaf without all the fuss? Enter our no-knead peasant bread – a truly revolutionary recipe that eliminates the intimidation factor, proving that delicious bread can indeed be simple and accessible to everyone.
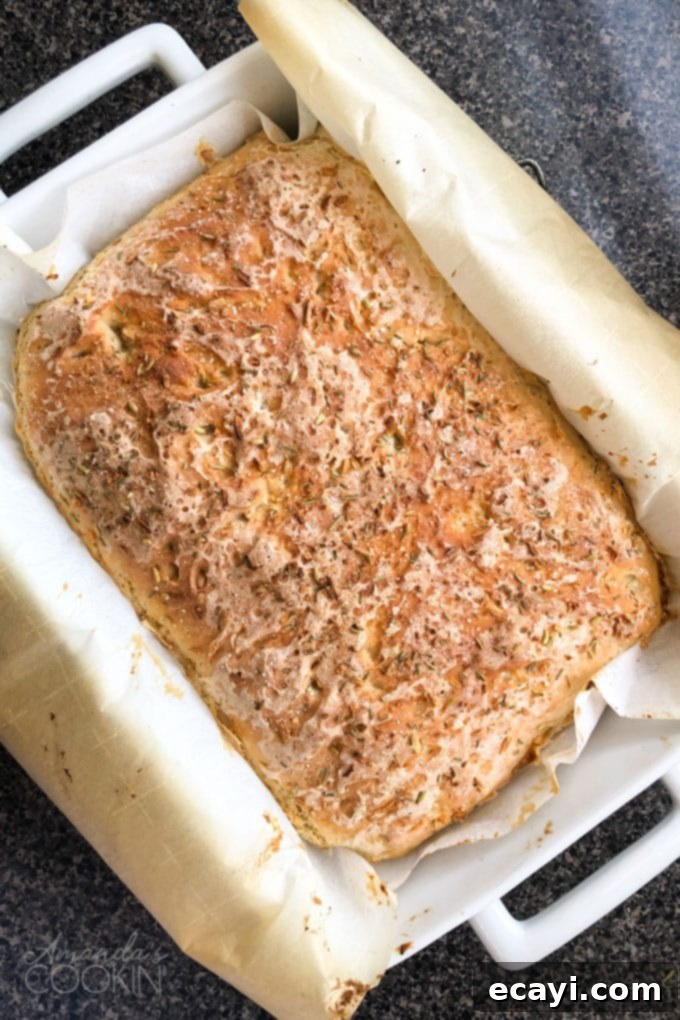
This remarkable recipe transforms basic ingredients into a wonderfully rustic, warm loaf with a delightful chew, all baked in a standard 13×9 baking dish. The absolute best part? No kneading required! That’s right, you can say goodbye to sticky hands and strenuous dough work. This peasant bread is designed for maximum flavor with minimal effort, making it an instant favorite for both novice bakers and seasoned pros looking for a quick and satisfying bread fix.
Why This No-Knead Peasant Bread Will Be Your Favorite Homemade Recipe
The appeal of this peasant bread goes far beyond its simplicity. It’s not just a no-knead bread; it’s a bread bursting with an incredible aroma and a depth of flavor that will impress everyone who tries it. Imagine slicing into a warm loaf, the steam gently rising, and the scent of savory herbs and spices wafting through your kitchen. That’s the experience this recipe delivers every single time.
I recently shared slices of this homemade masterpiece with a couple of neighbors, and their reactions were unanimous – they absolutely loved it and immediately asked for the recipe! This bread isn’t just easy; it’s genuinely delicious, making it a perfect addition to any meal, from a cozy family dinner to a festive gathering. Its rustic charm and irresistible taste make it a staple you’ll want to bake again and again.
Like all great bread recipes, this peasant bread does require time for the dough to rise. However, this isn’t a chore, but rather part of the enchanting process. As the dough quietly rests on your counter, covered gently with a towel, your kitchen will be transformed into an aromatic haven. The fragrant blend of herbs and spices we incorporate into the dough fills the air, creating an inviting atmosphere that hints at the deliciousness to come. This passive rising time is all part of the magic, allowing you to enjoy the process without the active labor, and ultimately yielding a loaf that is both deeply flavorful and wonderfully satisfying.
Essential Ingredients for Your Almost Everything Peasant Bread
Crafting this flavorful peasant bread requires a handful of common pantry staples, elevated by a carefully selected blend of herbs and spices that give it that irresistible “everything bagel” inspired taste. While the complete, detailed measurements are provided in the printable recipe card further down this page, let’s explore the key components that come together to create this incredible loaf. If you happen to have a pre-made everything bagel seasoning blend on hand, feel free to substitute my custom spice mix with an equal amount – many enthusiastic bakers swear by popular blends like the one from Trader Joe’s!
For the Irresistible Bread Dough:
- Warmed Water and Milk: The foundation of our dough, the liquid needs to be warmed to the ideal temperature to gently awaken and activate the yeast. This combination also contributes to a tender crumb and a richer flavor than water alone.
- Instant Yeast or Dry Active Yeast: Both types work beautifully in this recipe, offering flexibility. Yeast is the magical leavening agent that makes our bread light, airy, and full of wonderful texture.
- Sugar: A small amount of sugar acts as food for the yeast, helping it to activate and multiply, which results in a vigorous rise. It also contributes to the bread’s golden-brown crust and a subtle sweetness that balances the savory herbs.
- All-Purpose Flour: The primary structural component of the bread. Using unbleached all-purpose flour provides the perfect balance for a chewy yet tender loaf without the need for high-protein bread flour or complex gluten development through kneading.
- Salt: Essential for flavor, salt not only enhances the taste of the other ingredients but also helps to control yeast activity and strengthen the dough’s structure.
- Aromatic Spices: This is where the “almost everything” magic happens! We’ll be mixing in a delightful quartet of dried rosemary, fennel seeds, dried onion, and dried minced garlic. This blend provides a complex, savory, and fragrant profile, reminiscent of your favorite everything bagel, but baked into a rustic peasant bread. Each spice adds its unique note: rosemary for an earthy, piney freshness; fennel for a subtle, sweet anise-like warmth; and dried onion and garlic for pungent, savory depth.
For Sprinkling on Top – The Finishing Touch:
The topping is not just for visual appeal; it’s a crucial layer that adds texture, aroma, and an extra burst of flavor to the finished bread. Again, all precise measurements are detailed in the recipe card below.
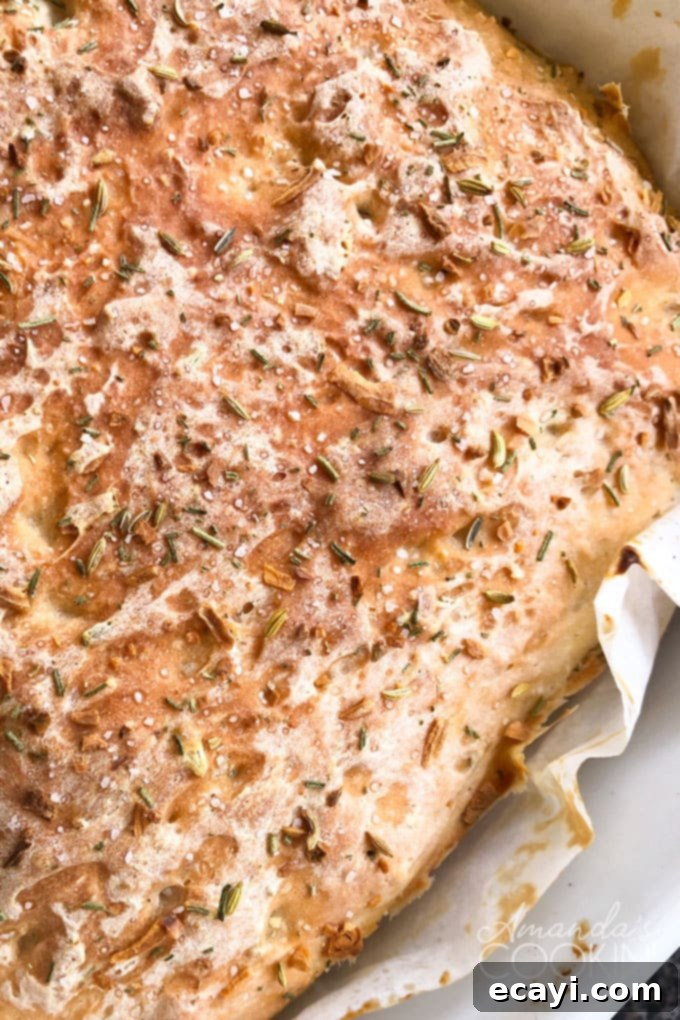
- The Same Savory Spices and Herbs: To reinforce that delightful “everything” character, we’ll use a portion of the same dried rosemary, fennel seeds, dried onion, and dried minced garlic that are already in the dough. This ensures a cohesive flavor profile from crust to crumb.
- Kosher Salt: The addition of Kosher salt to the topping provides beautiful crystal flakes that catch the light, offering a pleasant crunch and a burst of savory seasoning with every bite. Its coarser texture makes it ideal for sprinkling.
Helpful Baking Tips & Notes for No-Knead Peasant Bread Success
Baking homemade bread should be an enjoyable experience, not a stressful one. These tips and notes are designed to ensure your Almost Everything Peasant Bread comes out perfectly every time, even if you’re a beginner.
- Yeast Flexibility: Whether you have active dry yeast or instant yeast, this recipe is incredibly forgiving. The instructions remain the same for both. Typically, one standard envelope or packet of yeast contains about 2 1/4 teaspoons, which is the perfect amount for this recipe. There’s no need to open a second packet or worry about exact conversions. Just ensure your yeast is fresh and not expired for the best results. If you’re unsure about its potency, you can proof it in a small amount of warm water with a pinch of sugar first; it should become foamy and bubbly within 5-10 minutes.
- Achieving Amazing Texture and Flavor: This bread boasts a wonderfully chewy texture and a deep, complex flavor profile. The secret lies in the long fermentation time (the rising) which develops gluten naturally without kneading, and the thoughtful blend of savory herbs and spices. Don’t be shy about customizing! As mentioned, if you adore the convenience and flavor of an “everything bagel” mix, feel free to substitute my herb and spice blend with an equal amount of your favorite pre-made seasoning. This offers a fantastic shortcut without compromising on taste.
- Essential Equipment: You won’t need any specialized bread-making machinery for this recipe. Here’s what you’ll need:
- 13×9 Baking Dish: This common casserole dish is ideal for baking this loaf, giving it a classic rectangular shape and a perfectly golden crust.
- Large and Medium Mixing Bowls: For combining your wet and dry ingredients separately before bringing them together.
- Wooden Spoon or Sturdy Spatula: Perfect for mixing the sticky dough without overworking it. Since there’s no kneading, a simple stir is all that’s required.
- Cutting Board: Essential for slicing your delicious bread safely and evenly once it’s cooled.
- A Good Bread Knife: While not strictly essential, a serrated bread knife makes slicing through the crusty exterior and tender interior a breeze, creating clean, beautiful slices.
- Measuring Cups and Spoons: For accurate ingredient proportions, as with any baking recipe.
- Parchment Paper: Crucial for lining your baking dish, preventing sticking, and making it incredibly easy to lift the finished loaf out of the pan. Don’t skip this!
- Creating the Perfect Rising Environment: Yeast thrives in warm, draft-free conditions. If your kitchen is cool, you can create an ideal spot by slightly warming your oven to about 100°F (38°C) for a few minutes, then turning it OFF and placing the covered dough inside. Alternatively, a microwave (turned off) or a warm spot near a sunny window can work well.
- Cooling is Key: While it’s tempting to dive into a hot loaf, allowing the bread to cool on a wire rack for at least 10-15 minutes after baking is important. This allows the internal structure to set and prevents the bottom from becoming soggy, ensuring a perfect texture throughout.
- Storage Suggestions: This bread is best enjoyed fresh on the day it’s baked. However, leftovers can be stored at room temperature in an airtight container or a bread bag for 2-3 days. For longer storage, slice the cooled bread and freeze it in a freezer-safe bag for up to 2-3 months. Reheat slices in a toaster or oven for that fresh-baked experience.
Armed with these tips, you’re well on your way to baking a truly exceptional homemade bread with minimal effort!
How to Make Almost Everything Peasant Bread: Step-by-Step Guide
Get ready to create a truly spectacular loaf of bread with this straightforward, no-fuss method. Follow these simple steps to bring the amazing aroma and flavor of Almost Everything Peasant Bread to your kitchen.
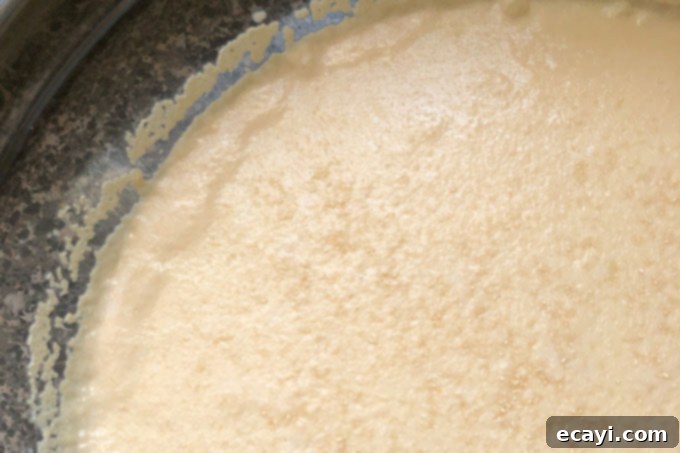
- Activate the Yeast: In a large mixing bowl, combine 1 ½ cups of warm water and ½ cup of warm milk. It’s crucial for the liquid to be between 105-115°F (40-46°C) – too hot will kill the yeast, too cold won’t activate it. Sprinkle 2 ½ teaspoons of instant or active dry yeast and 1 tablespoon of sugar over the surface of this warm liquid mixture. Gently stir, then let it sit undisturbed for 5-10 minutes. You’ll know the yeast is active and healthy when the mixture becomes delightfully foamy and bubbly, indicating the yeast is alive and ready to work its magic.
- Combine Dry Ingredients: While your yeast is busy activating, take a medium bowl and combine 4 cups of unbleached all-purpose flour, 2 teaspoons of salt, 1 ½ teaspoons of dried rosemary, ½ teaspoon of fennel seeds, 1 teaspoon of dried onion, and ½ teaspoon of dried minced garlic. Use a whisk to thoroughly combine these ingredients, ensuring the salt and spices are evenly distributed throughout the flour. This step is important for consistent flavor in every bite (note that these spices are specifically for the bread dough, not the topping).
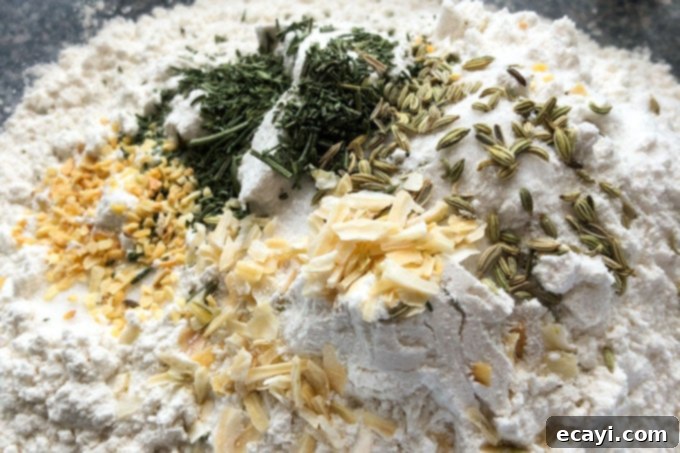
- Mix the Dough and First Rise: Once your yeast mixture is foamy and ready, add the whisked dry flour mixture to the large bowl. Using a sturdy wooden spoon or a spatula, stir everything together until just combined. The dough will be shaggy and sticky – resist the urge to knead! Cover the bowl with a clean kitchen towel or plastic wrap and place it in a warm, draft-free location. Let the dough rise for 40-60 minutes, or until it has visibly doubled in size. This initial rise is crucial for developing flavor and texture.
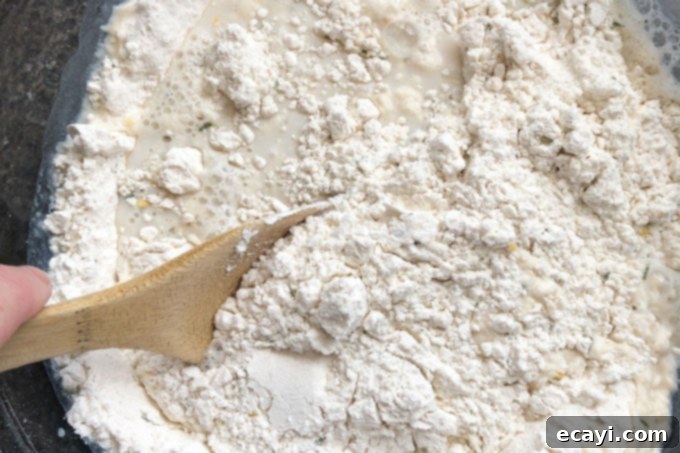
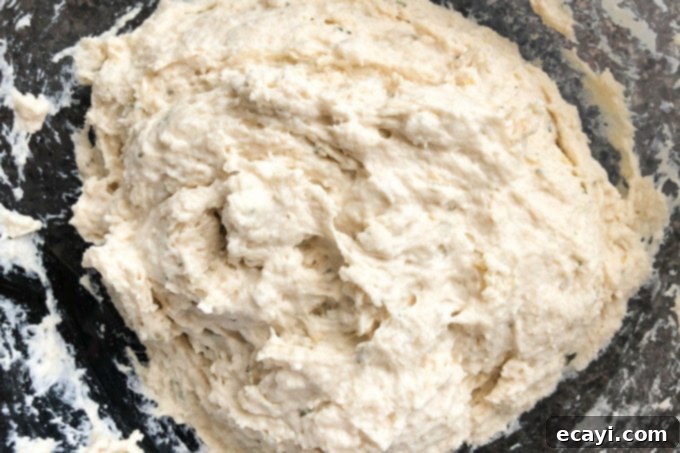
- Prepare the Baking Dish: While the dough is on its first rise, prepare your 13×9 inch baking dish. Line it generously with parchment paper, allowing a significant amount of excess paper to hang over the edges. These overhangs will serve as convenient handles to easily lift the baked bread out of the pan later.
- Second Rise in the Pan: Once the dough has doubled, gently scrape the sticky dough directly into the parchment-lined baking pan. The dough will be soft and sticky, which is perfectly normal for a no-knead recipe. Lightly spray a piece of plastic wrap with cooking spray (this prevents sticking) and loosely cover the pan. Let the dough rise again for another 35-45 minutes in a warm, draft-free spot. This second rise, often called proofing, ensures a light and airy texture.
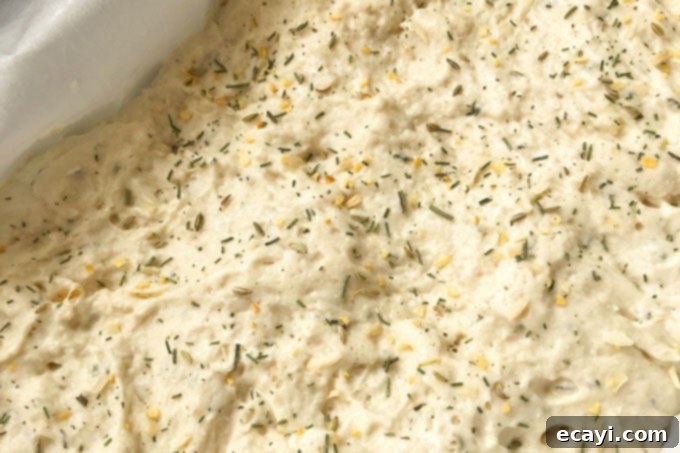
- Preheat Oven: About 15-20 minutes before the second rise is complete, preheat your oven to 425°F (220°C). This ensures the oven is at the correct temperature for the initial high-heat bake, which helps the bread achieve a great crust and initial rise.
- Add the Topping: Carefully remove the plastic wrap from the risen dough in the pan. Evenly sprinkle the top of the dough with the topping ingredients: ¼ teaspoon dried rosemary, ¼ teaspoon fennel seeds, ½ teaspoon dried onion, ¼ teaspoon dried minced garlic, and ¼ teaspoon Kosher salt. This topping will bake into a fragrant, flavorful crust.
- Bake the Bread: Place the baking dish in the preheated oven. Bake at 425°F (220°C) for 20 minutes. After 20 minutes, reduce the oven temperature to 375°F (190°C) and continue baking for an additional 15 minutes. This two-stage baking process ensures a beautiful golden-brown crust and a thoroughly cooked interior.
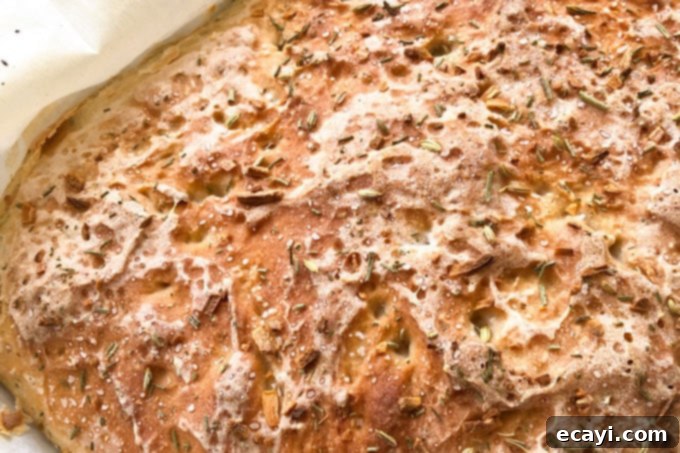
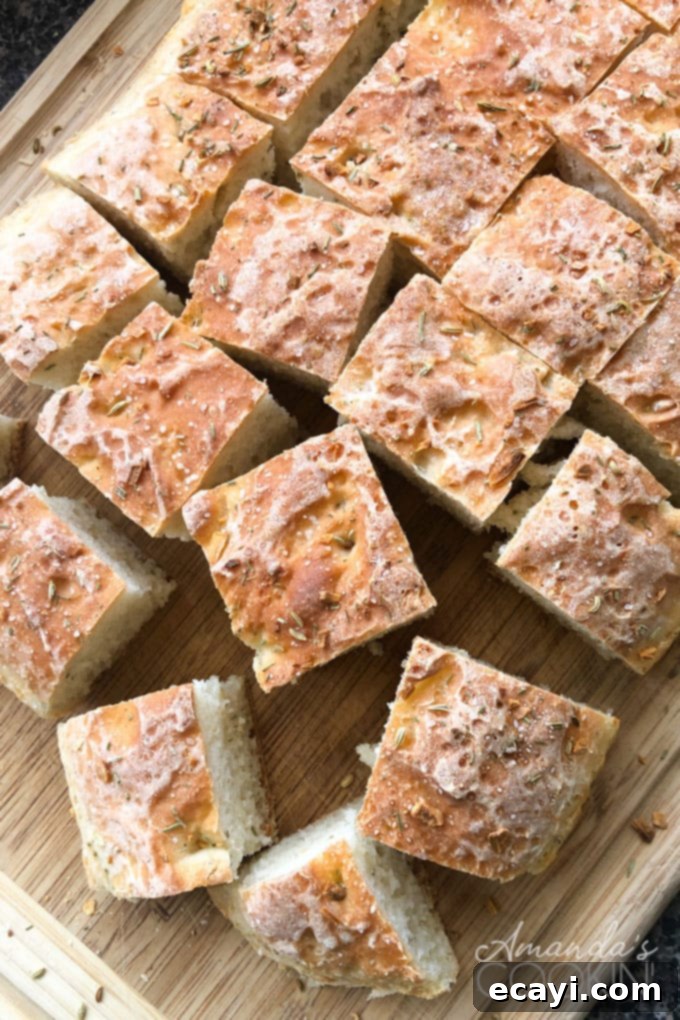
- Cool and Serve: Once baked, remove the bread from the oven and allow it to cool in the pan for 10 minutes. Then, using the parchment paper handles, carefully lift the entire loaf out of the pan and transfer it to a wire cooling rack. Let it cool for a few more minutes, or until it’s comfortable to handle. You can cut this bread into squares or slices while it’s still warm – perfect for serving with butter, cheese, or alongside your favorite soup or stew!
I genuinely hope you fall in love with this Almost Everything Peasant Bread as much as I have! It has quickly become one of my absolute favorites, not just for its incredible ease of preparation, but for its irresistible flavor and the comforting, delicious aroma it brings to my home. Enjoy every chewy, flavorful bite!
More Fun Bread Recipes to Try
- Homemade Italian Bread
- 1963 Homemade White Bread
- Make Your Own Pizza Dough
- How to Make German Pretzels
- One Hour Homemade Bread
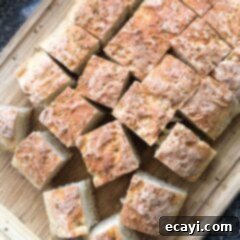
Almost Everything Peasant Bread
IMPORTANT – There are often Frequently Asked Questions within the blog post that you may find helpful. Simply scroll back up to read them!
Print It
Pin It
Rate It
Save ItSaved!
Ingredients
Bread Dough
- 1 ½ cups water
- ½ cup milk
- 2 ½ teaspoon SAF instant yeast
- 1 tablespoon sugar
- 4 cups unbleached all purpose flour
- 2 teaspoons salt
- 1 ½ teaspoons dried rosemary
- ½ teaspoon fennel seeds
- 1 teaspoon dried onion
- ½ teaspoon dried minced garlic
Topping
- ¼ teaspoon Dried rosemary
- ¼ teaspoon Fennel seeds
- ½ teaspoon Dried onion
- ¼ teaspoon Dried minced garlic
- ¼ teaspoon Kosher salt
Things You’ll Need
-
13×9 baking dish
-
Mixing bowls
-
Wooden spoon
-
Cutting board
-
Bread
Before You Begin
- You can use active dry or instant yeast, the instructions remain the same. One envelop/packet of yeast is 2 1/4 teaspoon and is totally fine for this recipe. No need to open a second packet.
- This bread has a wonderfully chewy texture and great flavor!
Instructions
-
Combine the water and milk and warm to 105-115 F then place in a large bowl. Sprinkle yeast and sugar over the top of the water/milk mixture. Let yeast work for 5-10 minutes until foamy and bubbly.
-
While the yeast is working, combine flour, salt, rosemary, fennel seed, dried onion and dried garlic in a medium bowl. Whisk to combine. (note that spices are from the bread ingredient list, not the topping list)
-
When yeast is ready, add the flour mixture to the yeast mixture and stir to combine with a wooden spoon. Don’t knead the dough, just cover it with a clean towel or cloth and place it in a draft free location and let rise for until doubled in size (40-60 minutes).
-
Line a 13×9 baking dish with parchment paper allowing excess paper to hang over the edge to be used as handles.
-
Scrape the dough into the pan, dough will be sticky. Spray a piece of plastic wrap and cover and let rise another 35-45 minutes.
-
Preheat the oven to 425 F.
-
Carefully remove plastic wrap and sprinkle the top of the dough with topping ingredients (fennel seed, rosemary, onion, garlic and Kosher salt).
-
Bake @ 425 F for 20 minutes, then reduce temp to 375 F for 15 minutes more.
-
Allow to cool in pan 10 minutes. Lift bread out of pan using parchment handles and place on a cooling rack. Cut into squares, can be cut while still warm.
Nutrition
The recipes on this blog are tested with a conventional gas oven and gas stovetop. It’s important to note that some ovens, especially as they age, can cook and bake inconsistently. Using an inexpensive oven thermometer can assure you that your oven is truly heating to the proper temperature. If you use a toaster oven or countertop oven, please keep in mind that they may not distribute heat the same as a conventional full sized oven and you may need to adjust your cooking/baking times. In the case of recipes made with a pressure cooker, air fryer, slow cooker, or other appliance, a link to the appliances we use is listed within each respective recipe. For baking recipes where measurements are given by weight, please note that results may not be the same if cups are used instead, and we can’t guarantee success with that method.
