Crispy Pan-Fried Pork Chops: Your Quick & Easy Weeknight Dinner Solution
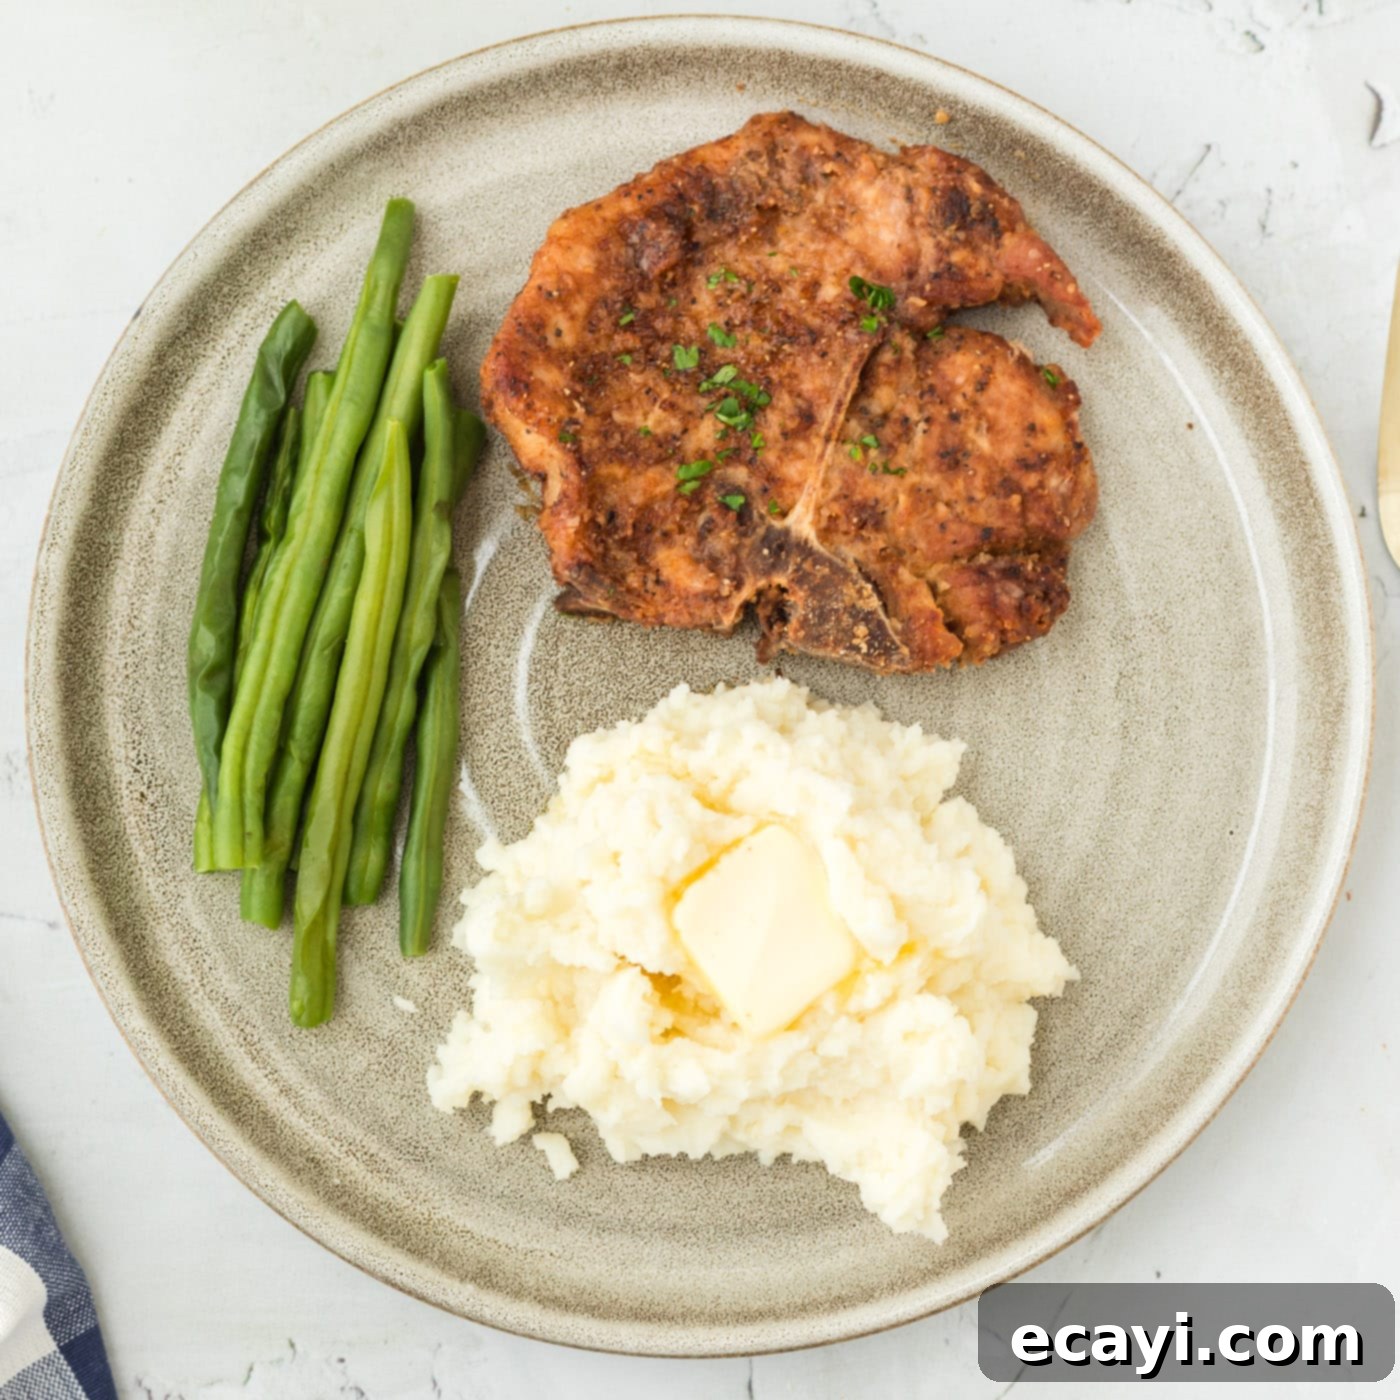
Discover the secret to perfectly cooked, irresistibly crispy pan-fried pork chops that are ready in under 25 minutes! This recipe transforms ordinary pork chops into a memorable meal with a simple yet incredibly flavorful seasoning and flour coating. You’ll achieve a golden-brown crust and a wonderfully tender, juicy interior, making this a go-to comfort food classic for any day of the week.
Why This Pan-Fried Pork Chop Recipe Is a Must-Try
This pan-fried pork chop recipe has earned its permanent spot in our dinner rotation, and for good reason! It’s a delightful comfort food that elevates simple pork chops into a truly special meal. What makes this recipe so effective and beloved?
Firstly, it’s incredibly **fast**. From prep to plate, you’re looking at less than 25 minutes, making it perfect for busy weeknights when you crave something homemade and delicious without spending hours in the kitchen. The technique is straightforward, relying on a quick and efficient pan-frying method that locks in moisture and develops a fantastic crust.
Secondly, the **flavor profile** is outstanding. We use a carefully balanced blend of spices that penetrates the meat, infusing every bite with savory goodness. This isn’t just about a crispy exterior; it’s about a fully seasoned chop that’s delicious from edge to bone.
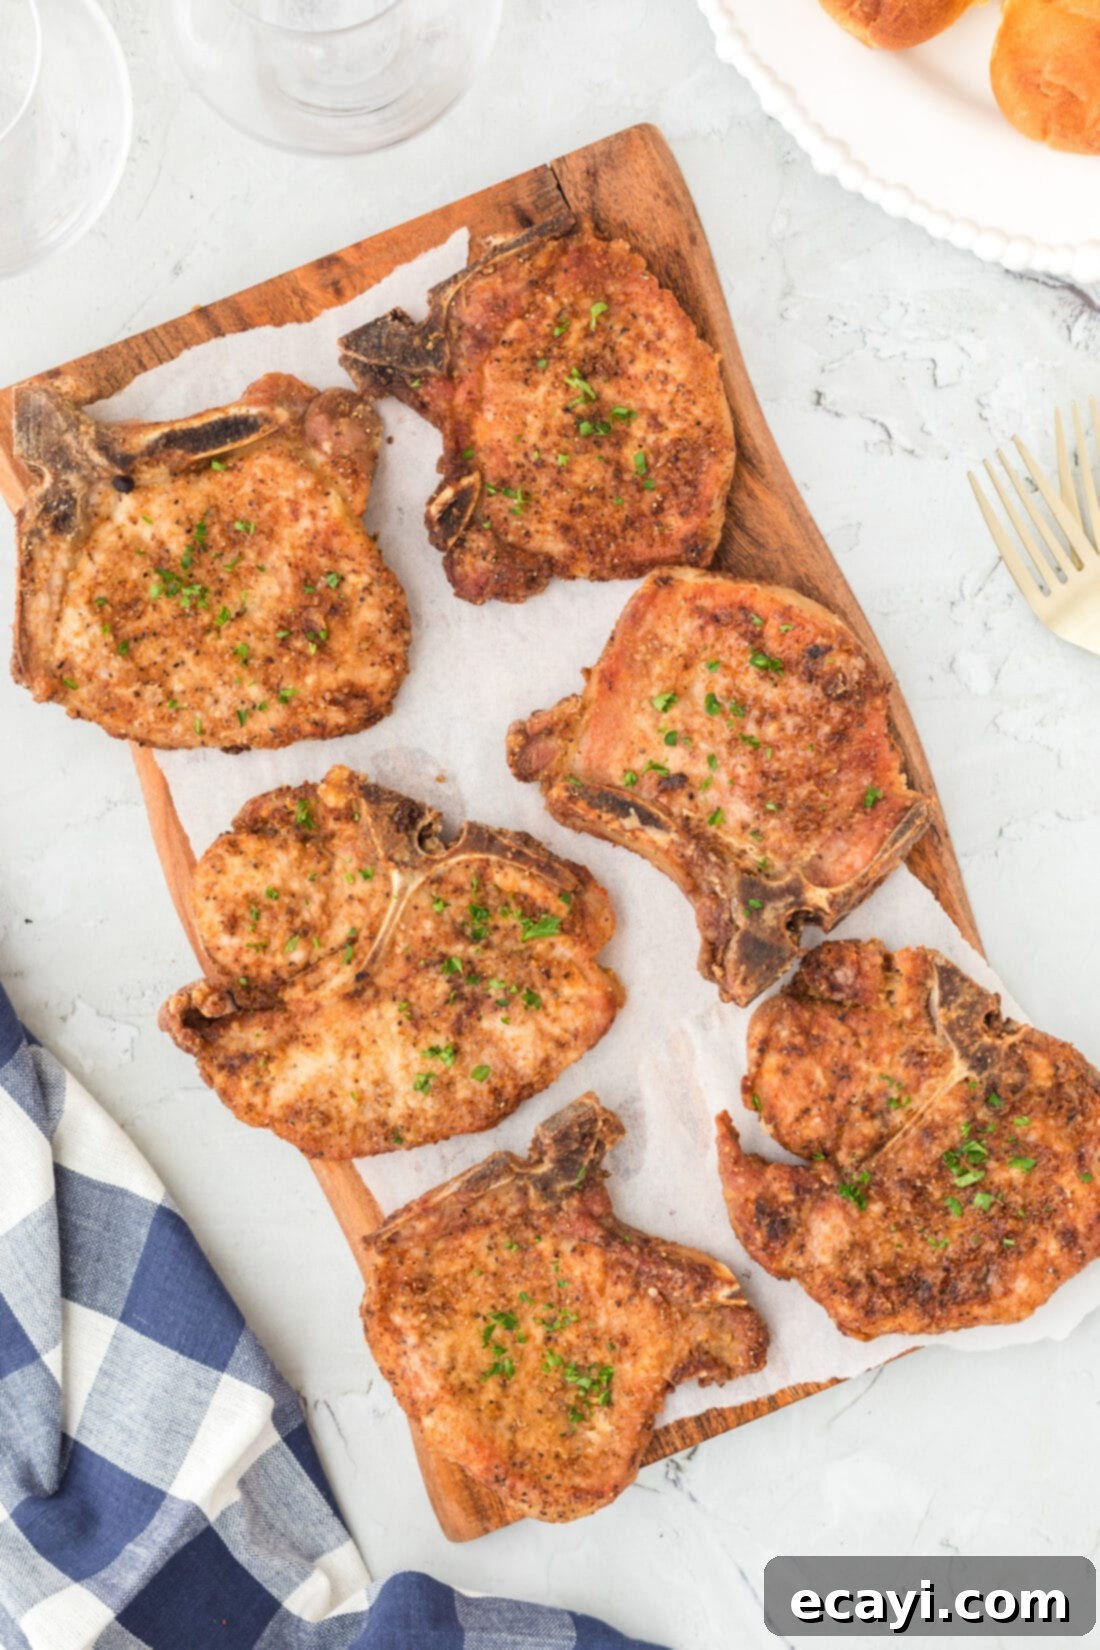
Finally, the **texture** is simply divine. After a perfect pan-fry, you’re rewarded with a magnificent golden-brown, crispy breading that encases a remarkably tender and juicy pork chop. There’s a satisfying contrast between the crunchy exterior and the succulent meat inside. While we love our oven-baked pork chops for their different texture and flavor, these pan-fried chops offer a unique crispiness that’s hard to beat and provide a fantastic alternative when you’re looking for that satisfying crunch.
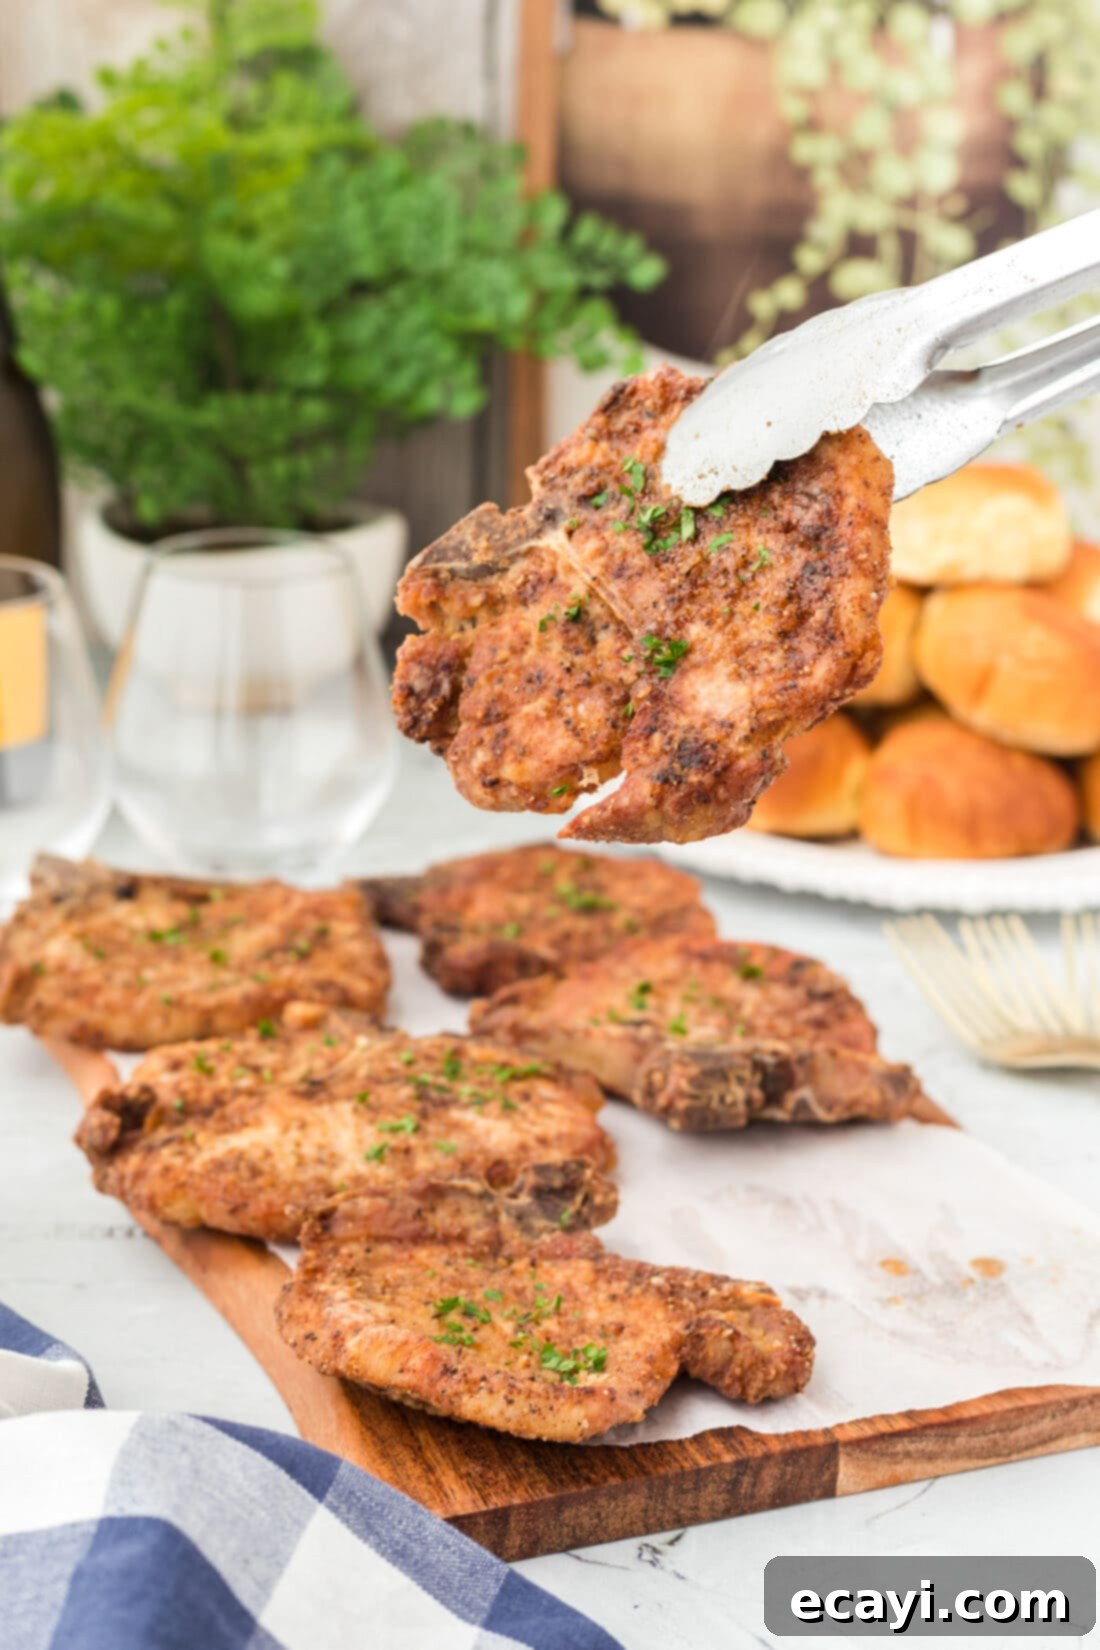
Essential Ingredients for Perfect Pan-Fried Pork Chops
To create these mouth-watering pan-fried pork chops, you’ll need a selection of fresh ingredients and pantry staples. All precise measurements and detailed instructions can be found in the printable recipe card at the very end of this article. For now, let’s explore the components that make this dish so special.
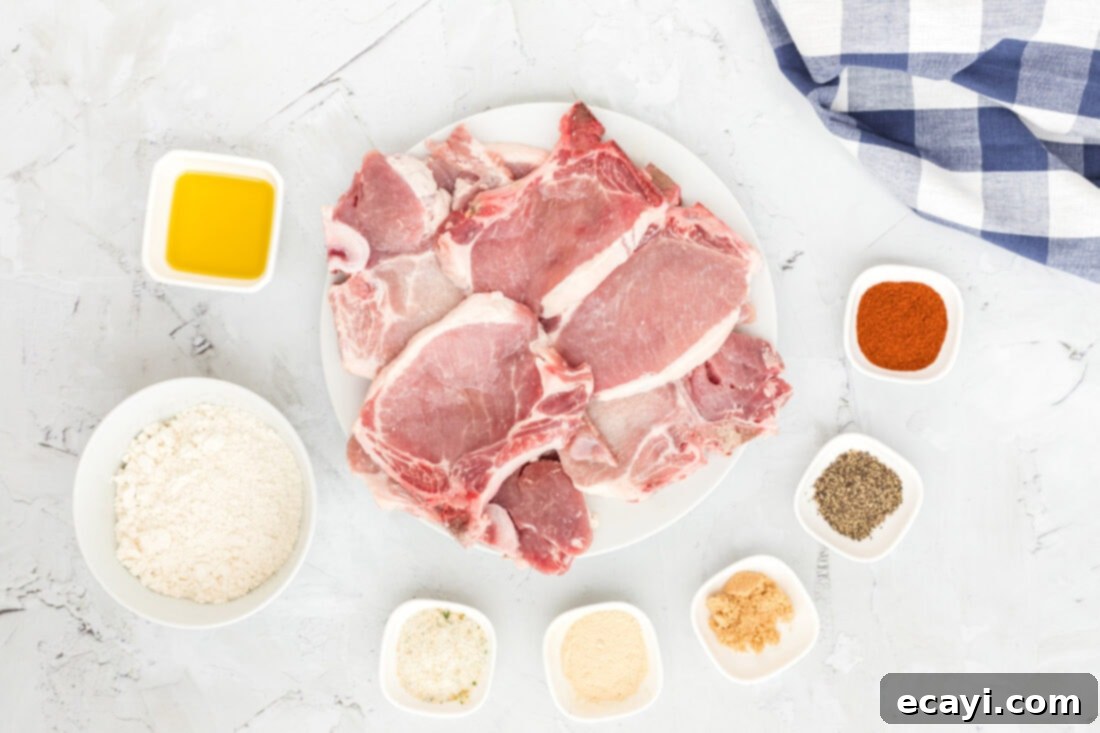
Ingredient Spotlight & Expert Substitution Tips
Understanding each ingredient and its role is key to cooking great food. Here’s a closer look at what you’ll need and how you can adapt the recipe to your preferences or what you have on hand:
PORK CHOPS: We recommend using approximately 3 pounds of bone-in center-cut pork chops, which typically equates to eight chops, each weighing around 6 ounces. Bone-in chops tend to stay juicier and more flavorful during the frying process, and the bone acts as a natural insulator, preventing the meat from cooking too quickly. However, boneless pork chops are also an excellent option if you prefer. Just remember that boneless chops will cook faster, so you’ll need to monitor them closely to prevent overcooking and ensure they remain tender.
- Thickness Matters: Aim for chops that are ¾ to 1 inch thick. Thinner chops cook very quickly and are prone to drying out, while thicker chops might require slightly longer frying times or even a quick finish in the oven (though this recipe aims for all stovetop).
- Room Temperature: For even cooking, it’s best to let your pork chops sit out at room temperature for about 15-20 minutes before frying. This helps them cook more uniformly from edge to center.
- Doneness: The most reliable way to check for doneness is with an instant-read thermometer. Pork chops are safely cooked and at their juiciest when they reach an internal temperature of 145°F (63°C). Insert the thermometer into the thickest part of the chop, avoiding the bone. The chops should also be beautifully golden-brown on both sides.
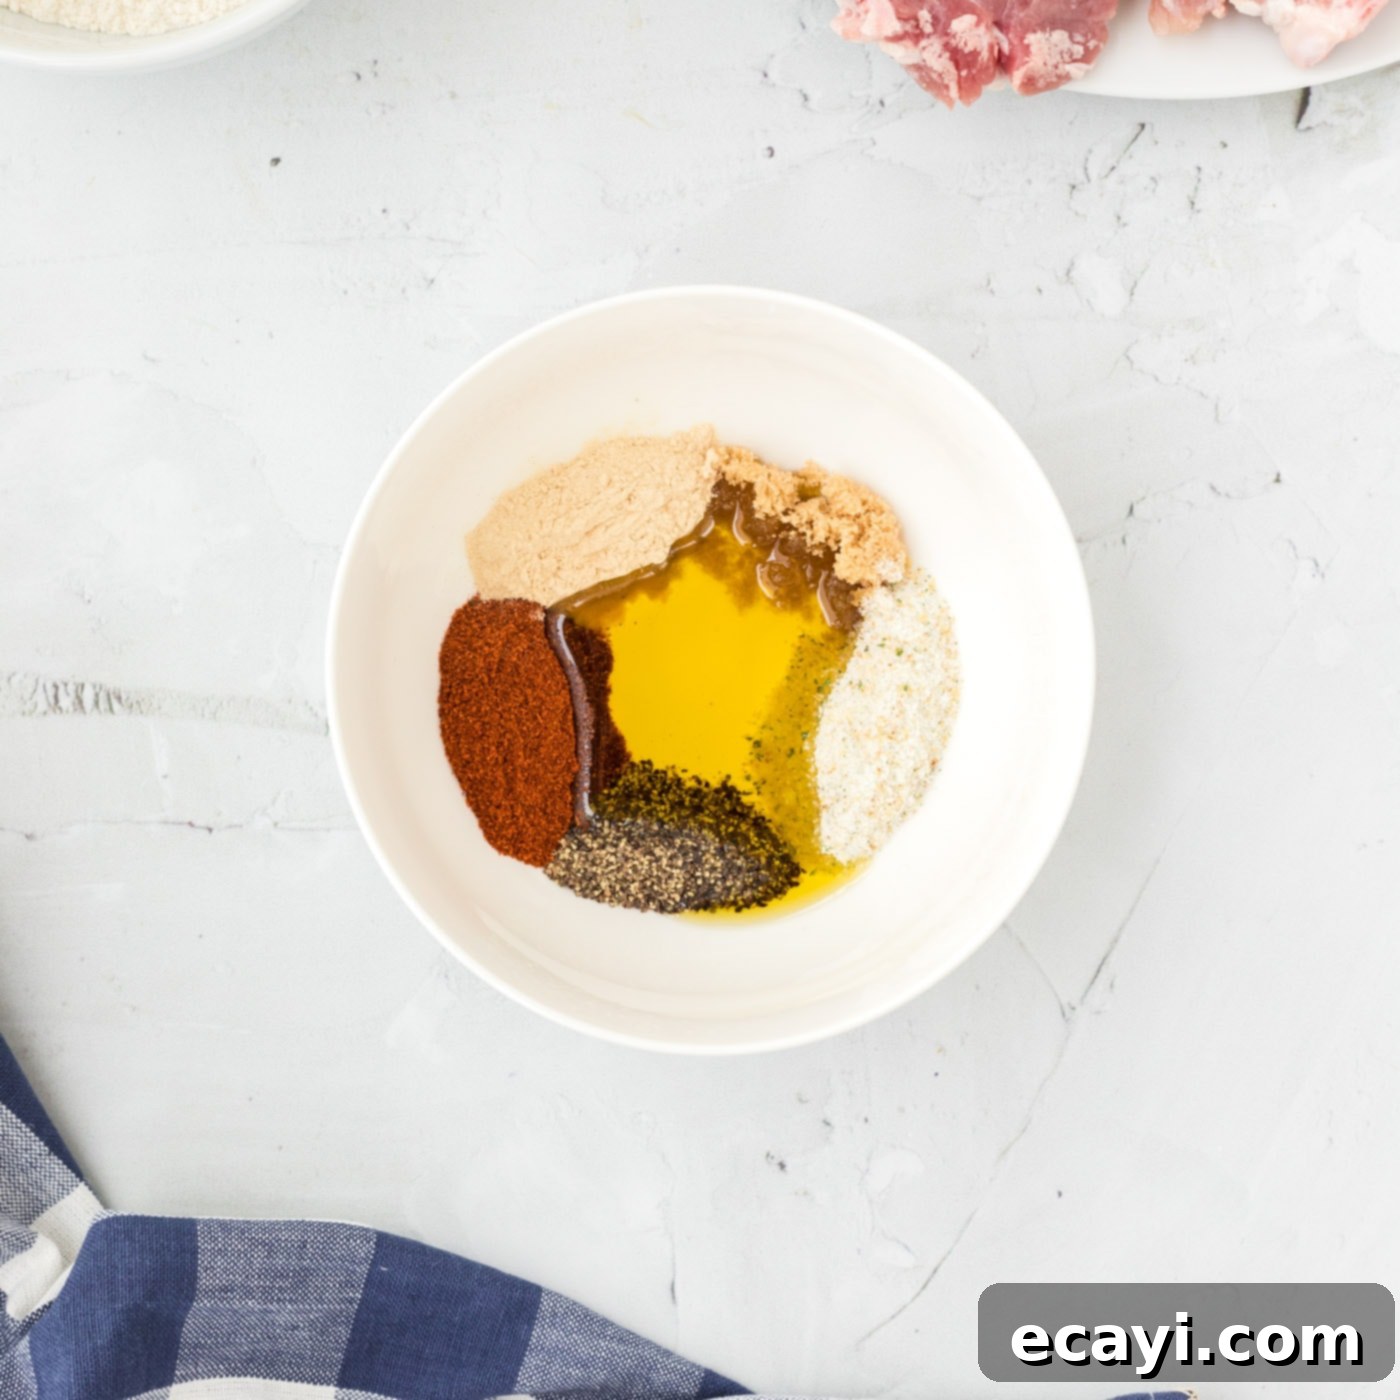
SEASONING BLEND: Our simple yet powerful seasoning mix includes garlic salt, smoked paprika, black pepper, onion powder, and a touch of brown sugar. This combination creates a savory, slightly sweet, and smoky profile that perfectly complements pork.
- Garlic Salt: Provides both garlic flavor and salinity. If you only have garlic powder and regular salt, use ½ Tbsp garlic powder and reduce added salt in other components, or add to taste.
- Smoked Paprika: This is a star ingredient, adding a beautiful color and a depth of smoky flavor that elevates the dish. Do not substitute with regular paprika if you want that smoky element.
- Brown Sugar: A small amount of brown sugar helps with caramelization, contributing to that attractive golden-brown crust and balancing the savory spices. You can omit it if you prefer a less sweet profile or use a pinch of regular granulated sugar.
- Variations: Feel free to experiment! A dash of cayenne pepper for heat, dried thyme or oregano for an herbaceous note, or even a pinch of cumin can be lovely additions.
OLIVE OIL: Used to create a paste with the spices, helping them adhere better to the pork chops and ensuring even distribution of flavor. Any neutral oil like vegetable or canola oil can also be used here.
ALL-PURPOSE FLOUR: The foundation of our crispy coating. All-purpose flour provides the classic breading texture.
- Gluten-Free Option: A 1:1 gluten-free flour blend can be used as a substitute for those with dietary restrictions.
- Extra Crispness: For an even crispier coating, you could experiment with a mixture of flour and a small amount of cornstarch (e.g., ¾ cup flour to ¼ cup cornstarch).
VEGETABLE OIL FOR FRYING: A neutral, high smoke point oil is essential for frying. Vegetable oil, canola oil, peanut oil, or even grapeseed oil are all excellent choices. Avoid oils with lower smoke points like extra virgin olive oil for frying, as they can burn and impart a bitter flavor.
Step-by-Step Guide: Crafting Delicious Pan-Fried Pork Chops
These step-by-step photos and detailed instructions are designed to help you visualize each stage of making this incredible recipe. For a quick overview and the printable recipe card with exact measurements and full instructions, simply Jump to Recipe at the bottom of this post.
- Prepare the Pork Chops: Start by thoroughly rinsing your pork chops under cold water. Then, it’s crucial to pat them completely dry with paper towels. Removing excess moisture helps the seasoning and flour adhere better and promotes a crispier crust. You can also trim any excessive fat around the edges, leaving just a thin layer for flavor.
- Create the Flavorful Rub: In a medium-sized bowl, combine the garlic salt, smoked paprika, black pepper, onion powder, and brown sugar. Add the olive oil to this dry mixture and stir everything together until you have a thick, consistent paste. The oil helps to bind the spices and ensures they spread evenly over the meat.

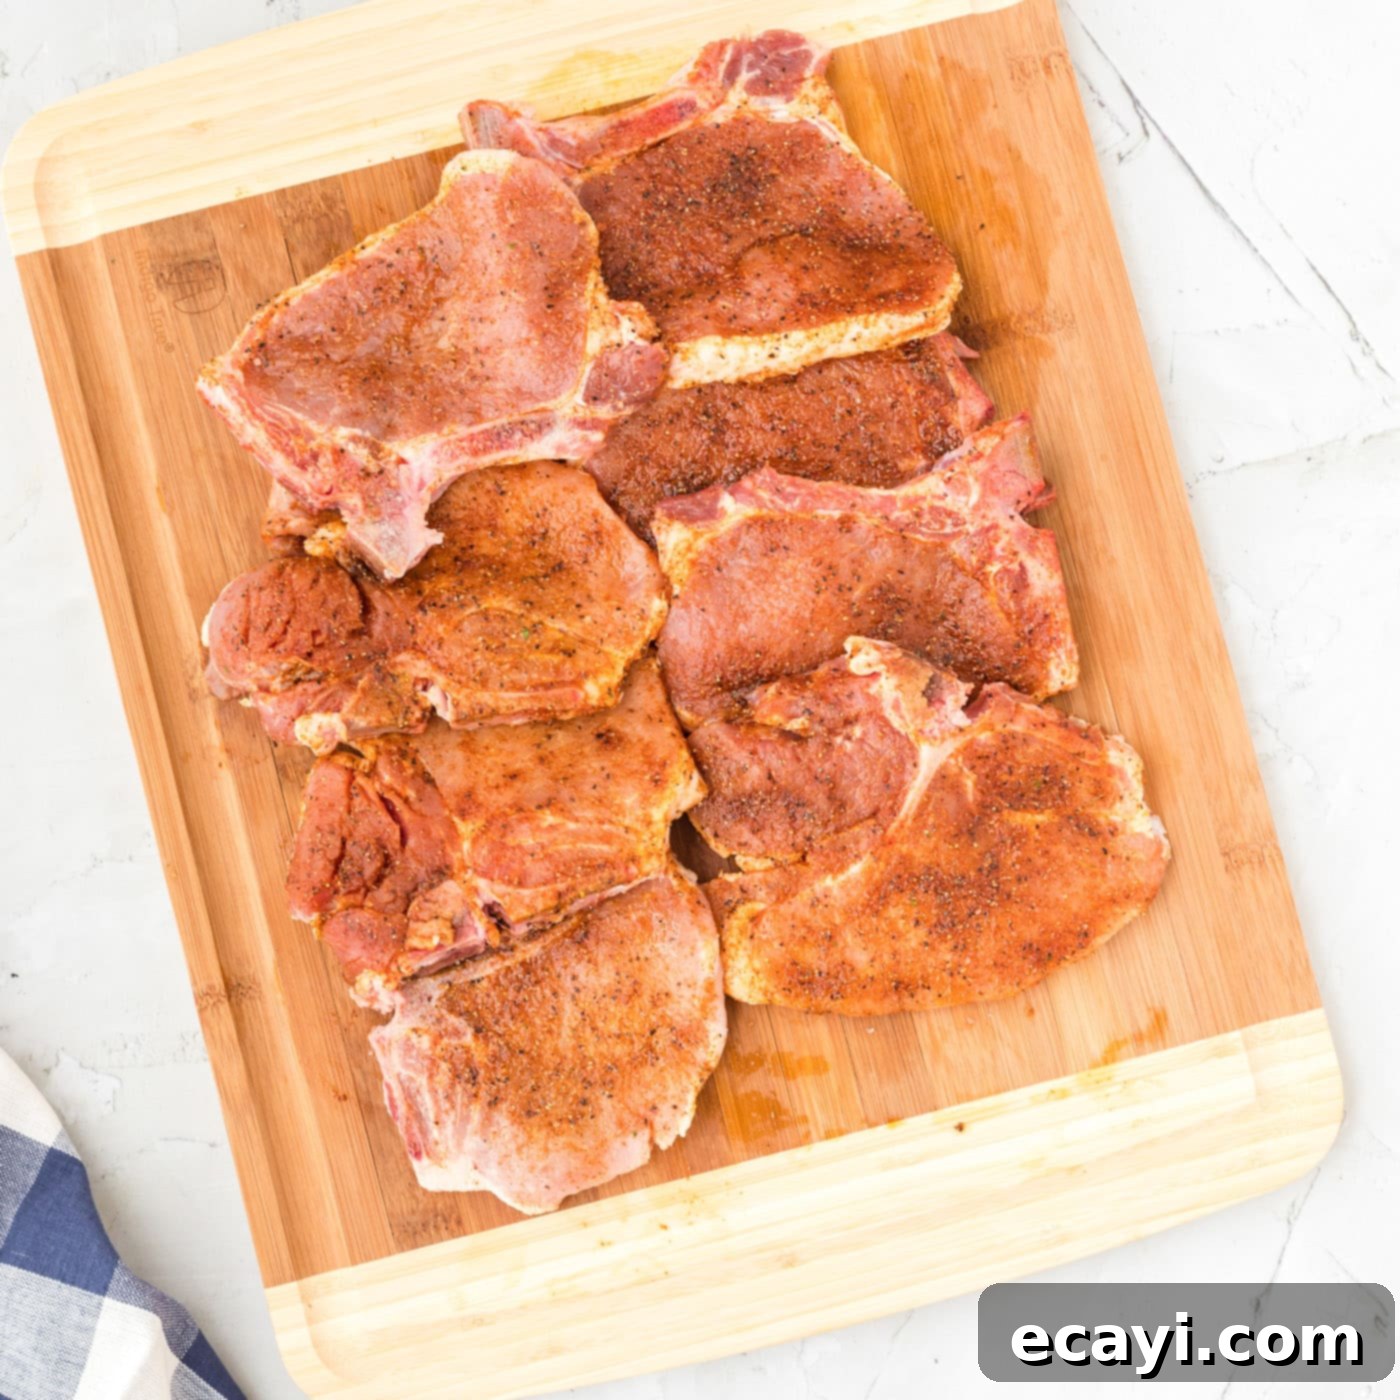
- Season the Chops: Wearing gloves (to avoid staining your hands with paprika and for better hygiene), generously massage the prepared oil and spice mixture into both sides of all the pork chops. Ensure every surface is well-coated to infuse maximum flavor into the meat. This step is key for a deeply flavored chop.

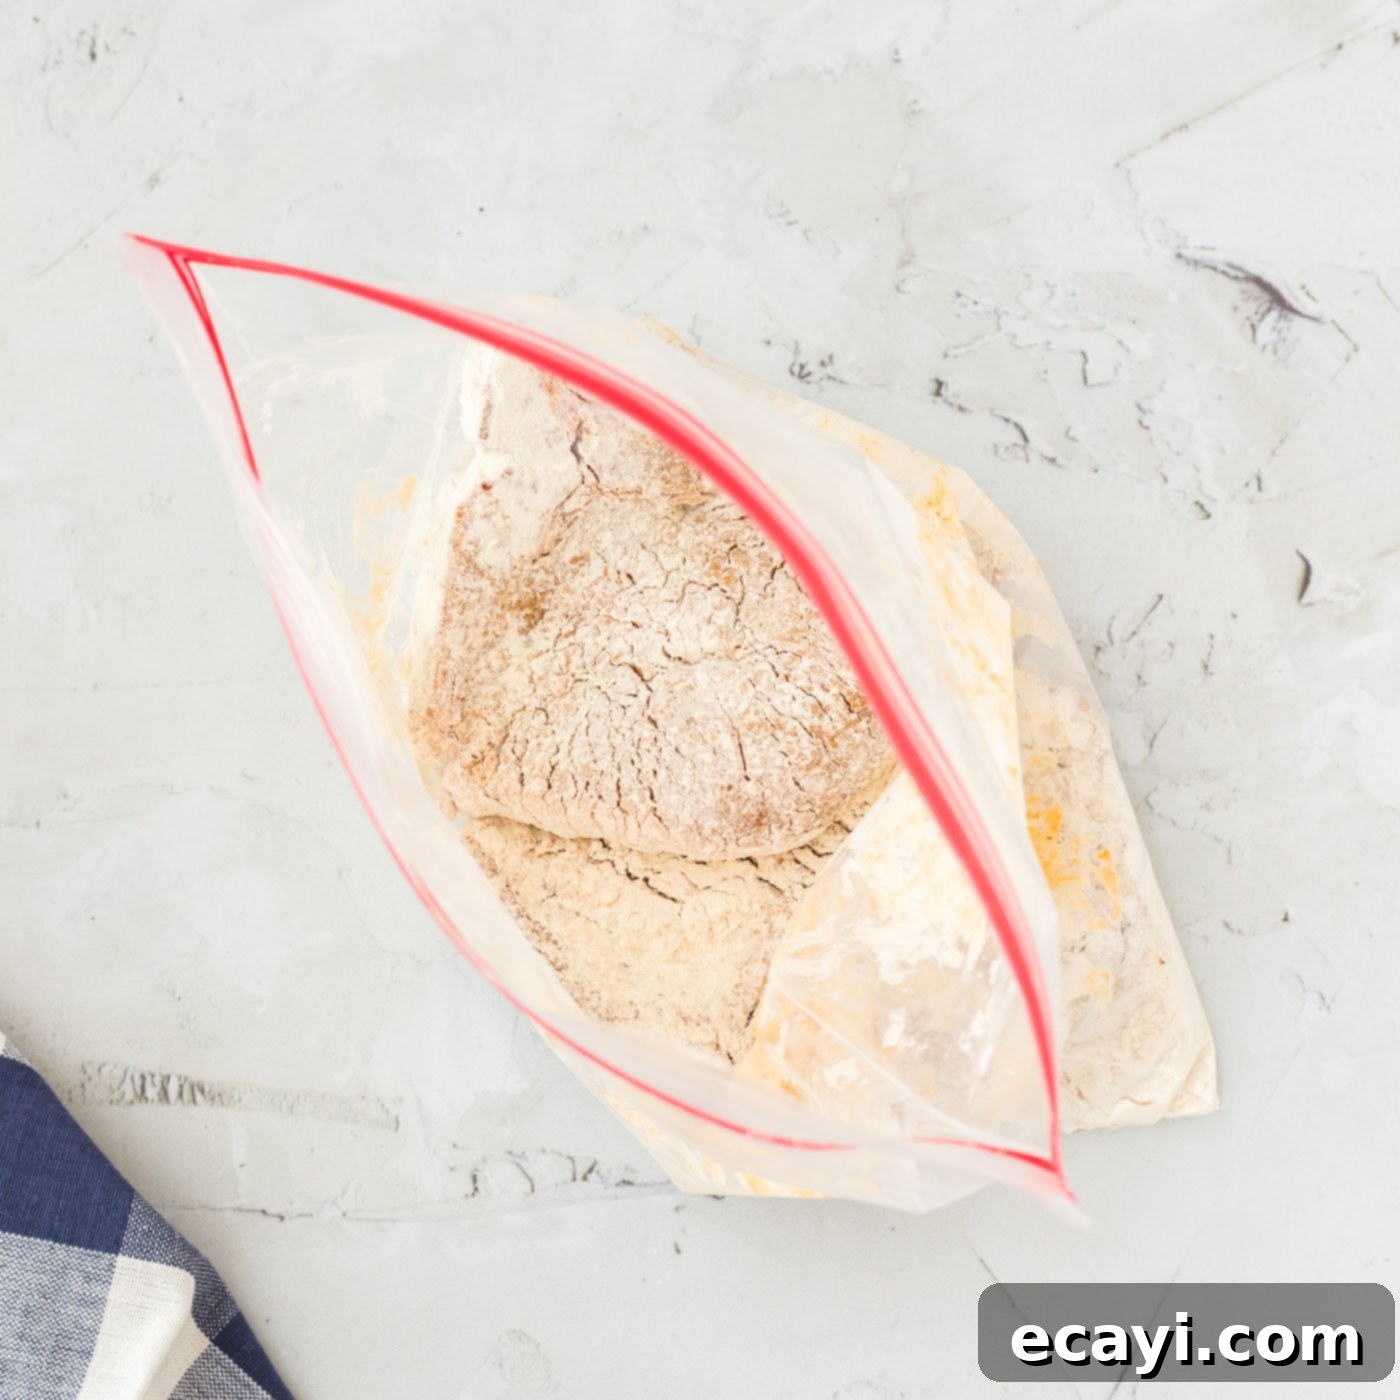
- Flour Coating Perfection: Place 1 cup of all-purpose flour into a gallon-sized zipper bag. Working in batches, add 3 seasoned pork chops to the bag. Seal the bag, pressing out most of the air, and shake vigorously until each chop is completely and evenly coated with flour. This method ensures a light, uniform coating. Remove the floured chops to a wire rack set over a baking sheet to catch any excess flour and repeat with the remaining chops. Allowing them to rest on the rack for a few minutes can help the flour adhere better.

- Heat the Oil: In a large, heavy-bottomed skillet (preferably cast iron or stainless steel with deep sides), add enough vegetable oil so that it comes about 1 inch up the sides of the pan. Place the skillet over medium-high heat. Allow the oil to preheat thoroughly until it’s hot but not smoking. A good test is to flick a tiny pinch of flour into the oil; if it sizzles gently, the oil is ready. Too cool, and the chops will absorb too much oil and be greasy; too hot, and the coating will burn before the interior cooks.
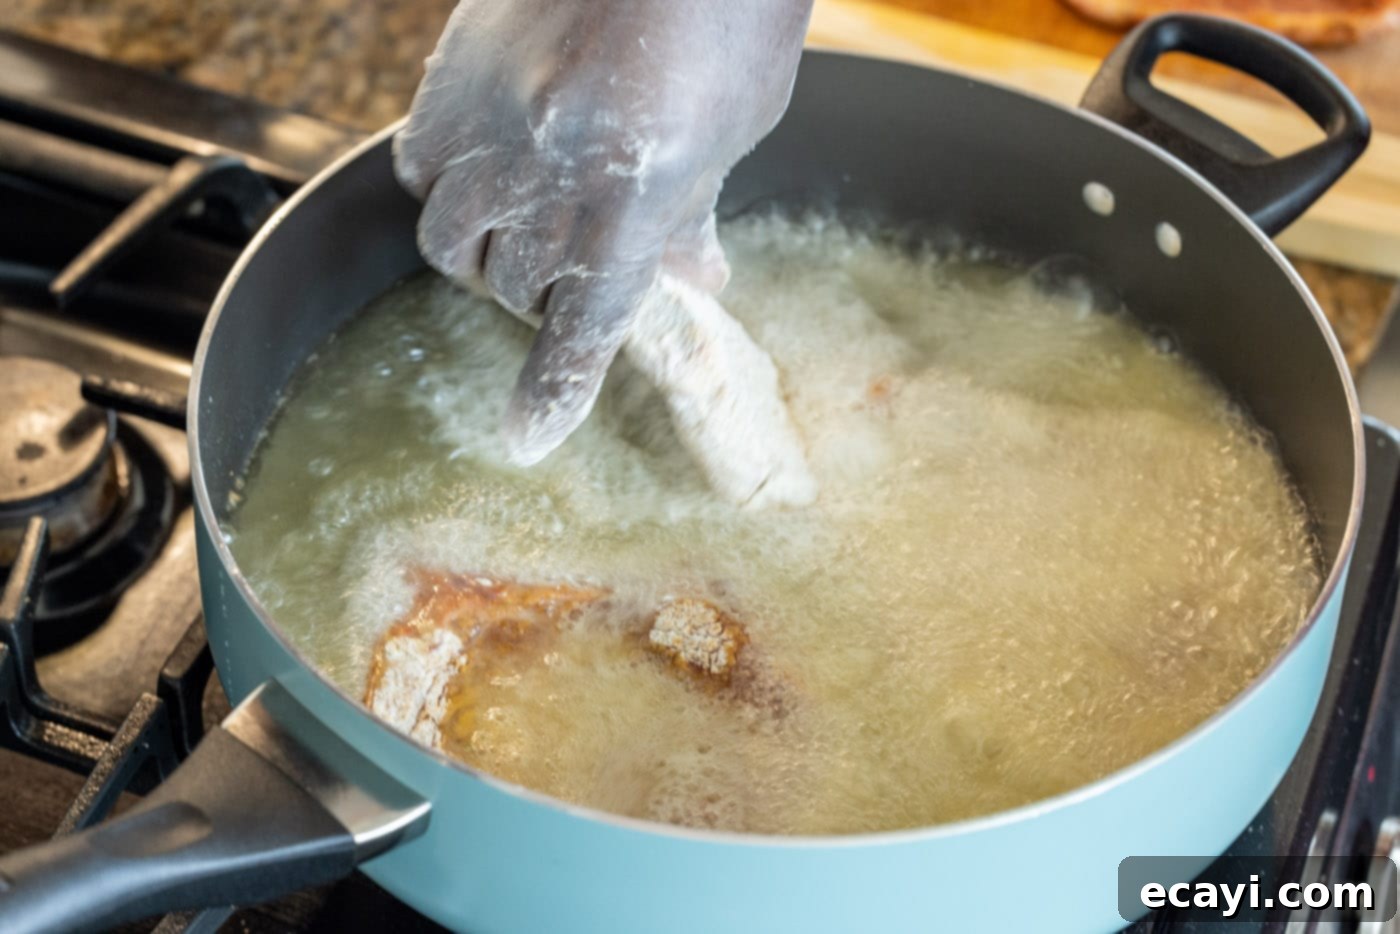
- Frying the Chops in Batches: Carefully place 2-3 floured pork chops into the hot oil, ensuring not to overcrowd the skillet. Overcrowding will lower the oil temperature and result in less crispy, greasy chops. Gently place the chops into the oil to avoid splattering.

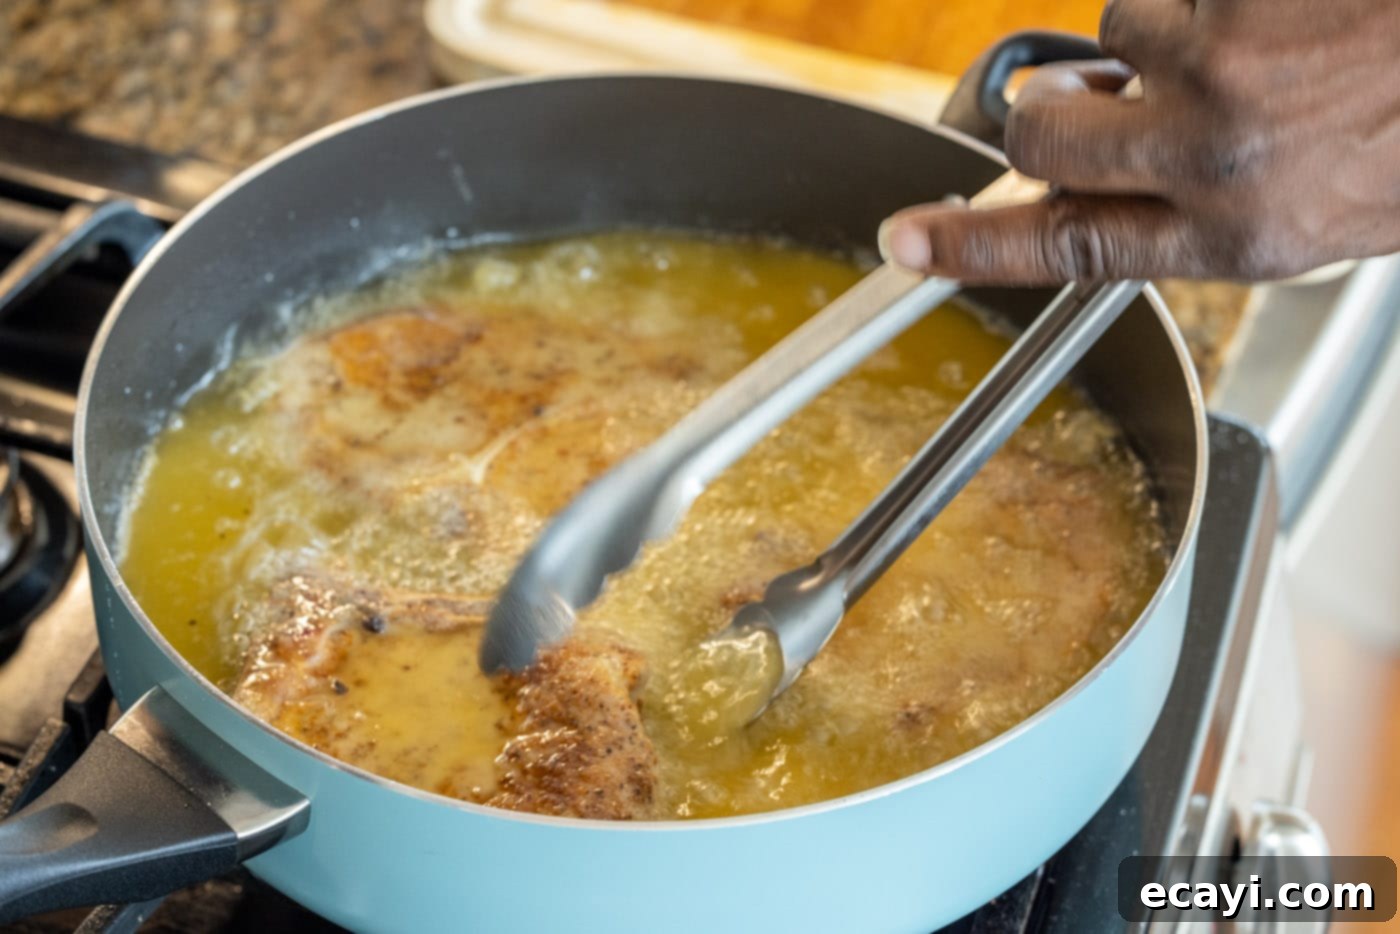
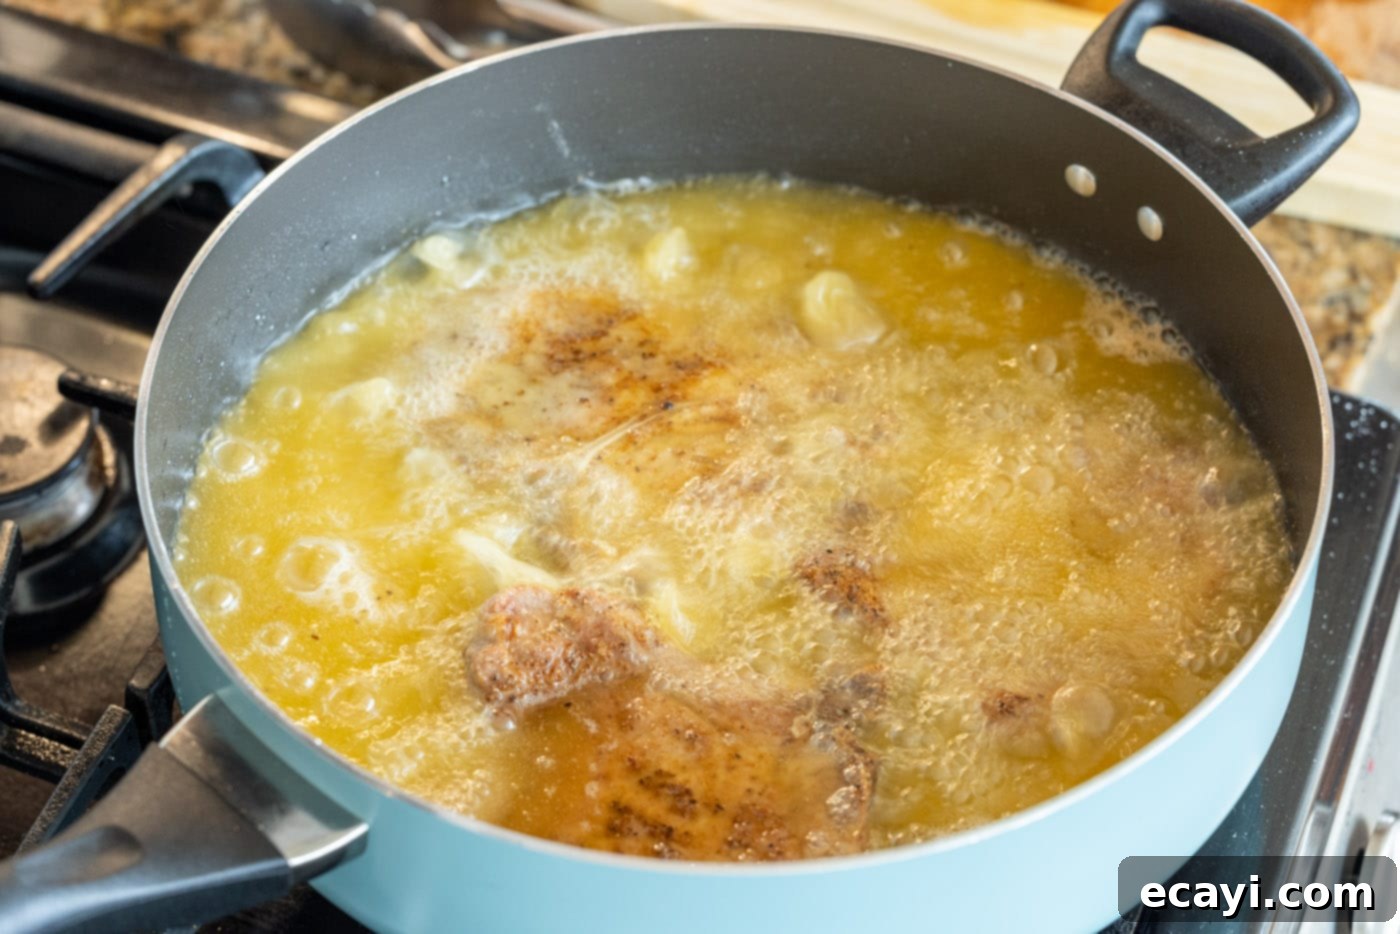
- Achieve Golden Perfection: Cook the chops for approximately 3-4 minutes per side. You’ll know it’s time to flip when the bottom side is a beautiful golden-brown color and releases easily from the pan. Use tongs to gently turn them over. Continue cooking for another 3-4 minutes on the second side until evenly browned and cooked through to an internal temperature of 145°F (63°C). Once cooked, remove the chops to a fresh plate lined with paper towels to drain any excess oil. Repeat this process with the remaining chops until all are beautifully fried and ready to serve.


Frequently Asked Questions & Expert Tips for Pan-Frying Pork Chops
You generally need enough oil to cover about half the thickness of your pork chops, usually around 1 inch up the sides of your skillet. The exact amount will depend on the size of your pan. Using sufficient oil ensures even cooking and promotes a crispier, more uniform crust.
Pork chops are safely cooked and reach their optimal tenderness when they achieve an internal temperature of 145°F (63°C). Always use an instant-read thermometer inserted into the thickest portion of the meat, away from the bone, to verify doneness. A slight blush of pink in the center is perfectly safe and indicates a juicy chop.
Allow any leftover fried pork chops to cool completely to room temperature. Then, store them in an airtight container in the refrigerator for up to 3-4 days. For best results when reheating, use an air fryer or oven to help restore some of their crispiness.
Several factors contribute to juicy pork chops:
- Don’t Overcook: This is the most critical step. Use an instant-read thermometer and remove them from heat once they reach 145°F.
- Use Thicker Chops: Chops that are at least ¾ to 1 inch thick are more forgiving.
- Proper Oil Temperature: Ensure your oil is hot enough. If it’s too cool, the chops will sit in the oil longer and dry out while trying to brown.
- Rest the Meat: After cooking, let the chops rest for 5-10 minutes. This allows the juices to redistribute throughout the meat, keeping it moist.
Yes, absolutely! Boneless pork chops work wonderfully with this recipe. Just be mindful that they typically cook faster than bone-in chops. Keep a close eye on them during frying and use your instant-read thermometer to ensure they reach 145°F (63°C) without overcooking.
A heavy-bottomed skillet is ideal for even heat distribution, which is crucial for consistent frying. Cast iron skillets are excellent for this as they retain heat very well and develop a beautiful crust. Stainless steel skillets also work great. Choose a pan with high enough sides to comfortably hold about an inch of oil without splashing.
Delicious Serving Suggestions for Fried Pork Chops
These crispy pan-fried pork chops are incredibly versatile and pair well with a wide variety of side dishes, making them a perfect centerpiece for any meal. For a classic comfort food experience, serve them alongside creamy mashed potatoes to soak up any pan juices, and a vibrant green vegetable like our garlic green beans or steamed asparagus.
If you’re looking to add another layer of indulgence, a rich, creamy gravy made from the pan drippings would be an exquisite addition. Simply deglaze the pan with a little broth, whisk in a cornstarch slurry, and season to taste for a quick and flavorful sauce. Other excellent pairings include:
- Roasted root vegetables such as carrots, parsnips, or sweet potatoes.
- A crisp garden salad with a light vinaigrette to cut through the richness.
- Creamy macaroni and cheese for ultimate comfort.
- Fluffy rice pilaf or savory wild rice.
- Crispy roasted Brussels sprouts or broccoli.
- Homemade applesauce or baked apples, which traditionally complement pork beautifully.
No matter how you choose to serve them, these pan-fried pork chops are sure to be a hit at your dinner table!
Explore More Delicious Pork Recipes
Pork is an incredibly versatile protein, offering a wide range of flavors and textures depending on the cut and cooking method. If you enjoyed these pan-fried pork chops, we invite you to explore more of our favorite pork-centric recipes. From hearty roasts to quick weeknight air fryer options, there’s something for every occasion:
- The Best Sirloin Pork Roast: A succulent and flavorful roast perfect for Sunday dinners or special gatherings.
- Air Fryer Pork Chops: For a lighter, super-fast alternative that still delivers incredible tenderness and a slight crisp.
- Garlic Butter Pork Chops: A rich and aromatic dish where the chops are basted in a luxurious garlic butter sauce.
- Air Fryer Pork Tenderloin: A lean and quick-cooking option, ideal for a healthy and delicious meal.
- Pork Tenderloin Sandwiches (Schnitzel Style): A fun and flavorful way to enjoy pork, reminiscent of classic German schnitzel.
These recipes offer diverse ways to enjoy pork, ensuring you’ll find a new favorite for every craving.
I love to bake and cook and share my kitchen experience with all of you! Remembering to come back each day can be tough, that’s why I offer a convenient newsletter every time a new recipe posts. Simply subscribe and start receiving your free daily recipes!
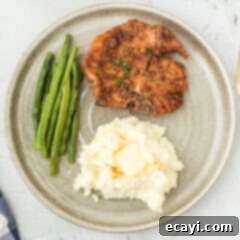
Fried Pork Chops
IMPORTANT – There are often Frequently Asked Questions within the blog post that you may find helpful. Simply scroll back up to read them!
Print It
Pin It
Rate It
Save ItSaved!
Ingredients
- 3 pounds bone-in center cut pork chops eight chops at about 6 ounces each
- ½ Tablespoon garlic salt
- ½ Tablespoon smoked paprika
- ½ Tablespoon black pepper
- ½ Tablespoon onion powder
- ½ Tablespoon brown sugar
- 2 Tablespoons olive oil
- 1 cup all-purpose flour
- vegetable oil for frying
Things You’ll Need
-
Large heavy bottomed skillet with deep sides (cast iron recommended)
-
Vinyl gloves
-
Instant-read thermometer
-
Wire rack
Before You Begin & Recipe Notes
- You only need enough oil to cover the chops about 1-inch up the sides of your skillet. The precise amount of oil will vary based on your skillet’s size. Ensure the oil is hot but not smoking before adding chops to achieve optimal crispness and avoid greasiness.
- Pork chops are perfectly cooked and safe to eat when they reach an internal temperature of 145°F (63°C) as measured with an instant-read thermometer inserted into the thickest part of the meat (avoiding the bone). A slight blush of pink is acceptable and ensures a juicy result.
- For best results, allow your pork chops to rest for 5-10 minutes after frying. This allows the juices to redistribute, leading to a more tender and moist chop.
- Store any leftover fried pork chops in an airtight container in the refrigerator for up to 4 days. When reheating, an air fryer or oven will help retain some of their original crispiness.
Instructions
-
Rinse and thoroughly dry the pork chops with paper towels, ensuring all excess moisture is removed.
-
In a medium bowl, combine garlic salt, smoked paprika, black pepper, onion powder, and brown sugar. Add olive oil and stir until a smooth paste forms.
-
Using gloved hands, generously massage the oil and spice mixture into both sides of all the pork chops, ensuring complete coverage.
-
Place all-purpose flour in a gallon zipper bag. Add 3 chops into the bag, seal, and shake until each chop is completely coated. Remove to a wire rack and repeat for remaining pork chops.
-
Add enough vegetable oil to a large, heavy-bottomed skillet so it comes about 1-inch up the sides. Preheat oil over medium-high heat until hot but not smoking (around 350-375°F or 175-190°C).
-
Working in batches (2-3 chops at a time depending on skillet size), carefully place chops into the hot oil. Avoid overcrowding the pan.
-
Cook for about 3-4 minutes per side, or until golden brown and an instant-read thermometer registers 145°F (63°C) in the thickest part. Remove cooked chops to paper towels to drain and repeat with remaining chops. Let rest for a few minutes before serving.
Nutrition Information
The recipes on this blog are tested with a conventional gas oven and gas stovetop. It’s important to note that some ovens, especially as they age, can cook and bake inconsistently. Using an inexpensive oven thermometer can assure you that your oven is truly heating to the proper temperature. If you use a toaster oven or countertop oven, please keep in mind that they may not distribute heat the same as a conventional full sized oven and you may need to adjust your cooking/baking times. In the case of recipes made with a pressure cooker, air fryer, slow cooker, or other appliance, a link to the appliances we use is listed within each respective recipe. For baking recipes where measurements are given by weight, please note that results may not be the same if cups are used instead, and we can’t guarantee success with that method.
