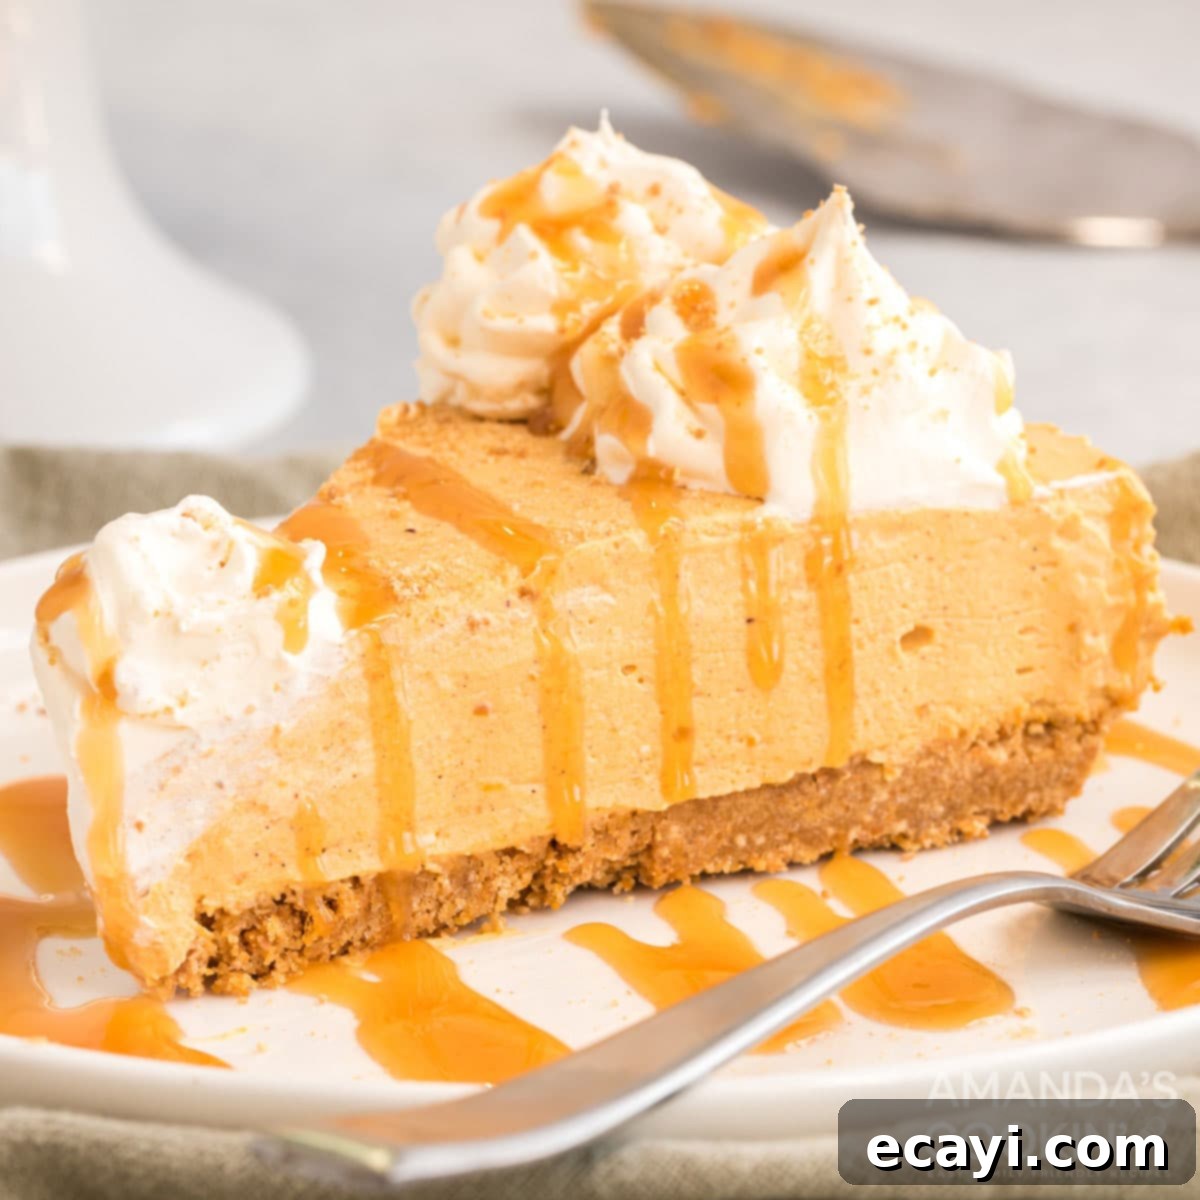
Easy No-Bake Pumpkin Cheesecake: The Ultimate Fall Dessert Recipe
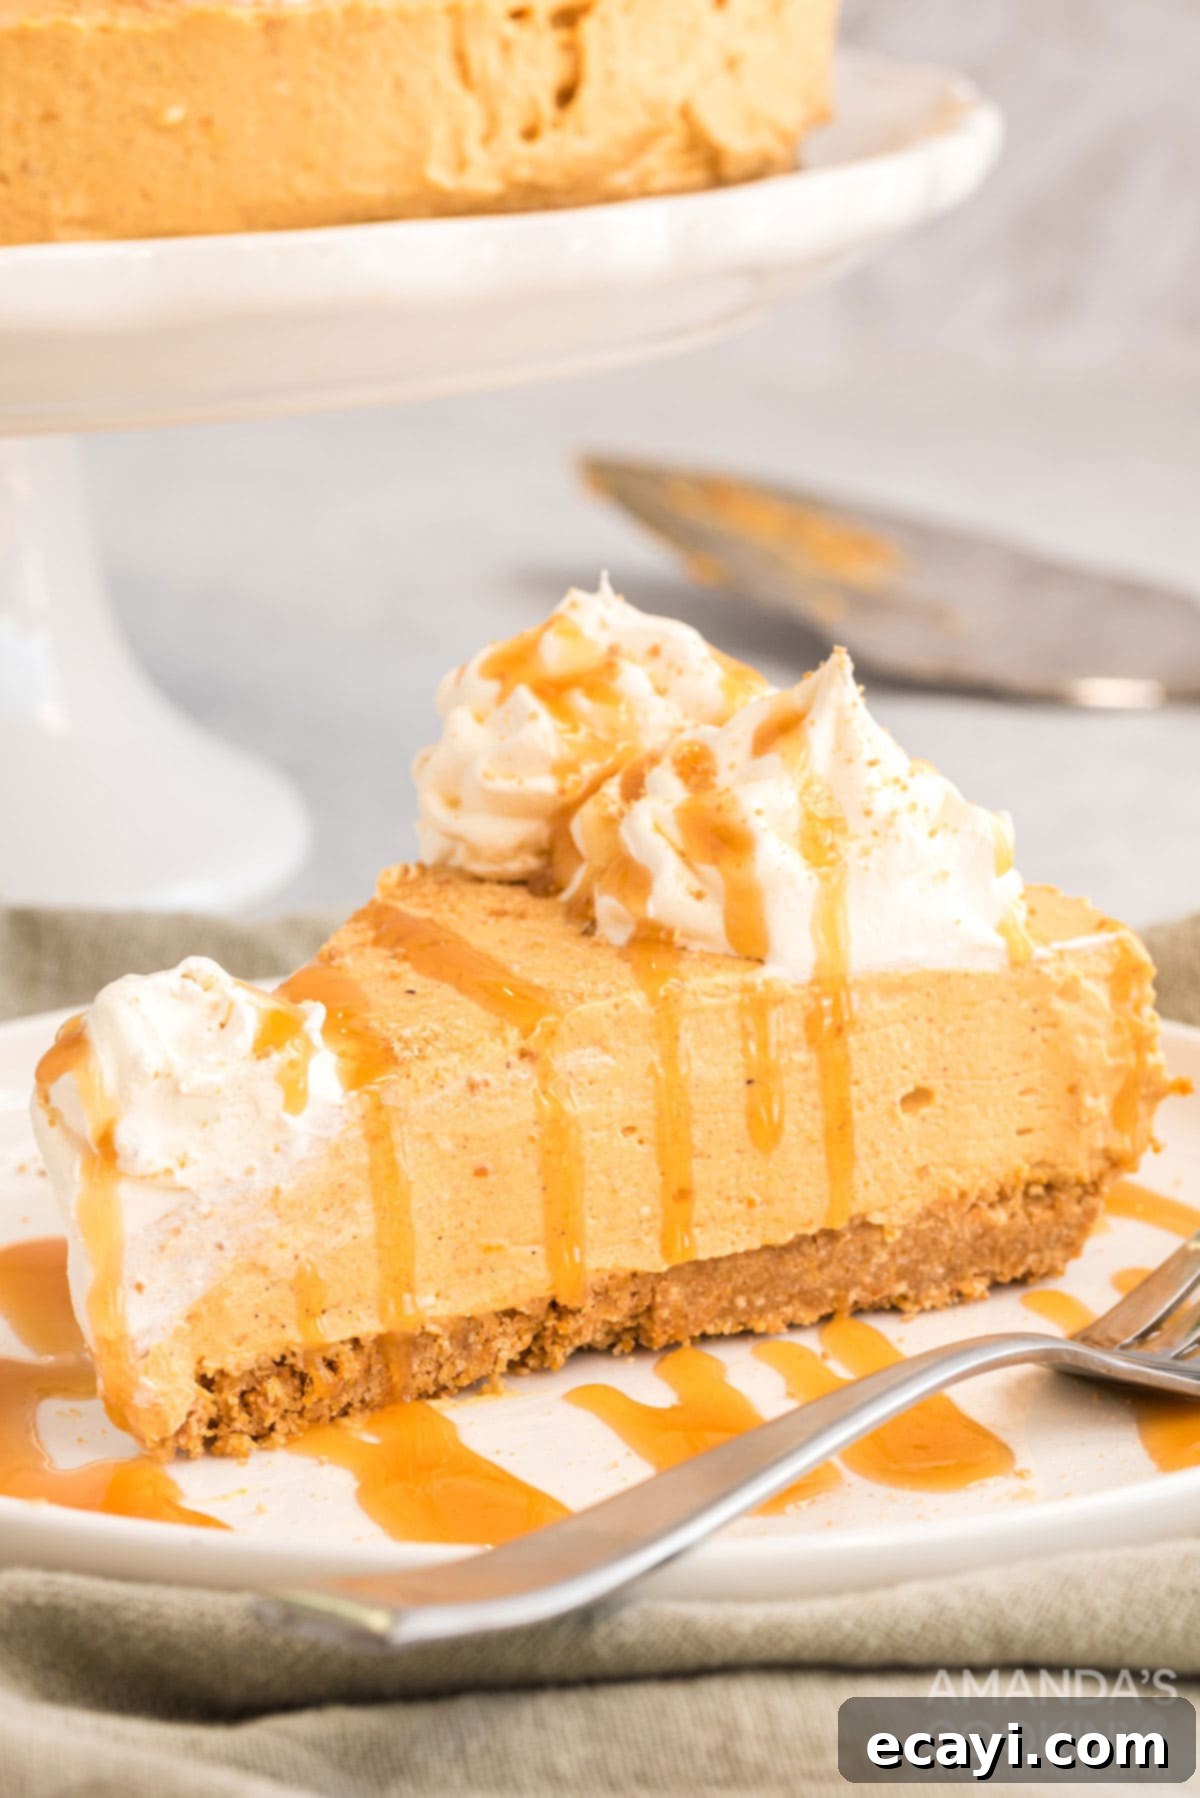
Prepare to delight your taste buds with this incredible no-bake pumpkin cheesecake! Requiring less than 10 ingredients and absolutely no oven time, it’s the perfect stress-free dessert for any occasion. Super easy to whip up and impressively delicious, your guests will be asking for the recipe. This creamy, spiced pumpkin cheesecake delivers all the classic fall flavors without the hassle of baking, making it a truly indispensable addition to your seasonal repertoire.
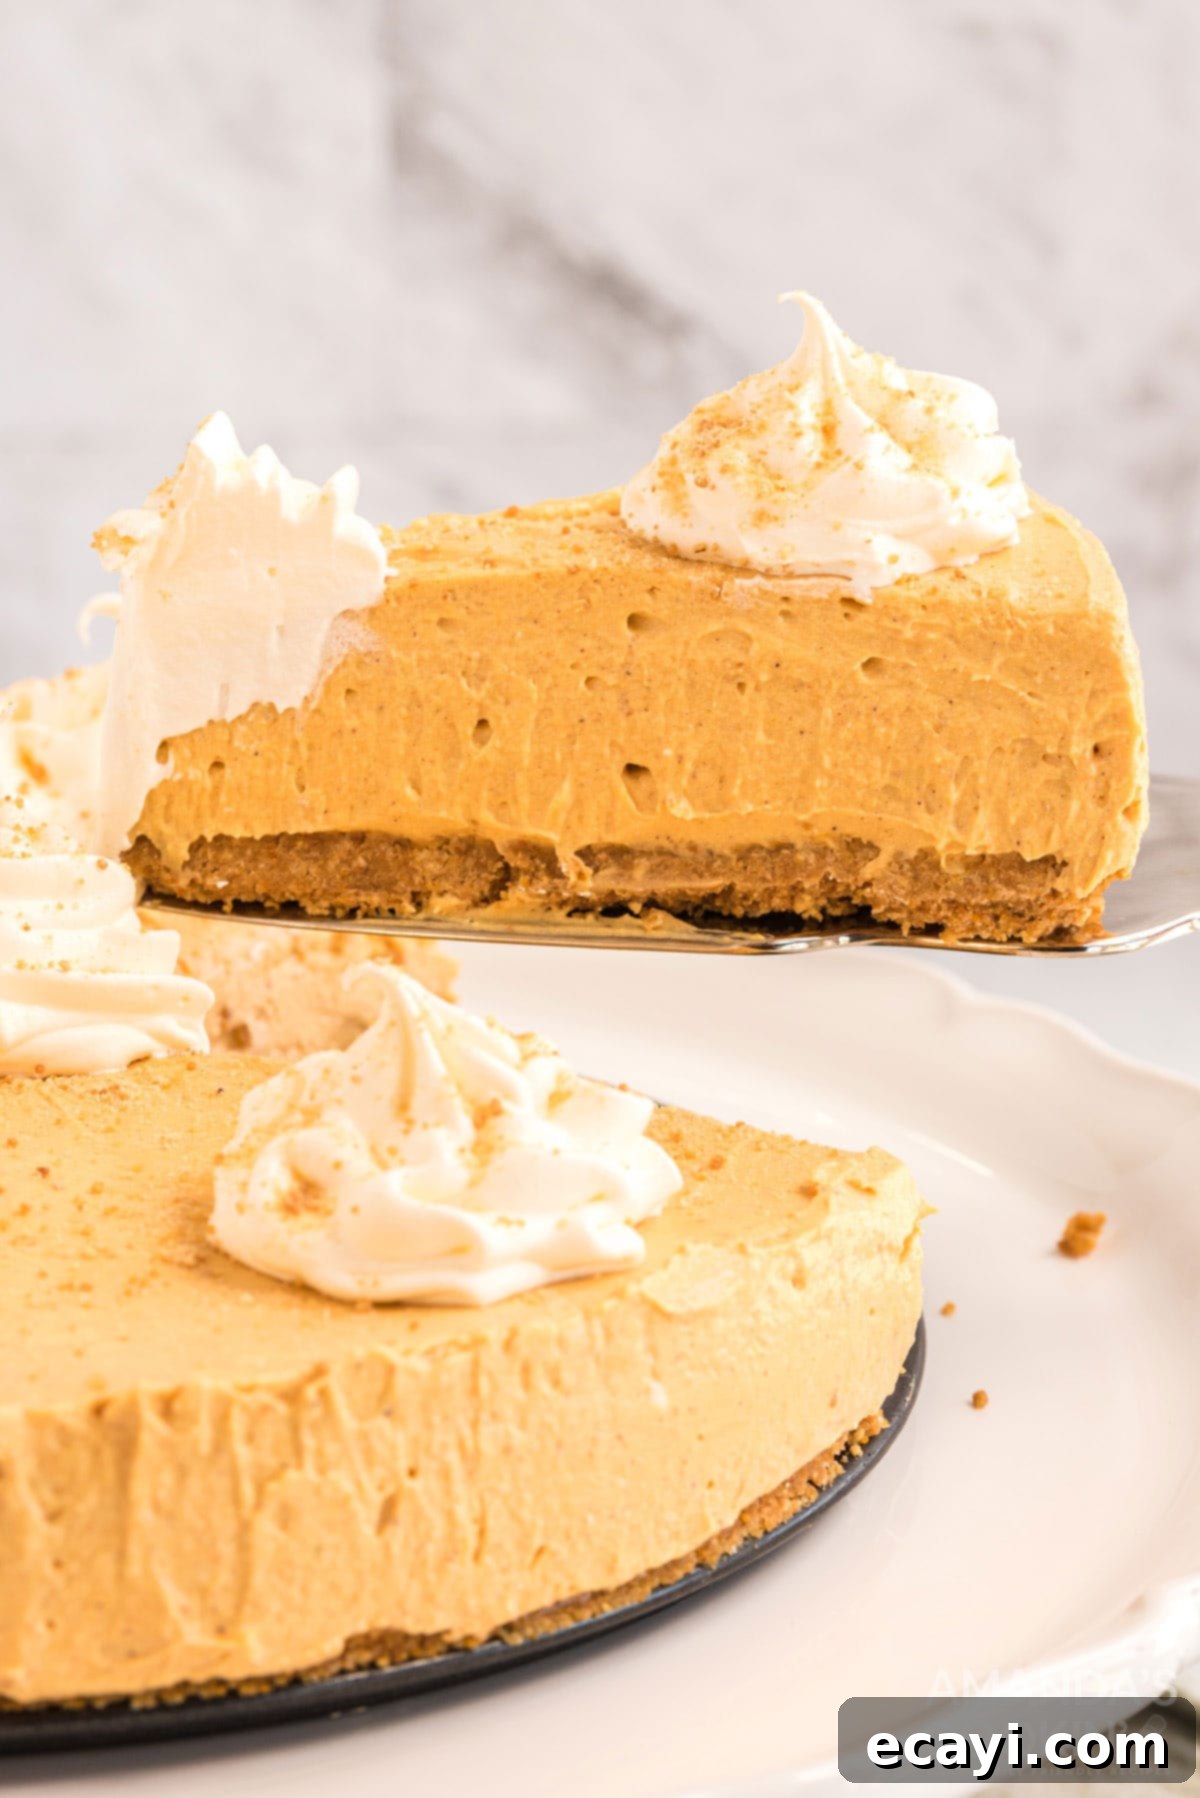
Why This No-Bake Pumpkin Cheesecake Recipe Works Wonders
This no-bake pumpkin cheesecake recipe isn’t just easy; it’s ingeniously designed for maximum flavor and minimal effort, making it a true winner, especially during the autumn season. Pumpkin’s popularity truly soars from late August through Thanksgiving, but the early fall weather can often still be too warm to justify cranking up the oven for a traditional baked dessert. This recipe elegantly solves that problem, allowing you to enjoy the rich, comforting taste of pumpkin cheesecake without adding extra heat to your kitchen.
While it requires zero oven time, remember that this delicious dessert does need some crucial chill time in the refrigerator. This allows the cheesecake filling to properly set and develop its luxurious, creamy texture. So, make sure to plan ahead to allow for at least 3 hours (or ideally, overnight) for optimal results. The waiting is the hardest part, but it’s absolutely worth it for the perfectly firm, yet melt-in-your-mouth consistency.
Another fantastic feature of this cheesecake is its portability. Crafted in a convenient springform pan, it’s exceptionally easy to unmold and transport, making it an ideal choice if you’re attending a harvest party, a potluck, or the quintessential Thanksgiving dinner. Imagine arriving with this stunning, perfectly set pumpkin cheesecake – it’s guaranteed to impress your hosts and fellow guests alike!
Beyond its practicality, the blend of spices in this recipe perfectly complements the natural sweetness of the pumpkin, creating a harmonious flavor profile that encapsulates the essence of fall. It’s a comforting dessert that truly shines, proving that sometimes the best things are indeed no-bake.
Essential Ingredients You Will Need
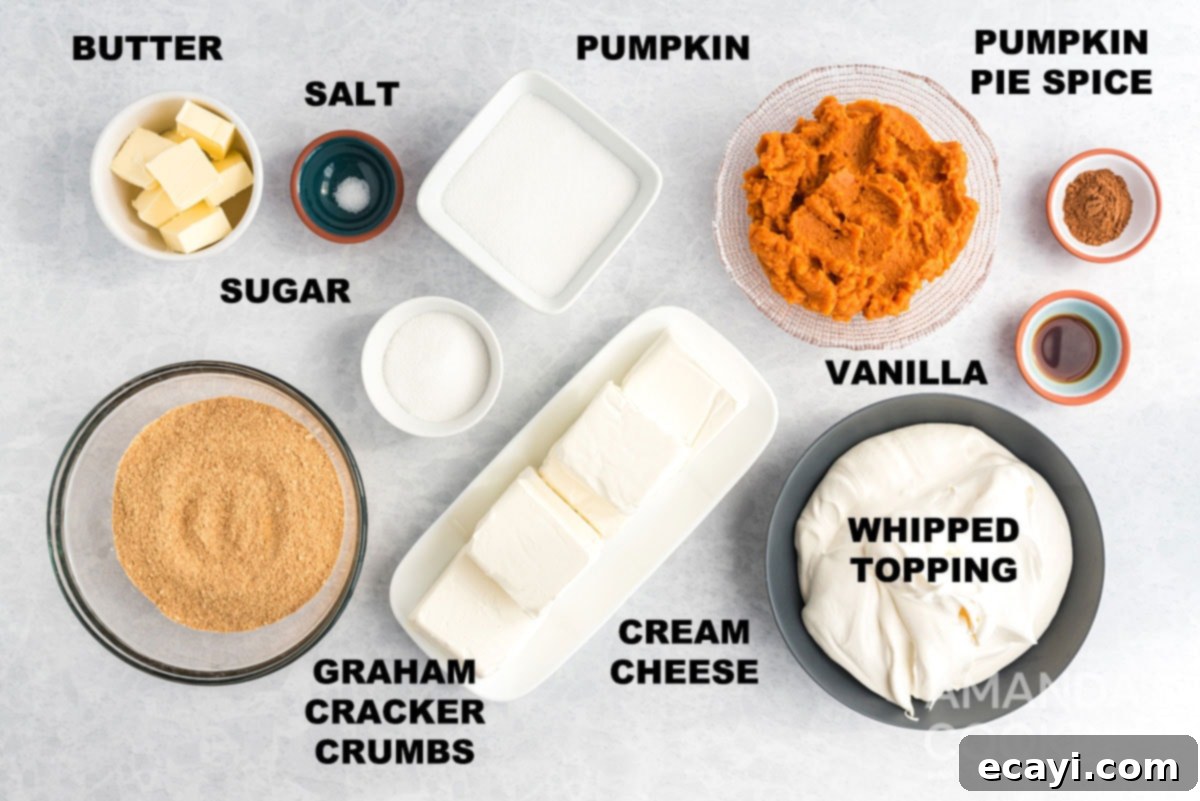
Crafting this delightful no-bake pumpkin cheesecake requires a selection of simple, readily available ingredients that come together to create a truly spectacular dessert. Each component plays a vital role in achieving the perfect balance of flavor and texture:
- Graham Cracker Crumbs: Forms the sweet, crunchy base of our cheesecake. You can buy pre-crushed crumbs or crush whole graham crackers yourself.
- Melted Butter: Binds the graham cracker crumbs together, creating a firm and flavorful crust.
- Granulated Sugar: Sweetens both the crust and the rich pumpkin filling, balancing the spices and cream cheese.
- Pinch of Salt: Enhances all the other flavors in the crust, preventing it from tasting flat.
- Cream Cheese: The star of any cheesecake! Ensure it’s full-fat and well-softened for a smooth, lump-free filling. This is crucial for achieving that signature creamy cheesecake texture.
- Pumpkin Puree: Provides the authentic pumpkin flavor and beautiful color. Make sure to use pure pumpkin puree, NOT pumpkin pie filling, which already contains spices and sugar.
- Pumpkin Pie Spice: A blend of cinnamon, nutmeg, ginger, and cloves, it infuses the cheesecake with classic fall warmth and aroma.
- Vanilla Extract: A touch of vanilla rounds out the flavors and adds depth to the filling.
- Whipped Topping (or fresh whipped cream): Lightens the texture of the filling and provides a soft, airy garnish.
For precise measurements and detailed instructions, scroll down to the printable recipe card at the end of this post. Having all your ingredients measured and ready before you start will make the process even smoother!
Get all measurements, ingredients, and instructions in the printable version at the end of this post.
How to Make The Best No-Bake Pumpkin Cheesecake
These step-by-step photos and detailed instructions are here to guide you through making this irresistible no-bake pumpkin cheesecake. Follow along to visualize each stage of the process, ensuring your dessert turns out perfectly smooth, creamy, and utterly delicious. For a quick printable version, simply scroll down to the complete recipe card!
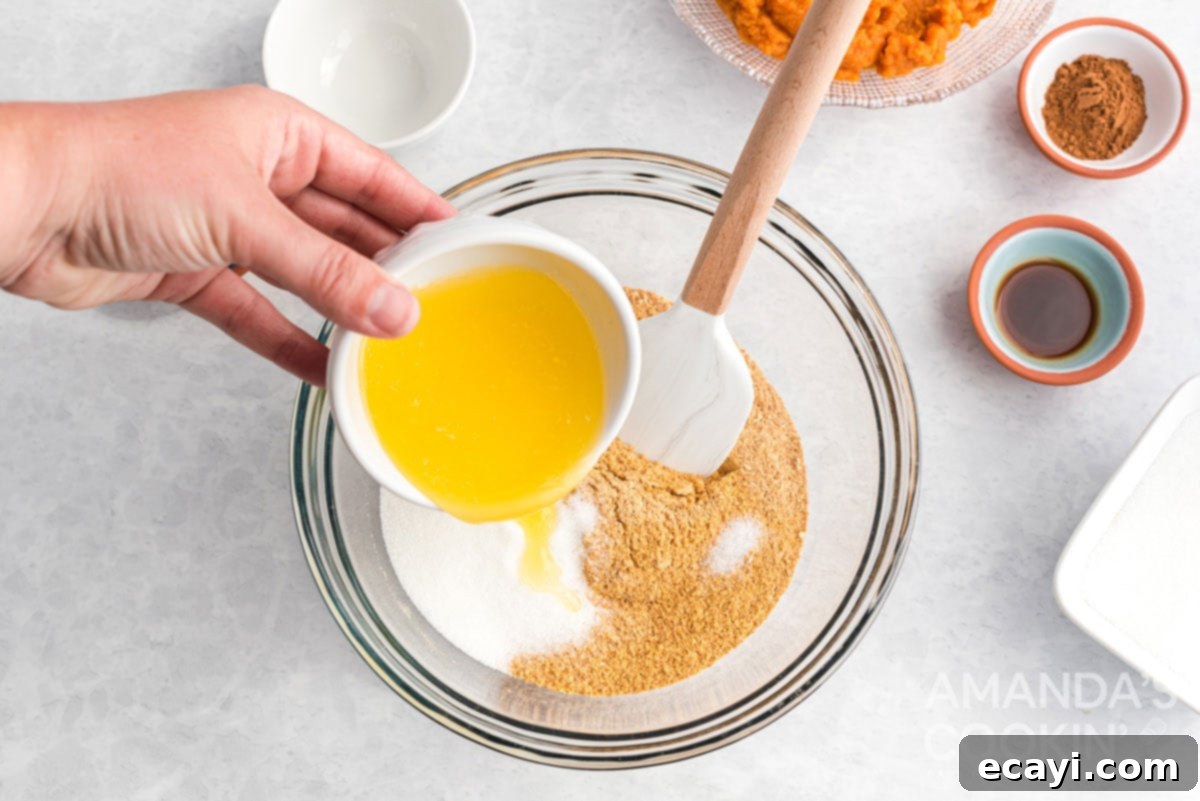
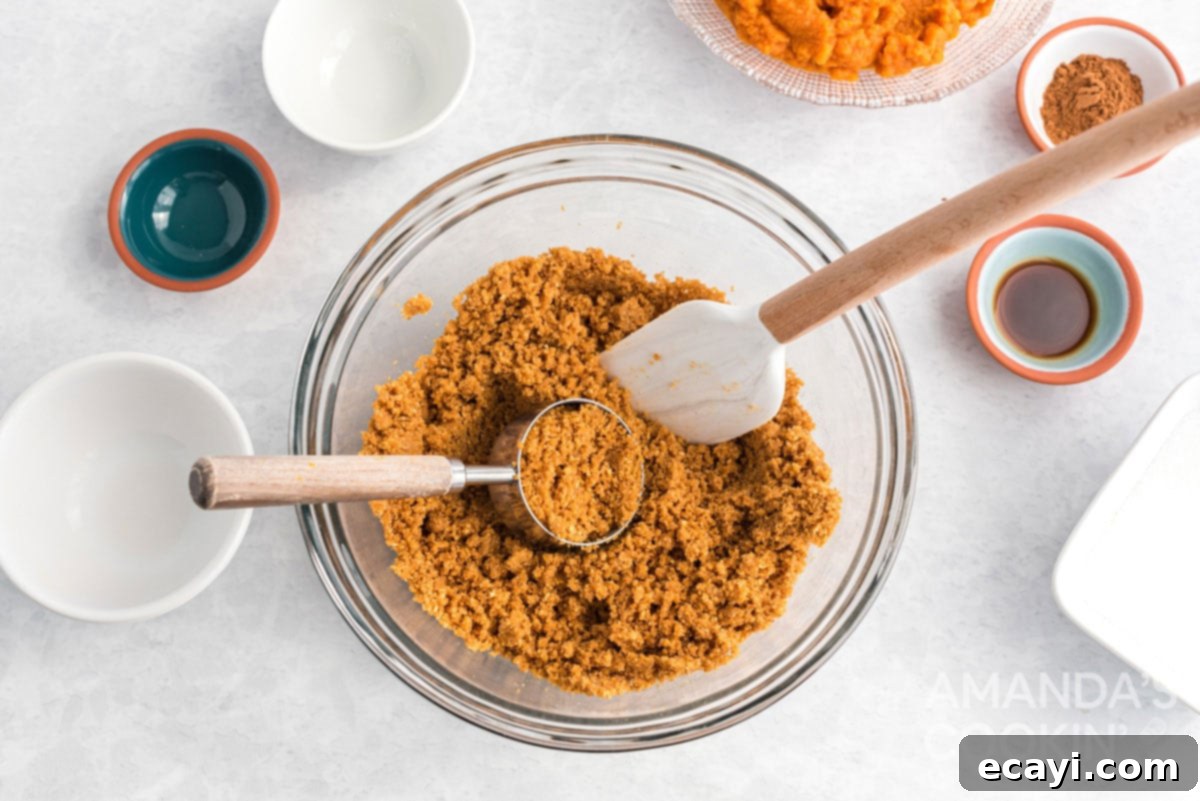
- **Prepare the Graham Cracker Crust:** In a large mixing bowl, combine the graham cracker crumbs, melted butter, granulated sugar, and a pinch of salt. Mix thoroughly with a fork or spatula until the crumbs are evenly moistened and resemble wet sand. This ensures a cohesive and flavorful crust. Once combined, reserve about 1/4 cup of this crumb mixture to use later for garnish. Set it aside.
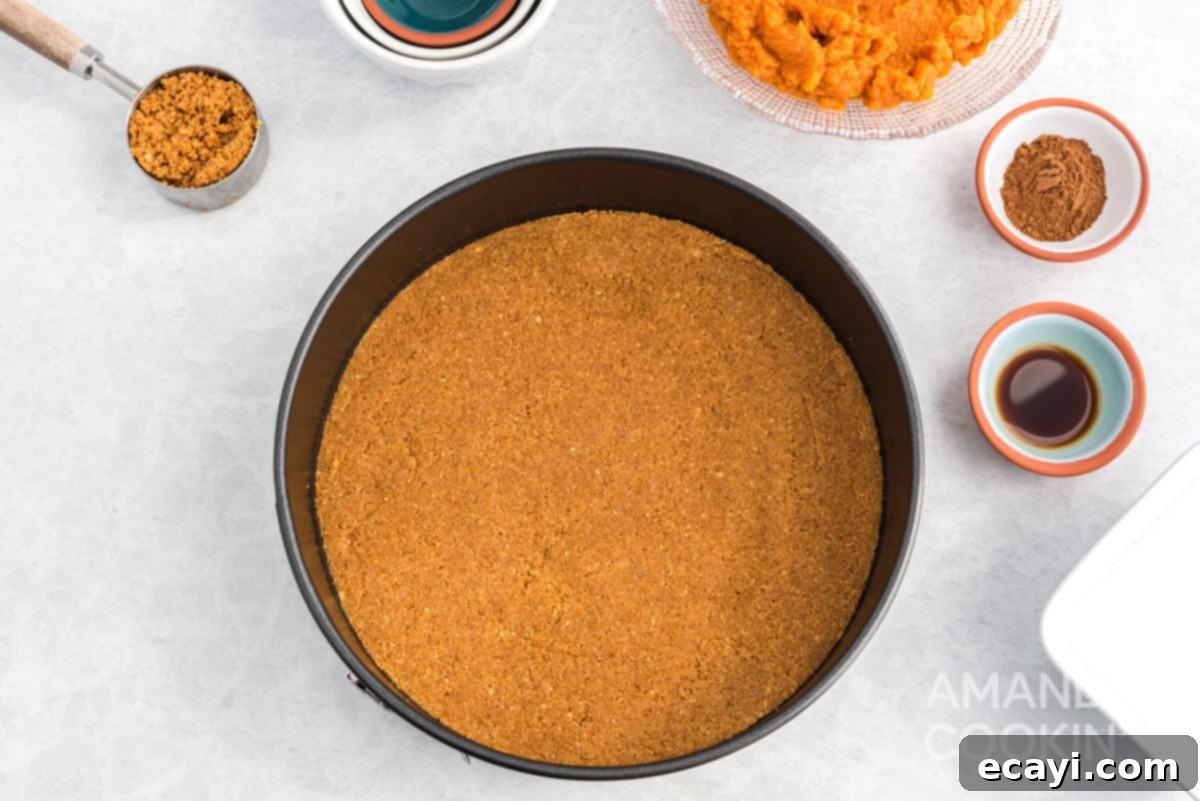
- **Form the Crust Base:** Take the remaining graham cracker crumb mixture and press it firmly and evenly into the bottom of an 8 or 9-inch springform pan. Use the back of a spoon or the bottom of a flat glass to compact it well; this helps create a sturdy crust that won’t crumble when sliced. Place the prepared crust into the refrigerator while you move on to preparing the filling. This initial chill helps it set even further.
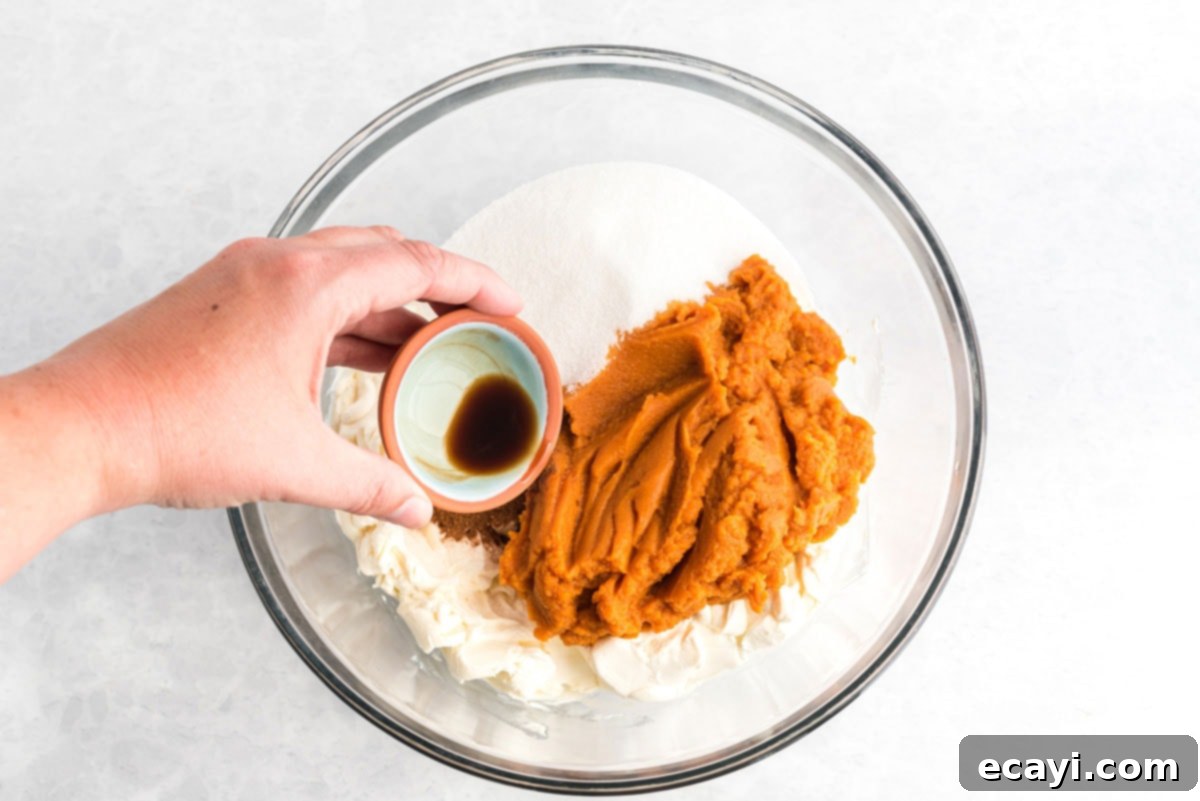
- **Prepare the Creamy Pumpkin Filling:** In a separate, clean bowl, use an electric mixer (handheld or stand mixer) to beat the well-softened cream cheese until it is light and completely smooth, with no lumps. Then, add the pumpkin puree, granulated sugar, pumpkin pie spice, and vanilla extract. Continue beating on medium speed until all ingredients are fully incorporated and the mixture is silky smooth and uniform in color. Scrape down the sides of the bowl as needed to ensure everything is well mixed.
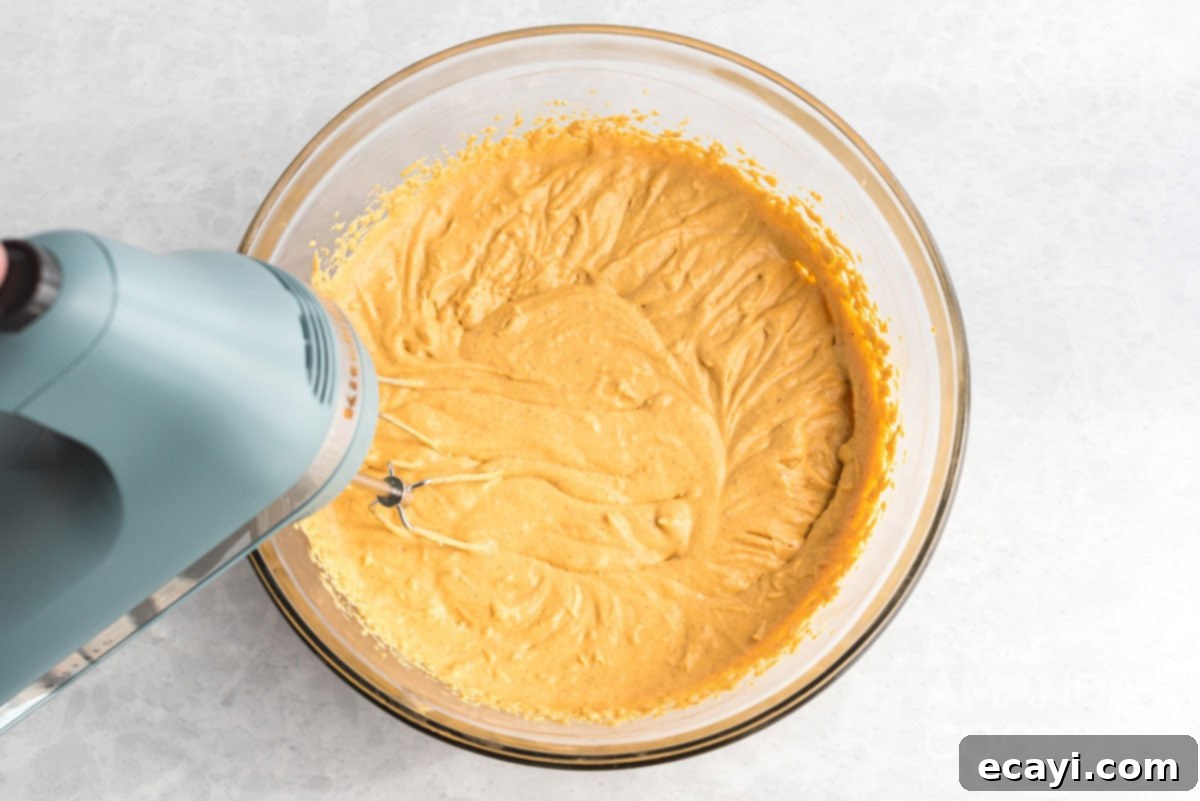
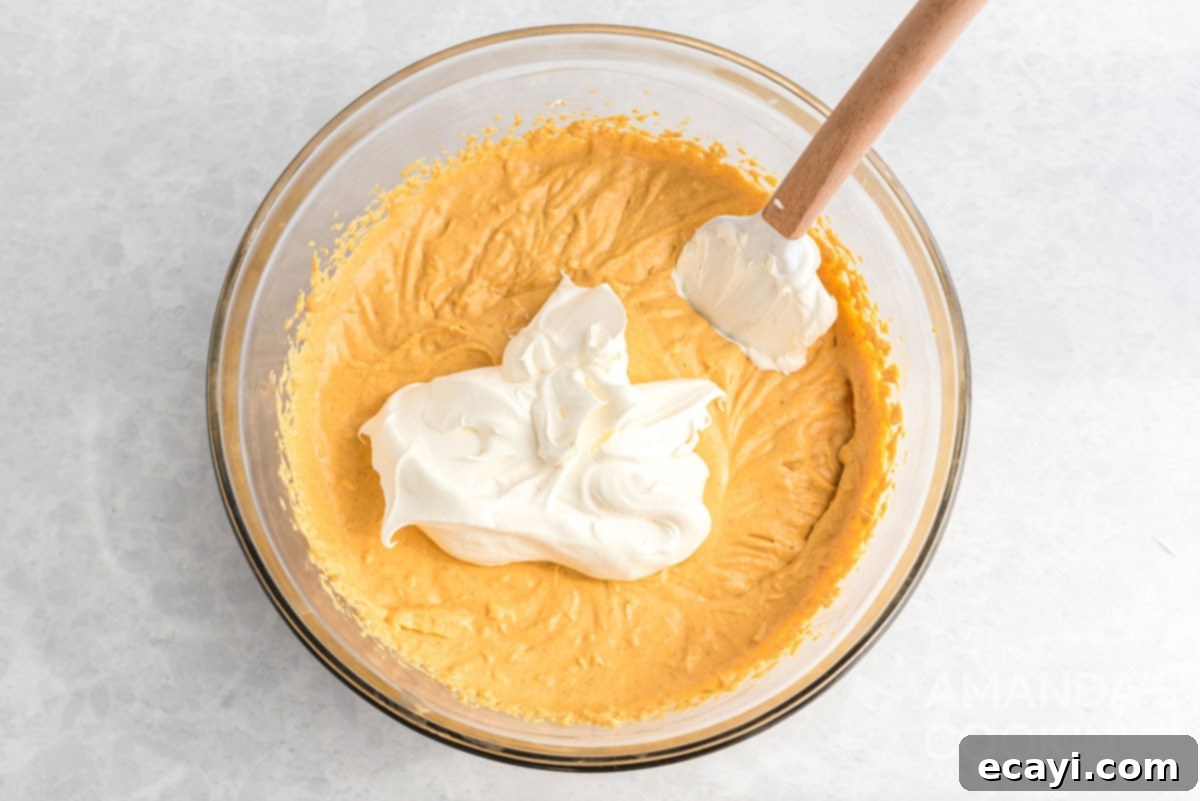
- **Fold in Whipped Topping:** Gently fold in 1 cup of the whipped topping into the pumpkin cheesecake batter using a rubber spatula. Be careful not to overmix; the goal is to incorporate the whipped topping while maintaining the light and airy texture it provides. This step adds a delicate lightness to the rich filling.
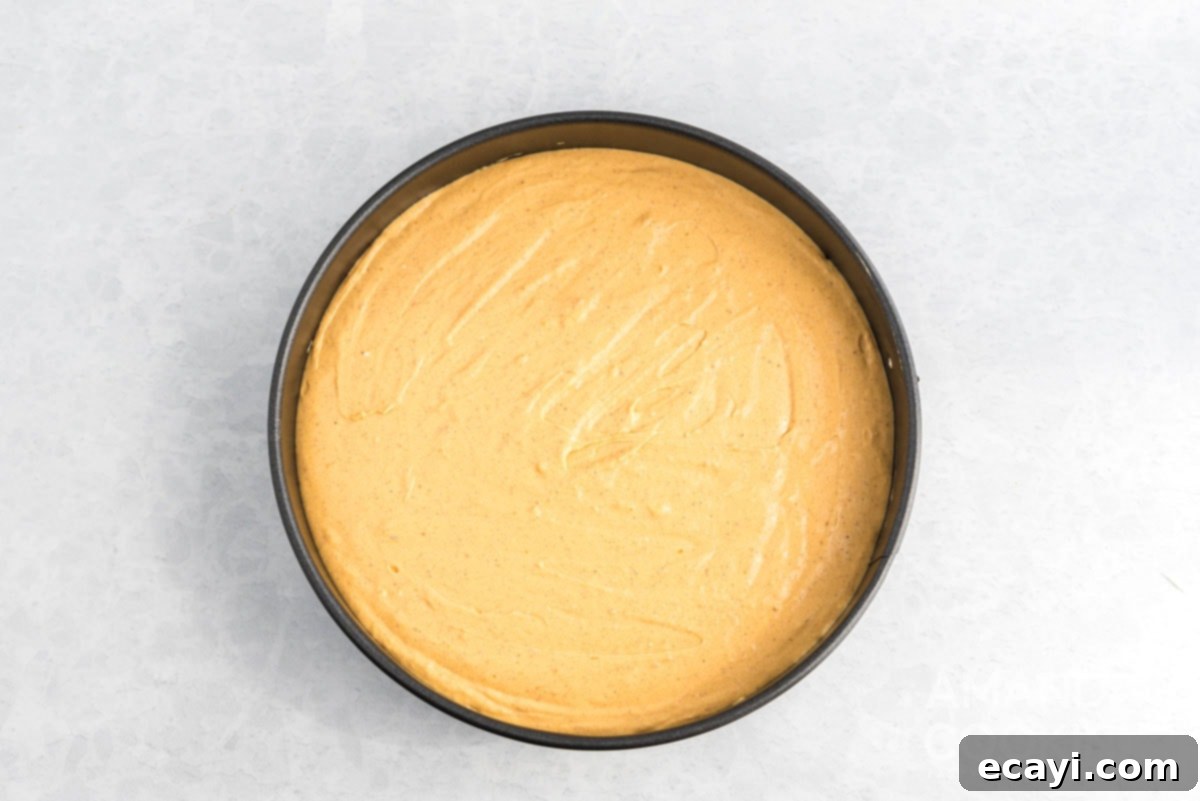
- **Assemble the Cheesecake:** Carefully scrape the entire pumpkin cheesecake mixture into the chilled graham cracker crust in the springform pan. Use your spatula or the back of a spoon to spread the top evenly, creating a smooth and appealing surface.
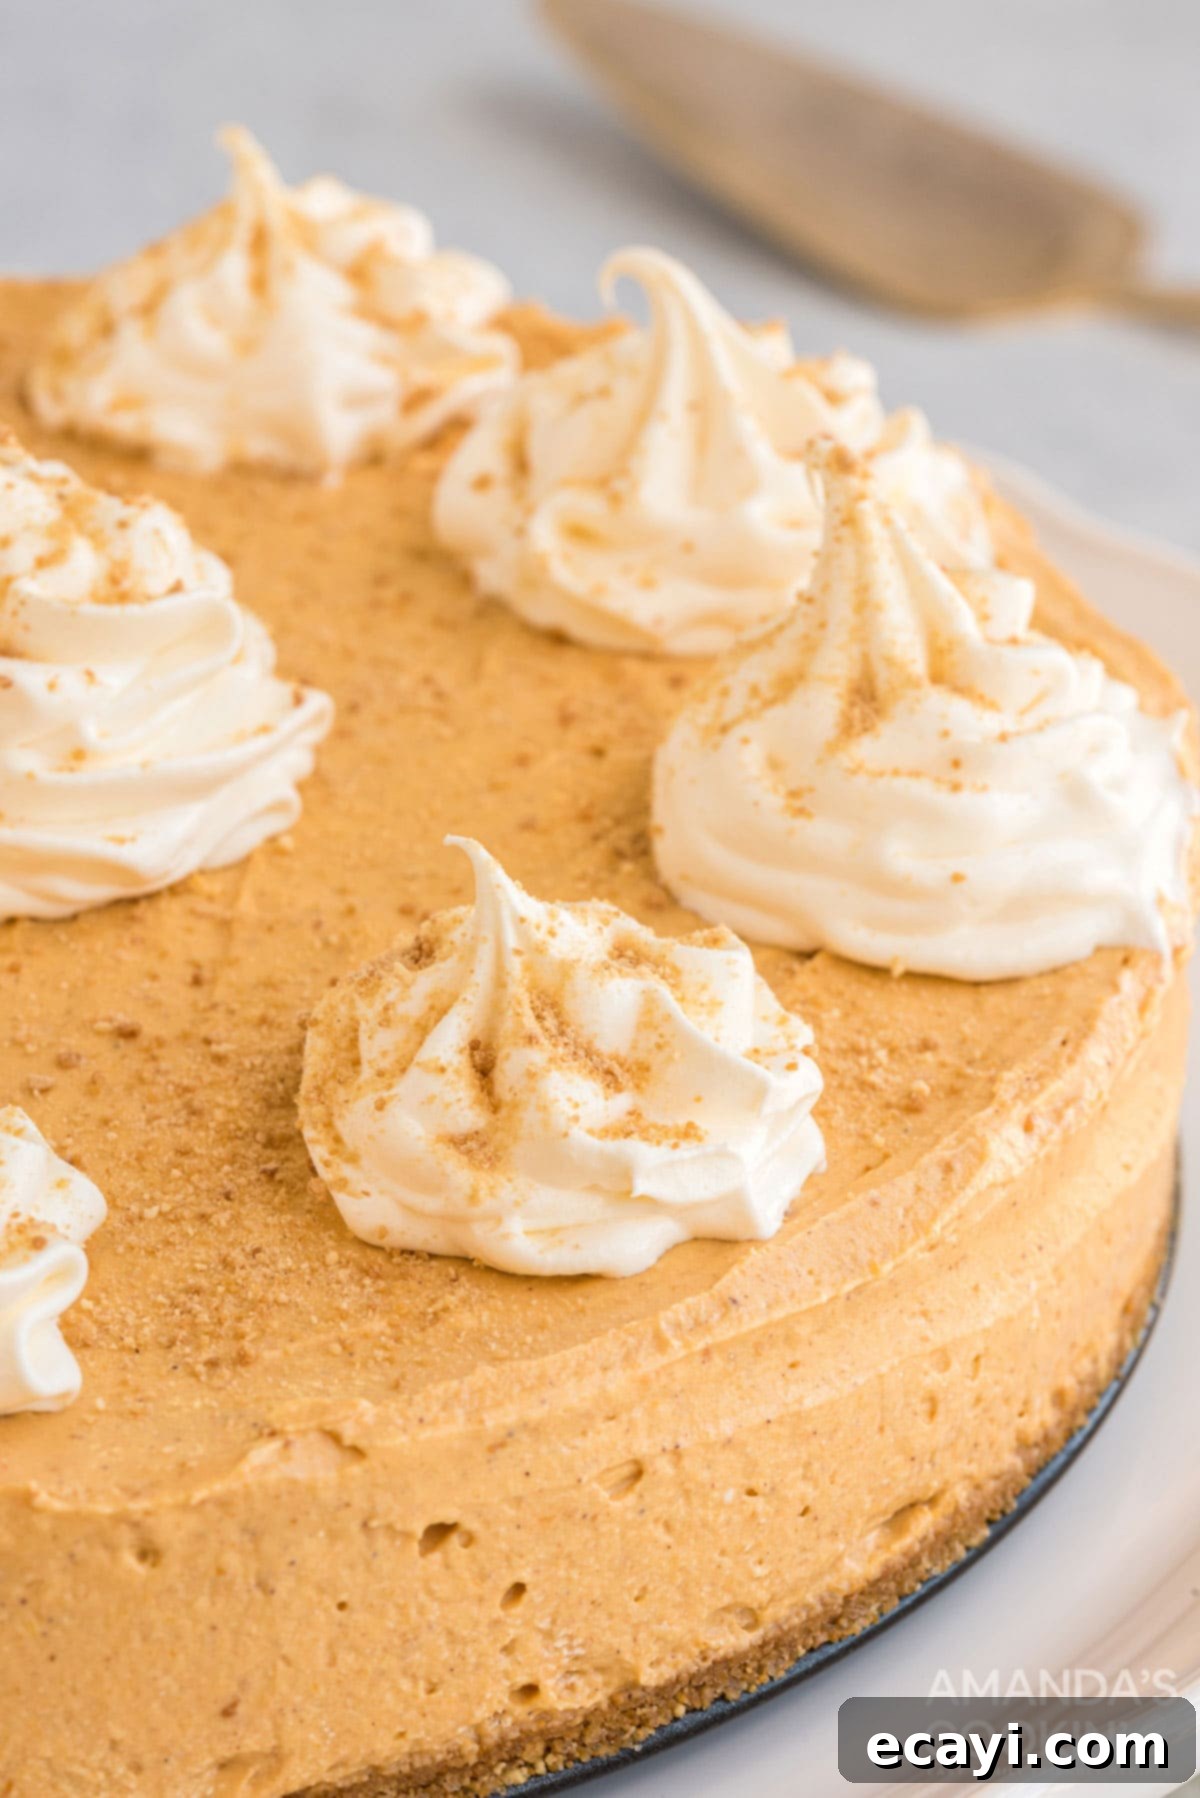
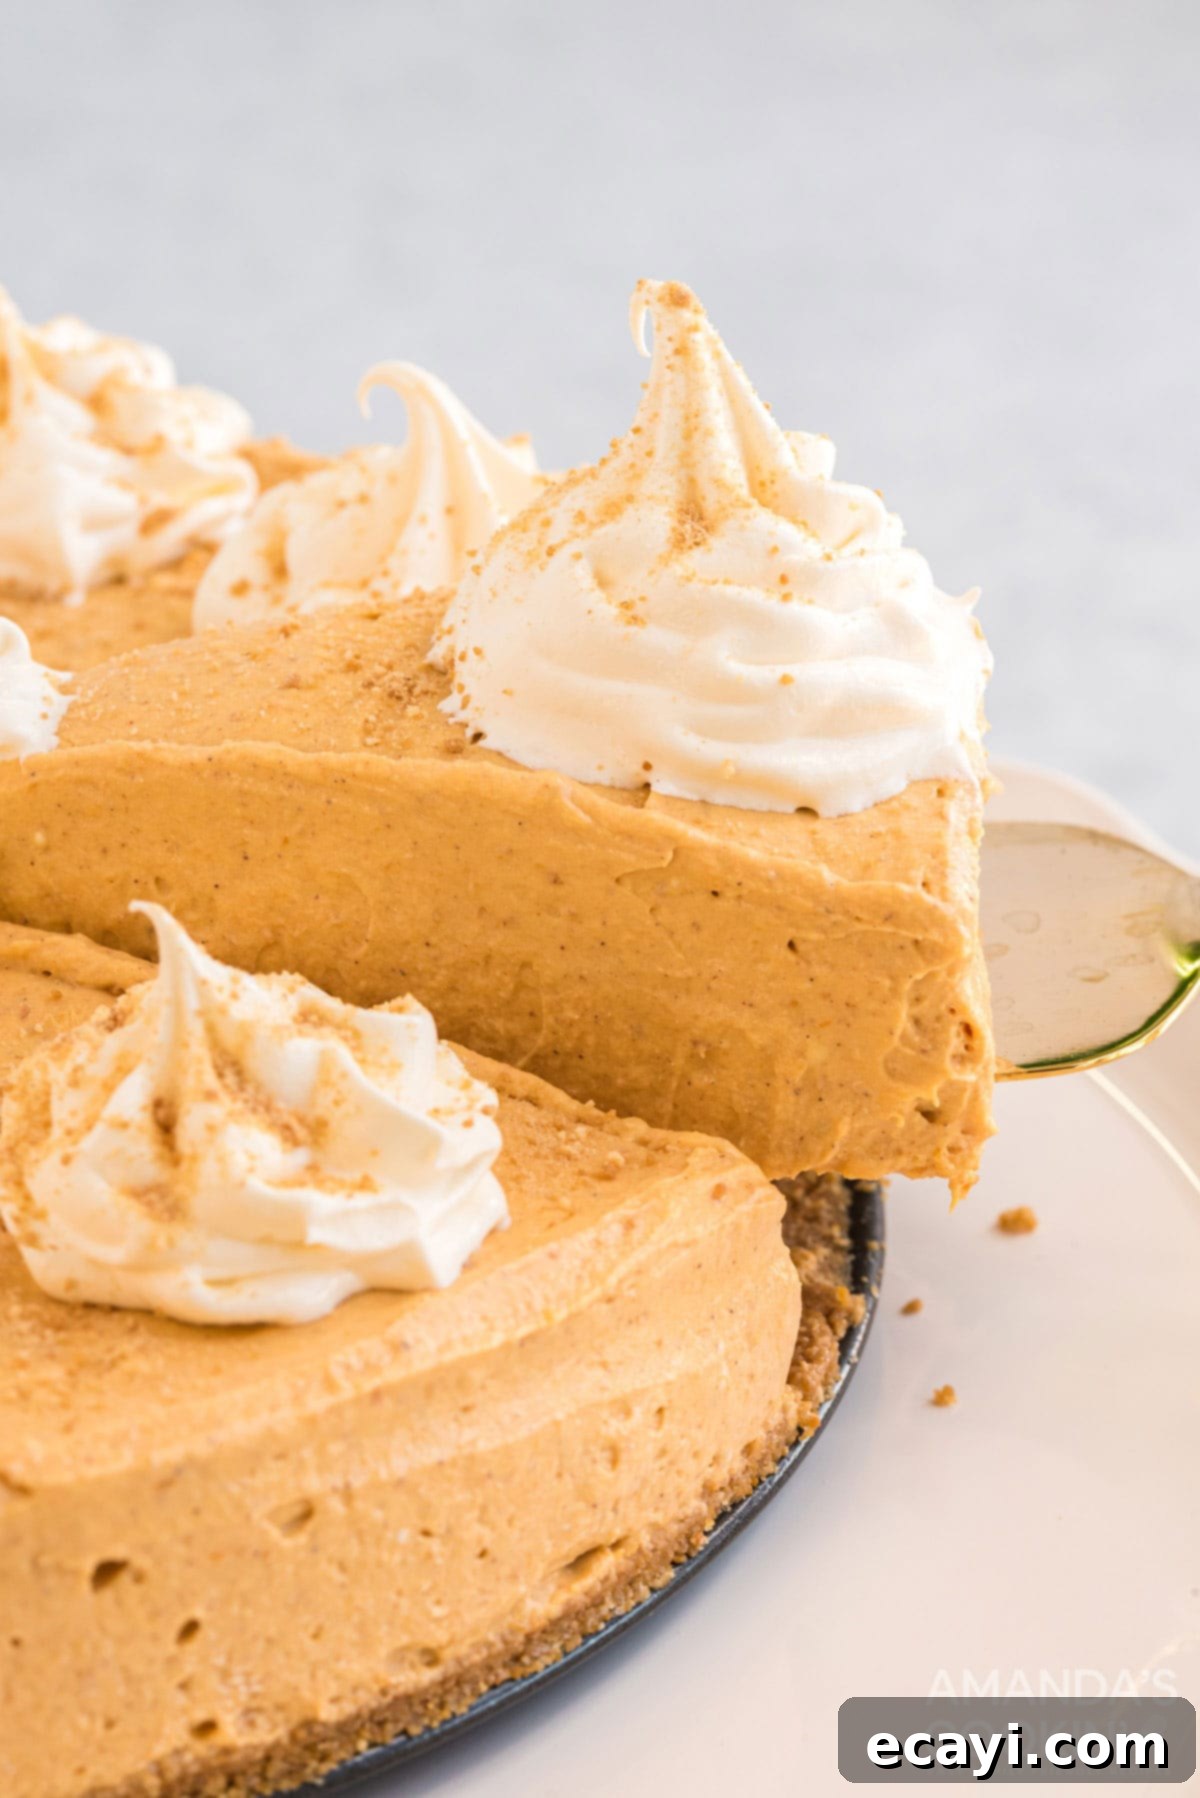
- **Garnish and Chill:** Garnish the top of the cheesecake with the remaining whipped topping (you can pipe it for a decorative touch or simply spread it) and sprinkle with the reserved graham cracker crumbs. Cover the springform pan tightly with plastic wrap to prevent any odors from the refrigerator from affecting the cheesecake’s flavor. Refrigerate for at least 3 hours, but for the best firm texture and flavor development, chilling it overnight is highly recommended. Serve chilled and enjoy!
Expert Tips & Frequently Asked Questions
To ensure your no-bake pumpkin cheesecake turns out perfectly every time, consider these expert tips and answers to common questions:
- **Softened Cream Cheese is Key:** Always remove your cream cheese from the refrigerator at least 30 minutes to an hour before you plan to mix it. For even faster softening, cut the cream cheese into smaller cubes. Mixing cold, firm cream cheese can result in a lumpy filling with undesirable solid bits, which no one wants in a smooth cheesecake! Room temperature cream cheese blends seamlessly, creating that signature velvety texture.
- **Don’t Rush the Chill Time:** The chilling step is absolutely critical for this no-bake cheesecake to set properly. Be sure to refrigerate it for a minimum of 3 hours. For the best, firmest results and optimal flavor, chilling it overnight is highly recommended. If you don’t allow sufficient chill time, the cheesecake will remain too soft and won’t hold its shape when sliced, leading to a less than ideal presentation and texture.
- **Pumpkin Puree vs. Pumpkin Pie Filling:** This is a common mistake! Always use pure pumpkin puree for this recipe. Pumpkin pie filling is a pre-mixed product that already contains spices and sweeteners, which will alter the flavor profile and sweetness level of your cheesecake. Check the label carefully!
- **Springform Pan Advantage:** Using a springform pan is ideal for cheesecakes as it allows for easy removal without having to invert the delicate dessert. If you don’t have one, you can line a regular 8 or 9-inch round pan with parchment paper, leaving an overhang on the sides to lift the cheesecake out once chilled.
- **Storage:** Store any leftover no-bake pumpkin cheesecake tightly covered with plastic wrap in the refrigerator for up to 3-4 days. It’s best enjoyed chilled.
- **Serving Enhancements:** While delicious on its own, consider drizzling individual slices with caramel sauce, a sprinkle of candied pecans, or a dusting of cinnamon for an extra touch of gourmet elegance.
For Delightful Single-Serve Minis
This versatile no-bake pumpkin cheesecake recipe can also be easily adapted to create charming single-serve mini cheesecakes, perfect for individual portions at parties, events, or simply for portion control. They’re just as delicious and impressive as the full-sized version, but with an added touch of elegance and convenience.
Adjust the ingredients to these amounts for a smaller batch of minis:
- 8 graham crackers, crushed (or about 1 cup graham cracker crumbs)
- 4 tablespoons butter, melted
- 8 oz cream cheese, well softened
- 1 cup canned pumpkin puree (NOT pumpkin pie filling)
- 1/2 cup granulated sugar
- 1 teaspoon pumpkin pie spice
- 1/2 teaspoon vanilla extract
- 1 1/2 cups whipped topping, divided (for filling and garnish)
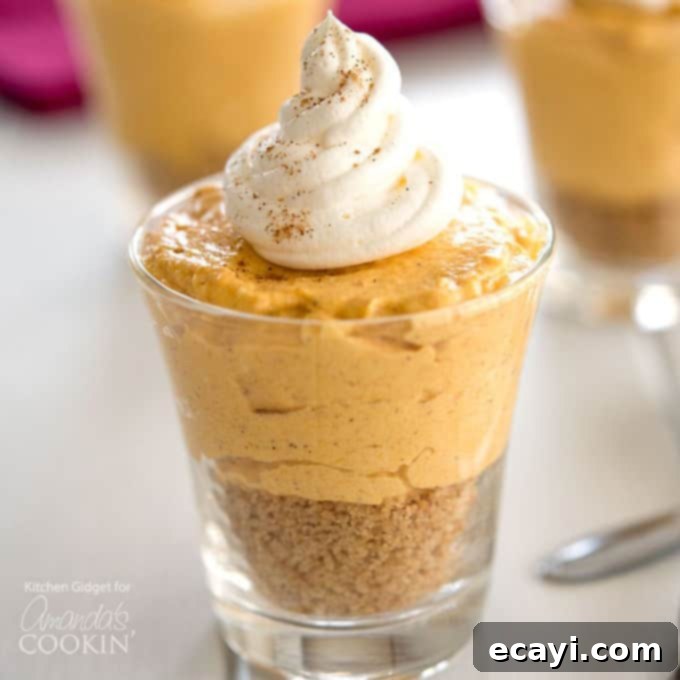
- **Prepare Mini Crusts:** Start by preparing the crust mixture. In a bowl, combine the crushed graham cracker crumbs and melted butter until well mixed.
- **Fill the Jars:** Spoon the crust mixture into small glass jars, ramekins, or individual dessert cups. Gently press the crumbs down to form an even base.
- **Craft the Mini Filling:** For the filling, ensure your cream cheese is well-softened. Blend it with the pumpkin puree, granulated sugar, and pumpkin pie spice until smooth and creamy.
- **Add Lightness to Filling:** Gently fold in a little whipped topping (or homemade whipped cream) into the pumpkin mixture to give it a lighter, airier texture. Reserve the remaining whipped cream for garnishing the tops of your minis.
- **Assemble and Chill:** You can either spoon the cheesecake mixture over the crusts in each jar, or for a more elegant presentation, pipe it in using a piping bag with a star tip to create a pretty swirl. Chill the mini cheesecakes in the refrigerator for at least 2 hours, or until thoroughly set, then top with the reserved whipped topping just before serving.
Whether you choose to make the grand, full-sized cheesecake or the adorable little minis, this amazing no-bake pumpkin cheesecake is guaranteed to become a new family favorite. It’s the perfect fuss-free dessert to celebrate the autumn season!
More Delicious Pumpkin & Fall Recipes
If you’re a fan of the cozy flavors of fall and pumpkin, you’ll love exploring these other delightful recipes:
- Classic Pumpkin Cake
- Homemade Pumpkin Roll
- Creamy Pumpkin Eggnog
- Zesty Lemon Cream Cheese Pie
- Instant Pot Cherry Cheesecake
- Easy Pumpkin Magic Cake
- Baked Pumpkin Spice Donuts
I love to bake and cook and share my recipes with you! I know it’s hard to remember to come back and search for your favorites, so I’ve made it easy for you with my weekly newsletter! You can subscribe for free and I’ll send you delicious recipes every week right to your email. Never miss a tasty treat again!
No-Bake Pumpkin Cheesecake
IMPORTANT NOTE: For crucial tips on ingredient preparation (like softening cream cheese) and chilling, please refer to the “Expert Tips & FAQs” section higher up in this blog post. Scrolling back up will provide helpful insights for a flawless cheesecake!
Print It
Rate It
Save ItSaved!
Ingredients
For the Crust:
- 1 ¾ cups graham cracker crumbs
- 7 tablespoons butter melted
- ¼ cup granulated sugar
- pinch of salt
For the Filling:
- 24 oz cream cheese well softened, room temperature is critical for a smooth filling
- 15- oz pumpkin puree ensure it’s pure pumpkin, NOT pumpkin pie filling
- 1 cup granulated sugar
- 2 teaspoons pumpkin pie spice
- 1 teaspoon vanilla extract
- 3 cups whipped topping or homemade whipped cream divided for folding into filling and for garnish
Things You’ll Need
-
9 inch springform pan
-
Electric mixer
-
Rubber spatula
-
Mixing bowls
-
Measuring cups and spoons
Before You Begin
- **Softening Cream Cheese is Essential:** Remove the cream cheese from the refrigerator at least 30 minutes before mixing. Cutting it into cubes can help it soften faster. If you mix cold cream cheese, you might end up with small, undesirable solid bits in your otherwise smooth cheesecake.
- **Patience with Chilling:** This cheesecake requires adequate refrigeration to firm up properly. Chill for at least 3 hours; however, for the best and most stable results, it’s highly recommended to refrigerate it overnight. Insufficient chilling will result in a soft, unset cheesecake.
Instructions
-
In a large mixing bowl, combine the graham cracker crumbs, melted butter, granulated sugar, and salt. Mix thoroughly until the crumbs are evenly moistened and resemble wet sand. Reserve 1/4 cup of this crumb mixture for garnish later, and set it aside.
-
Press the remaining crumb mixture firmly and evenly into the bottom of an 8 or 9-inch springform pan. Place the pan into the refrigerator to chill while you prepare the filling.
-
In a separate bowl, using an electric mixer, beat the well-softened cream cheese until smooth. Add the pumpkin puree, granulated sugar, pumpkin pie spice, and vanilla extract. Beat until the mixture is completely smooth and all ingredients are fully incorporated, scraping down the bowl as needed.
-
Gently fold in 1 cup of the whipped topping into the pumpkin cheesecake batter using a rubber spatula. Mix until just combined, being careful not to overmix to retain the light texture.
-
Scrape the entire cheesecake mixture into the chilled crust in the springform pan. Spread the top evenly with a spatula. Garnish the cheesecake with the remaining whipped topping (spread or pipe) and sprinkle with the reserved graham cracker crumbs. Cover the pan tightly with plastic wrap and refrigerate for at least 3 hours (preferably overnight) before serving to allow it to fully set.
Nutrition Facts (Estimated Per Serving)
The recipes on this blog are extensively tested with a conventional gas oven and gas stovetop. Please note that cooking appliances, especially as they age, can have inconsistent heating. Utilizing an inexpensive oven thermometer can help ensure your oven maintains the proper temperature. For those using toaster ovens or countertop ovens, be aware that heat distribution might differ from a full-sized oven, potentially requiring adjustments to cooking or baking times. For recipes prepared with pressure cookers, air fryers, slow cookers, or other specialized appliances, a link to the specific models we use is typically provided within each recipe. Additionally, for baking recipes where measurements are given by weight, we highly recommend using a kitchen scale for accuracy; using volume measurements (cups) instead may lead to varying results, and we cannot guarantee success with this method.
This delightful recipe for No-Bake Pumpkin Cheesecake was originally published on August 28, 2018, and has since been extensively updated with enhanced expert tips, clearer instructions, and beautiful new photos to help you create the perfect fall dessert!
