Mastering the Art of Homemade Pizza: The Ultimate Easy Pizza Dough Recipe for Perfect Pies Every Time
There’s nothing quite like the aroma of freshly baked pizza filling your kitchen, and the joy of biting into a slice with a perfectly crisp, yet tender, crust. For many years, I’ve cherished the incredible taste of homemade pizza dough. If you’ve never ventured into making pizza from scratch, I genuinely believe it’s a culinary experience everyone must try at least once. But be warned: once you discover how simple and satisfying this easy pizza dough recipe is, you’ll likely find yourself saying goodbye to store-bought crusts forever. Beyond baking in the oven, I also adore creating delicious pizza on the grill, adding a unique smoky flavor that elevates pizza night to a whole new level!

Why This is the Best Homemade Pizza Dough Recipe You’ll Find
Calling something “the best” is indeed a bold claim, isn’t it? But trust me, this isn’t an exaggeration. This particular recipe stands out as the finest homemade dough I’ve ever prepared, and my kitchen has seen its fair share of pizza dough experiments over the years. Growing up, homemade pizza became one of the most frequently requested dinners in my household, a testament to its consistent deliciousness and appeal to even the pickiest eaters.
My personal journey to perfecting pizza dough began out of a craving for quality. Living in the Midwest, we have a certain appreciation for truly good pizza. However, during several years spent near Las Vegas, Nevada, while my kids were younger, I quickly realized the stark contrast in pizza quality compared to my roots in the Chicago area. The readily available store-bought options simply didn’t measure up to my family’s expectations, leaving us disappointed after pizza nights.
This culinary void spurred me to delve into learning how to make pizza dough from scratch. It was a mission to bring that authentic, satisfying pizza experience back into our home, transforming my kitchen into a personal pizzeria. Before I started my blogging journey, I worked as a webmaster, immersed in the internet world back in 1997. It was during this time that I connected with Mitch and Cheri, who ran a fantastic recipe website. It was there, among their collection of culinary gems, that I first discovered this truly amazing pizza dough recipe. It has been a cornerstone of our family meals ever since, proving its timeless appeal and delivering flawless results time and time again.
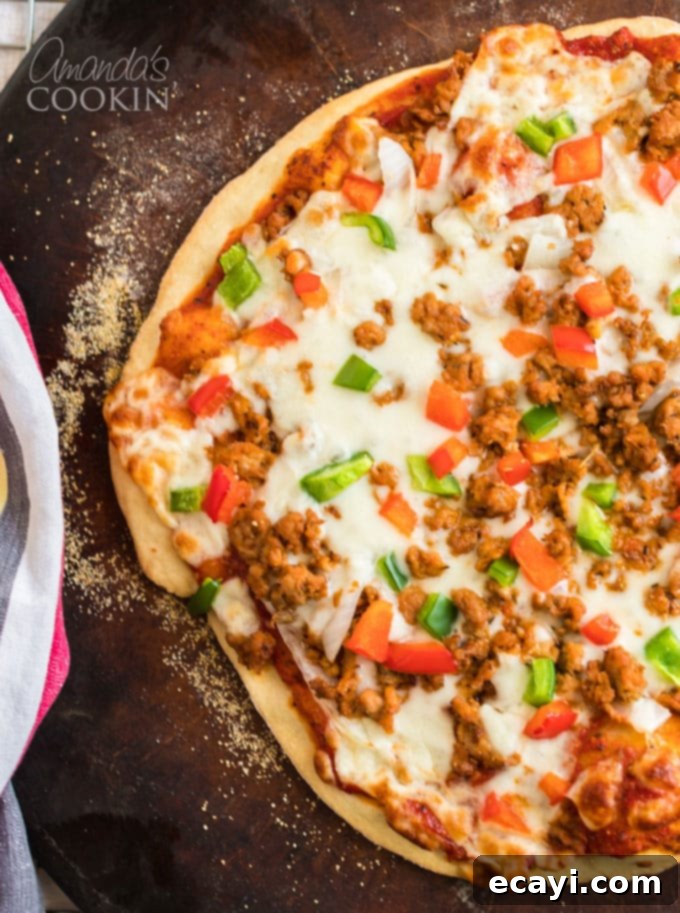
The Magic Behind the Crust: Key Ingredients for Perfect Pizza Dough
Crafting exceptional pizza dough begins with understanding the precise role of each ingredient. This recipe calls for a specific combination that ensures a wonderfully soft yet sturdy crust, ready to hold all your favorite toppings. Let’s explore what you’ll need and why each component is vital for creating the ultimate homemade pizza experience:
- Bread Flour: This is a crucial player for a reason. Bread flour boasts a higher protein content than standard all-purpose flour. This elevated protein level is essential for developing stronger gluten networks, which in turn gives your pizza dough its desirable elasticity and chewiness. It helps the dough achieve that perfect rise and a satisfying, resilient texture that holds up beautifully under the weight of sauce and toppings, creating a crust with excellent structure.
- Semolina Flour: Often recognized for its role in making pasta, semolina flour has a coarser texture, somewhat resembling fine cornmeal. In pizza dough, it acts as a secret weapon for achieving a unique “cake-like crumb” – a term bakers use to describe a fine, soft internal texture. This contributes significantly to a wonderfully tender and soft crust, preventing it from becoming overly dense or tough. Its subtle, nutty flavor also adds depth to the overall taste profile of your pizza.
- Warm Water: The temperature of your water is absolutely critical for activating the yeast. Aim for a range between 85 to 115°F (29 to 46°C). You can use a kitchen thermometer for precision, but with practice, you’ll learn to recognize the ideal temperature by feel – it should be comfortably warm, like a warm bath, but not uncomfortably hot. Water that’s too cold will inhibit yeast activity, slowing down or preventing the dough from rising, while water that’s too hot will kill the yeast entirely, rendering your dough lifeless and unable to rise.
- Yeast (SAF Instant Yeast or Active Dry Yeast): Yeast is the miraculous leavening agent responsible for making your dough rise, creating those delightful air pockets that give pizza crust its characteristic light and airy structure. I typically prefer SAF instant yeast for its convenience, as it can be added directly to the dry ingredients without prior proofing. However, regular active dry yeast works perfectly fine too; just ensure it’s fresh and active for the best possible results.
- Honey: This sweet, golden liquid serves multiple purposes beyond just taste. Primarily, it acts as “food” for the yeast, providing the essential sugars needed to kickstart the fermentation process. This not only helps the dough rise effectively but also contributes to a richer, more complex flavor in the final crust and helps it achieve that beautiful golden-brown color and slight caramelization when baked.
- Extra Virgin Olive Oil: Olive oil adds richness, depth of flavor, and tenderness to the dough. It also contributes to a slightly crisper exterior while keeping the interior soft and pliable. While I opt for extra virgin olive oil for its robust flavor and quality, other good quality olive oils or even a neutral oil can be used successfully to achieve a similar texture.
- Salt: Far from just a flavor enhancer, salt plays a crucial structural role in pizza dough. It helps to tighten the gluten network, adding strength and elasticity to your dough, which is vital for a good rise and a chewy texture. Salt also helps to control the rate of yeast fermentation, ensuring a balanced rise and preventing the dough from over-proofing too quickly, which can lead to off-flavors.
- Cornmeal (for dusting): While not incorporated into the dough itself, cornmeal is an indispensable aid for handling your pizza. Sprinkled generously on your pizza peel or work surface, it acts like tiny ball bearings, preventing the raw pizza dough from sticking and allowing it to slide smoothly and effortlessly onto a hot pizza stone or baking pan in the oven. This ensures a seamless transfer for a perfectly shaped and round pizza every time.

Essential Kitchen Tools for Your Pizza-Making Journey
Having the right tools can make your homemade pizza experience even more enjoyable and efficient. Here’s a list of helpful kitchen essentials that will assist you in crafting perfect pizza dough and delicious pies from start to finish:
- Food processor: While not strictly necessary (you can hand knead!), a food processor significantly simplifies and speeds up the dough-making process, making it much more accessible for busy cooks.
- Liquid measuring cup: For accurate measurement of water and olive oil, ensuring precise ratios for optimal dough consistency.
- Measuring spoons and cups: Essential for precise ingredient ratios, which are critical for baking success.
- Wooden cutting board: Ideal for kneading and shaping your dough without sticking, providing a stable and floured surface.
- Large bowl: For allowing your dough to rise comfortably and undisturbed, ensuring it has enough space to double in size.
- Pizza peel: A flat shovel-like tool used to effortlessly transfer pizza to and from a screaming hot oven or grill, a crucial step for crispy crusts.
- Pizza stone: Absorbs and retains heat, transferring it directly to the dough to ensure a perfectly crispy crust, much like a traditional brick oven.
- Pizza cutter: For effortlessly and cleanly slicing your masterpiece into perfect, ready-to-serve portions.
- Kitchen towel: To cover the dough during its rising periods, keeping it warm and moist, which promotes an ideal environment for yeast activity.
How to Make Delicious Homemade Pizza Dough: A Step-by-Step Guide
Creating this delicious pizza dough is a straightforward and rewarding process, especially with the help of a food processor. Follow these detailed steps for a consistently perfect and flavorful crust:
- **Prepare Your Workspace and Ingredients:** Before you begin, practice “mise en place” by gathering and precisely measuring all your ingredients. This practice makes the entire cooking process much smoother and less stressful. Additionally, lightly oil a large bowl where your dough will undergo its initial rise, and have a clean kitchen towel ready to cover it.
- **Activate the Yeast with Warm Water:** Pour the warm water into your food processor. Remember, the ideal temperature for the water is between 85 to 115°F (29 to 46°C). Test it with your hand; it should feel very warm but not uncomfortably hot. This specific temperature range is crucial because water that’s too cold won’t allow the yeast to activate properly, leading to a sluggish or failed rise. Conversely, water that’s too hot will kill the yeast entirely, preventing any rise at all.
- **Sweeten and Season:** Add the honey and salt to the warm water in the food processor. Process on low speed for approximately 20 seconds to ensure the honey and salt are thoroughly dissolved and evenly distributed. This step makes them readily accessible to the yeast and ensures consistent flavor throughout the dough.
- **Introduce the Yeast:** Next, add the yeast to the mixture in the food processor. Process on low for another 5 seconds to gently incorporate it with the warm, sweetened water. This initial mix gives the yeast a perfect environment to begin its fermentation process.
- **Begin Adding Flours:** Now, add 1 cup of bread flour along with all of the semolina flour to the food processor. Process on low for about 10 seconds. This initial mix helps to combine the different flours and begin forming the preliminary structure of the dough.
- **Incorporate the Olive Oil:** Pour in the extra virgin olive oil. Continue to process until the olive oil is fully blended into the dough, which should take an additional 15 to 20 seconds. The olive oil adds richness, flavor, and contributes significantly to the dough’s tender texture and slight crispness upon baking.
- **Achieve Perfect Dough Consistency:** Add the remaining bread flour to the food processor. Process for about one to two minutes. During this processing time, the dough should gradually come together into a coherent ball and begin rolling smoothly around the inside of the processor. This action is akin to machine kneading and helps develop the gluten.
- **Troubleshooting Dry Dough:** If your dough appears too dry and isn’t forming a cohesive ball, add water one tablespoon at a time, processing briefly after each addition, until it reaches the desired consistency.
- **Troubleshooting Wet Dough:** Conversely, if your mixture is too sticky and resembles a batter rather than a firm dough ball, add flour one tablespoon at a time until it firms up. Making these small adjustments as needed is key to always achieving a perfect, workable dough consistency.
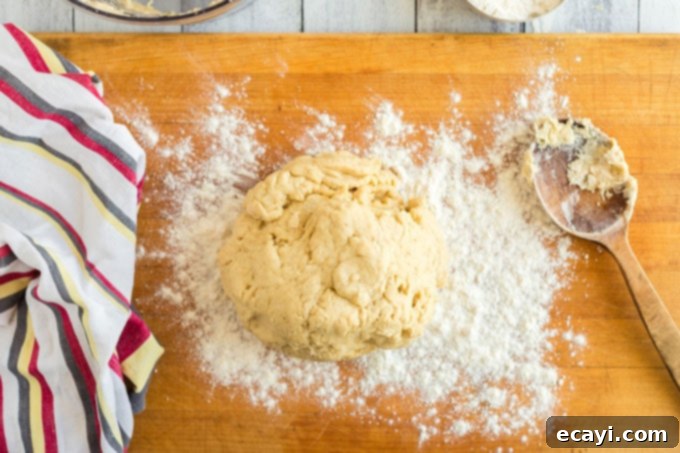
- **Quick Hand Knead:** Once the dough has formed a solid ball in the processor, transfer it to a lightly floured wooden board or clean counter surface. Knead it by hand for about one minute. This brief hand-kneading step further develops the gluten, enhancing the dough’s elasticity and ensuring it rises beautifully to create a fluffy, airy, and chewy crust when cooked.
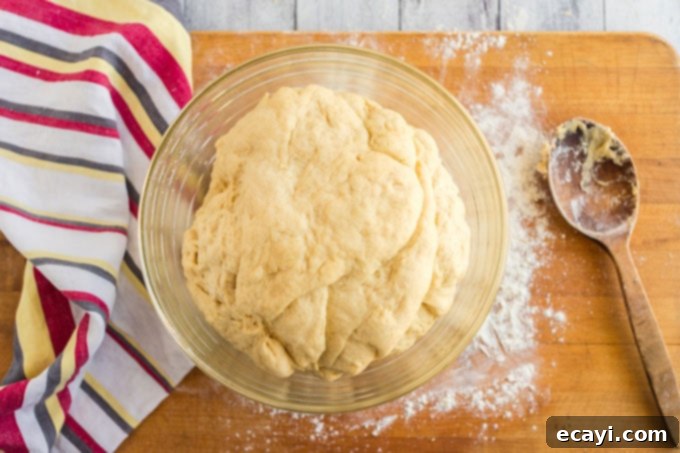
- **First Rise:** Place the kneaded dough into the lightly oiled bowl. Cover the bowl securely with a clean kitchen towel, ensuring a snug fit to keep moisture in and drafts out. Find a warm, dry place, free from drafts, to let the dough undergo its first rise. A slightly warmed oven (turned off, or just briefly warmed) or a sunny spot on your counter works well.
- **Observe and Wait:** After approximately 45 minutes, your dough should have proudly doubled in size. This visual cue indicates a successful rise and active, healthy yeast, signifying your dough is on its way to perfection.
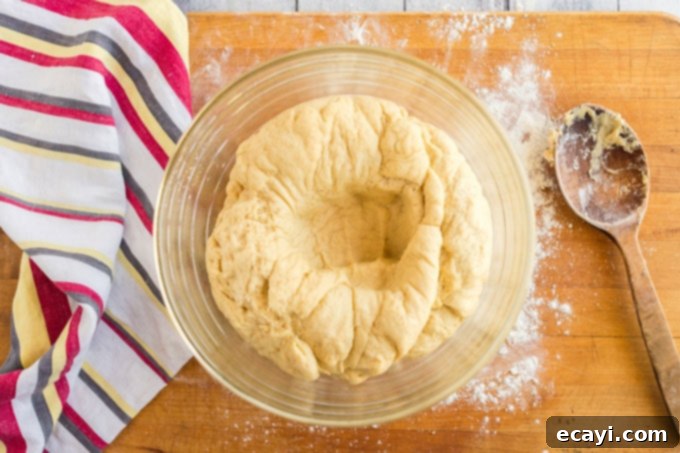
- **Punch Down and Second Rise:** Gently “punch down” the dough to release the accumulated gases. This crucial step helps to redistribute the yeast and nutrients throughout the dough, promoting a finer crumb structure and better overall texture in the finished crust. Re-cover the bowl and allow the dough to rise again for another 45-60 minutes. This second rise contributes significantly to the depth of flavor and overall lightness and chewiness of the crust.
- **Preheat Your Oven (and Stone):** While your dough is undergoing its second rise, it’s absolutely crucial to properly preheat your oven. Place your pizza stone (or a heavy-duty pizza pan) in a cold oven. Then, turn the oven on to 425°F (218°C). The oven, and especially the pizza stone, needs to be thoroughly heated to achieve a perfectly crispy and evenly cooked crust. Allow it to preheat for a full 45-60 minutes before you plan to add your pizza. This intense, sustained heat is what truly mimics a professional pizza oven.
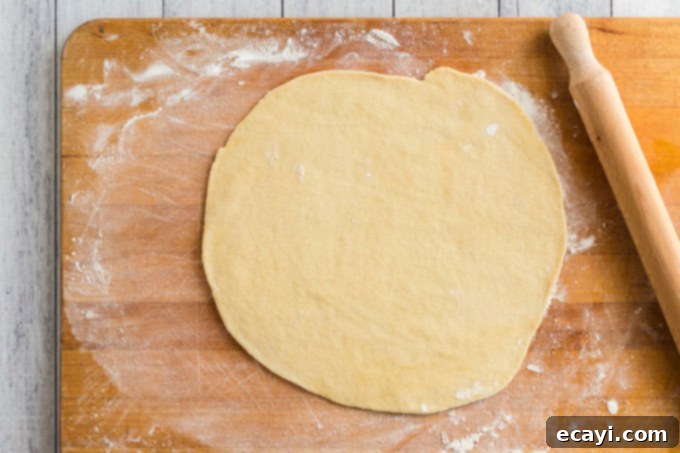
- **Roll Out the Dough:** Once the dough has completed its second rise, transfer it to a lightly floured surface. Roll it out evenly to your desired thickness. Whether you prefer a thin and crispy crust or a thicker, chewier base, this is where you customize your pizza. I typically suggest aiming for a thickness between 1/4″ and 1/2″ for a balanced bite.
- **Prepare for Transfer to Oven:** Generously sprinkle your pizza peel with cornmeal. Carefully transfer your rolled-out dough onto the cornmeal-dusted peel. The cornmeal acts as tiny ball bearings, making it incredibly easy to slide the assembled pizza off the peel and effortlessly onto the hot pizza stone in the oven without it sticking, ensuring a smooth transition.
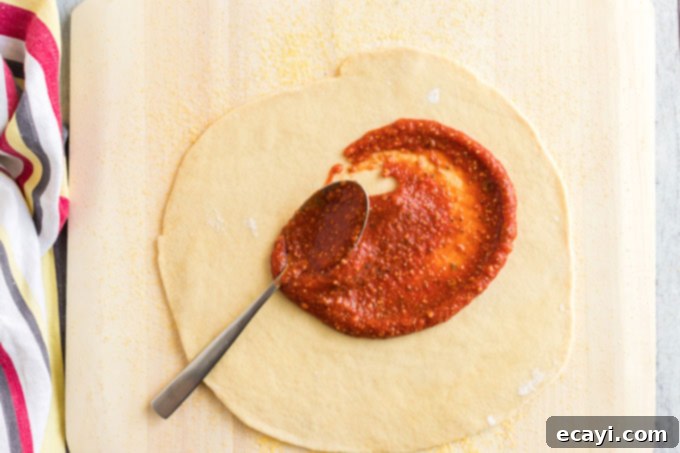
- **Top Your Pizza:** Now for the most creative and fun part! Add your favorite pizza sauce, a generous layer of freshly shredded cheese, and any toppings your heart desires. Be creative and make it truly your own masterpiece!
- **Bake to Perfection:** Carefully slide the assembled pizza off the peel and onto the preheated pizza stone or pan in the oven. Bake for approximately 10-14 minutes. The exact baking time will depend on the thickness of your dough, the amount of toppings, and the specific characteristics of your oven. Look for a golden-brown crust and bubbling, slightly browned cheese for perfect doneness.
- **Serve and Enjoy:** Once baked to perfection, carefully remove the pizza from the oven using your pizza peel. Let it cool for just a minute or two on a cutting board before slicing into wedges and serving immediately.
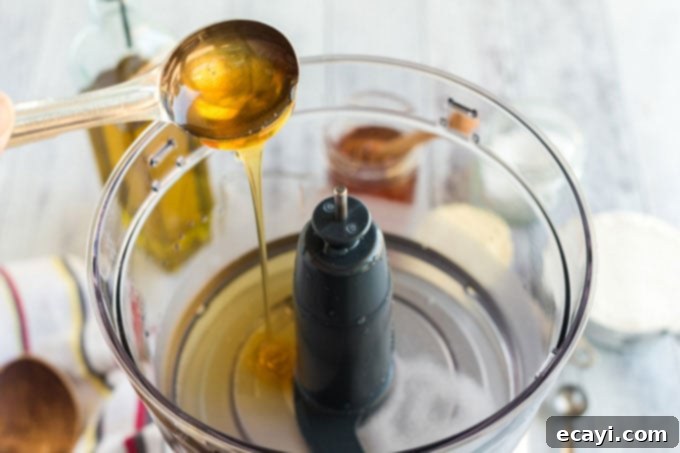
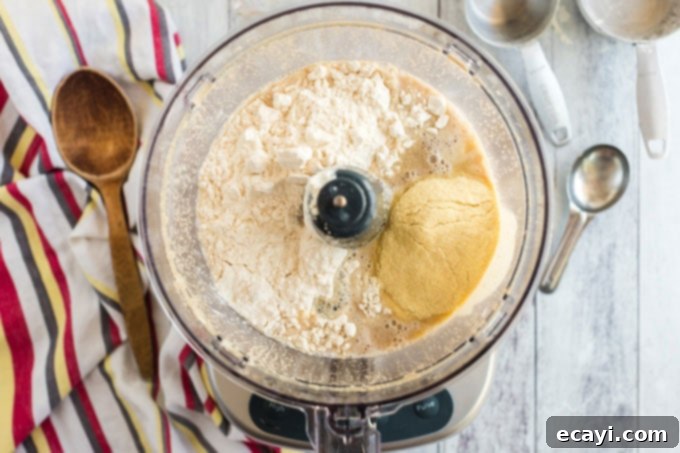
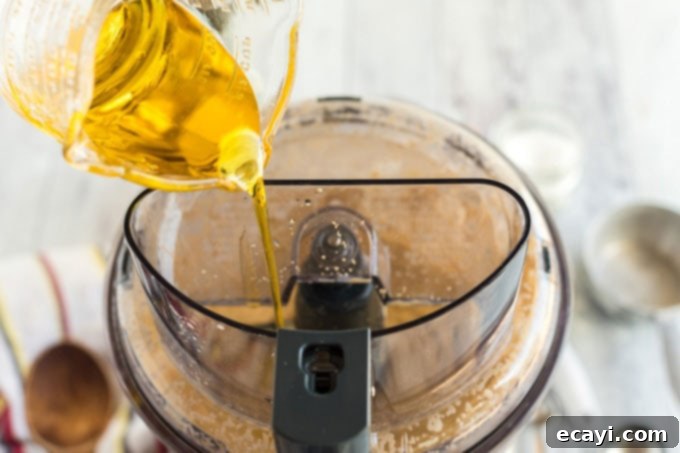
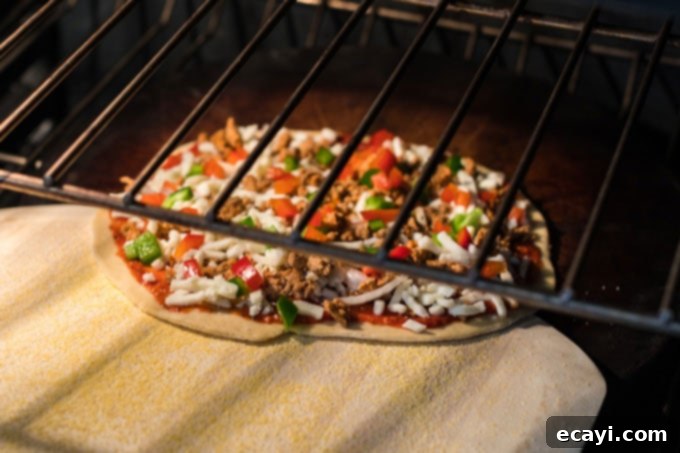
*Pizza Peel Pro Tip: If you don’t own a dedicated pizza peel, don’t worry! The round glass turntable from your microwave oven can serve as a fantastic and effective substitute for sliding your pizza into the oven.

Plan Ahead for Easy Pizza Night: Make-Ahead Tips
One of the beauties of homemade pizza is how much of the preparation can be done in advance, transforming a potentially busy cooking session into a relaxed and enjoyable meal. Here’s how you can get ahead and make pizza night even easier:
- **Prepare the Dough in Advance:** This pizza dough is perfect for making ahead of time. You can easily prepare it earlier in the day, or even the day before, and refrigerate it. Simply wrap the dough tightly in plastic wrap (or place it in an airtight container) after its first rise, and let it chill. When you’re ready to bake, remember to bring the dough back to room temperature for about 30-60 minutes before rolling it out; this makes it much easier to work with.
- **Chop and Shred Your Toppings:** Save valuable time on pizza night by tackling your topping preparation in advance. Wash and chop all your vegetables (onions, bell peppers, mushrooms, olives, etc.) and shred your cheese. Store them in separate airtight containers in the refrigerator. This “mise en place” approach means you can simply grab and assemble when it’s time to build your pizzas.
- **Make Your Sauces and Meats:** If you’re passionate about making your own pizza sausage or pizza sauce from scratch, these components can also be prepared a day or two in advance. Having these delicious elements ready to go will streamline the assembly process significantly, allowing you more time to enjoy the cooking.
For those looking for a healthier or low-carb alternative to traditional pizza, be sure to explore my cauliflower pizza crust recipe for a delicious and guilt-free option that doesn’t compromise on flavor.

Homemade Pizza Dough Recipe
Rated: 5 out of 5 stars based on 5 votes
For more detailed explanations and tips, please refer to the main blog post above, where many frequently asked questions are addressed!
Print It
Ingredients
- 3 cups bread flour
- ½ cup semolina flour
- 1 cup warm water (85-115°F)
- 2 tablespoons yeast (SAF instant or active dry)
- 2 tablespoons honey
- ¼ cup extra virgin olive oil
- ½ teaspoon salt
- ¼ cup cornmeal (for dusting)
Before You Begin / Expert Tips
Instructions
-
Pour warm water (85-115°F) into a food processor.
-
Add honey and salt. Mix on low for about 20 seconds.
-
Add yeast and mix on low for another 5 seconds.
-
Add 1 cup of bread flour and all semolina flour; mix on low for 10 seconds.
-
Add olive oil and mix until blended (15-20 seconds).
-
Add the remaining bread flour and process for 1-2 minutes until dough forms a ball. Adjust with small amounts of water or flour if too dry or wet.
-
Transfer dough to a floured board and knead for 1 minute. Place in an oiled, covered bowl in a warm, draft-free area to rise for 45 minutes, or until doubled.
-
Punch down the dough, re-cover, and let it rise for another 45-60 minutes.
-
While the dough is rising, place a pizza stone or high-heat pizza pan in a cold oven. Preheat oven to 425°F (218°C) for 45-60 minutes.
-
Once risen, roll out the dough on a lightly floured surface to your desired thickness (1/4″ to 1/2″ recommended).
-
Sprinkle a pizza peel with cornmeal and transfer rolled dough to the peel.
-
Add sauce, cheese, and toppings. Carefully slide the pizza off the peel onto the preheated stone in the oven.
-
Bake for 10-14 minutes, or until crust is golden brown and cheese is bubbly.
Nutrition Information (per serving)
(Based on 8 slices per pizza, without toppings or sauce. Nutritional values are estimates.)
- Serving: 1 slice
- Calories: 286 kcal
- Carbohydrates: 46g
- Protein: 7g
- Fat: 8g
- Saturated Fat: 1g
- Sodium: 149mg
- Potassium: 76mg
- Fiber: 2g
- Sugar: 4g
- Calcium: 9mg
- Iron: 0.9mg
Please note: The recipes on this blog are tested with a conventional gas oven and gas stovetop. It’s important to note that some ovens, especially as they age, can cook and bake inconsistently. Using an inexpensive oven thermometer can assure you that your oven is truly heating to the proper temperature. If you use a toaster oven or countertop oven, please keep in mind that they may not distribute heat the same as a conventional full sized oven and you may need to adjust your cooking/baking times. In the case of recipes made with a pressure cooker, air fryer, slow cooker, or other appliance, a link to the appliances we use is listed within each respective recipe. For baking recipes where measurements are given by weight, please note that results may not be the same if cups are used instead, and we can’t guarantee success with that method.
Conclusion: Your Journey to Perfect Homemade Pizza Begins Here
Embarking on the journey of making homemade pizza dough is a truly rewarding experience that promises delicious results far superior to any store-bought alternative. This easy-to-follow recipe, perfected over years, provides a reliable and foolproof foundation for creating memorable pizza nights right in your own home. From the satisfying process of watching the dough rise to the incredible aroma and taste of a freshly baked pie, you’ll discover a new passion for culinary creation and impress everyone at your table.
Whether you choose to bake it in the oven for a classic touch and crispy bottom, or take it to the grill for a unique smoky twist and char, this versatile dough is forgiving and adaptable to your preferences. With our detailed guide, ingredient insights, and helpful tips, you’re well-equipped to master the art of homemade pizza. So, gather your ingredients, fire up your oven (or grill!), and get ready to enjoy the best pizza you’ve ever made. Happy pizza making!
This recipe was originally published here on December 12, 2008.
