The Ultimate Moist Apple Cider Pound Cake with Brown Butter Glaze: A Perfect Fall Dessert
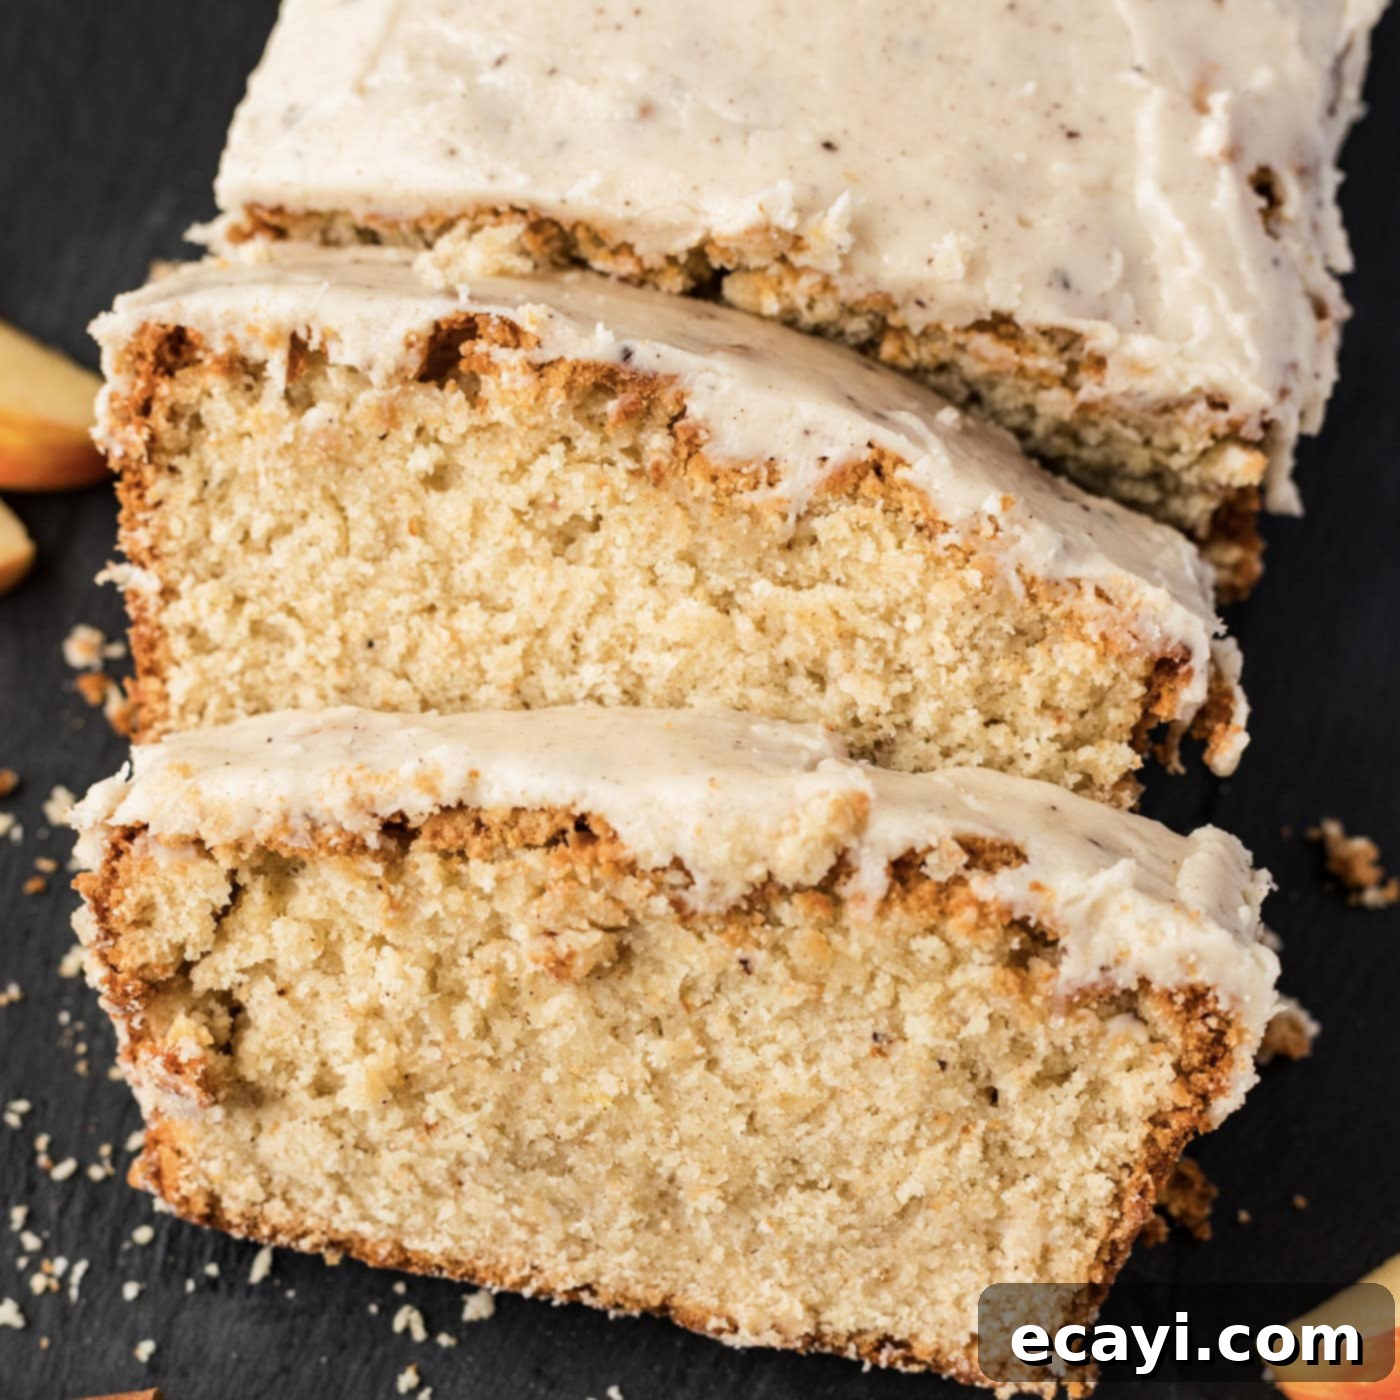
Embrace the comforting essence of autumn with this extraordinary Apple Cider Pound Cake. Crafted with fresh, vibrant apple cider and a generous blend of warm, inviting spices, this cake emerges from the oven perfectly moist with an incredibly tender crumb. It’s a delightful centerpiece for any fall gathering, made even more irresistible when crowned with a rich, nutty brown butter glaze that ties all the harmonious flavors together.
Why This Apple Cider Pound Cake Will Become Your Fall Favorite
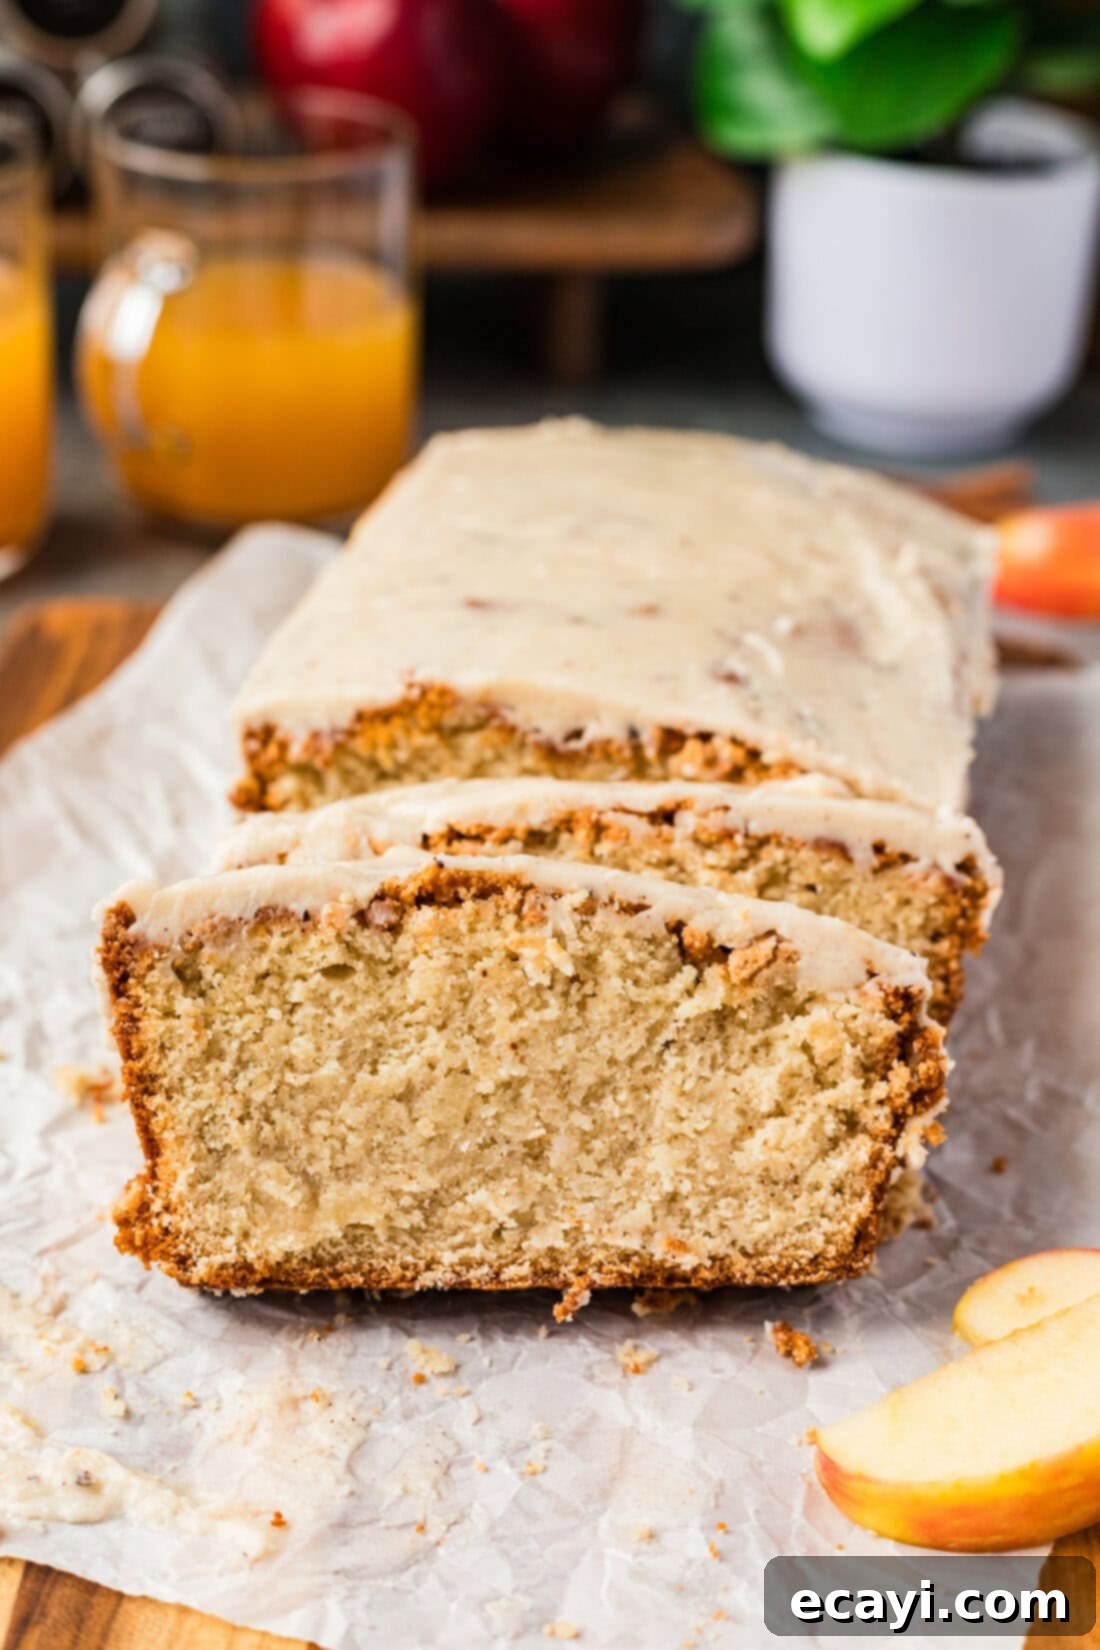
There’s something truly magical about the aroma that fills your home as this apple cider pound cake bakes. It’s an immediate signal that autumn has arrived, a symphony of sweet apples and warm spices wafting through the air. What makes this recipe truly stand out is its ability to deliver a profound apple cider flavor, which is beautifully enhanced by a carefully selected blend of fall spices: allspice, nutmeg, cloves, and cinnamon. These ingredients work in harmony, creating a cake that’s not just delicious but deeply comforting.
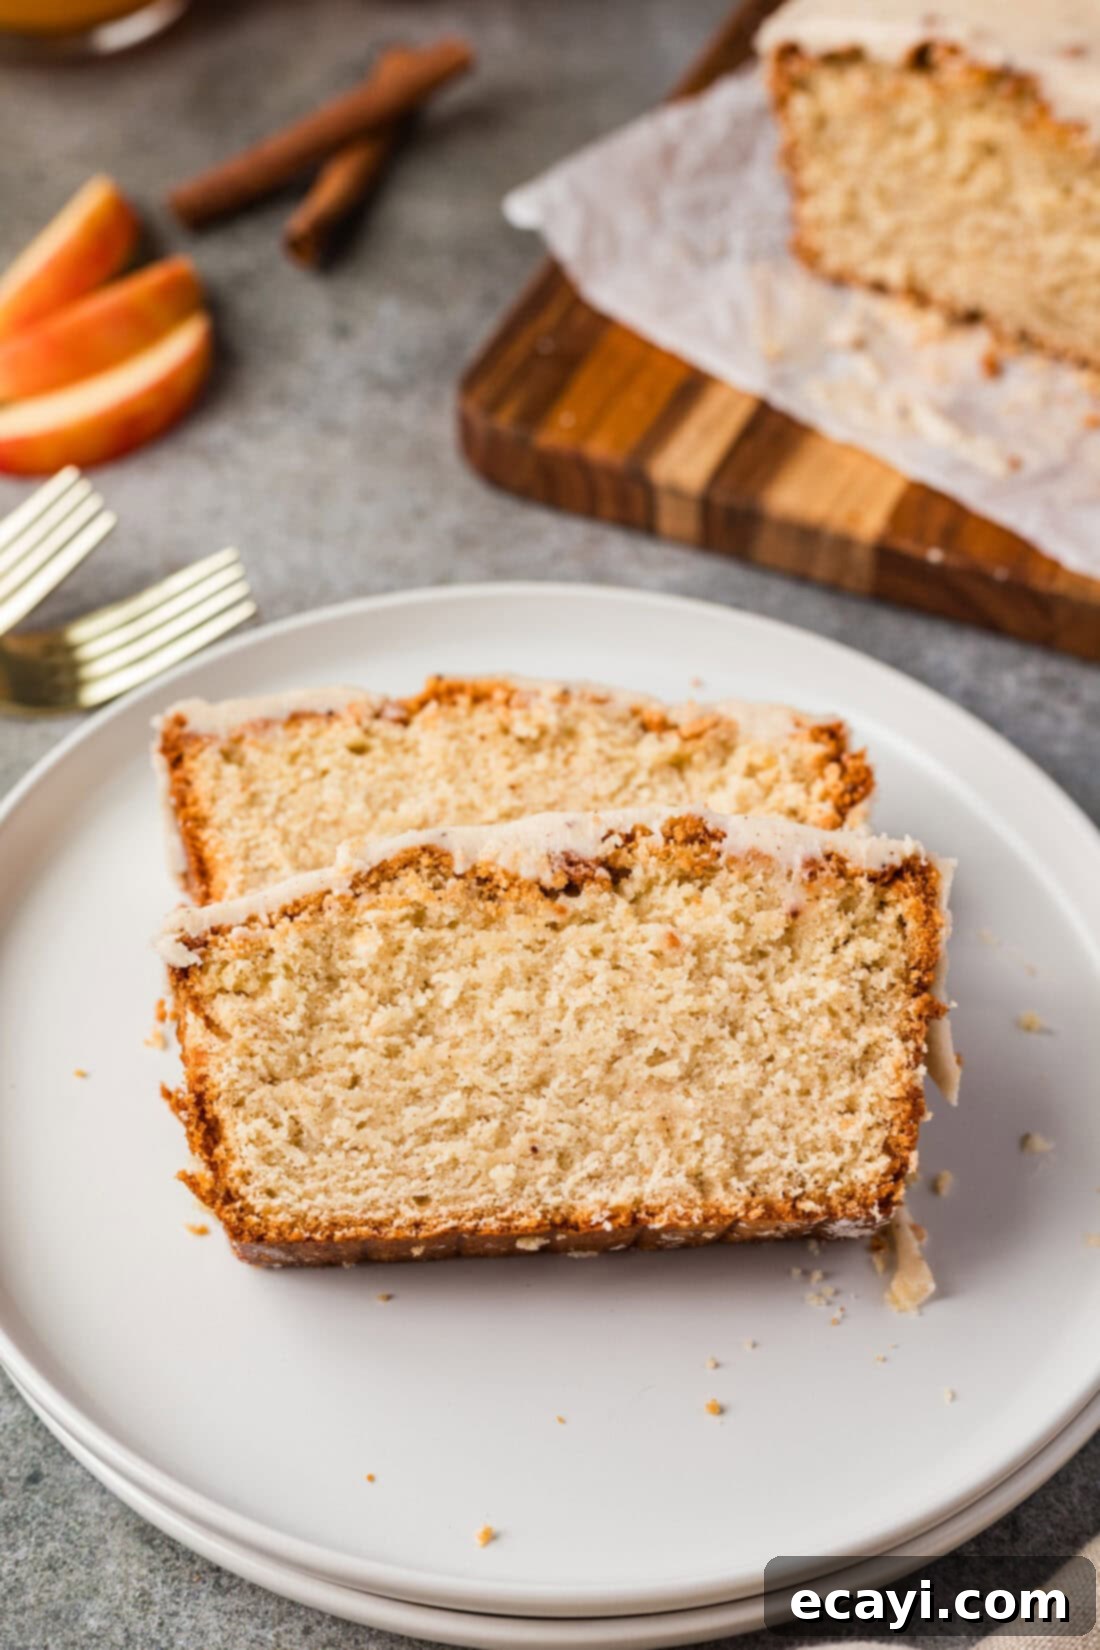
Beyond its aromatic appeal, the cake itself boasts a dense yet remarkably moist texture with a delicate, tender crumb that practically melts in your mouth. It’s the kind of cake that disappears quickly, often requiring a strategic stash in the freezer just to ensure some lasts longer than a day! This pound cake is a testament to classic baking, delivering on its promise of rich flavor and satisfying texture with every slice.
While I personally believe that the homemade brown butter glaze elevates this pound cake to a gourmet level (a glaze originally perfected for my banana bundt cake recipe), this cake is truly exceptional even without it. I’ve enjoyed countless slices both glazed and unglazed, and even experimented with a decadent caramel glaze in the past. No matter how you choose to adorn it, or even if you prefer it plain, this apple cider pound cake is always inviting and utterly delicious.
Gather Your Ingredients for This Delightful Pound Cake
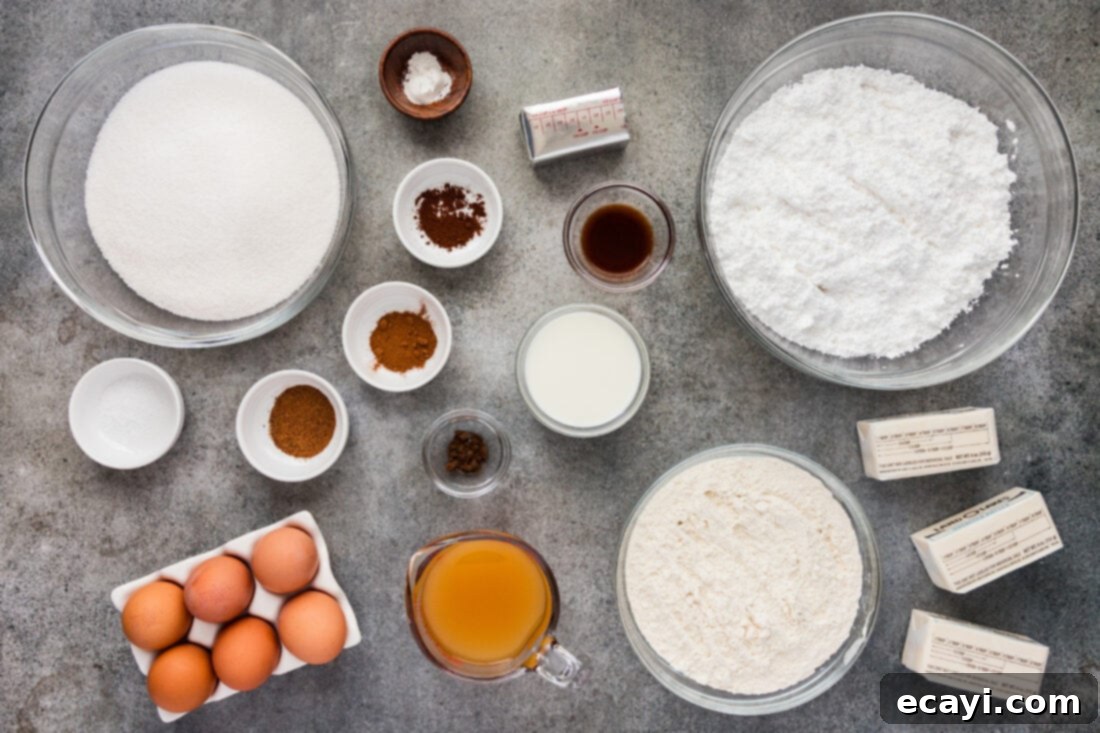
To embark on this delightful baking adventure, you’ll need a selection of fresh and pantry-staple ingredients. For the precise measurements and a comprehensive list of all components, including the brown butter glaze, refer to the printable recipe card conveniently located at the conclusion of this post. Having all your ingredients ready and measured before you begin will ensure a smooth and enjoyable baking process.
Ingredient Spotlight & Expert Baking Tips for Success
Baking is often referred to as a science, and for good reason. Precision and attention to detail can make all the difference between a good cake and a truly exceptional one. Always ensure that ingredients specified to be at room temperature, such as butter and eggs, are indeed at room temperature before you start. This allows them to cream together properly, creating a smooth emulsion that traps air for a light and fluffy batter.
For the most consistent and accurate results in baking, especially with recipes like pound cake where texture is paramount, I highly recommend weighing your ingredients using a kitchen scale. This method eliminates the variability of volume measurements, ensuring you have the exact amounts needed and preventing common issues like an overly dense, dry, or crumbly cake.
Key Ingredients Explained:
- CIDER: The star of the show! For the most authentic and robust apple flavor, using fresh apple cider is highly recommended. The natural sweetness and tartness from fresh cider deeply infuse the cake. However, we’ve also successfully tested this recipe with a more filtered, juice-like version of apple cider, and the results were still fantastic. In the fall, I love sourcing fresh apple cider from our local orchards – it adds an extra layer of seasonal charm. You can typically find apple cider in most grocery stores, sometimes year-round, but it’s most abundant and freshest from late summer through the autumn months.
- Butter and Shortening: This recipe calls for a combination of unsalted butter and butter-flavored shortening. The butter provides that rich, classic dairy flavor we all love, while the shortening contributes to the cake’s incredibly soft and tender texture, as well as a beautiful rise. Shortening contains no water, unlike butter (which is about 15-20% water), resulting in a more consistent and delicate crumb.
- Granulated Sugar: Beyond sweetness, sugar plays a vital role in tenderizing the cake and contributing to its moistness. It also aids in creating that beautiful golden-brown crust.
- Eggs: Large eggs, brought to room temperature, are essential for structure and richness. Adding them one at a time and beating well after each addition helps create a strong, stable emulsion with the butter and sugar, crucial for a pound cake’s texture.
- All-Purpose Flour: The foundation of our cake. Weighing the flour is particularly important to prevent a tough cake.
- Warm Spices (Allspice, Nutmeg, Cloves, Cinnamon): This aromatic blend is what transforms the apple cider flavor into a true taste of autumn. Each spice plays its part: cinnamon offers a classic warmth, nutmeg adds depth, allspice provides a complex sweet-spicy note, and cloves bring a hint of pungent sweetness. Adjust to your preference, but this combination is simply divine.
- Baking Powder & Salt: Baking powder provides the necessary lift, while salt balances the sweetness and enhances all the flavors.
- Pure Vanilla Extract: A splash of vanilla enhances the overall flavor profile, adding another layer of warmth and sweetness that complements the apple and spices.
Step-by-Step Guide to Baking Your Perfect Apple Cider Pound Cake
These step-by-step photos and detailed instructions are provided to help you visualize each stage of making this delectable pound cake. For a concise, printable version of the full recipe, including all measurements and instructions, please jump to the recipe card at the bottom of this post.
- Prepare Your Oven and Pans: Begin by preheating your oven to 350°F (175°C). This ensures a consistent baking temperature from the moment your batter enters the oven. Next, generously butter and then flour two standard 9×5 loaf pans. Don’t skip this step; proper greasing and flouring are crucial for easy cake release.
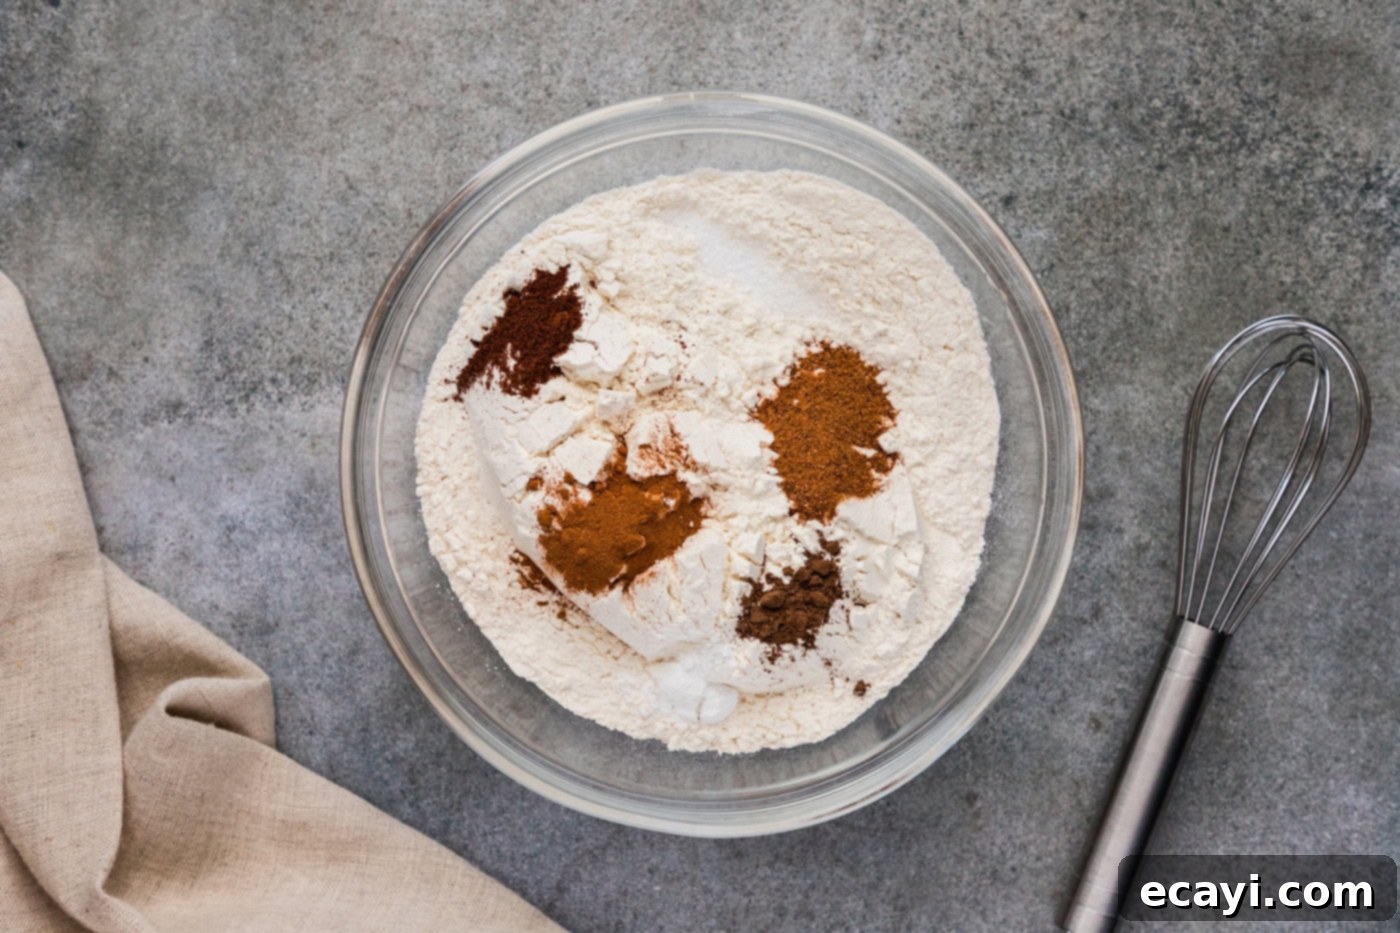
- Combine Dry and Wet Ingredients (Separately): In a large mixing bowl, whisk together all your dry ingredients: the all-purpose flour, salt, allspice, nutmeg, baking powder, cloves, and cinnamon. Whisking ensures they are evenly distributed, so your cake has uniform flavor and rise. In a separate measuring cup or small bowl, stir together the apple cider and vanilla extract. This pre-mix ensures these liquids are ready to be incorporated smoothly into the batter.

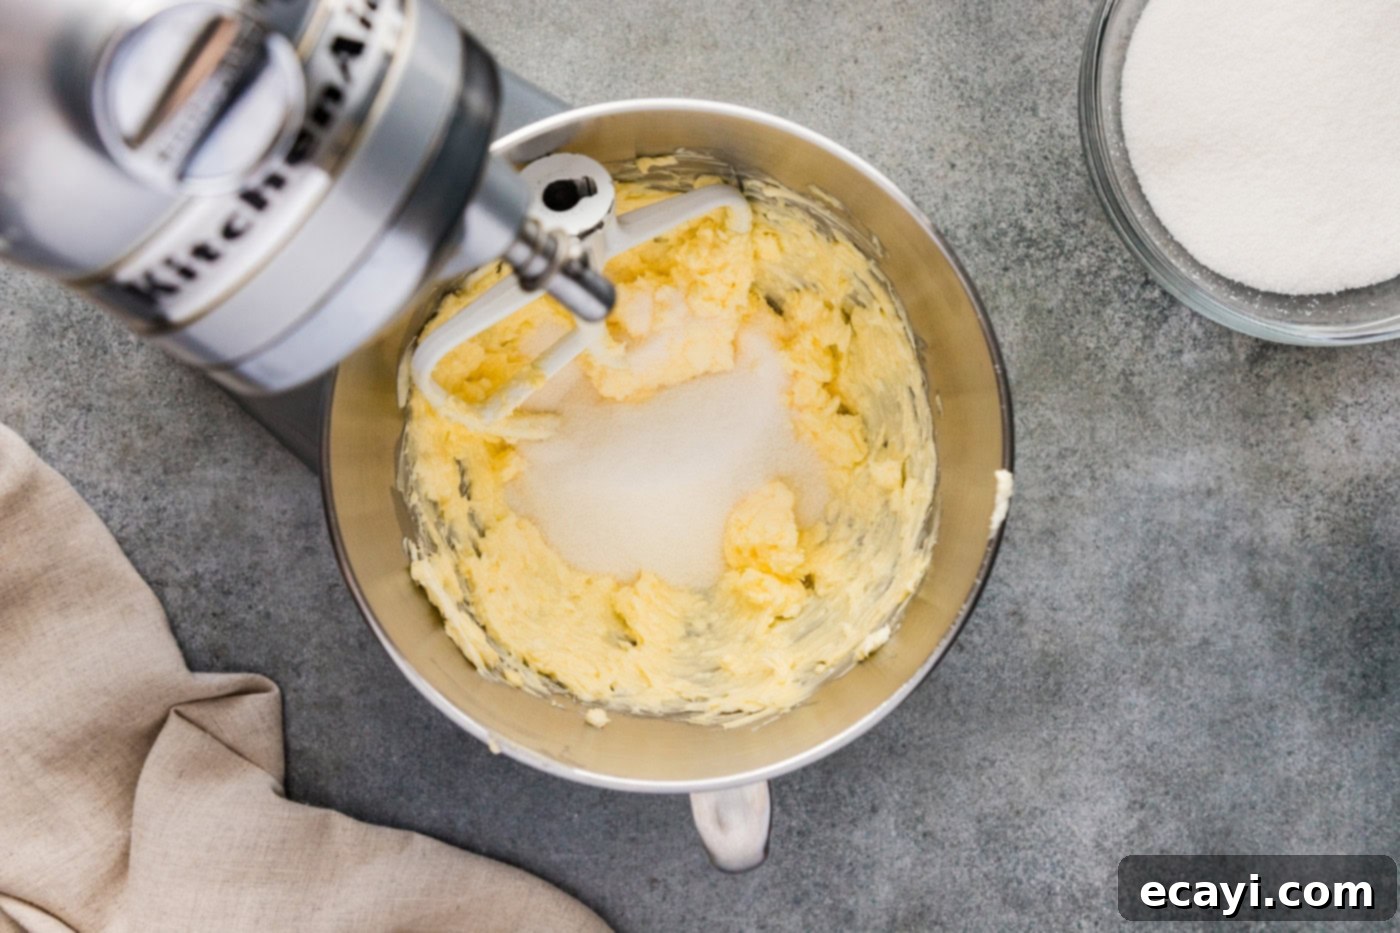
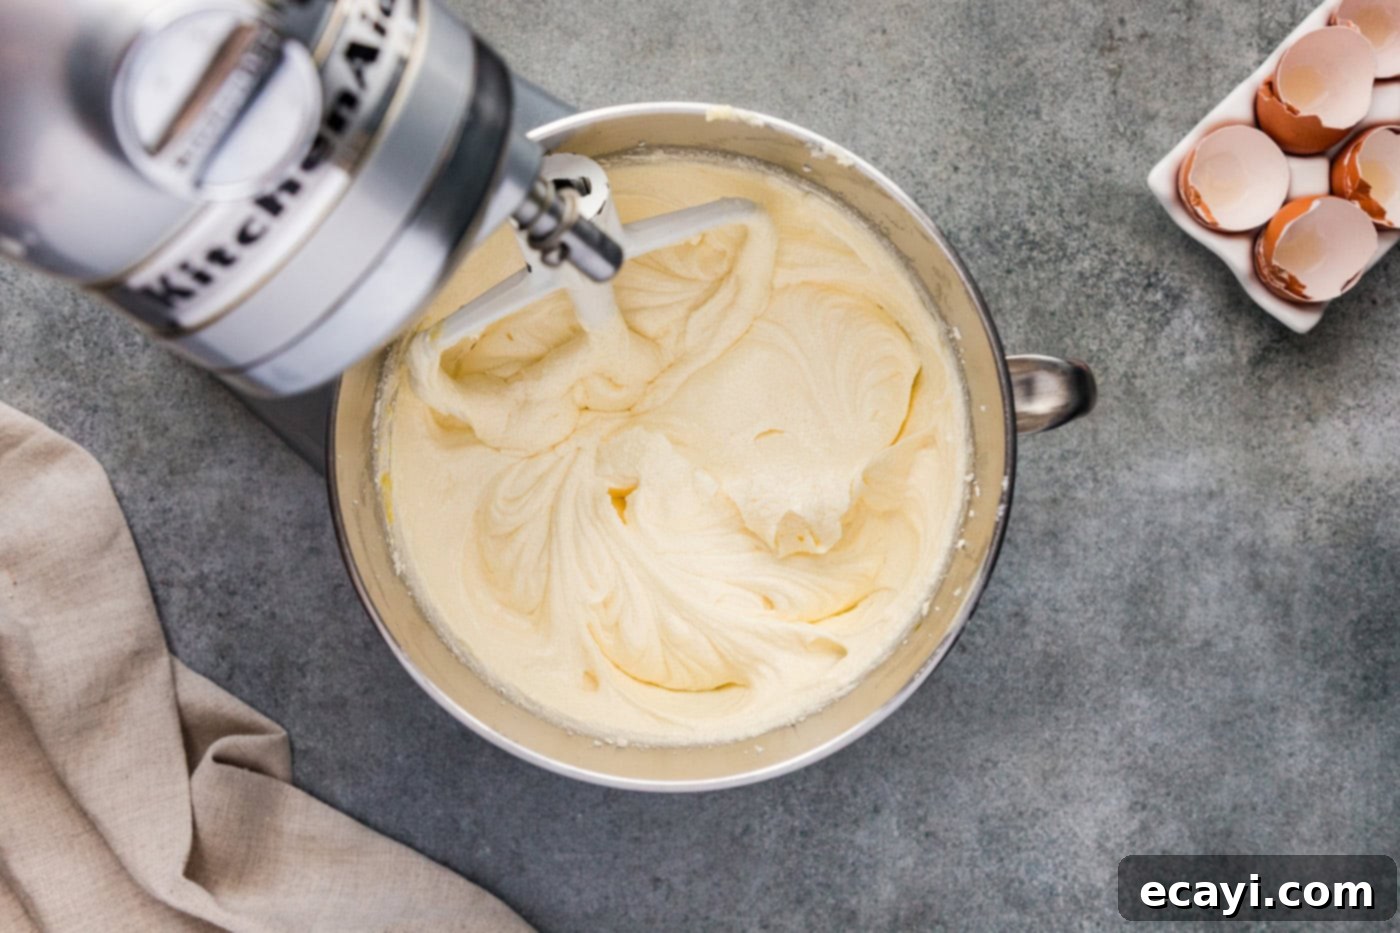
- Cream Butter, Shortening, and Sugar: In the bowl of a stand mixer fitted with the paddle attachment, combine the softened unsalted butter and butter-flavored shortening. Beat them together on medium-high speed until they are light and creamy. Gradually add the granulated sugar, mixing continuously. Once all the sugar has been incorporated, continue to beat the mixture for a full 5 minutes. This extended creaming process is vital for incorporating air, which contributes to the cake’s light texture and rise. Scrape down the sides of the bowl frequently to ensure everything is thoroughly combined.

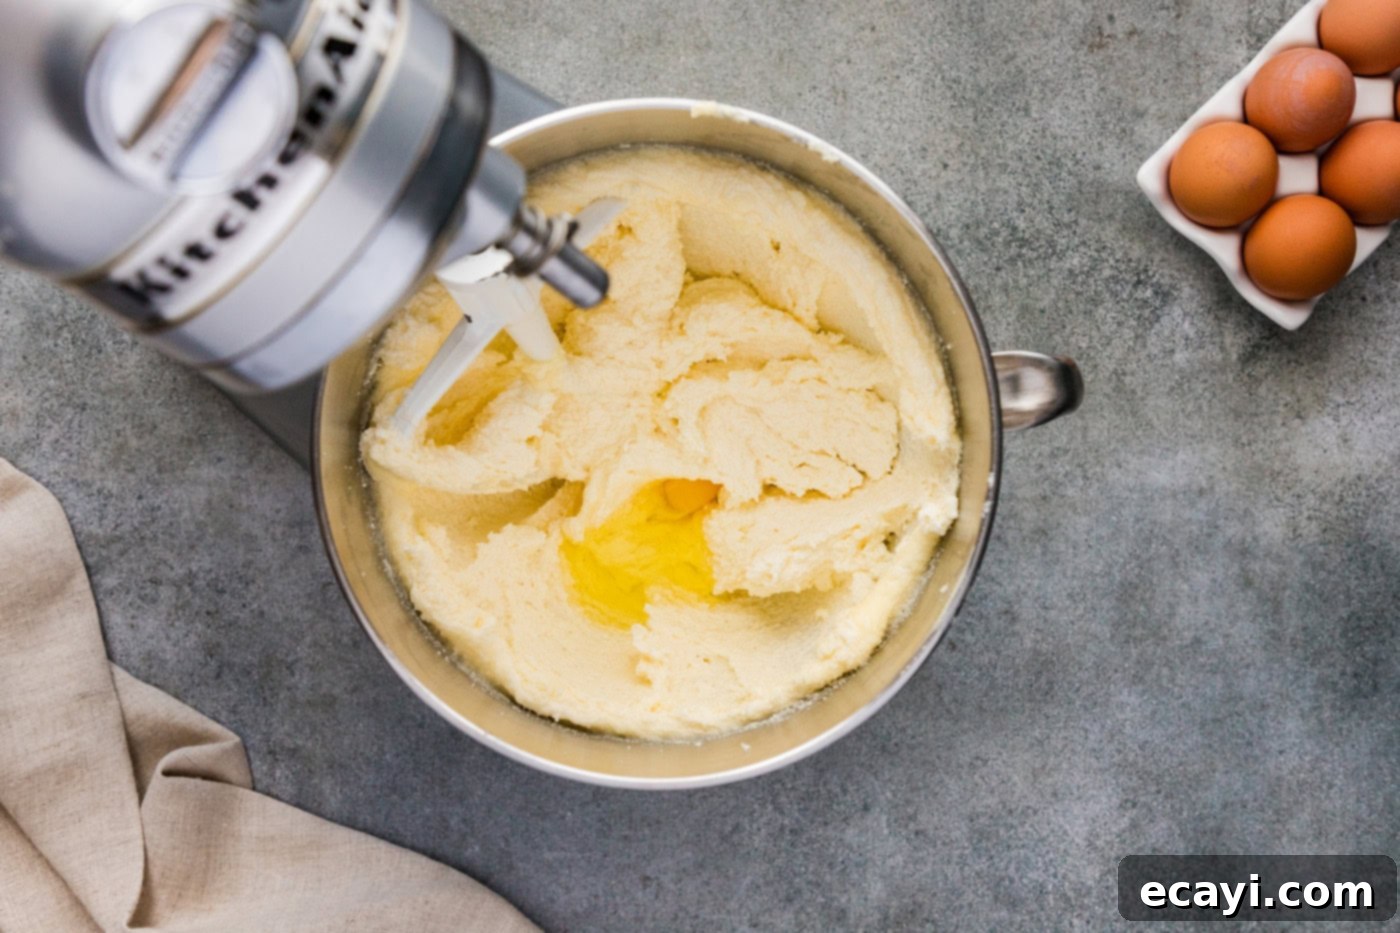
- Incorporate the Eggs: Reduce the mixer speed to medium. Add the large eggs one at a time, beating for a full minute after each addition. This slow, steady incorporation allows the eggs to fully emulsify with the butter mixture, preventing curdling and ensuring a smooth, stable batter.


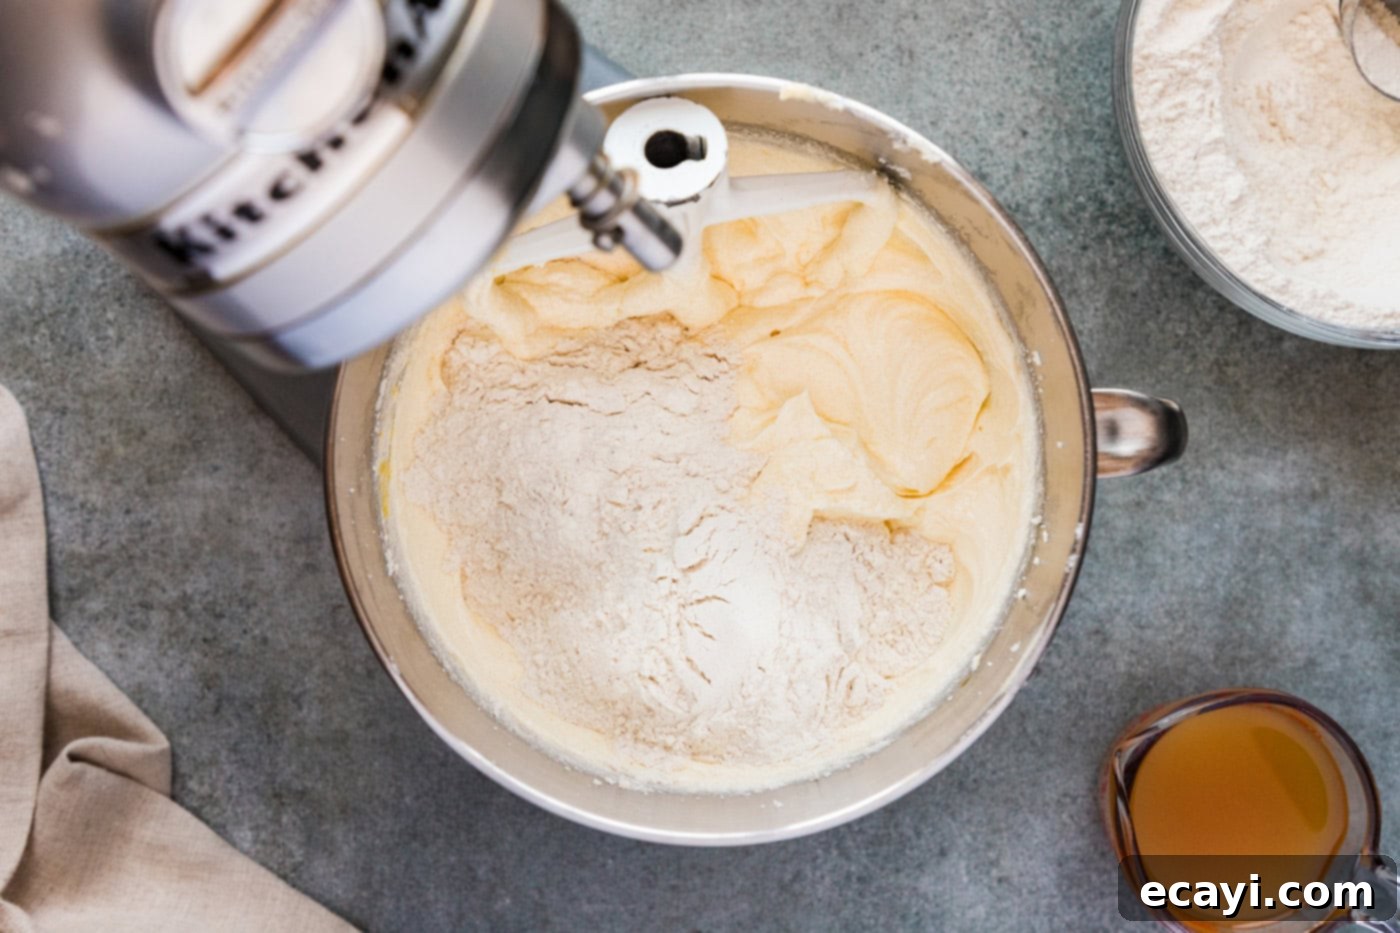
- Alternate Dry and Wet Ingredients: Lower the mixer speed to low. Add half of your whisked dry ingredients to the butter mixture, mixing just until it’s combined – avoid overmixing. Next, add the apple cider and vanilla mixture, again mixing only until combined. Finish by adding the remaining dry flour mixture, mixing just until no streaks of flour remain. Overmixing at this stage can develop gluten, leading to a tough cake. Scrape down the bowl one last time to ensure all ingredients are evenly incorporated. The resulting batter will be notably thick.

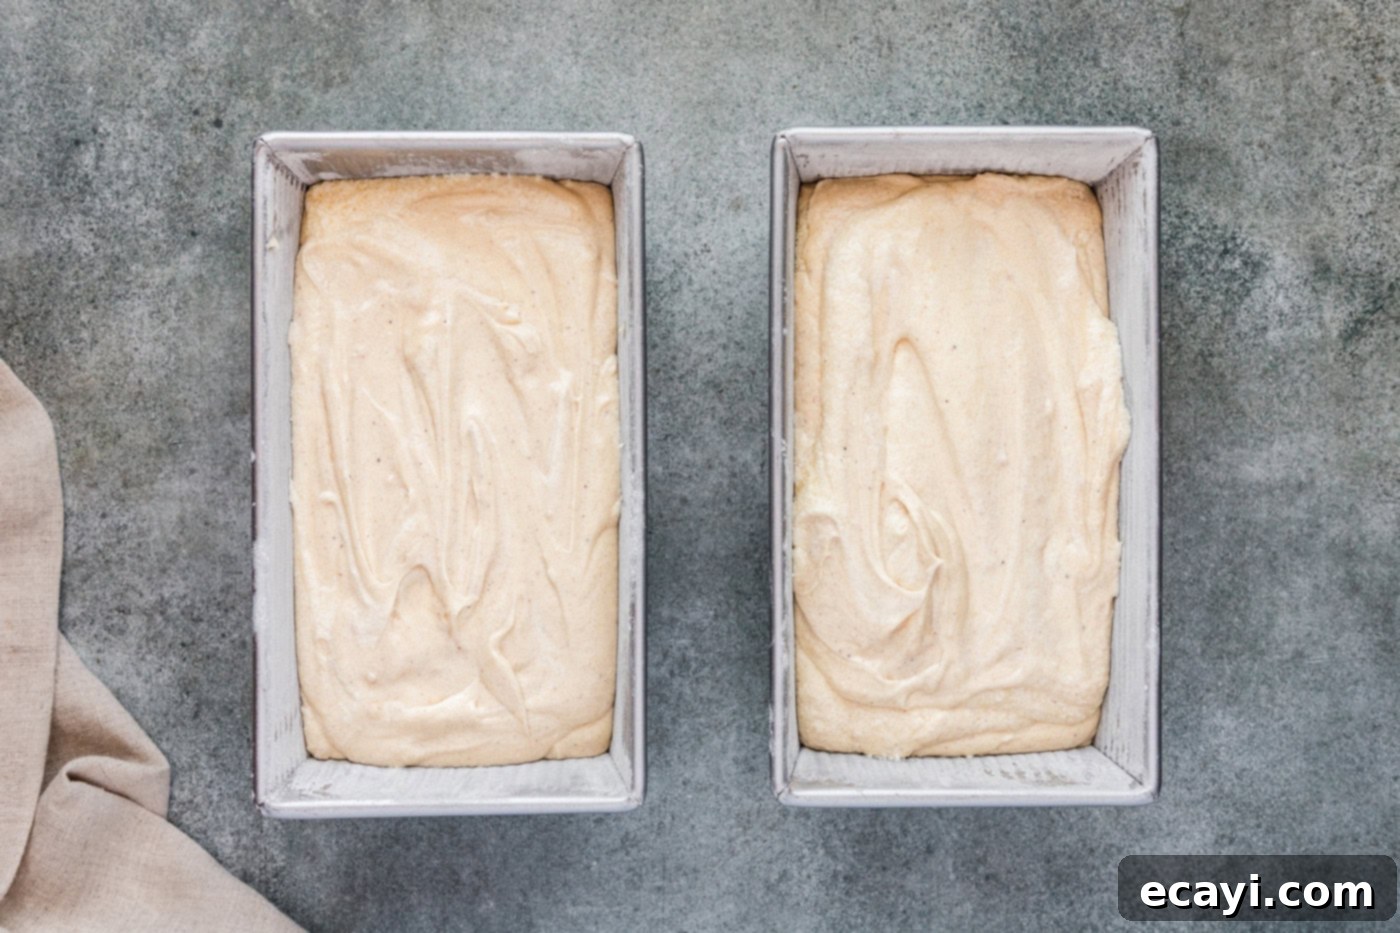
- Fill and Prepare Pans for Baking: Divide the thick pound cake batter evenly between your two prepared loaf pans. Use an offset spatula or the back of a spoon to spread the batter out smoothly across the top of each pan. Gently tap the pans on your counter a couple of times. This helps to eliminate any trapped air pockets, ensuring a uniform texture in your baked cake.

- Baking for Even Heat Distribution: For best results and to promote even baking, place your filled loaf pans on an insulated baking sheet instead of placing them directly on the oven racks. An insulated sheet creates a heat barrier, preventing the bottoms and sides of the cakes from baking too quickly. If you don’t have an insulated baking sheet, a clever trick is to use two regular baking sheets stacked on top of each other.
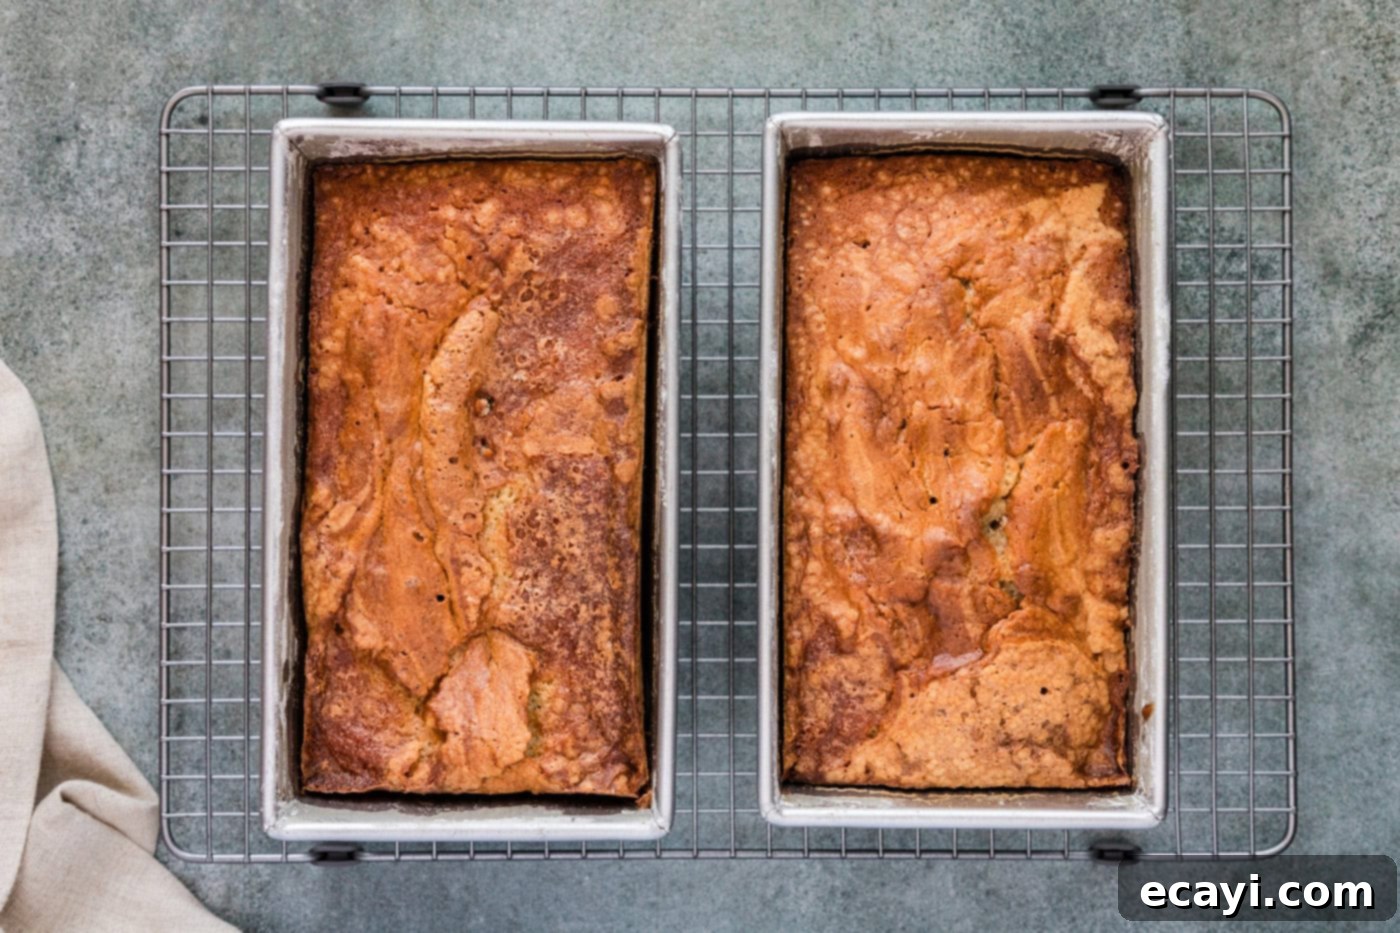
- Bake and Cool: Bake the pound cakes for 50-60 minutes, or until a thin knife or wooden skewer inserted into the center of a cake comes out clean. The exact baking time may vary depending on your oven. Once baked, let the cakes cool in their pans for about ten minutes. This allows them to firm up slightly, making them easier to handle. After ten minutes, carefully remove them from the pans and transfer them to a wire rack to cool completely. Cooling on a rack ensures air circulation all around the cakes, preventing sogginess.

Crafting the Irresistible Brown Butter Glaze
The brown butter glaze is truly the crowning glory of this apple cider pound cake, adding a depth of nutty, caramelized flavor that is simply divine. Here’s how to make it:
- Prepare Your Glazing Station: Line your work surface with a sheet of waxed paper or parchment paper. This will catch any drips from the glaze and make cleanup a breeze. Place a wire rack over the waxed paper, then gently place your completely cooled pound cake loaves onto the rack.
- Measure Powdered Sugar: Add the powdered sugar into a medium-sized mixing bowl, ready for the browned butter.
- Brown the Butter: Place the unsalted butter in a small, light-colored saucepan. Using a light-colored pan helps you monitor the color changes as the butter browns. Melt the butter over medium heat. It will bubble and foam. Continue to cook, stirring constantly with a whisk, until the butter solids at the bottom of the pan turn a beautiful golden brown and emit a wonderfully nutty aroma. This process typically takes only a few minutes, so stay vigilant to prevent burning. Immediately remove the saucepan from the heat and carefully pour the hot browned butter into the bowl containing the powdered sugar.

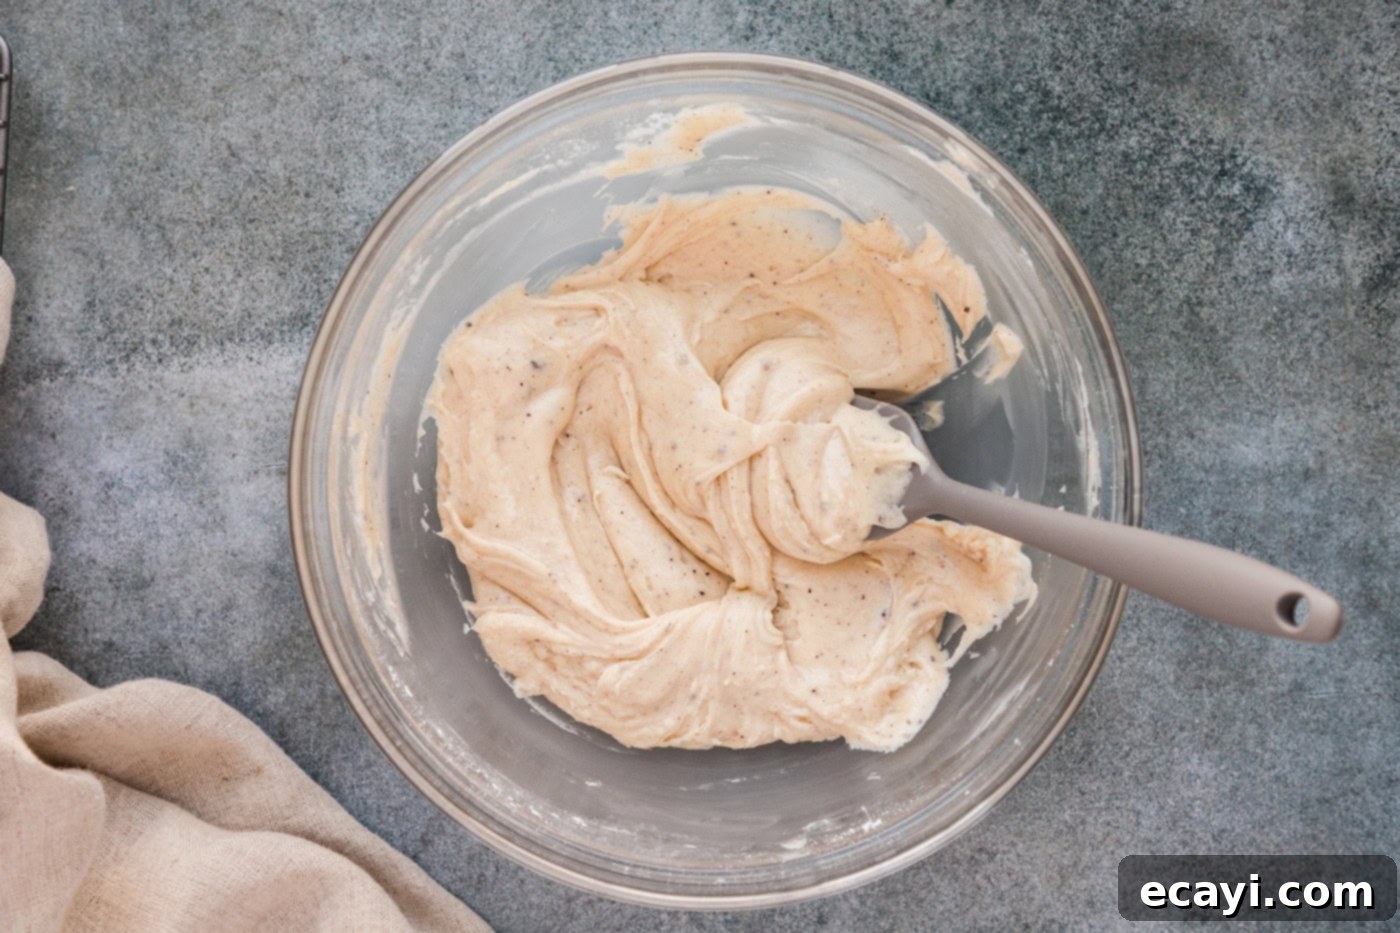
- Whisk the Glaze: Add the vanilla extract and 4 tablespoons of milk to the bowl with the browned butter and powdered sugar. Whisk vigorously until the mixture is completely smooth and free of lumps. If the glaze appears too thick, add the remaining milk one tablespoon at a time, continuing to whisk until you reach a pourable yet thick consistency.

- Drizzle and Set: As soon as the glaze is ready, immediately drizzle it generously over the cooled pound cake loaves. The glaze will begin to set quickly. Allow the glaze to cool and fully set before slicing and serving. This ensures a beautiful, slightly firm coating that adds both flavor and visual appeal.
Frequently Asked Questions & Expert Tips for Your Pound Cake
Once your apple cider pound cake has completely cooled (whether glazed or unglazed), store it properly to maintain its freshness. You can wrap it tightly with foil or place it in an airtight container. Kept at room temperature, the cake will remain wonderfully moist and delicious for 3-4 days.
Absolutely, this pound cake freezes beautifully! If you plan to freeze it, I highly recommend waiting to apply the brown butter glaze until after it has thawed. To freeze a whole loaf, allow it to cool completely, then wrap it securely first with plastic wrap, followed by one or two layers of aluminum foil. Alternatively, you can wrap it in plastic wrap and then place it inside a large gallon-sized freezer bag. It can be frozen for up to 2 months. When ready to enjoy, simply thaw the cake at room temperature. This same method works perfectly for freezing individual slices as well – just wrap each slice separately.
While I haven’t personally tested this specific recipe using all butter, in theory, you could make the substitution. However, based on experience with other baking recipes, using only butter will likely alter the cake’s final texture and rise. Butter-flavored shortening is specifically chosen here because it provides the rich butter flavor while also ensuring the cakes remain incredibly soft and tender with an excellent rise. Shortening has no water content, so swapping it for butter introduces approximately 2.5 tablespoons of water to the recipe. If you choose to use all butter, I would suggest reducing the amount of apple cider by about 2 tablespoons (changing 1 cup to 14 tablespoons total). This adjustment will help offset the additional water from the butter without significantly impacting the delicious apple cider flavor. If you do try this modification, please share your results in the comments!
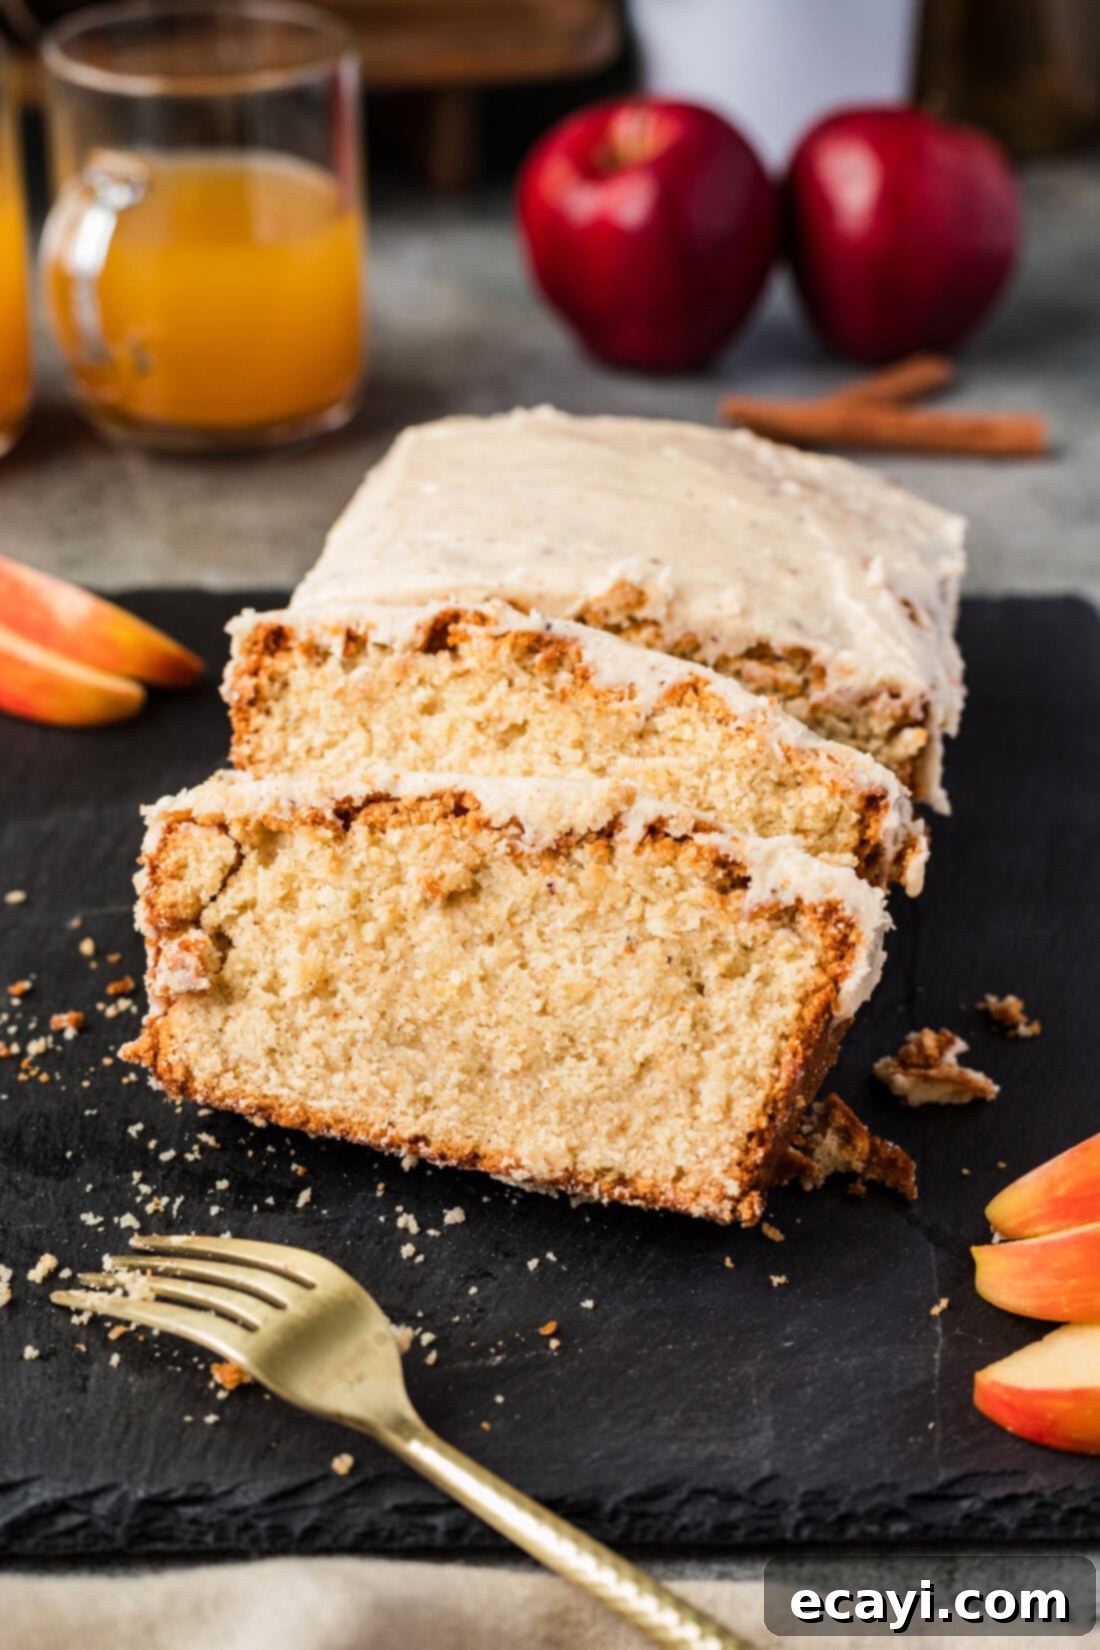
Perfect Serving Suggestions & Delicious Pairings
Having perfected and made this apple cider pound cake since 2009, it holds a truly special place in my recipe collection. Its versatility means you can serve it in many delightful ways. Enjoy your pound cake simply as is, with or without the signature brown butter glaze, for a pure taste of autumn. For a touch of sparkle and added spice, a light sprinkle of cinnamon sugar over the top is always a lovely addition.
For an extra layer of decadence, imagine serving a slice warmed slightly with a generous dollop of cinnamon honey butter – the flavors would be absolutely amazing together! This cake is also fantastic alongside a steaming cup of coffee for a cozy morning treat, or as a sophisticated dessert later in the day. It pairs wonderfully with a scoop of vanilla bean ice cream, a swirl of freshly whipped cream, or even a drizzle of extra caramel sauce for those who crave more sweetness. I sincerely hope you love indulging in this cake as much as I do!
More Delicious Apple & Pound Cake Recipes to Explore
If you’ve fallen in love with the comforting flavors of this apple cider pound cake, you’ll surely enjoy these other delightful baking creations that celebrate apples and classic pound cake traditions:
- Fluffy Apple Muffins: Perfect for breakfast or a quick snack, bursting with apple chunks and cinnamon.
- Homemade Apple Cider Doughnuts: Capture the essence of an apple orchard in a sweet, fried treat.
- Classic Whipping Cream Pound Cake: A rich and buttery pound cake known for its incredibly tender and moist texture.
- Zesty Orange Poppy Seed Pound Cake: A bright and citrusy pound cake with a delightful poppy seed crunch.
I absolutely adore sharing my passion for baking and cooking with all of you! Remembering to check back daily for new recipes can be a challenge, which is why I offer a convenient newsletter delivered right to your inbox every time a new recipe is posted. Simply subscribe today and start receiving your free daily recipes, ensuring you never miss out on delicious inspiration!
Apple Cider Pound Cake
IMPORTANT – There are often Frequently Asked Questions within the blog post that you may find helpful. Simply scroll back up to read them!
Print It
Pin It
Rate It
Save It
Saved!
Prevent your screen from going dark
Course:
Desserts
Cuisine:
American
32
slices (2 loaves total)
1 hour
25 minutes
209
Amanda Davis
Ingredients
Cake
-
1
cup
unsalted butter, softened
16 tablespoons, 8 oz, 227g -
½
cup
butter flavored shortening -
21
ounces
granulated sugar
600g, 3 cups -
6
large
eggs
at room temperature -
12.7
ounces
all purpose flour
360g, 3 cups -
½
teaspoon
salt -
¼
teaspoon
allspice -
½
teaspoon
nutmeg -
½
teaspoon
baking powder -
¼
teaspoon
ground cloves -
½
teaspoon
ground cinnamon -
8
ounces
apple cider
1 cup, at room temperature -
1
teaspoon
pure vanilla extract
Brown Butter Glaze
-
17
ounces
powdered sugar
475g, 3 cups -
½
cup
unsalted butter
8 tablespoons, 4 oz, 113g -
2
teaspoons
vanilla extract -
4-6
tablespoons
milk
as needed to thin glaze
Things You’ll Need
-
2 9×5 loaf pan -
Stand mixer -
Mixing bowls -
Wire cooling racks
Before You Begin
- Use dark loaf pans for best results. Stay away from glass pans for this recipe.
- You can substitute the butter flavored shortening with regular shortening if needed.
Instructions
For the Pound Cake
-
Preheat oven to 350 F. Generously butter then flour two 9×5 loaf pans.
-
In a mixing bowl, whisk together the flour, salt, allspice, nutmeg, baking powder, cloves, and cinnamon. In a measuring cup or separate bowl, stir together the cider and vanilla.12.7 ounces all purpose flour,
1/2 teaspoon salt,
1/4 teaspoon allspice,
1/2 teaspoon nutmeg,
1/2 teaspoon baking powder,
1/4 teaspoon ground cloves,
1/2 teaspoon ground cinnamon,
8 ounces apple cider,
1 teaspoon pure vanilla extract -
In a stand mixer on medium-high speed using the paddle attachment, beat together the butter and shortening until creamy. While still mixing, gradually add the sugar. Once all the sugar has been added, beat for a full 5 minutes. Mixture will be light and fluffy. Scrape down the bowl.1 cup unsalted butter, softened,
1/2 cup butter flavored shortening,
21 ounces granulated sugar -
Reduce mixer speed to medium. Add the eggs, 1 at a time, beating for 1 minute after each addition.6 large eggs
-
Reduce mixer speed to low and add half of the dry ingredients to the butter mixture, mixing just until combined. Next add the cider mixture just until combined. Finish with remaining flour mixture just until combined. Scrape down the bowl to make sure everything is evenly mixed. Batter will be thick.
-
Pour batter into prepared pans and spread out evenly across the top. Tap the pans on the counter a couple times to ensure there are no air pockets.
-
Place pans on an insulated baking sheet instead of directly on the racks. This creates a heat barrier and helps the cakes bake more evenly. If you don’t have an insulated pan, use two regular baking sheet stacked on top of each other.
-
Bake for 50-60, or until a knife inserted in the center comes out clean. Cool cakes in pans for ten minutes, then remove from pans and cool completely on wire rack.
For the Brown Butter Glaze
-
Line work surface with a sheet of waxed paper to catch drips, and place a wire rack over the top. Place loaves on rack.
-
Add powdered sugar to a medium bowl.17 ounces powdered sugar
-
Place butter in a small saucepan. Melt butter over medium heat until bubbly. Cook, stirring constantly until golden brown. Remove from heat and pour butter into the bowl of powdered sugar.1/2 cup unsalted butter
-
Add vanilla and milk, stir until smooth.2 teaspoons vanilla extract,
4-6 tablespoons milk -
Immediately drizzle glaze over the loaves. Allow to cool and set before serving.
Expert Tips & FAQs
- Store the fully cooled (glazed or unglazed) pound cake covered with foil or kept in an air-tight container. Keep at room temperature for 3-4 days.
- To Freeze – I’d recommend waiting to add the glaze if you plan on freezing. To freeze, allow the loaf to fully cool, then wrap it well with plastic wrap followed by a layer or two of aluminum foil. Or, you can wrap the loaf with plastic wrap and place it inside a large gallon-sized ziptop bag. Freeze for up to 2 months. Thaw at room temperature. You can follow the same method for freezing individual slices.
Nutrition
Serving:
1
slice
|
Calories:
209
cal
|
Carbohydrates:
28
g
|
Protein:
2
g
|
Fat:
10
g
|
Saturated Fat:
5
g
|
Polyunsaturated Fat:
1
g
|
Monounsaturated Fat:
3
g
|
Trans Fat:
1
g
|
Cholesterol:
50
mg
|
Sodium:
51
mg
|
Potassium:
41
mg
|
Fiber:
0.4
g
|
Sugar:
19
g
|
Vitamin A:
228
IU
|
Vitamin C:
0.1
mg
|
Calcium:
13
mg
|
Iron:
1
mg
Tried this Recipe? Pin it for Later!
Follow on Pinterest @AmandasCookin or tag #AmandasCookin!
The recipes on this blog are tested with a conventional gas oven and gas stovetop. It’s important to note that some ovens, especially as they age, can cook and bake inconsistently. Using an inexpensive oven thermometer can assure you that your oven is truly heating to the proper temperature. If you use a toaster oven or countertop oven, please keep in mind that they may not distribute heat the same as a conventional full sized oven and you may need to adjust your cooking/baking times. In the case of recipes made with a pressure cooker, air fryer, slow cooker, or other appliance, a link to the appliances we use is listed within each respective recipe. For baking recipes where measurements are given by weight, please note that results may not be the same if cups are used instead, and we can’t guarantee success with that method.
