Effortlessly Delicious: The Ultimate 7-Ingredient No-Bake Peanut Butter Cookies Recipe
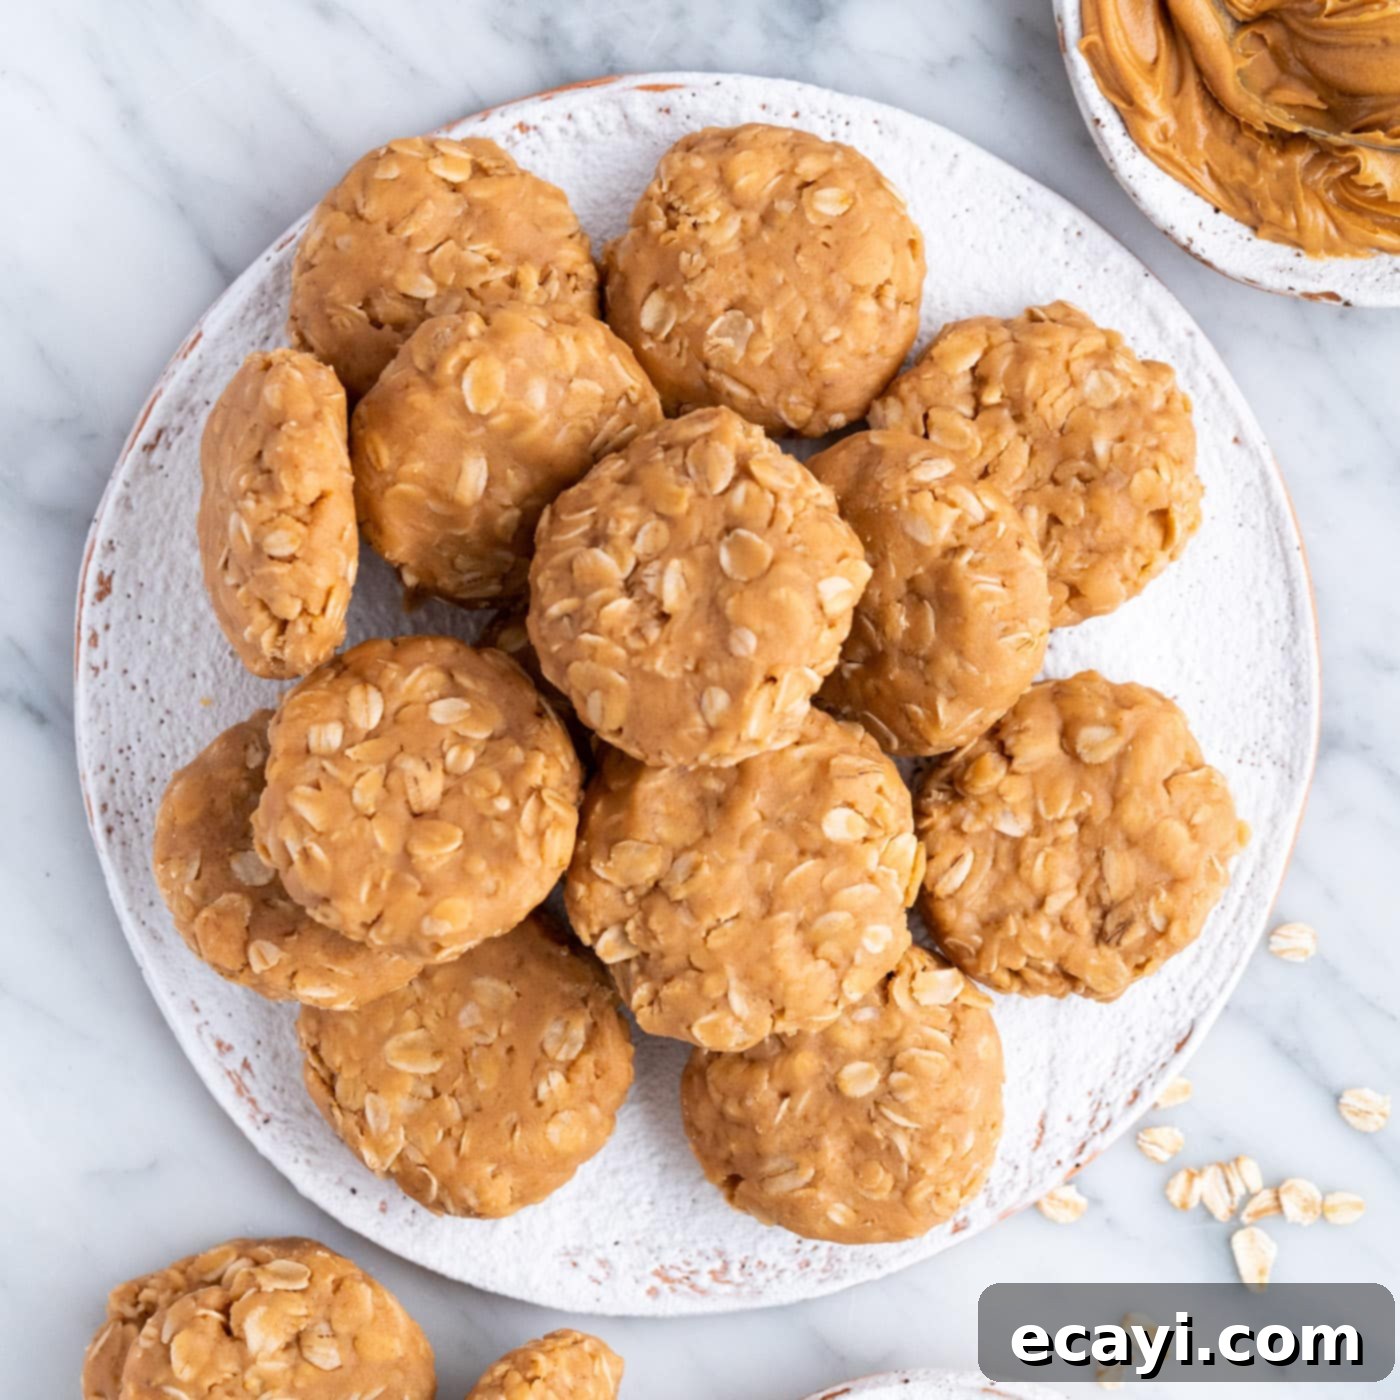
Discover the magic of homemade treats with these incredibly easy no-bake peanut butter cookies! Requiring just 7 simple ingredients, this recipe brings back the nostalgic flavor and delightfully chewy texture you remember from childhood, combining hearty oats with rich, creamy peanut butter. Perfect for busy days or when you crave a sweet fix without turning on the oven, these cookies are a guaranteed crowd-pleaser.
Why You’ll Love This No-Bake Peanut Butter Cookie Recipe
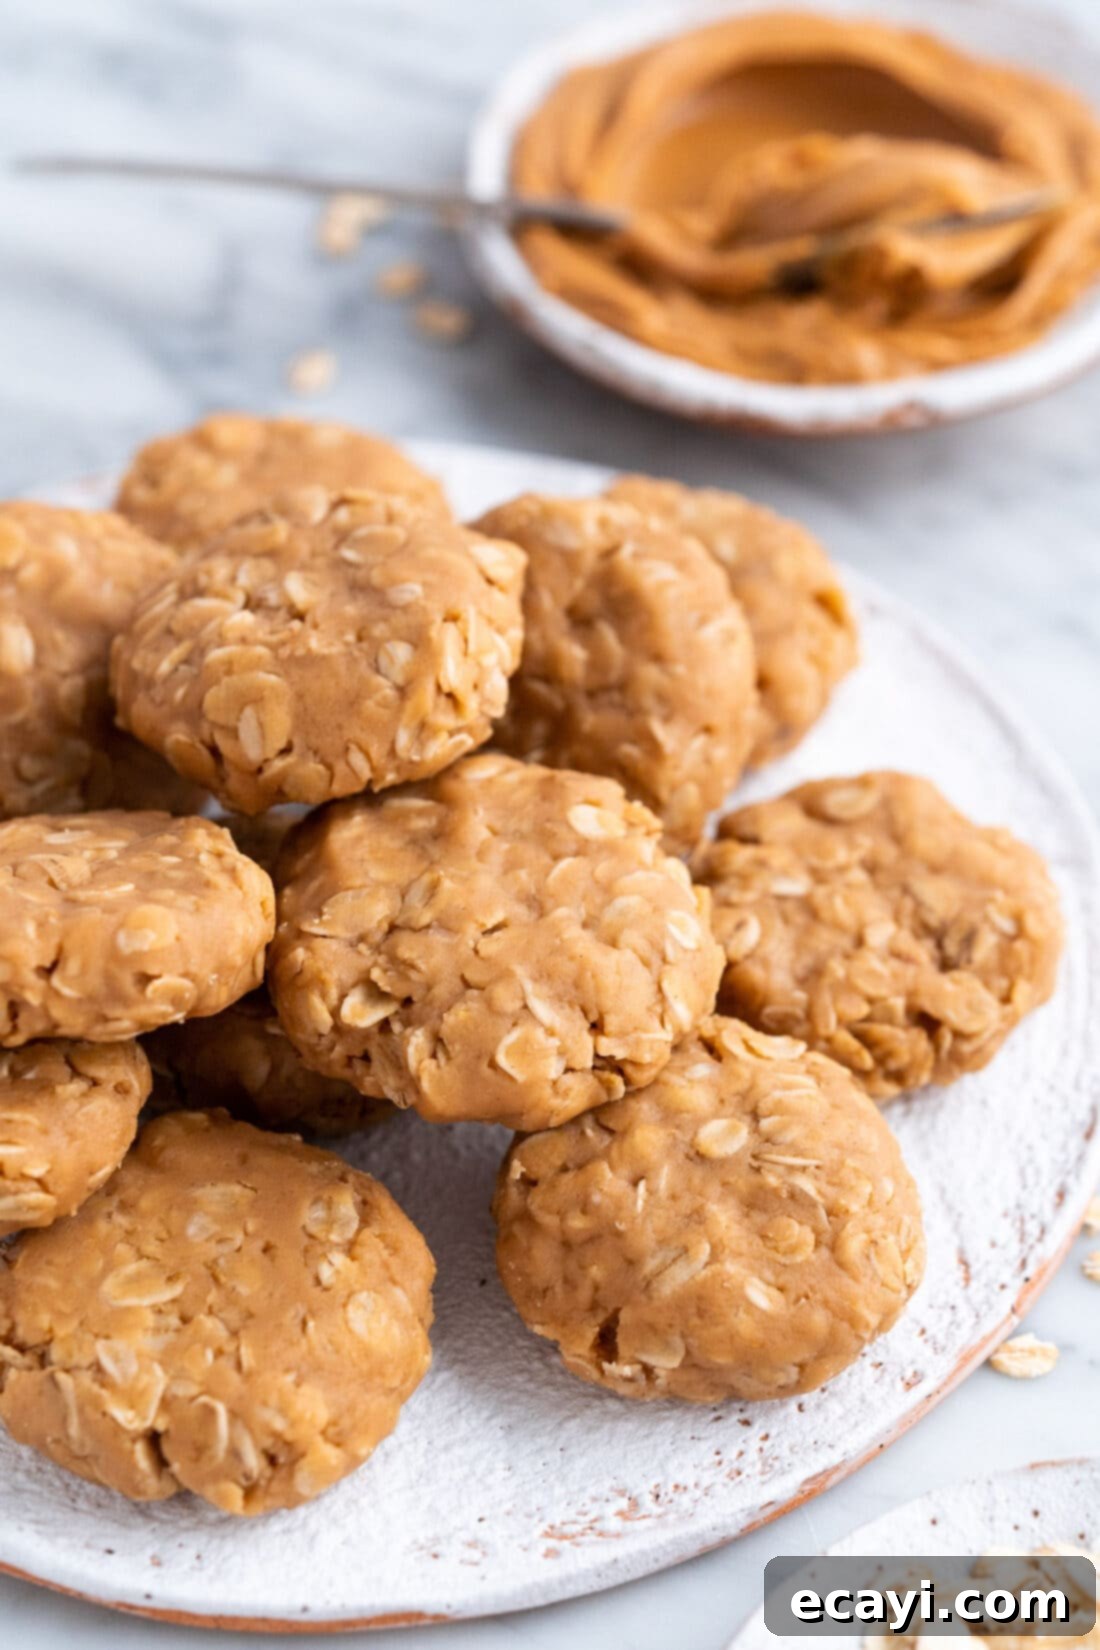
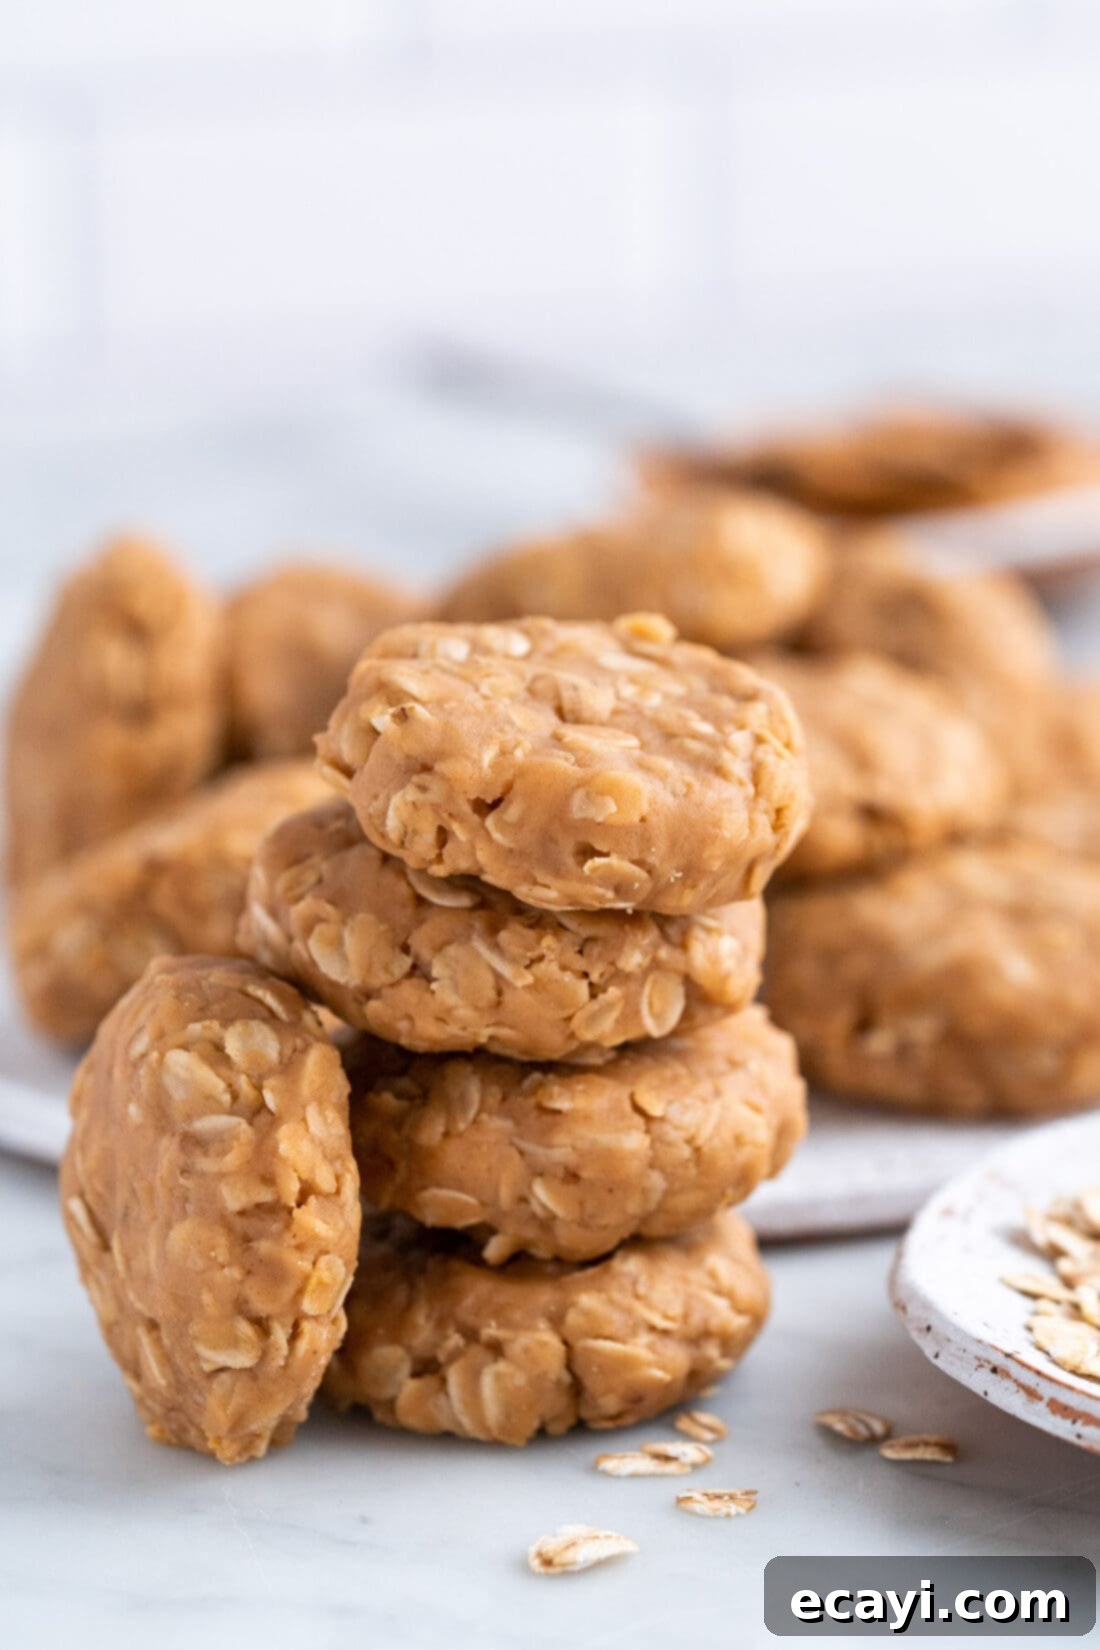
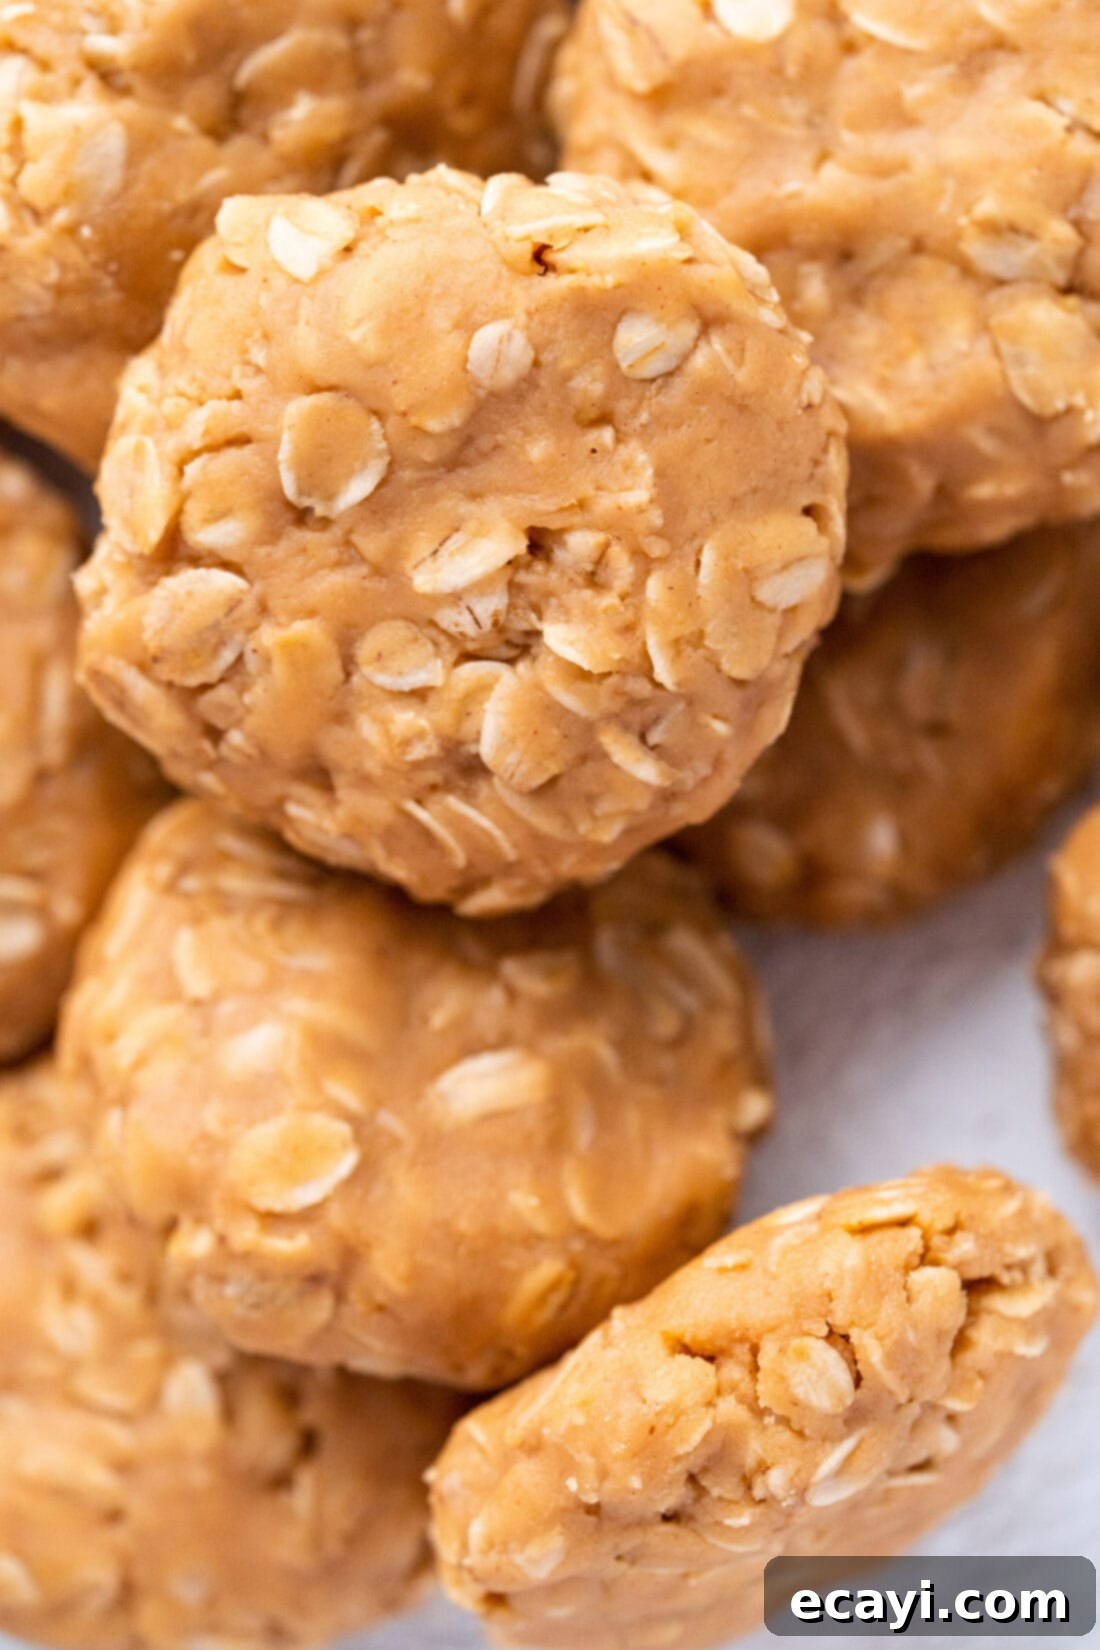
There’s something uniquely comforting about no-bake peanut butter cookies. They effortlessly transport you back to simpler times, evoking warm, cherished memories of devouring these delightful treats as a kid. Beyond their nostalgic appeal, this recipe truly shines for its remarkable simplicity and satisfying results. The texture is a perfect blend of chewy and soft, reminiscent of a wholesome granola bar or a satisfying energy bar, all while delivering an intense and irresistible peanut butter flavor.
What makes this recipe stand out? Firstly, the sheer ease of preparation. You won’t need to preheat an oven, which is a huge bonus during hot summer months or when you’re short on time. Secondly, the minimal ingredient list—just seven pantry staples—means you can whip up a batch whenever a craving strikes without a special trip to the grocery store. While the process is straightforward, paying a little extra attention during the crucial boiling stage ensures your cookies set beautifully every time. If you’re a fan of the classic chocolate and peanut butter pairing, don’t forget to check out our chocolate no-bake cookies for another fantastic, equally simple dessert!
Essential Ingredients for Your No-Bake Cookies
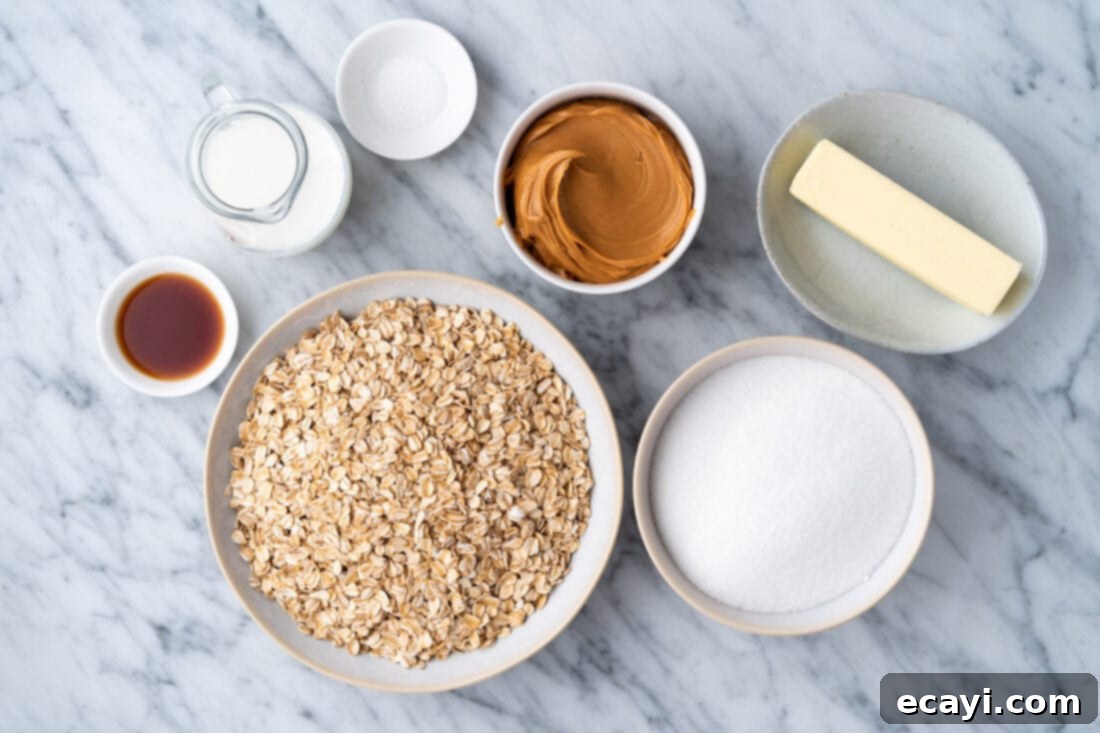
Gathering your ingredients beforehand is key to a smooth no-bake cookie-making experience. You’ll find a detailed list of all measurements, ingredients, and comprehensive instructions in the printable recipe card located at the very end of this blog post. For now, let’s go over the simple components that make these cookies so special:
Ingredient Insights and Smart Substitutions
Understanding each ingredient’s role can make all the difference in achieving the perfect no-bake peanut butter cookie. Here’s a deeper dive into the components and some helpful substitution tips:
- Unsalted Butter: This provides the rich, buttery base and helps create that wonderful melt-in-your-mouth texture. Using unsalted butter gives you control over the overall saltiness of the cookies. If you only have salted butter available, simply omit the ¼ teaspoon of salt called for in the recipe to avoid an overly salty taste.
- Granulated Sugar: Essential for sweetness and structure, the sugar also plays a crucial role in the boiling process, helping the mixture reach the right consistency for setting.
- Whole Milk: Milk adds moisture and contributes to the creamy texture of the cookie base. While whole milk is recommended for its richness, other milk varieties can work, though they might slightly alter the final texture.
- Salt: A small amount of salt enhances all the other flavors, particularly the sweetness and the nuttiness of the peanut butter. Remember to adjust if using salted butter.
- Vanilla Extract: Vanilla adds a warm, aromatic depth that beautifully complements the peanut butter. Don’t skip this for that classic cookie flavor!
- Creamy Peanut Butter: This is the star of the show! Creamy peanut butter provides the iconic flavor and helps bind the cookies together. For best results, use a standard processed creamy peanut butter (like Jif or Skippy).
- Old-Fashioned Oats: These oats are crucial for the signature chewy texture of these no-bake cookies. Their robust structure holds up well in the mixture.
Oat Variations: Achieving Your Preferred Texture
You have a couple of options when it comes to oats, each offering a slightly different result:
- Old-Fashioned Rolled Oats (Recommended): We highly recommend using old-fashioned rolled oats because they deliver that perfect, substantial chewiness that is characteristic of classic no-bake cookies. Their larger flakes maintain their shape and texture beautifully.
- Quick-Cooking/Instant Oats: If you prefer a softer cookie, quick-cooking or instant oats can be substituted. Be aware that they absorb liquid more quickly and may result in a slightly different, less chewy consistency. The boiling time might also need slight adjustment, so keep a close eye on the mixture.
Peanut Butter Pointers: For Perfect Setting
The type of peanut butter you choose is critical for the cookies to set correctly:
- Creamy Peanut Butter (Recommended): As mentioned, creamy peanut butter is ideal for its smooth consistency and reliable setting properties.
- Chunky Peanut Butter: If you enjoy a bit of extra crunch, chunky peanut butter can absolutely be used. It will add delightful texture without compromising the setting of the cookies.
- Natural Peanut Butter (Not Recommended): It’s important to avoid using natural peanut butter for this recipe. Natural varieties, especially those that separate oil, tend to be too runny and oily, which can prevent your cookies from setting properly, leading to a sticky, crumbly mess.
- Nut Butter Alternatives: For those with peanut allergies or who prefer other flavors, cashew butter, almond butter, or sunflower seed butter (Sunbutter) can also work as substitutes. Ensure they are the “no-stir” or processed varieties for best results in terms of setting.
Step-by-Step Guide: Crafting Your No-Bake Peanut Butter Cookies
These detailed step-by-step photos and instructions are provided to help you visualize each stage of making this delicious recipe. For a convenient printable version, complete with precise measurements and instructions, simply Jump to Recipe at the bottom of this post.
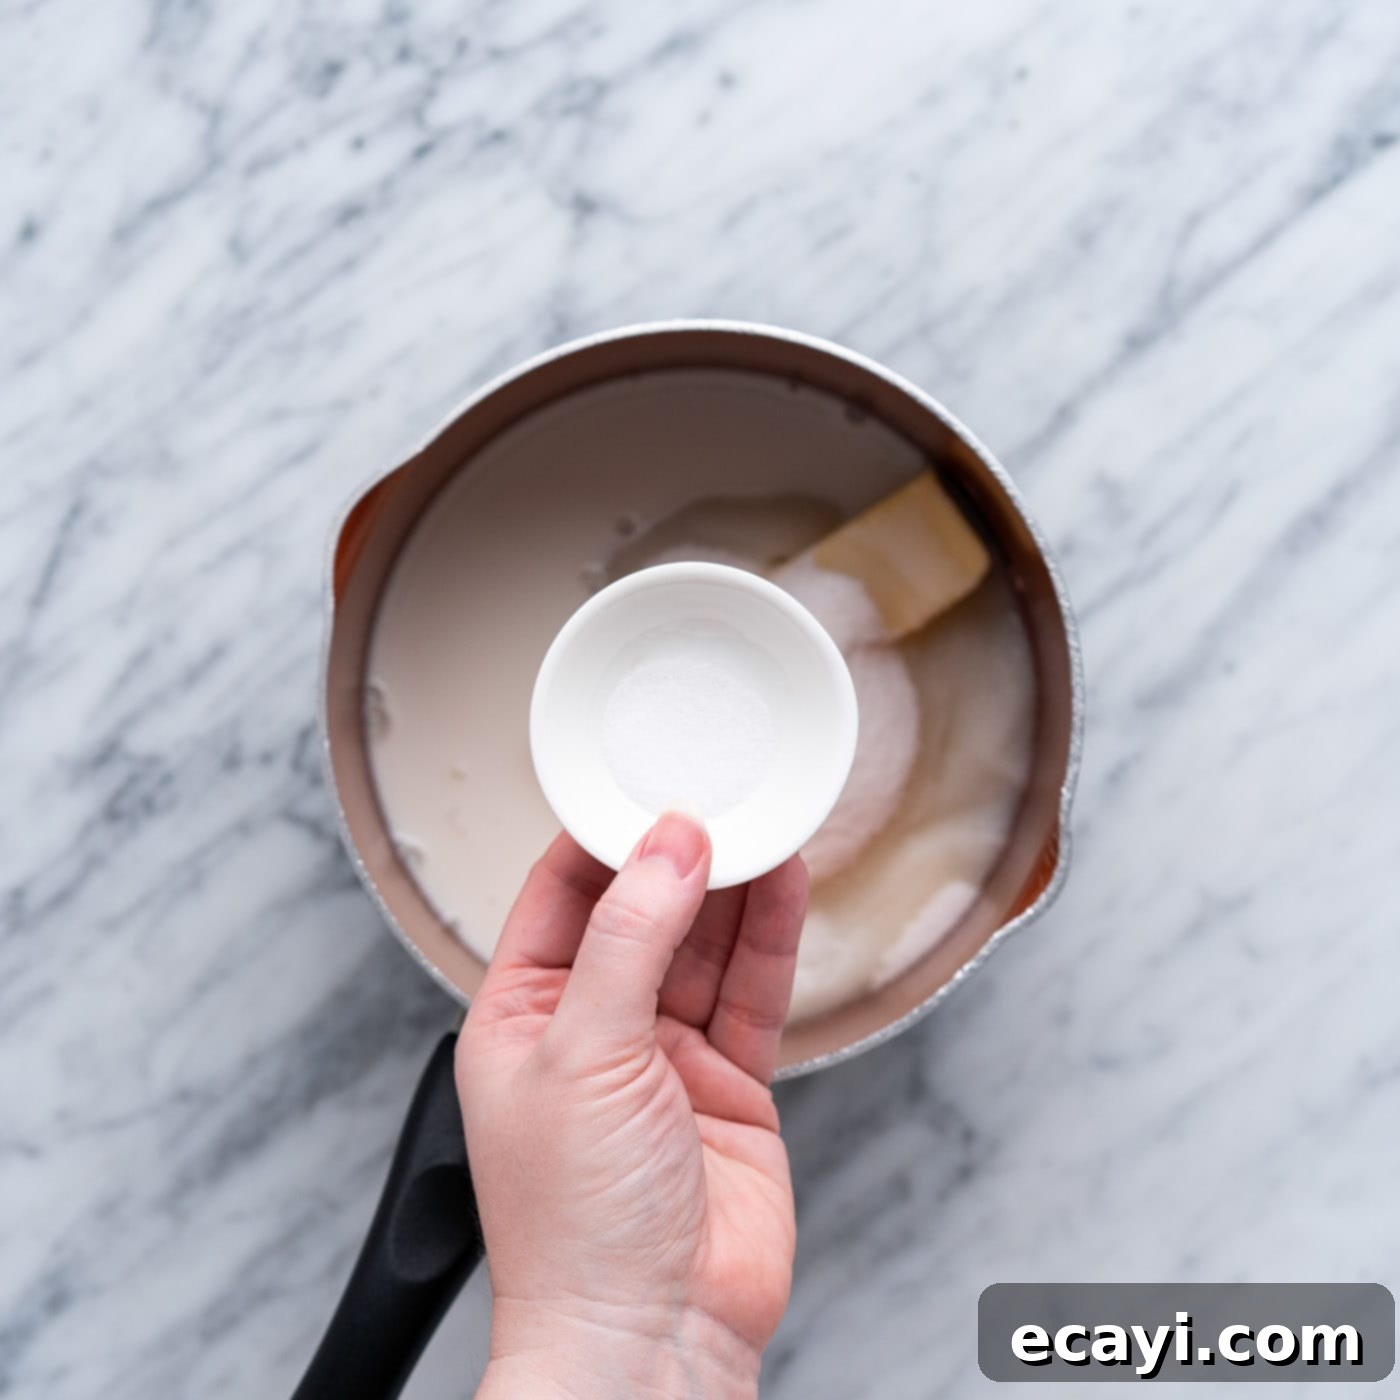
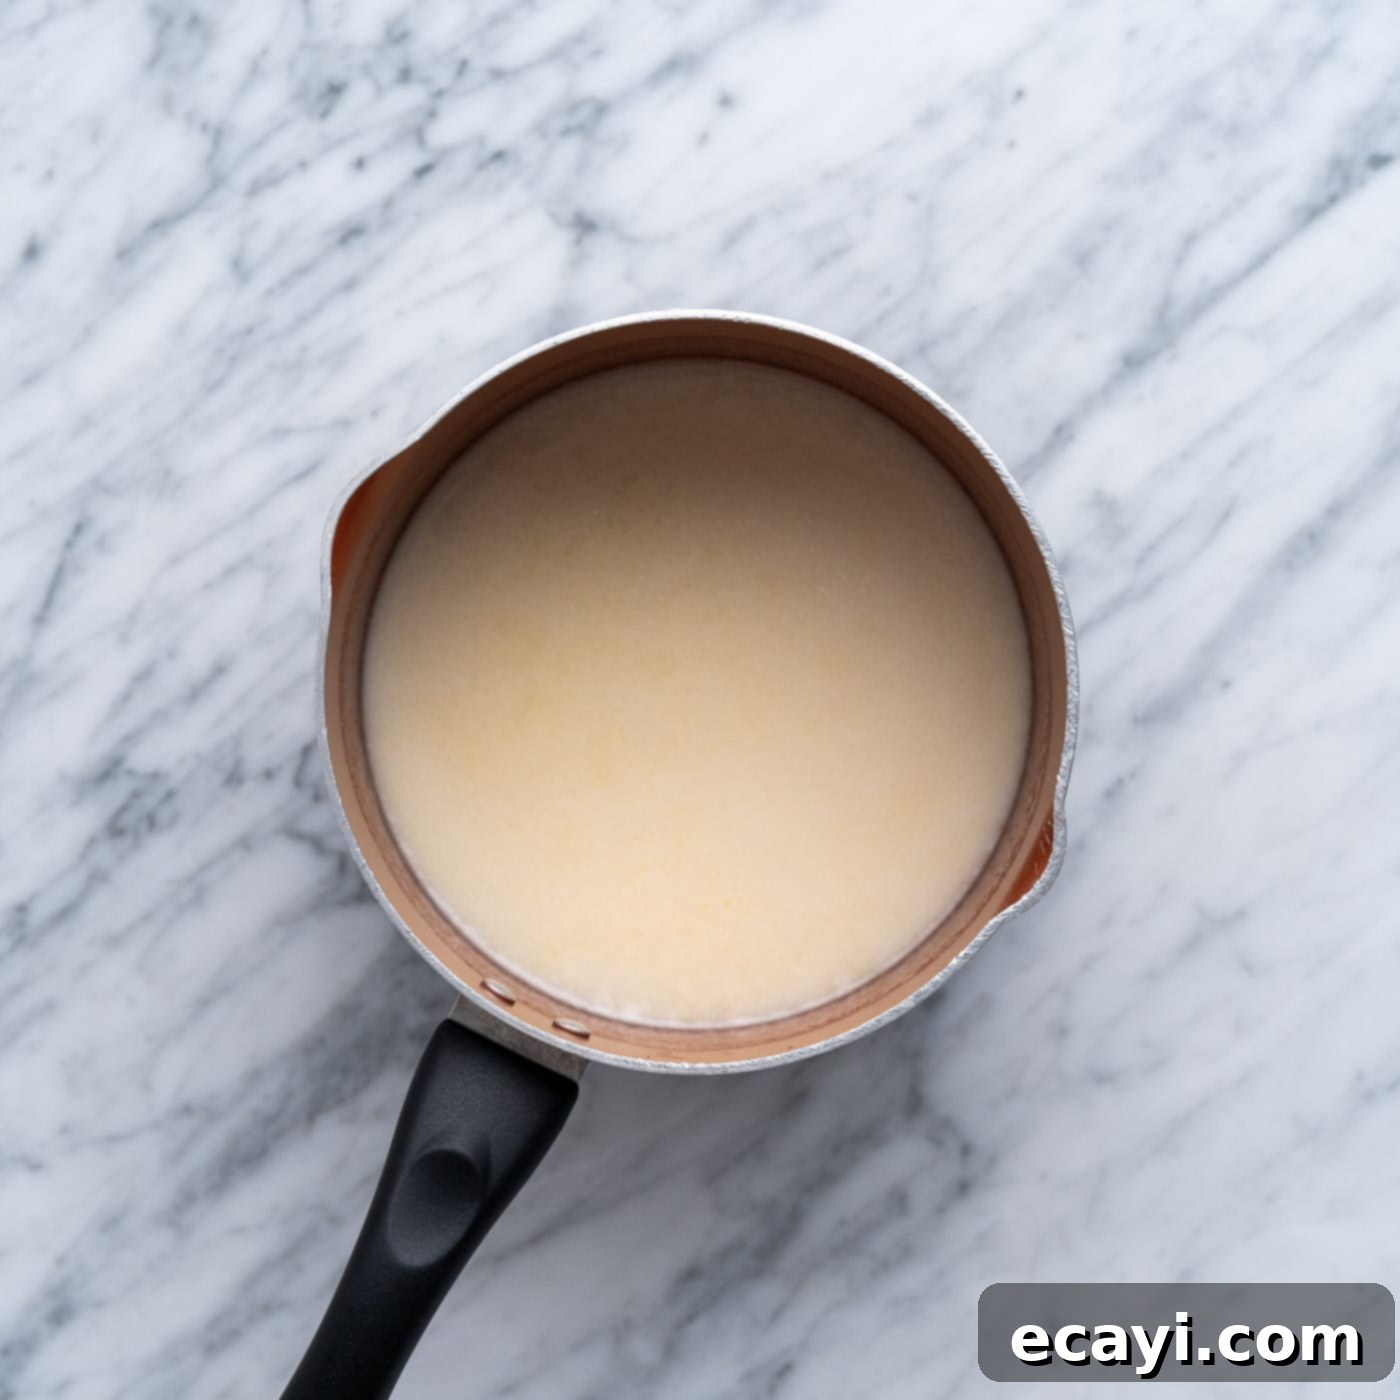
- Combine Wet Ingredients: In a medium saucepan, combine the unsalted butter, granulated sugar, whole milk, and salt. Place the saucepan over medium heat. Stir the mixture occasionally to help the sugar dissolve evenly and prevent it from scorching on the bottom. Continue stirring until the butter is fully melted and the sugar appears mostly dissolved.


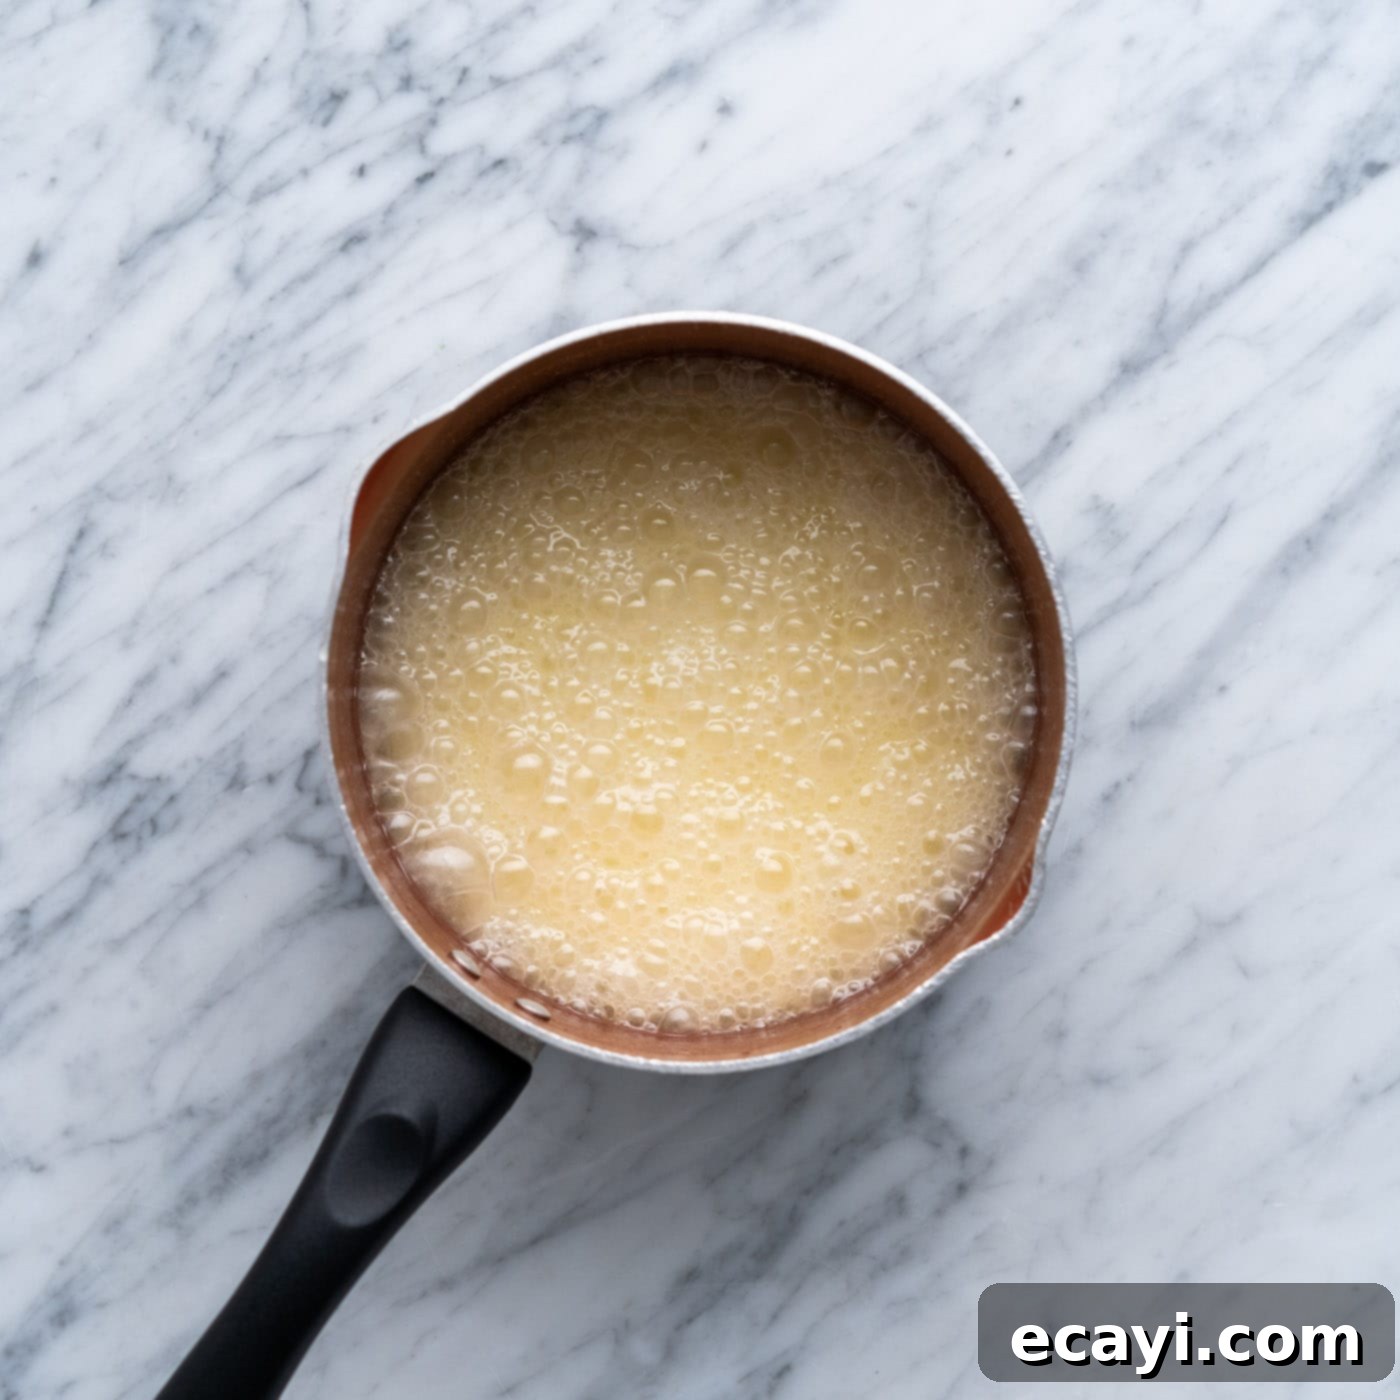
- Boil for Precision: Once the mixture reaches a vigorous, rolling boil (meaning it continues to bubble even when stirred), immediately set a timer for exactly 2 minutes. This timing is crucial for the cookies to set correctly, so avoid starting your timer prematurely when it’s just gently bubbling. A full, consistent boil is essential for proper crystallization of the sugar, which in turn ensures your cookies firm up beautifully.

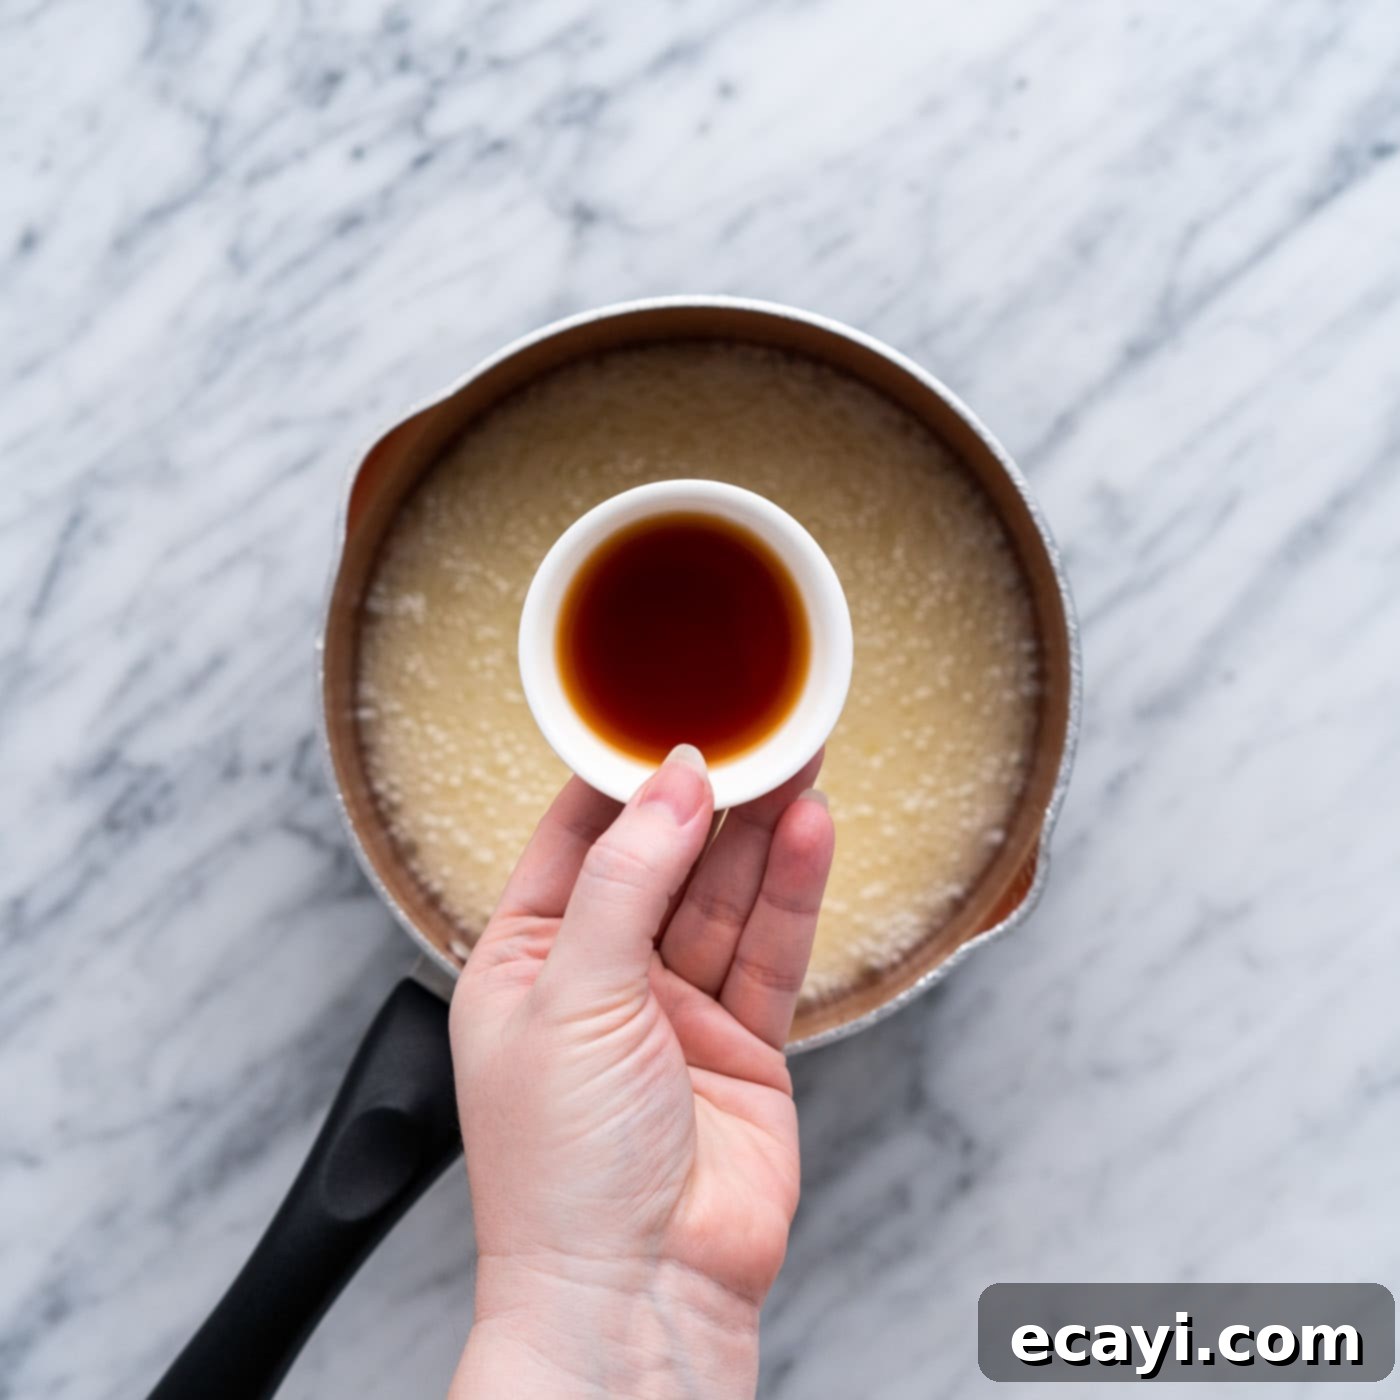
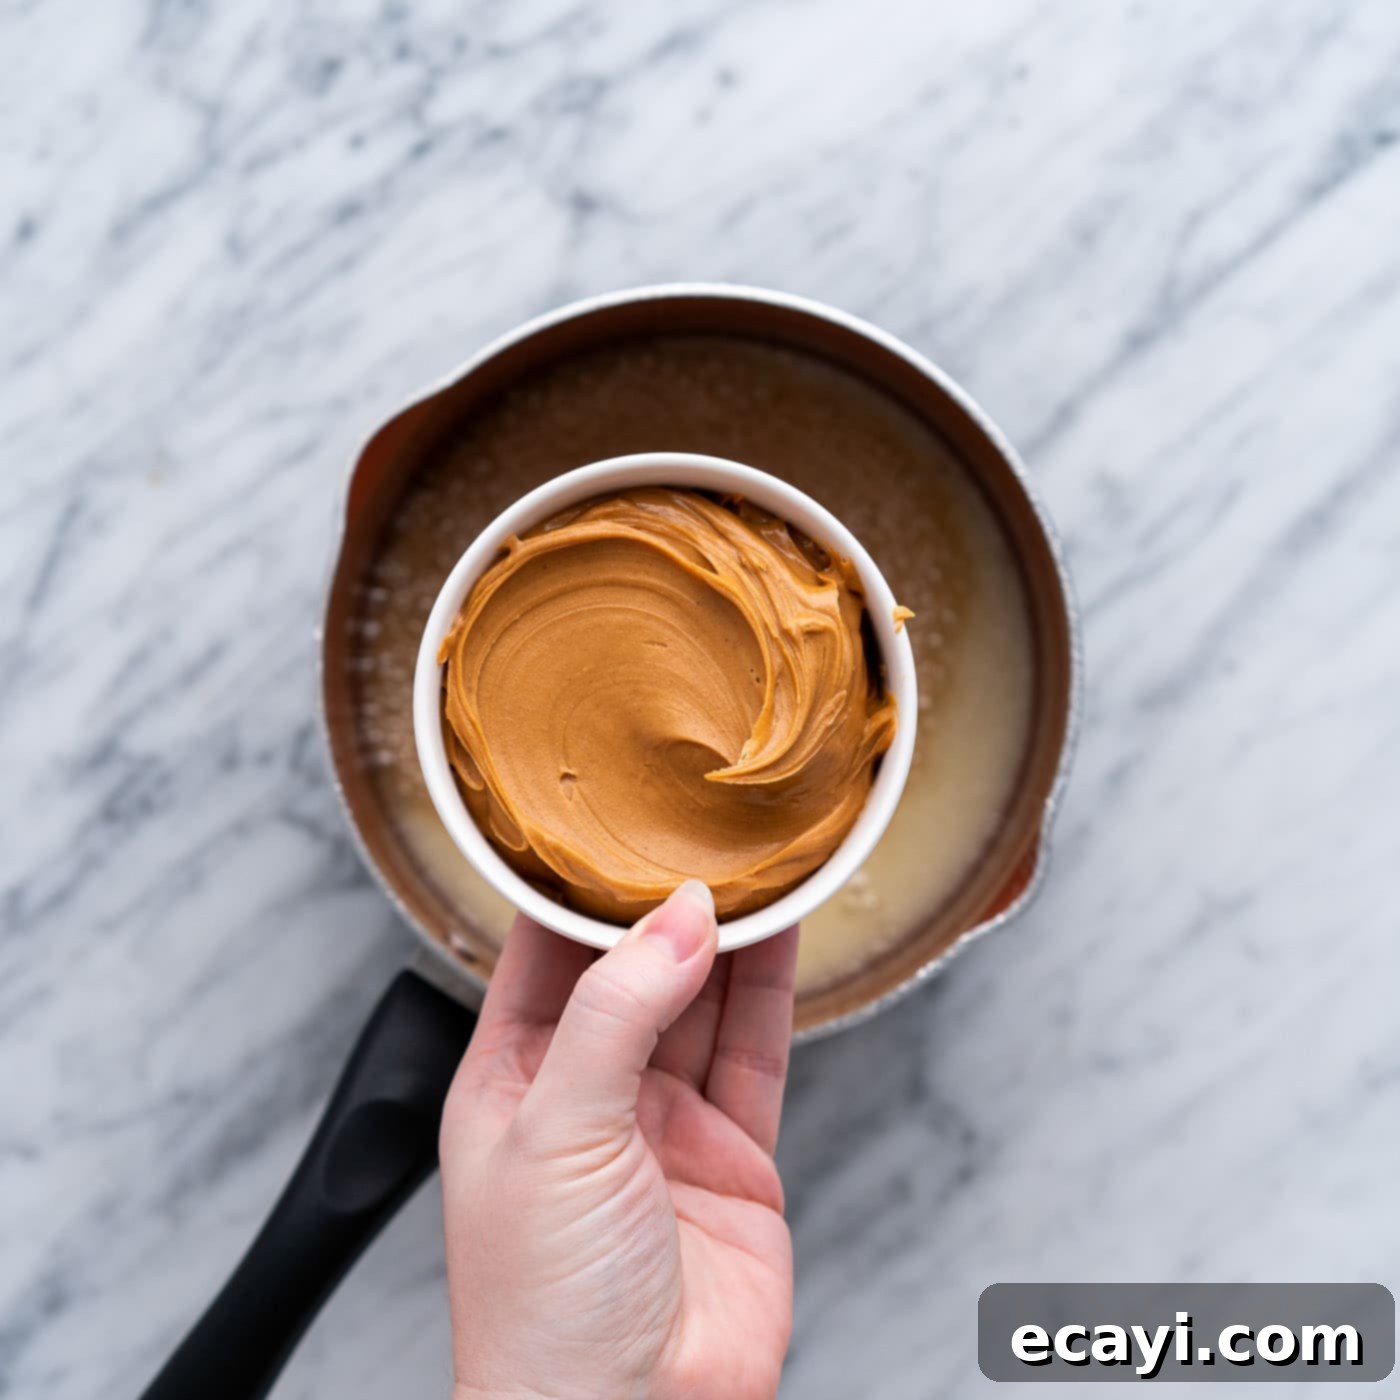
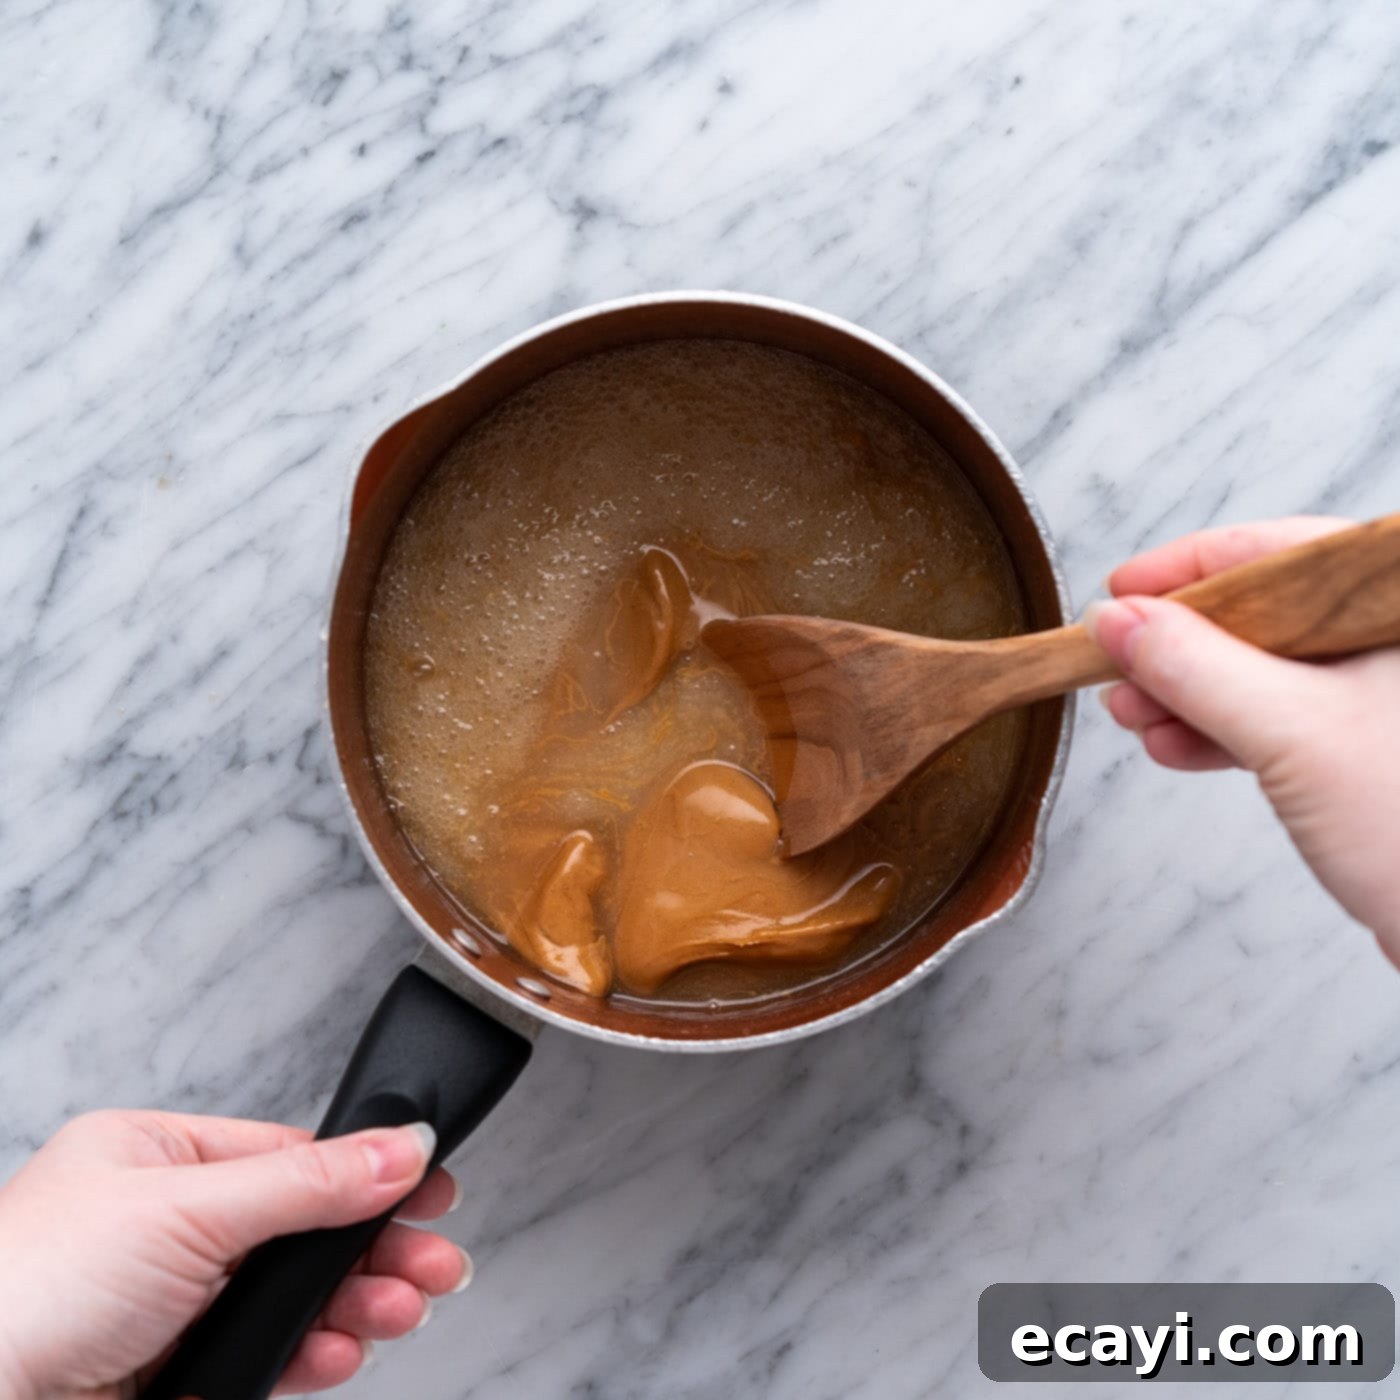
- Incorporate Flavor: After the 2 minutes of boiling, remove the saucepan from the heat. Stir in the vanilla extract and the creamy peanut butter. Mix vigorously until both are thoroughly combined and the peanut butter is completely melted into the warm mixture, creating a smooth, cohesive base.


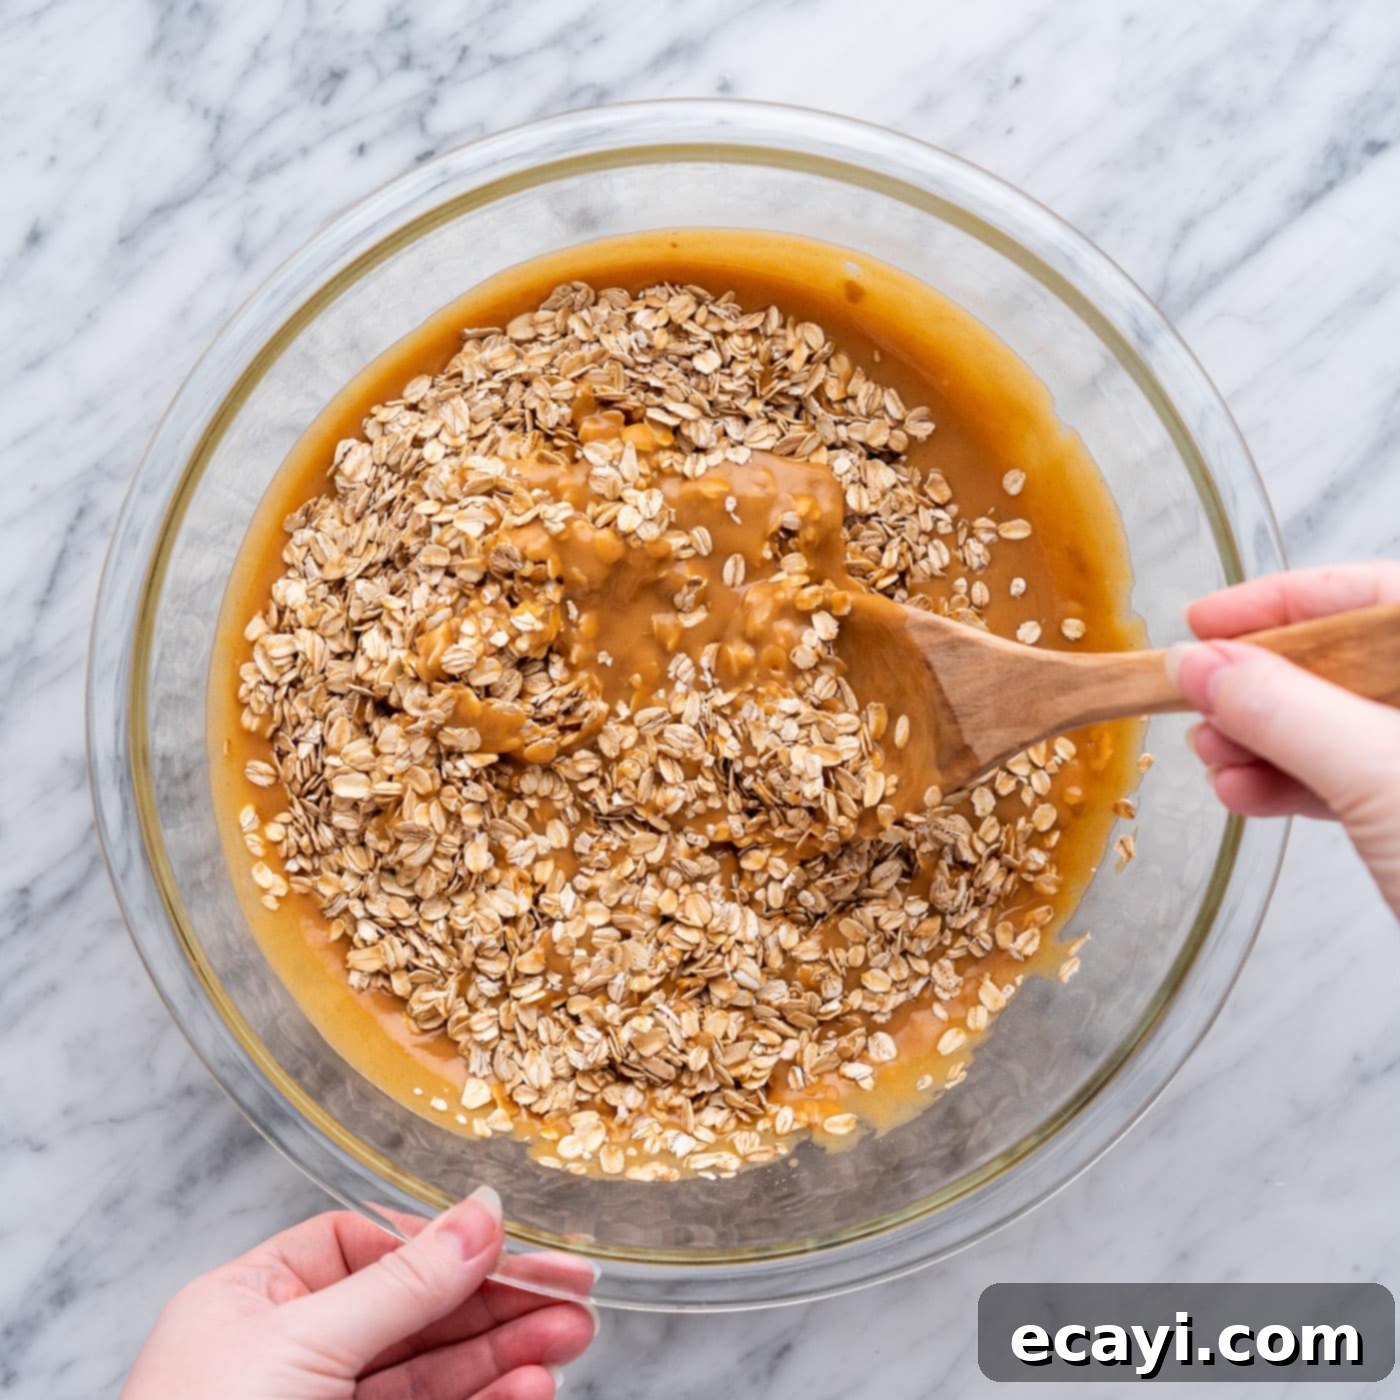
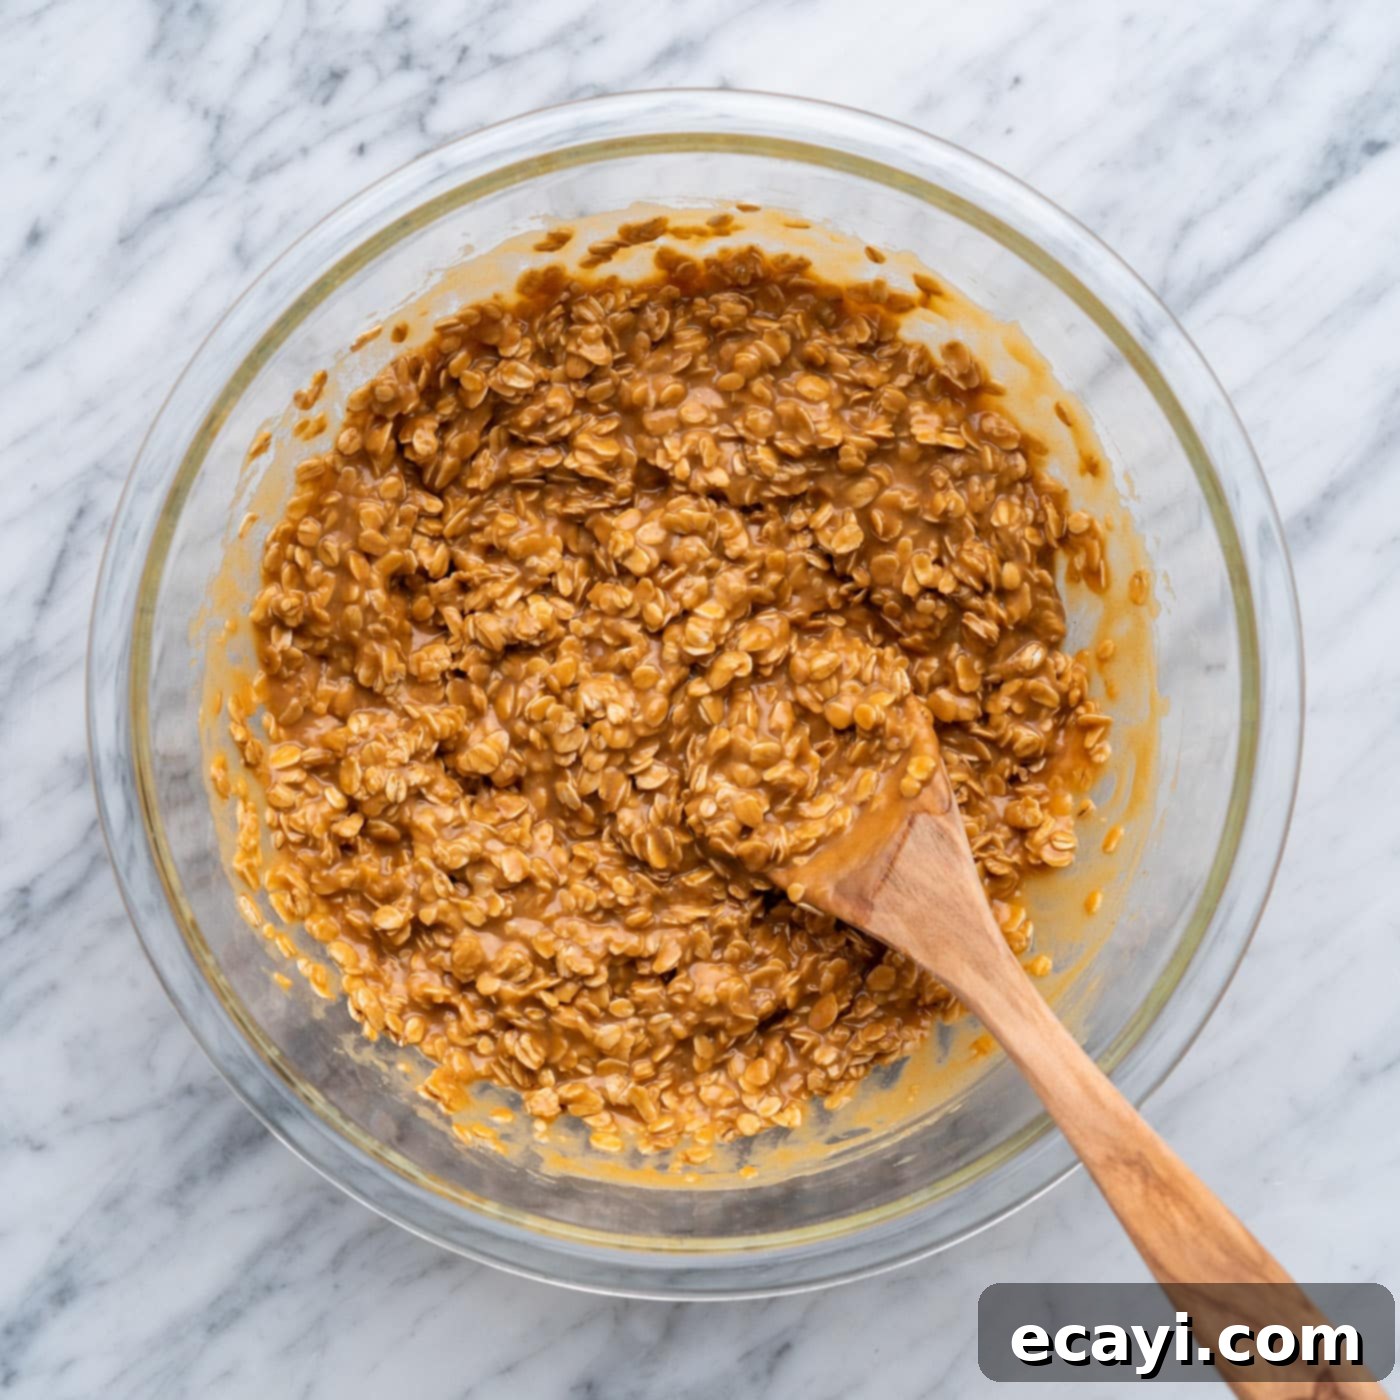
- Add the Oats: Transfer the warm peanut butter mixture to a large mixing bowl. Add the old-fashioned rolled oats and stir well with a sturdy spoon or spatula. Ensure all the oats are thoroughly coated with the delicious peanut butter base. The mixture will be quite thick.


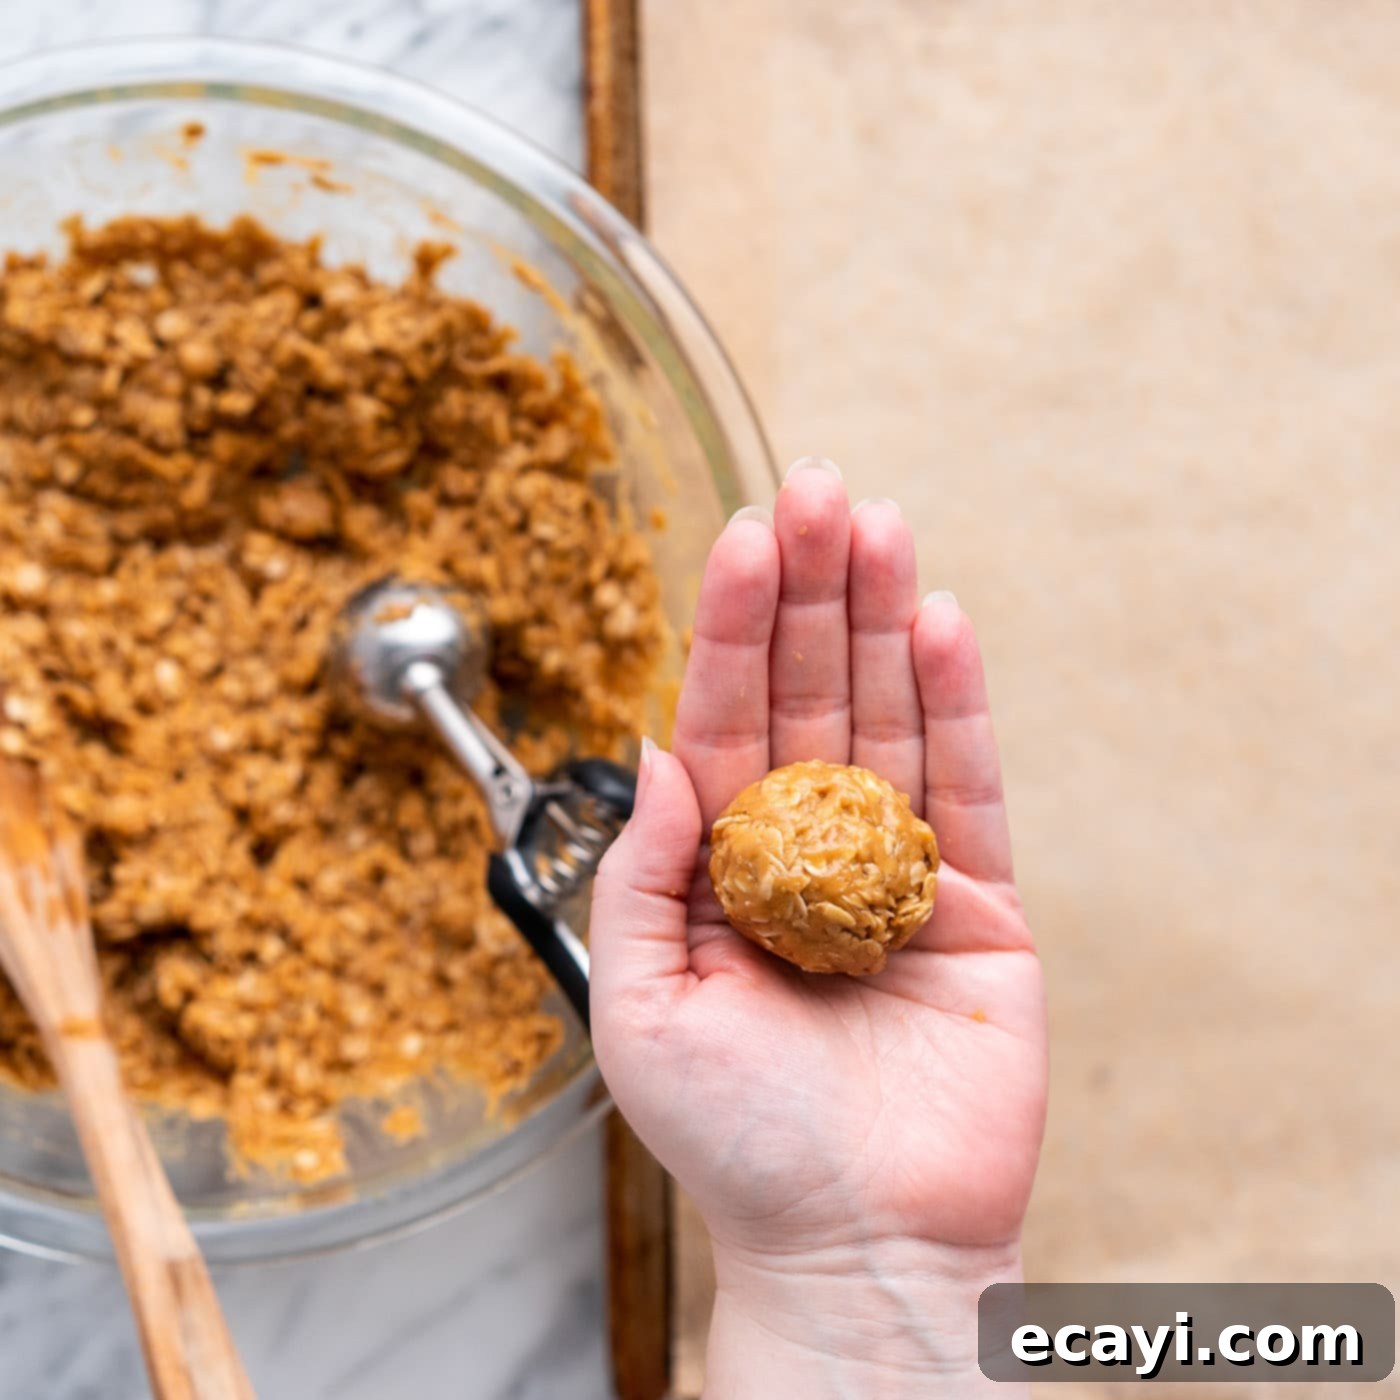
- Shape Quickly and Efficiently: This step requires some speed and attention to temperature. The mixture needs to cool slightly so you can handle it without burning yourself, but it must still be warm enough to be pliable and stick together when formed into cookies. As soon as you can comfortably touch the mixture, begin scooping and shaping. Use a slightly heaping 1.5-tablespoon scoop to measure out uniform portions of dough.

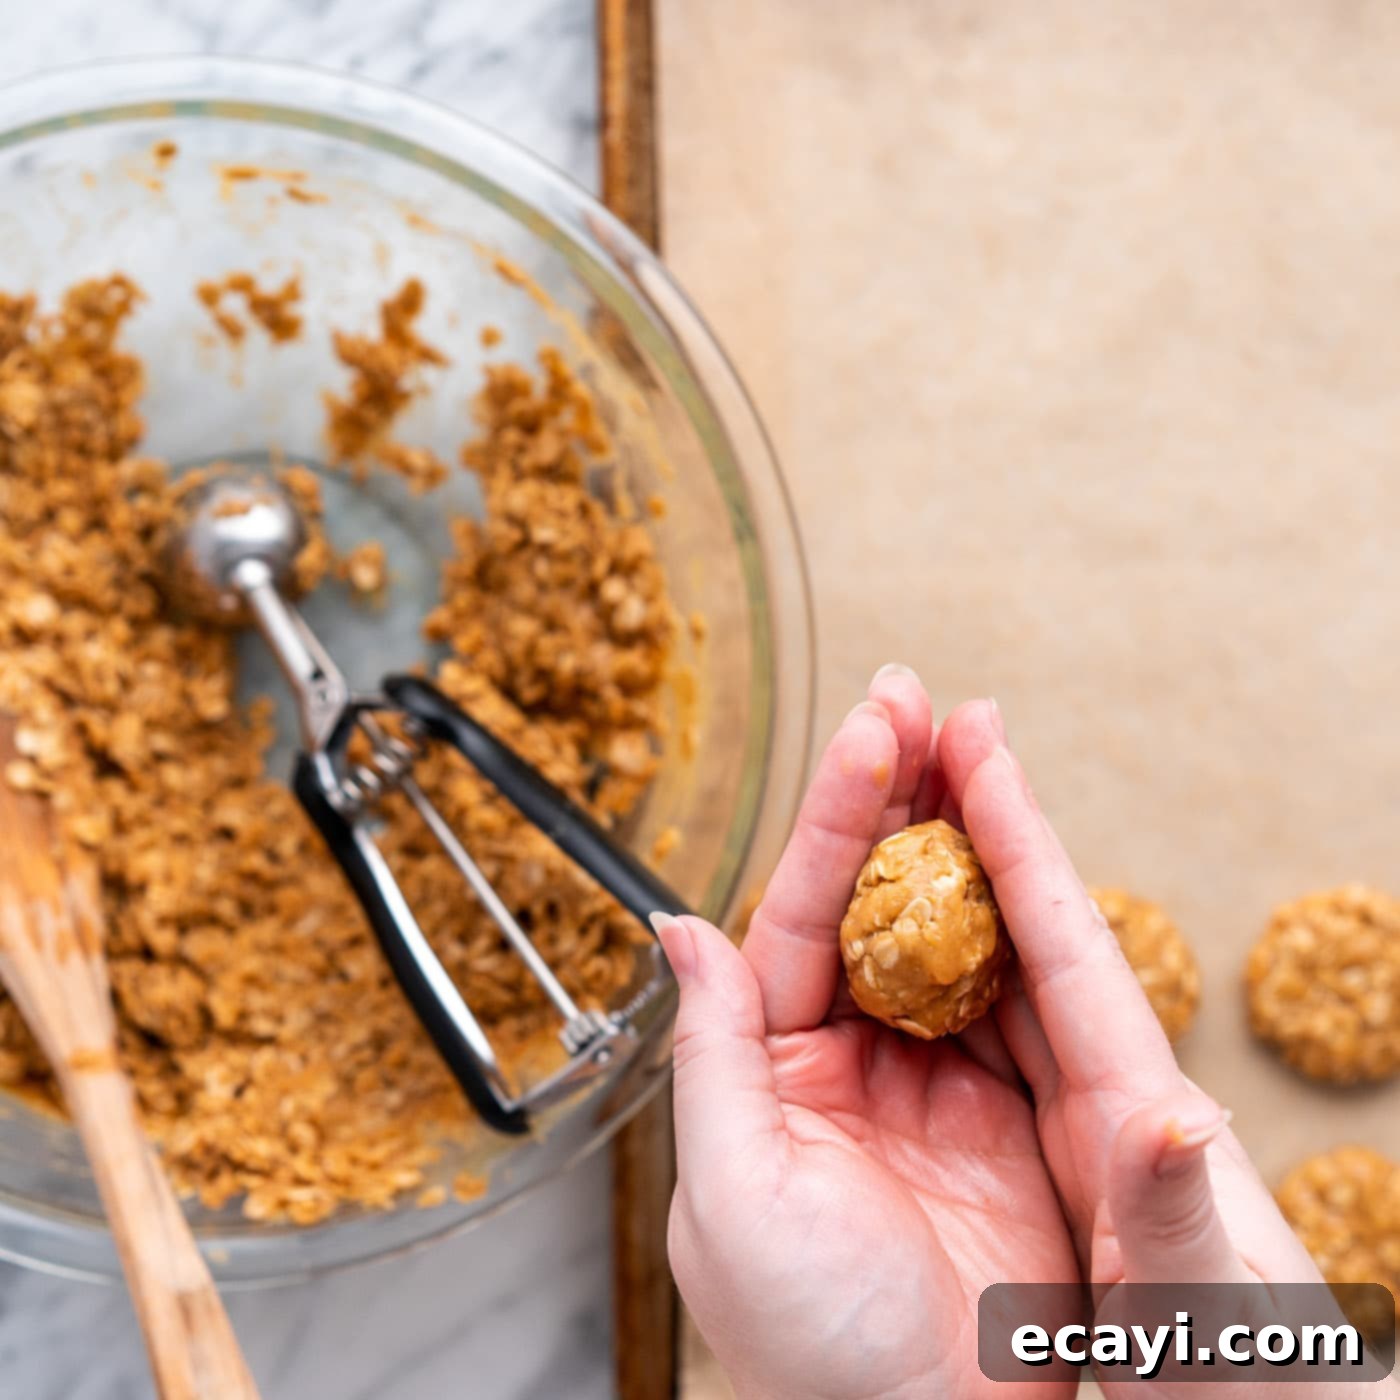
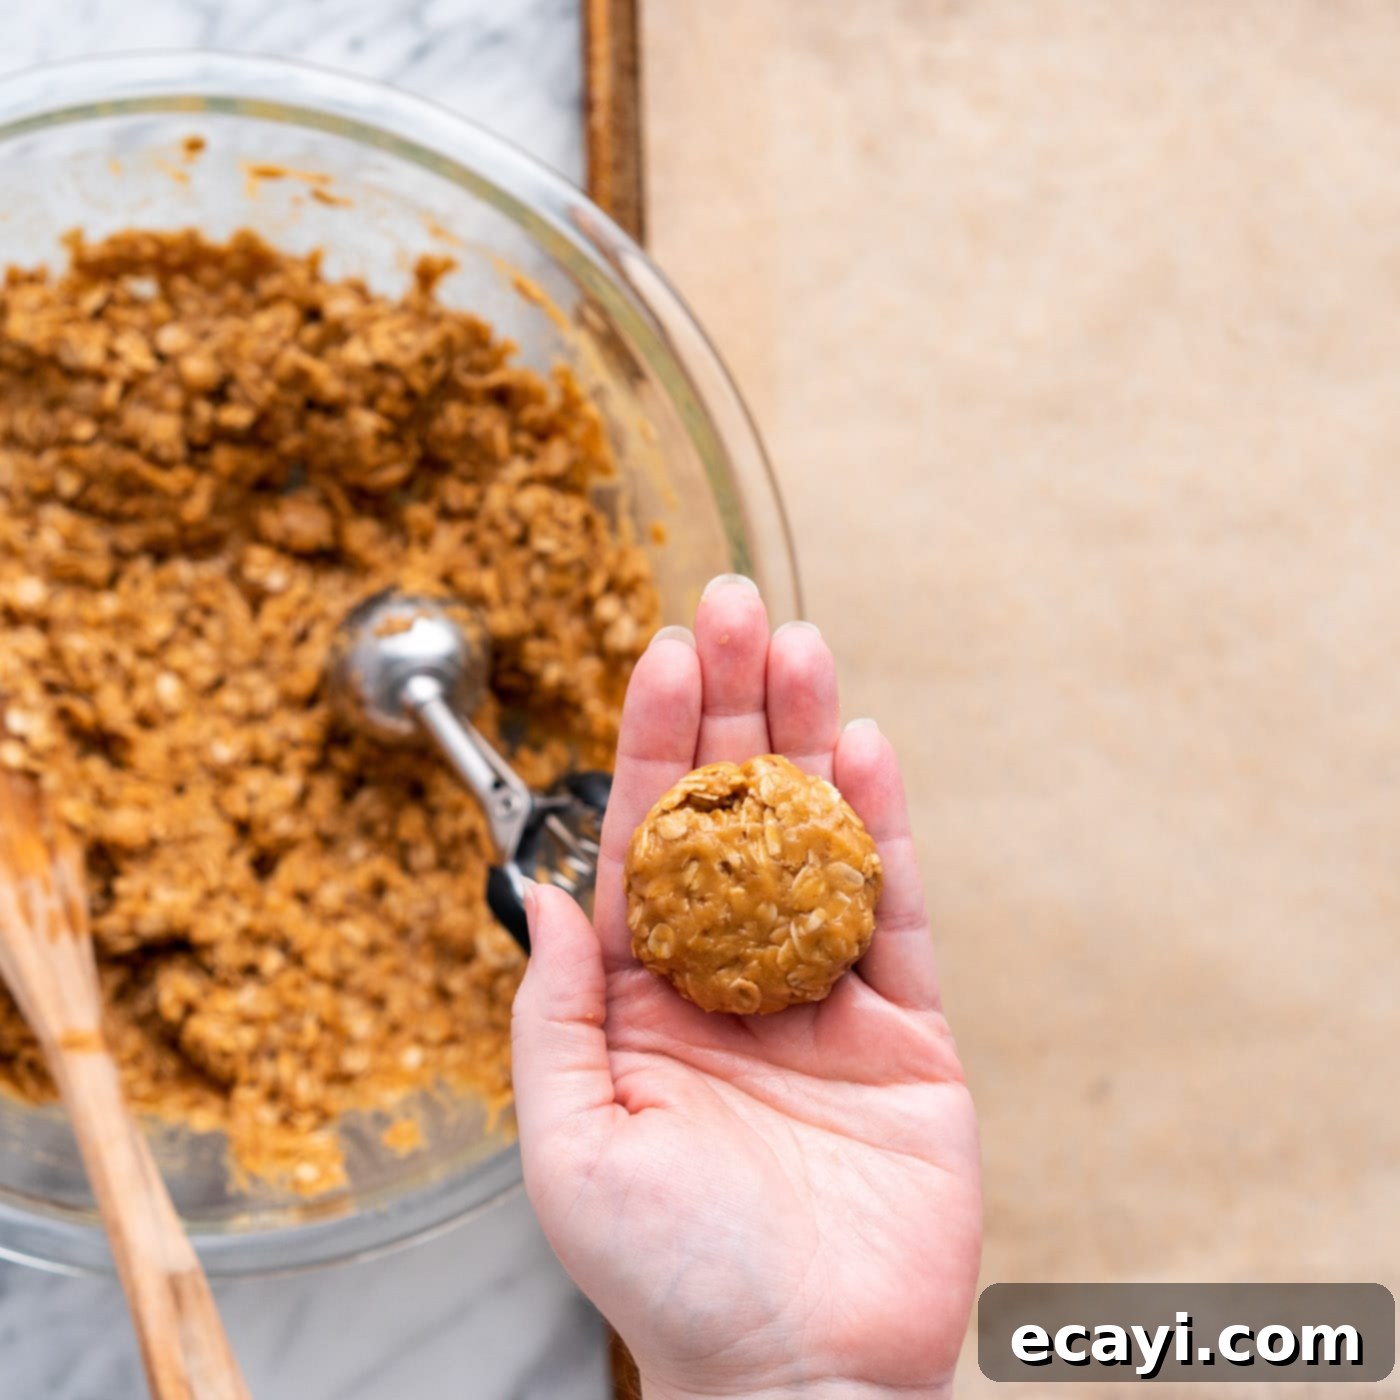
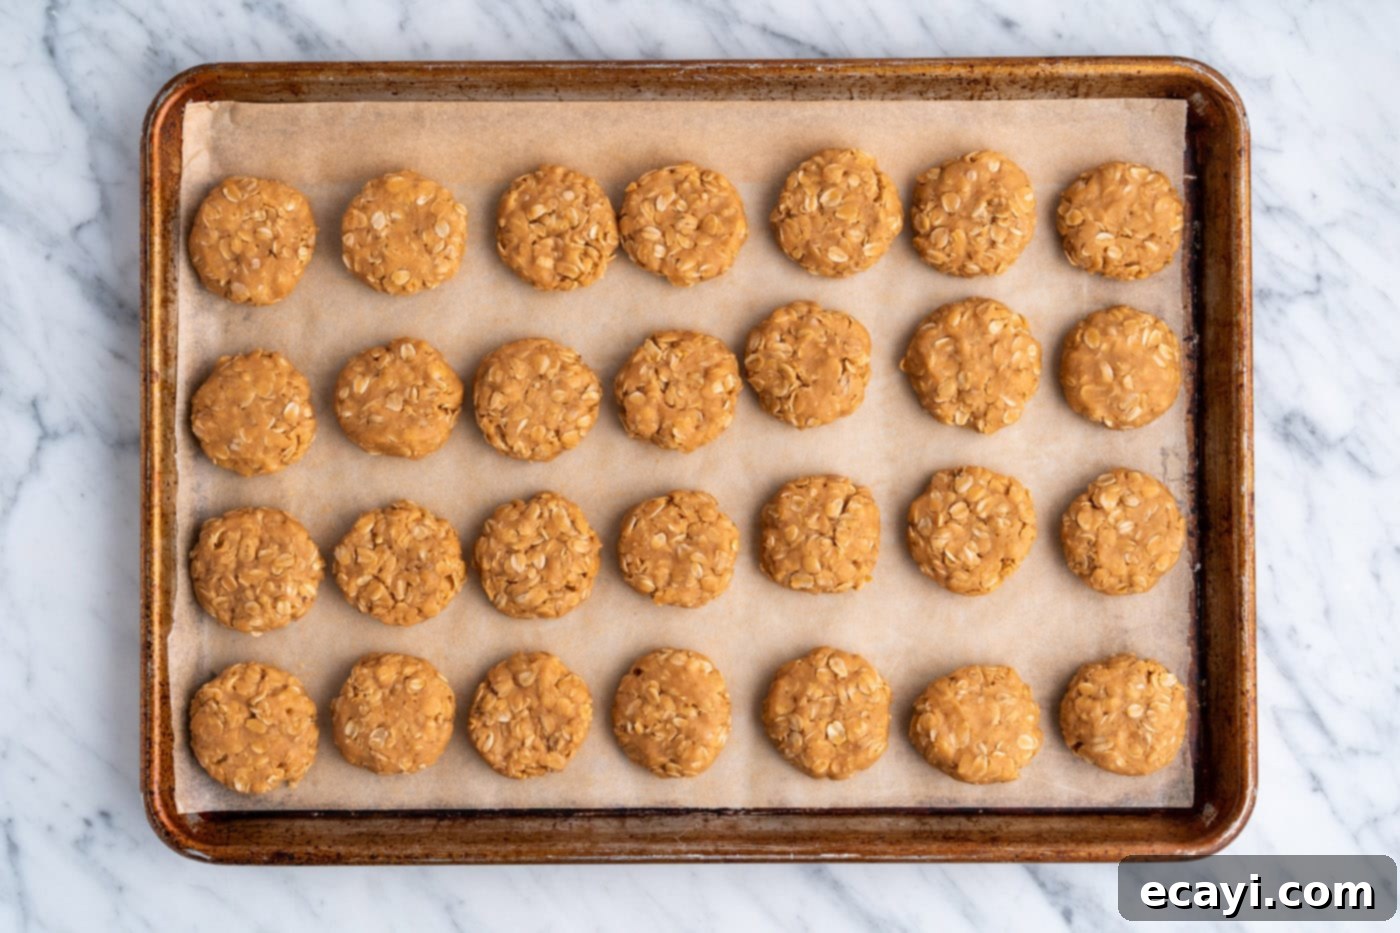
Roll the dough into smooth balls between your palms. Then, gently flatten each ball into a disc, approximately 2 inches in diameter. Work fairly quickly, as the mixture will continue to firm up as it cools.


- Set and Enjoy: Place all the shaped cookies onto a parchment-lined baking tray. This prevents sticking and makes for easy cleanup. Allow the cookies to rest at room temperature for about 20 minutes. During this time, they will cool completely and harden to their final delicious, chewy consistency. Resist the urge to move or eat them too soon!

Frequently Asked Questions & Expert Tips for Perfect No-Bake Cookies
Yes, you absolutely can use chunky peanut butter if you prefer. It will add a pleasant textural crunch to your cookies. However, as noted in the ingredient section, I strongly advise against using natural peanut butter. Its tendency to separate and its generally runnier consistency often leads to cookies that struggle to set properly and can remain too soft or crumbly.
The most common reason for no-bake cookies failing to set is usually insufficient boiling time for the butter, sugar, and milk mixture during step two. It’s crucial to set a timer for precisely 2 minutes *once the mixture reaches a full, rolling boil*, not when it merely starts to bubble (which is often just a gentle simmer). If your timer begins too early, the sugar won’t reach the correct temperature and concentration, preventing the cookies from firming up as they cool. Ensure you see vigorous, continuous bubbling before starting that timer!
To maintain their freshness and delicious texture, store your completed no-bake cookies in an airtight container at room temperature. They will typically stay fresh and enjoyable for 3-4 days. Always choose a cool, dry place away from direct sunlight, which can cause them to soften or melt.
Absolutely! These cookies freeze beautifully. First, ensure the cookies are fully set and hardened at room temperature. Then, transfer them to an airtight container or a large freezer-safe zip-top bag. Layer them with parchment paper if stacking to prevent sticking. They can be stored in the freezer for up to 3 months. When you’re ready to enjoy them, simply let them thaw at room temperature for a few minutes.
Yes, you can! Get creative once you’ve mixed in the oats. Mini chocolate chips, chopped nuts (like pecans or walnuts), or even a sprinkle of sea salt can add extra flavor and texture. Just make sure to add them quickly before the mixture cools too much to combine.
Working quickly during the shaping phase is important. If your mixture becomes too stiff to easily scoop and roll, you can try gently reheating it over very low heat for a minute or two, stirring constantly, just until it becomes pliable again. Be careful not to overcook. Alternatively, you can press the mixture into a parchment-lined pan and cut them into squares once set for a bar-style treat!
Creative Serving Ideas for Your Peanut Butter Cookies
These classic no-bake peanut butter cookies are delightful on their own, especially when paired with a tall, cold glass of milk for that ultimate nostalgic experience. Their sturdy nature makes them excellent for various occasions and snack times.
They are perfect for popping into a sandwich bag for school lunches, office snacks, or even a quick treat during a hike. For an elevated dessert experience, consider these ideas:
- Chocolate Drizzle: If you adore the unbeatable combination of chocolate and peanut butter, melt a little dark or milk chocolate and drizzle it over the top of the *fully set* cookies. Let the chocolate harden before serving for a stunning finish.
- Sprinkles: Add a festive touch by sprinkling colorful sprinkles over the cookies while they are still warm and soft, just after shaping. This is especially fun for parties or holidays.
- Sea Salt Flakes: A delicate sprinkle of flaky sea salt on top of each cookie before it sets can enhance the peanut butter flavor and add a sophisticated sweet-and-salty contrast.
- Mini Sandwich Cookies: Spread a thin layer of marshmallow fluff or a light cream cheese frosting between two cookies for a decadent sandwich cookie.
- Crumbled Topping: Crumble a few cookies over a scoop of vanilla ice cream for an instant, crunchy sundae topping.
Explore More Easy No-Bake Delights
If you’ve fallen in love with the simplicity and deliciousness of no-bake recipes, you’re in luck! We have a fantastic collection of other treats that require no oven time. Expand your repertoire with these equally simple and satisfying options:
- Wholesome No-Bake Energy Balls
- Crunchy No-Bake Cornflake Cookies
- Decadent No-Bake Peanut Butter Bars
- Irresistible Chocolate Peanut Butter Balls
- Classic No-Bake Peanut Butter Cornflake Cookies
I’m passionate about baking and cooking, and I love sharing my culinary adventures with all of you! To make sure you never miss a new recipe, I offer a convenient newsletter delivered right to your inbox every time a new post goes live. Simply subscribe today and start receiving your free daily recipes!
No Bake Peanut Butter Cookies
IMPORTANT – There are often Frequently Asked Questions within the blog post that you may find helpful. Simply scroll back up to read them!
Print It
Pin It
Rate It
Save ItSaved!
Ingredients
- ½ cup unsalted butter
- 1 ¾ cups granulated white sugar
- ½ cup whole milk
- ¼ teaspoon salt
- 1 Tablespoon vanilla extract
- 1 cup creamy peanut butter
- 3 ¼ cups old-fashioned rolled oats
Things You’ll Need
-
Saucepan
-
1.5 Tablespoon Cookie Scoop
-
Mixing bowls
Before You Begin
- Have all your mix-in ingredients ready to go (oats, peanut butter, vanilla, and salt) so the mixture doesn’t begin to set up prematurely before you’ve have the chance to scoop them into balls.
- If you only have salted butter on hand, omit the 1/4 teaspoon of salt called for in the recipe ingredients.
- You can substitute with chunky peanut butter if desired, however, I would not recommend natural peanut butter for this recipe as they tend to be too runny and may cause the cookies to not set up.
- It’s best to set a timer for exactly 2 minutes ONCE it reaches a boil, NOT when it starts to bubble, which is considered a gentle boil (like a simmer). If you start your timer too soon, the cookies won’t set properly.
- Store your cookies in an air-tight container kept at room temperature for 3-4 days. Store in a cool, dry place away from direct sunlight.
- To Freeze – allow the cookies to fully set then transfer them to an air-tight container or a large ziptop bag. Store in the freezer for up to 3 months.
Instructions
-
Add the butter, sugar, milk, and salt to a medium saucepan over medium heat, stirring occasionally to help dissolve the sugar.
-
Once boiling, let the mixture boil for 2 minutes. It’s best to set a timer when the mixture reaches a full boil.
-
Stir in the vanilla and peanut butter until well-combined, and then remove from the heat.
-
Add the oats and peanut butter mixture to a large bowl, and stir to combine.
-
This is where you need to keep a close watch – the mixture needs to be cool enough to handle, but still hot enough to stick together into cookies. As soon as you can touch the mixture without it being too hot, start to roll it into cookies and work fairly quickly.
Use a slightly heaping 1.5-tablespoon scoop to measure out the dough, roll the dough into balls between your palms, and then slightly flatten the balls into circles about 2 inches in diameter. Place the shaped cookies onto a parchment lined baking tray and continue until they’re all shaped.
-
Let the cookies set because they will harden as they do. This takes about 20 minutes at room temperature.
Nutrition
The recipes on this blog are tested with a conventional gas oven and gas stovetop. It’s important to note that some ovens, especially as they age, can cook and bake inconsistently. Using an inexpensive oven thermometer can assure you that your oven is truly heating to the proper temperature. If you use a toaster oven or countertop oven, please keep in mind that they may not distribute heat the same as a conventional full sized oven and you may need to adjust your cooking/baking times. In the case of recipes made with a pressure cooker, air fryer, slow cooker, or other appliance, a link to the appliances we use is listed within each respective recipe. For baking recipes where measurements are given by weight, please note that results may not be the same if cups are used instead, and we can’t guarantee success with that method.
