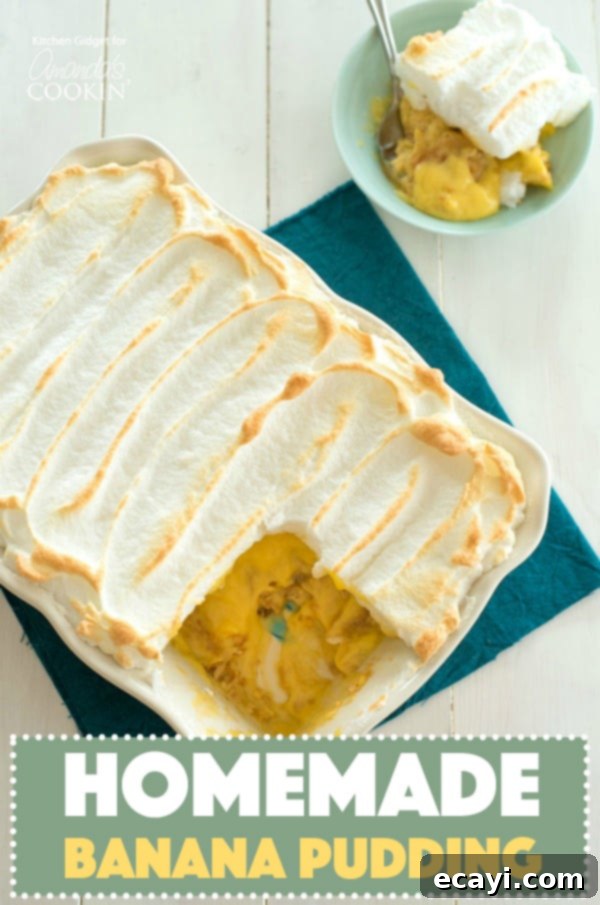
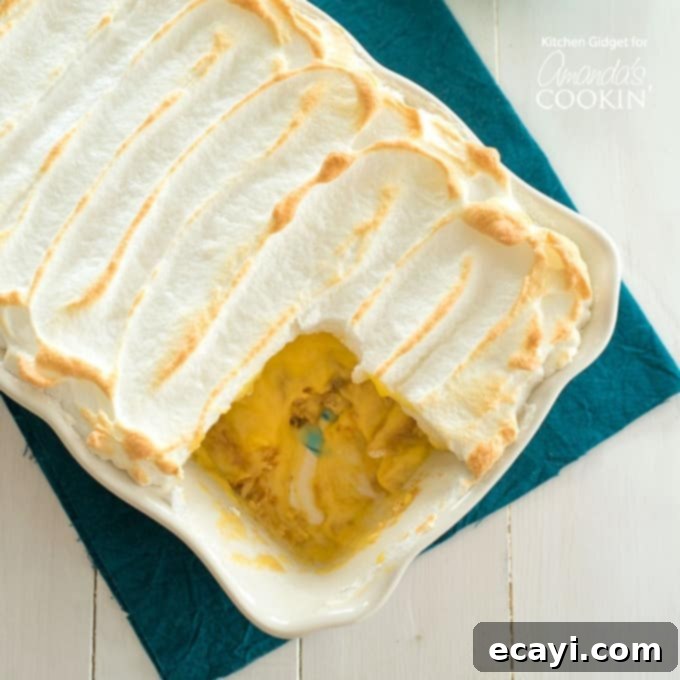
The Ultimate Homemade Banana Pudding with Meringue: A Southern Classic from Scratch
Searching for a truly unforgettable dessert that will have everyone singing your praises? Look no further than this incredibly easy and utterly delicious homemade banana pudding. This isn’t just any banana pudding; it features a dreamy, golden meringue topping and a rich, creamy vanilla pudding made entirely from scratch. Layered with crisp vanilla wafers and perfectly sliced, sweet bananas, this classic Southern recipe is guaranteed to be the star of any gathering and become a cherished family favorite!
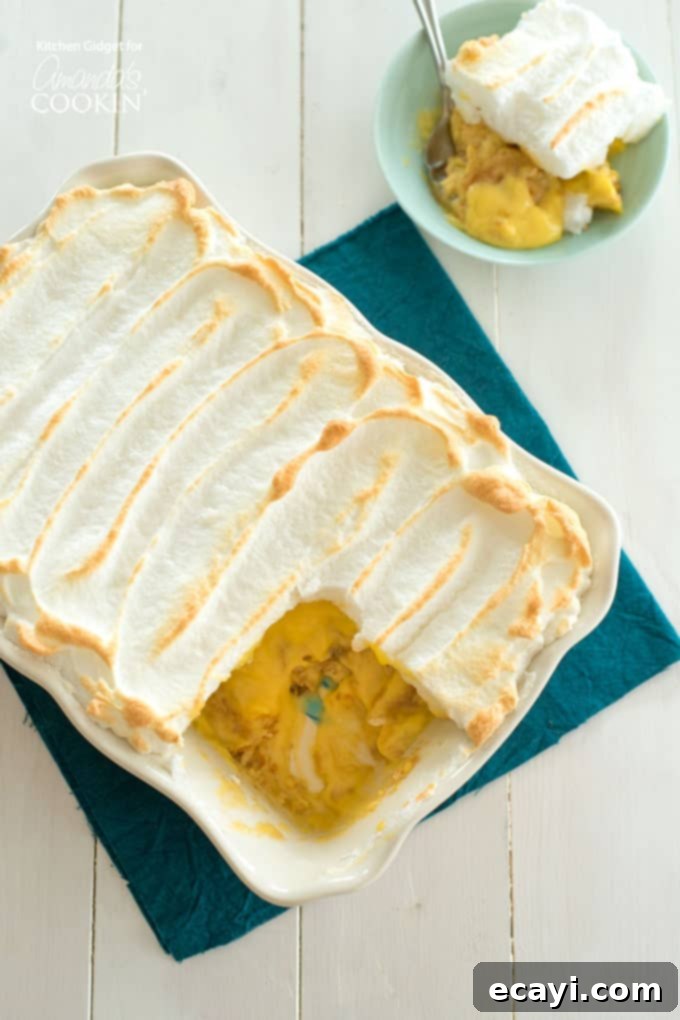
Experience the Authentic Taste of Homemade Banana Pudding
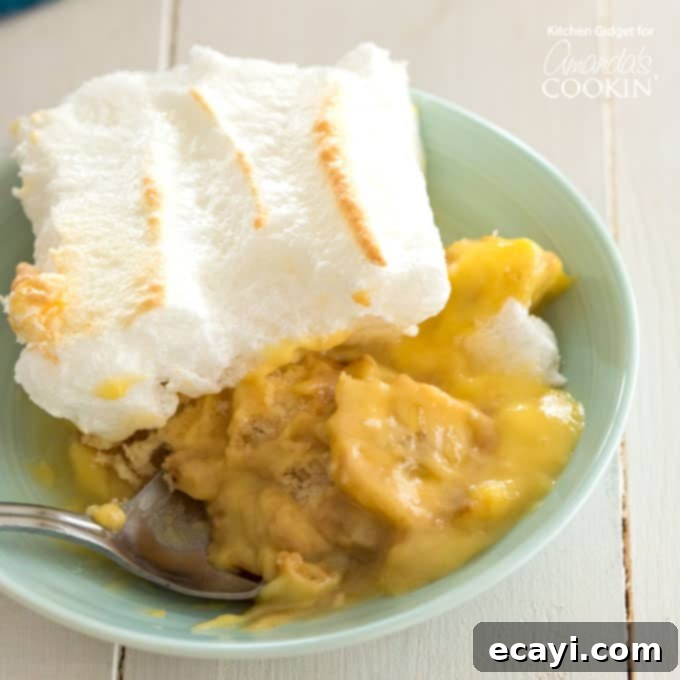
My culinary journey to perfect homemade banana pudding began a few years ago during a vacation in North Carolina. We stumbled upon a quaint roadside buffet, a true gem featuring mouth-watering Carolina BBQ. But what truly captured my heart, and my taste buds, were the enormous trays of banana pudding laid out for dessert. It was, without exaggeration, the best banana pudding I had ever tasted in my life! Each spoonful was a revelation: distinct layers of tender vanilla wafer cookies, sweet, ripe banana slices, and a luscious, genuinely rich vanilla pudding made with real ingredients. Capping off this masterpiece was a fluffy, golden cloud of heavenly meringue, lightly toasted to perfection. As I savored every bite, I knew immediately that I had to recreate this incredible dessert in my own kitchen.
This iconic Southern dessert transcends seasons, proving delightful any time of year. However, it feels especially appropriate for summer gatherings and potlucks, largely because it’s a (mostly) no-bake confection. While some regions might still be battling late-season chills, here, the summer heat has truly arrived. I remember thinking, while whipping up a Taco Pizza Appetizer not too long ago, that my oven wouldn’t be seeing much action for a while. And that’s perfectly fine by me! Summer calls for refreshing, crowd-pleasing treats like these, or even delightful No-bake Pineapple Cheesecake Bars. But for pure comfort and irresistible flavor, homemade banana pudding takes the crown.
The true magic and profound richness of authentic Southern banana pudding lie in its pudding base, painstakingly made from scratch. This luxurious custard owes its creamy, velvety texture to egg yolks, which lend a depth of flavor and a silky mouthfeel that simply can’t be replicated by a box mix. And fear not, no part of the egg goes to waste! The leftover egg whites are skillfully transformed into a light, airy, marshmallow-like meringue topping, providing a beautiful contrast in texture and a touch of sweetness. If you’re hesitant to turn on your oven or broiler, perhaps to avoid heating up your kitchen on a warm day, you can easily substitute the meringue with a generous dollop of freshly whipped cream. It’s equally divine and offers a simpler, no-bake alternative, allowing you to save those egg whites for another culinary adventure.
RELATED: Craving more beloved retro desserts that evoke nostalgia? This Ambrosia Salad is another famous, vintage recipe that makes a frequent appearance at potlucks, BBQs, and family gatherings. It’s a delightful medley of fruit cocktail, juicy pineapple tidbits, sweet mandarin oranges, vibrant maraschino cherries, and fluffy marshmallows, creating a satisfying and colorful dessert that’s always a hit!
Key Ingredients You Will Need for This Classic Banana Pudding:
- 3/4 cup granulated sugar, divided for pudding and meringue
- 1/3 cup all-purpose flour, to thicken the custard
- 1/2 teaspoon salt, to balance the sweetness and enhance flavors
- 4 large eggs, separated into yolks for pudding and whites for meringue
- 2 cups whole milk, for a rich and creamy pudding base
- 2 teaspoons pure vanilla extract, for authentic vanilla flavor
- 2 large or 3 medium fully ripe bananas, sliced
- 40-50 classic vanilla wafers, for layering
- 1/8 teaspoon cream of tartar (optional), for stable meringue
- 1 tablespoon fresh lemon juice (optional), to prevent banana browning
Helpful Kitchen Tools to Simplify Your Baking:
- Stand mixer or Handheld Electric Mixer: Essential for whipping up fluffy meringue with ease.
- Whisk: Indispensable for smooth custard and combining ingredients.
- Heat-Resistant Spatula: Perfect for stirring the custard and spreading meringue.
- 2-Quart Baking Dish: The ideal vessel for layering and presenting your banana pudding masterpiece.
- Saucepan: For cooking the creamy vanilla pudding base.
- Double Boiler (optional): Highly recommended for custard novices to prevent scorching.
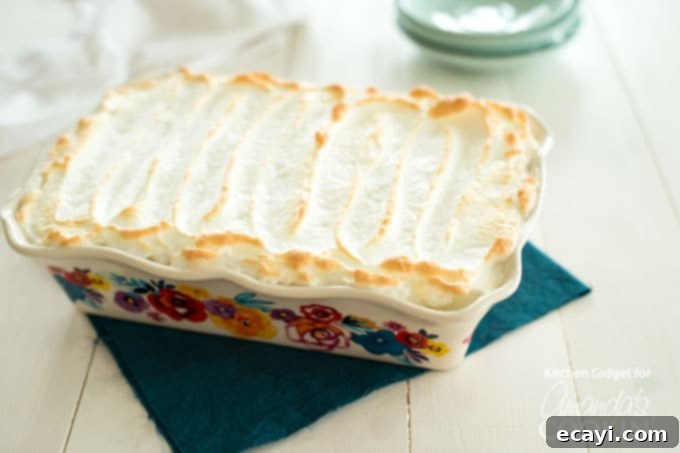
Unlock the Secrets to Perfect Homemade Banana Pudding
You might initially think that preparing a rich, creamy custard from scratch sounds daunting or overly complicated, especially when a box mix offers a seemingly simpler solution. But I assure you, it’s not! While opening a pudding box might seem easy, it absolutely pales in comparison to the sublime, authentic flavor and luxurious texture of a truly homemade custard. The difference is night and day. Once you taste this from-scratch version, you’ll understand why it’s worth every minute. Here are my essential tips and tricks for mastering homemade banana pudding and achieving dessert perfection:
Choosing the Right Ingredients and Preventing Browning
- Vanilla Wafers are Non-Negotiable: When it comes to the cookies, stick with classic vanilla wafers. While I’ve seen versions using other butter or shortbread cookies, they simply don’t deliver the same signature taste or melt-in-your-mouth texture that makes true Southern banana pudding so iconic. The vanilla wafer is an essential component that softens beautifully as it absorbs the pudding, creating a delightful contrast.
- Banana Ripeness is Key: Select bananas that are ripe but not overly ripe. They should be a vibrant yellow with just a few small brown speckles on the skin, indicating maximum sweetness without becoming mushy. Avoid green bananas, which lack flavor, and heavily bruised or fully brown bananas, which can be too soft and overwhelming.
- Prevent Banana Browning: Once sliced, toss your bananas gently with a splash of fresh lemon juice. This simple step helps prevent them from oxidizing and turning brown, maintaining their appealing color, especially if you plan to prepare the pudding a day in advance or expect leftovers. The lemon juice doesn’t impart a noticeable flavor, only preserving the visual appeal.
Mastering the Silky Custard
- Avoid Scorching the Custard: This is arguably the most crucial step. A scorched custard will have an unpleasant burnt taste and gritty texture. To prevent this, cook your pudding over medium-low heat and stir constantly. Do not walk away! If you tend to burn things easily, I highly recommend using a double boiler, or simply setting a heatproof bowl over a pot of simmering water. This indirect heat method provides a gentler, more even cooking process. It typically takes about 10 minutes of diligent stirring for the custard to thicken to the perfect consistency – a consistency that coats the back of a spoon. Trust me, every minute of stirring is well worth the rich, velvety result.
- The Perfect Pudding Consistency: The custard should be thick enough to hold its shape somewhat but still pourable. It will continue to thicken as it cools.
Achieving Fluffy, Golden Meringue
- Cleanliness is Paramount for Meringue: For your meringue to whip up properly, it’s essential that your electric mixer bowl and beaters are absolutely spotless and dry. Even a tiny trace of grease or fat (from previous baking or even fingerprints) can prevent egg whites from stiffening and forming those beautiful peaks. As an extra precaution, I sometimes wipe my bowl and beaters down with a bit of white vinegar to ensure there’s no greasy residue left whatsoever.
- Whip to Stiff Peaks: Beat the egg whites until they reach “stiff peaks” – this means when you lift the beaters, the meringue holds a firm, upright shape. This ensures your meringue topping will be light, airy, and hold its volume when toasted.
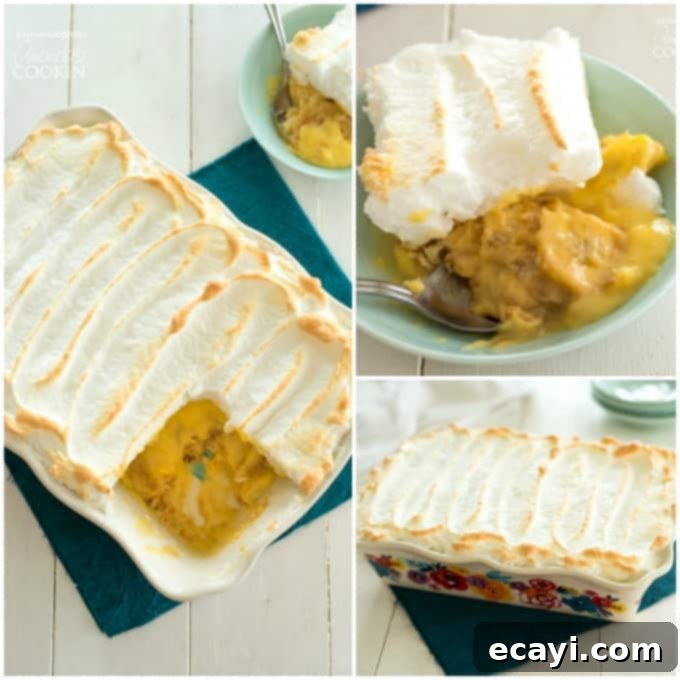
Layering and Finishing Touches
Once your components are ready, everything comes together in a beautiful layered dish. Start with a foundation of vanilla wafers, followed by a generous layer of sliced bananas, and then half of your creamy pudding. Repeat these layers to create a visually appealing and texturally diverse dessert. Finally, the fluffy meringue gets spread evenly over the top, making sure it touches the edges of the dish to prevent shrinking during baking. The meringue is then lightly toasted in a preheated oven or under the broiler for just a few minutes until it achieves a gorgeous golden-brown hue. This toasting process adds a delightful caramelized flavor and a delicate crispness to the topping.
After toasting the meringue, the final, crucial step is to chill this delightful dessert thoroughly. If you try to serve it immediately after preparation, the pudding will still be too warm and runny, and the flavors won’t have fully melded. Chilling it for several hours, or even better, overnight, allows the pudding to set perfectly, intensifying its creamy texture. It also gives the vanilla wafers ample time to soften and absorb the delicious flavors, transforming them from crisp cookies into tender, cake-like layers. And there you have it – the ultimate homemade banana pudding from scratch, ready to impress!
Creative Variations & Serving Suggestions
- Chocolate Drizzle: For chocolate lovers, a light drizzle of melted dark chocolate or a scattering of mini chocolate chips can add an extra layer of indulgence.
- Caramel Swirl: A delicate swirl of dulce de leche or salted caramel sauce through the pudding layers before chilling can introduce a wonderful depth of flavor.
- Spice it Up: A tiny pinch of cinnamon or nutmeg in the pudding mixture can enhance the banana flavor.
- Alternative Cookies: While vanilla wafers are traditional, consider graham cracker crumbs or even shortbread cookies for a slightly different texture.
- Individual Servings: Instead of a large baking dish, layer the pudding in individual clear glasses or ramekins for elegant single-serve portions.
Frequently Asked Questions About Homemade Banana Pudding
How long does homemade banana pudding last?
Homemade banana pudding is best enjoyed within 2-3 days when stored properly in the refrigerator. After this time, the bananas may become too soft and discolor, and the wafers might become excessively soggy.
Can I make banana pudding ahead of time?
Absolutely! In fact, making it a day ahead allows the flavors to meld beautifully and the wafers to soften to the perfect consistency. Just ensure it’s well-covered and refrigerated. If adding meringue, it’s best to add and toast it a few hours before serving, or even just before serving for the freshest texture.
What type of bananas are best for banana pudding?
As mentioned, ripe but firm bananas are ideal. Look for bright yellow skins with a few small brown specks. Avoid green bananas (not sweet enough) and overly brown or mushy bananas (they can make the pudding watery and have a strong, overripe flavor).
Why did my meringue weep or become watery?
Meringue weeping, or beads of liquid forming, can be caused by several factors: overcooking the meringue, under-beating the egg whites (not reaching stiff peaks), or humidity. Ensuring your egg whites are beaten to firm, glossy peaks and not over-baking the meringue can help prevent this.
Can I use a different type of cookie instead of vanilla wafers?
While traditional vanilla wafers are highly recommended for their classic taste and ability to soften beautifully, you can experiment with other plain, crisp cookies like shortbread, graham crackers, or even gingersnaps for a spiced twist. Keep in mind that the texture and overall flavor profile will change.
Can I skip the meringue and use whipped cream?
Yes, absolutely! If you prefer a no-bake option or are short on time, a generous layer of freshly whipped cream makes an excellent substitute for meringue. Simply whip heavy cream with a little sugar and vanilla until stiff peaks form, then spread over the pudding before chilling.
Have a surplus of ripe bananas to use up? This indulgent Banana Cake with Vanilla Cream Cheese Frosting sounds like just the ticket! Or, explore some of our other cherished banana recipes right here on the blog, such as the creamy Banana Cream Lush recipe, the delightful Banana Split Dessert, or the ever-popular Banana Pudding Poke Cake. Each offers a unique way to enjoy the sweet, comforting flavor of bananas!
More Irresistible Banana Recipes to Try
- Chewy Banana Cookies
- Simple and Delicious Banana Cake
- Classic Banana Cream Pie
- Indulgent Single Serve Bananas Foster
- Sweet Banana Fritters
- Homestyle Banana Nut Bread
- Quick & Easy Banana Cake
Homemade Banana Pudding
IMPORTANT – There are often Frequently Asked Questions within the blog post that you may find helpful. Simply scroll back up to read them!
Print It
Rate It
Save ItSaved!
Ingredients
- ½ cup sugar
- ⅓ cup all-purpose flour
- ½ teaspoon salt
- 4 large egg yolks
- 2 cups milk
- 2 teaspoons vanilla
- 40-50 vanilla wafers
- 2 large fully ripe bananas or 3 medium
- 1 tablespoon lemon juice optional
For the meringue:
- 4 large egg whites
- ¼ cup sugar
- ⅛ teaspoon cream of tartar optional
Instructions
-
Preheat your oven to 425°F (220°C) or prepare your broiler by setting it to high. This is for toasting the meringue later.
-
In a large, heavy-bottomed saucepan, whisk together 1/2 cup of the sugar, flour, and salt until well combined. Gradually whisk in the egg yolks and milk until the mixture is smooth with no lumps. Cook this mixture over medium-low heat, stirring constantly with a whisk or heat-resistant spatula, until it thickens to a custard consistency that coats the back of a spoon (approximately 10 minutes). Remove the saucepan from the heat and stir in the vanilla extract.
-
Carefully slice your ripe bananas into 1/4-inch thick rounds. If desired, gently toss them with 1 tablespoon of lemon juice to prevent browning.
-
In a 2-quart baking dish, arrange a single layer of vanilla wafers across the bottom. Top this with half of the sliced bananas, spreading them evenly. Pour half of the warm vanilla pudding mixture over the bananas. Repeat these layers once more: another layer of vanilla wafers, the remaining bananas, and then the rest of the pudding.
For the meringue:
-
In a thoroughly clean and dry electric mixer bowl (or a large bowl with a handheld mixer), beat the reserved egg whites and cream of tartar (if using) on medium speed. Continue beating until soft peaks form (this usually takes about 30 seconds to 1 minute). Gradually add the remaining 1/4 cup of sugar, one tablespoon at a time, while increasing the mixer speed to high. Continue beating until stiff, glossy peaks form and the meringue holds its shape firmly.
-
Carefully spread the prepared meringue over the top of the pudding, ensuring the meringue touches the edges of the baking dish to create a seal and prevent shrinking. Bake in the preheated oven for 5-7 minutes, or place under the broiler for a few minutes (watching constantly!) until the meringue is lightly golden brown. Remove from the oven, let it cool completely at room temperature, then refrigerate for at least 4 hours (or ideally overnight) before serving for the best set and flavor.
Nutrition
The recipes on this blog are tested with a conventional gas oven and gas stovetop. It’s important to note that some ovens, especially as they age, can cook and bake inconsistently. Using an inexpensive oven thermometer can assure you that your oven is truly heating to the proper temperature. If you use a toaster oven or countertop oven, please keep in mind that they may not distribute heat the same as a conventional full sized oven and you may need to adjust your cooking/baking times. In the case of recipes made with a pressure cooker, air fryer, slow cooker, or other appliance, a link to the appliances we use is listed within each respective recipe. For baking recipes where measurements are given by weight, please note that results may not be the same if cups are used instead, and we can’t guarantee success with that method.
