Irresistible Pineapple Coconut Layer Cake: Your Ultimate Tropical Dessert
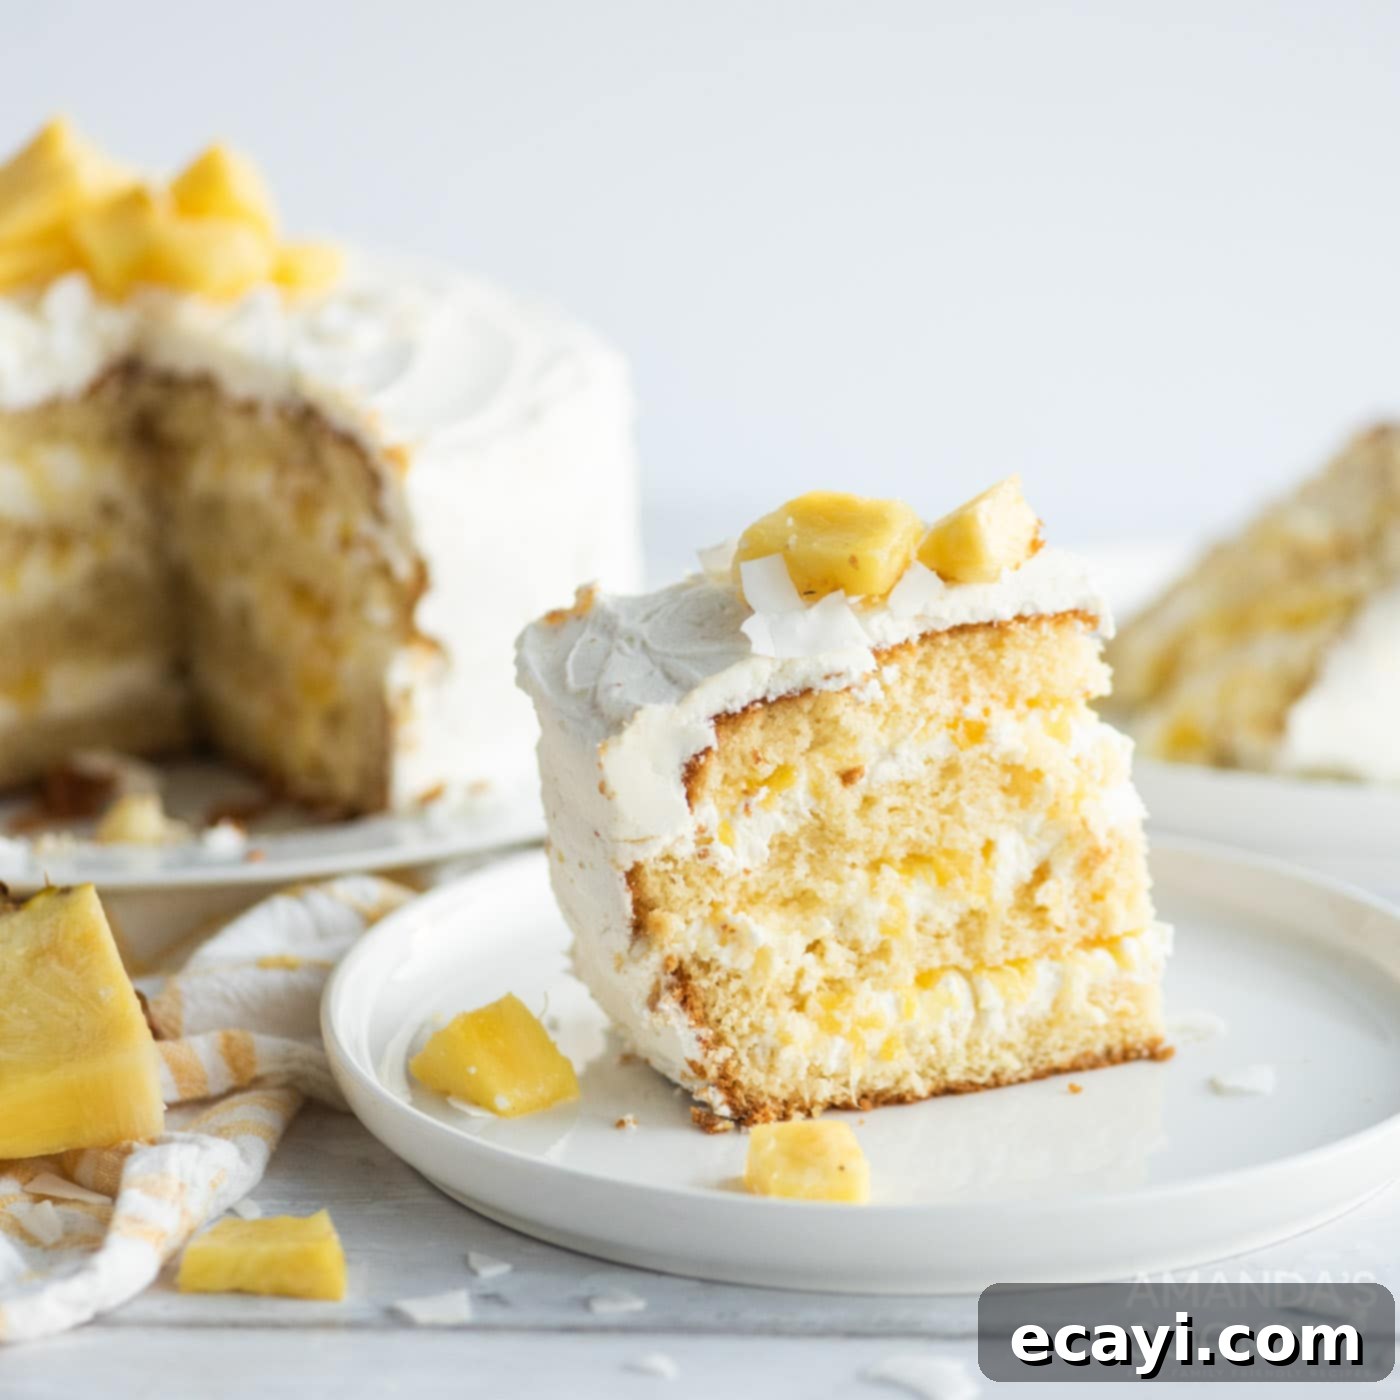
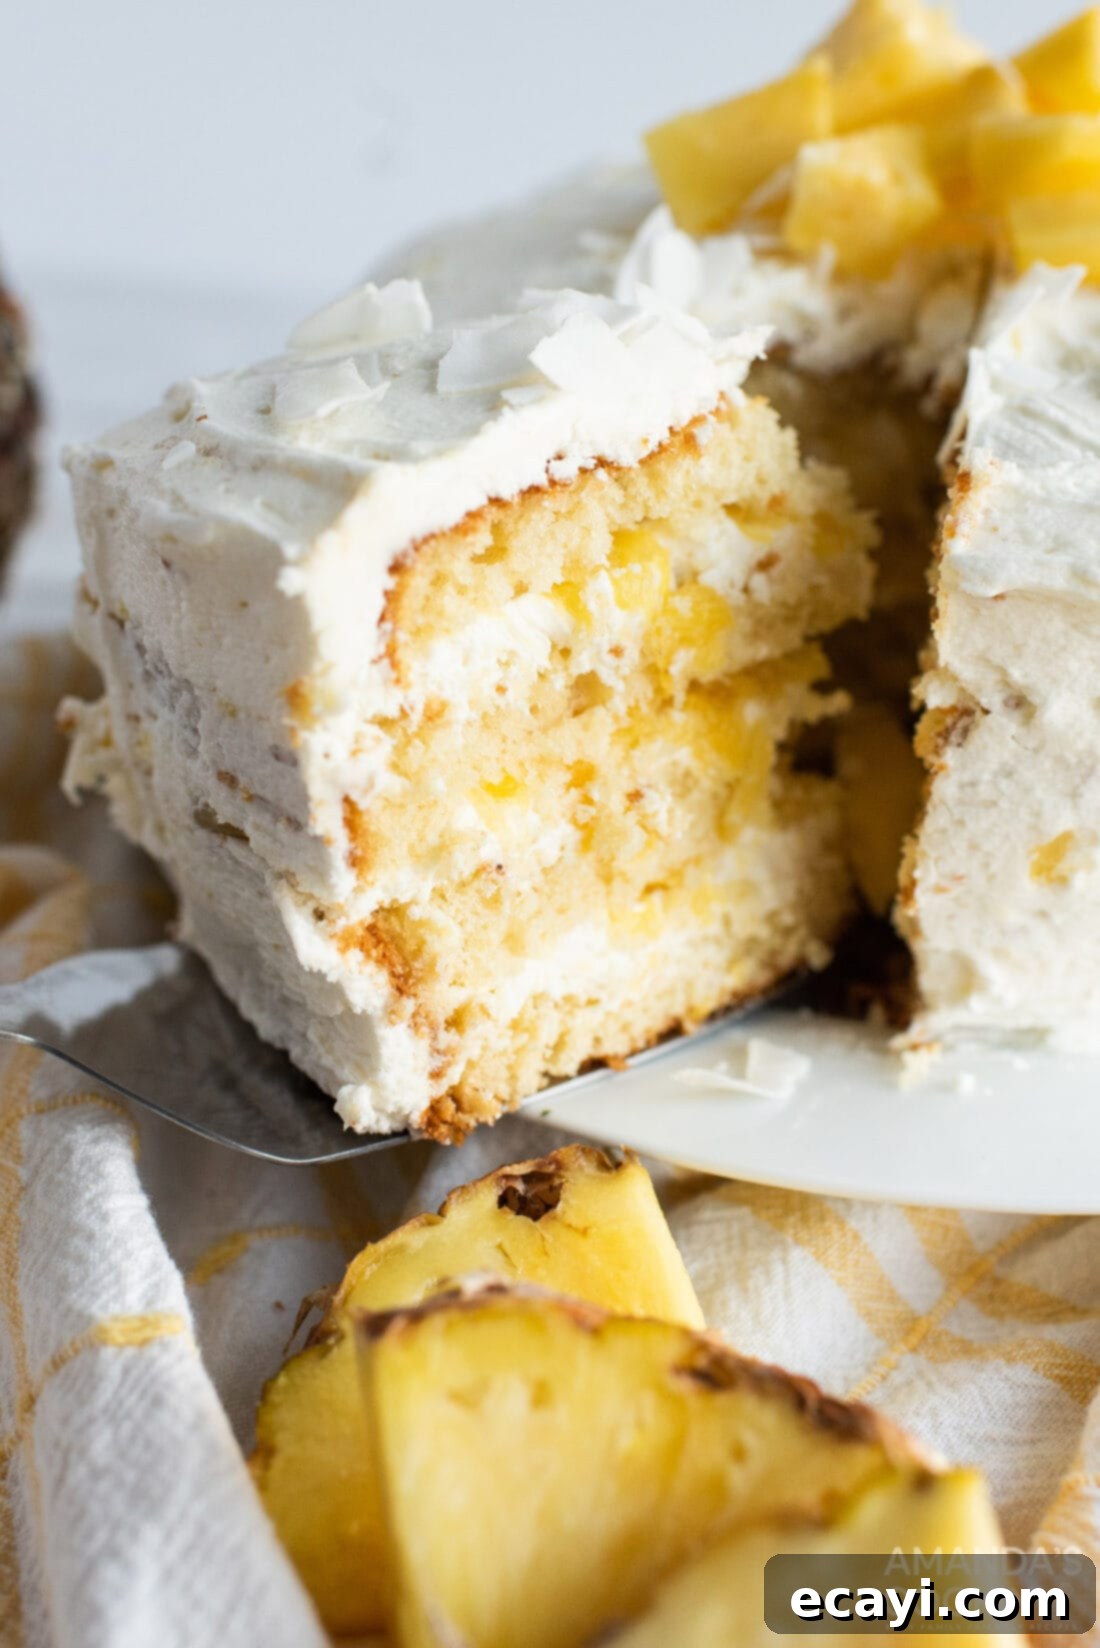
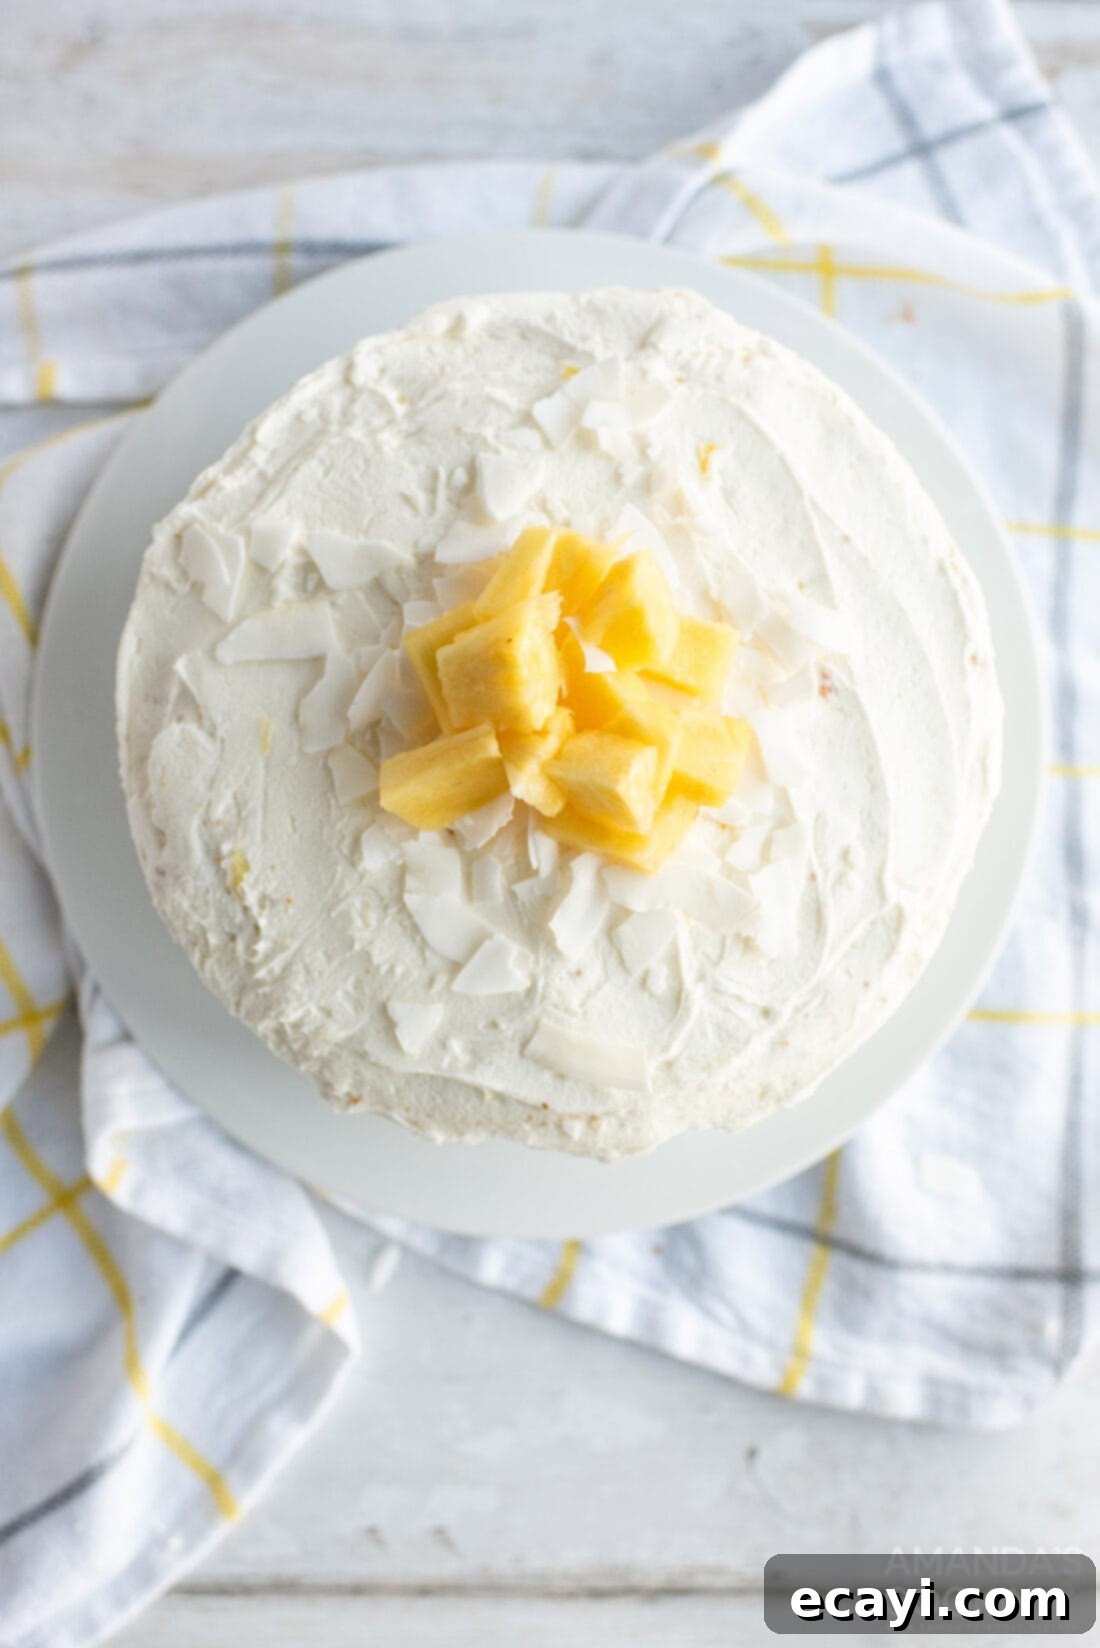
This exquisite pineapple cake is a celebration of tropical flavors, starting with a perfectly “doctored” white cake mix. Each moist layer is generously spread with a rich cream cheese and crushed pineapple filling, all brought together under a silky-smooth coconut pineapple-infused frosting. It’s a beautifully balanced dessert that promises a taste of paradise in every bite, perfect for any occasion.
Why This Pineapple Coconut Cake Recipe Works So Well
While many have enjoyed a classic pineapple upside-down cake, this traditional layered pineapple cake offers a truly unique and equally delightful experience. Forget complicated recipes; this impressive dessert achieves its sweet, fluffy, and utterly delectable profile by expertly enhancing a simple white cake mix. The secret lies in adding key ingredients that elevate the flavor and texture, transforming an ordinary mix into something extraordinary.
The marriage of pineapple and coconut in this cake is a culinary match made in heaven. These two tropical powerhouses effortlessly blend to create a harmonious flavor profile that is always a hit. The bright, tangy sweetness of pineapple perfectly complements the creamy, fragrant notes of coconut, evoking images of sunny beaches and warm breezes. While this combination naturally “screams” spring and summer, the pineapple cake’s versatile appeal makes it incredibly popular during autumn and winter holidays like Thanksgiving, Christmas, and Easter too. It’s a truly year-round dessert that brings a touch of tropical joy and elegance to every table it graces.
Beyond its incredible taste, this recipe is designed for success. By starting with a convenient cake mix, we cut down on prep time without sacrificing quality. The addition of instant pudding ensures a super moist crumb, while the fresh pineapple juice boosts the fruit flavor throughout the cake layers. The rich cream cheese filling, enhanced with crushed pineapple and a hint of coconut, adds a luscious texture and tangy counterpoint that makes each bite unforgettable. Finally, the smooth, flavorful coconut pineapple frosting ties all the elements together, creating a beautiful and cohesive dessert that looks as good as it tastes.
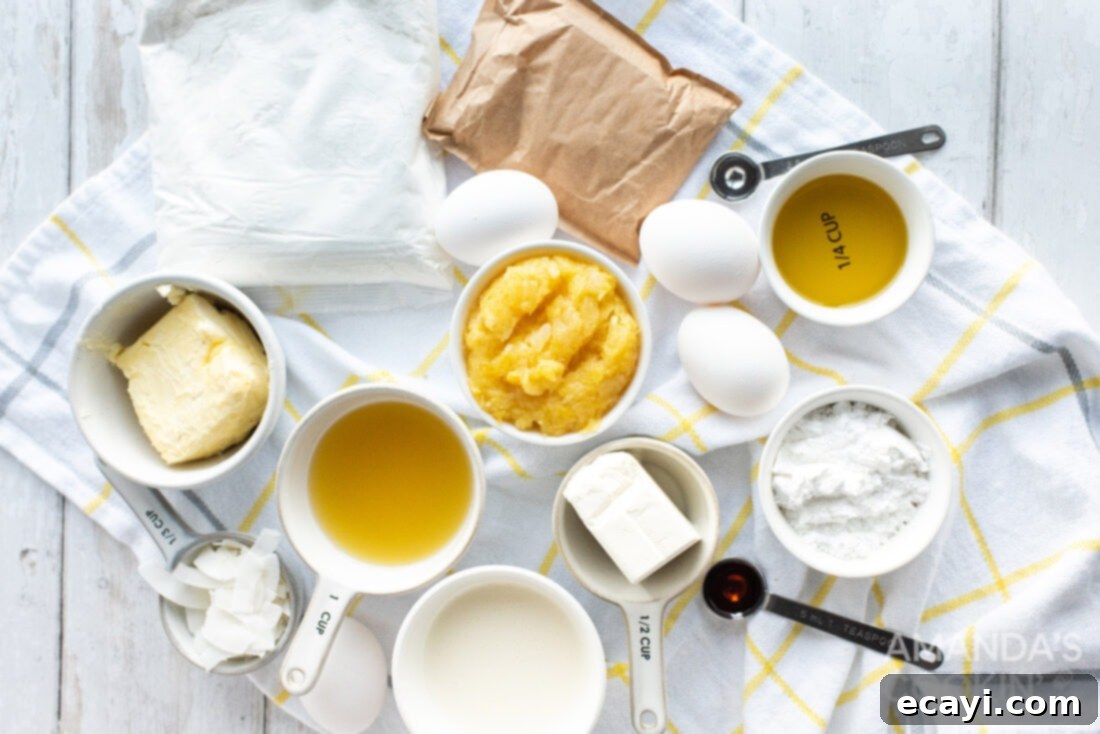
Essential Ingredients for Your Pineapple Cake
You’ll find a complete list of all measurements, specific ingredients, and detailed instructions in the printable recipe card located at the very end of this blog post. Make sure to gather all your components before you begin for a smooth baking experience!
Ingredient Spotlight & Smart Substitutions
To ensure your pineapple cake is nothing short of spectacular, here’s a closer look at the key ingredients and some helpful substitution tips:
- The Cake Base: White Cake Mix – This recipe brilliantly starts with a standard white cake mix. The neutral flavor of a white cake mix provides the perfect canvas for our vibrant pineapple and coconut flavors to shine through. While any good quality brand will work, we recommend using a trusted one like Betty Crocker or Duncan Hines for consistent results.
- Flavor and Moisture Booster: Instant Vanilla Pudding Mix – This is where the “doctoring” comes in! Adding a box of instant vanilla pudding mix (dry, not prepared) to your cake batter is a game-changer. It not only intensifies the vanilla flavor but also contributes significantly to the cake’s moistness and tender crumb. Ensure you use *instant* pudding and only the dry mix itself, disregarding the preparation instructions on the pudding box. For an even more pronounced tropical twist, consider using instant pineapple pudding mix or even a coconut cream pudding mix if you can find it. A cheesecake flavored pudding mix would also add a delicious richness.
- Liquid Gold: Pineapple Juice – This ingredient is crucial for infusing deep pineapple flavor directly into the cake. You’ll reserve this juice from the cans of crushed pineapple. Make sure to drain your crushed pineapple thoroughly, collecting all the juice as you’ll need it for both the cake and the frosting.
- Richness and Structure: Eggs & Oil – The eggs provide structure and richness to the cake, while the oil (we typically use olive oil for its mild flavor and moistening properties) ensures a wonderfully tender crumb. You can substitute olive oil with any neutral-flavored vegetable oil, such as canola or sunflower oil, if preferred.
- Aromatic Touch: Vanilla Extract – A teaspoon of good quality vanilla extract always enhances the overall sweetness and complexity of baked goods.
- Creamy Indulgence: Cream Cheese – For the filling, full-fat cream cheese is highly recommended. It yields the richest, creamiest texture and the most satisfying tangy flavor. Always ensure your cream cheese is softened to room temperature before beating to prevent lumps and achieve a smooth consistency.
- Sweetener and Texture: Powdered Sugar – Used in both the filling and the icing, powdered sugar (confectioners’ sugar) dissolves beautifully, creating smooth, lump-free textures.
- Tropical Essence: Coconut Extract – This extract is absolutely essential for bringing that distinctive coconut flavor to both the cream cheese filling and the buttery frosting. Do not skip it!
- Light & Airy: Heavy Whipping Cream – Whipped into stiff peaks, heavy cream gives the filling its incredibly light, airy, and luscious texture. Make sure your cream is very cold for optimal whipping.
- Sweet & Juicy: Crushed Pineapple – You’ll need two 8 oz cans for the filling and another can for the frosting juice (and garnish). Draining the crushed pineapple thoroughly is key for the filling to prevent it from becoming watery. Remember to reserve all the juice!
- The Frosting Foundation: Softened Butter – For the smooth, delectable buttercream icing, use unsalted butter that has been softened to room temperature. This is critical for achieving a light and airy frosting.
- Garnish: Unsweetened Shredded Coconut – This adds a lovely texture and a final flourish of coconut flavor to the cake. You can use flaked coconut as well, or even lightly toasted coconut for an extra layer of flavor.
Crafting Your Dream Pineapple Cake: A Step-by-Step Guide
These step-by-step photos and detailed instructions are provided to help you visualize each stage of making this delightful pineapple cake. For a quick reference or to print, you can simply Jump to Recipe to access the printable version, complete with all exact measurements and concise instructions at the bottom of this post.
- Prepare your cake pans by greasing two 8 or 9-inch round cake pans thoroughly. For extra assurance against sticking, you can also flour the greased pans or line the bottoms with parchment paper.
- Preheat your oven to 350 degrees F (175 degrees C). Ensure your oven is fully preheated for even baking.
- In a large mixing bowl, using an electric mixer, combine the white cake mix, dry instant vanilla pudding mix, eggs, olive oil, vanilla extract, and the reserved pineapple juice. Start mixing on a low speed until all the dry ingredients are moistened and just combined. Then, increase the mixer speed to medium and beat the batter for approximately 2 minutes. This step is crucial for incorporating air and developing a light, fluffy cake crumb.
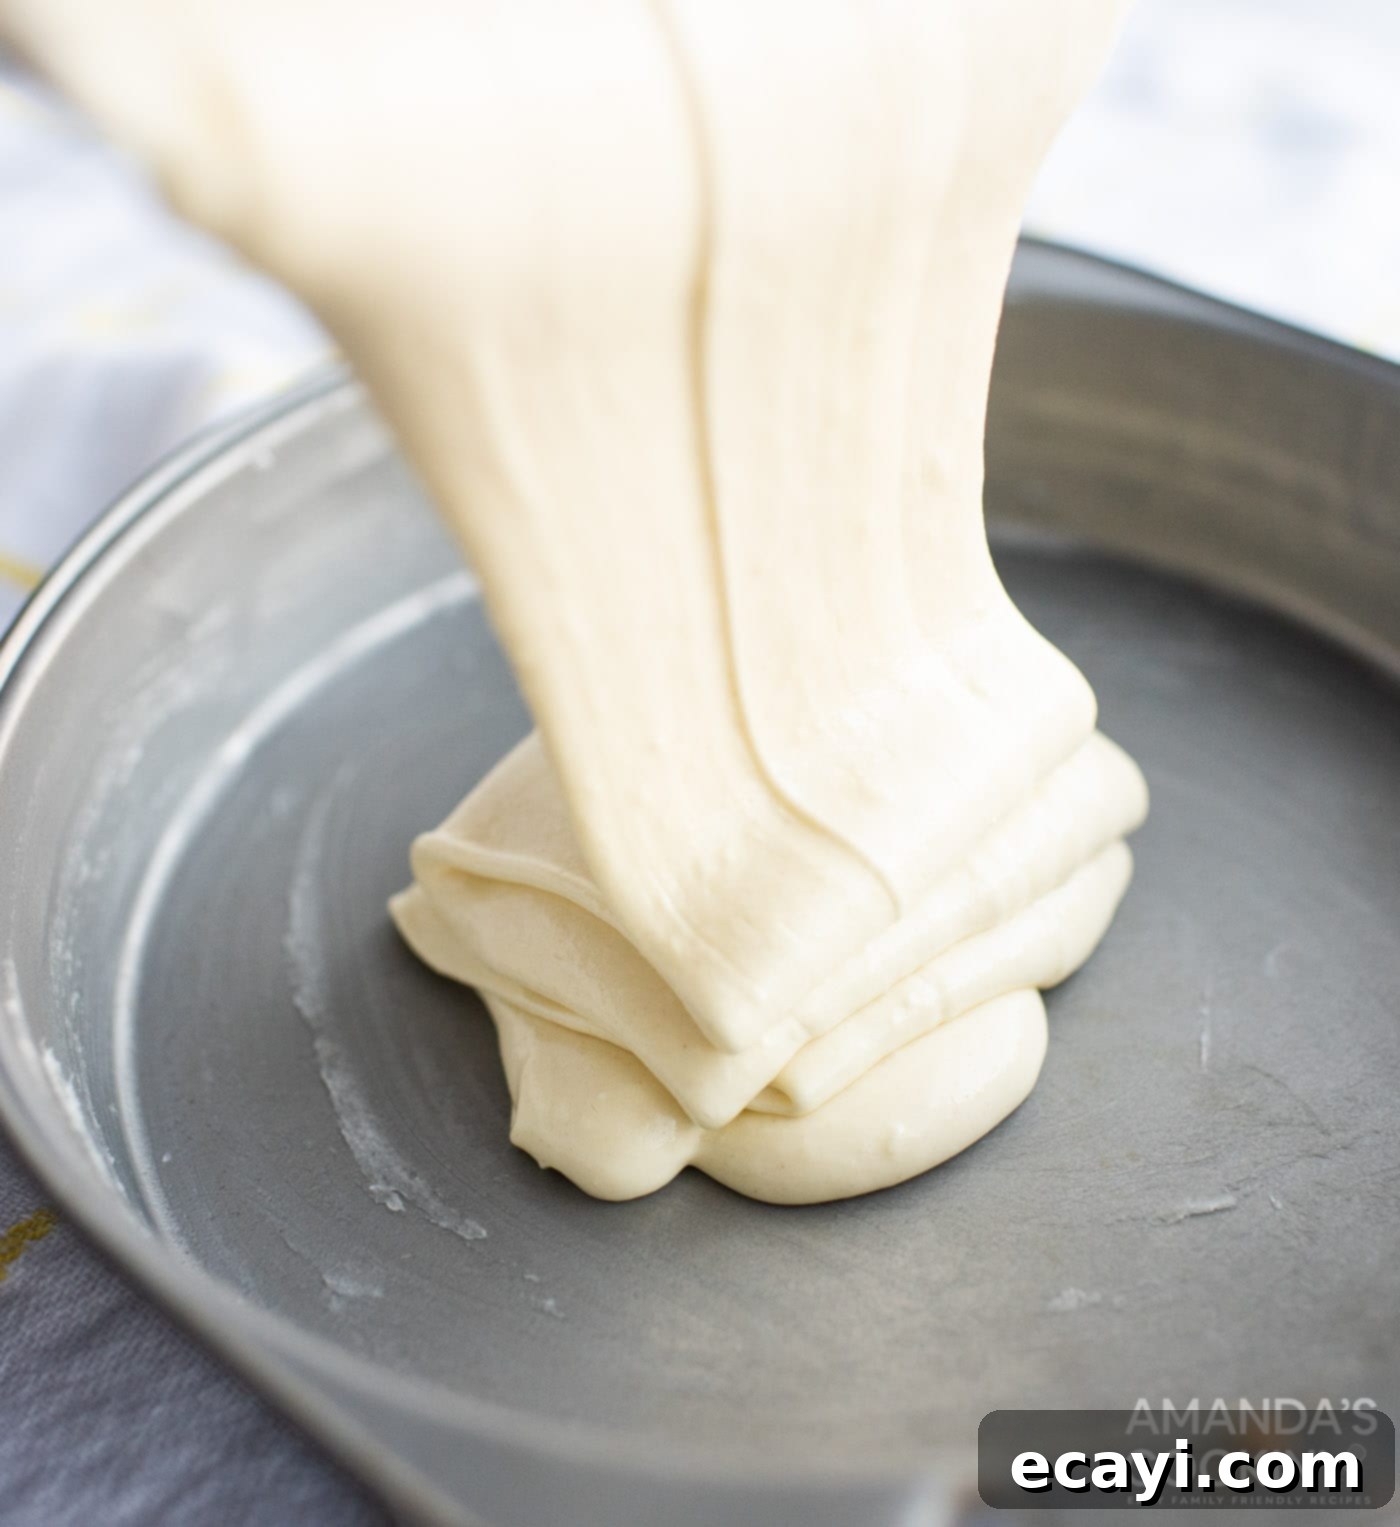
- Carefully pour the cake batter evenly into the two prepared cake pans. Using a kitchen scale to ensure equal batter distribution can help achieve level cake layers.

- Bake for 25-30 minutes, or until a wooden toothpick inserted into the center of the cakes comes out clean. Avoid overbaking to keep the cakes moist. Once baked, let the cakes cool in their pans for 10-15 minutes before carefully inverting them onto a cooling rack to cool completely. It’s essential that the cakes are entirely cool before frosting and assembly to prevent the filling and icing from melting.
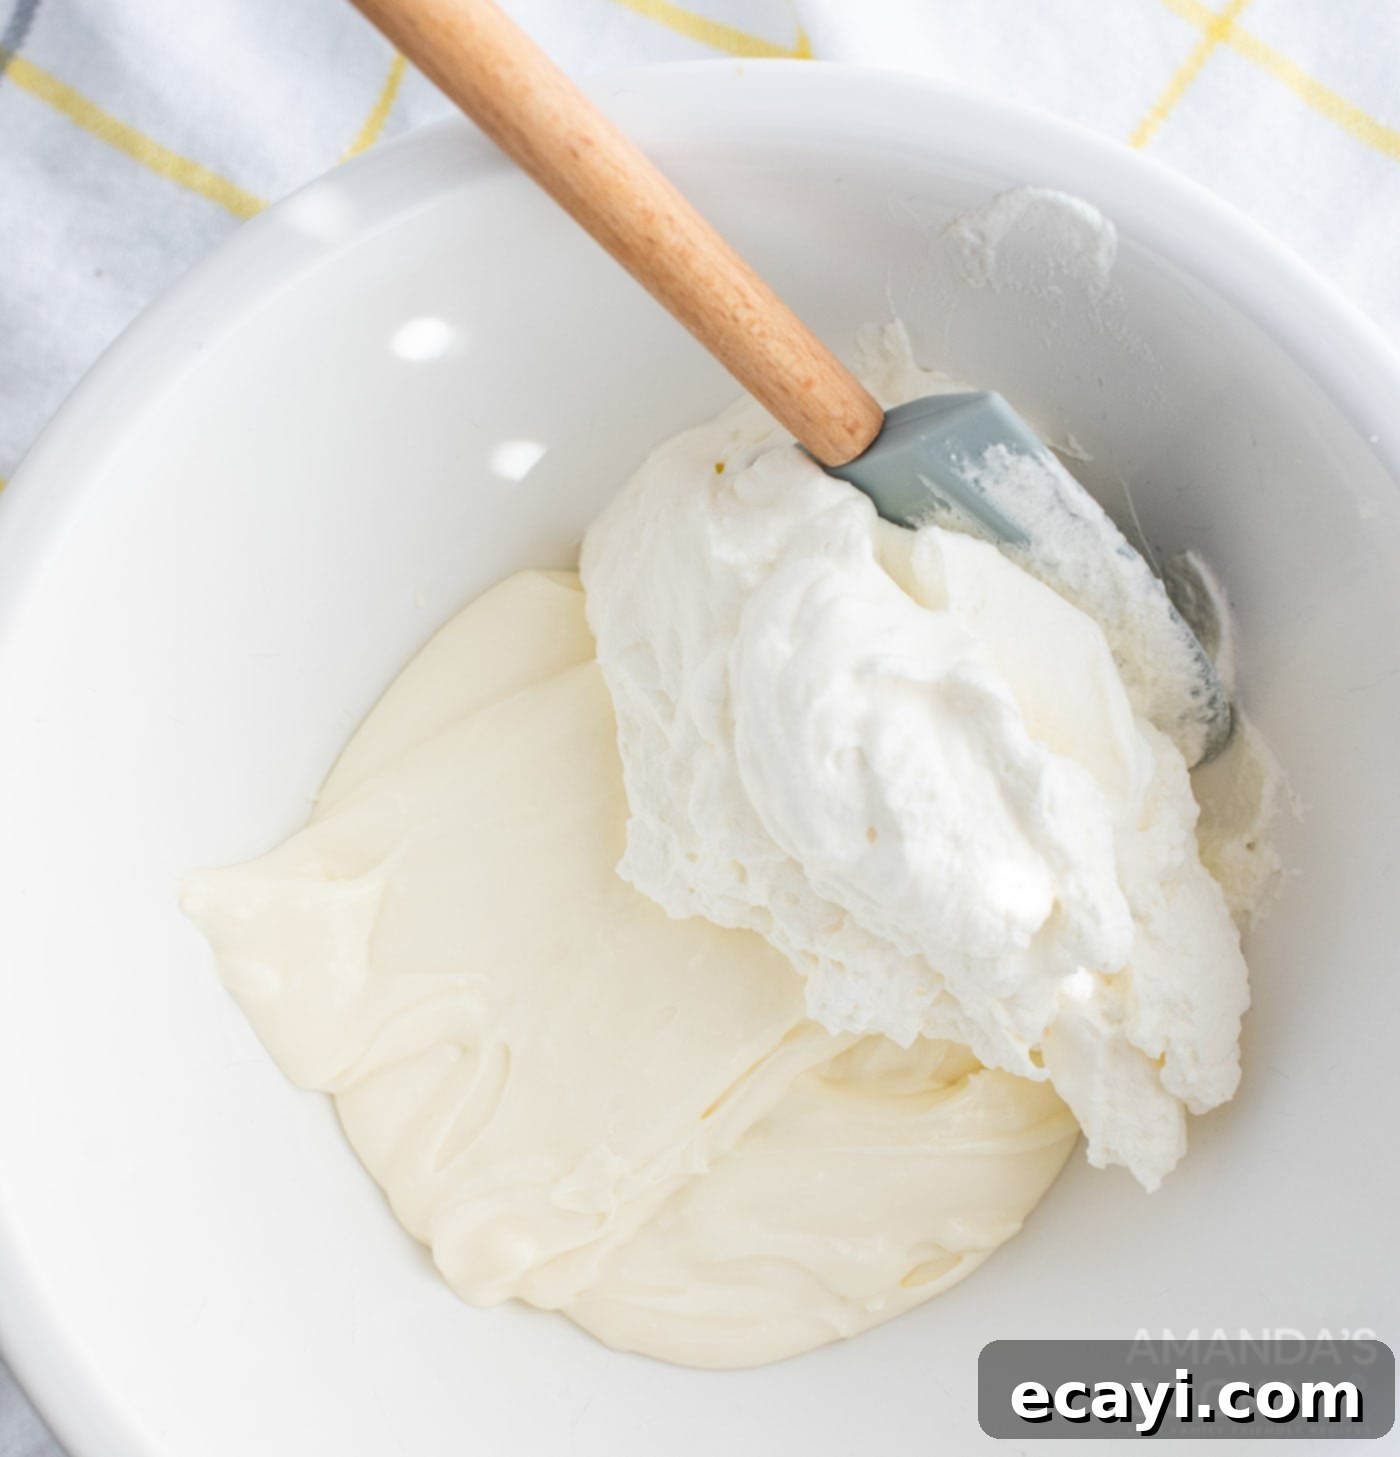
- While the cakes cool, prepare the tropical cream cheese filling. In a medium bowl, beat the softened cream cheese until it is light, fluffy, and completely smooth. Gradually add the powdered sugar and coconut extract, beating until fully combined and no lumps remain. Set this mixture aside in the refrigerator to chill. In a separate, clean bowl, beat the heavy cream until stiff peaks form. Gently fold the whipped cream into the cream cheese mixture using a rubber spatula, being careful not to deflate the whipped cream. This folding technique ensures a light and airy filling.

- Now, prepare the delightful coconut pineapple icing. In a clean bowl, use an electric mixer to cream the softened butter until it’s light and fluffy. Gradually add the powdered sugar, coconut extract, and the reserved pineapple juice. Begin with a smaller amount of pineapple juice and slowly add more until your desired consistency is reached. You want a smooth, spreadable frosting that isn’t too thin.
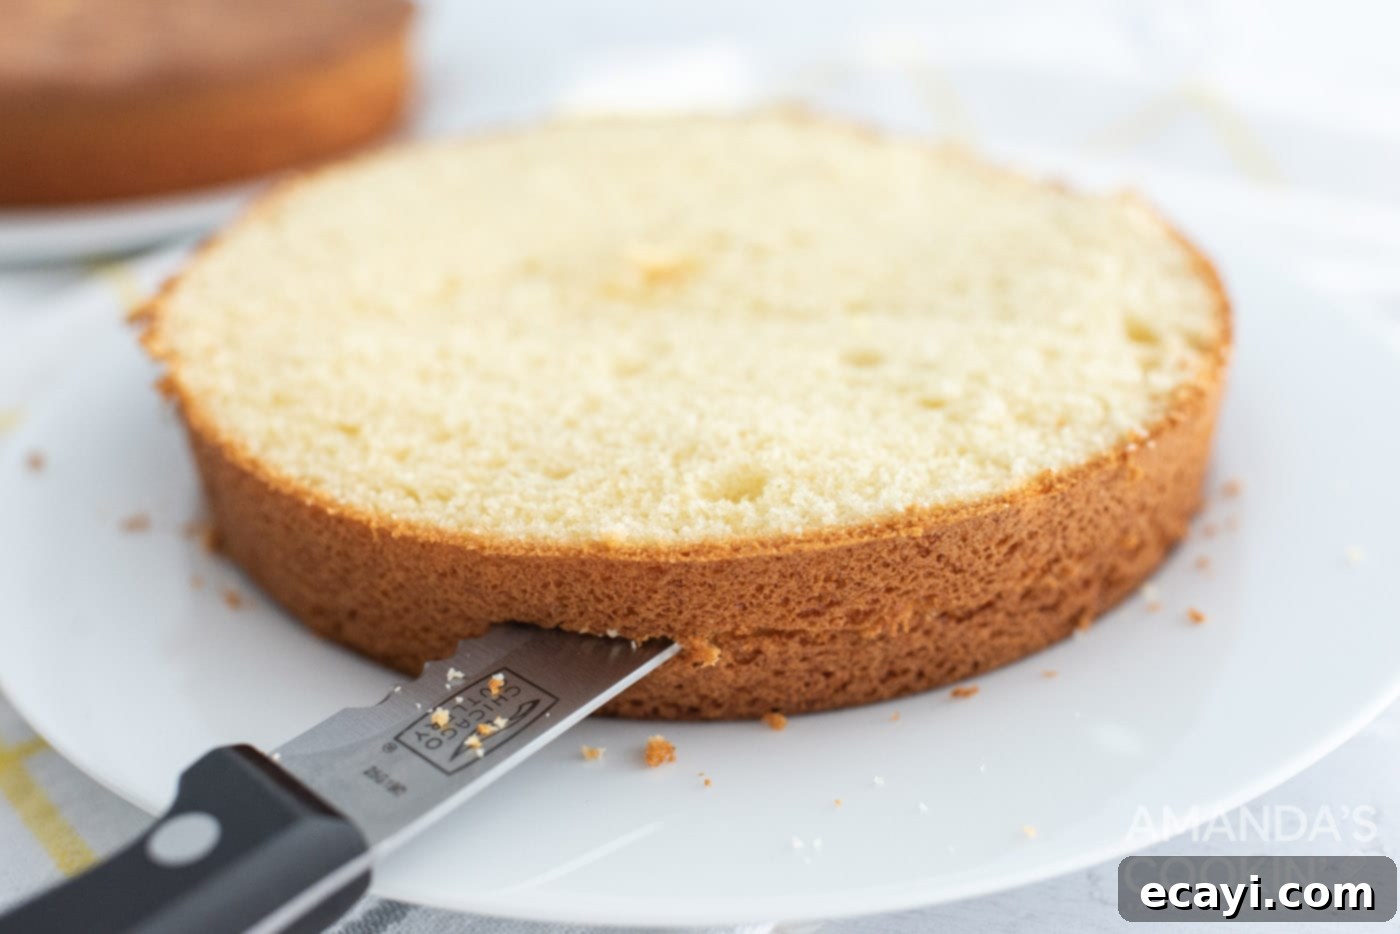
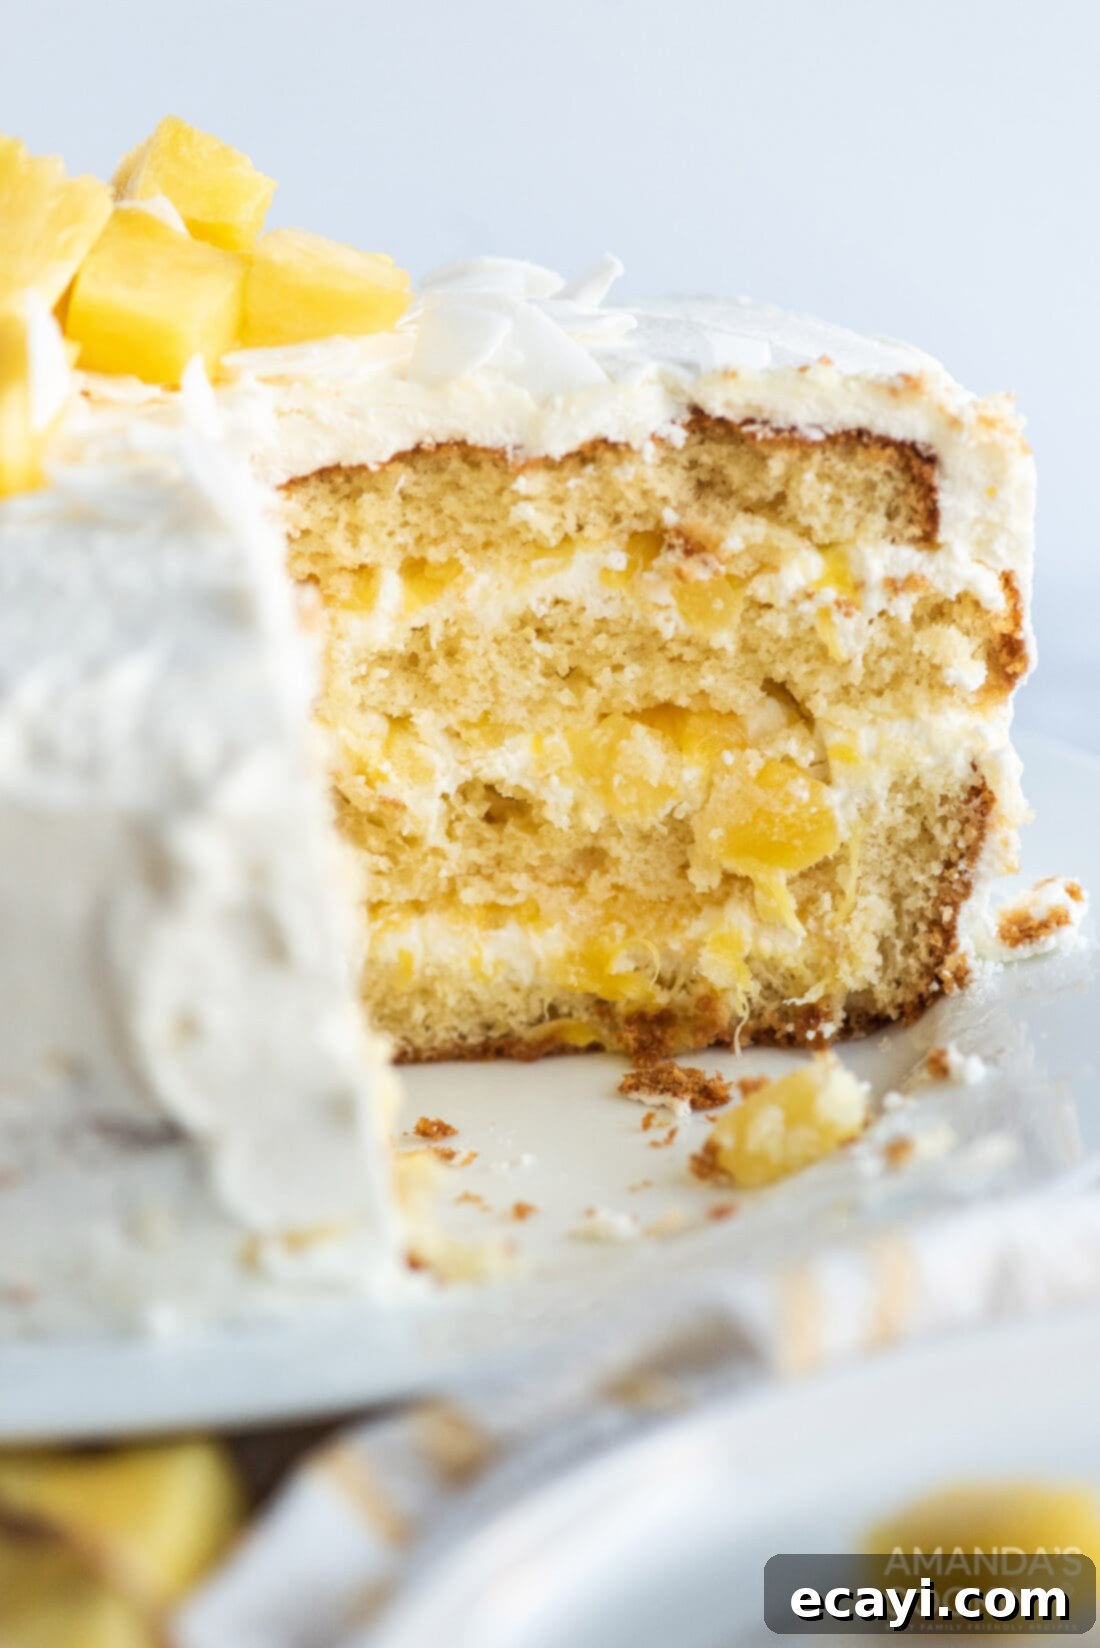
- Once the cake layers are completely cooled, use a serrated knife to carefully cut each cake horizontally in half, creating four thinner layers in total. Place one bottom cake layer on your serving plate or cake stand.

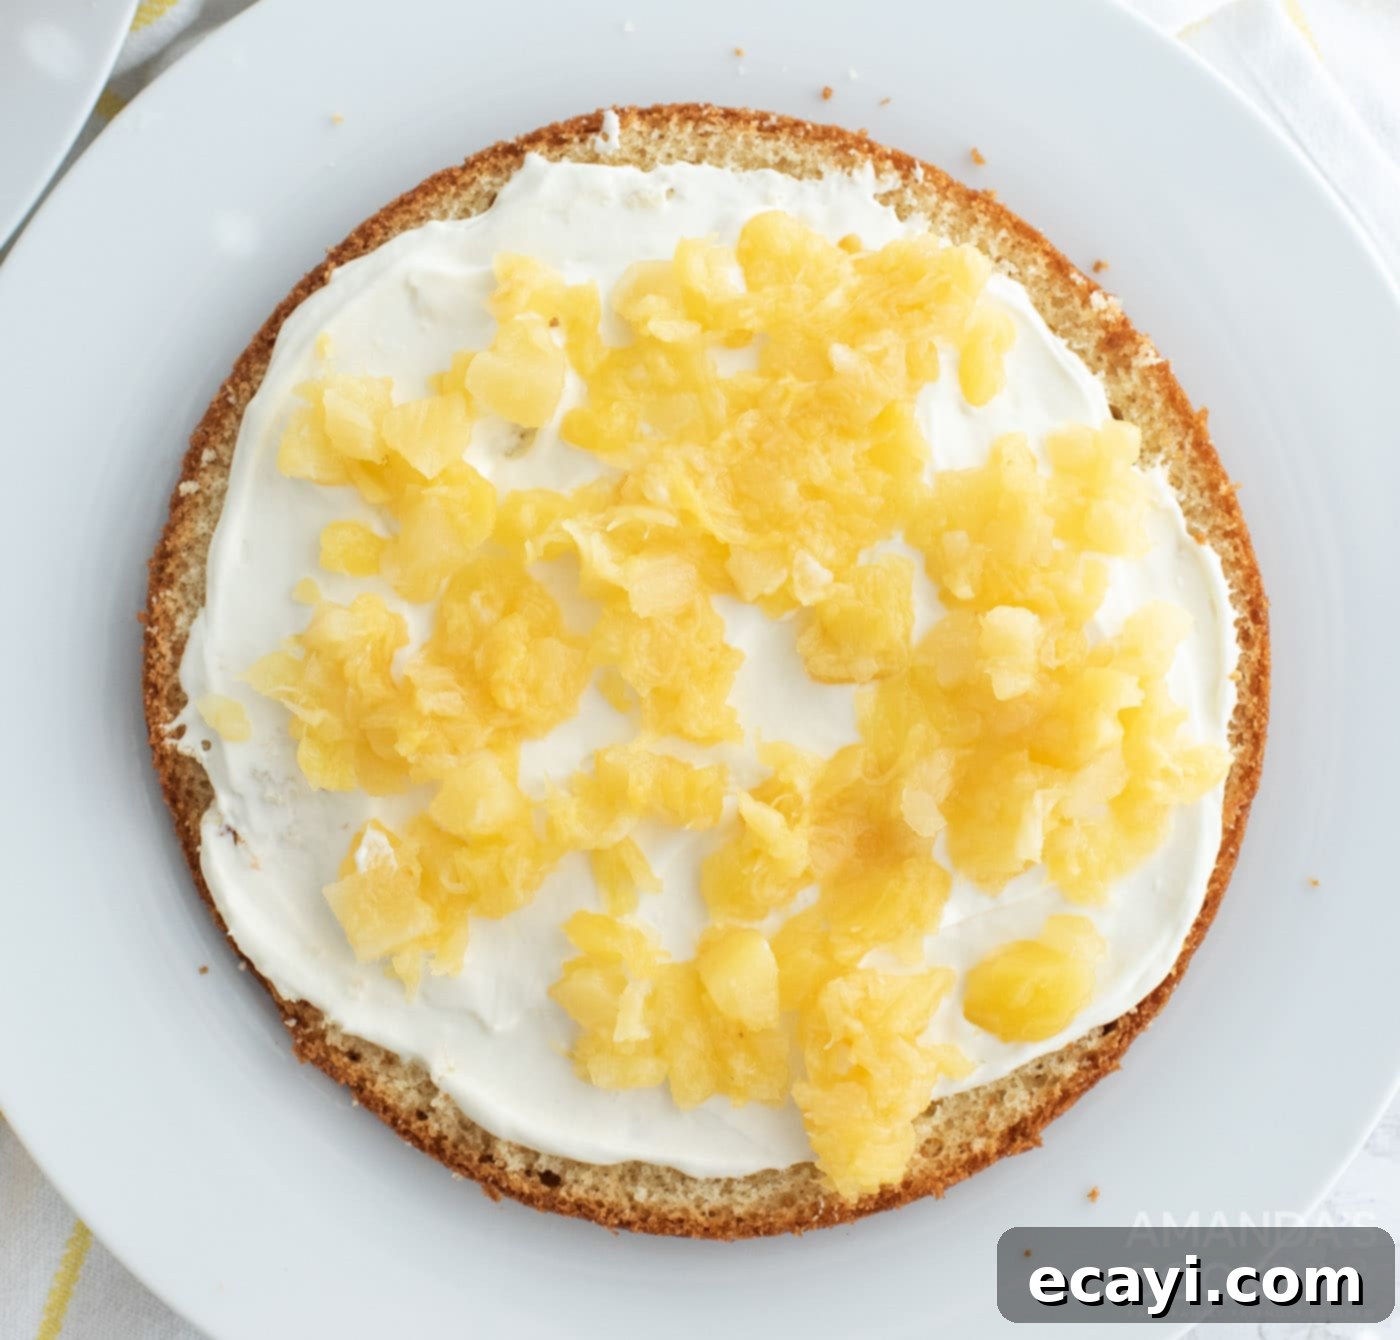
- Generously spread a layer of the chilled cream cheese filling evenly over the first cake layer. Then, sprinkle a portion of the drained crushed pineapple on top of the filling.

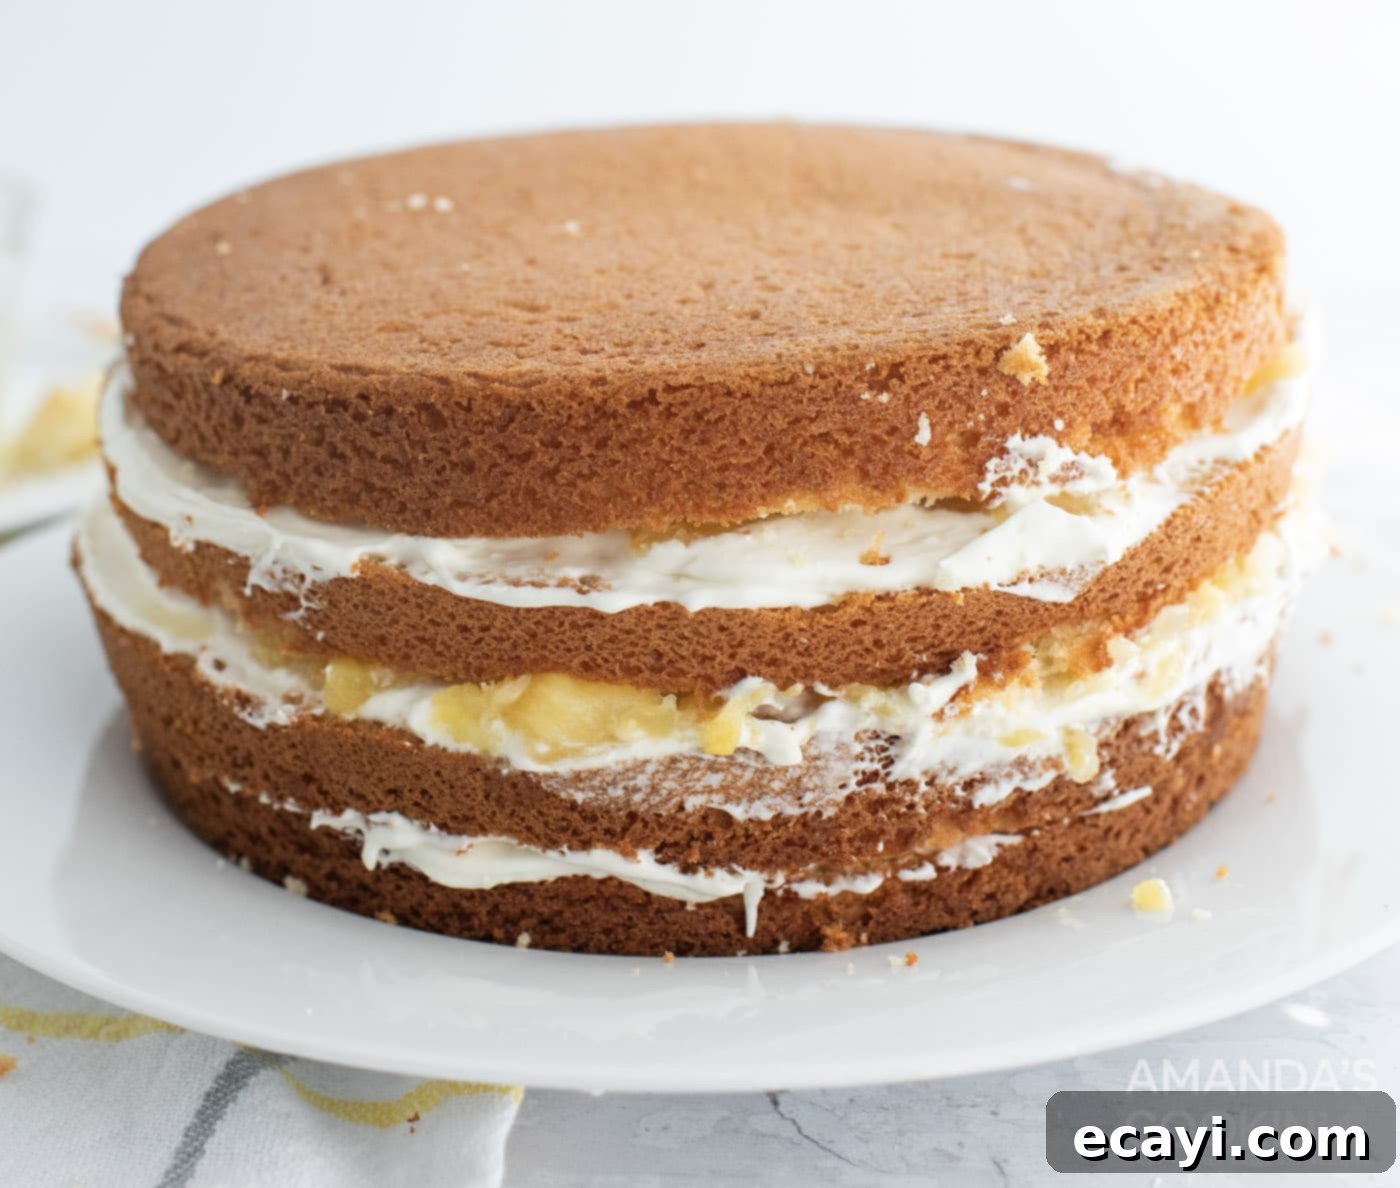
- Carefully place another cake layer on top and repeat the process: spread with filling and sprinkle with crushed pineapple. Continue with the third layer. Finally, top with the last cake layer. For the best stability and to allow the filling to set, place the assembled cake (without the final frosting yet) into the refrigerator for approximately 30 minutes. This step helps firm up the layers and prevents them from sliding during the final frosting stage.

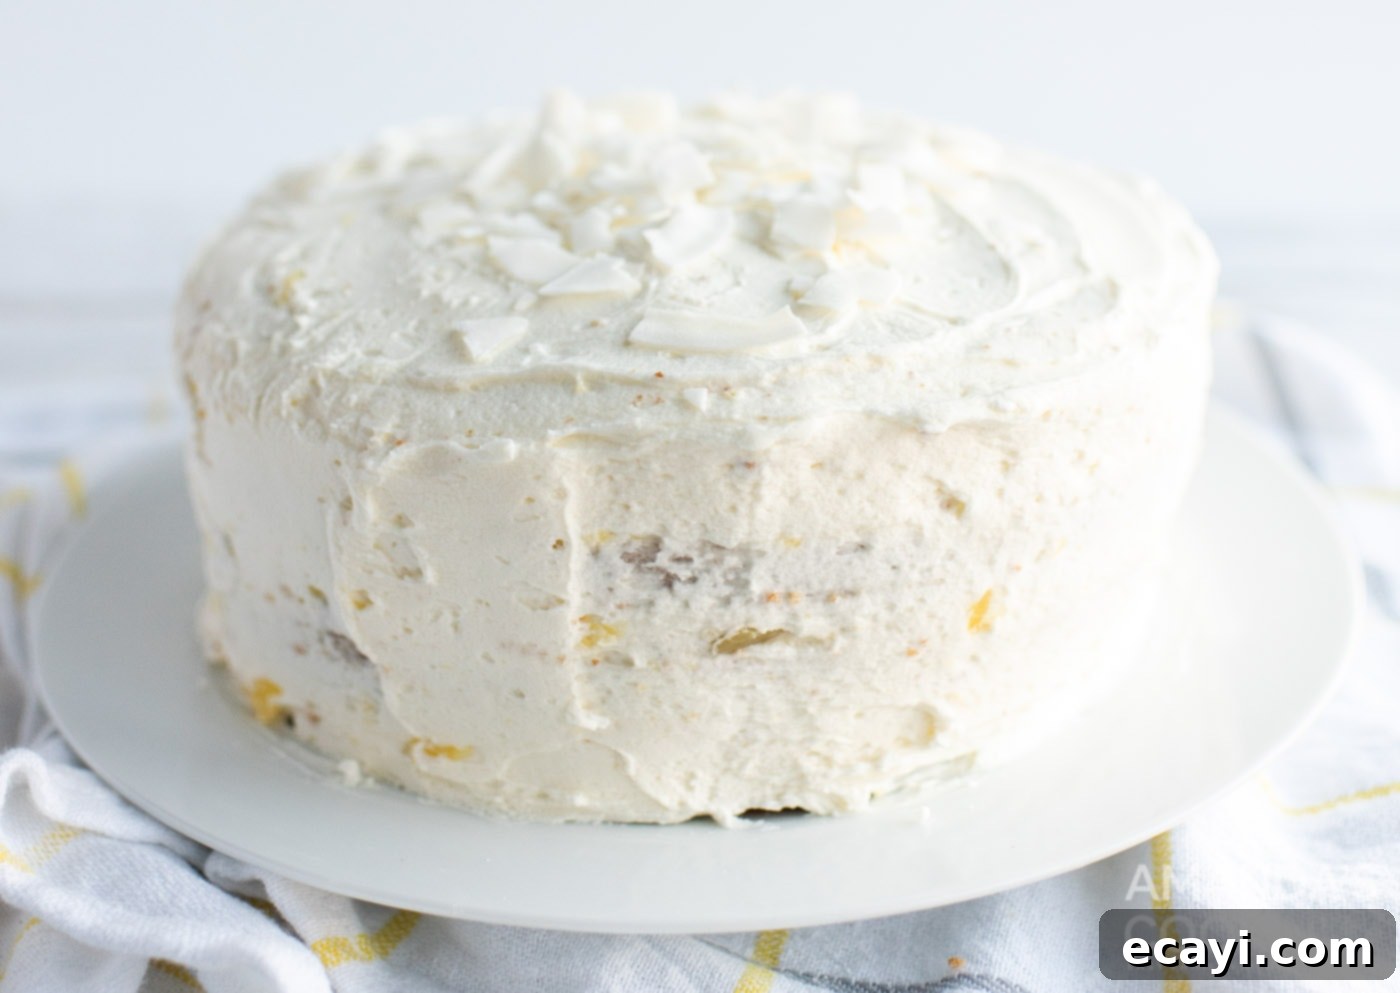
- Once the layered cake has chilled, remove it from the refrigerator and generously apply the coconut pineapple icing over the entire top and sides of the cake, smoothing it with an offset spatula. For a beautiful finish, sprinkle a generous amount of shredded coconut over the frosted cake. If desired, garnish with additional pineapple slices, chunks, or toasted coconut flakes for an extra touch of tropical flair.

Frequently Asked Questions & Expert Tips for Your Pineapple Cake
Absolutely! This pineapple cake freezes beautifully. For best results, allow your fully assembled and frosted cake to set completely in the refrigerator. Then, flash-freeze it uncovered for an hour or two until the frosting is firm. This prevents the wrap from sticking. Once firm, carefully wrap the cake tightly in plastic wrap, followed by a layer of aluminum foil to protect it from freezer burn. Place it back in the freezer. When you’re ready to enjoy, remove the cake from the freezer and unwrap it immediately. Thaw it in the refrigerator overnight or on the counter for a few hours. Your cake should maintain its quality for about 3-4 months when stored properly in the freezer.
Because this cake contains cream cheese in its filling, it must be stored in the refrigerator. Place any leftover slices or the entire cake in an airtight container or cover it tightly with plastic wrap. Stored this way, it will remain fresh and delicious for 3-4 days in the refrigerator.
Yes, this pineapple cake is an excellent make-ahead dessert! You can fully assemble and frost the cake a day in advance. Store it in the refrigerator, tightly covered, until you are ready to serve. In fact, many find the flavors meld and deepen beautifully overnight, often tasting even better the next day.
While fresh pineapple is delicious, for this specific recipe, canned crushed pineapple is highly recommended. Canned pineapple is softer, sweeter, and has a higher moisture content that works wonderfully in both the filling and the cake batter (via its juice). Fresh pineapple contains enzymes that can sometimes prevent dairy-based fillings (like cream cheese and whipped cream) from setting properly and can also alter the texture of baked goods. If you absolutely want to use fresh, ensure it’s very finely minced and cooked briefly to neutralize the enzymes, then thoroughly drained.
Achieving perfectly level cake layers can make assembly much easier and the final presentation more professional. Here are a few tips: first, ensure your oven temperature is accurate (an oven thermometer helps!). Second, distribute the batter evenly between pans using a kitchen scale. Third, use cake strips wrapped around your pans during baking – these insulate the edges, causing the cake to rise more evenly. Finally, after the cakes are cooled, use a long, serrated knife or a cake leveling tool to gently trim any domed tops, creating flat surfaces for stacking.
Serving Your Tropical Pineapple Cake
This pineapple coconut layer cake is truly a versatile showstopper, making it amazing year-round. For holiday gatherings, serve it alongside your traditional dessert spread for Easter, Thanksgiving, or Christmas to add a surprising and refreshing tropical note. During the warmer months, its fruity and vibrant flavors make it an ideal centerpiece for summer picnics, barbecues, or pool parties. It’s also a fantastic choice for a birthday cake, especially for the pineapple and coconut lover in your life!
You can get creative with its presentation: dress the cake up with an artistic design made from extra coconut shavings, fresh pineapple chunks, or delicate pineapple flowers. For an added touch of elegance, consider toasting some shredded coconut lightly before sprinkling it on top. Alternatively, serve it simply as is, letting its natural beauty and irresistible aroma do all the talking. Pair it with a scoop of vanilla bean ice cream, a dollop of whipped cream, or simply enjoy it with a cup of coffee or a refreshing iced tea for a perfectly balanced treat.
Explore More Delicious Pineapple Recipes
- Pineapple Dream Dessert
- Easy Pineapple Salsa
- Pineapple Yogurt Dessert
- Classic Pineapple Upside Down Cake
- Pineapple Spinach Smoothie Bowl
- Homemade Pineapple Quick Bread
- Pineapple Upside Down Cake in Cast Iron Skillet
I absolutely love to bake and cook, and it brings me so much joy to share my kitchen experiences and tested recipes with all of you! Remembering to come back each day for new inspiration can sometimes be tough, which is why I offer a convenient newsletter every time a new recipe posts. Simply subscribe today and start receiving your free daily recipes directly in your inbox!

Pineapple Coconut Layer Cake
IMPORTANT – There are often Frequently Asked Questions within the blog post that you may find helpful. Simply scroll back up to read them!
Print It
Pin It
Rate It
Save It
Saved!
Prevent your screen from going dark
Course:
Dessert
Cuisine:
American
12
servings
1 hour
35 minutes
704
Amanda Davis
Ingredients
Cake
-
16.25
oz
white cake mix
(we used Betty Crocker, 1 box) -
3.4
oz
instant vanilla pudding mix -
4
eggs -
½
cup
olive oil -
1
tsp
vanilla extract -
1
cup
pineapple juice
(reserved from can of crushed pineapple)
Filling
-
8
oz
cream cheese -
½
cup
powdered sugar -
1
tsp
coconut extract -
¾
cup
heavy whipping cream -
16
oz
crushed pineapple
(2 8 oz cans. Separate crushed pineapple and juice and set aside in separate bowls.)
Icing
-
¾
cup
butter
(softened) -
3
cups
powdered sugar -
6
tsp
pineapple juice
(reserved from can of crushed pineapple) -
1
tsp
coconut extract -
¾
cup
unsweetened shredded coconut
(or flaked)
Garnish
-
8
oz
crushed pineapple
(1 can. *You will need the extra juice from this can for the icing* The extra pineapple chunks can be used for garnish)
Things You’ll Need
-
2 9-inch round cake pans -
Mixing bowls -
Hand mixer -
Rubber spatula
Before You Begin
- Store any leftover pineapple cake in the refrigerator within an airtight container for 3-4 days to maintain freshness.
- *As you will notice, I’ve noted an additional 8 oz can of crushed pineapple in the garnish section of the recipe card. This extra can is primarily for its juice, which you will most likely need to achieve the perfect consistency for your icing.* Any leftover pineapple chunks from this can be creatively used to decorate the top of the cake, adding a lovely visual and textual element.
Instructions
-
Grease two 8 or 9-inch round cake pans thoroughly to prevent sticking.
-
Preheat your oven to 350 degrees F (175 degrees C) and ensure it’s fully heated before baking.
-
Using an electric mixer, combine the cake mix, dry pudding mix, eggs, oil, vanilla, and pineapple juice. Start mixing on a low speed until all ingredients are just moistened, then increase to medium speed and beat for approximately 2 minutes until light and airy.
-
Pour the batter evenly between the two greased pans. Bake for 25-30 minutes, or until a toothpick inserted into the center comes out clean. Cool for 10-15 minutes in the pans before turning out onto a cooling rack to cool completely.
-
To make the filling, beat softened cream cheese until light and creamy. Add powdered sugar and coconut extract, mixing until completely combined. Set aside in the refrigerator. In a separate bowl, beat heavy cream until stiff peaks form. Gently fold the whipped cream into the cream cheese mixture until just combined.
-
Prepare the icing by creaming softened butter with an electric mixer until fluffy. Gradually add powdered sugar, coconut extract, and reserved pineapple juice (you will likely need juice from the extra can of crushed pineapple mentioned in the garnish section) until your desired smooth and spreadable consistency is reached.
-
Once the cakes are entirely cooled, carefully cut each cake horizontally in half to create four layers. Place one bottom cake layer on a plate or cake stand. Spread a generous amount of filling evenly over the layer, then sprinkle with drained crushed pineapple. Add another cake layer and repeat the process. Continue with the third layer. Finally, top with the last cake layer. Place the assembled cake in the fridge for approximately 30 minutes to allow the layers and filling to set slightly, ensuring stability.
-
Remove the cake from the fridge and apply the prepared icing, spreading it evenly over the entire top and sides of the cake. Sprinkle a generous amount of shredded coconut on top. For an extra decorative touch, garnish with additional coconut flakes or pineapple slices/chunks if desired before serving.
Nutrition
Serving:
1
slice
|
Calories:
704
cal
|
Carbohydrates:
85
g
|
Protein:
6
g
|
Fat:
39
g
|
Saturated Fat:
20
g
|
Polyunsaturated Fat:
2
g
|
Monounsaturated Fat:
14
g
|
Trans Fat:
1
g
|
Cholesterol:
126
mg
|
Sodium:
509
mg
|
Potassium:
196
mg
|
Fiber:
2
g
|
Sugar:
66
g
|
Vitamin A:
926
IU
|
Vitamin C:
6
mg
|
Calcium:
135
mg
|
Iron:
2
mg
Tried this Recipe? Pin it for Later!
Follow on Pinterest @AmandasCookin or tag #AmandasCookin!
The recipes on this blog are tested with a conventional gas oven and gas stovetop. It’s important to note that some ovens, especially as they age, can cook and bake inconsistently. Using an inexpensive oven thermometer can assure you that your oven is truly heating to the proper temperature. If you use a toaster oven or countertop oven, please keep in mind that they may not distribute heat the same as a conventional full-sized oven and you may need to adjust your cooking/baking times. In the case of recipes made with a pressure cooker, air fryer, slow cooker, or other appliance, a link to the appliances we use is listed within each respective recipe. For baking recipes where measurements are given by weight, please note that results may not be the same if cups are used instead, and we can’t guarantee success with that method.
