Homemade Bounty Bars: The Ultimate No-Bake Coconut Chocolate Candy Recipe
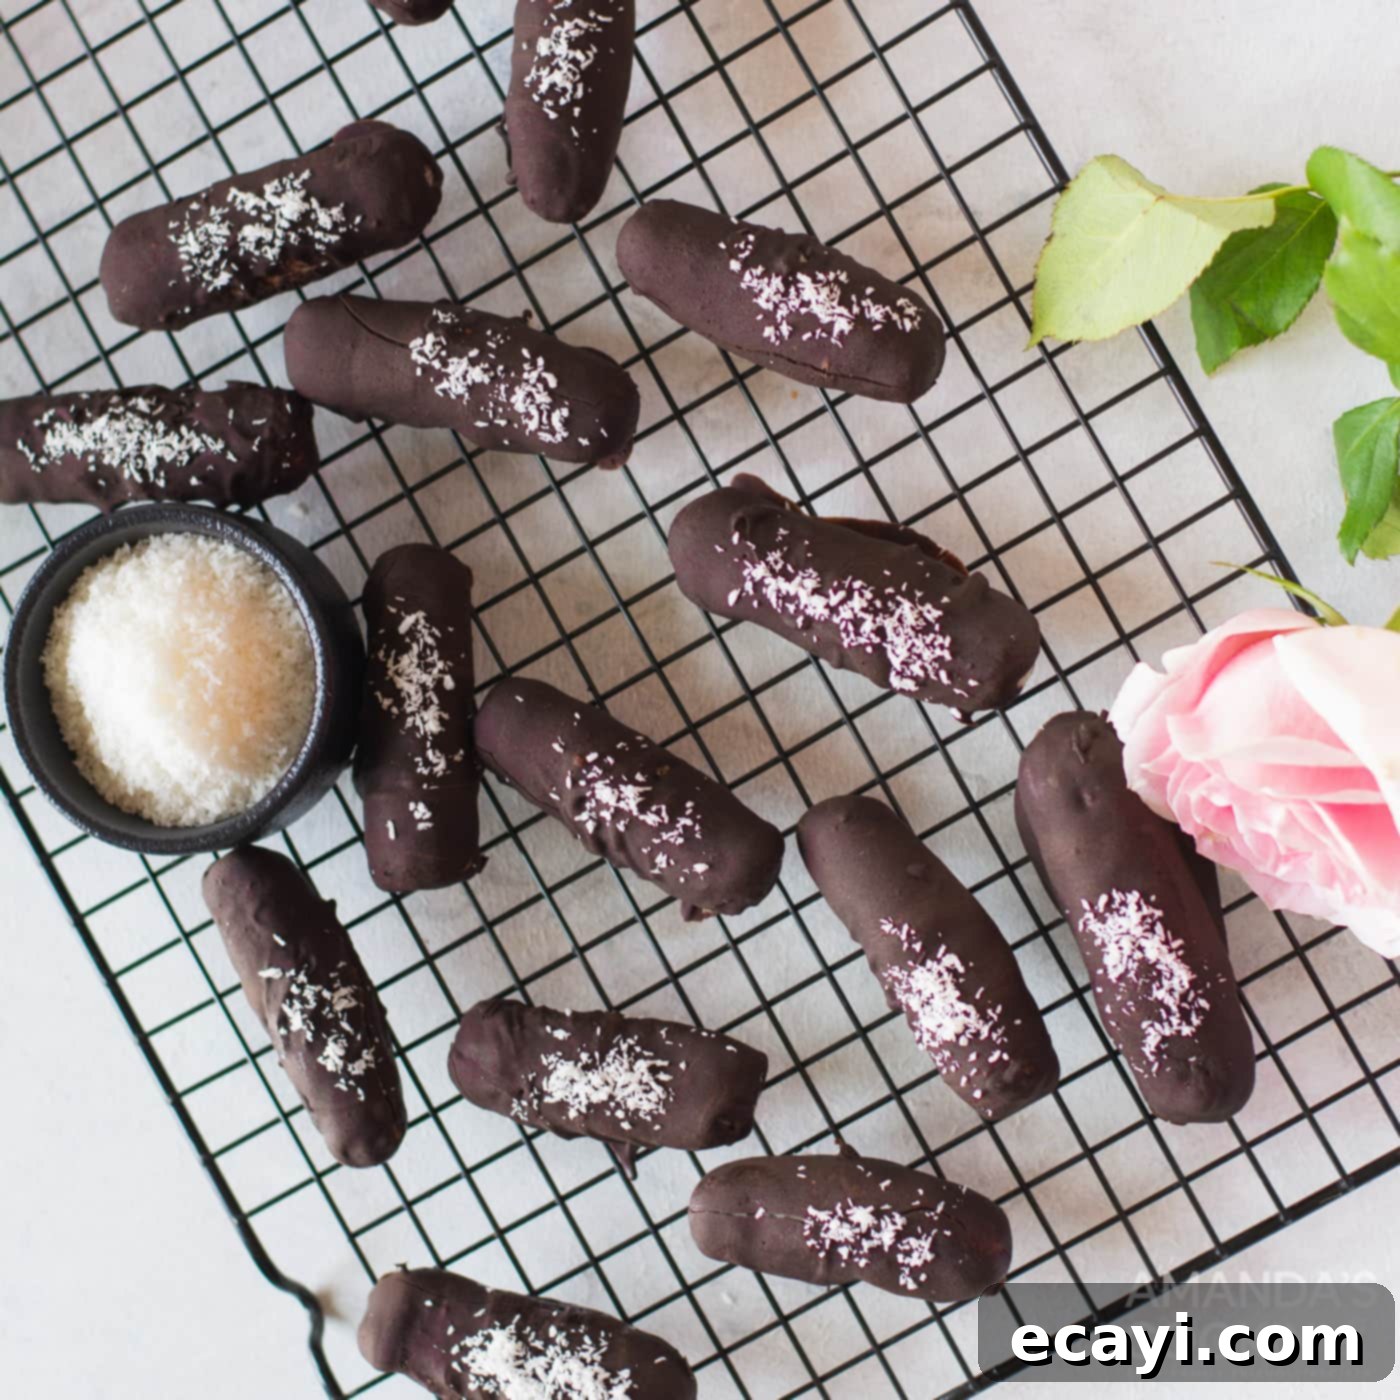
Craving a classic candy bar with a rich, tropical twist? Look no further than these incredible homemade Bounty Bars! Also widely known as Mounds Bars in some regions, these delightful treats feature a sweet, tender, and chewy coconut filling generously enrobed in a layer of decadent chocolate. Forget about store-bought options filled with artificial ingredients; making your own is surprisingly easy, incredibly rewarding, and takes less than 30 minutes of active preparation time. Get ready to satisfy your deepest candy bar cravings with a fresh, homemade touch that’s simply irresistible.
This recipe is designed for simplicity, requiring minimal ingredients and absolutely no baking, making it a perfect project for home cooks of all skill levels. Whether you’re whipping up a quick dessert, preparing impressive treats for a party, or simply indulging in a sweet moment, these DIY coconut chocolate bars are a guaranteed hit. The delightful contrast between the moist, flavorful coconut and the crisp, dark chocolate coating creates a harmonious balance that will transport you straight to candy bar heaven. Enjoy the rich taste and satisfying texture of these classic candy bars, made fresh in your own kitchen.
Why This Easy Homemade Candy Bar Recipe is a Must-Try
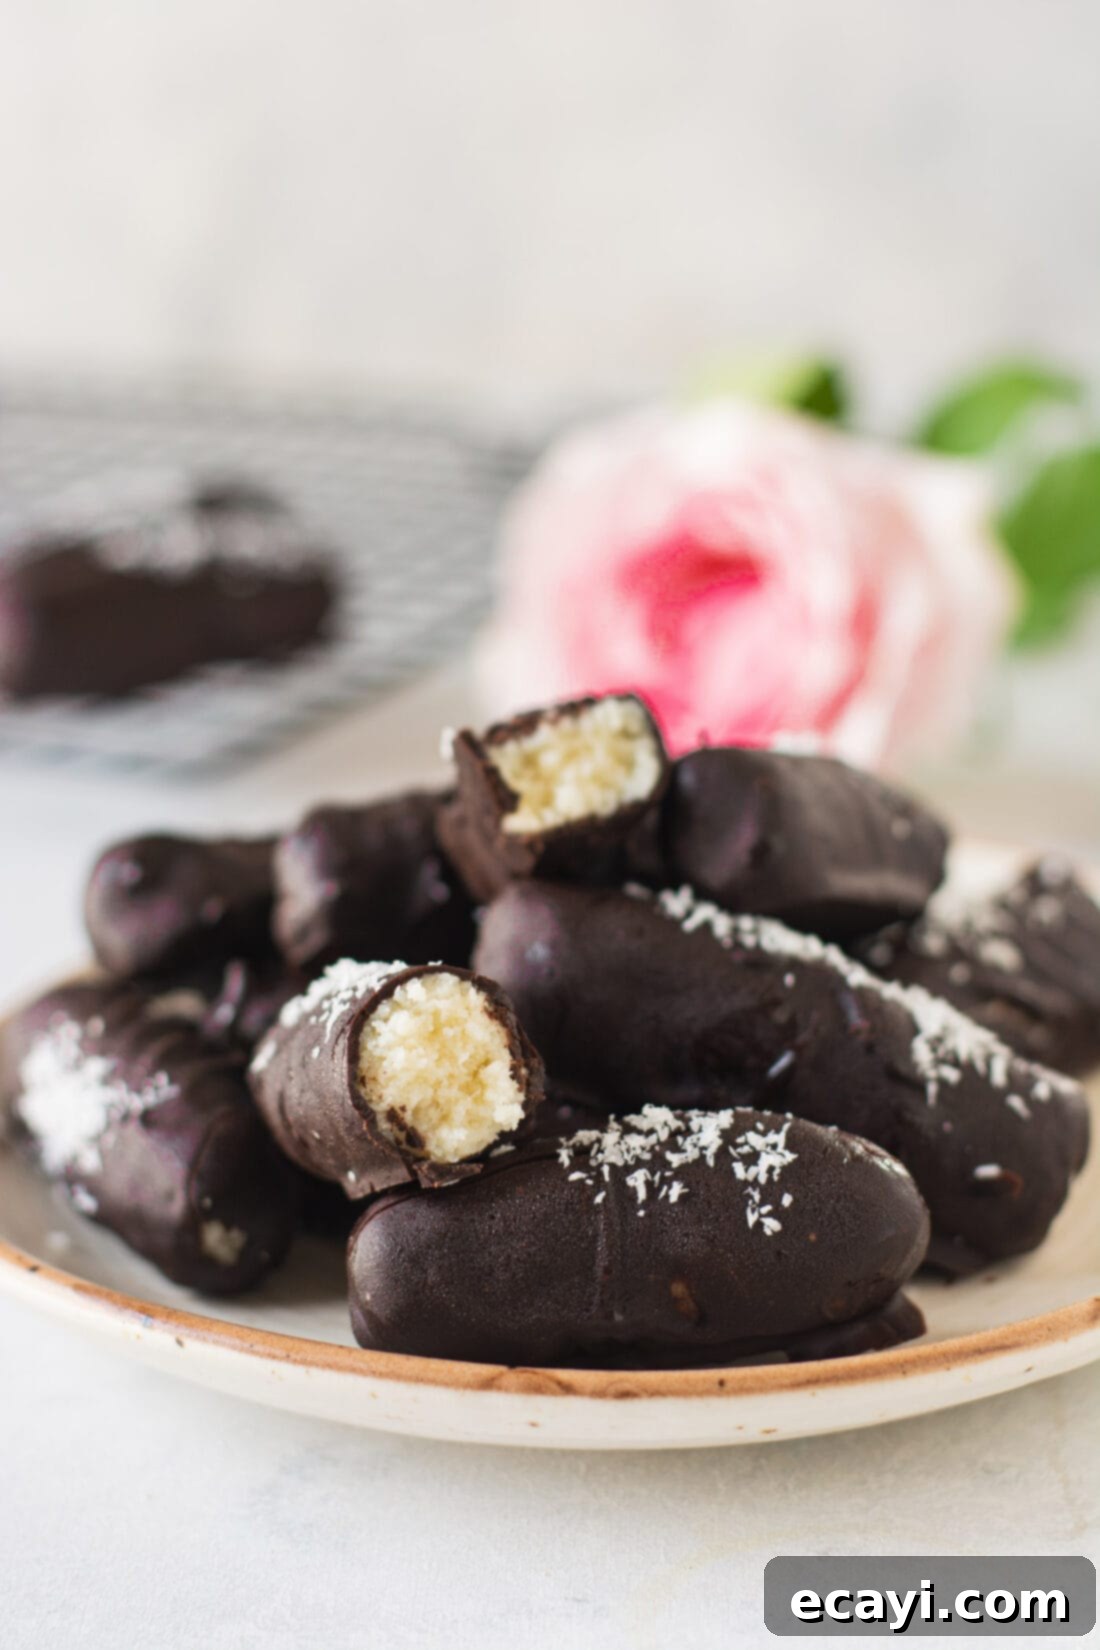
There’s a unique satisfaction that comes with crafting your own sweet treats, and this homemade Bounty Bar recipe truly delivers on all fronts. It’s an enjoyable activity for both adults and children, culminating in the best reward: a batch of freshly made, delicious chocolate bars. These chocolate bars boast a perfectly chewy coconut center, remarkably similar to the popular Mounds and Bounty candy bars you find in stores, but with the added benefit of knowing exactly what goes into them. You’re in control of the quality and freshness, which often means a superior taste experience.
What makes this recipe stand out and why should you choose to make these yourself? First and foremost, it’s a no-bake candy bar recipe, eliminating the need for an oven and making it ideal for warmer weather or when you just want a quick dessert with minimal fuss. The simple preparation process means less time in the kitchen and more time enjoying your delicious creations. Furthermore, you only need a handful of basic ingredients – just five, to be exact – which means you likely already have most of them readily available in your pantry. This minimalist approach doesn’t compromise on flavor; in fact, it highlights the natural deliciousness of coconut and chocolate in their purest forms.
While traditional Bounty Bars are often recognized by their rich dark chocolate coating, as we’ve opted for in this recipe, the beauty of making them at home is the freedom to customize. If you prefer a milder sweetness, a creamy milk chocolate or a balanced semi-sweet variety can be used interchangeably for the coating. This flexibility allows you to tailor the candy bars to your exact taste preferences, ensuring every bite is pure bliss. Whether you’re a dark chocolate enthusiast or prefer something sweeter, this recipe adapts effortlessly. Plus, homemade versions often contain fewer artificial ingredients, preservatives, and can be made with higher quality chocolate, offering a fresher, more wholesome treat that often tastes far superior to anything store-bought.
Beyond the simple ingredients and no-bake method, this recipe consistently works because it produces a delightful and authentic texture. The coconut filling, when properly mixed and chilled, achieves that perfect balance of firm yet yielding chewiness, while the chocolate shell provides a satisfying snap when broken. It’s a nostalgic taste that brings joy and comfort, making it a fantastic choice for gifting, entertaining, or simply enjoying as a personal indulgence. The ease of preparation combined with the irresistible outcome makes this a recipe you’ll want to revisit time and time again.
Essential Ingredients for Your DIY Bounty Bars
Crafting these delectable coconut chocolate bars requires only a few key ingredients. Understanding the role of each one and selecting the right type will ensure your homemade Bounty Bars are a resounding success. We’ll dive into each component, offering insights and tips to guide you. For exact measurements and detailed instructions, refer to the printable recipe card at the very end of this post.
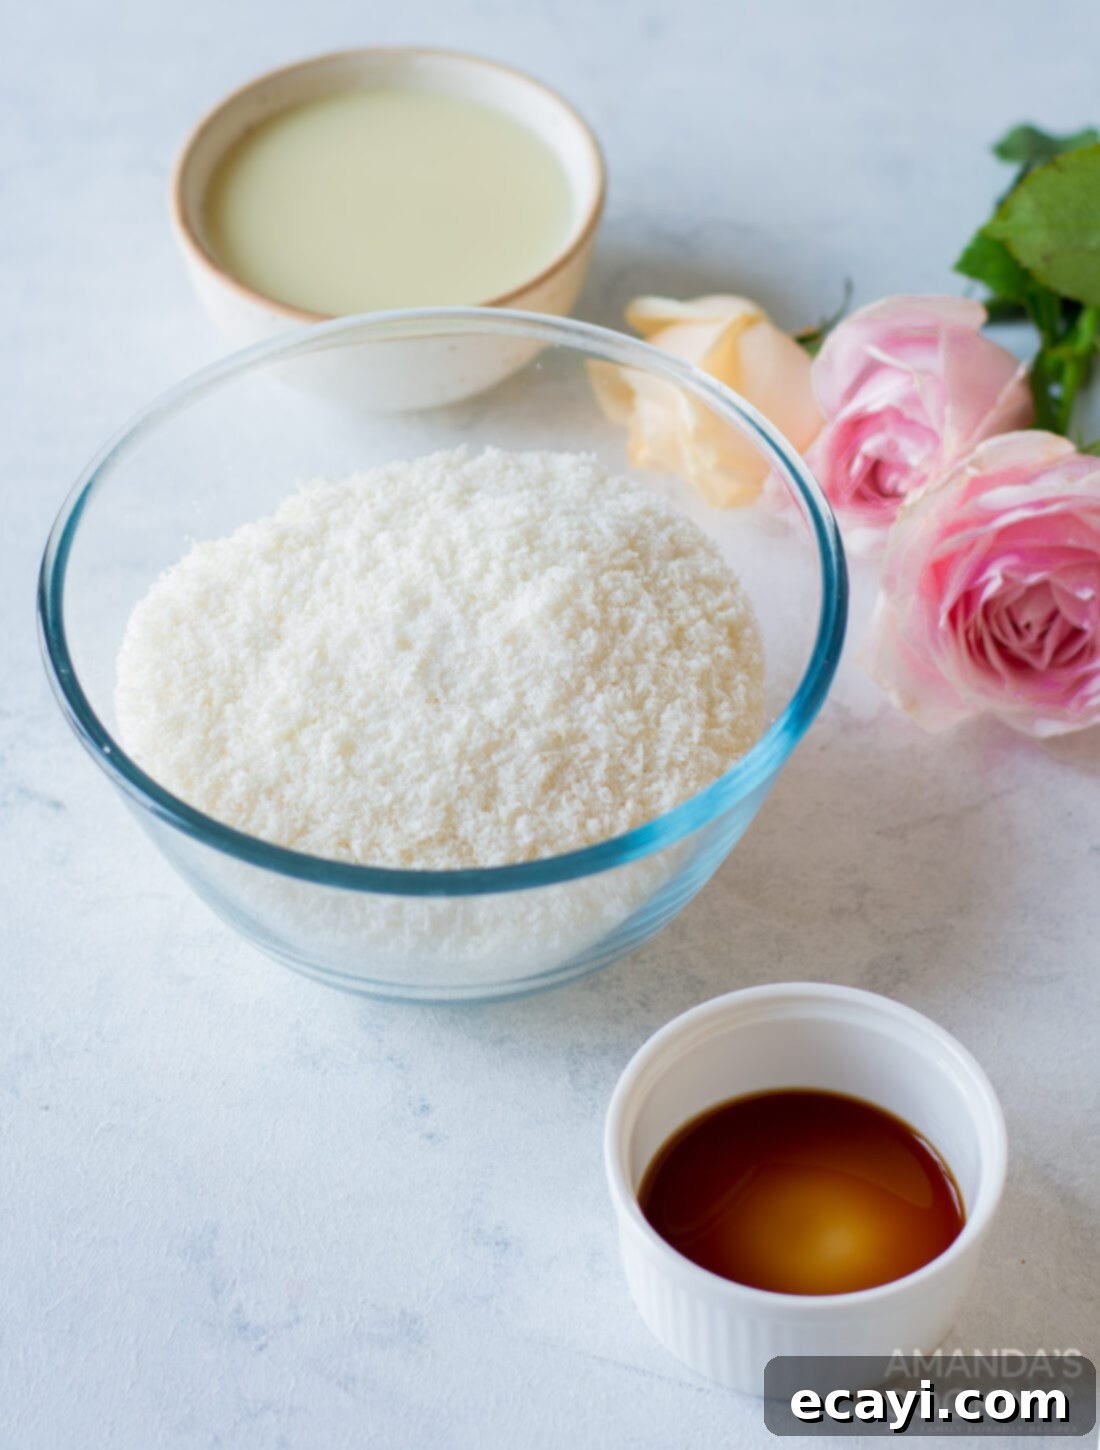
- Desiccated Coconut: This is unequivocally the star of our homemade Bounty Bars. Desiccated coconut is distinctively finer and significantly dryer than standard unsweetened shredded coconut. This particular characteristic is crucial for achieving the authentic, dense, and chewy texture that defines traditional Bounty and Mounds bars. Its fine consistency allows it to absorb the sweetened condensed milk beautifully, creating a cohesive, pliable “dough” that holds its shape perfectly when formed. You can typically find desiccated coconut in the baking aisle, health food section, or the international foods section of larger, well-stocked grocery stores. If you find yourself in a pinch and only have unsweetened shredded coconut available, you can substitute it, but be prepared to potentially reduce the amount of sweetened condensed milk slightly. Shredded coconut has a higher moisture content and a coarser, longer texture, which might make the mixture too wet and less firm if not adjusted. Using desiccated coconut will yield the most authentic results.
- Sweetened Condensed Milk: This ingredient serves two vital purposes: it acts as both the binder that holds our coconut filling together and the primary sweetener. It contributes significantly to the creamy, rich texture and delightful sweetness that makes these bars so addictive. It’s imperative that you use *sweetened* condensed milk, not evaporated milk, as they are fundamentally different products with distinct textures and sugar content. The sugar in condensed milk also helps in the preservation and texture of the bars.
- Salt: A small but mighty pinch of salt is absolutely essential for this recipe. It doesn’t make the bars salty but rather works magic by enhancing all the other flavors, particularly amplifying the sweetness of the coconut and the richness of the chocolate. It helps to balance the overall taste profile, preventing the bars from being overly cloying and creating a more complex flavor experience. Use a fine-grained salt that dissolves easily.
- Vanilla Extract: Just a teaspoon of good quality vanilla extract can dramatically elevate the flavor of your coconut filling. It adds a warm, aromatic depth that complements the tropical sweetness of the coconut beautifully and brings out a subtle complexity in the finished candy. Opt for pure vanilla extract over imitation for the best, most authentic flavor profile.
- Chocolate: This forms the irresistible outer shell of your homemade candy bars. Traditionally, Bounty Bars are coated in rich dark chocolate, which provides a lovely bittersweet contrast to the sweet coconut filling. However, this is where you can truly personalize your bars! If you prefer a sweeter candy, milk chocolate is an excellent choice for a creamy, familiar taste that melts in your mouth. Semi-sweet chocolate offers a versatile middle ground, providing a balanced sweetness that many people enjoy. You can use baking chocolate bars, high-quality chocolate chips (which tend to melt smoothly), or even chocolate wafers specifically designed for melting and coating. For a truly professional finish and to prevent “blooming” (the formation of unsightly white streaks on the surface), consider tempering your chocolate. While optional, tempering gives the chocolate a beautiful, glossy shine and a satisfying snap when you bite into the bar. Whichever chocolate you choose, ensure it’s a good quality brand for the best flavor and melting consistency.
Having these five simple, high-quality ingredients on hand is all it takes to embark on your journey to creating the most delicious and satisfying homemade coconut chocolate bars!
Step-by-Step Guide: How to Make Irresistible Bounty Bars
These step-by-step photos and detailed instructions are here to help you visualize each stage of making this recipe, ensuring perfect results every time. For a quick reference or to print, you can Jump to Recipe to get the printable version of this recipe, complete with precise measurements and instructions at the bottom of the page.
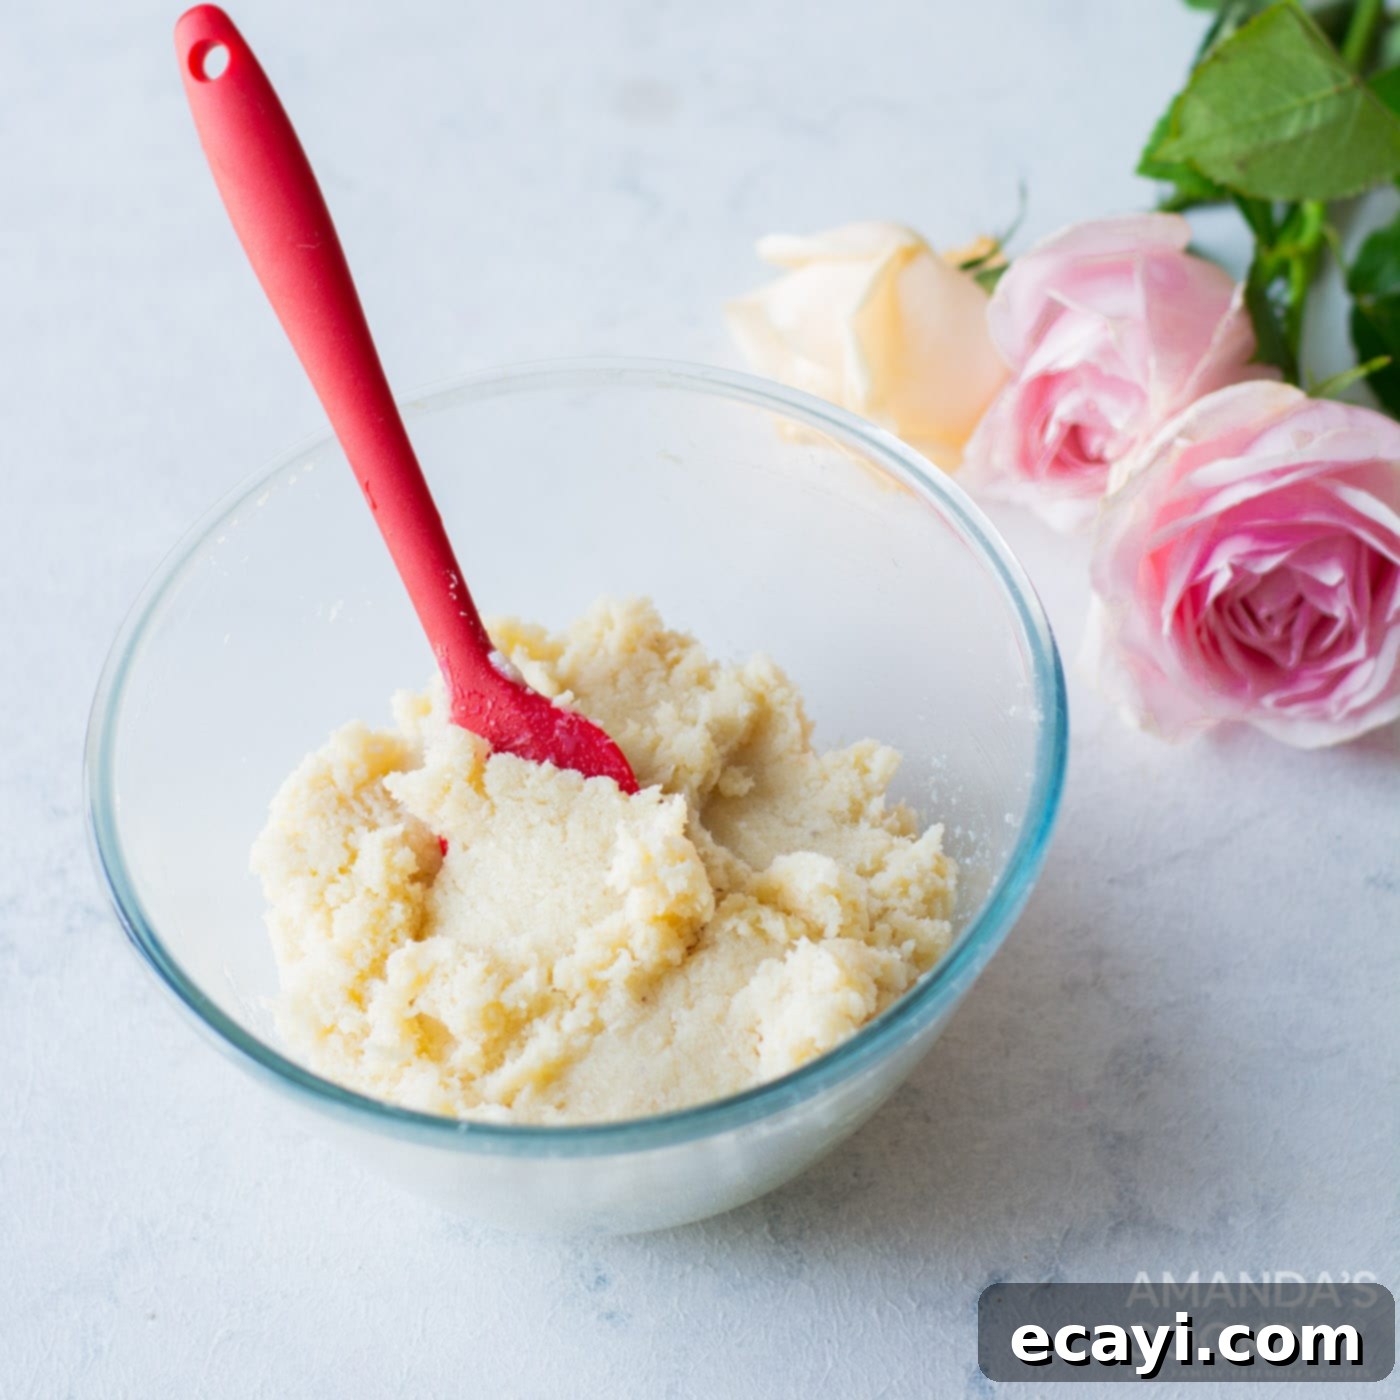
- Prepare the Coconut Filling: Begin by combining your dry and wet ingredients for the filling. In a large mixing bowl, add the desiccated coconut, sweetened condensed milk, salt, and vanilla extract. Using a sturdy rubber spatula or, even better, your clean hands, thoroughly mix all the ingredients. Continue mixing and kneading until everything is well incorporated and the mixture starts to come together, resembling a firm, pliable dough. It should be sticky enough to easily hold its shape when pressed or rolled. This ensures a consistent texture throughout your bars.
EXPERT TIP – The type of coconut you use significantly impacts the final texture. Desiccated coconut provides the ideal dry, fine texture for an authentic Bounty Bar. If you find yourself needing to use unsweetened shredded coconut, start by adding only about ¾ of the recommended sweetened condensed milk. Shredded coconut has more inherent moisture, so you might need to add less liquid to achieve the desired dough-like consistency. Add additional condensed milk very gradually, only if the mixture is too dry to hold its shape.

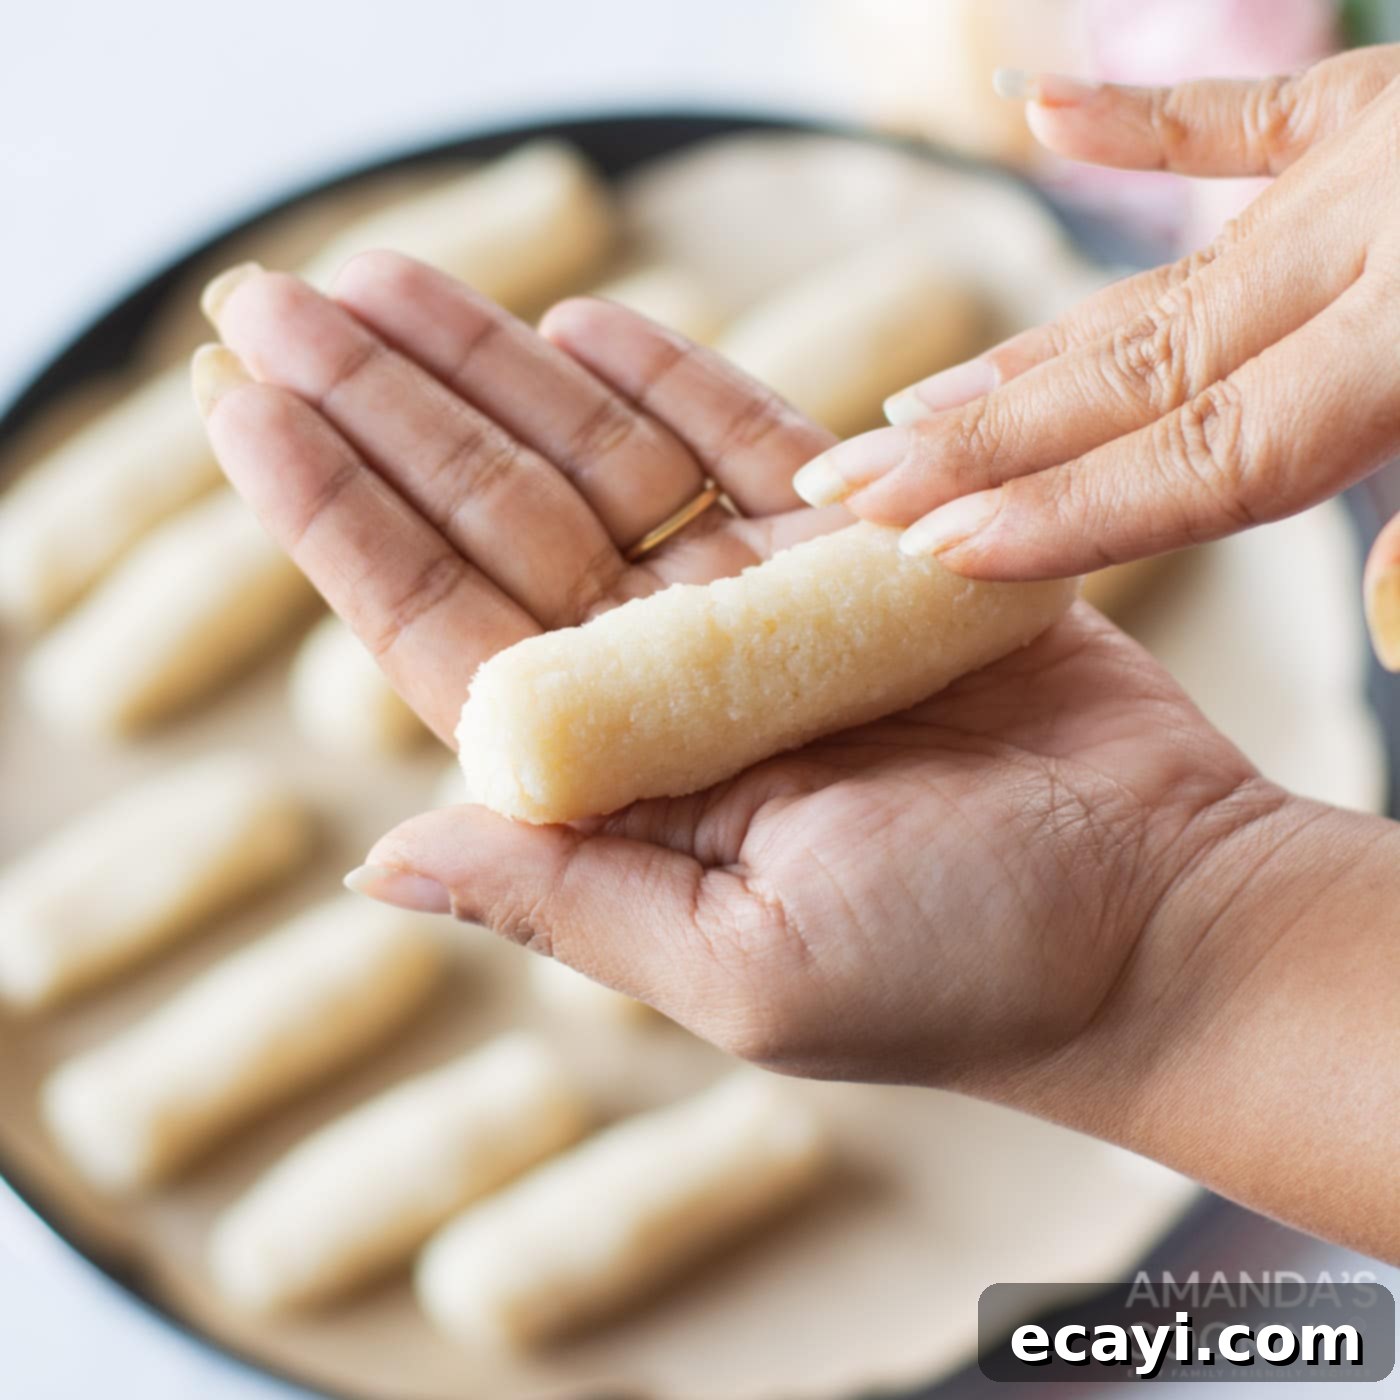
- Form the Bars: Once your coconut mixture is ready and cohesive, it’s time to shape your candy bars. Use an ice cream scoop or a measuring spoon (such as a tablespoon) to portion out uniform amounts of the mixture. This helps ensure all your bars are roughly the same size, which aids in even chilling and coating. Gently roll each portion between your palms to form a cylindrical shape, aiming to mimic the classic Bounty or Mounds bar. Alternatively, you can press the mixture into small rectangular blocks if you prefer a different aesthetic. Aim for bars that are approximately 1.5 to 2 inches long and about 1 inch wide for an ideal single-serving treat that’s easy to dip and enjoy.

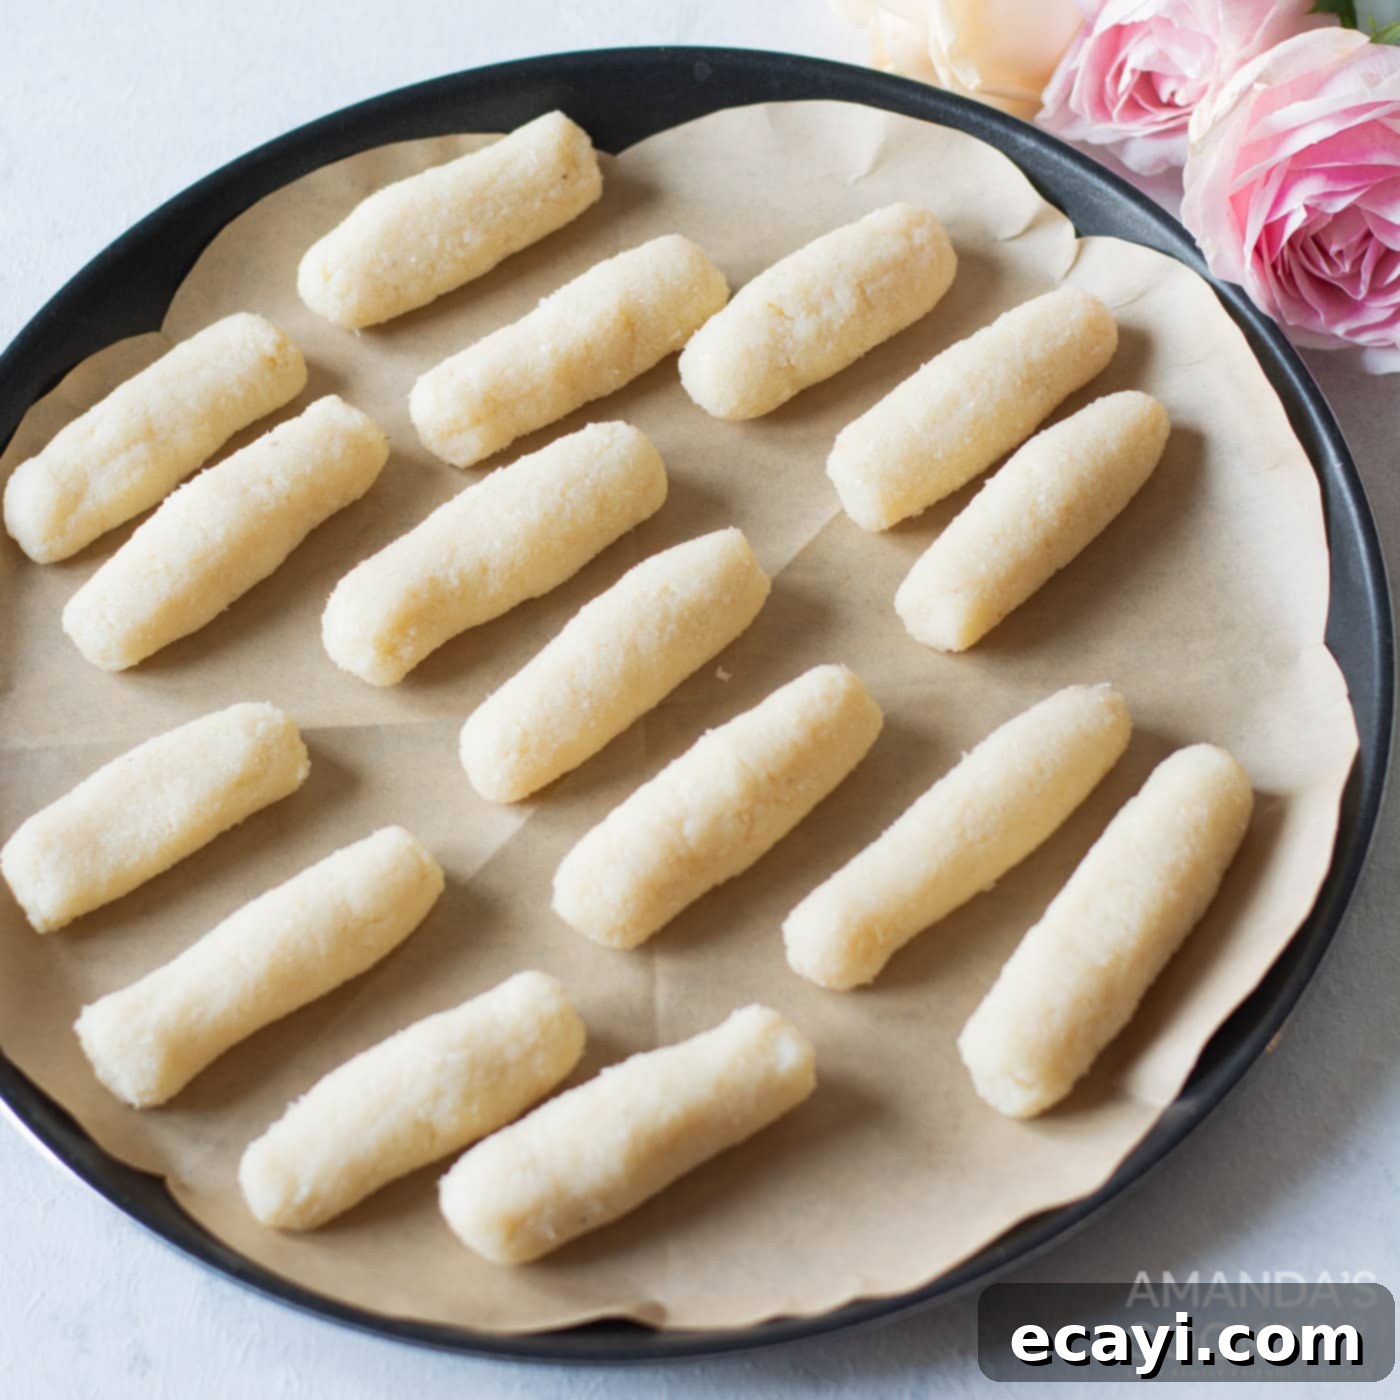
- Chill for Firmness: Neatly arrange the formed coconut cylinders or rectangles on a parchment paper-lined baking sheet or tray. The parchment paper is key to preventing sticking and makes transferring the bars much easier later on. Place the entire tray in the refrigerator for at least an hour. Chilling is a critical step in this no-bake recipe; it allows the coconut mixture to firm up considerably, which is essential to prevent it from falling apart or melting when dipped into the warm chocolate. For a quicker set, you can place them in the freezer for about 30 minutes, but be mindful not to freeze them solid, as this can sometimes cause condensation issues or make the chocolate coating crack.

- Melt the Chocolate: While your coconut bars are chilling and firming up, prepare your chocolate coating. Chop your chosen chocolate (dark, milk, or semi-sweet) into small, uniform pieces to ensure even melting. Melt the chopped chocolate in a double boiler over gently simmering water. Stir occasionally until the chocolate is completely smooth, lump-free, and wonderfully shiny. Alternatively, you can carefully melt the chocolate in a microwave in short 20-30 second bursts, stirring thoroughly after each interval, until it reaches a smooth consistency. To achieve a slightly thinner consistency and an extra glossy finish, you can stir in an optional tablespoon of neutral-flavored butter or vegetable oil (such as coconut oil or canola oil) once the chocolate is almost melted. Ensure the chocolate is melted evenly and thoroughly, without overheating, which can cause it to seize and become unusable.
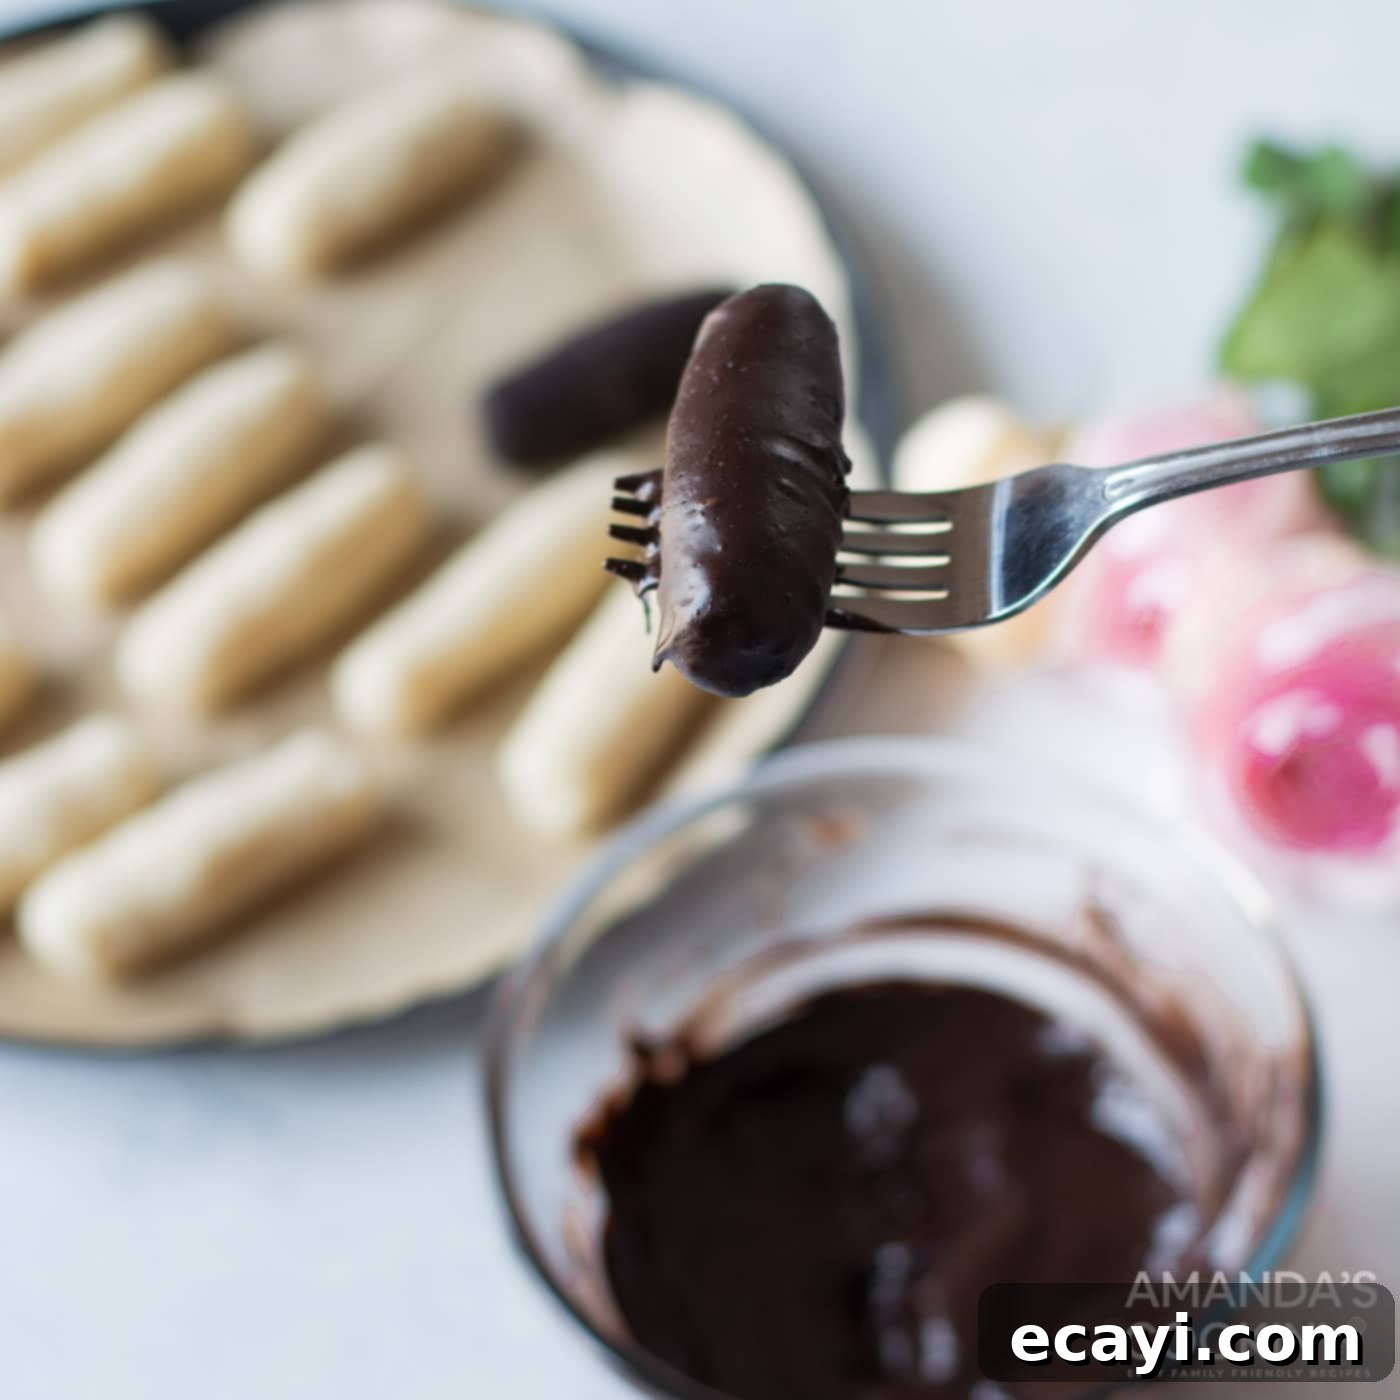
- Dip and Coat: Once the coconut bars are firm from chilling and the chocolate is perfectly melted and ready, it’s time to coat them. Working with one bar at a time, gently drop a chilled coconut bar into the melted chocolate. Using a fork, carefully turn the bar to ensure all sides are completely and evenly coated with chocolate. Lift the bar with the fork, allowing any excess chocolate to drip back into the bowl. A gentle tap against the rim of the bowl can help remove extra chocolate, preventing a thick, clumpy coating that might be too much for the bar. Speed is key here, as the cold coconut will quickly cool the chocolate.

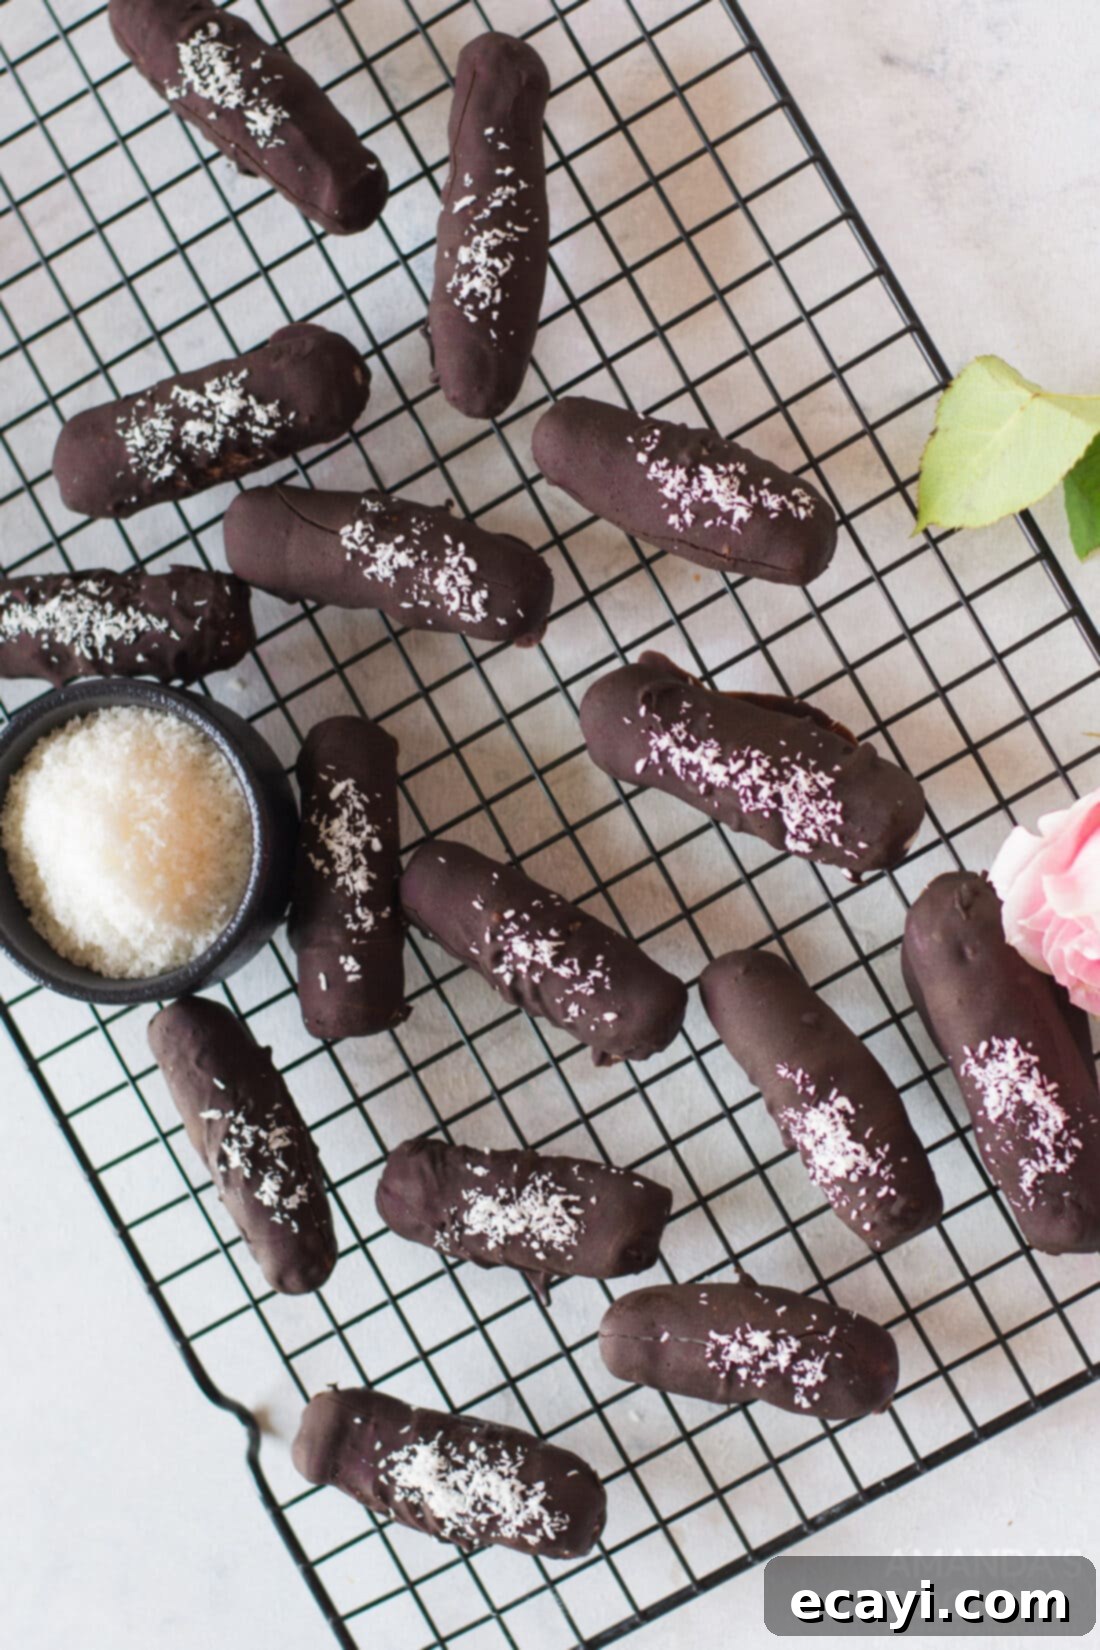
- Set and Finish: Carefully transfer each chocolate-dipped bar back onto the parchment paper-lined baking sheet. Before the chocolate fully sets, if desired, sprinkle a little extra desiccated coconut on top for an added touch of texture and visual appeal, or any other topping like a sprinkle of sea salt. Once all bars are coated and decorated, place the entire pan back into the refrigerator. Allow them to chill for at least 15-30 minutes, or until the chocolate is completely set and firm to the touch. This ensures a crisp chocolate shell and a delightful eating experience, enhancing both the flavor and texture of your homemade Bounty Bars.
Frequently Asked Questions About Homemade Bounty Bars
Proper storage is key to enjoying your homemade Bounty Bars for as long as possible. They can be stored in an airtight container at cool room temperature for up to 5 days, though their texture and freshness are generally best maintained when chilled. For extended storage, keep them in a closed container in the refrigerator for up to a month. To prevent them from sticking together, especially if stacking, you can place a layer of parchment paper between each row of bars. Bounty bars can also be frozen for up to 2 months. Simply thaw them in the refrigerator for a few hours or enjoy them straight from the freezer for a delightful, firm, and extra-chewy treat. These candy bars are often best enjoyed chilled, as the cold temperature enhances the coconut’s chewiness and provides a satisfying snap to the chocolate coating.
Absolutely, the choice of chocolate is entirely up to your personal preference! While classic Mounds Bars and Bounty Bars are traditionally found in stores covered in a rich dark chocolate, we understand that not everyone loves the intense, bittersweet notes of dark chocolate. These are your homemade candy bars, so feel free to personalize them to your heart’s content! You can certainly use milk chocolate for a sweeter, creamier coating that appeals to many palates, especially those who prefer a less intense chocolate flavor. Semi-sweet chocolate is another excellent option, offering a balanced sweetness that bridges the gap between dark and milk chocolate, providing a universally appealing flavor profile. Whichever chocolate you choose, ensure it’s a good quality brand that melts smoothly for the best coating and overall taste. The type of chocolate you select will largely impact the final flavor profile, so pick the one you love most to make your perfect Bounty Bars!
Making these delicious coconut chocolate bars low carb or keto-friendly is entirely possible with a few smart substitutions, allowing you to enjoy this treat without compromising your dietary goals. The primary changes involve the chocolate coating and the sweetened condensed milk, which are the main sources of sugar. For the chocolate coating, choose a high-quality, keto-friendly chocolate that uses sugar substitutes like erythritol, stevia, or monk fruit. Brands like Lily’s often offer excellent sugar-free dark and milk chocolate options that melt beautifully and provide a great flavor. For the sweetened condensed milk, you’ll need to make your own keto-friendly version, as traditional condensed milk is high in sugar. There are many fantastic recipes available online for sugar-free condensed milk, typically made with ingredients like heavy cream, a granulated sugar substitute, butter, and sometimes a thickening agent, all simmered until thickened to a syrupy consistency similar to traditional condensed milk. Be sure to select a recipe that yields a thick, cohesive liquid for the best binding and texture in your coconut filling. With these modifications, you can enjoy these delightful homemade treats while adhering to your low-carb or keto lifestyle.
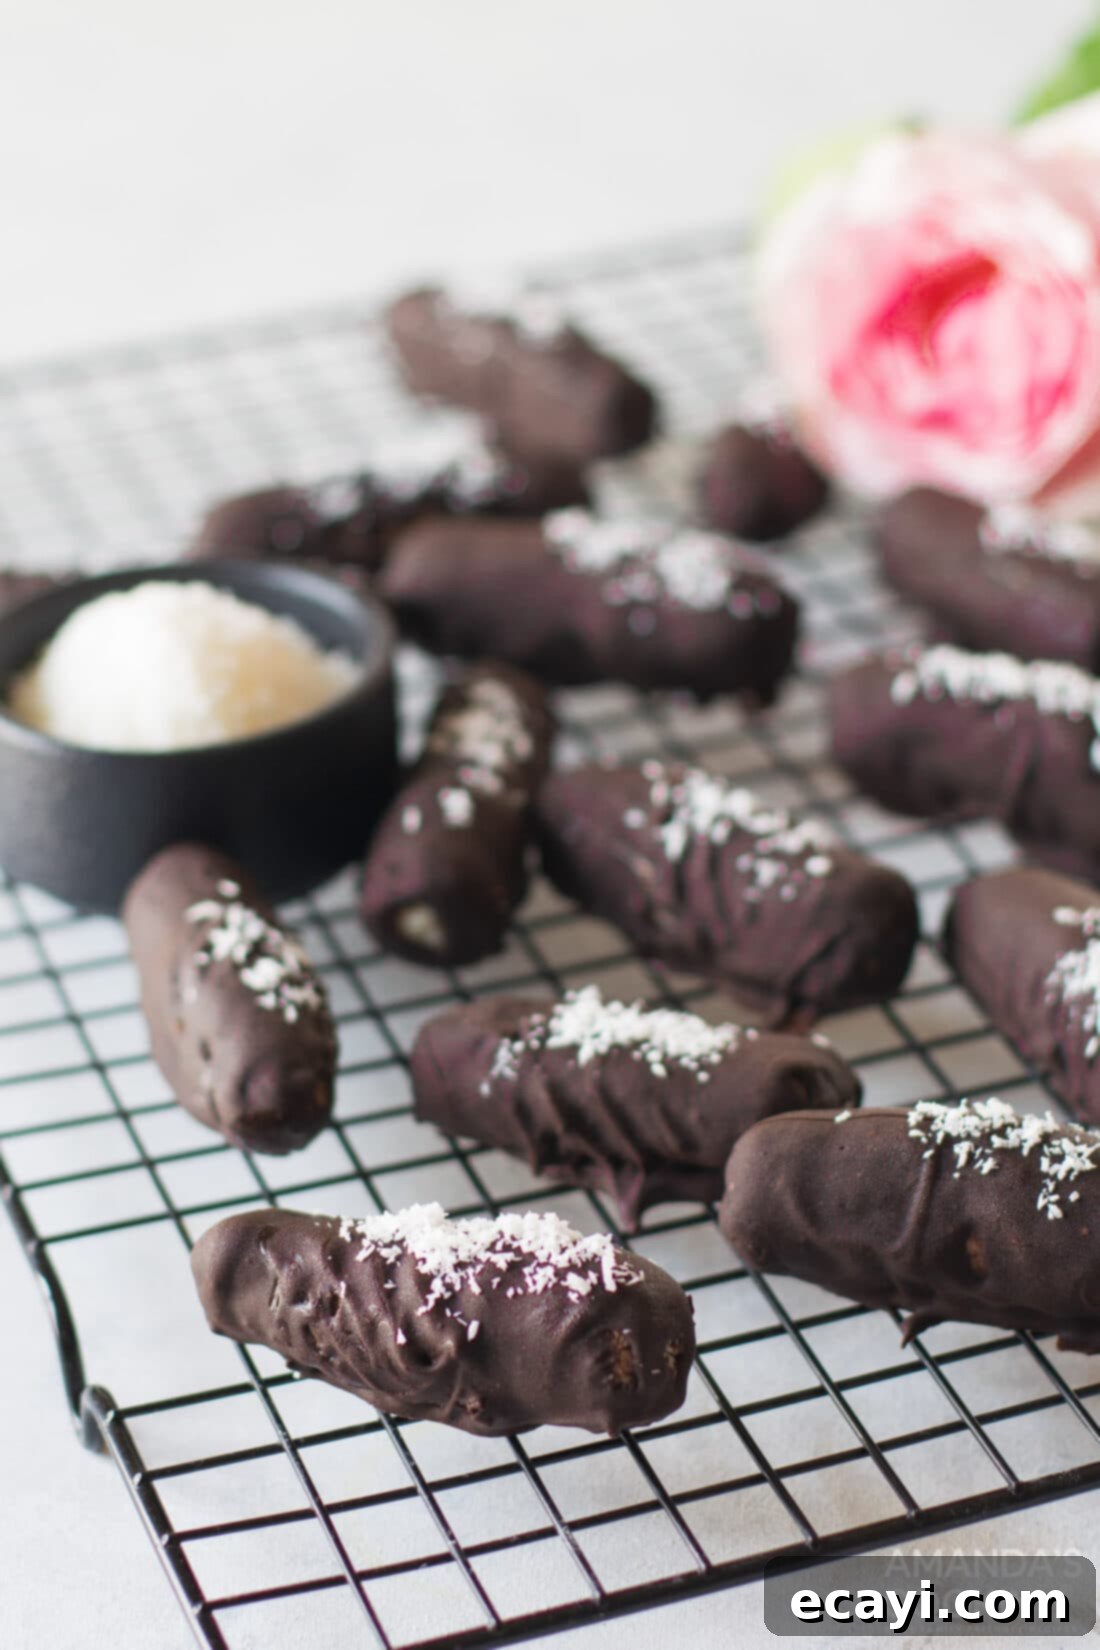
Once you’ve experienced the joy of making and tasting these incredibly easy homemade Bounty Bars, you’ll find yourself reaching for this recipe again and again. They are the perfect way to satisfy a sweet craving, whether it’s a quick pick-me-up during the day or a delightful dessert after a special meal. Keep a batch stored conveniently in the fridge for an instant treat whenever your sweet tooth calls!
The true beauty of this recipe lies in its simplicity and the sheer deliciousness of the end product. Each bite offers a creamy, sweet coconut core perfectly complemented by a rich, snapping chocolate coating. These bars are not only incredibly tasty but also make fantastic, thoughtful edible gifts for friends and family, demonstrating your culinary effort without requiring hours of complicated work in the kitchen. Enjoy the ease and delight of these homemade coconut chocolate bars!
Explore More Delicious Candy Recipes
If you enjoyed making these easy homemade Bounty Bars, you’ll love diving into more of our delicious candy creations. Expand your candy-making repertoire with these other delightful and fun-to-make recipes:
- Rock Candy
- Chocolate Covered Fruit Truffles
- Mocha Truffles
- Chocolate Turtles
- Chocolate Covered Strawberries
- Orange Creamsicle Gummies
- Oreo Truffles
- Candied Citrus Peel
I love to bake and cook and share my kitchen experience with all of you! Remembering to come back each day can be tough, that’s why I offer a convenient newsletter every time a new recipe posts. Simply subscribe and start receiving your free daily recipes!
Homemade Bounty Bars
IMPORTANT – There are often Frequently Asked Questions within the blog post that you may find helpful. Simply scroll back up to read them!
Print It
Pin It
Rate It
Save It
Saved!
Ingredients
- 3 cups desiccated coconut
- 1 cup sweetened condensed milk
- ¼ teaspoon salt
- 1 cup chopped dark chocolate
- 1 teaspoon vanilla extract
Things You’ll Need
-
Double boiler
-
Rubber spatula
-
Baking sheet
Before You Begin
- Homemade bounty bars can be stored in an airtight container at room temperature for up to 5 days. For longer preservation, keep them in a closed container in the refrigerator for up to a month. They can also be frozen for 2 months. These candy bars are best enjoyed chilled for optimal texture and flavor.
- For the authentic texture of Bounty Bars, you will need desiccated coconut, which is distinctly finer and dryer than unsweetened shredded coconut. It is typically found in the health food aisle or baking section of your grocery store. If desiccated coconut is unavailable, unsweetened shredded coconut can be used as a substitute, but you might need to slightly reduce the amount of sweetened condensed milk due to its higher moisture content.
Instructions
-
In a large mixing bowl, combine desiccated coconut, sweetened condensed milk, salt, and vanilla extract. Mix thoroughly using a rubber spatula or your hands until the mixture forms a cohesive, dough-like consistency.
-
Using an ice cream scoop or a spoon, portion out the coconut mixture. Roll each portion between your palms to form a cylindrical bar shape, or press into small rectangles.
-
Place the formed coconut bars on a parchment paper-lined baking sheet or tray. Refrigerate for at least one hour, or freeze for 30 minutes, to allow them to firm up.
-
Melt the chopped chocolate in a double boiler until smooth and shiny. For a thinner, glossier coating, you may add an optional tablespoon of butter or vegetable oil.
-
Dip each chilled coconut bar into the melted chocolate using a fork, ensuring it is completely coated. Tap off any excess chocolate before transferring.
-
Optionally, sprinkle a little extra coconut on top of the freshly dipped bars. Return the pan to the fridge until the chocolate coating is completely set and firm.
Nutrition
The recipes on this blog are tested with a conventional gas oven and gas stovetop. It’s important to note that some ovens, especially as they age, can cook and bake inconsistently. Using an inexpensive oven thermometer can assure you that your oven is truly heating to the proper temperature. If you use a toaster oven or countertop oven, please keep in mind that they may not distribute heat the same as a conventional full sized oven and you may need to adjust your cooking/baking times. In the case of recipes made with a pressure cooker, air fryer, slow cooker, or other appliance, a link to the appliances we use is listed within each respective recipe. For baking recipes where measurements are given by weight, please note that results may not be the same if cups are used instead, and we can’t guarantee success with that method.
