Ultimate No-Bake Chocolate Chip Cookie Icebox Cake: Easy Layers of Creamy Cookie Bliss
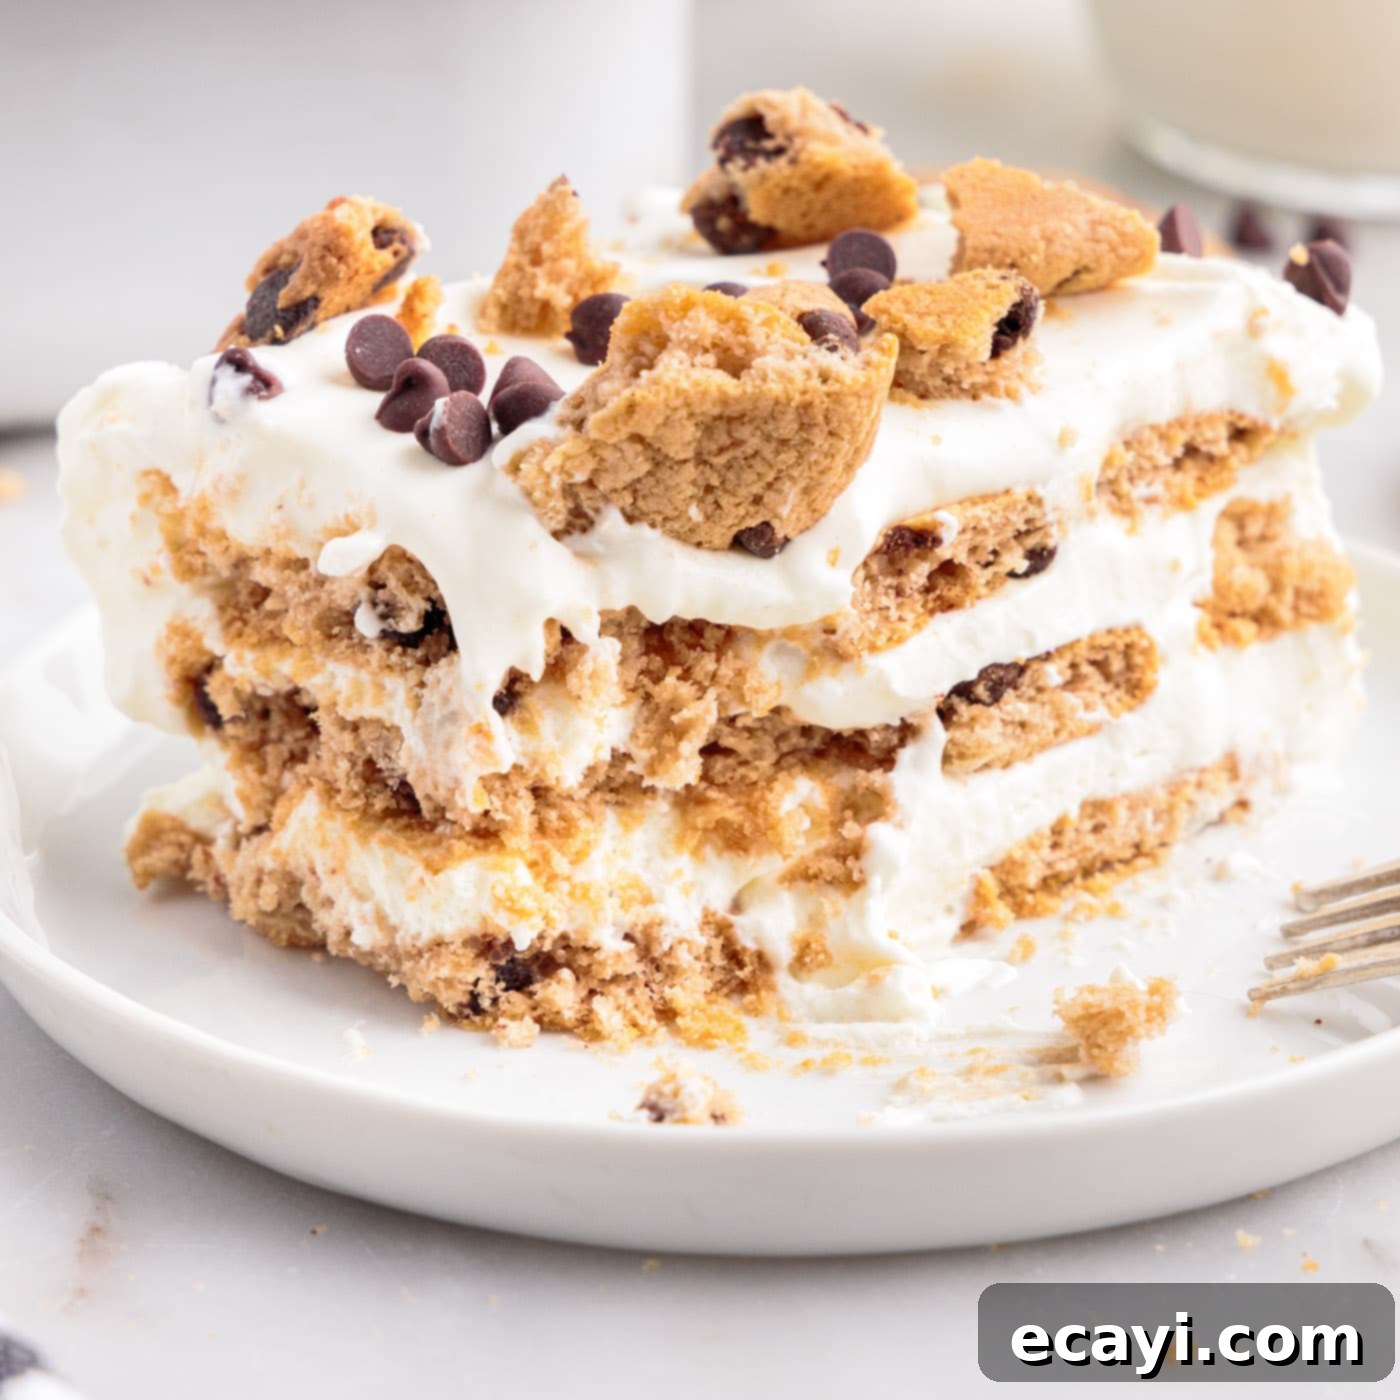
Prepare to be amazed by this no-bake chocolate chip cookie icebox cake! Featuring six indulgent layers of dreamy milk and cookies goodness, this dessert is not only incredibly delicious but also surprisingly easy to assemble. It’s the perfect treat for any occasion, promising a delightful blend of textures and flavors that will leave everyone craving another slice.
Why This No-Bake Chocolate Chip Cookie Icebox Cake Recipe Works Wonders
There’s a universally beloved comfort in the simple pairing of milk and cookies, a combination that truly stands superior among all snacks. That comforting, nostalgic feeling of a sweet, soft cookie soaking up cold milk is exactly the inspiration behind this phenomenal chocolate chip cookie icebox cake. This no-bake wonder captures that magic perfectly.
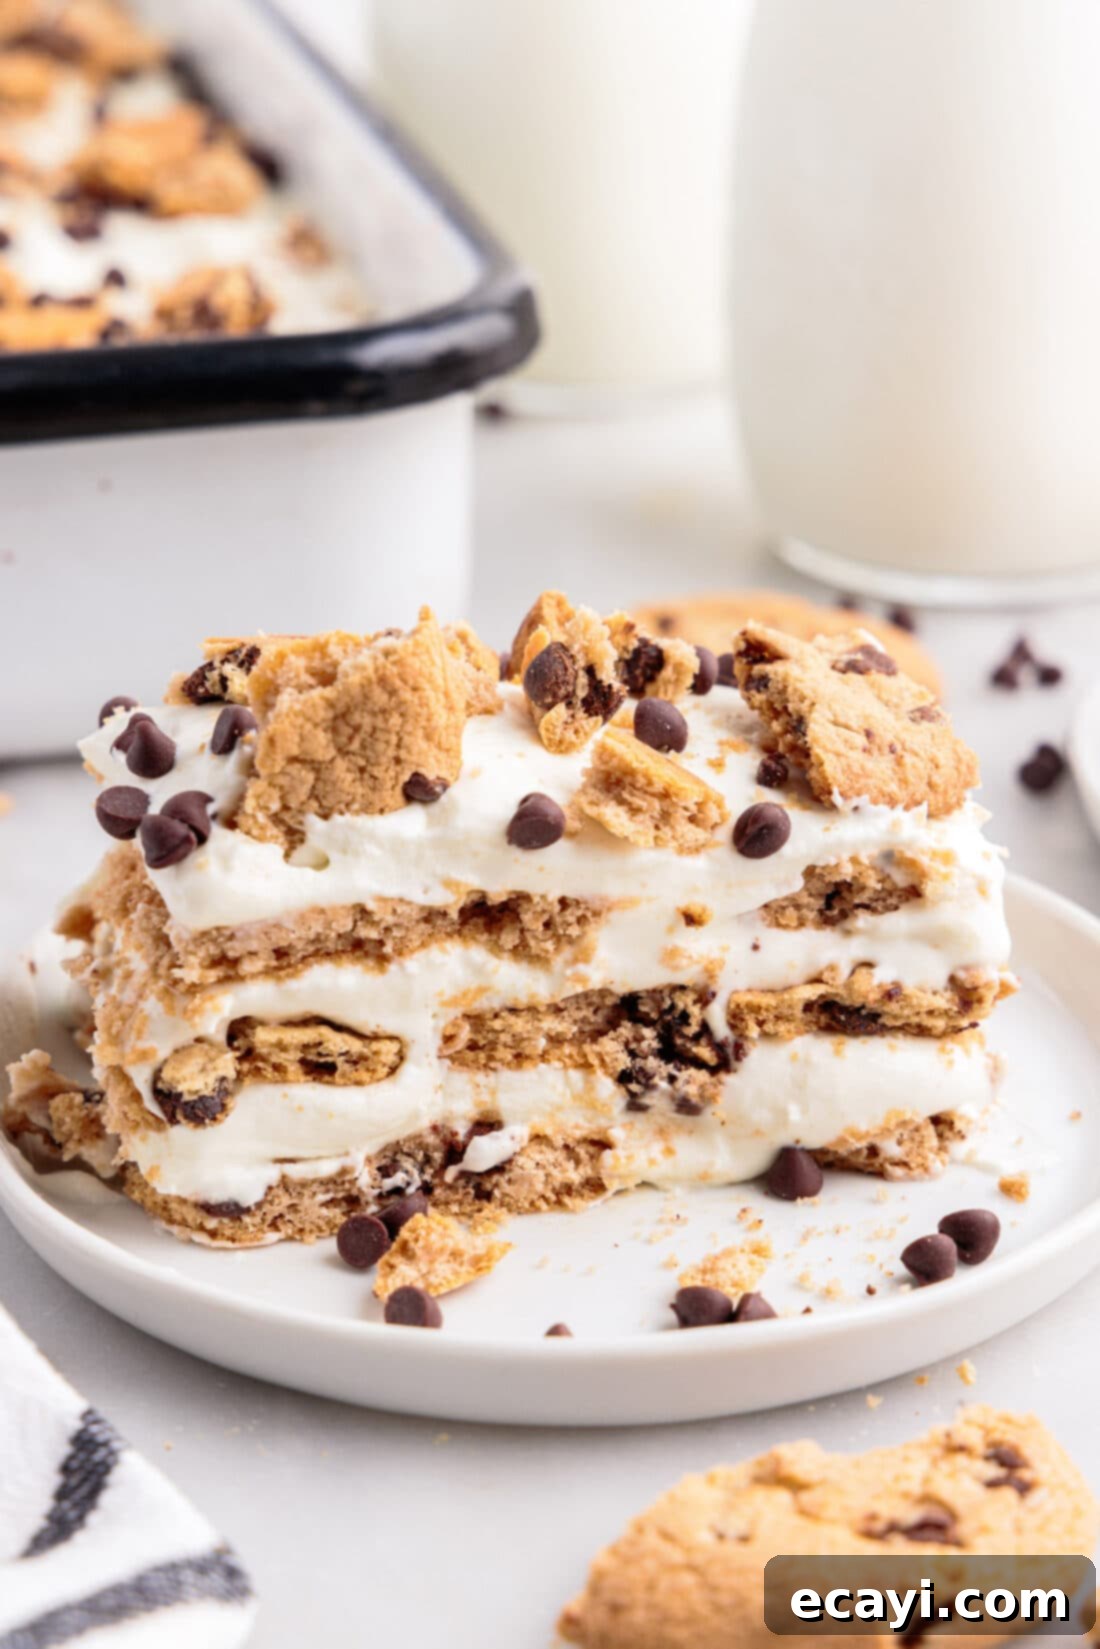
The brilliance of an icebox cake lies in its effortless transformation. Crisp chocolate chip cookies are layered with a rich, sweetened whipped cream cheese mixture. As the cake chills in the refrigerator, the cookies slowly absorb moisture from the creamy filling, softening into a luscious, cake-like texture. This process mimics the delightful experience of dipping a cookie into milk, but on a grander, more decadent scale. You get all the tenderness of a baked cake without ever turning on your oven, making it an ideal dessert for warmer months or when you simply want to avoid the fuss of traditional baking.
We’ve achieved great success with our popular Oreo icebox cake in the past, a testament to the irresistible charm of these layered chilled desserts. Now, it’s high time to give classic Chips Ahoy cookies the spotlight they so greatly deserve in the no-bake icebox cake arena. Their signature crunch and abundant chocolate chips are simply perfect for this application, creating a harmonious blend of creamy and tender in every bite.
Key Ingredients for Your No-Bake Masterpiece
Crafting this amazing chocolate chip cookie icebox cake requires just a few simple ingredients, easily found at any grocery store. For the precise measurements, detailed instructions, and a printable recipe card, please refer to the end of this comprehensive guide. Here’s a quick overview of what you’ll need to gather:
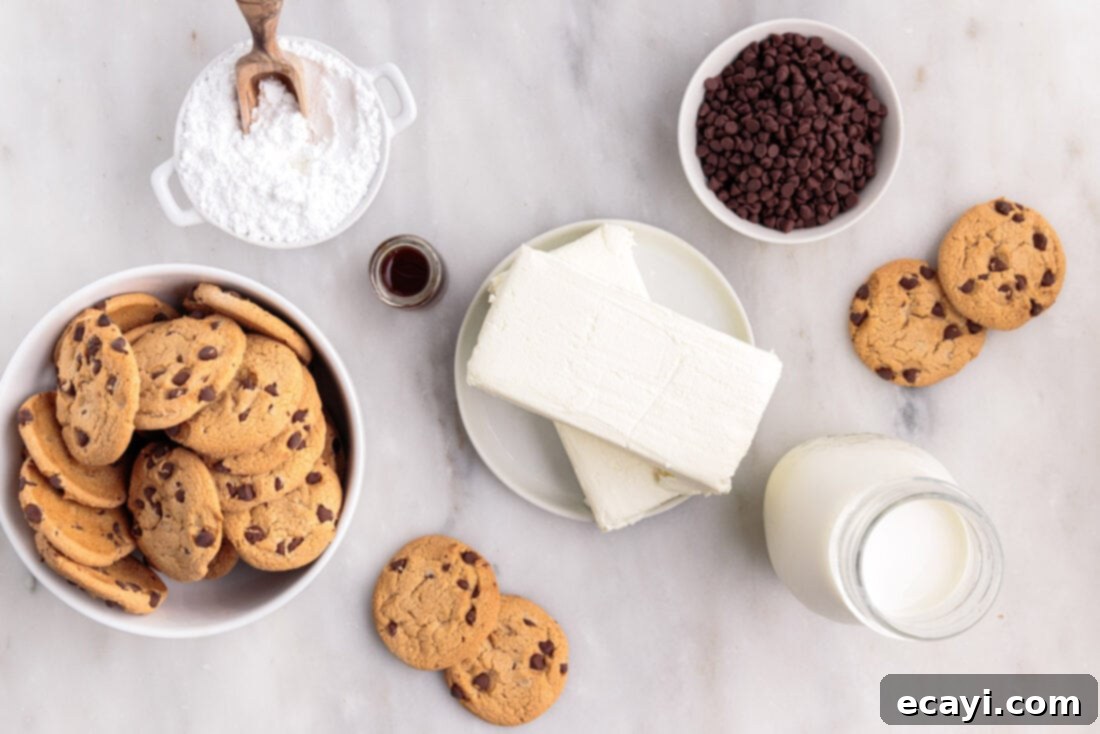
Ingredient Details and Smart Substitution Ideas
Let’s dive deeper into each component, ensuring you get the best possible results for your icebox cake.
COOKIE Selection: The star of this show! While our recipe specifically calls for chocolate chip cookies, the key is to choose a crisp variety. Store-bought options like classic Chips Ahoy cookies are perfect because their inherent crispness allows them to soften beautifully when layered with the cream. Many bakery sections also offer thin, crisp chocolate chip cookies that would work wonderfully. Avoid soft-baked cookies for this recipe, as they won’t achieve the desired cake-like transformation.
If you’re an avid baker and prefer to make your own cookies, ensure they are baked for a few extra minutes until they are noticeably crunchy. This slight over-baking for traditional eating purposes is actually ideal for an icebox cake, as it provides the structural integrity needed to soak up the cream without becoming mushy too quickly. Remember, the goal is a cookie that can undergo a delightful textural change, evolving from crisp to tender.
CREAM CHEESE: Use full-fat cream cheese for the richest, creamiest texture and best flavor. Ensure it’s fully softened to room temperature before beating. This is crucial for a smooth, lump-free filling. Cold cream cheese will result in a clumpy mixture that is difficult to incorporate properly.
HEAVY WHIPPING CREAM: This is what gives your filling its light and airy volume. It’s essential that your heavy whipping cream is very cold. Chilling your mixing bowl and beaters in the freezer for 10-15 minutes beforehand can also help achieve maximum fluffiness and stability. Do not substitute with half-and-half or milk, as they lack the fat content needed to whip properly.
POWDERED SUGAR (Confectioners’ Sugar): Powdered sugar is preferred over granulated sugar for this recipe because it dissolves easily into the cream cheese mixture, ensuring a smooth, silken consistency without any grittiness. It also helps stabilize the whipped cream. Adjust the amount to your desired sweetness level, but remember the cookies also contribute sweetness.
VANILLA EXTRACT: A touch of good quality vanilla extract elevates all the flavors in the cream filling. Don’t skip it! Pure vanilla extract offers the best taste, but imitation vanilla can be used in a pinch.
GARNISH (Optional): Mini chocolate chips and extra cookie crumbs are fantastic for decoration, adding visual appeal and an extra layer of chocolatey goodness. You could also drizzle with chocolate sauce or a sprinkle of cocoa powder for an elegant touch.
Effortless Steps: How to Make Chocolate Chip Cookie Icebox Cake
These step-by-step photos and detailed instructions are provided to help you visualize each stage of making this delectable no-bake dessert. For the complete, printable recipe card with precise measurements and ingredient list, simply Jump to Recipe at the very bottom of this post.
- Prepare the Cream Cheese Base: In a large mixing bowl, beat the softened cream cheese with an electric hand mixer until it becomes light, airy, and completely fluffy. This usually takes 2-3 minutes, ensuring there are no lumps and the texture is perfectly smooth.
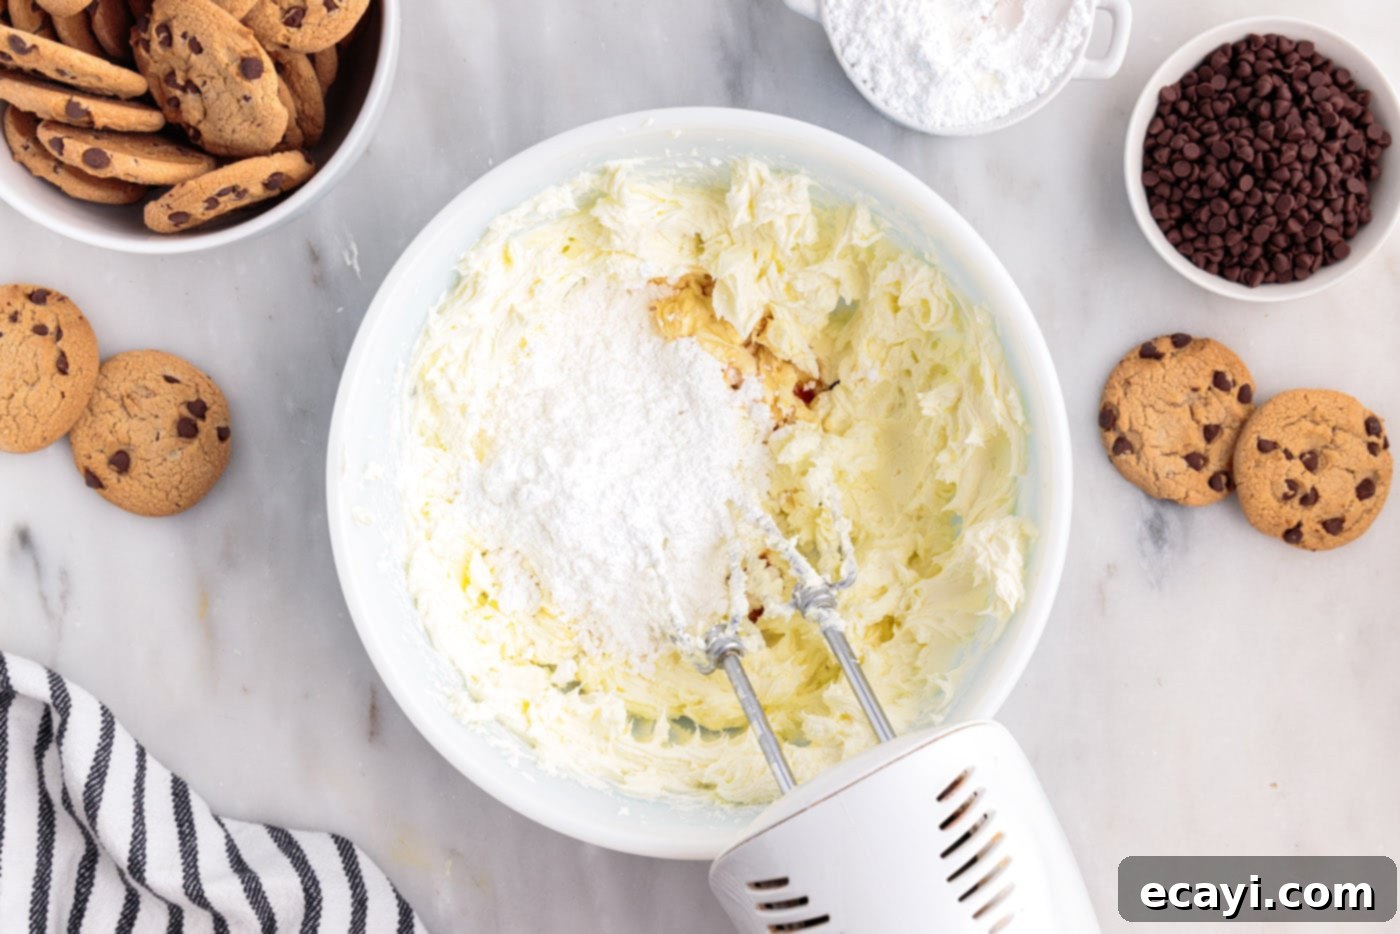
- Sweeten and Flavor the Cream: Add the vanilla extract and powdered sugar to the whipped cream cheese. Continue beating with your hand mixer until the mixture is smooth, thoroughly combined, and uniformly sweet. Scrape down the sides of the bowl to ensure all ingredients are well incorporated.

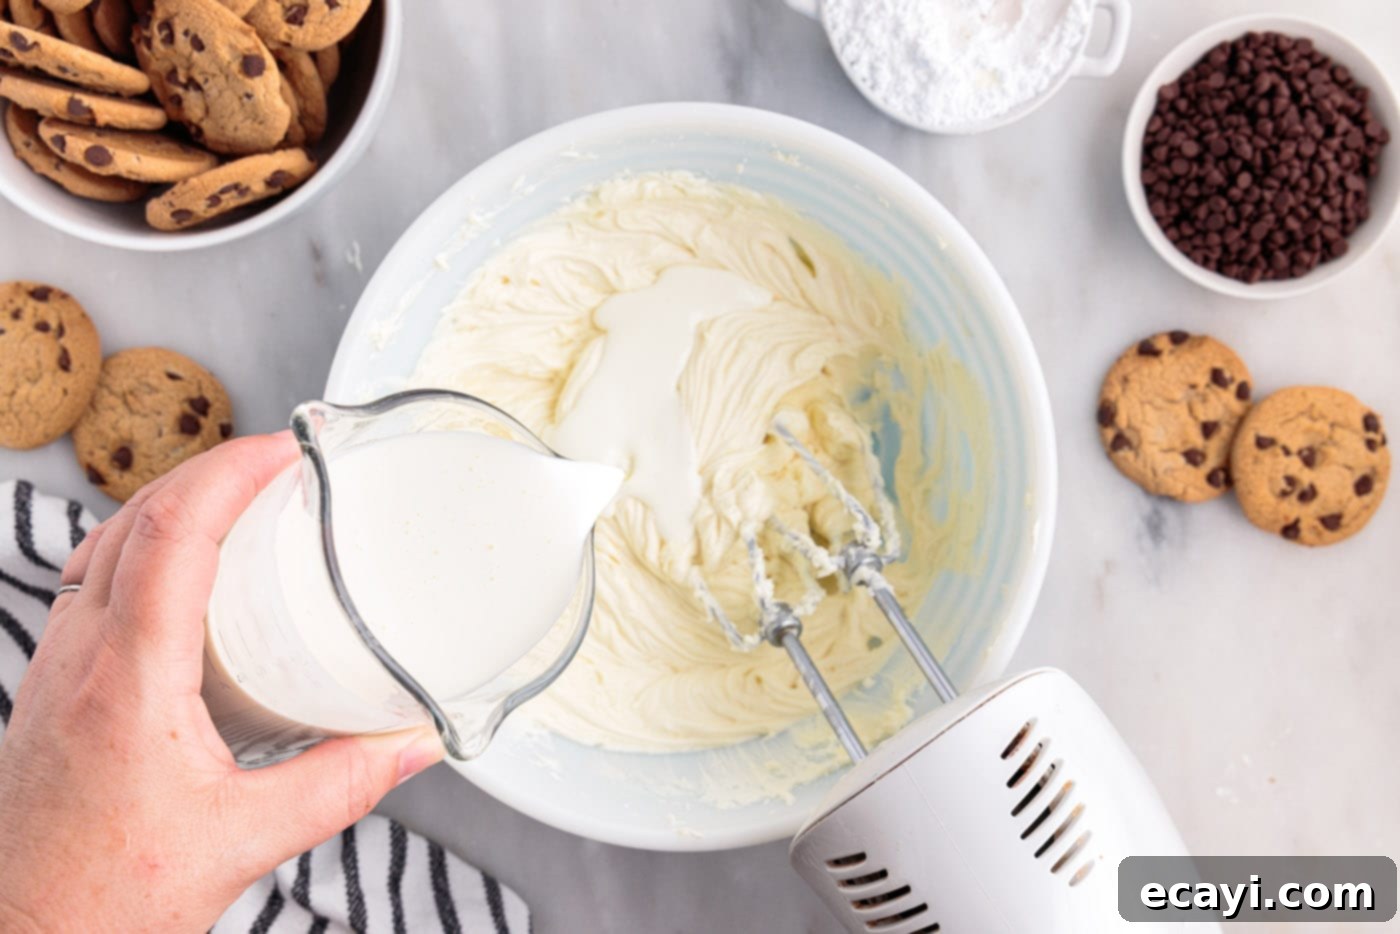
- Incorporate the Heavy Cream: Begin adding the very cold heavy cream to the cream cheese mixture, a little at a time, while beating constantly with the hand mixer. This gradual addition helps prevent the mixture from seizing and ensures a smooth, stable emulsion. Continue adding the cream and beating until the entire mixture is light, fluffy, and holds soft peaks, forming a voluminous, creamy filling. This process typically takes several minutes.

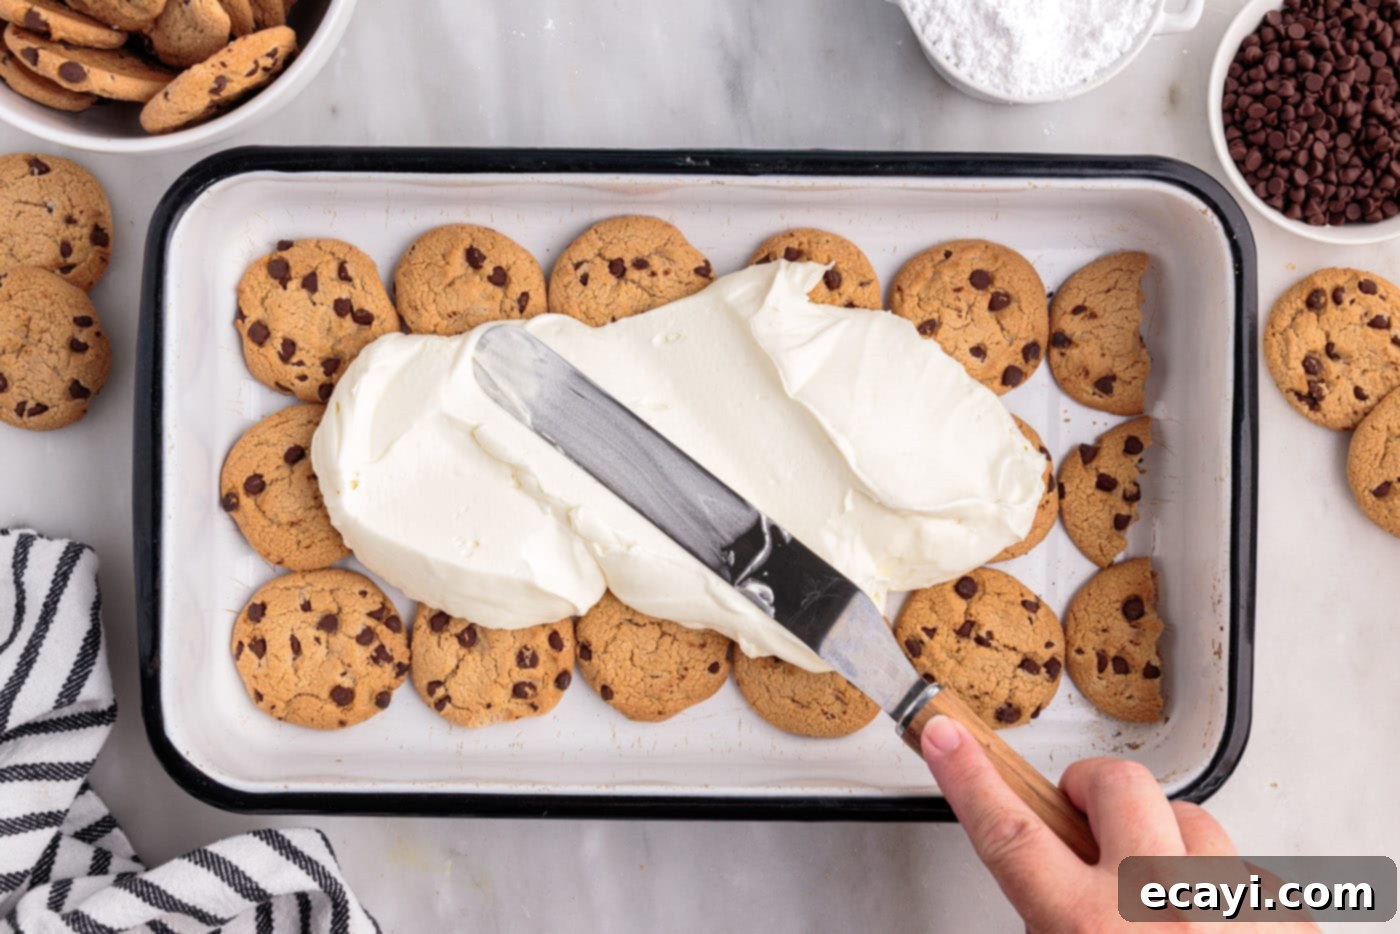
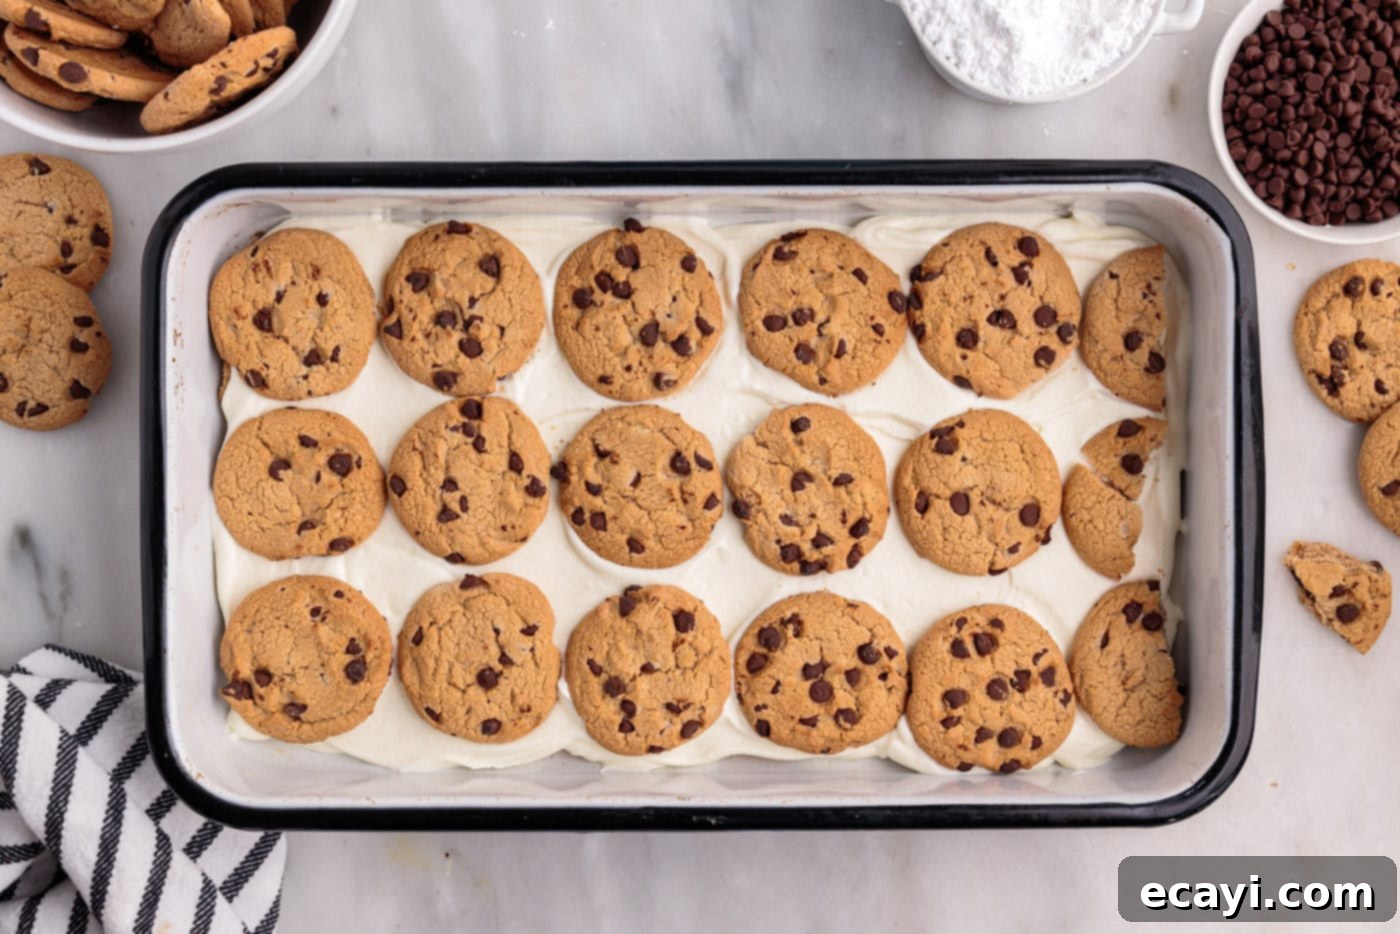
- First Cookie Layer: Arrange a single layer of chocolate chip cookies to completely cover the bottom of a 9×13-inch glass casserole dish. You may need to gently break some of the cookies in half or into smaller pieces to fill any gaps and create an even, solid base.
- First Cream Layer: Carefully spread one-third of the prepared fluffy cream mixture evenly over the layer of chocolate chip cookies. Use an offset spatula or the back of a spoon to ensure a smooth, consistent layer that touches all the cookies.

- Repeat and Finish: Continue this layering process, alternating between layers of cookies and cream mixture, until you have three distinct layers of cookies and three layers of cream. Ensure the final layer is the smooth, creamy whipped cream mixture.


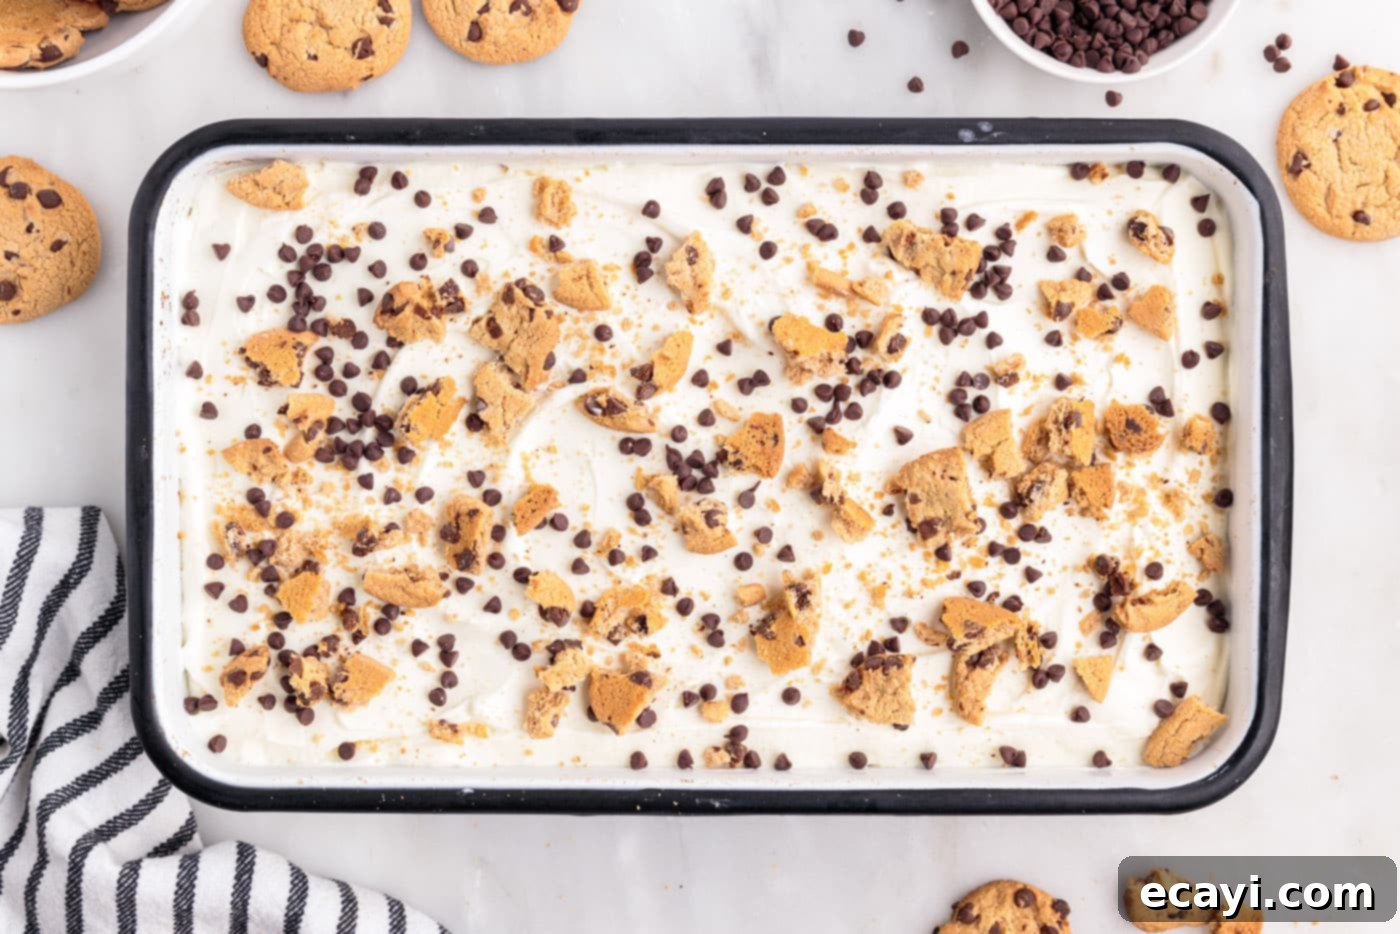
- Garnish (Optional): For an extra touch of visual appeal and flavor, sprinkle the top with additional cookie crumbs, mini chocolate chips, or even a few whole mini chocolate chip cookies to decorate before chilling.
- Chill to Perfection: Place the icebox cake in the refrigerator for at least 4 hours to allow it to set up properly. For a firmer, more “ice cream cake” like texture, you can also place it in the freezer for a portion of the setting time. The longer it chills, the better the cookies will soften and the more cohesive the cake will become.
- Serve Chilled: If freezing, remove the cake from the freezer 15-20 minutes before serving to allow it to soften slightly for easier slicing. Cut into generous slices and enjoy this delightful no-bake treat!
Frequently Asked Questions & Expert Tips for Success
Absolutely, this recipe serves as a fantastic base for all sorts of delicious cookie variations! The key is to use thin, crisp cookies that will effectively absorb the moisture from the cream mixture and transform into that wonderful cake-like consistency. Excellent choices include classic gingersnaps for a spicy twist, buttery shortbread cookies, elegant biscotti, simple sugar cookies, or even vanilla wafers. And of course, you can always revert to our beloved Oreo icebox cake for a different flavor profile!
To maintain its freshness and prevent it from drying out, store this icebox cake tightly covered. You can use plastic wrap pressed directly onto the surface of the cake, or transfer it to an airtight container. Keep it in the refrigerator for up to 3 days. The flavors will actually meld and improve over the first day or two!
Yes, making this cake ahead of time is highly recommended and, in fact, essential for the best results! It needs a minimum of 4 hours in the refrigerator to properly set and allow the cookies to soften. You can easily prepare this chocolate chip cookie icebox cake a full day in advance and store it covered in the refrigerator until you’re ready to serve. Many people find that the cake tastes even better the longer it has to sit, as the cookie layers become more tender and infused with the rich, sweetened cream cheese mixture. It’s a perfect make-ahead dessert for parties and gatherings.
Absolutely! This icebox cake freezes beautifully. To store it in the freezer, first ensure it’s tightly covered with plastic wrap, then add an additional layer of aluminum foil to prevent freezer burn. It will keep well in the freezer for 2-3 weeks. When you’re ready to enjoy it, simply transfer it to the refrigerator to thaw for a few hours, or take it out about 15-20 minutes before serving for a slightly firmer, semi-frozen consistency.
For the fluffiest cream filling, make sure your heavy cream is very cold, and consider chilling your mixing bowl and beaters for 10-15 minutes before you start. When adding the heavy cream to the cream cheese mixture, pour it in slowly, a little at a time, while continuously beating. This gentle incorporation helps to build volume and ensures a smooth, stable whipped cream cheese mixture that won’t separate.
Properly softened cream cheese is key to a smooth filling. If you forget to take it out ahead of time, you can quickly soften it by removing it from its foil wrapper and microwaving it on low power (e.g., 50%) for 15-30 seconds, checking and flipping it halfway through. Be careful not to melt it, just soften it.
When creating your cookie layers, don’t be afraid to break cookies to fill gaps in your dish. An even cookie base ensures that the cream mixture spreads uniformly and that each slice has a consistent texture. For the cream layers, use an offset spatula to gently spread the mixture from the center outwards, ensuring consistent thickness and full coverage.
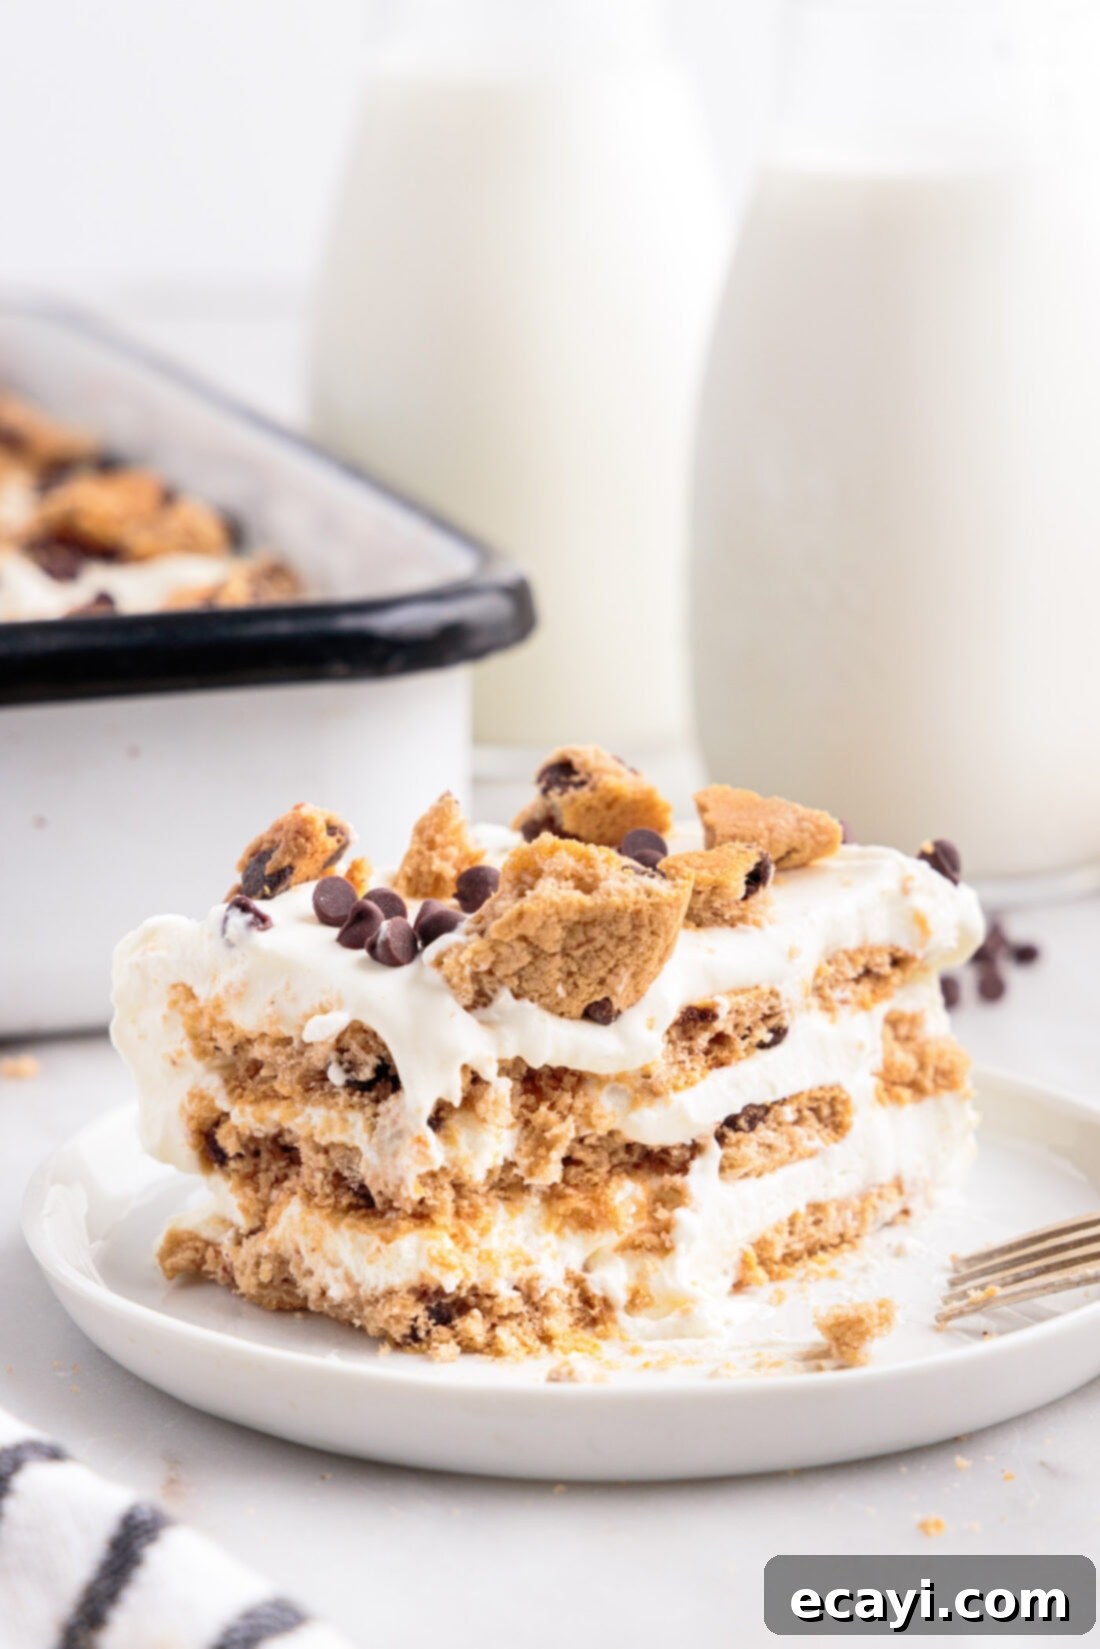
Delightful Serving Suggestions
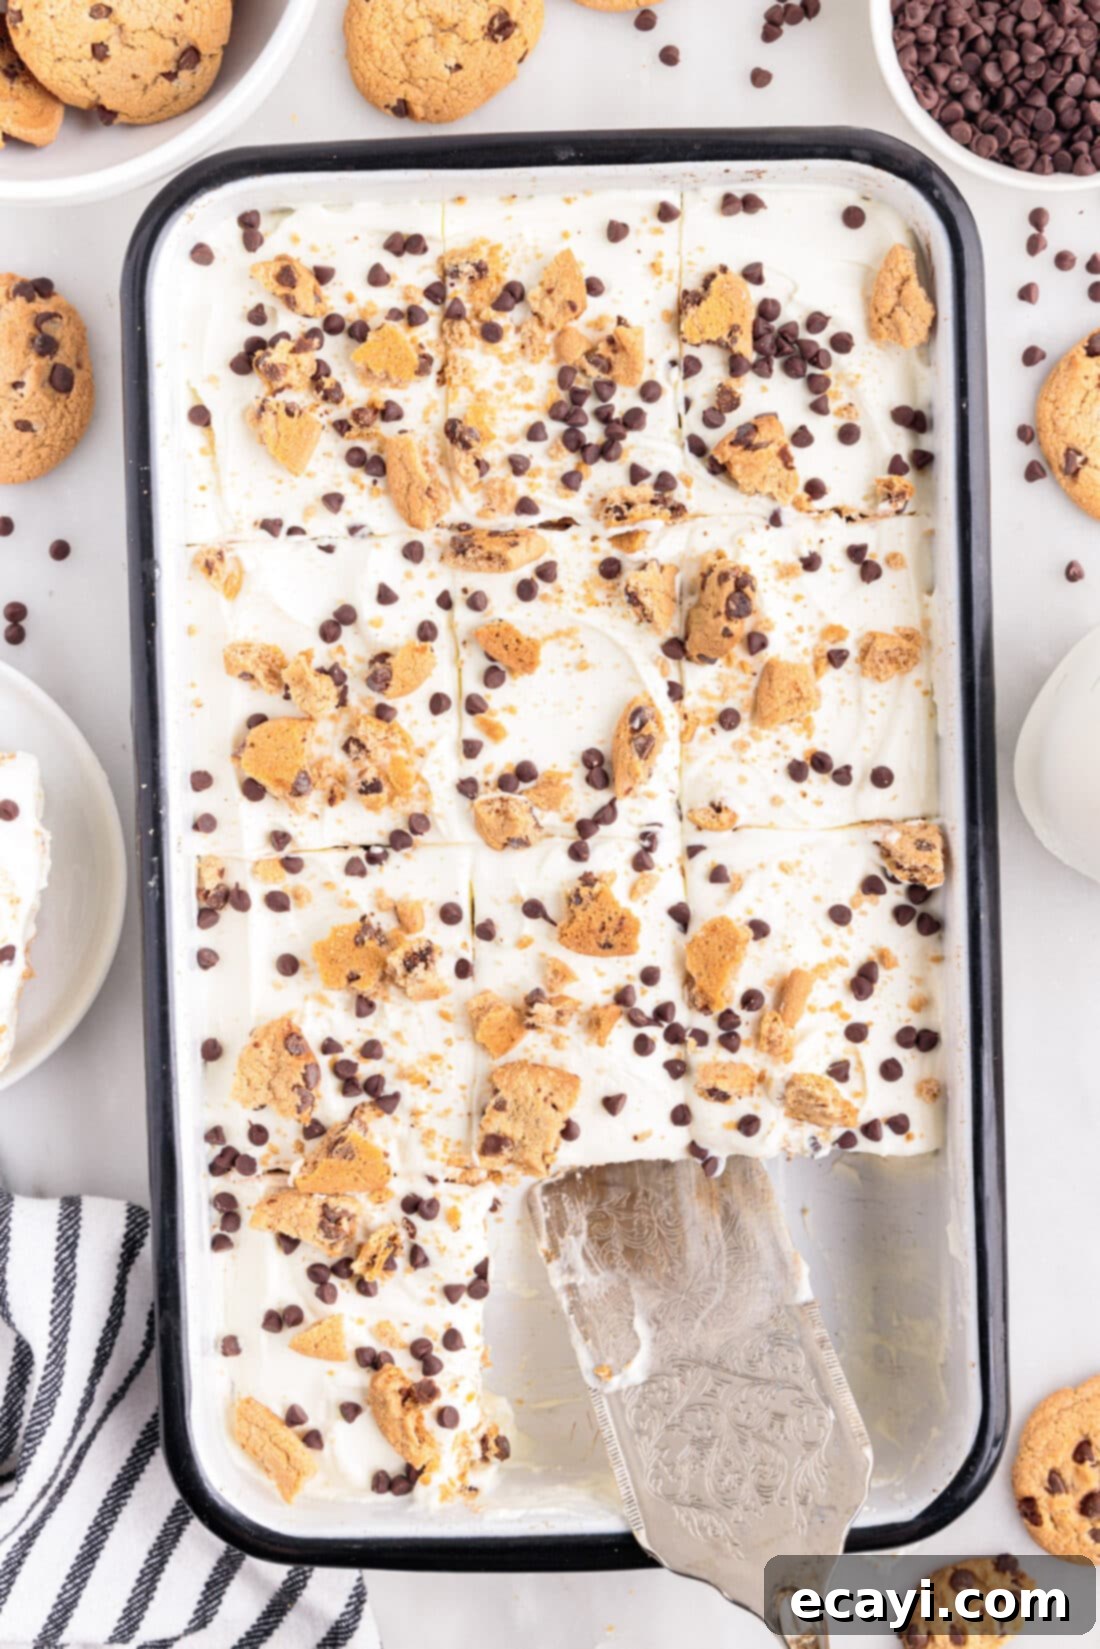
This chocolate chip cookie icebox cake is best served thoroughly chilled, cut into neat slices. While it won’t be as dense or firm as a traditional pudding-based icebox cake, it will slice beautifully, with the cookies perfectly softened and each piece holding its shape wonderfully after several hours of chilling. Its texture is a harmonious balance between a creamy pudding and a tender cake.
For an extra touch of flair and flavor, consider these optional garnishes: sprinkle mini chocolate chips over the top for more chocolatey goodness, add crumbled cookie pieces for visual appeal and textural contrast, or drizzle with a rich chocolate sauce. A light dusting of cocoa powder or a dollop of extra whipped cream can also elevate the presentation, making this simple dessert feel truly gourmet. Serve it as a refreshing end to a family meal, a show-stopping potluck contribution, or a casual treat any day of the week.
Explore More Irresistible Icebox Cake Recipes
If you loved the ease and deliciousness of this chocolate chip cookie icebox cake, you’ll be thrilled to discover our other fantastic no-bake creations. Icebox cakes are incredibly versatile, offering endless flavor combinations to suit any craving or season. Expand your no-bake repertoire with these other delightful recipes:
- Refreshing Lemon Icebox Cake
- Zesty Orange Icebox Cake
- Sweet Strawberry Icebox Cake
- Vibrant Mixed Berry Icebox Cake
- Creamy Banana Cream Pie Icebox Cake
- Tangy Lemon Blueberry Icebox Cake
- Peanut Butter Lover’s Nutter Butter Icebox Cake
I love to bake and cook and share my kitchen experience with all of you! Remembering to come back each day can be tough, that’s why I offer a convenient newsletter every time a new recipe posts. Simply subscribe and start receiving your free daily recipes!
Chocolate Chip Cookie Icebox Cake
IMPORTANT – There are often Frequently Asked Questions within the blog post that you may find helpful. Simply scroll back up to read them!
Print It
Pin It
Rate It
Save ItSaved!
Ingredients
- 16 ounces cream cheese two 8 ounce packages, softened*
- 1 Tablespoon vanilla extract
- 1 cup powdered sugar
- 3 cups heavy whipping cream cold
- 26 ounces Chips Ahoy cookies 2 – 13 oz packages
- ½ cup mini chocolate chips for garnish
Things You’ll Need
-
13×9 baking dish
-
Hand mixer
-
Mixing bowls
Before You Begin
- Store this delightful dessert tightly wrapped with plastic wrap or with an air-tight lid in the refrigerator for up to 3 days. For longer storage, it can be kept in the freezer for 2-3 weeks, ensuring it’s well-wrapped to prevent freezer burn.
- The ingredient quantities in this recipe are calibrated to create beautifully even layers of cookies and cream mixture, providing a balanced bite. If you prefer a thicker, more prominent cream layer, you have the option to beat in an additional 1 cup of heavy cream into the mixture. However, many find the current balance perfectly satisfying.
- For a slightly different texture and quicker softening, you can use Chips Ahoy thin cookies. They will still soften wonderfully and result in a slightly thinner, more delicate cake layer.
- It’s important to remember that this icebox cake will not set up with the same firm, dense consistency as a traditional pudding-based icebox cake. Instead, it offers a beautifully tender, cohesive slice where the cookies have softened to a cake-like texture, and the pieces hold their shape gracefully after several hours of proper chilling.
Instructions
-
In a large mixing bowl, beat the softened cream cheese with a hand mixer until it is light and fluffy, approximately 2-3 minutes.
-
Add the vanilla extract and powdered sugar, then continue to beat until the mixture is completely smooth and well combined. Scrape down the sides of the bowl as needed.
-
Gradually, add the cold heavy cream to the cream cheese mixture, pouring in just a little at a time while beating constantly. Continue beating until all the cream has been incorporated and the mixture is light, fluffy, and holds soft peaks.
-
Place a single layer of chocolate chip cookies to cover the bottom of a 9×13-inch glass casserole dish. Break some cookies in half or into smaller pieces as needed to fill any gaps and create an even layer.
-
Evenly spread one-third of the prepared cream mixture over the cookie layer.
-
Continue layering cookies and the remaining cream mixture, alternating between them until you have three layers of each, finishing with the whipped cream layer on top.
-
Optionally, sprinkle the top with additional cookie crumbs and mini chocolate chip cookies for decoration.
-
Place the assembled icebox cake in the refrigerator or freezer for at least 4 hours to allow it to fully set and for the cookies to soften.
-
If the cake was frozen, remove it from the freezer 15-20 minutes before serving to soften slightly for easier slicing. Cut into slices and enjoy!
Nutrition
The recipes on this blog are tested with a conventional gas oven and gas stovetop. It’s important to note that some ovens, especially as they age, can cook and bake inconsistently. Using an inexpensive oven thermometer can assure you that your oven is truly heating to the proper temperature. If you use a toaster oven or countertop oven, please keep in mind that they may not distribute heat the same as a conventional full sized oven and you may need to adjust your cooking/baking times. In the case of recipes made with a pressure cooker, air fryer, slow cooker, or other appliance, a link to the appliances we use is listed within each respective recipe. For baking recipes where measurements are given by weight, please note that results may not be the same if cups are used instead, and we can’t guarantee success with that method.
