Easy Heart-Shaped Valentine’s Day Cupcakes: The Perfect Homemade Treat
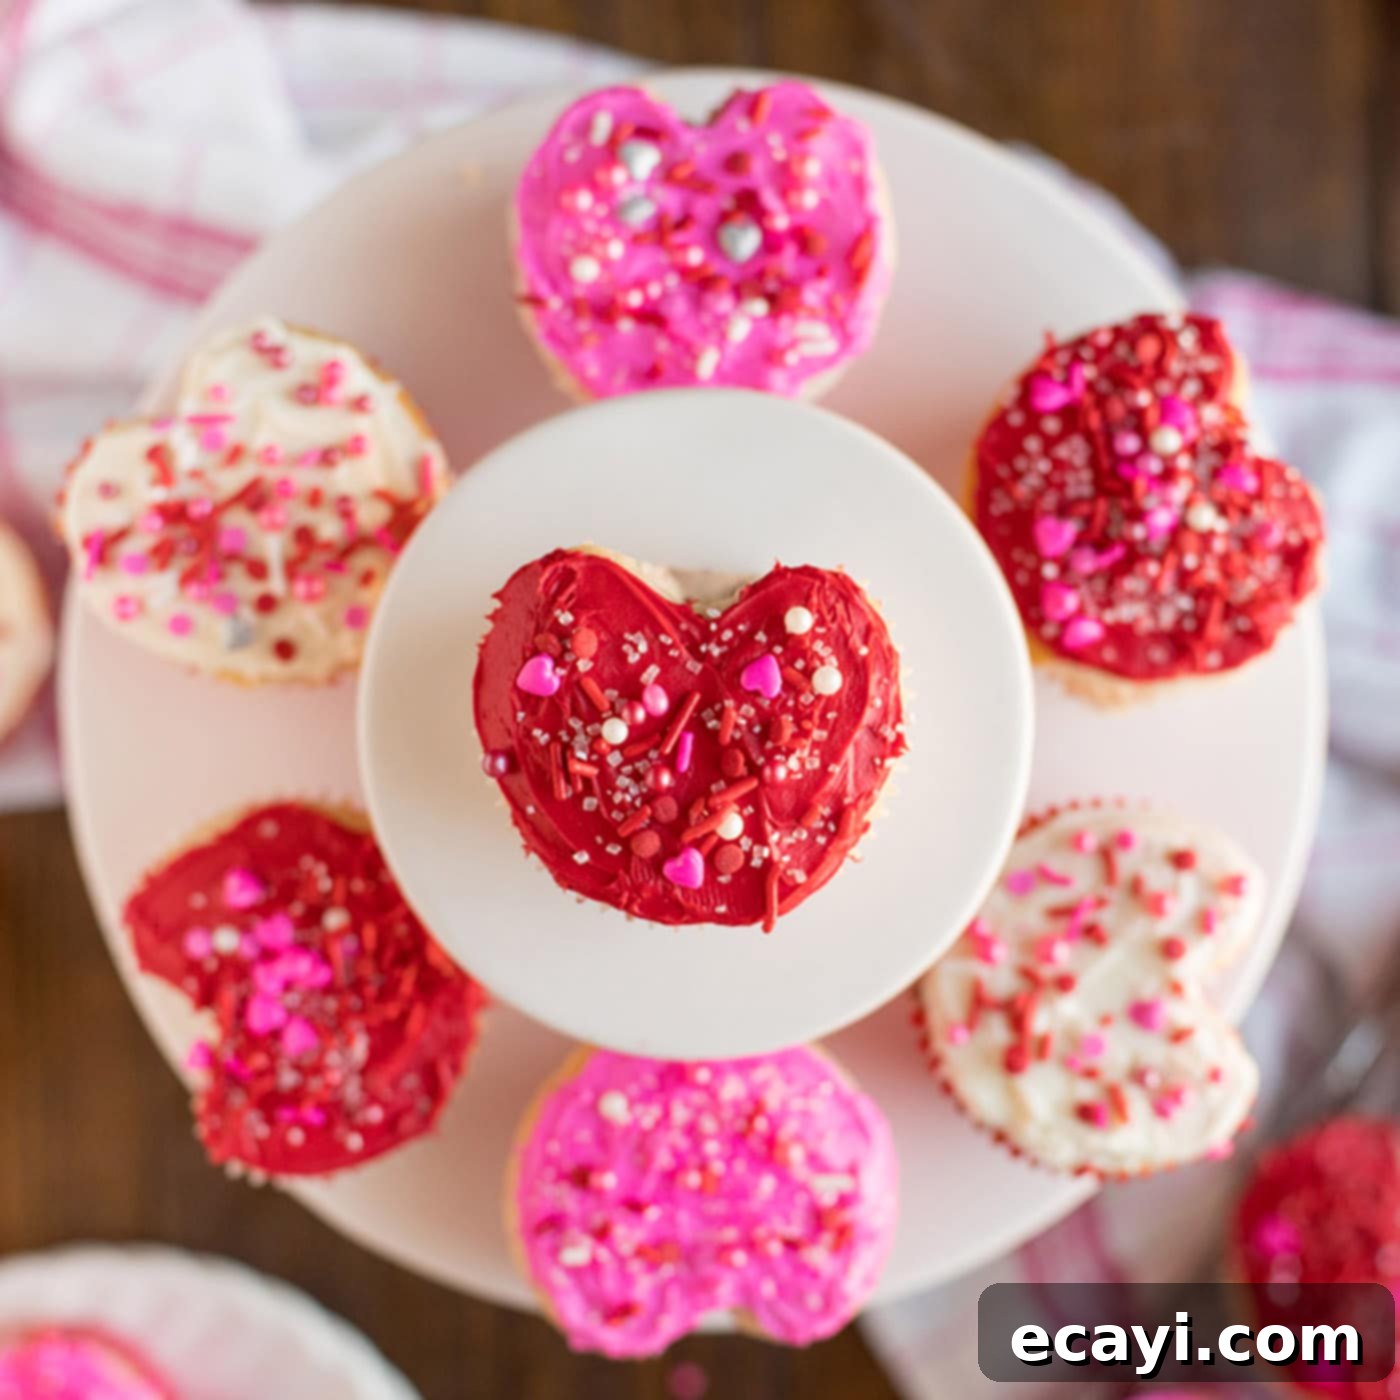
Nothing captures the essence of Valentine’s Day quite like a beautiful pink or red heart. Imagine gifting your loved ones these delightful Valentine’s cupcakes, meticulously shaped like hearts and adorned with luscious white, pink, and red frosting. What could be more charming and heartfelt? The best part is, you don’t need to be a professional baker to create these adorable and fun Valentine’s Day goodies. This straightforward recipe ensures everyone can whip up a batch of these festive treats, making them an ideal project for bakers of all skill levels.
Why This Heart Cupcake Recipe Is a Must-Try
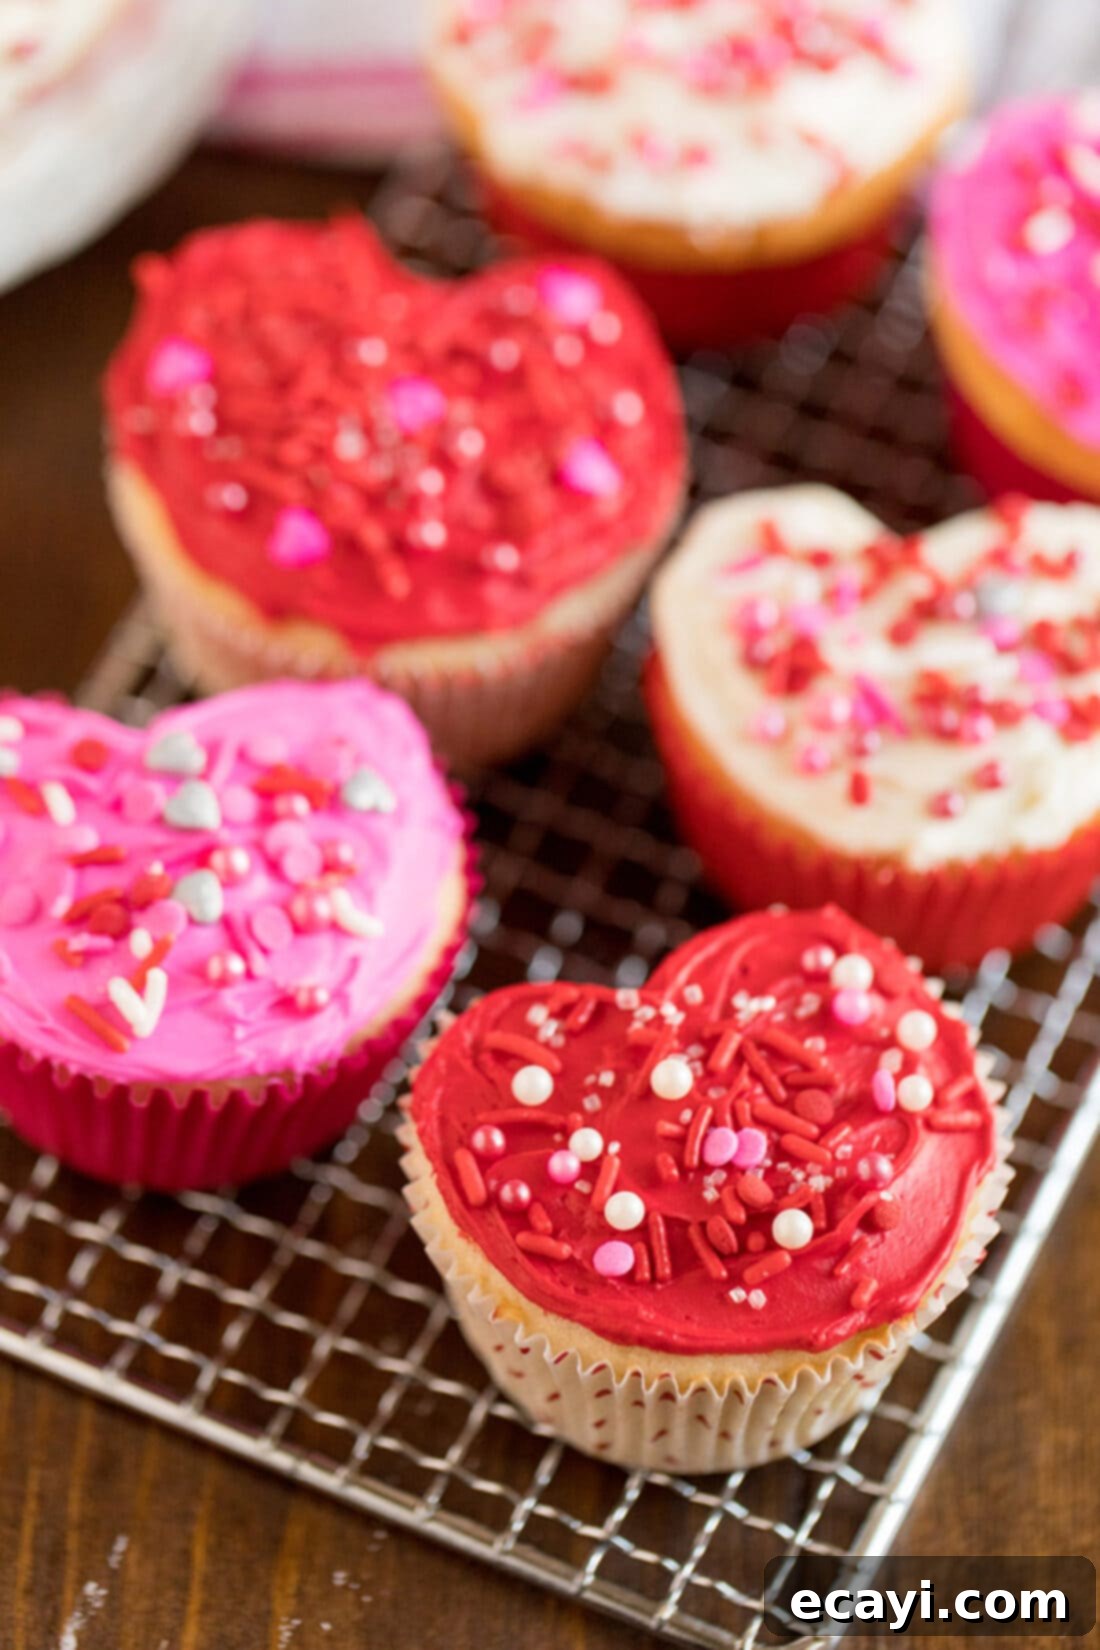
These heart-shaped Valentine’s Day cupcakes aren’t just visually appealing; they’re incredibly rewarding to make and even more delightful to share. Their charm transcends age, making them a hit with both children and adults. More than just a dessert, they serve as a wonderful, edible gift to show your affection to a sweetheart, friends, or family. The ingenious technique for creating the heart shape is surprisingly simple, transforming ordinary cupcakes into festive masterpieces without requiring any special heart-shaped pans. This recipe offers incredible versatility, allowing you to use your favorite white cake recipe from scratch, or to save time by starting with a convenient box mix. For an added layer of flavor and color, consider using a strawberry cake base, which would complement the Valentine’s theme perfectly. Just like our popular Red Velvet Fudge, these heart cupcakes are an easy and cherished edible gift for the season of love.
Essential Ingredients for Your Valentine Heart Cupcakes
To ensure you have everything ready for baking, refer to the printable recipe card at the end of this post for precise measurements, ingredient lists, and detailed instructions. Gathering your ingredients beforehand, often referred to as “mise en place,” will make your baking experience much smoother and more enjoyable.
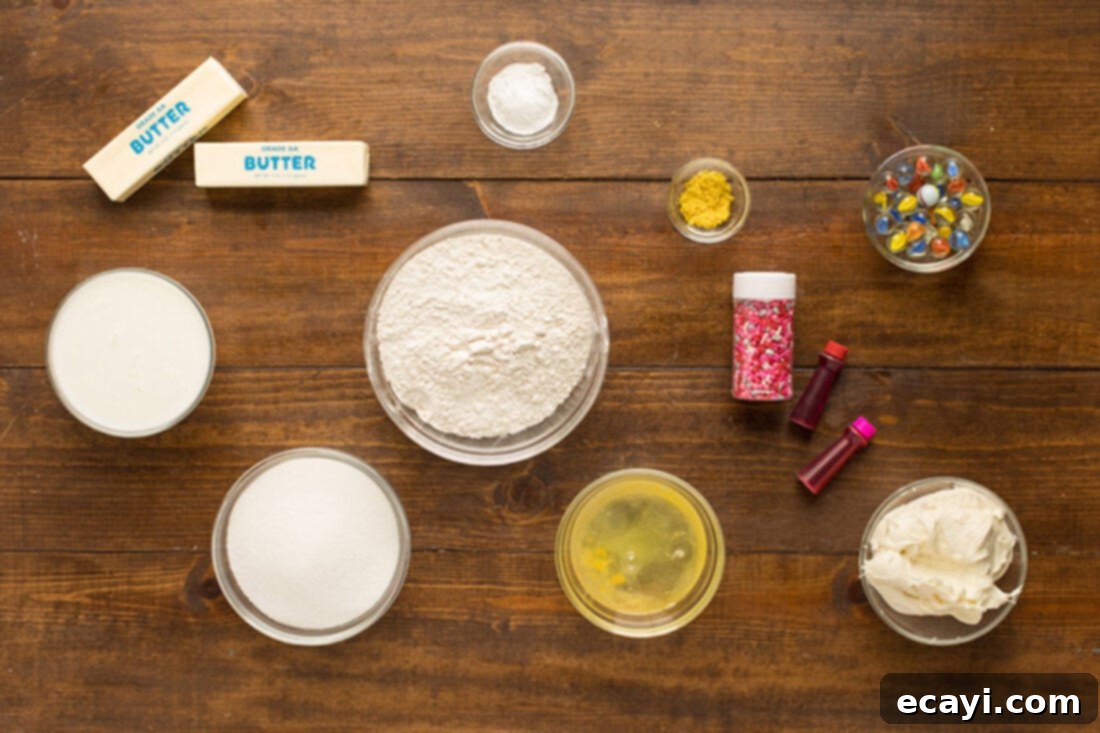
Ingredient Insights and Smart Substitutions
CUPCAKES: This recipe includes a delightful white cake base, which is my personal favorite for its delicate crumb and subtle flavor that allows the frosting to shine. However, if time is of the essence or if you prefer a simpler approach, a high-quality box cake mix will work just as beautifully. The key to the heart shape lies in the baking method, not necessarily the cake base itself. So feel free to choose what suits your baking style best. For a truly homemade touch, ensure your cake flour is sifted for the lightest texture, and that your butter and buttermilk are at room temperature for a smooth, emulsified batter.
FROSTING & ADDITIONS: For vibrant and rich colors, gel food coloring is highly recommended. Unlike liquid food coloring, a tiny amount of gel delivers intense hues without altering the consistency of your frosting. Liquid coloring can thin out your frosting, requiring more to achieve the desired shade, which can lead to a less stable and harder-to-pipe frosting. When it comes to garnishing your heart-shaped masterpieces, the possibilities are endless! Think beyond basic sprinkles. Consider using festive nonpareils for a classic look, glittering sanding sugar for a touch of sparkle, classic Jimmie sprinkles, or explore the wide variety of Valentine-themed sprinkles available. Red, pink, and white sugar pearls or edible glitter can also add an extra layer of elegance and fun.
Remember that softened butter is crucial for a light and fluffy cake batter. To quickly soften butter, you can cut it into smaller pieces and leave it on the counter for 30 minutes, or gently microwave it in 5-second intervals, being careful not to melt it completely. Buttermilk adds a lovely tang and moisture to the cake; if you don’t have buttermilk on hand, you can make a quick substitute by adding one tablespoon of white vinegar or lemon juice to a measuring cup, then filling the rest of the cup with regular milk to make 1 ¼ cups. Let it sit for 5-10 minutes until it slightly curdles.
Step-by-Step Guide to Crafting Valentine Heart Cupcakes
These step-by-step photos and detailed instructions are provided to help you visualize the process of making these charming heart cupcakes. For a printer-friendly version, please scroll down to the end of this post where you’ll find the complete recipe card.
- Preheat your oven to 350 degrees F (175 degrees C). Prepare your muffin pan by lining each cup with paper cupcake liners. This ensures easy removal and a clean presentation.
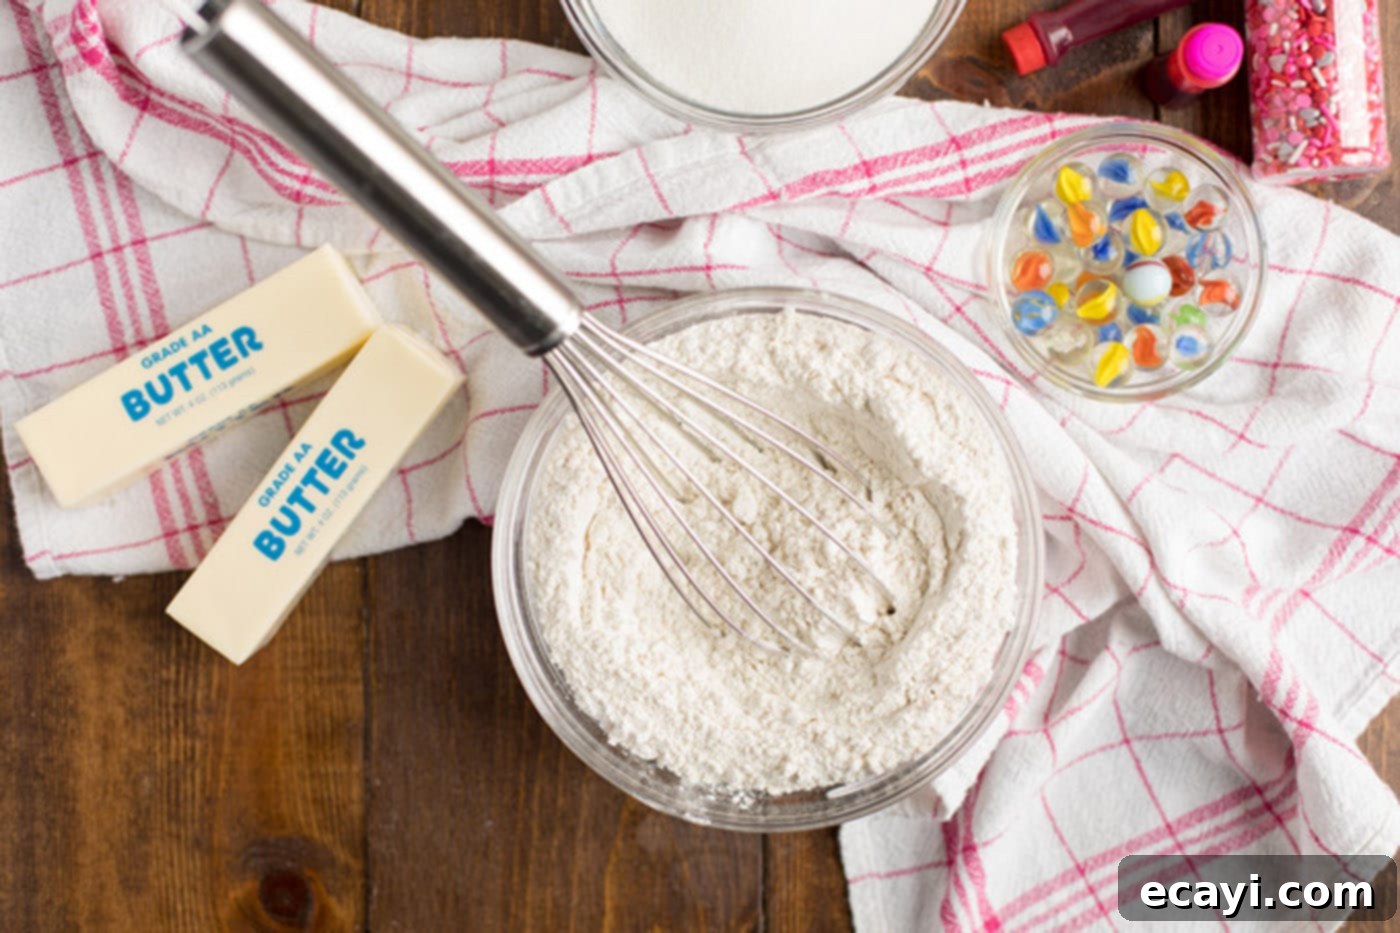
- In a medium-sized bowl, thoroughly whisk together the cake flour, baking powder, and salt. Whisking ensures these dry ingredients are evenly distributed, leading to a consistent rise and texture in your cupcakes.

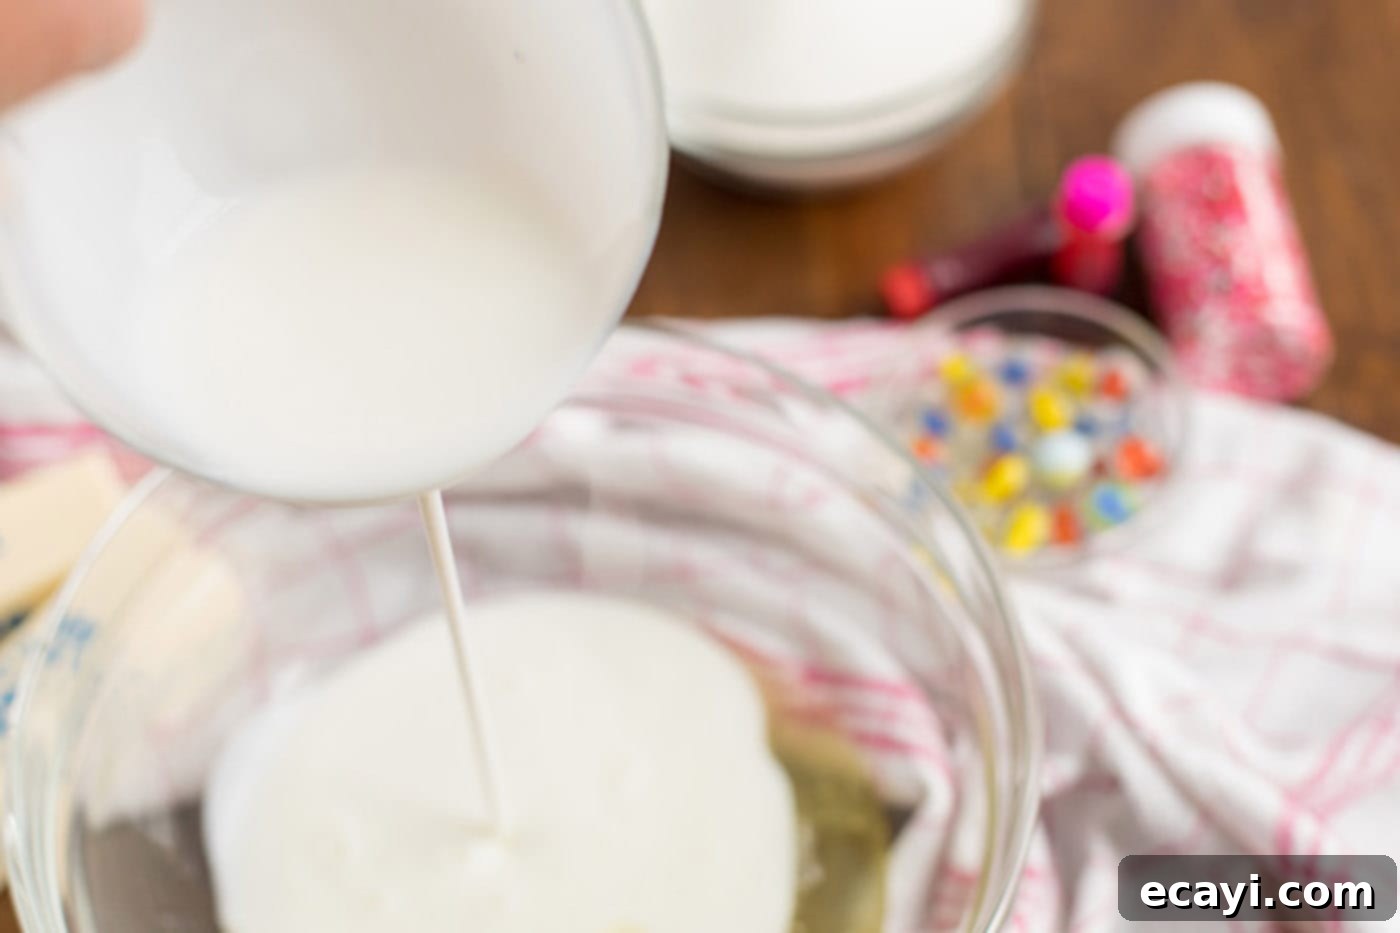
- In a separate, smaller bowl, gently whisk together the egg whites and buttermilk until just combined. This liquid mixture will be added alternately with the dry ingredients.

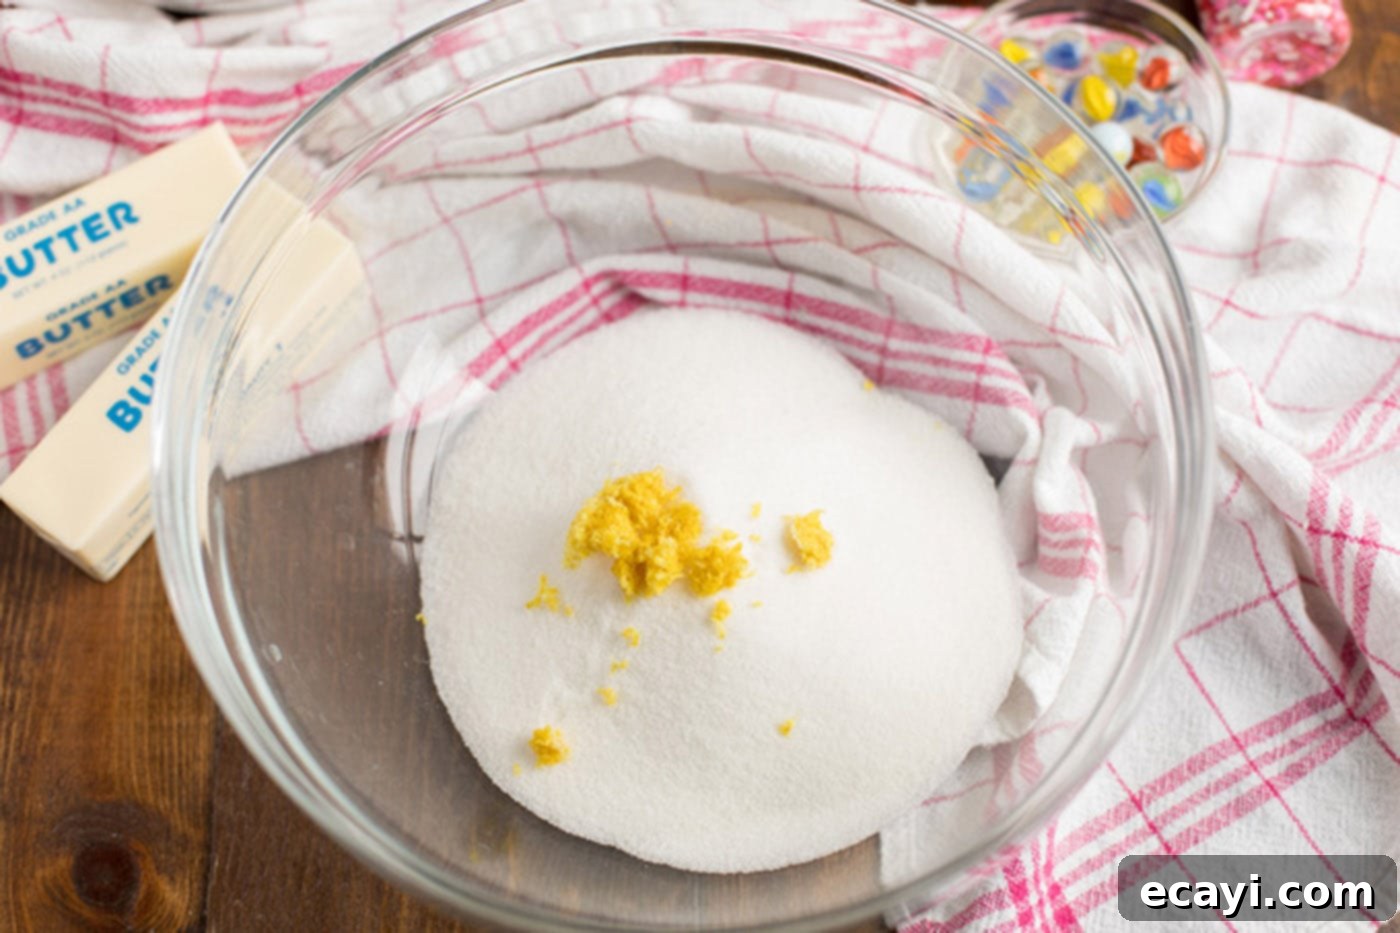
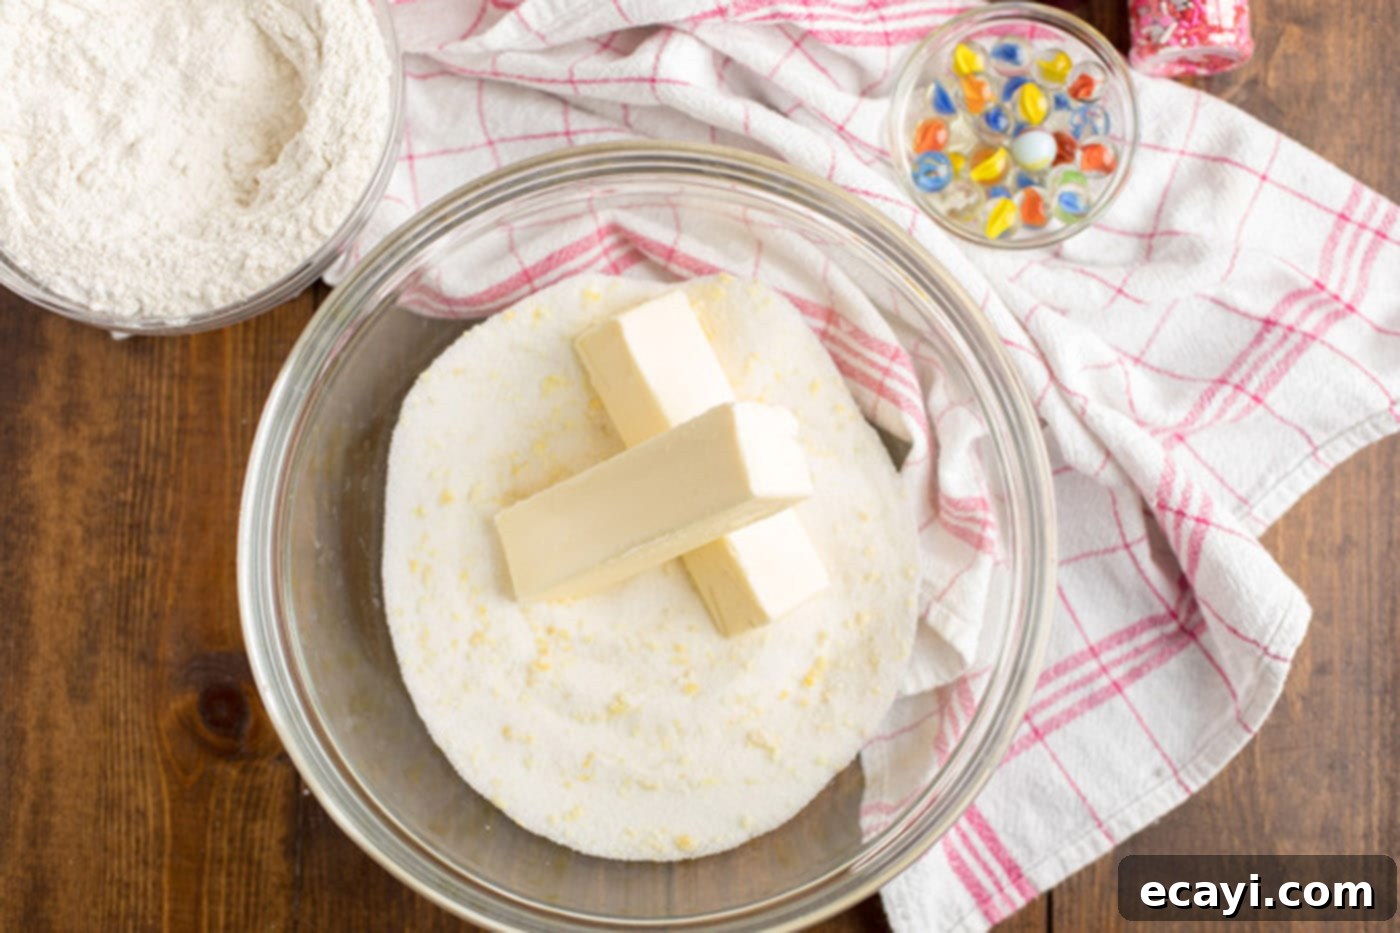
- Place the granulated sugar into the bowl of your stand mixer. Add the freshly grated lemon zest to the sugar. Using your fingers, rub the lemon zest into the sugar until it’s moist and wonderfully fragrant. This step infuses the sugar with bright citrus notes, enhancing the cake’s flavor. Then, add the softened unsalted butter to this fragrant sugar mixture. Beat at medium speed for about 3 minutes, or until the mixture becomes very light, fluffy, and pale in color. This creaming process is essential for incorporating air, which contributes to the cupcakes’ tender texture.


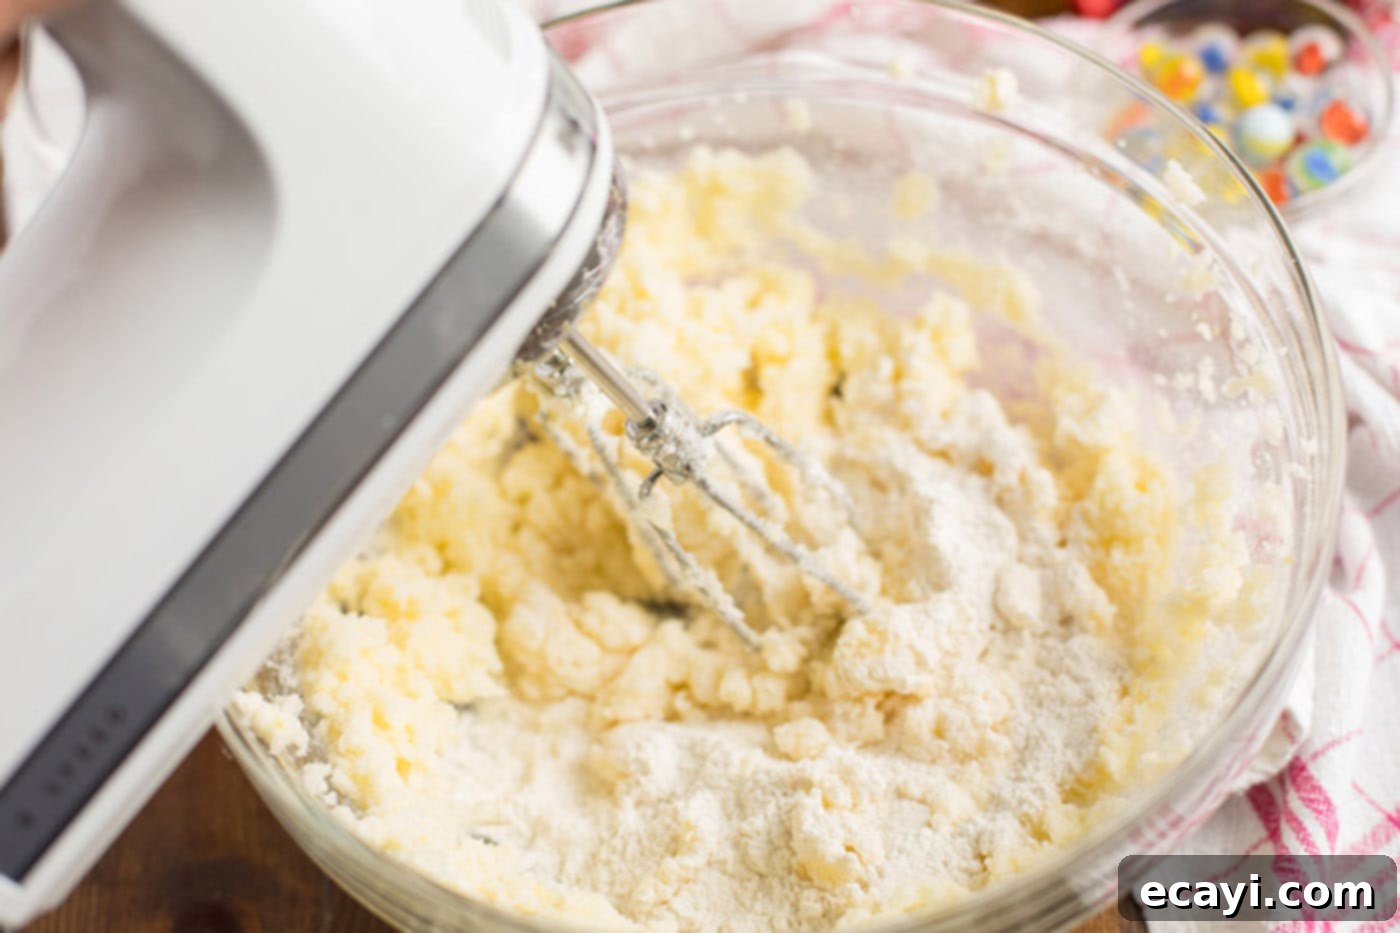
- With your mixer on low speed, gradually add one-third of the flour mixture to the butter-sugar mixture. Mix until just combined. Next, add half of the buttermilk mixture. Continue alternating: add half of the remaining dry ingredients, then the rest of the buttermilk mixture, and finally the last portion of the dry ingredients. After all ingredients are incorporated, scrape down the sides and bottom of the bowl to ensure everything is well mixed. Then, beat on medium-high speed for 2 minutes. This vigorous beating at the end helps to further aerate the batter, resulting in a light and airy cupcake.

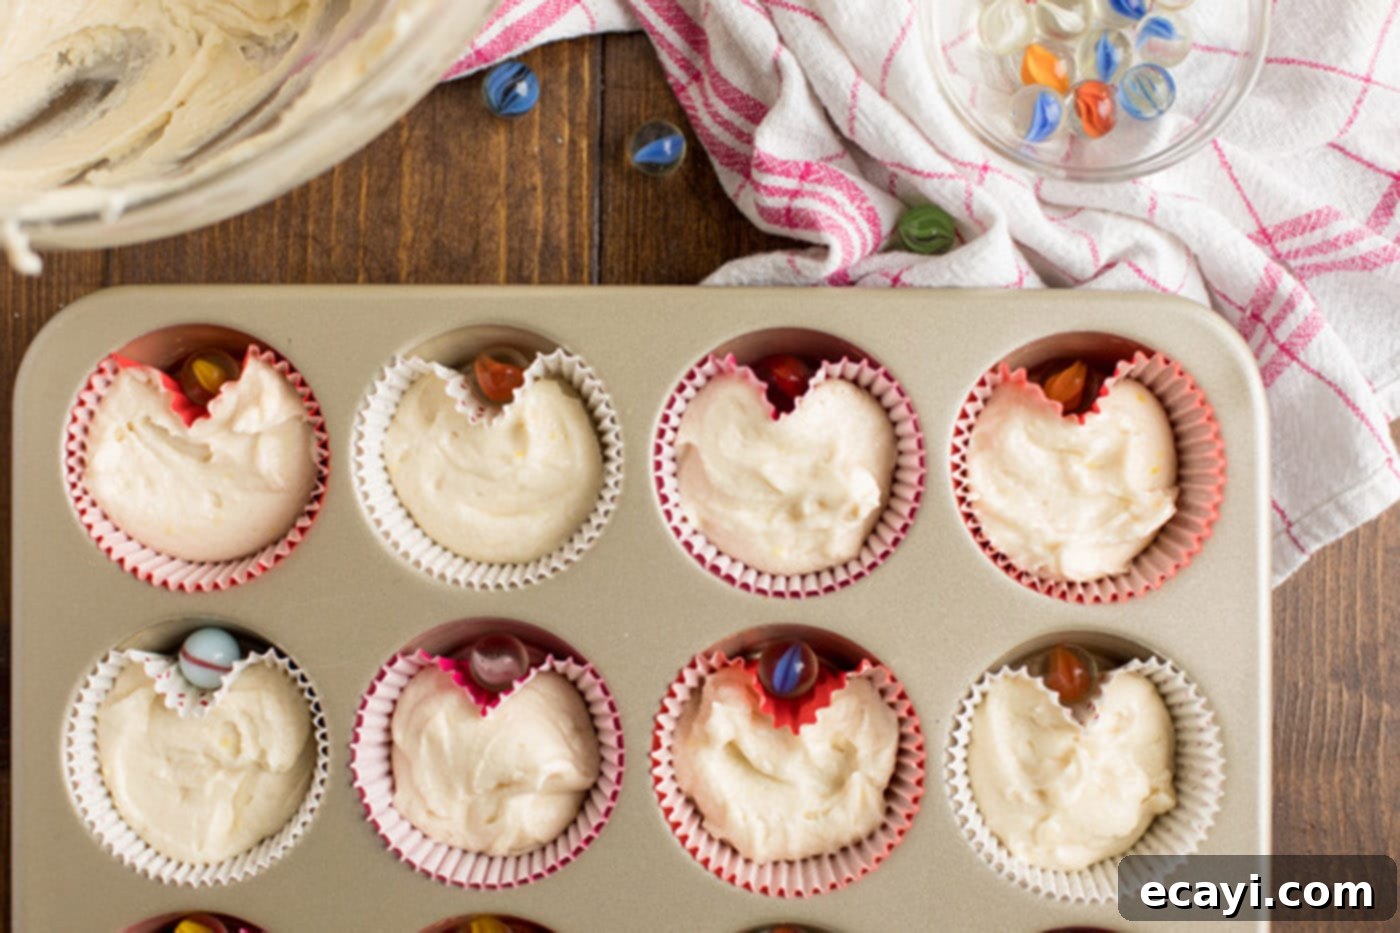
- Evenly spoon the prepared batter into your lined muffin cups, filling each approximately two-thirds full. Be careful not to overfill, as this can cause the cupcakes to overflow during baking.
- Now for the clever heart-shaping trick! Place a clean, round marble or a small ball of aluminum foil between the cupcake liner and the muffin pan on one side of each cupcake. This creates a gentle indent in the liner, causing the cake to bake into a charming heart shape.

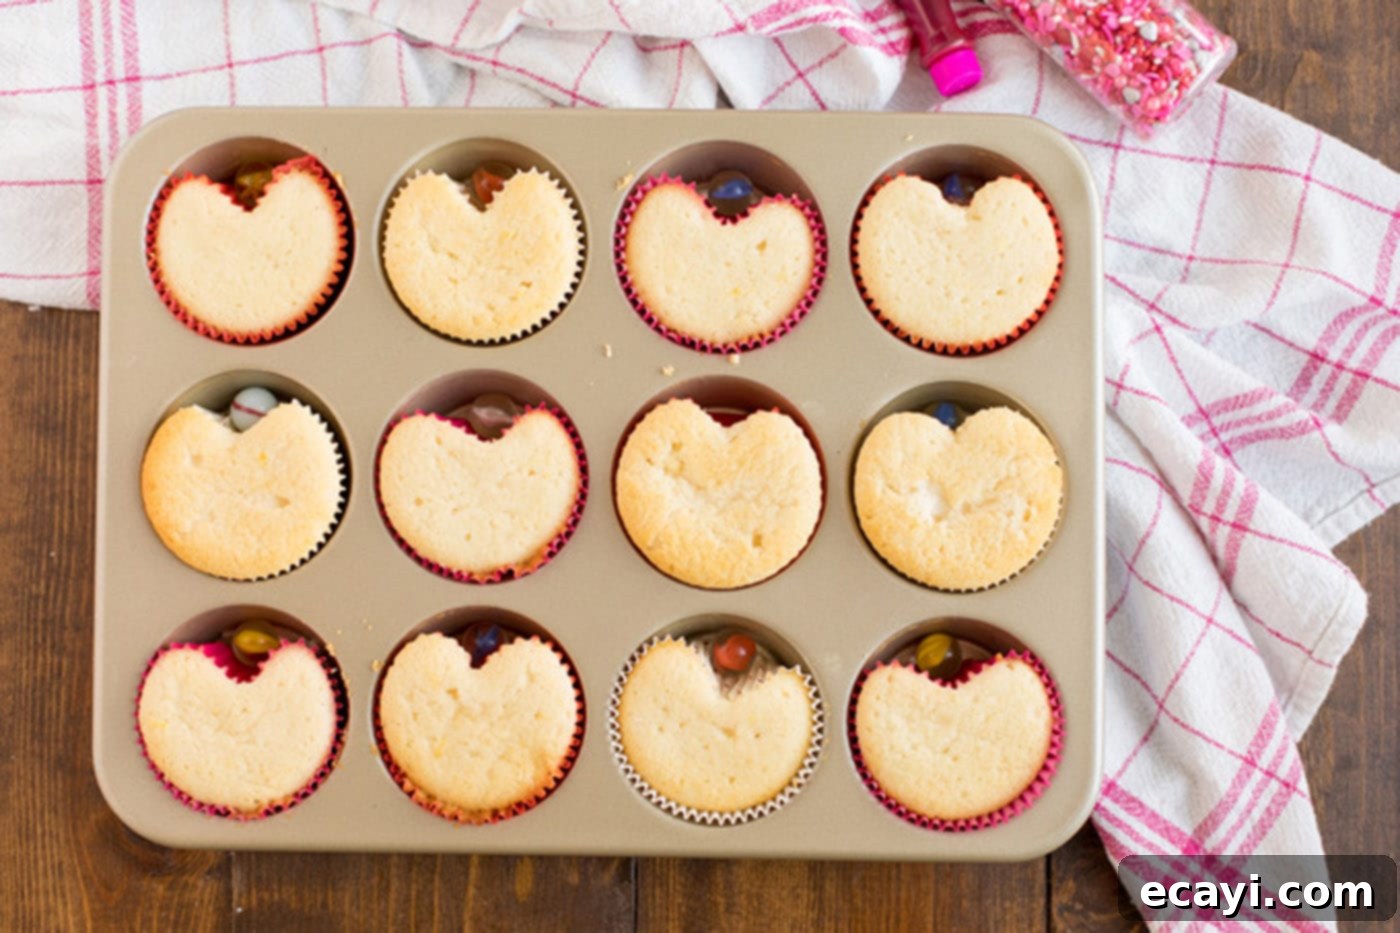
- Bake the cupcakes in the preheated oven for 20 to 25 minutes, or until they are very lightly browned around the edges and a toothpick inserted into the center of a cupcake comes out clean. This indicates they are fully cooked.
- Allow the baked cupcakes to cool in their pans for about 5 minutes. Then, carefully transfer them to a wire cooling rack to finish cooling completely. Be extremely cautious when removing the marbles, as they will be very hot! Ensure the cupcakes are fully cool before frosting to prevent the frosting from melting.

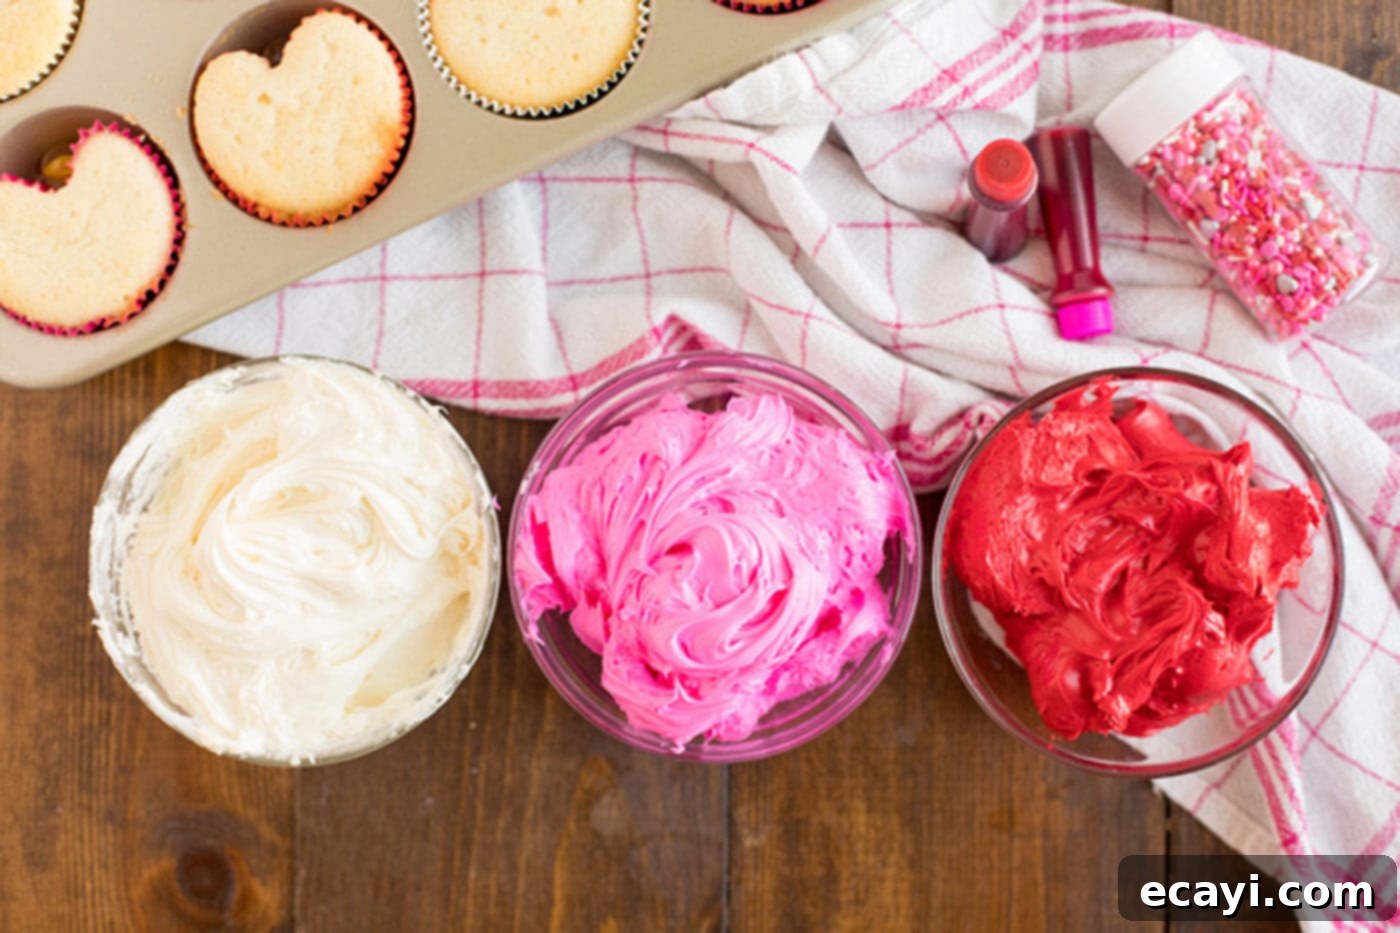
- Once the cupcakes are cool, divide your white frosting evenly into three separate bowls. Leave one bowl of frosting white. Using your preferred gel food coloring, tint the frosting in the second bowl pink and the frosting in the third bowl red. Mix each color thoroughly until you achieve your desired vibrant shades.

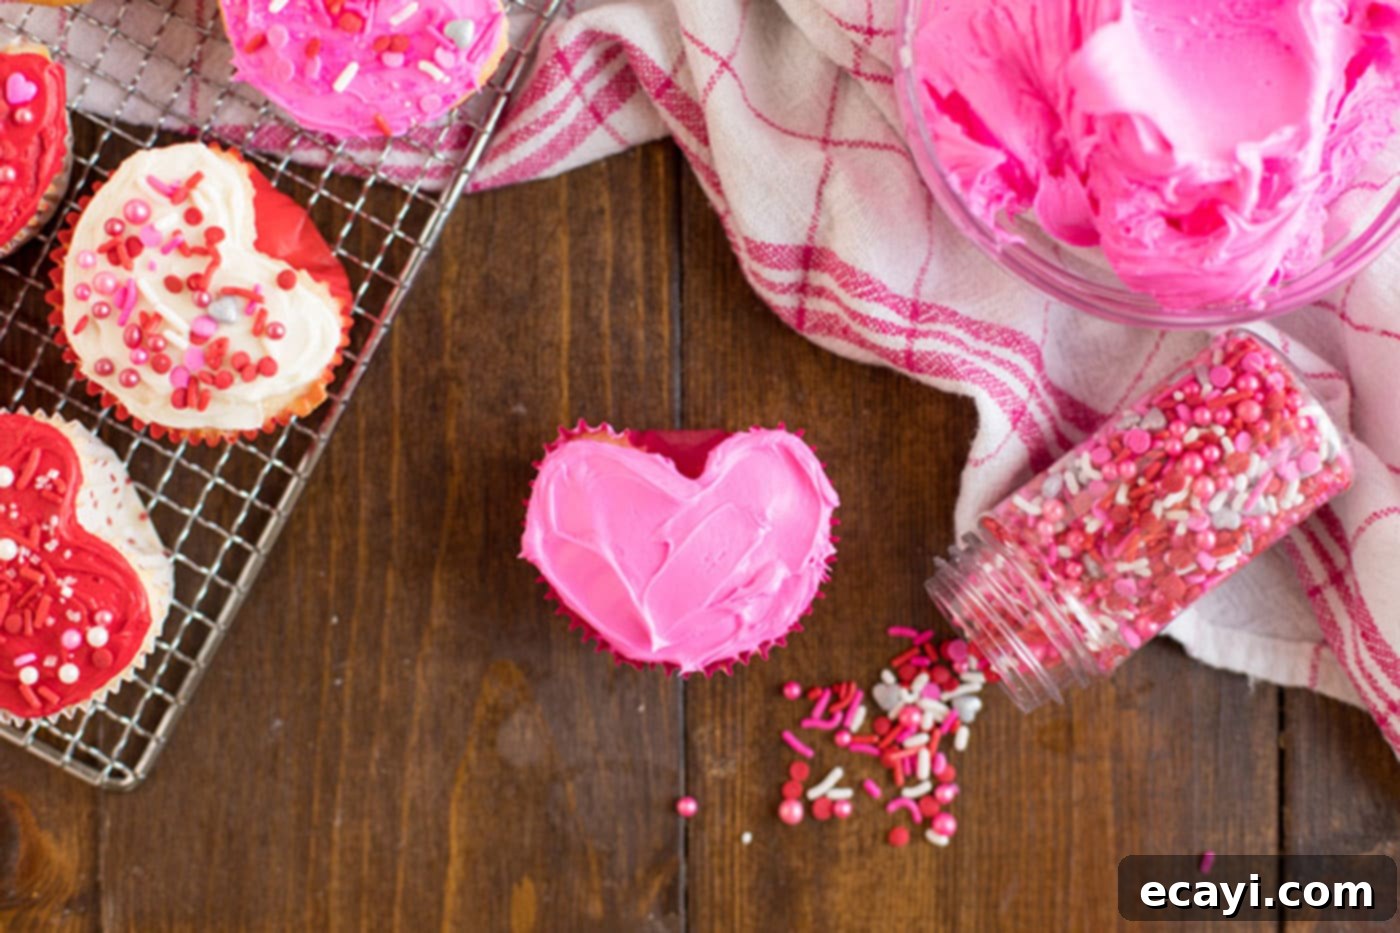
- Now for the fun part: frosting! Pipe or spread the colored frosting onto each cupcake. To enhance the heart shape, gently spread the frosting over the ‘bumps’ created by the marble trick for the top curves of the heart, and then drag the frosting down into a soft point for the bottom of the heart. Get creative with your decorations! Adorn your cupcakes with a sprinkle of nonpareils, a dusting of colored sugar, or an assortment of festive sprinkles.

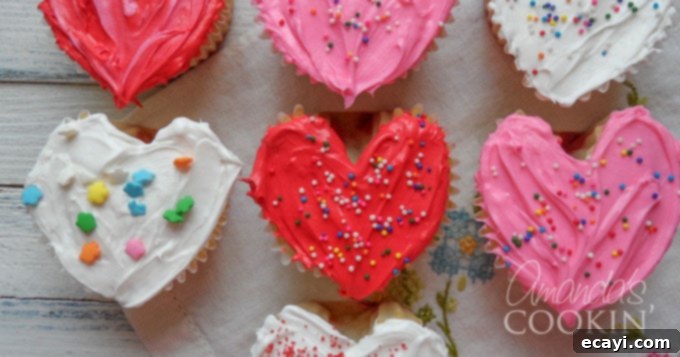
For an even more defined heart shape, similar to the original photo below, simply use a small offset spatula or knife to gently drag the frosting down at the bottom of the cupcake, creating a more pronounced point for the heart’s tip. This small detail truly elevates their presentation!
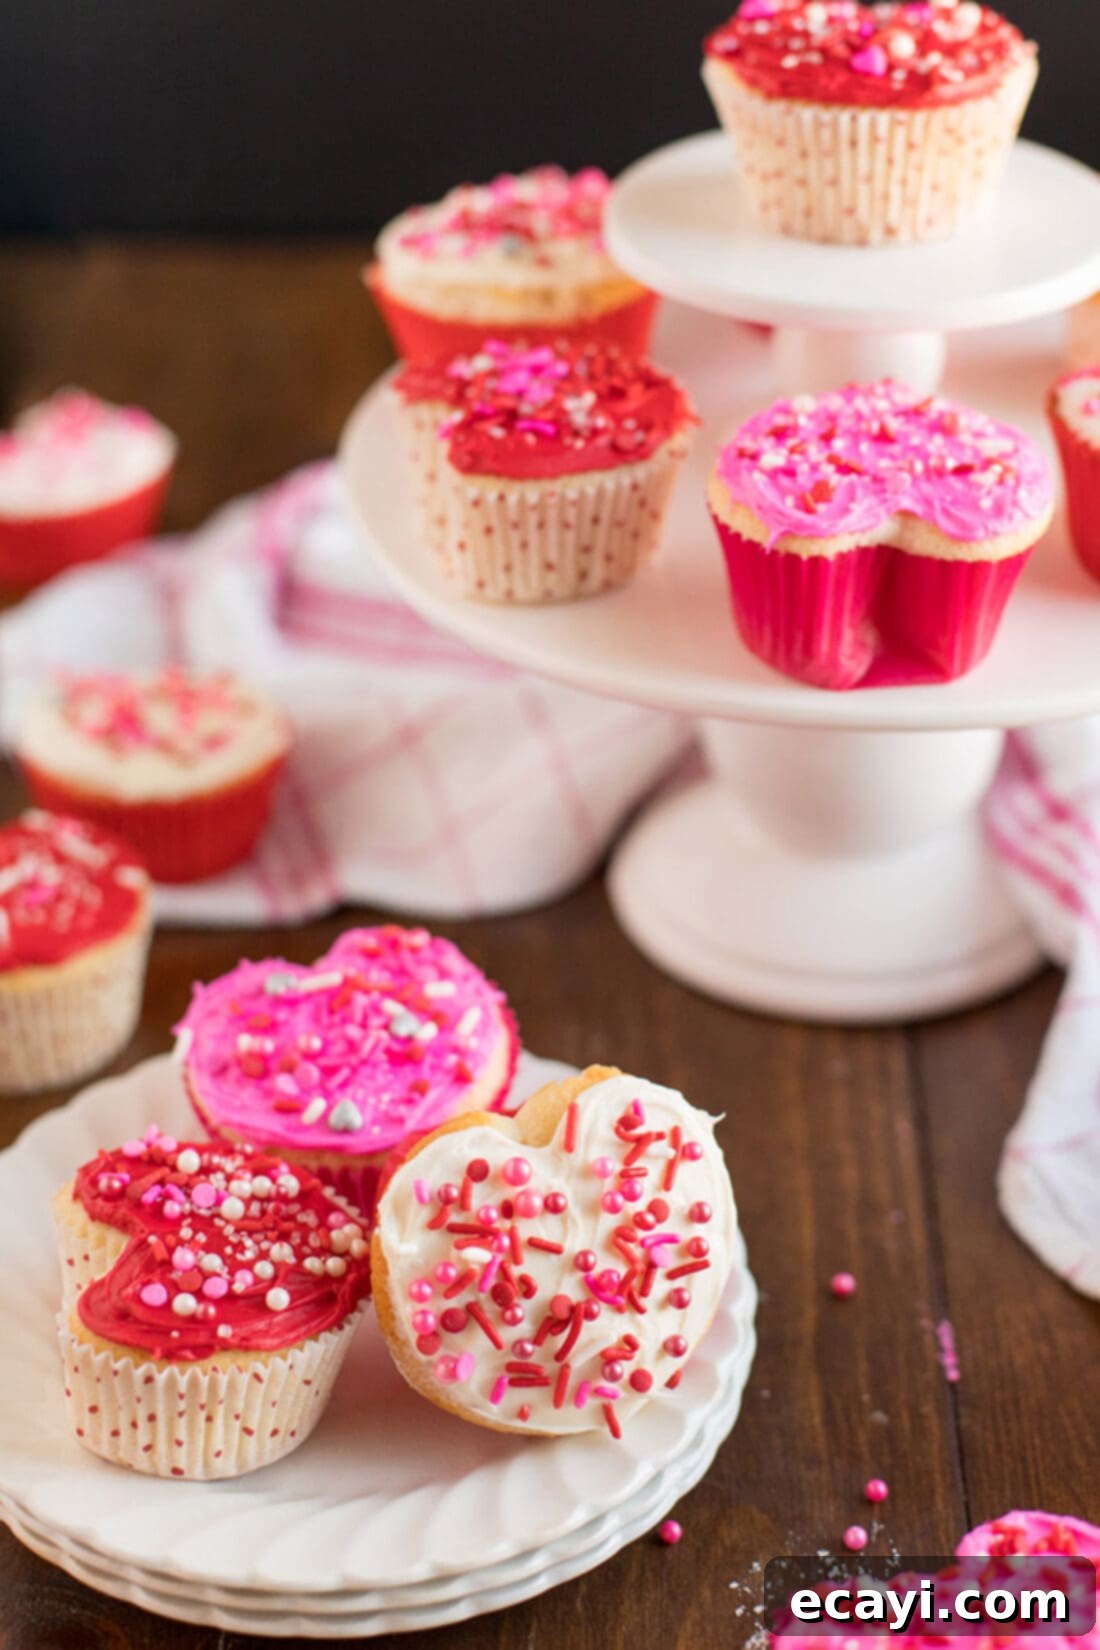
While these heart cupcakes are a delightful choice, there are countless other fun and easy edible Valentine’s Day ideas to explore. Here is a curated selection of some of my favorite festive treats that are sure to spread love and joy. Enjoy experimenting and creating sweet memories!
More Irresistible Valentine’s Day Treats
- Heart Oreo Truffles – Rich, decadent, and incredibly easy, these truffles are a chocolate lover’s dream.
- Conversation Heart Brownies – Add a playful touch to classic brownies with iconic conversation heart candies.
- Valentine Play Dough Cookie Pops – A creative and fun activity for kids, resulting in delicious edible art.
- Valentine Cherry Hand Pies – Individual, flaky pies filled with sweet cherry goodness, perfect for on-the-go indulgence.
- Valentine Muddy Buddies – A classic snack mix transformed into a festive treat with chocolate, peanut butter, and powdered sugar.
- Conversation Heart Cookies – Beautifully decorated sugar cookies that let you express your feelings deliciously.
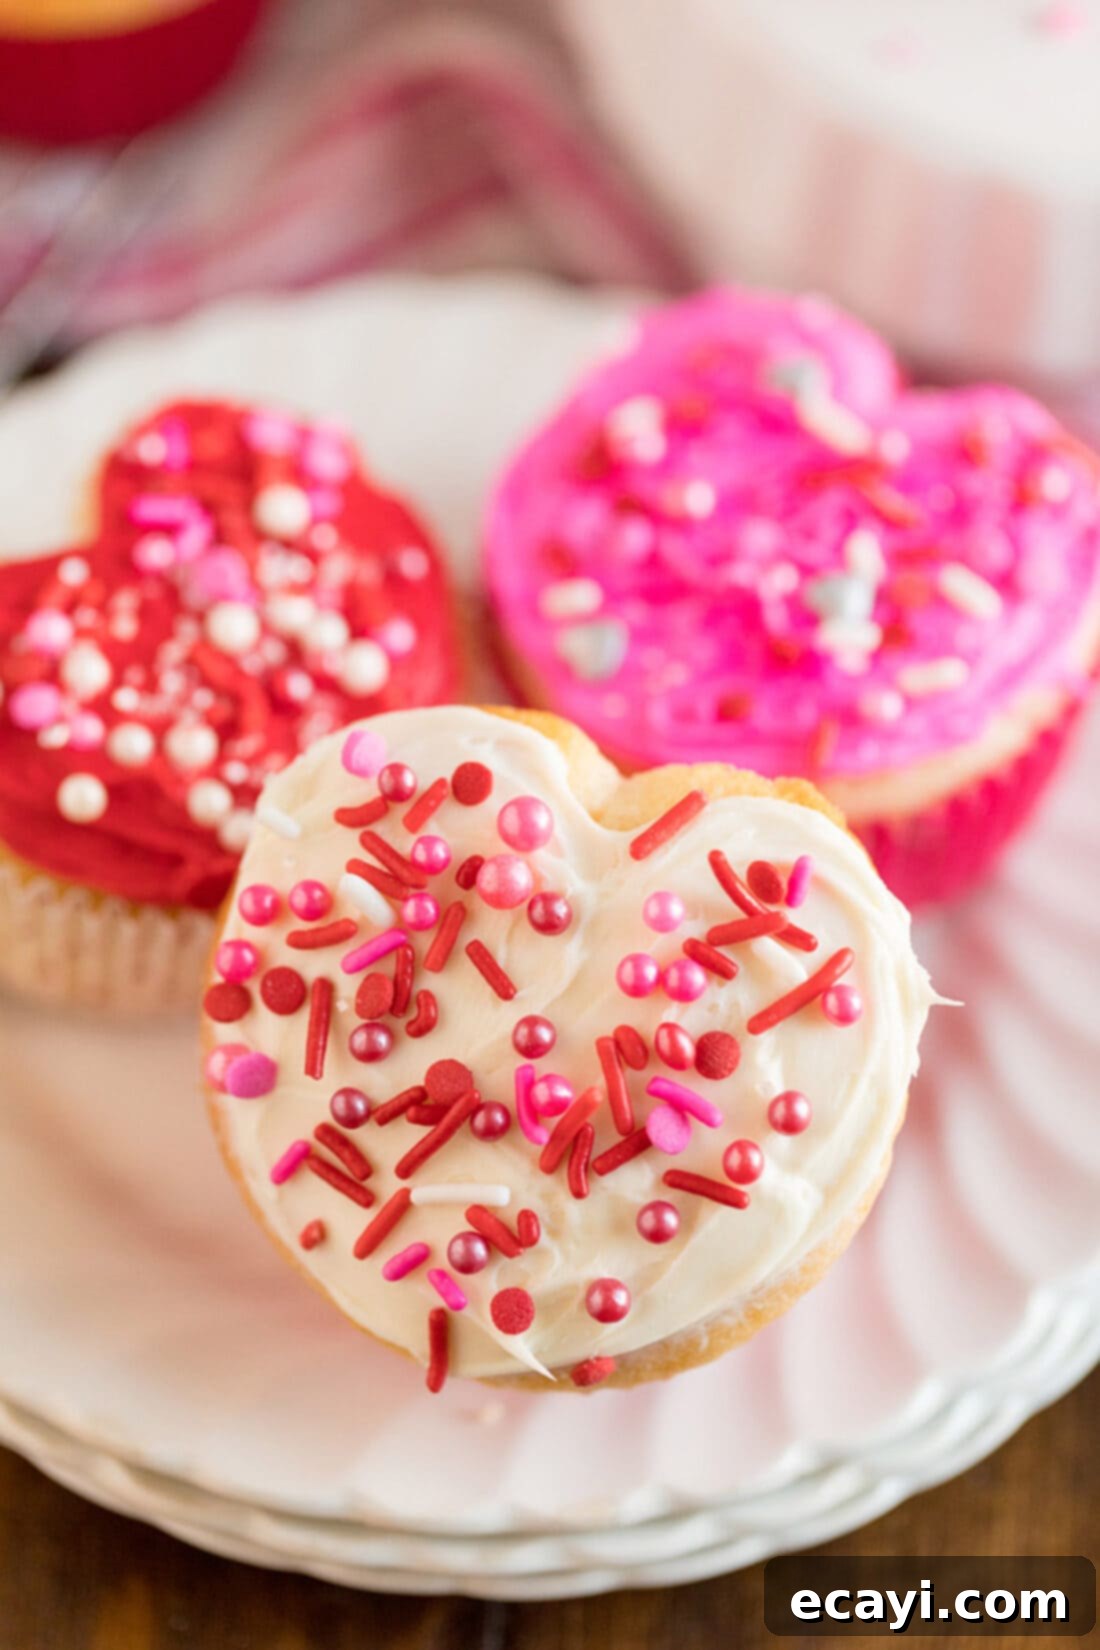
As promised, here’s the original photo I mentioned earlier, providing another perspective on these charming heart-shaped creations.
I absolutely adore sharing my passion for baking and cooking through delicious recipes! To make it easier for you to stay updated and discover new culinary delights, I’ve created a weekly newsletter. You can subscribe for free, and I’ll send a collection of delightful recipes directly to your inbox every week. Never miss out on a tasty creation again!
Valentine Heart Cupcakes
IMPORTANT – There are often Frequently Asked Questions within the blog post that you may find helpful. Simply scroll back up to read them!
Print It
Pin It
Rate It
Save ItSaved!
Ingredients
- 2 ¼ cups cake flour
- 1 tablespoon baking powder
- ½ teaspoon salt
- 1 ¼ cups buttermilk
- 4 large egg whites
- 1 ½ cups sugar
- 2 teaspoons grated lemon zest
- 8 tablespoons unsalted butter softened
- White frosting
- Red and pink paste/gel food coloring
- Sprinkles non-pareils, colored sugar, etc
Tools You’ll Need
-
Measuring cups and spoons
-
Muffin pan
-
Stand mixer
-
Mixing bowls
Helpful Tips & Notes
- This recipe offers my cherished white cake from scratch, but for convenience, a quality box mix works perfectly. The heart-shaping technique is compatible with both!
- For an even more distinct heart appearance, use a small knife or spatula to gently drag the frosting downwards at the base of the cupcake, forming a sharper point.
- These charming heart-shaped Valentine cupcakes are adored by all ages, making them an excellent choice for a thoughtful, edible gift.
- Always opt for gel food coloring over liquid. Its concentrated pigments create vibrant colors without thinning out your frosting, ensuring a perfect consistency for decorating.
- Ensure all cold ingredients, like butter and buttermilk, are at room temperature. This helps create a smooth, emulsified batter and contributes to a light, airy cupcake texture.
- Don’t overcrowd your muffin pan when using the marble trick. Give each cupcake enough space to bake evenly into its heart shape without touching.
Instructions
-
Preheat oven to 350 degrees F (175 degrees C). Line muffin pan with paper cupcake liners.
-
Whisk together cake flour, baking powder and salt in a bowl.
-
In a separate bowl, whisk together egg whites and buttermilk.
-
Place the sugar in your mixer bowl and add the lemon zest. Rub the zest into the sugar with your fingers until moist and fragrant. Add the butter to the sugar mixture and beat at medium speed for 3 minutes, until very light and fluffy.
-
With mixer on low, add one-third of the flour mixture, then add half of the buttermilk mixture. Add half of the remaining dry ingredients, then the rest of the buttermilk mixture, and finally the remaining dry ingredients. Scrape down the bowl, then beat on medium-high for 2 minutes to ensure it is thoroughly mixed and well aerated.
-
Spoon batter into prepared muffin cups, filling them about 2/3 full.
-
Place a round marble (or small aluminum foil ball) in between the cupcake liner and the pan. This will create an indent into the cupcake liner, causing the cake to bake into a heart shape.
-
Bake in the preheated oven until cupcakes are very lightly browned and a toothpick inserted into the center of a cupcake comes out clean, approximately 20 to 25 minutes.
-
Cool cupcakes in the pans for 5 minutes; then carefully transfer them to a cooling rack to finish cooling completely. Remember, the marbles will be hot!
-
Separate the white frosting into three bowls. Keep one white and tint the other two using pink and red gel food coloring until desired vibrant shades are achieved.
-
Frost the cooled cupcakes, accentuating the heart shapes by spreading the frosting over the lip of the liner for the heart’s upper curves, and dragging it down into a point for the bottom of the heart. Decorate generously with sprinkles, colored sugar, nonpareils, or other festive embellishments.
Nutrition Information
The recipes on this blog are meticulously tested using a conventional gas oven and a gas stovetop to ensure accuracy. It’s important to remember that oven performance can vary, especially with older models, leading to inconsistent cooking and baking. We highly recommend using an inexpensive oven thermometer to verify that your oven is consistently heating to the correct temperature. If you opt for a toaster oven or countertop oven, please be aware that heat distribution may differ from a full-sized conventional oven, potentially requiring adjustments to your cooking or baking times. For recipes prepared with specialized appliances like a pressure cooker, air fryer, or slow cooker, relevant links to the specific models we use are provided within each recipe for your convenience. In baking recipes where measurements are specified by weight, please note that using volume measurements (cups) instead may yield different results, and we cannot guarantee success with alternative measuring methods.
This post was originally published on this blog on January 26, 2014, and has been updated and expanded for clarity and enhanced instructions.
