Indulge in the Ultimate Hybrid Dessert: Irresistible Fudgy Bronut Recipe
Prepare yourself for a truly innovative dessert experience! Bronuts ingeniously blend the rich, dense chewiness of fudge brownies with the soft, tender texture of classic cake donuts. This sensational combination creates an intensely delicious treat that you didn’t know you needed until now. Get ready to meet your new favorite indulgence: the legendary brownie donut!
Why This Bronut Recipe Will Become Your Favorite
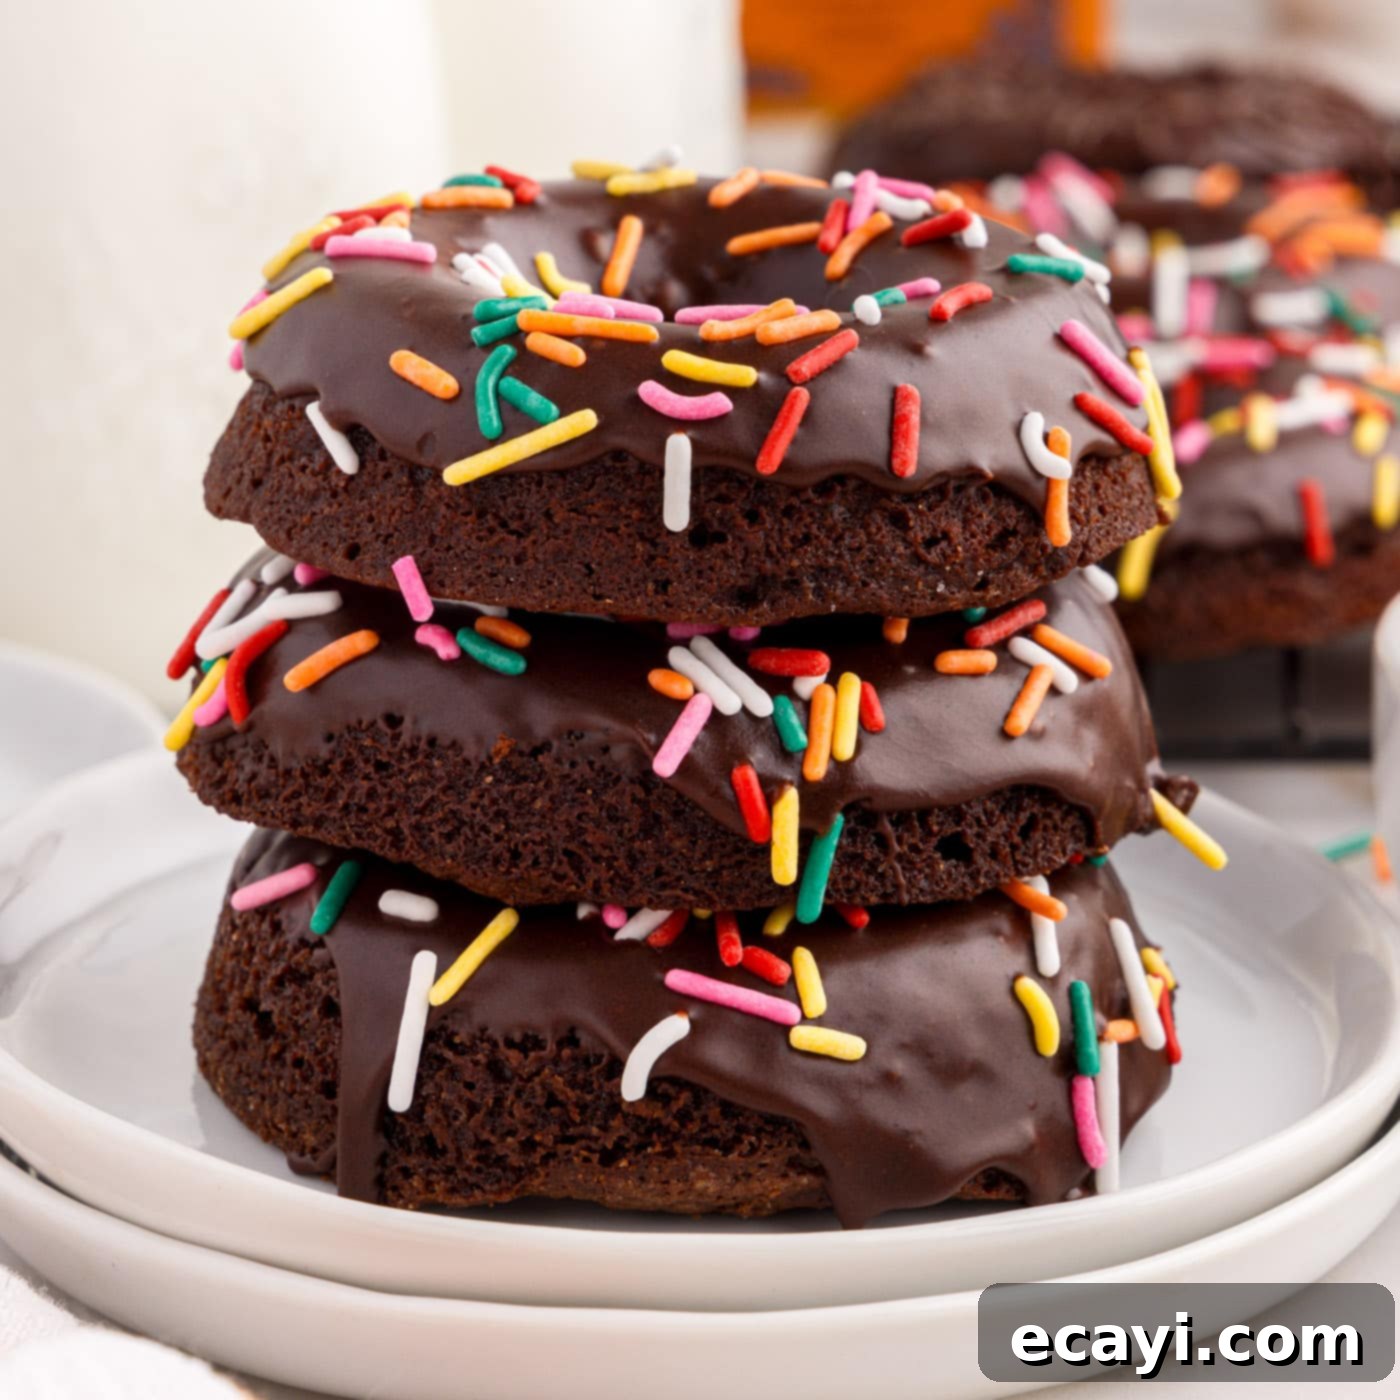
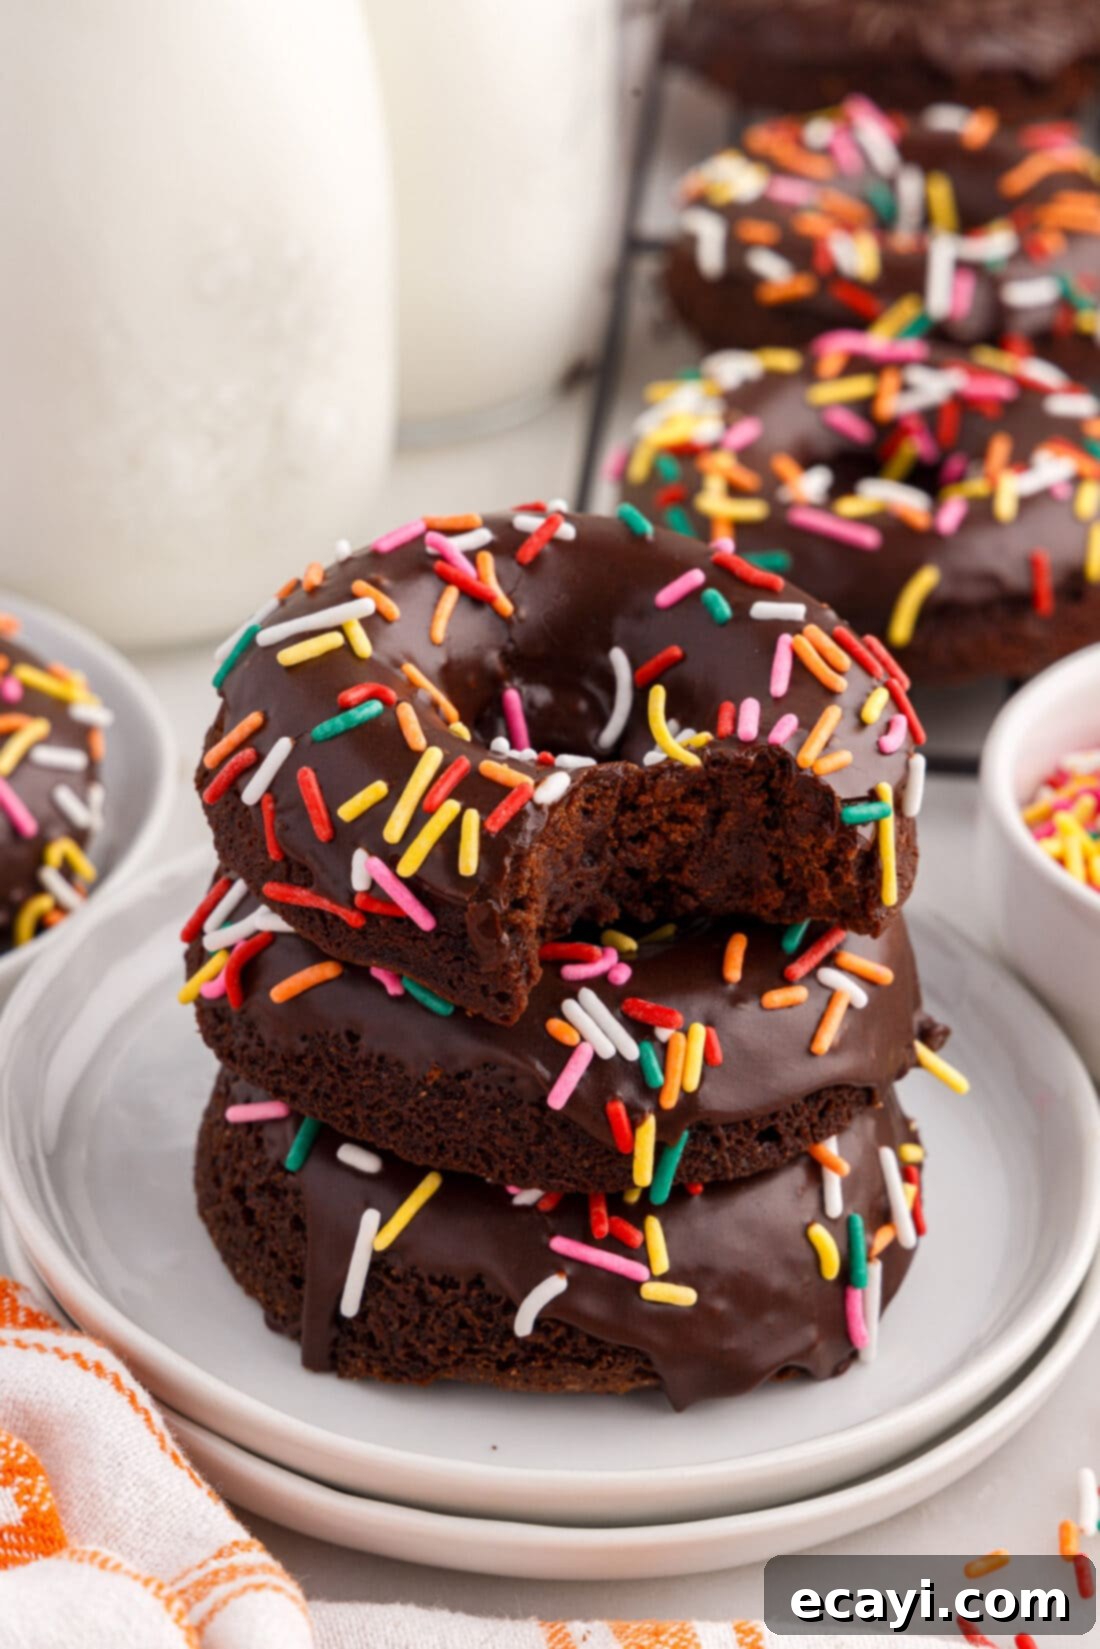
Bronuts are more than just a passing trend; they’re a dessert phenomenon deserving of all the buzz. This recipe masterfully combines the best attributes of two beloved baked goods: the moist, cake-like crumb of baked donuts and the intensely chocolatey, fudgy texture of classic fudge brownies. The result is a pastry that delivers double the decadence and a unique eating experience.
What makes these brownie donuts truly exceptional? It’s the perfect harmony of textures and flavors. Each bite offers that satisfying brownie chew, immediately followed by the light, delicate softness you expect from a great donut. Dressed up with a glistening chocolate glaze and a generous scattering of colorful sprinkles, they’re not just delicious but also incredibly appealing to the eye. This recipe is designed to be straightforward, ensuring that even novice bakers can achieve perfectly fudgy, moist, and delightfully chocolatey bronuts every time. Once you taste these, you’ll understand why they’re poised to steal your heart and become a go-to treat for any occasion.
Essential Ingredients for Your Homemade Bronuts
Crafting these delectable bronuts requires a handful of common baking ingredients, easily found in most kitchens. While the full list with precise measurements is available in the printable recipe card at the end of this post, here’s a quick overview of what you’ll need to gather to create this delightful dessert fusion:
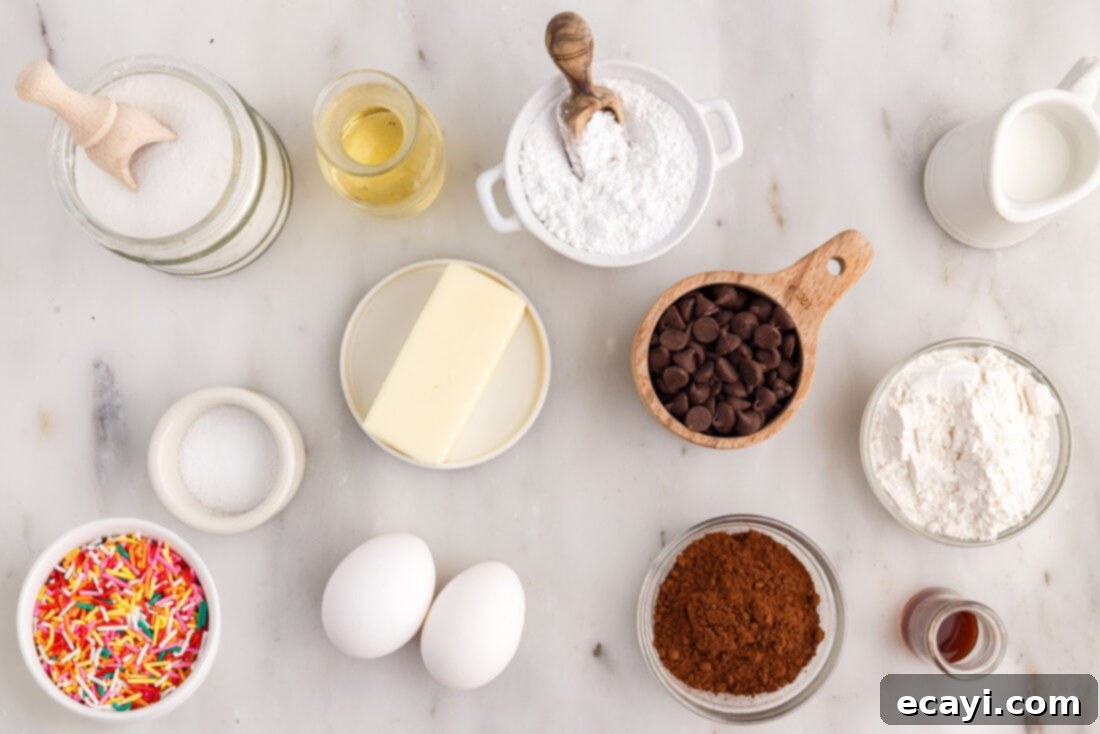
Ingredient Insights and Smart Substitutions
Understanding the role of each ingredient can significantly improve your baking results. Here’s a closer look at the key components for your bronut batter and the luscious glaze:
BRONUT BATTER FOUNDATION – The secret to an irresistibly fudgy and moist bronut lies in the carefully balanced combination of butter and oil. Unsalted butter contributes that rich, classic buttery flavor we all love, adding depth and a tender crumb. Vegetable oil, on the other hand, is crucial for ensuring chewiness and an incredible amount of moisture. It prevents the bronuts from becoming dry and helps achieve that signature brownie-like texture. For the chocolate, semi-sweet chocolate chips provide a balanced sweetness, but you can experiment with dark chocolate for a richer, less sweet bronut, or milk chocolate for a sweeter profile.
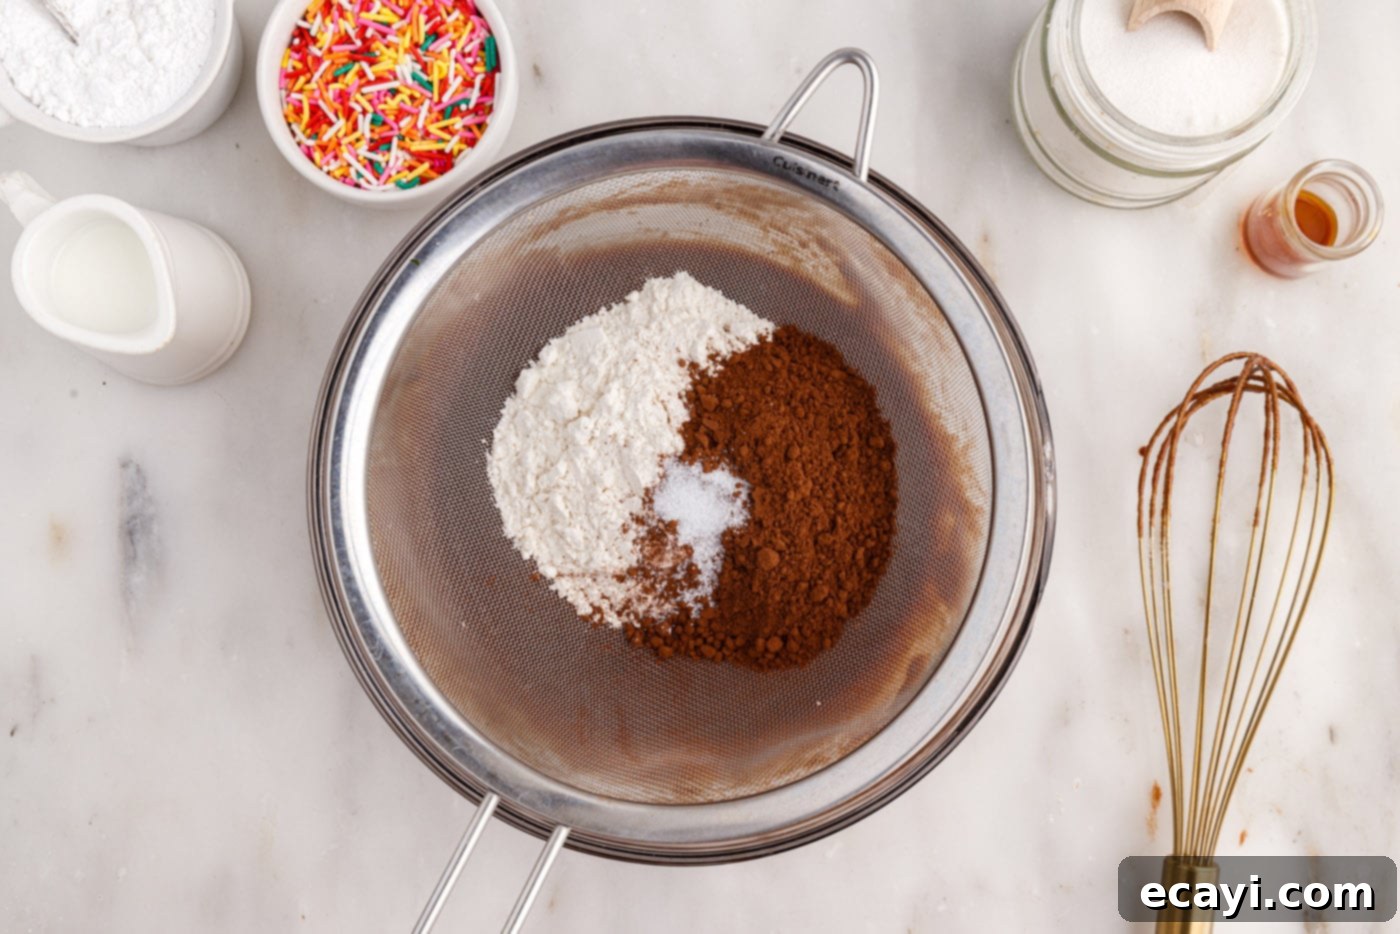
Always remember to sift your dry ingredients—flour, salt, and cocoa powder—before incorporating them into the wet mixture. This simple step is vital for removing any lumps, ensuring a smooth batter, and allowing all the ingredients to combine evenly. It also helps to aerate the dry ingredients, contributing to a lighter texture without overmixing. Speaking of which, avoid overmixing or vigorously whisking the batter once the dry ingredients are added. Overworking the gluten in the flour can lead to tough, dry bronuts. For that perfect soft, fudgy brownie consistency, minimal stirring is key. Stir just until the flour streaks disappear, and resist the urge to add extra air, which happens when you whisk too much.
DELECTABLE CHOCOLATE GLAZE – No donut is truly complete without a beautiful glaze, and these bronuts are no exception! Our simple yet utterly delicious chocolate glaze elevates the flavor and visual appeal of these treats. It’s composed of just a few essential ingredients: powdered sugar for sweetness and structure, milk (dairy or non-dairy alternatives work perfectly) to achieve the right consistency, and unsweetened cocoa powder for a deep, rich chocolate flavor. You can adjust the amount of milk to reach your desired glaze thickness – a thicker glaze for a more opaque coating, or a thinner one for a delicate sheen. Feel free to add a tiny splash of vanilla extract to the glaze for an extra layer of flavor that complements the chocolate beautifully.
Step-by-Step Guide: Crafting Your Perfect Bronuts
These step-by-step photos and detailed instructions are provided to help you visualize each stage of making this delightful recipe. For a convenient printable version, complete with precise measurements and instructions, simply Jump to Recipe at the bottom of this page.
- Preheat your oven to 350°F (175°C). This ensures the oven is at the correct temperature for even baking as soon as the batter goes in.
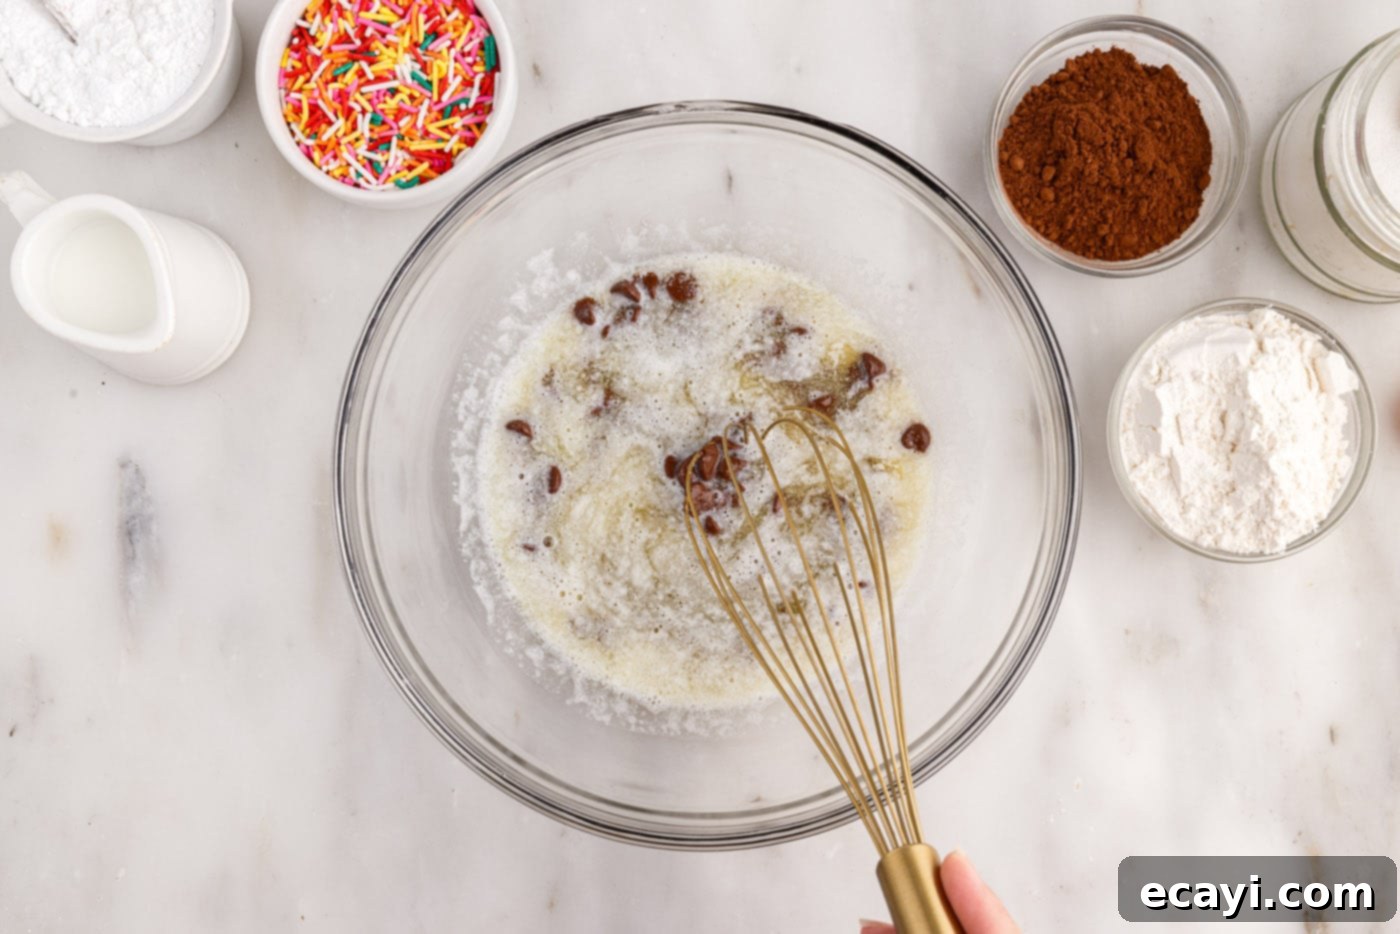
- In a microwave-safe bowl, combine the unsalted butter and semi-sweet chocolate chips. Microwave these in short 30-second bursts, stirring well after each interval, until the butter is completely melted and the chocolate chips are smooth and fully incorporated. This gentle melting process prevents the chocolate from scorching.

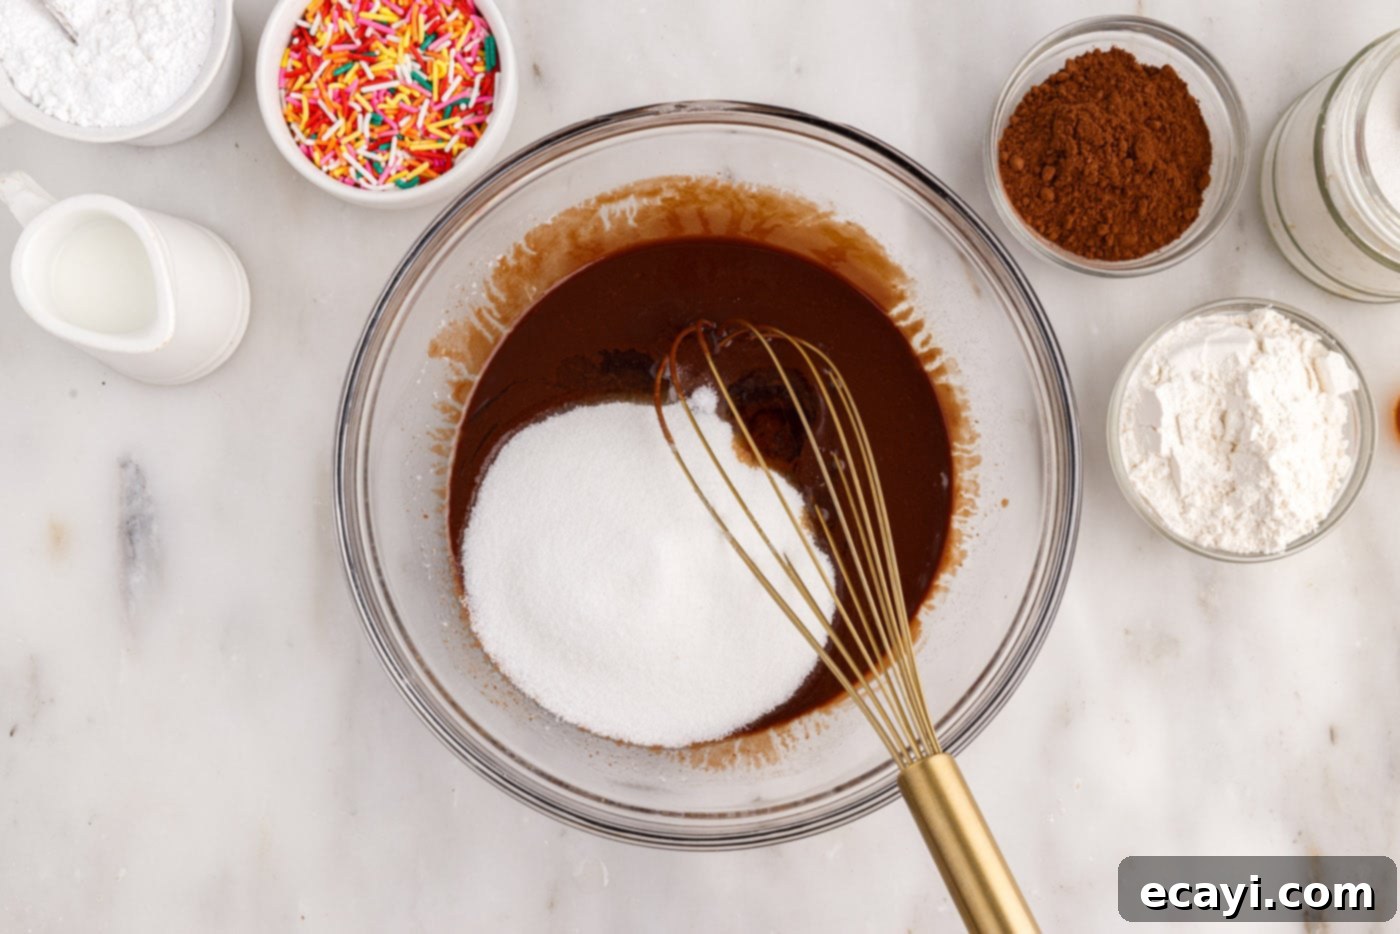
- To the smooth chocolate mixture, add the granulated sugar, fragrant vanilla extract, and vegetable oil. Whisk these ingredients together until they are thoroughly combined. The oil adds essential moisture and chewiness, characteristic of a perfect brownie.

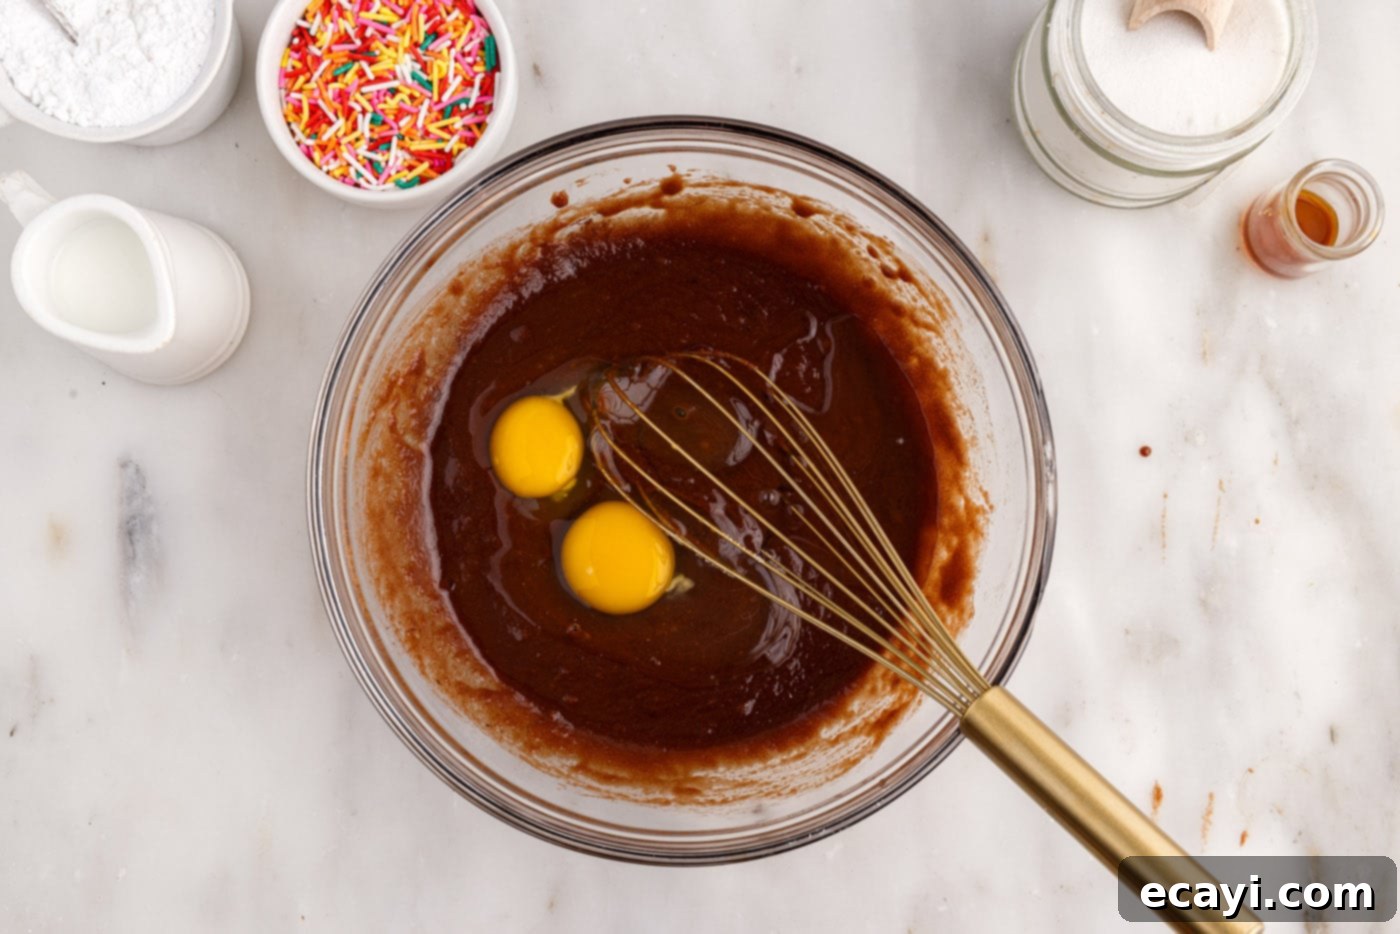
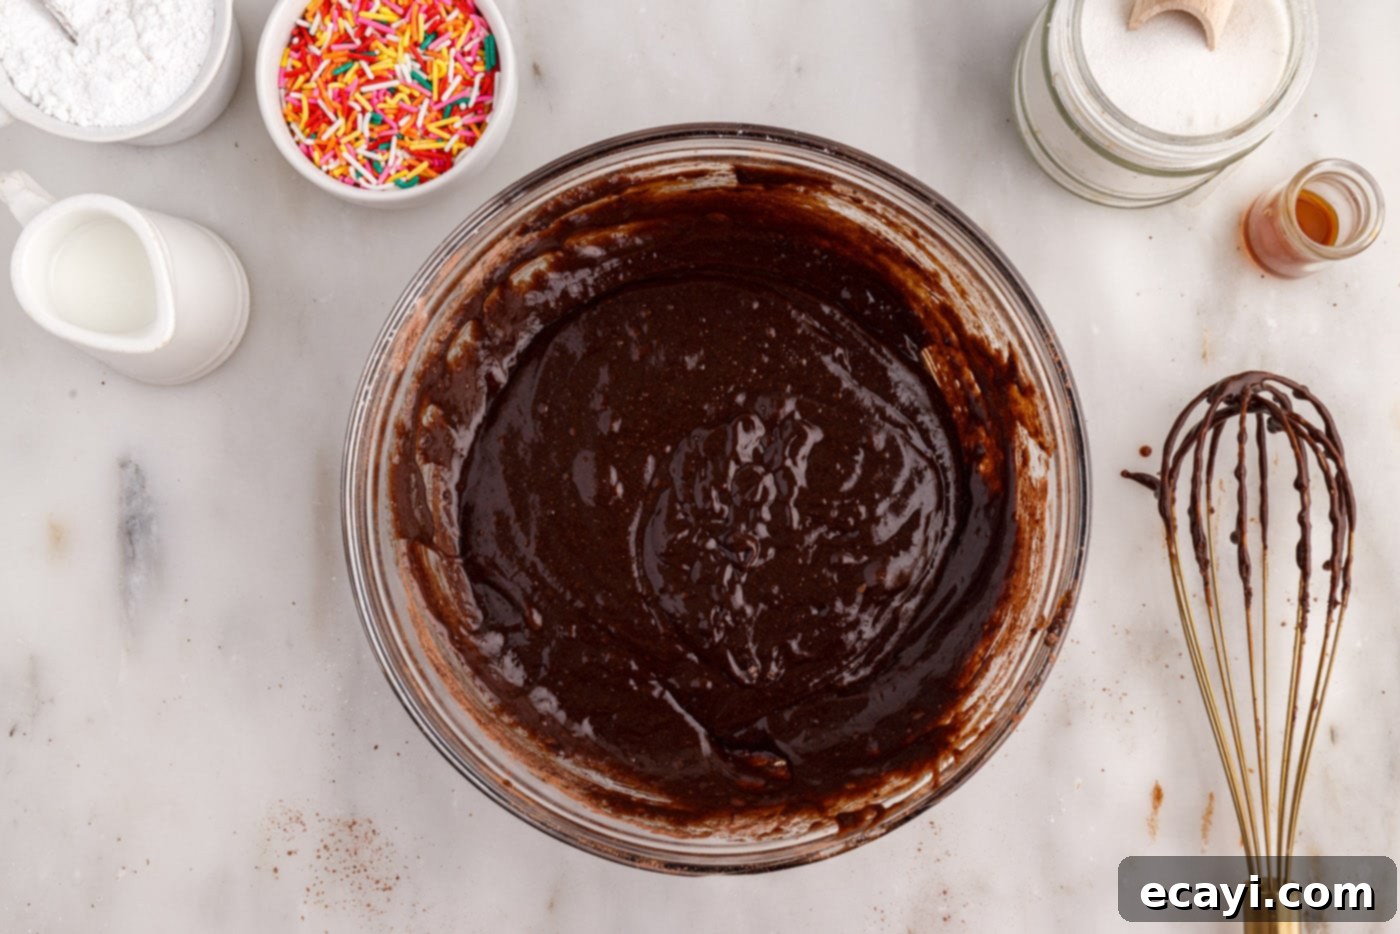
- Crack in the two large eggs. Whisk them into the chocolate mixture slowly and gently, just until they are combined. Be careful not to over-whisk at this stage, as incorporating too much air can make your bronuts cakey rather than fudgy.

- Using a fine-mesh sieve, sift the all-purpose flour, salt, and unsweetened cocoa powder directly into the brownie mixture. This step is crucial for preventing lumps and ensuring a smooth, uniform batter. Stir the dry ingredients into the wet gently with a spatula or spoon until just fully combined. Stop as soon as no dry streaks of flour are visible to avoid developing the gluten too much.


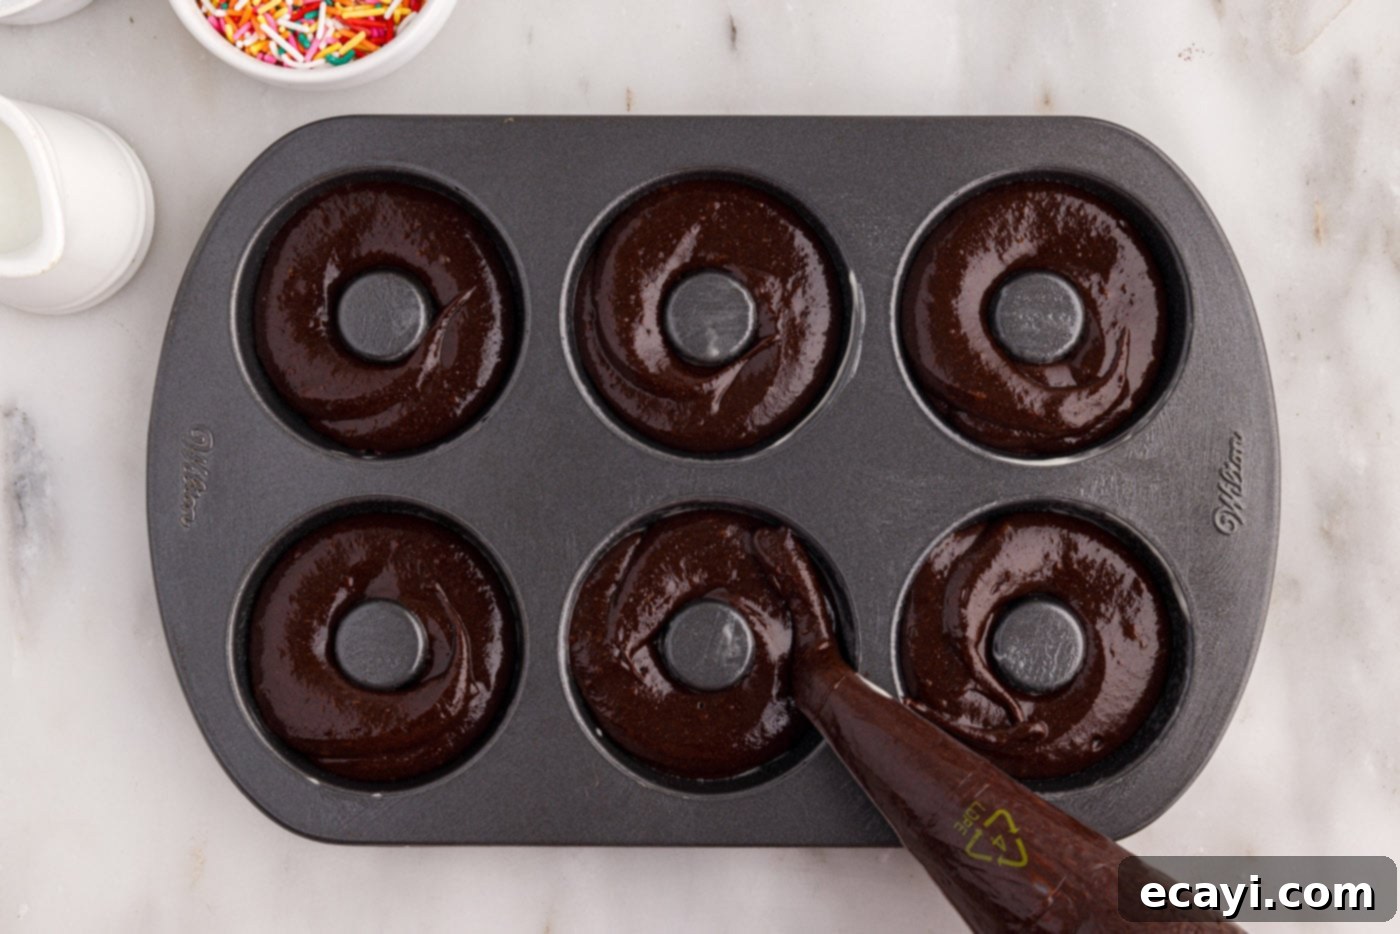
- For easy and neat piping, transfer the bronut batter into a piping bag. If you don’t have one, a sturdy plastic freezer bag with one corner snipped off will work just as well.
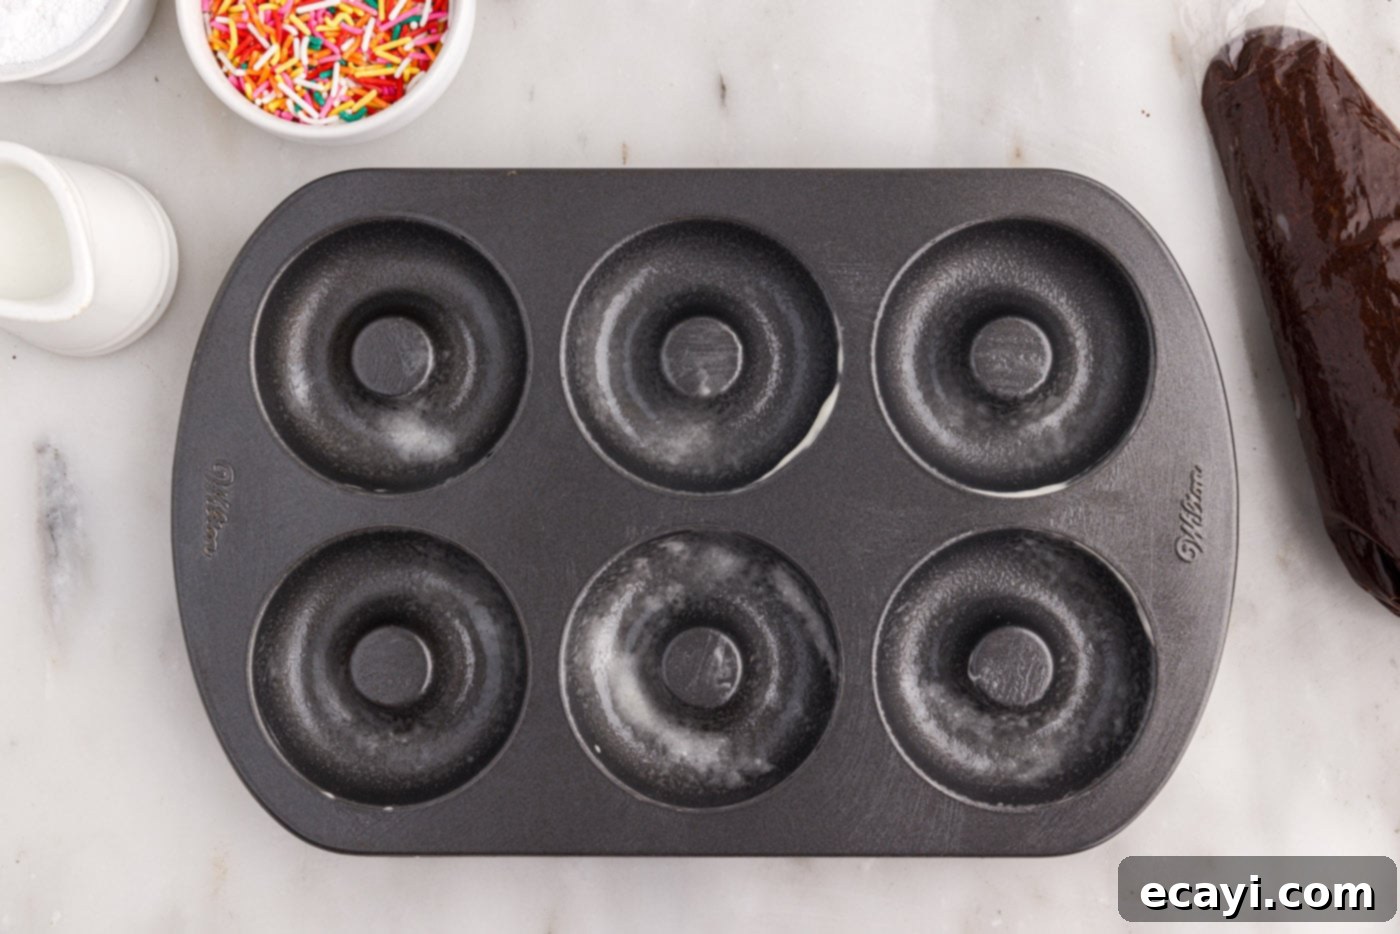
- Prepare your donut pan by spraying each cavity generously with a non-stick baking spray, preferably one that contains flour. This helps significantly with easy release. Carefully pipe a ring of batter into each donut cavity. Be mindful not to overfill them; each cavity should be no more than ½ full to prevent overflow and ensure a classic donut shape.


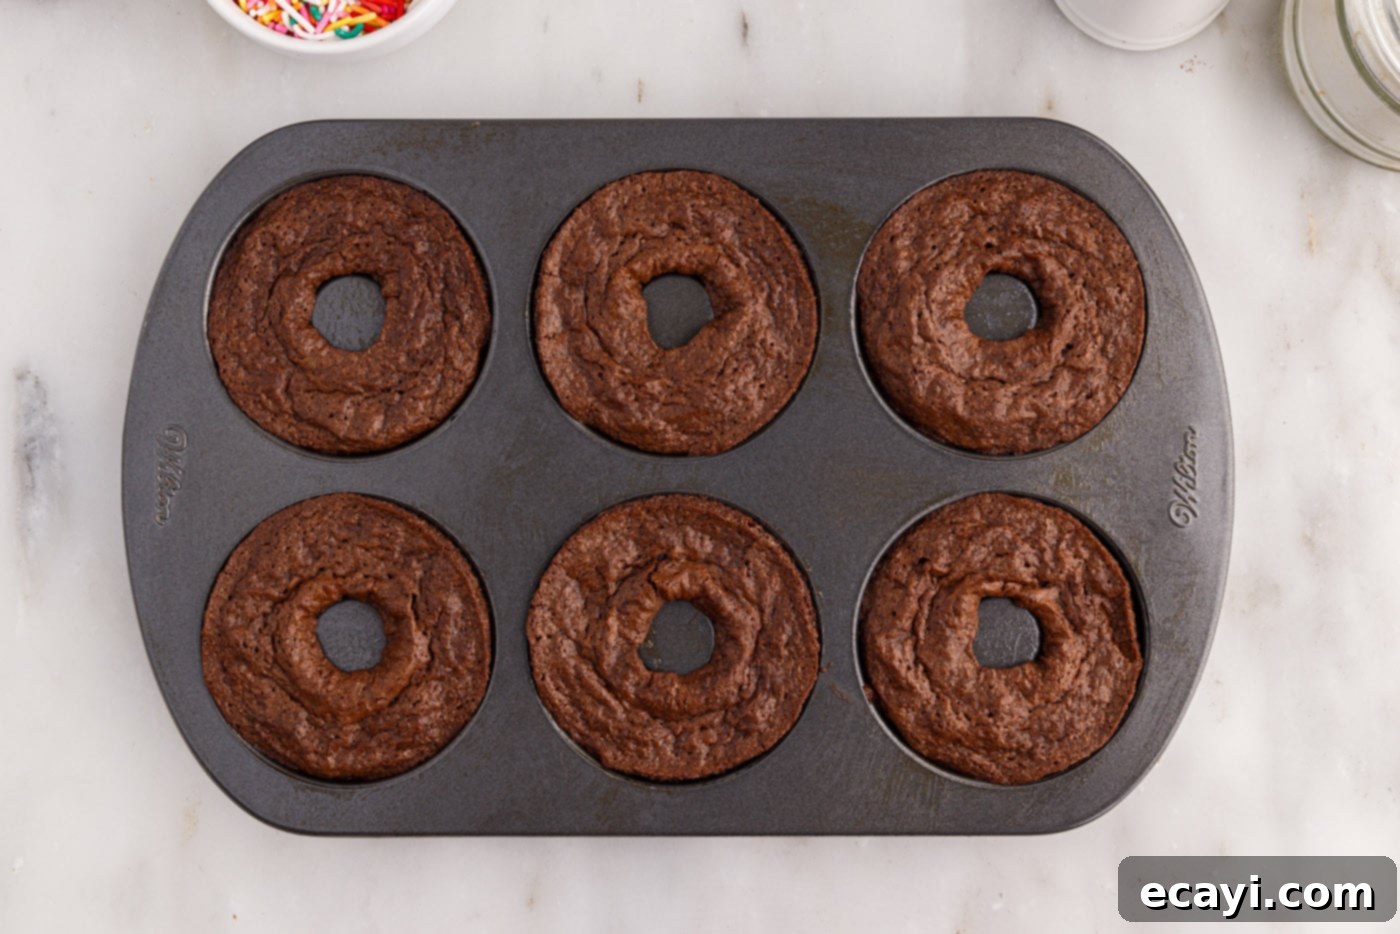
- Bake the bronuts in the preheated oven for approximately 15 minutes. They are baked through when the tops appear dry to the touch and a toothpick inserted into the center of a bronut comes out with just a few moist crumbs attached. Avoid overbaking, as this can lead to dry bronuts.

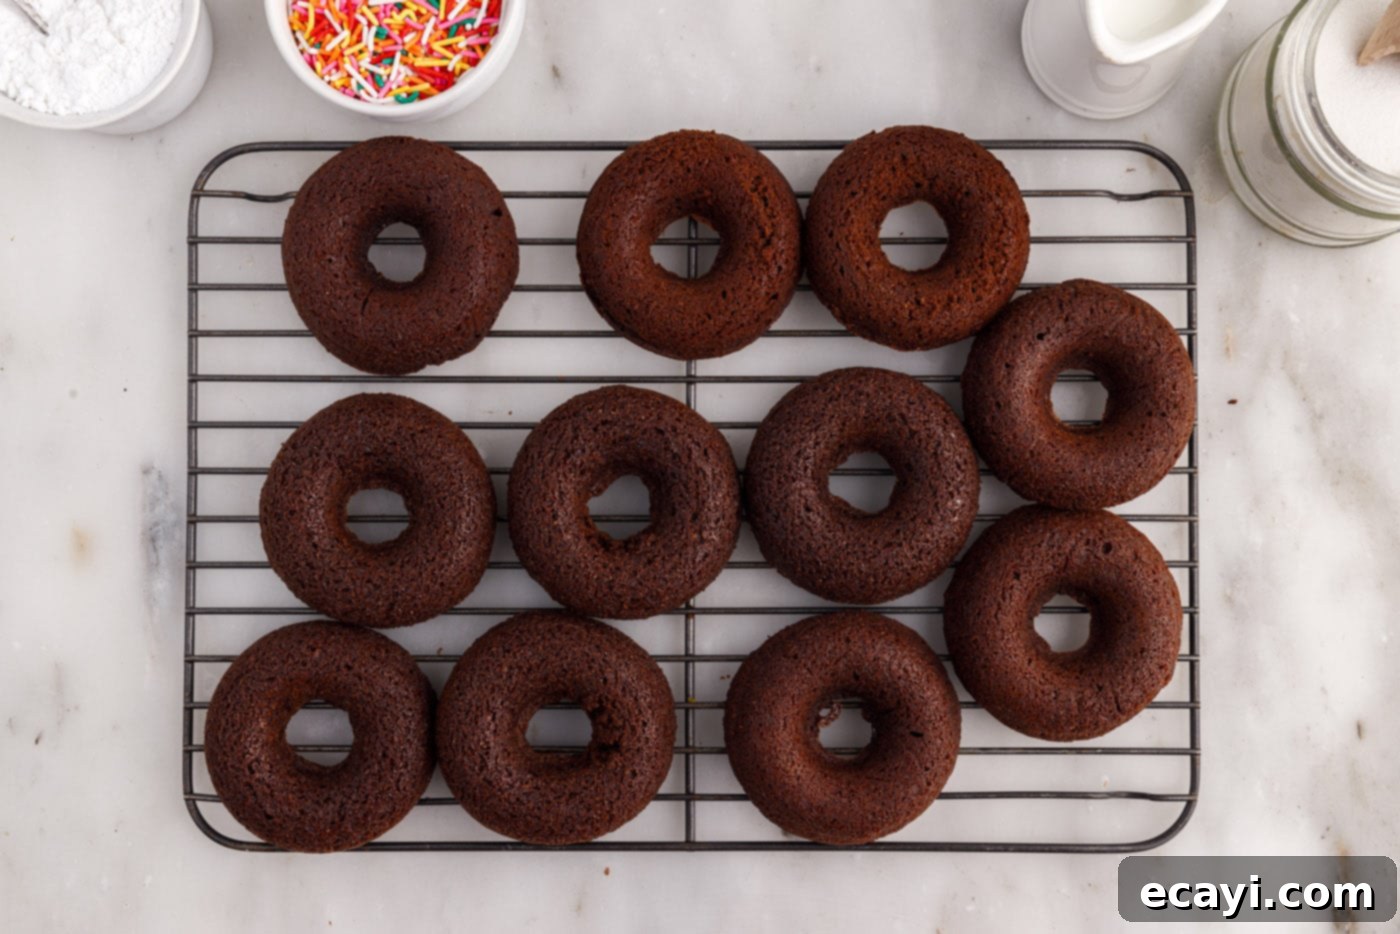
- Once baked, remove the pan from the oven and allow the bronuts to cool completely in the pan on a wire rack. Cooling is crucial for them to firm up properly before removal. Once cooled, gently remove them from the pan and transfer them to a cooling rack to continue cooling if necessary.

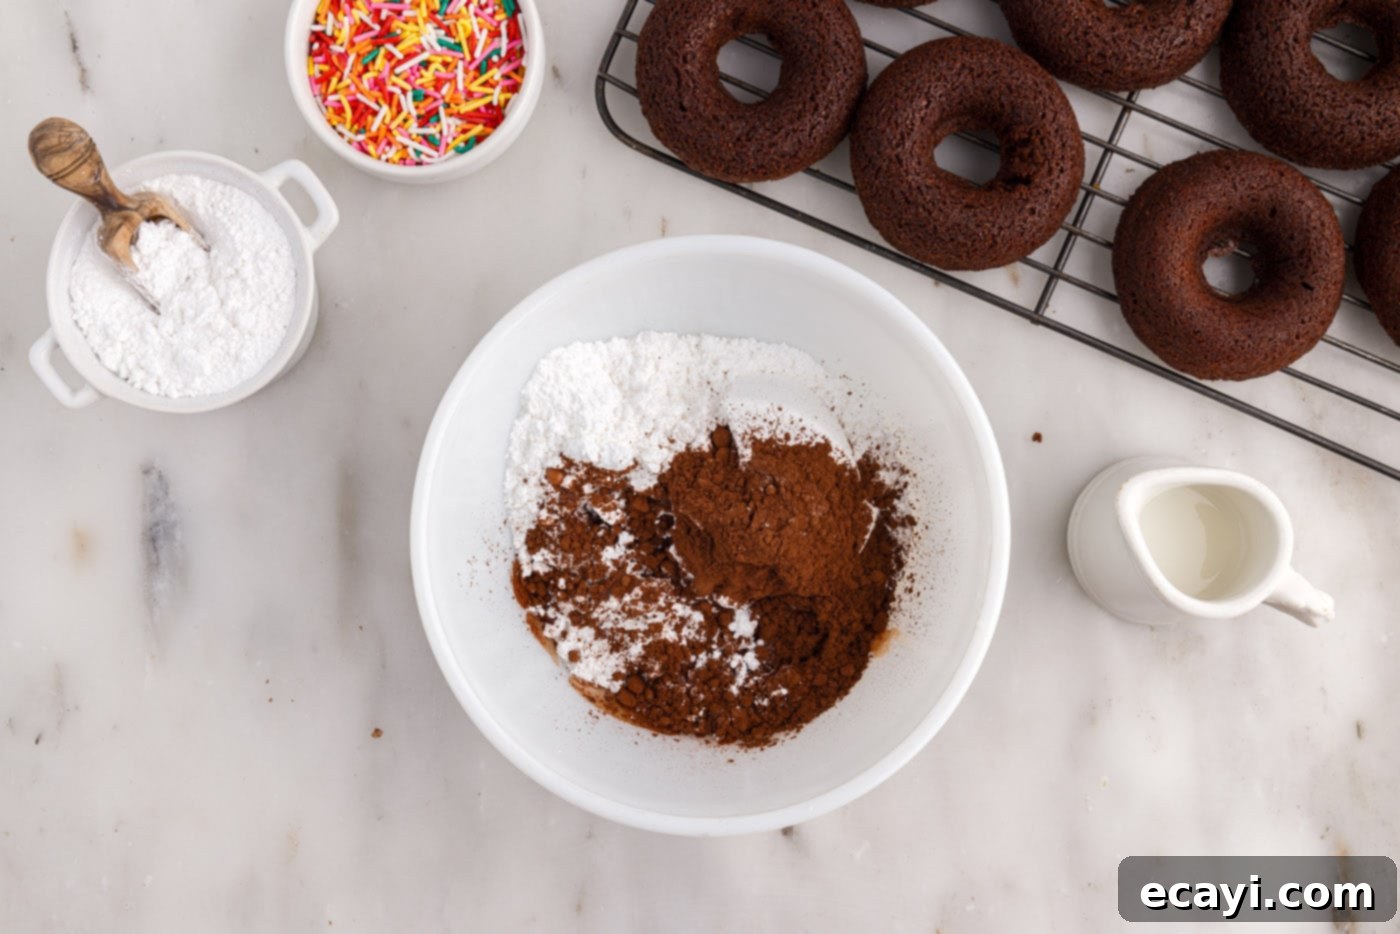
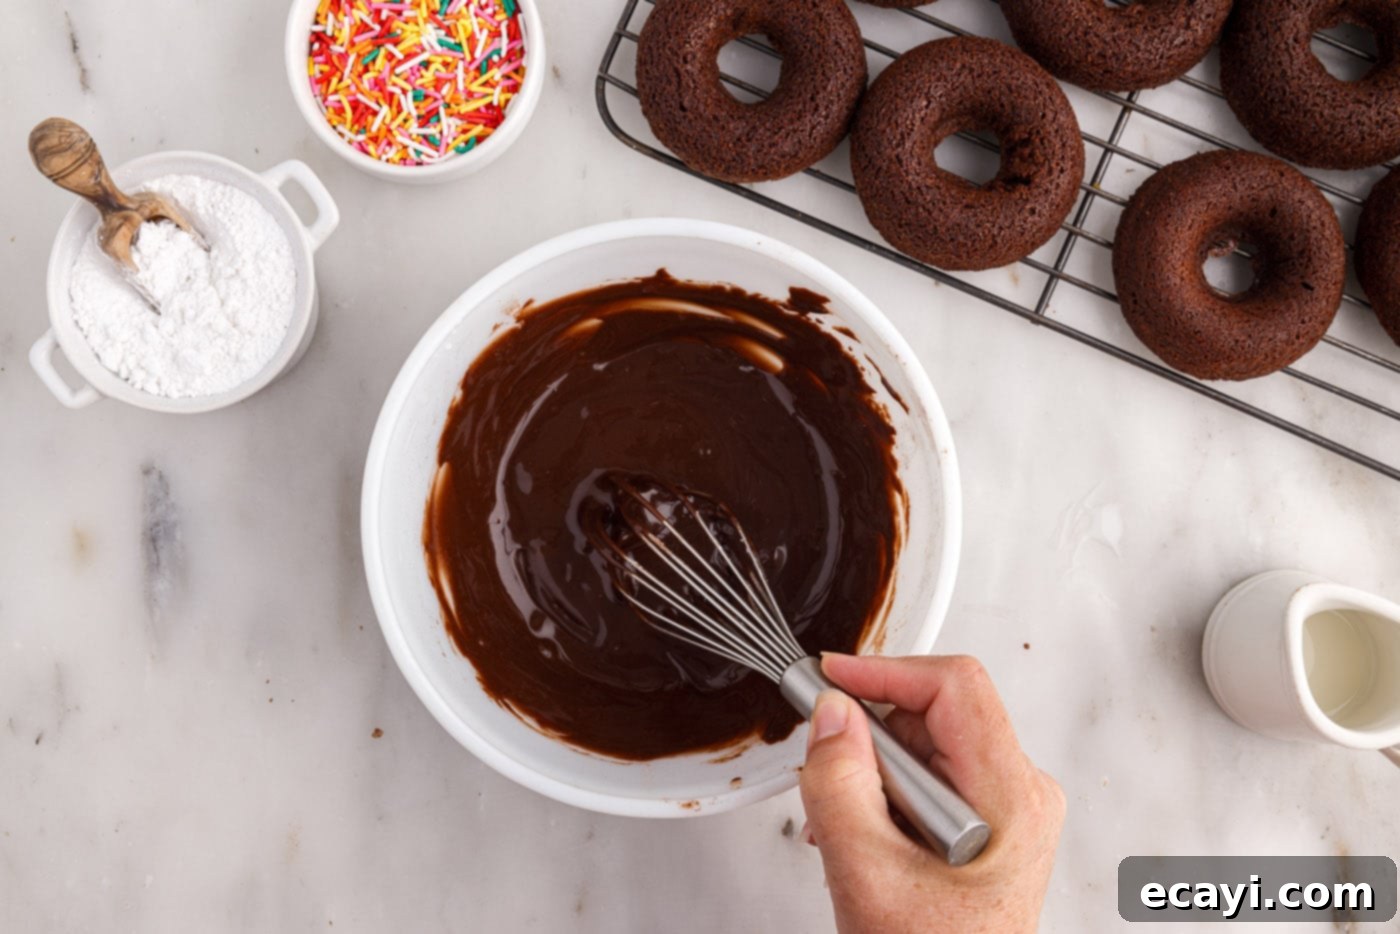
- While the bronuts are cooling, prepare the delightful chocolate glaze. In a bowl, whisk together the powdered sugar, milk, and unsweetened cocoa powder until a smooth, pourable consistency is achieved. Add milk gradually until you reach your desired thickness.


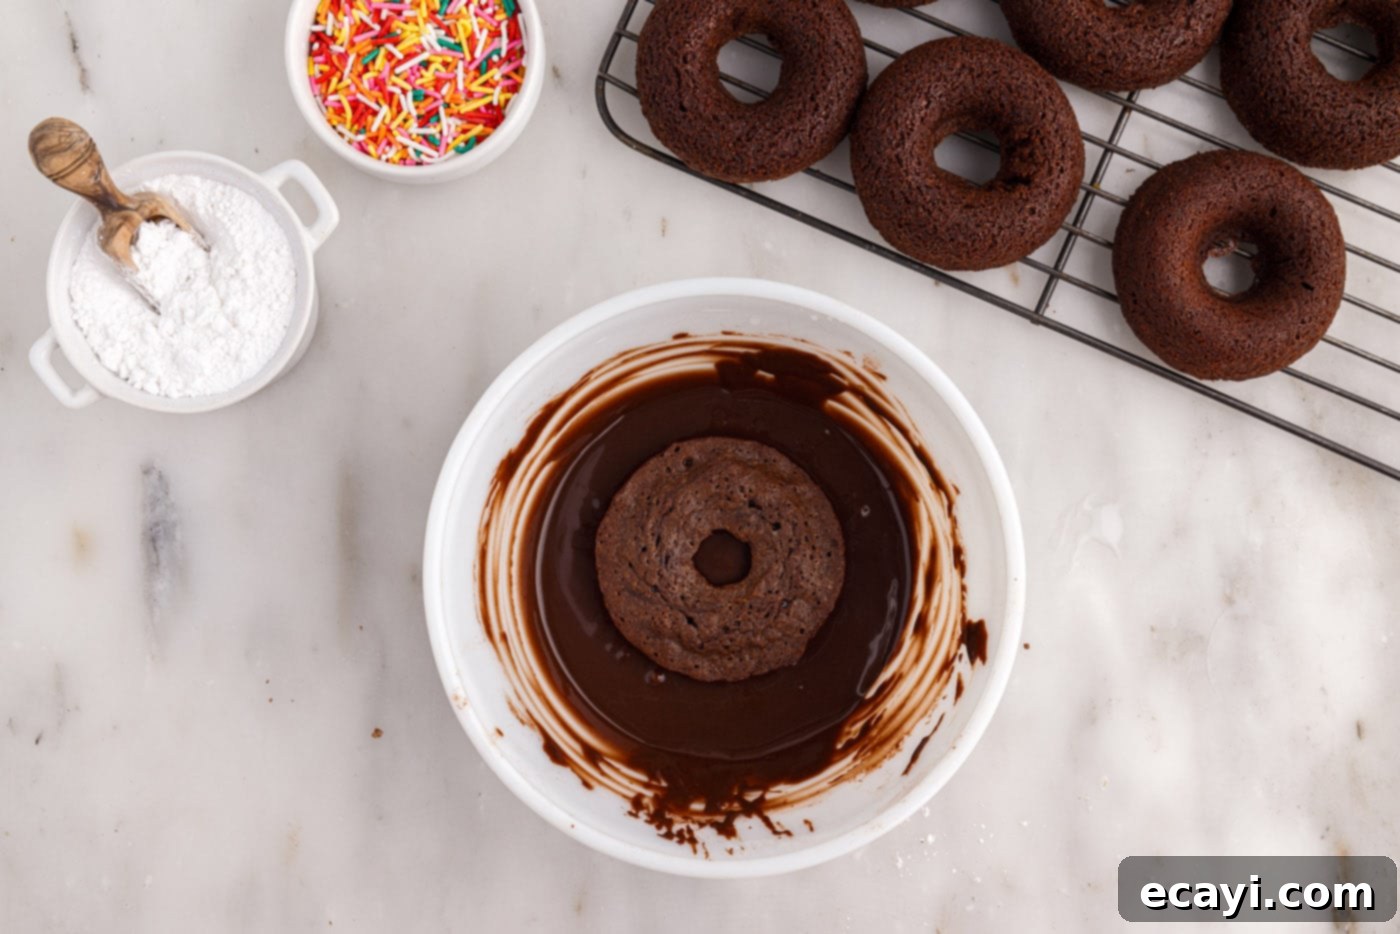
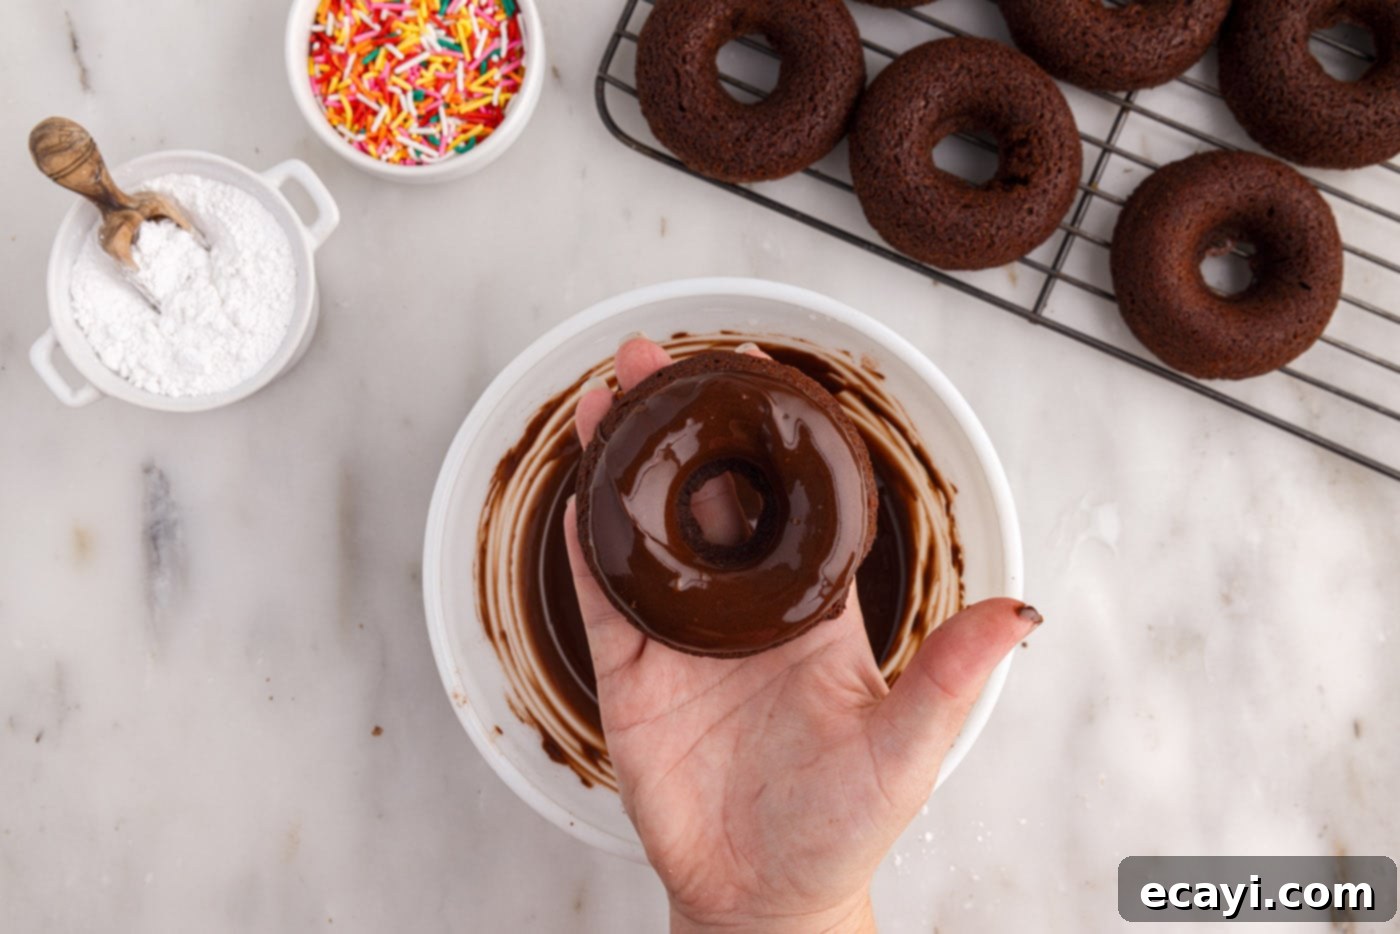
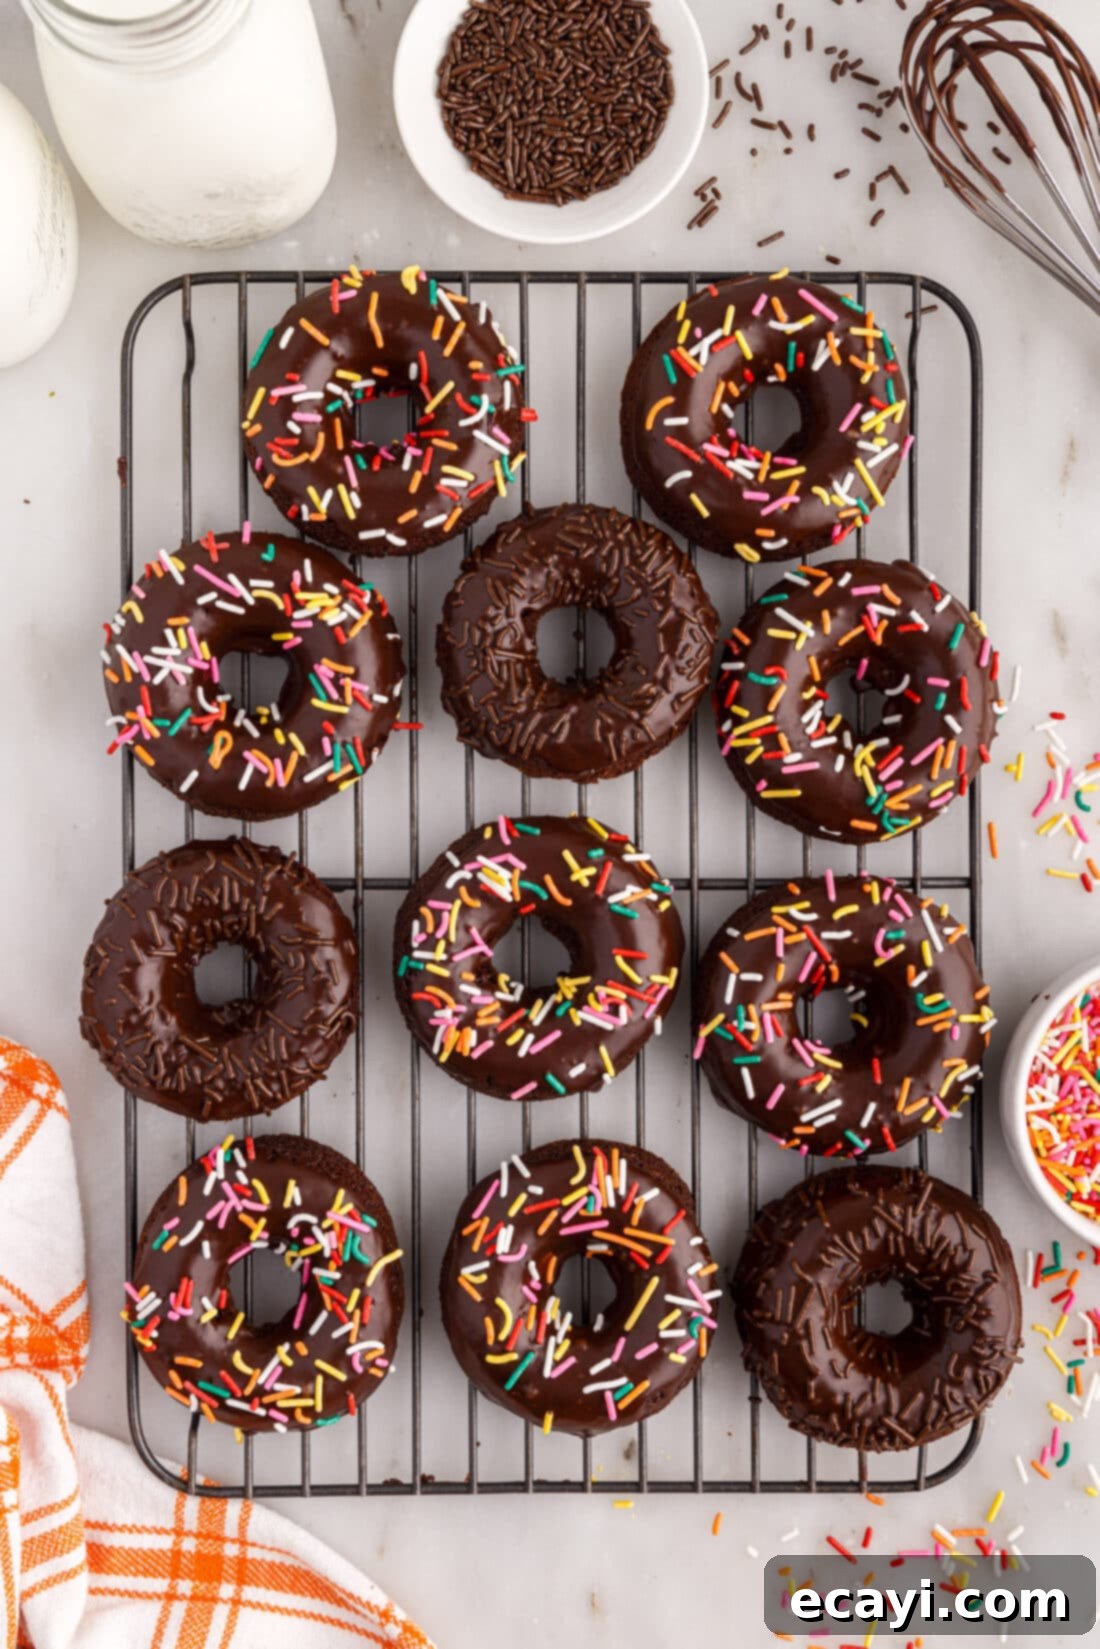
- Once the bronuts are completely cool, dip the smoothest side of each bronut into the prepared chocolate glaze. Allow any excess glaze to drip off before placing them back on the cooling rack or a platter. If decorating with sprinkles, do so immediately after glazing, before the glaze has a chance to set. This ensures the sprinkles adhere beautifully.


Frequently Asked Questions & Expert Tips for Perfect Bronuts
You have a couple of excellent options for baking your bronuts: either a traditional metal donut pan or a flexible silicone donut pan. Both work well, but many find that silicone pans make removal significantly easier due to their bendable nature. We successfully used a metal donut pan, and the bronuts turned out perfectly! The key to using a metal pan is to generously coat each cavity with a baking spray that contains flour (often labeled as “baking spray with flour”). This creates a non-stick barrier that helps the bronuts slide out smoothly. Regardless of the pan type, it’s absolutely crucial to let the bronuts cool completely in the pan before attempting to remove them. This allows them to firm up and prevents them from breaking apart.
To maintain their freshness and delicious texture, store your bronuts in an airtight container. Arrange them in a single layer to prevent the glaze from sticking or getting smudged, especially if they are heavily decorated. Keep the container in a cool, dry place at room temperature for up to 4 days. Be aware that vibrant or colorful sprinkles, while charming, may bleed their colors into the glaze or onto other bronuts if stored for longer than a day or two, especially in humid conditions.
Absolutely, bronuts freeze wonderfully, whether they are glazed or unglazed. For glazed bronuts, freeze them in a single layer within an airtight container. This prevents them from sticking together and preserves their presentation. They can be stored in the freezer for up to 1 month. If your bronuts are unglazed, you can stack them in the container with parchment paper in between layers to save space. When freezing, do keep in mind that sprinkles may dissolve or their colors may bleed upon thawing. It’s often best to add fresh sprinkles after thawing if presentation is a priority. Thaw frozen bronuts overnight in the refrigerator or at room temperature for a few hours before serving.
Yes, with a simple substitution! You can easily make these bronuts gluten-free by swapping the all-purpose flour for a good quality 1:1 gluten-free baking flour blend. Ensure the blend contains xanthan gum for optimal texture. The rest of the ingredients and instructions should remain the same. Always double-check labels on other ingredients like chocolate chips and cocoa powder to ensure they are certified gluten-free if catering to strict dietary needs.
While a donut pan is ideal for achieving the classic shape, you can still enjoy bronuts without one. You can bake the batter in a muffin tin to make brownie cupcakes, adjusting the baking time as needed (likely 18-22 minutes, checking for doneness with a toothpick). Alternatively, you can bake the batter in an 8×8 inch square pan to create a pan of fudgy brownies, then cut them into squares and glaze them. They won’t have the donut shape, but they’ll be equally delicious!
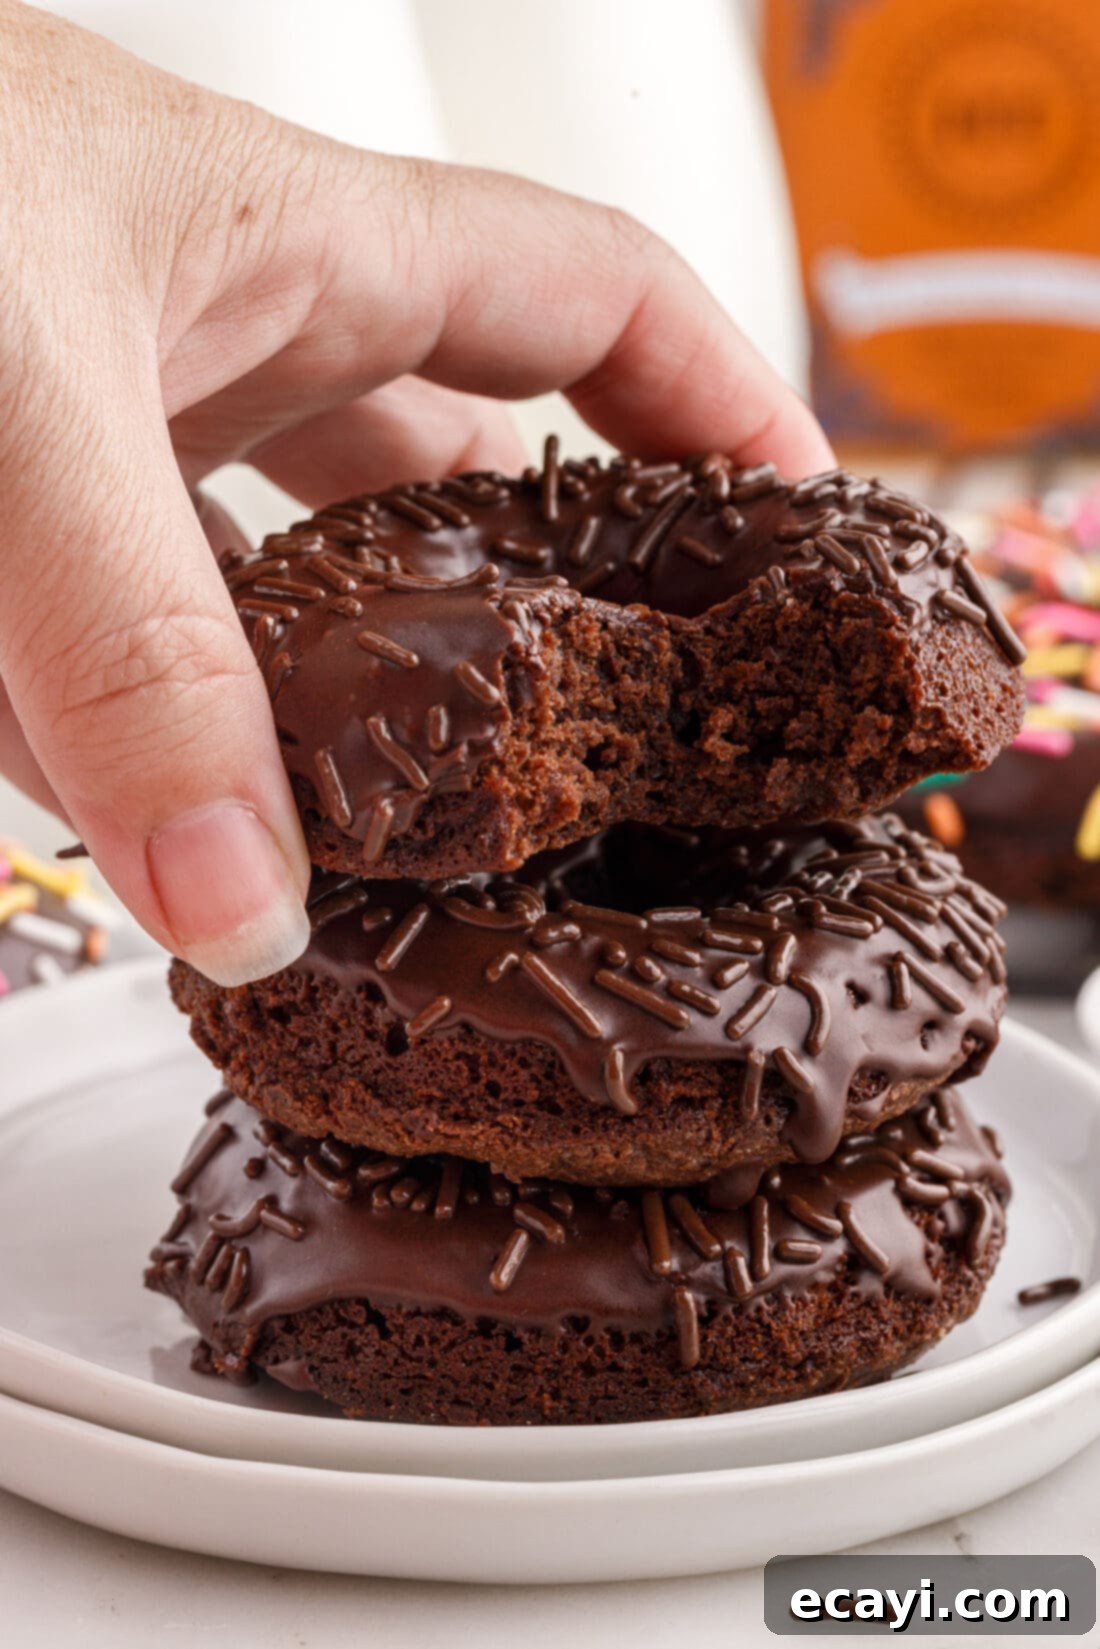
Creative Serving Ideas for Your Bronuts
While bronuts are perfectly delightful on their own, a little creativity with serving can elevate them even further. It’s entirely up to your personal preference whether or not you top your bronuts with our recommended rich chocolate glaze, but we wholeheartedly suggest it for that extra layer of chocolatey goodness and visual appeal!
If you’re not a big fan of heavy icing or glazes, a simple dusting of powdered sugar can provide a subtle sweetness and elegant finish. For those who love to experiment, consider drizzling your bronuts with melted white chocolate, a swirl of creamy semi-sweet chocolate, or even warm, melted peanut butter for a delightful nutty twist. Garnish options are limitless: classic rainbow sprinkles add a festive touch, mini chocolate chips enhance the cocoa flavor, finely chopped nuts (like pecans or walnuts) offer a textural contrast, or even crumbled candy bar pieces for ultimate indulgence. Serve your bronuts at room temperature for the best flavor and texture. They pair wonderfully with a hot cup of coffee, a cold glass of milk, or as a decadent dessert after any meal.
Explore More Delicious Donut Recipes
If you’ve fallen in love with homemade donuts, we have plenty more recipes to satisfy your cravings:
- Air Fryer Donuts
- Easy Cake Mix Donuts
- Bright Lemon Baked Donuts
- Warm Pumpkin Spice Donuts
- Classic Apple Cider Doughnuts
- Fun Peanut Butter and Jelly Donuts
I love to bake and cook and share my kitchen experience with all of you! Remembering to come back each day can be tough, that’s why I offer a convenient newsletter every time a new recipe posts. Simply subscribe and start receiving your free daily recipes!
Bronuts: Brownie Donuts
IMPORTANT – There are often Frequently Asked Questions within the blog post that you may find helpful. Simply scroll back up to read them!
Print It
Pin It
Rate It
Save It
Saved!
Prevent your screen from going dark
Course:
Dessert
Cuisine:
American
10
bronuts
30 minutes
354
Amanda Davis
Ingredients
-
½
cup
unsalted butter
8 Tablespoons, for rich flavor -
4
ounces
semi-sweet chocolate chips
1/2 cup, or chopped baking chocolate for intense chocolate flavor -
1
cup
granulated sugar -
1
teaspoon
vanilla extract -
1
Tablespoon
vegetable oil -
2
large
eggs
at room temperature, for better emulsion -
½
cup
all-purpose flour -
¼
teaspoon
salt -
¼
cup
unsweetened cocoa powder
Chocolate Glaze
-
1 ½
cups
powdered sugar -
2-3
Tablespoons
milk -
3
Tablespoons
unsweetened cocoa powder -
sprinkles
optional for decorating
Things You’ll Need
-
Large mixing bowl -
Sieve -
Whisk -
Donut pan -
Piping bag or Ziploc bag
Before You Begin
- Achieving Fudgy Perfection: The key to soft, fudgy bronuts is to avoid overmixing. Once you add the dry ingredients, stir minimally, just until no streaks of flour remain. Vigorously whisking incorporates too much air and can lead to a tougher, cake-like texture rather than the desired fudgy brownie consistency.
- Pan Preparation and Cooling: A silicone donut pan might offer the easiest removal, as its flexibility allows you to gently push out the bronuts. If you opt for a metal donut pan, ensure you use a non-stick cooking spray that contains flour (like Baker’s Joy) to guarantee smooth release. Regardless of your pan choice, allow the bronuts to cool completely in the pan before attempting to remove them. This cooling time is essential for them to firm up and maintain their shape, ensuring they come out in one perfect piece.
- Glazing and Decorating Tips: Always ensure your bronuts are completely cooled before applying the glaze. Warm bronuts will melt the glaze, resulting in a messy finish. For sprinkles, decorate immediately after dipping each bronut into the glaze. This ensures the sprinkles adhere securely before the glaze begins to set.
- Storage for Freshness: Once the glaze has set, bronuts can be gently stacked in an airtight container for storage. However, for the best presentation and to keep decorations neat, storing them in a single layer is ideal. Keep the container in a cool, dry place at room temperature for up to 4 days. Be mindful that colorful sprinkles might bleed their dyes if stored for more than a couple of days.
- Freezing for Later: Bronuts are freezer-friendly, both glazed and unglazed. If they are glazed, arrange them in a single layer in an airtight container to freeze for up to 1 month. You can stack unglazed bronuts with parchment paper between layers to prevent sticking. Note that sprinkles will likely dissolve or bleed their color after freezing and thawing, so consider adding fresh sprinkles if you freeze them unglazed and glaze after thawing.
Instructions
-
Preheat your oven to 350°F (175°C).
-
In a heat-proof bowl, melt butter and chocolate chips in 30-second increments in the microwave until smooth.
-
Whisk in granulated sugar, vanilla extract, and vegetable oil into the chocolate mixture until combined.
-
Slowly whisk in eggs, mixing just until combined to avoid over-aerating.
-
Sift all-purpose flour, salt, and cocoa powder into the brownie mixture. Gently stir until fully combined, being careful not to overmix.
-
Transfer the bronut batter into a piping bag (or a plastic bag with a snipped corner).
-
Spray a donut pan with non-stick baking spray (with flour). Pipe batter into each cavity, filling no more than ½ full.
-
Bake for 15 minutes, or until bronuts are baked through (tops dry, toothpick comes out with moist crumbs).
-
Remove from oven and let bronuts cool completely in the pan before transferring to a cooling rack.
-
Prepare the chocolate glaze by whisking together powdered sugar, milk, and cocoa powder until smooth.
-
Dip the smoothest side of each cooled bronut into the glaze, letting excess drip. Place on a cooling rack and decorate immediately with sprinkles before the glaze sets.
Nutrition
Serving:
1
bronut
|
Calories:
354
cal
|
Carbohydrates:
51
g
|
Protein:
4
g
|
Fat:
17
g
|
Saturated Fat:
9
g
|
Polyunsaturated Fat:
1
g
|
Monounsaturated Fat:
5
g
|
Trans Fat:
0.4
g
|
Cholesterol:
63
mg
|
Sodium:
77
mg
|
Potassium:
149
mg
|
Fiber:
2
g
|
Sugar:
42
g
|
Vitamin A:
348
IU
|
Calcium:
25
mg
|
Iron:
2
mg
Tried this Recipe? Pin it for Later!
Follow on Pinterest @AmandasCookin or tag #AmandasCookin!
The recipes on this blog are tested with a conventional gas oven and gas stovetop. It’s important to note that some ovens, especially as they age, can cook and bake inconsistently. Using an inexpensive oven thermometer can assure you that your oven is truly heating to the proper temperature. If you use a toaster oven or countertop oven, please keep in mind that they may not distribute heat the same as a conventional full sized oven and you may need to adjust your cooking/baking times. In the case of recipes made with a pressure cooker, air fryer, slow cooker, or other appliance, a link to the appliances we use is listed within each respective recipe. For baking recipes where measurements are given by weight, please note that results may not be the same if cups are used instead, and we can’t guarantee success with that method.
