Ultimate Homemade Cosmic Brownies: A Fudgy, Chewy, and Nostalgic Recipe
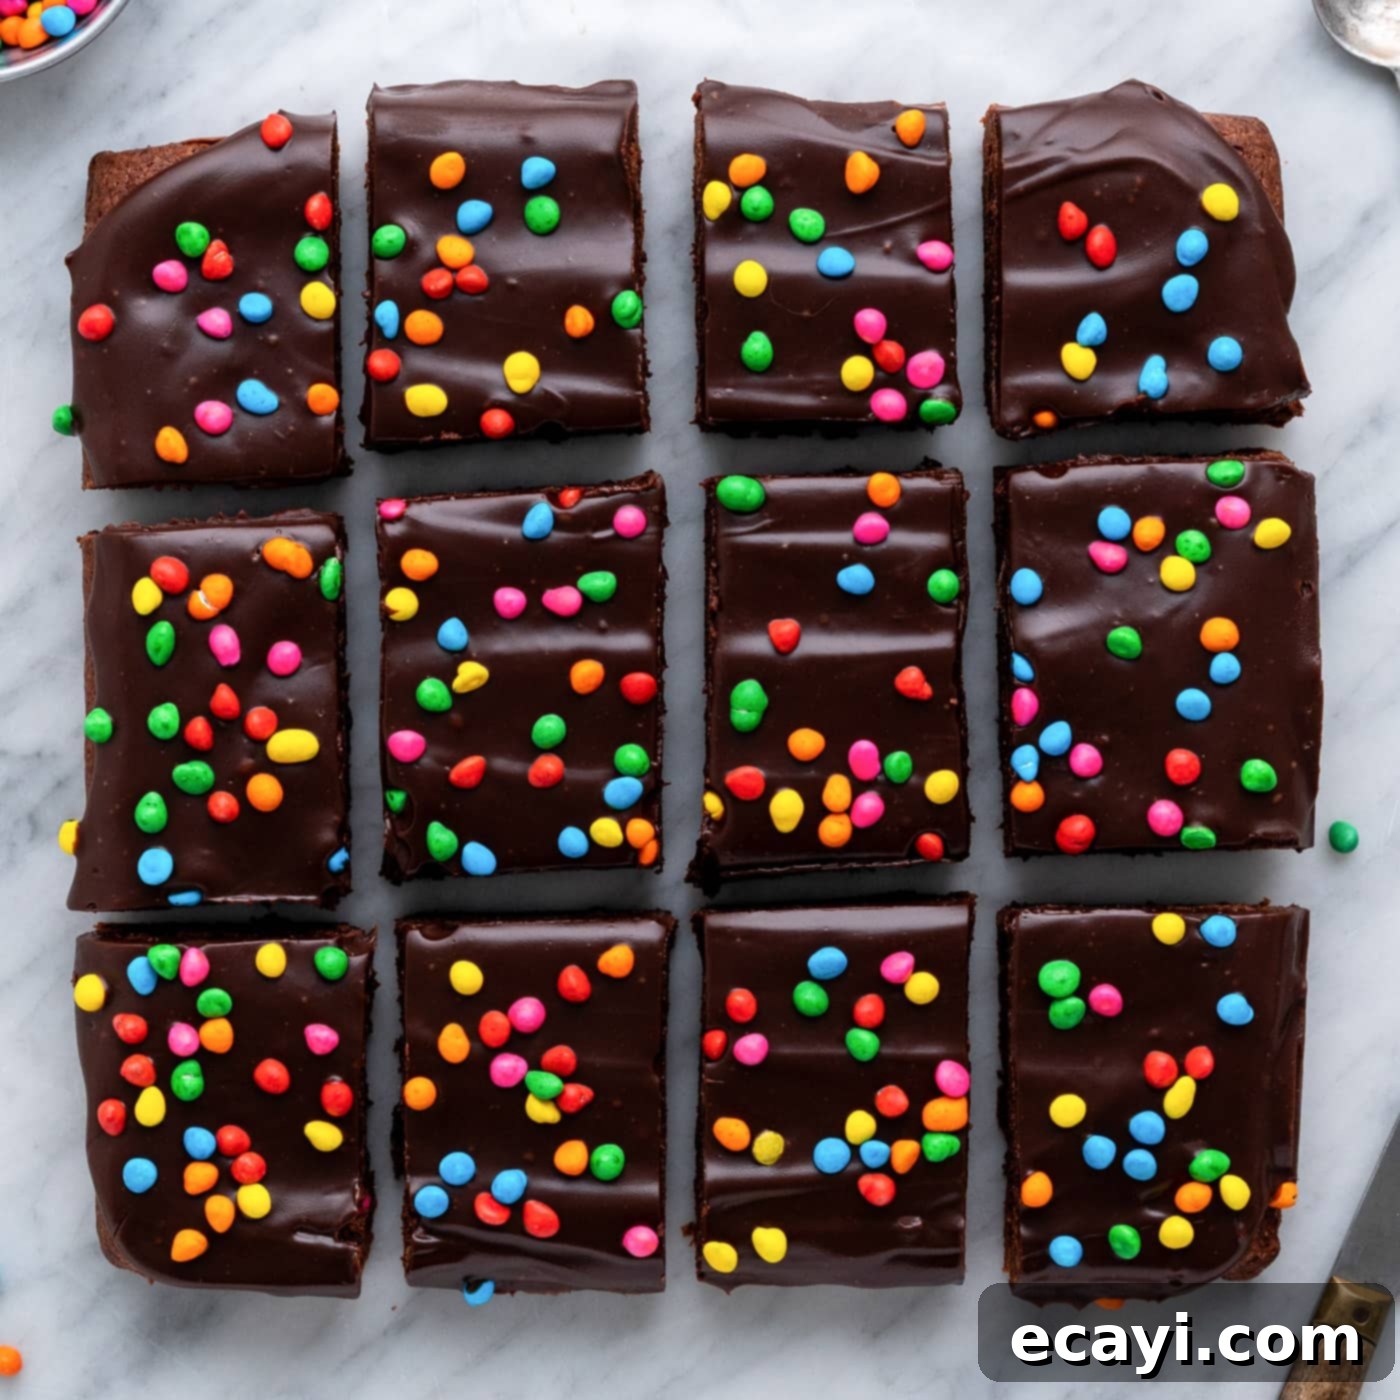
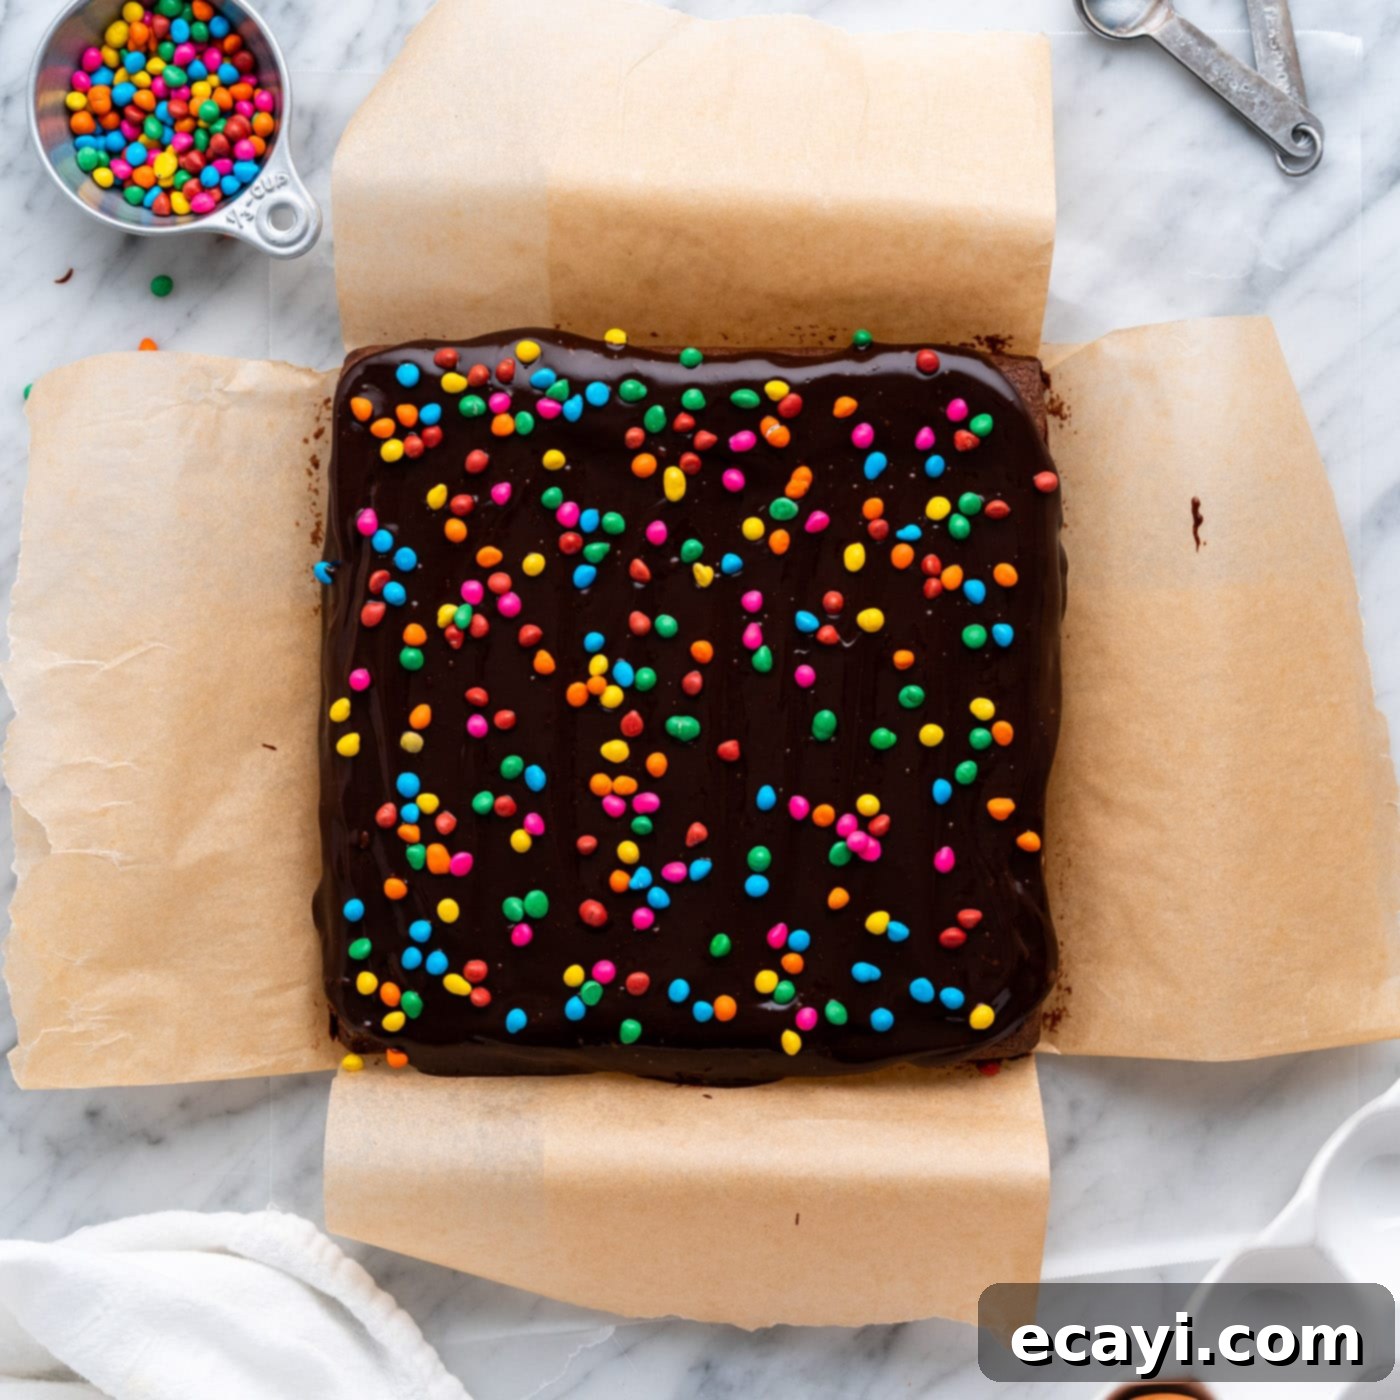
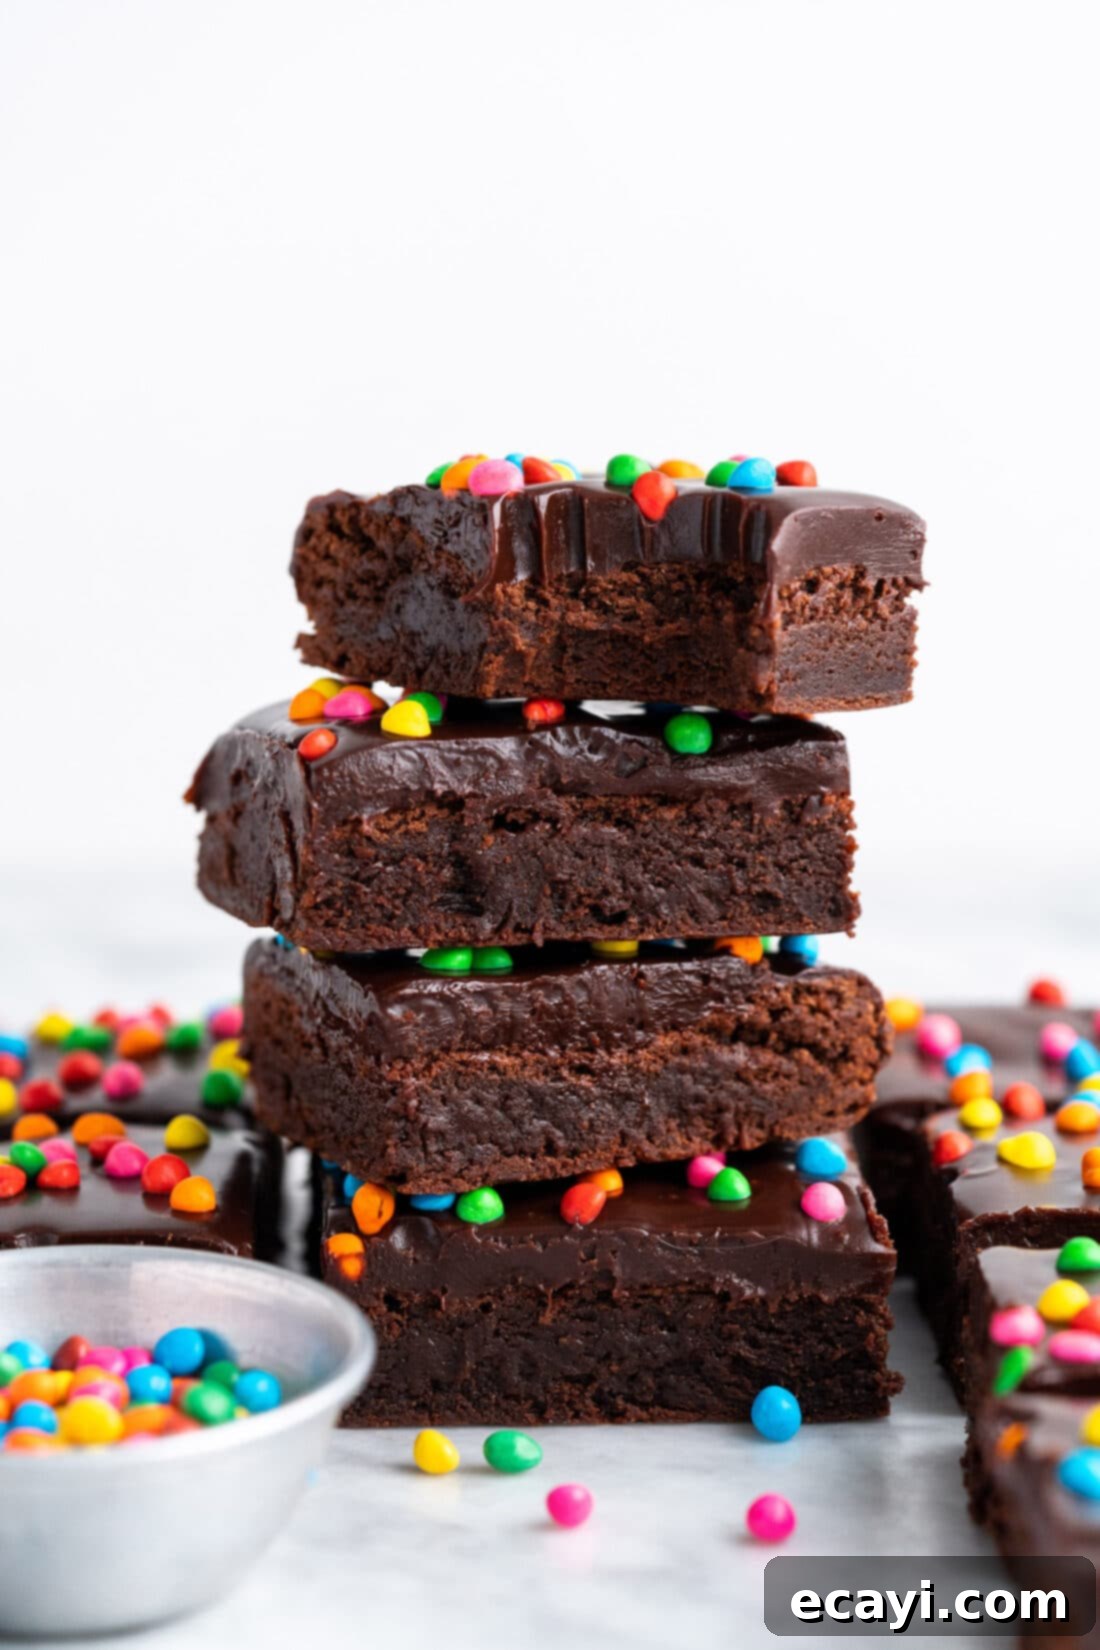
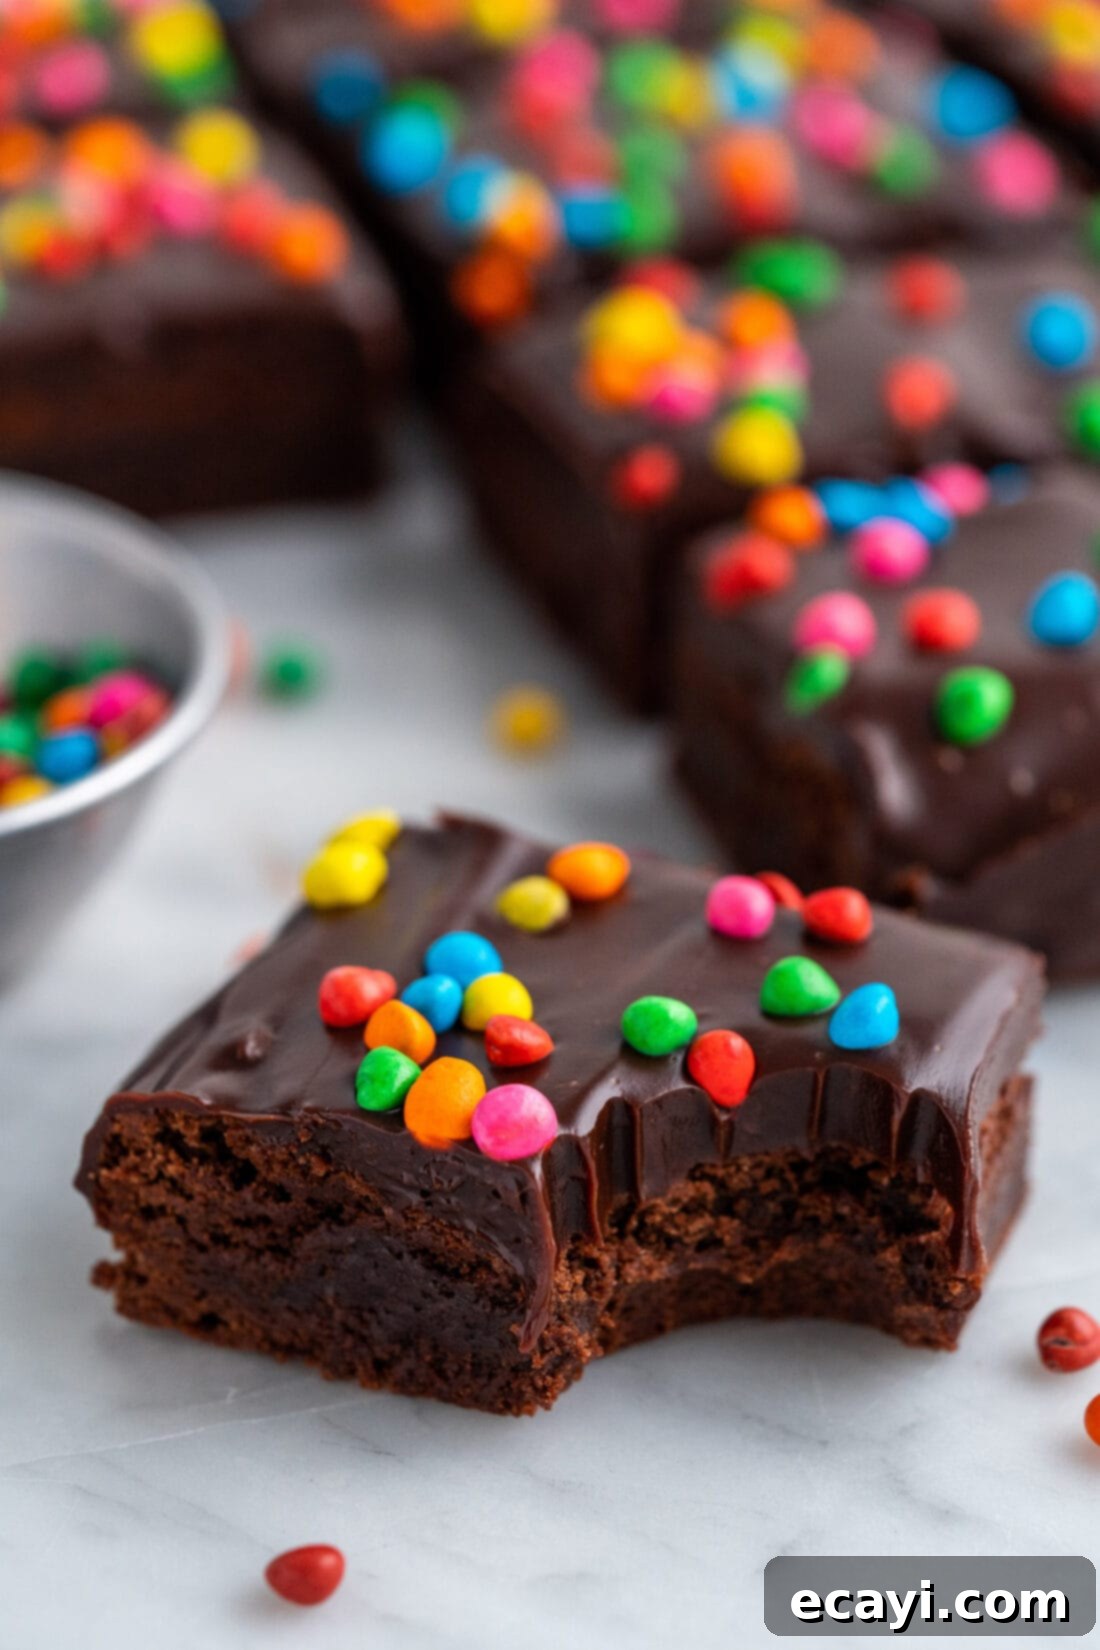
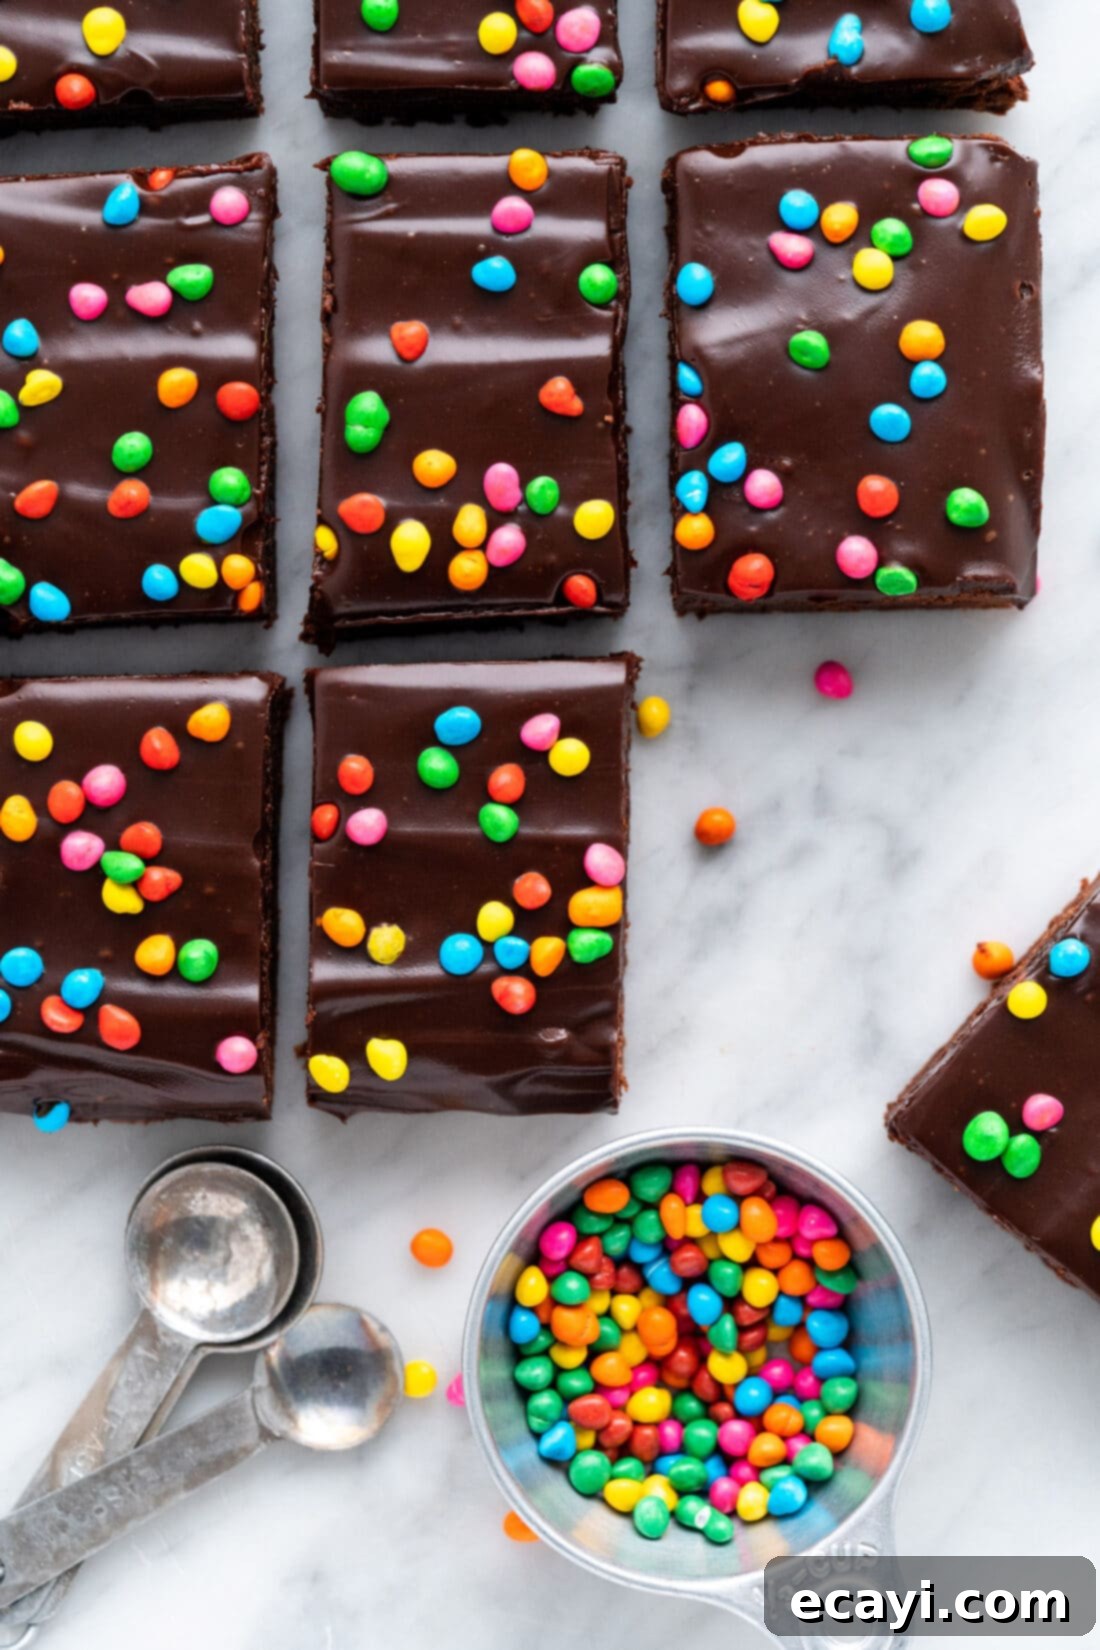
Embark on a delightful journey back to childhood with this incredible homemade Cosmic Brownies recipe! We’re talking about a level of rich, fudgy indulgence that redefines what you thought a brownie could be. Forget the overly sweet, sometimes dry store-bought versions; these sweet treats start with an intensely chocolatey, perfectly chewy brownie base, generously topped with a silky-smooth chocolate ganache, and crowned with those iconic, vibrant rainbow chip sprinkles. Each bite is a symphony of textures and deep chocolate flavor that will leave you craving more, all without a single preservative in sight.
Why This Homemade Cosmic Brownie Recipe Stands Out
For many, Cosmic Brownies, popularized by Little Debbie since 1999, evoke a powerful sense of nostalgia. The familiar combination of a chewy chocolate brownie and those cheerful rainbow sprinkles made them an instant hit and a beloved grab-and-go snack. However, while we cherish those memories, we firmly believe that “homemade is always better than store-bought” – and this recipe proves it. Just like our homemade Pop Tarts, these brownies elevate the classic to an entirely new level.
This homemade rendition isn’t just “better”; it truly surpasses the commercial variety by a long shot. The difference lies in the quality of ingredients and the meticulous baking process. Our brownies boast a deep, authentic chocolate flavor that isn’t masked by excessive sugar. They are supremely rich and irresistibly fudgy, exactly how a perfect brownie should be – a stark contrast to the often dry or overly cakey texture of mass-produced versions. Furthermore, you can enjoy these decadent treats knowing there are no artificial preservatives or unpronounceable ingredients. You control what goes in, ensuring a wholesome and truly delicious experience that will impress any brownie connoisseur and ignite those warm, fuzzy feelings of childhood joy.
Essential Ingredients for Perfect Homemade Cosmic Brownies
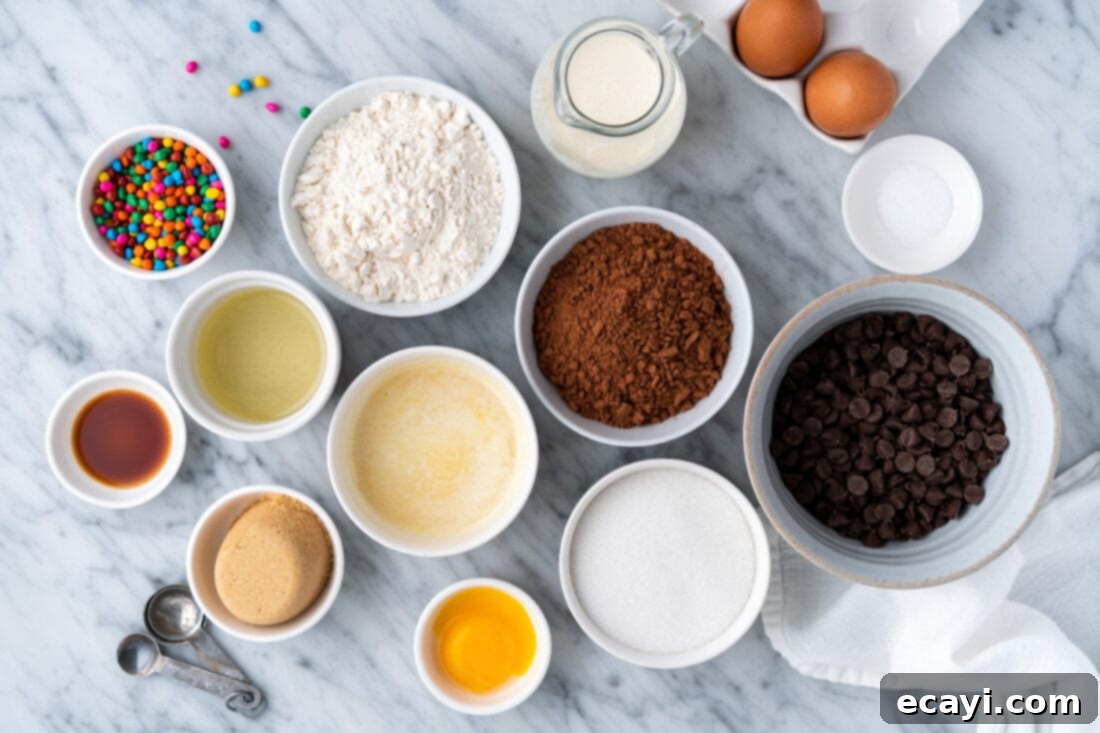
Crafting these extraordinary Cosmic Brownies requires a thoughtful selection of common pantry staples. The beauty of baking from scratch is the control you have over each component, ensuring superior flavor and texture. You’ll find a detailed list of all measurements, specific ingredients, and comprehensive instructions in the printable recipe card located at the conclusion of this post. Gather your ingredients and prepare for baking magic!
Ingredient Spotlight & Expert Tips for Success
Understanding the role of each ingredient can significantly enhance your baking results and confidence in making substitutions. Here’s a closer look at what makes these Cosmic Brownies truly special:
- For the Brownie Base:
- All-Purpose Flour: Stick to all-purpose flour for the best structural integrity without making the brownies too tough. Measuring accurately is key – spoon and level your flour, don’t scoop it directly from the bag.
- Unsweetened Cocoa Powder: This is where the deep chocolate flavor comes from. High-quality cocoa powder makes a noticeable difference. Dutch-processed cocoa will yield a darker brownie with a milder chocolate flavor, while natural cocoa offers a lighter color and a more intense, slightly acidic chocolate punch.
- Salt: Essential for balancing the sweetness and enhancing the chocolate flavor. Don’t skip it!
- Granulated Sugar & Light Brown Sugar: The combination of sugars is crucial. Granulated sugar contributes to the crisp, crackly top crust that is characteristic of good brownies. Brown sugar, with its molasses content, adds moisture, chewiness, and a subtle caramel note, contributing to the fudgy texture.
- Vegetable Oil & Unsalted Butter: This dynamic duo provides moisture and tenderness. Oil contributes to an incredibly fudgy texture, while melted butter adds that rich, buttery flavor we all love. Ensure the melted butter is slightly cooled before adding it to avoid cooking the eggs prematurely.
- Vanilla Extract: A crucial flavor enhancer. Use pure vanilla extract for the best taste.
- Large Eggs & Egg Yolk: Eggs act as binders and contribute to the rich, fudgy texture. The extra egg yolk in this recipe is a secret weapon for ultimate fudginess and richness, preventing a cakey result. Beating the eggs sufficiently (as detailed in the instructions) is vital for achieving that desirable shiny, crackled top.
- GANACHE: This luscious topping is surprisingly simple to make. For an extra brilliantly shiny ganache, reminiscent of store-bought gloss, you can add 1/2 tablespoon of corn syrup along with the chocolate chips and heavy whipping cream. The corn syrup helps prevent sugar crystallization and provides that beautiful sheen. Feel free to use semi-sweet chocolate chips as specified, or experiment with dark chocolate chips for a richer, less sweet ganache.
- SPRINKLES: To perfectly recreate the iconic Little Debbie look, you’ll want to grab rainbow chip sprinkles. These aren’t just regular sugar sprinkles; they are tiny, candy-coated chocolate chips that provide a delightful little crunch and burst of color. You might also find them under the name “rainbow candy-coated chocolate chips.” If you can’t find them or prefer an alternative, regular rainbow sprinkles (jimmies) or even mini M&M’s can add a fun twist, though the texture will be different.
Step-by-Step Guide: How to Make Homemade Cosmic Brownies
These step-by-step photos and detailed instructions are provided to help you visualize and confidently execute this recipe. For the printable version, complete with precise measurements and a condensed instruction list, please jump to the recipe card at the bottom of this post.
- Prepare Your Pan and Preheat Oven: Begin by preheating your oven to 350°F (175°C). This ensures the oven is at the correct temperature when your batter is ready, promoting even baking. Line an 8 by 8-inch baking pan with two pieces of parchment paper. Arrange the parchment so that it hangs over all four sides of the pan; this creates handy “slings” that will allow for incredibly easy removal of the baked brownies once they are cooled. A non-stick spray can also be used, but parchment offers the cleanest lift.
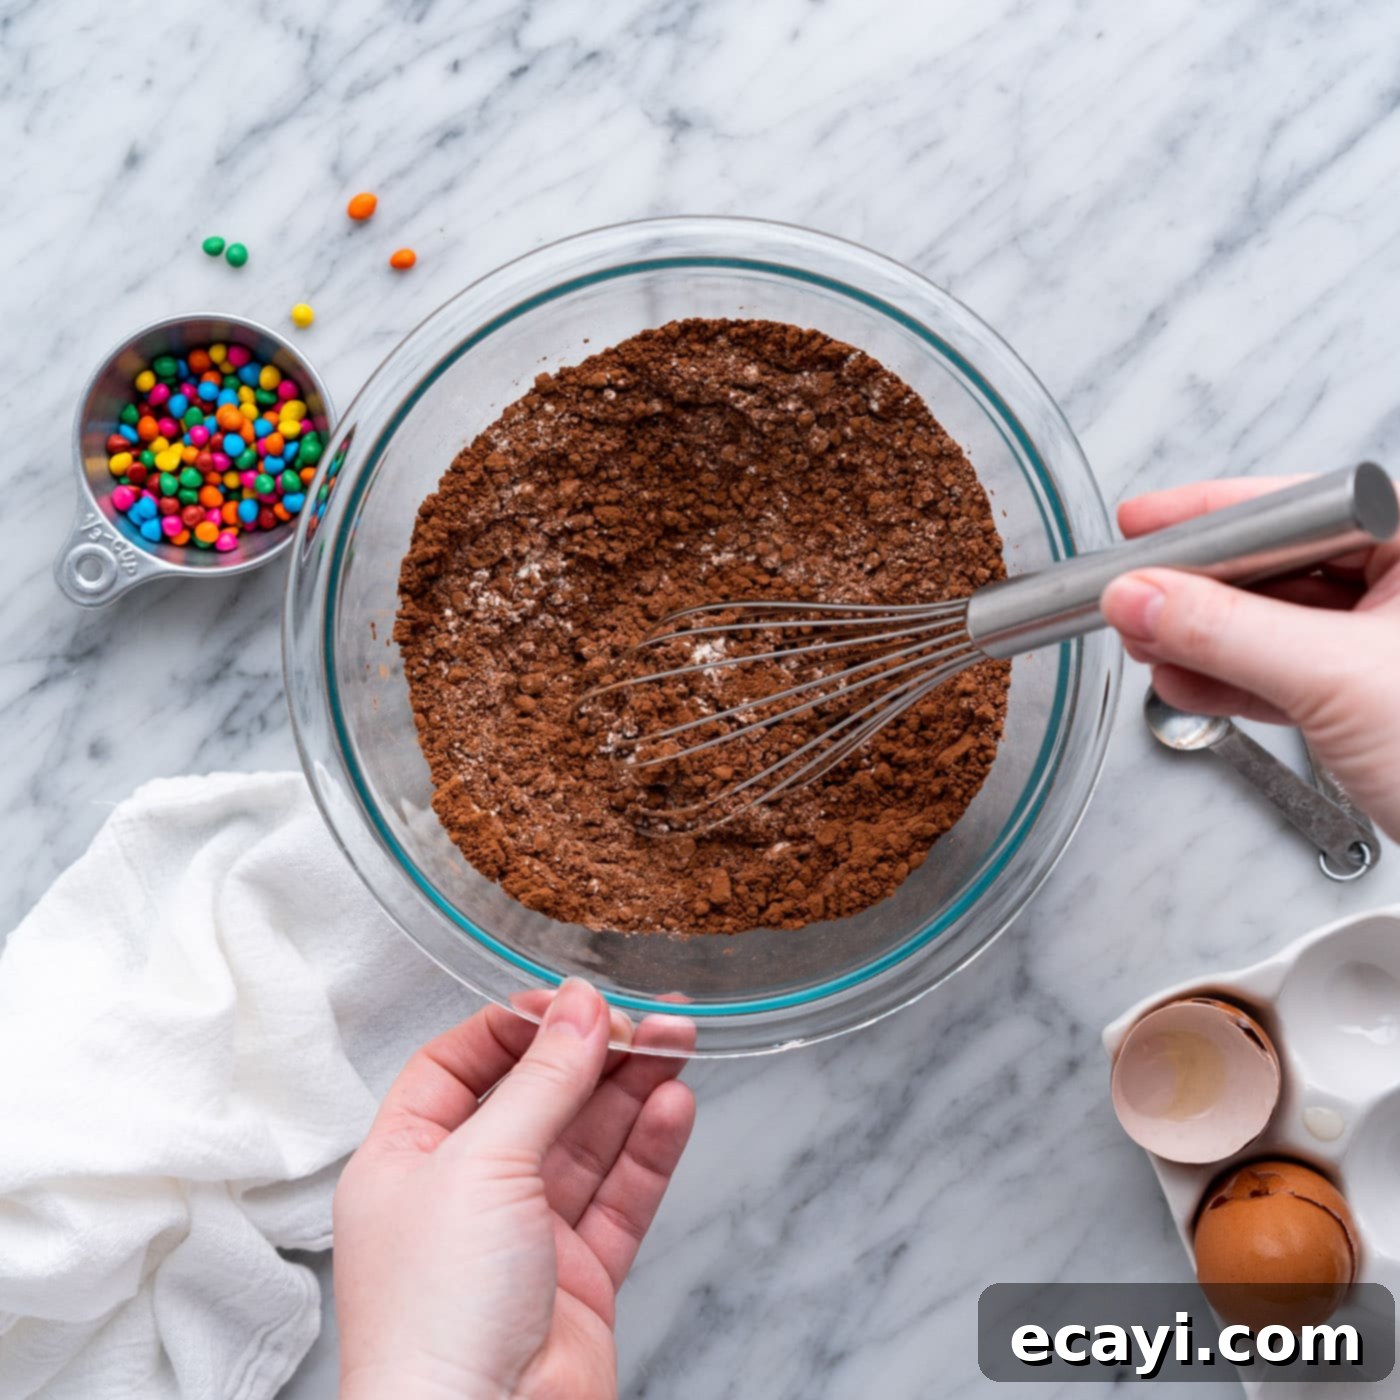
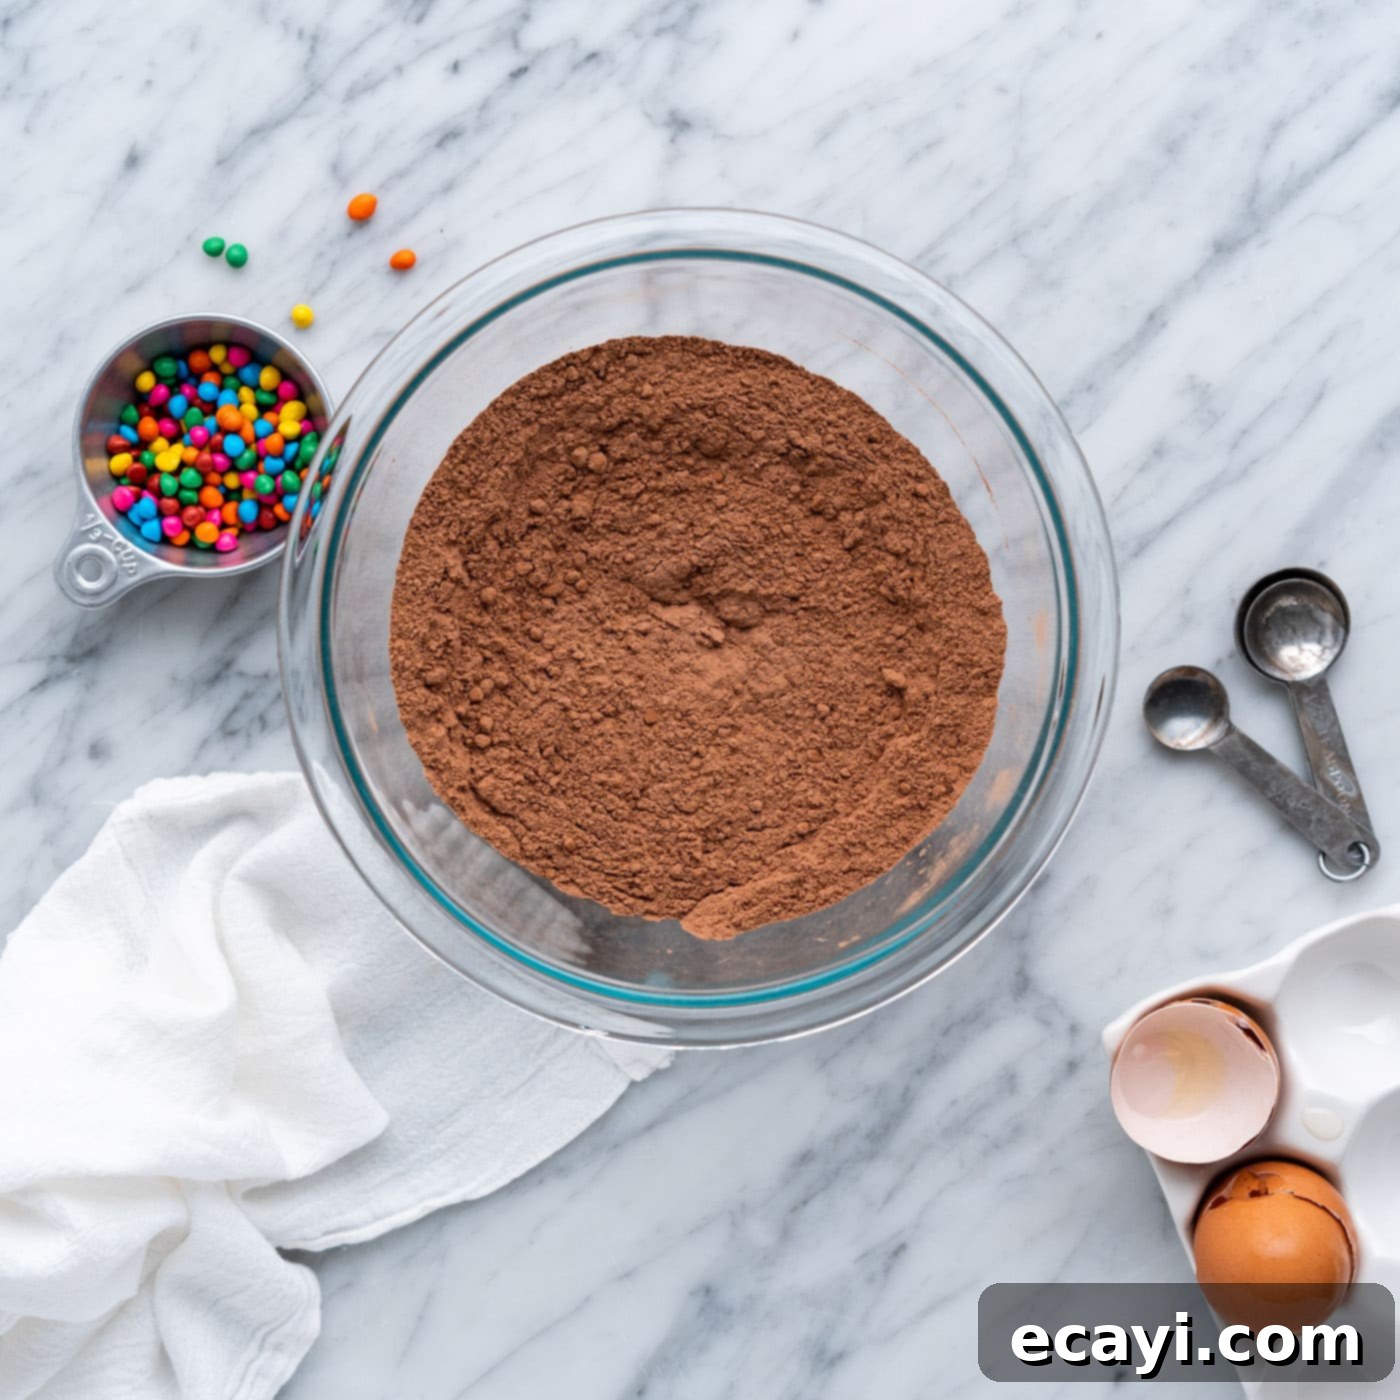
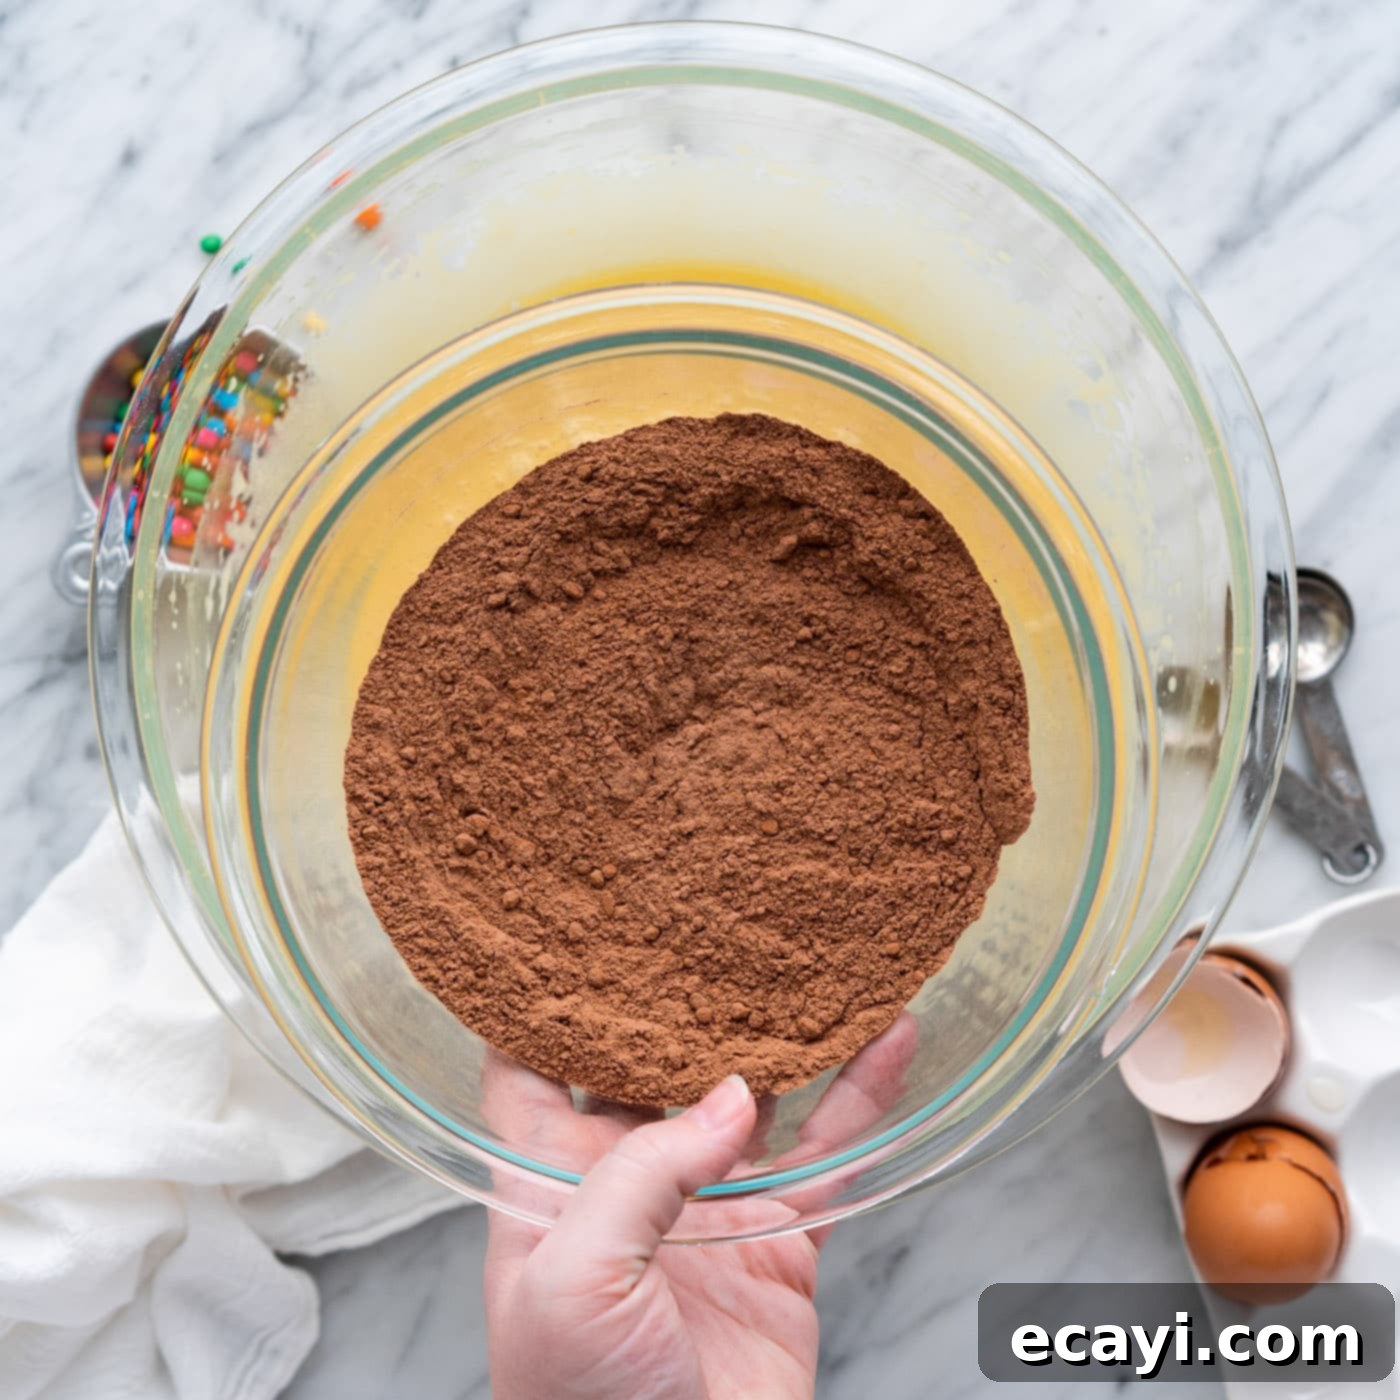
- Whisk Dry Ingredients: In a medium-sized bowl, combine the all-purpose flour, unsweetened cocoa powder, and salt. Whisk these dry ingredients thoroughly until they are well combined and no lumps of cocoa powder remain. This step is essential for ensuring that the leavening and flavor components are evenly distributed throughout the brownie batter, leading to a consistent texture and taste.


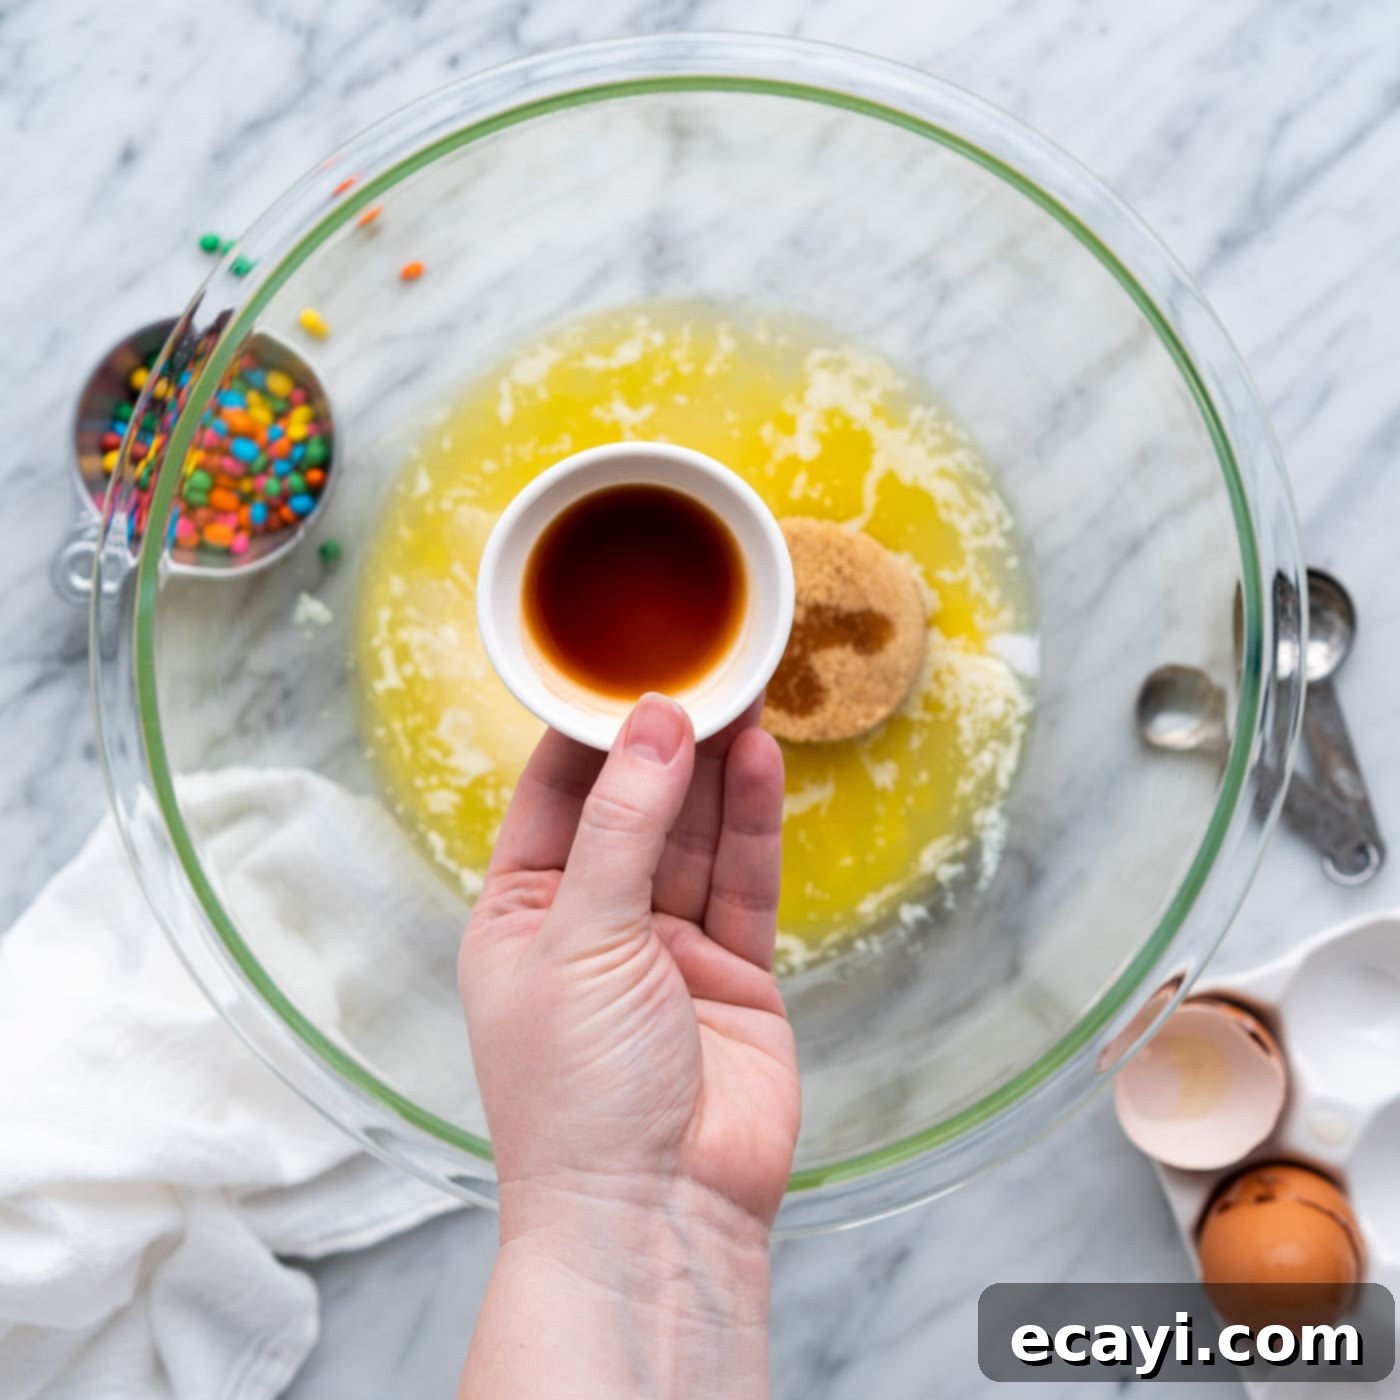
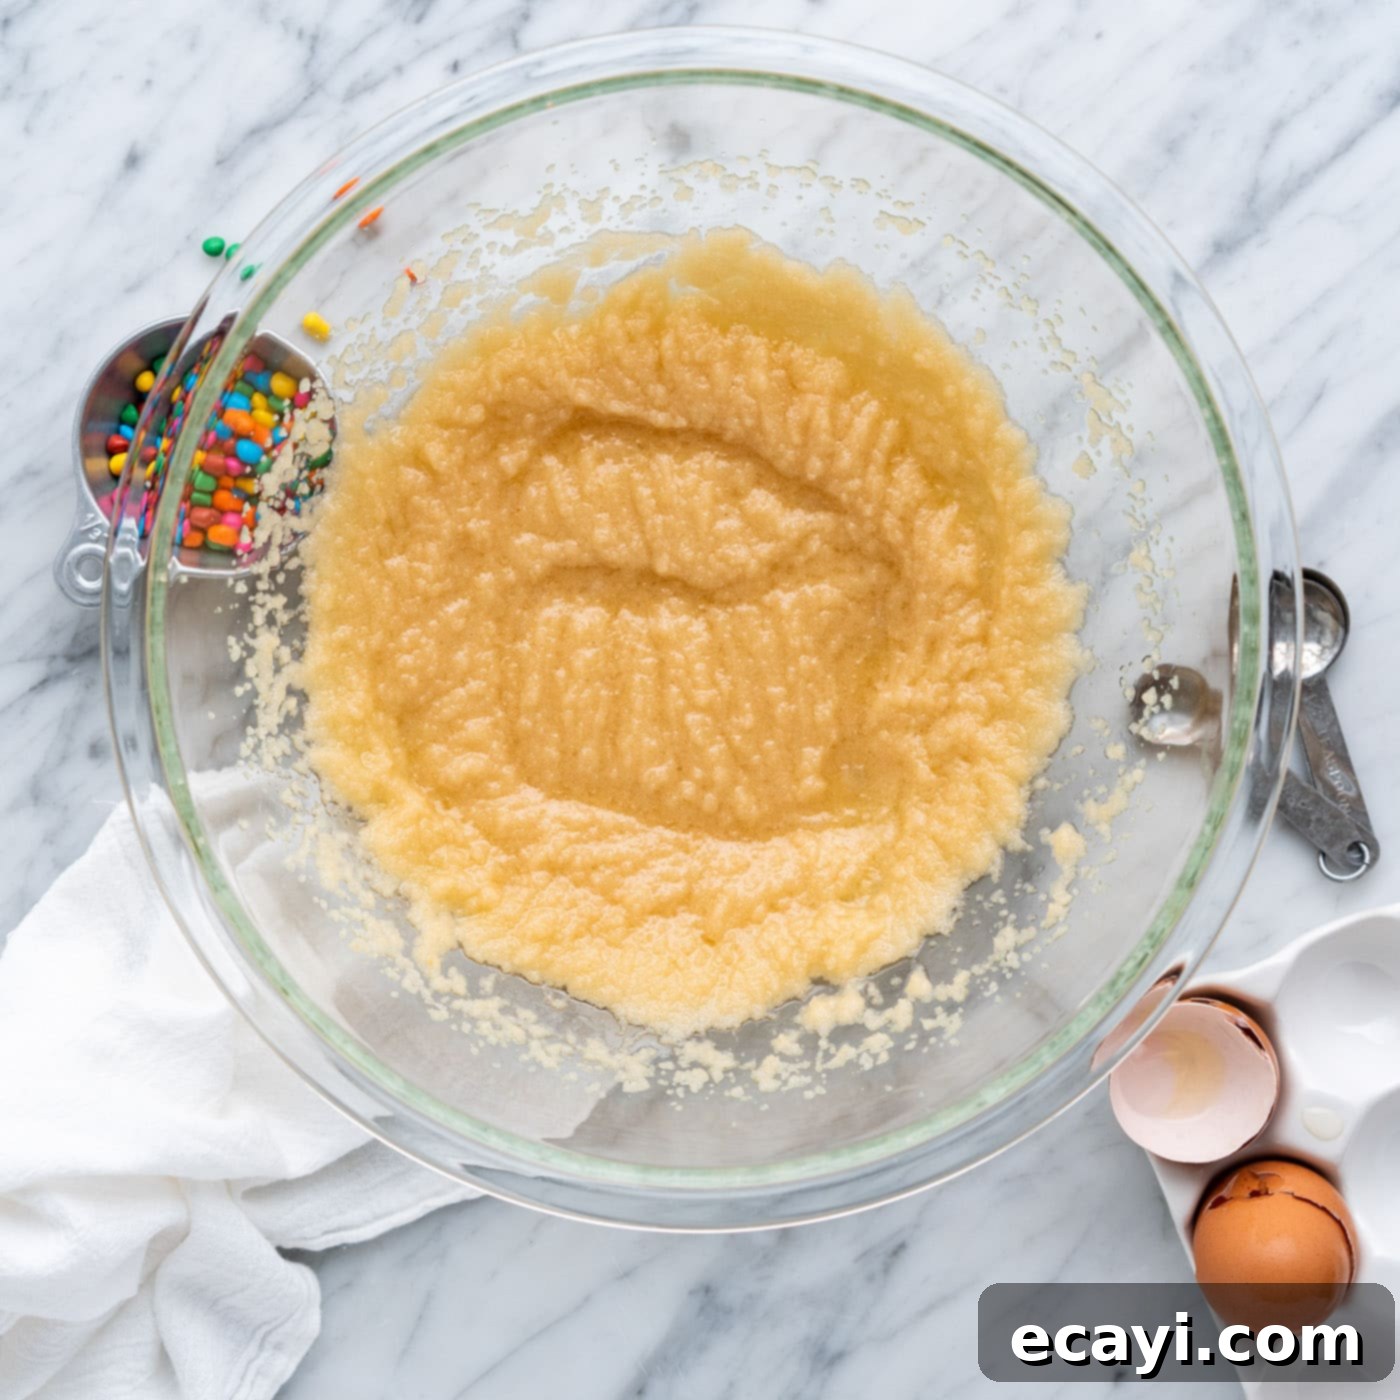
- Cream Wet Ingredients (Part 1): In a large mixing bowl, use a handheld electric mixer to beat together the granulated sugar, light brown sugar, vegetable oil, melted and slightly cooled unsalted butter, and vanilla extract. Beat this mixture on medium speed until it thickens slightly and takes on a texture resembling fluffy, wet sand. This process helps to dissolve the sugars and incorporates some air, which contributes to the brownies’ final texture.
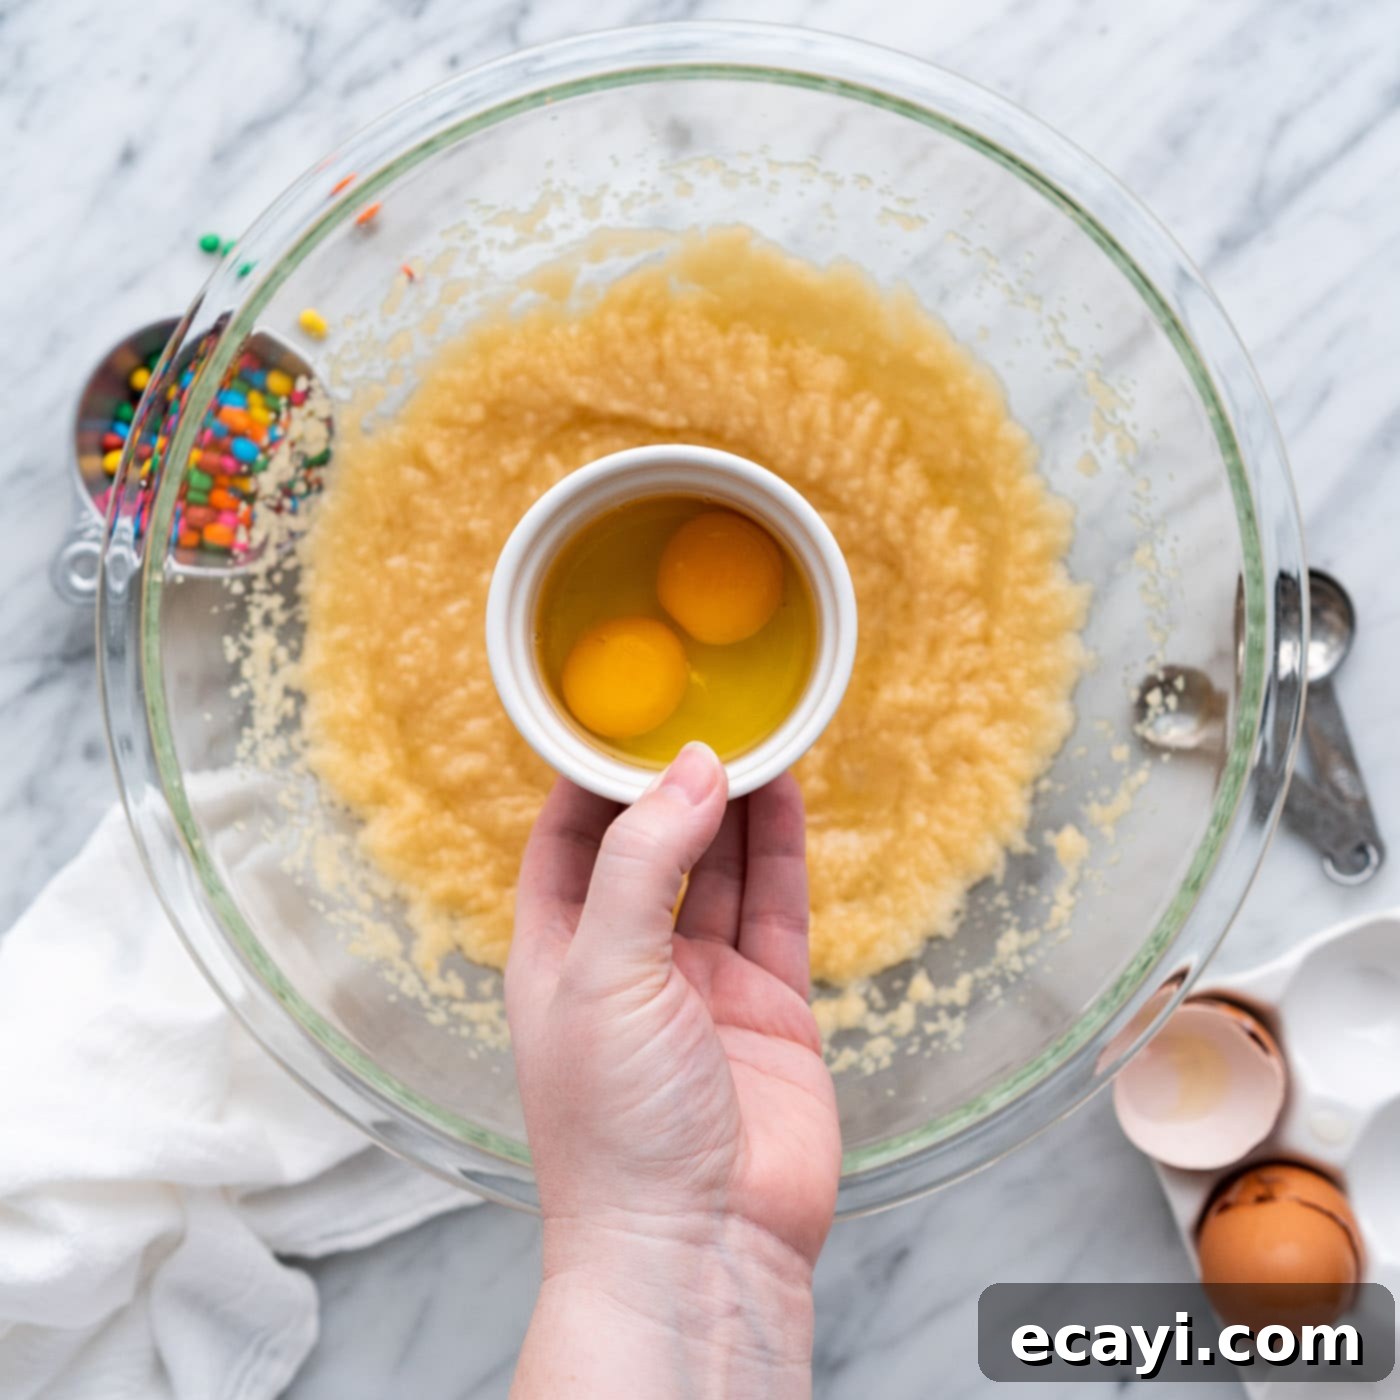
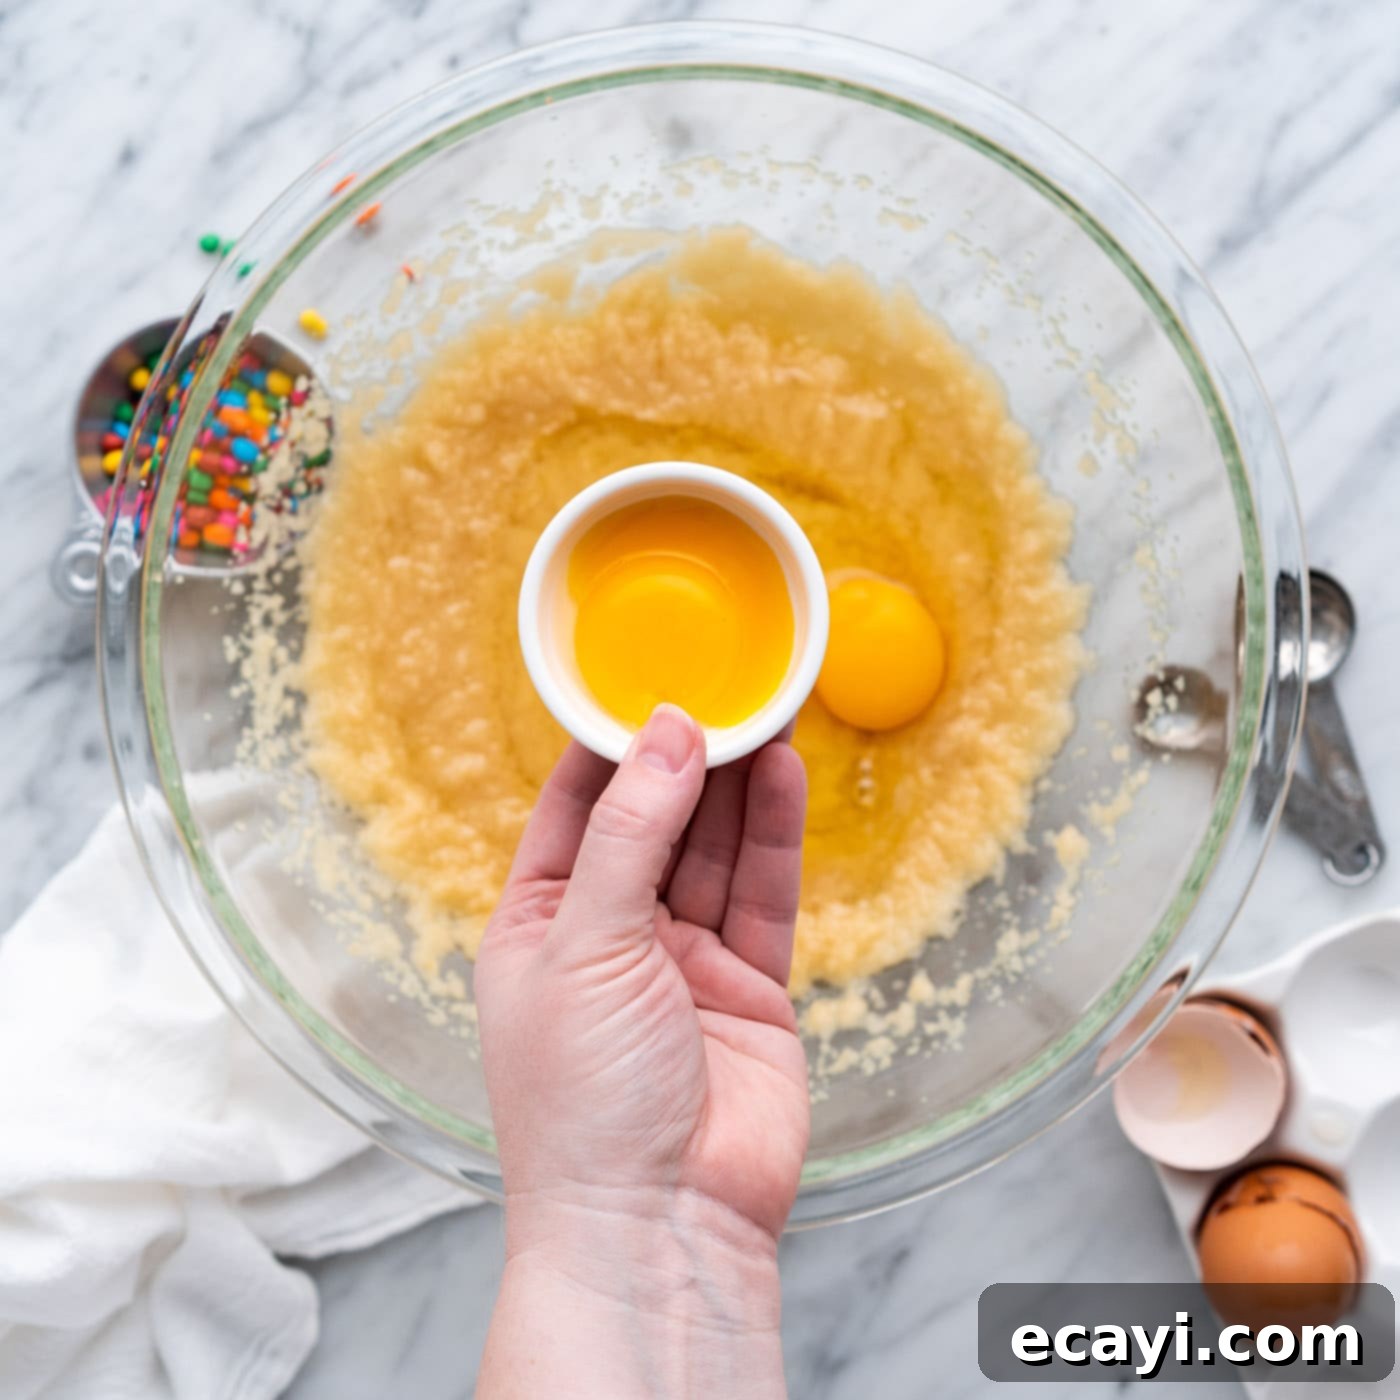
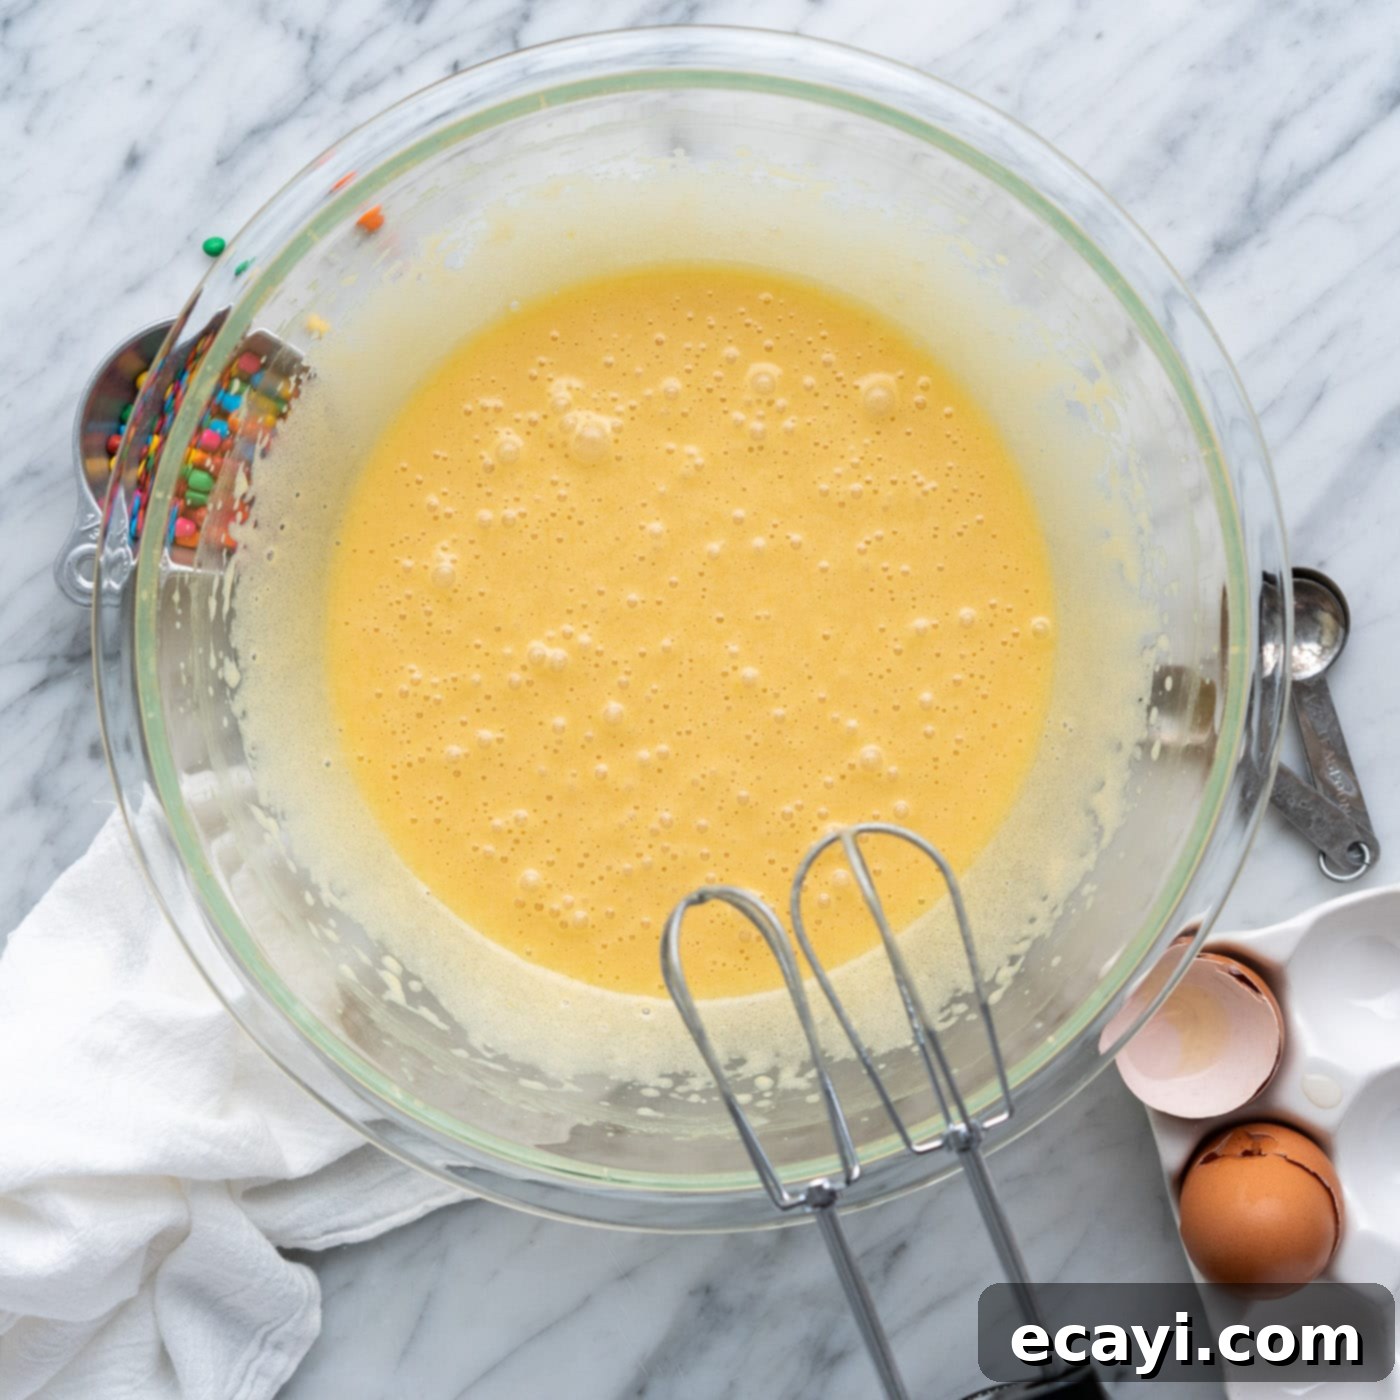
- Incorporate Eggs for Structure and Shine: Add the two large eggs and the single large egg yolk to the wet ingredient mixture. Continue to beat with the electric mixer. This is a critical step for achieving that desired shiny, crackled top on your brownies. Beat for a good 6 to 8 minutes on medium-high speed. The mixture will become noticeably thick, fluffy, and much paler in color, almost like a light caramel. This extended beating incorporates a lot of air and helps to create a stable emulsion, leading to a beautifully textured brownie.


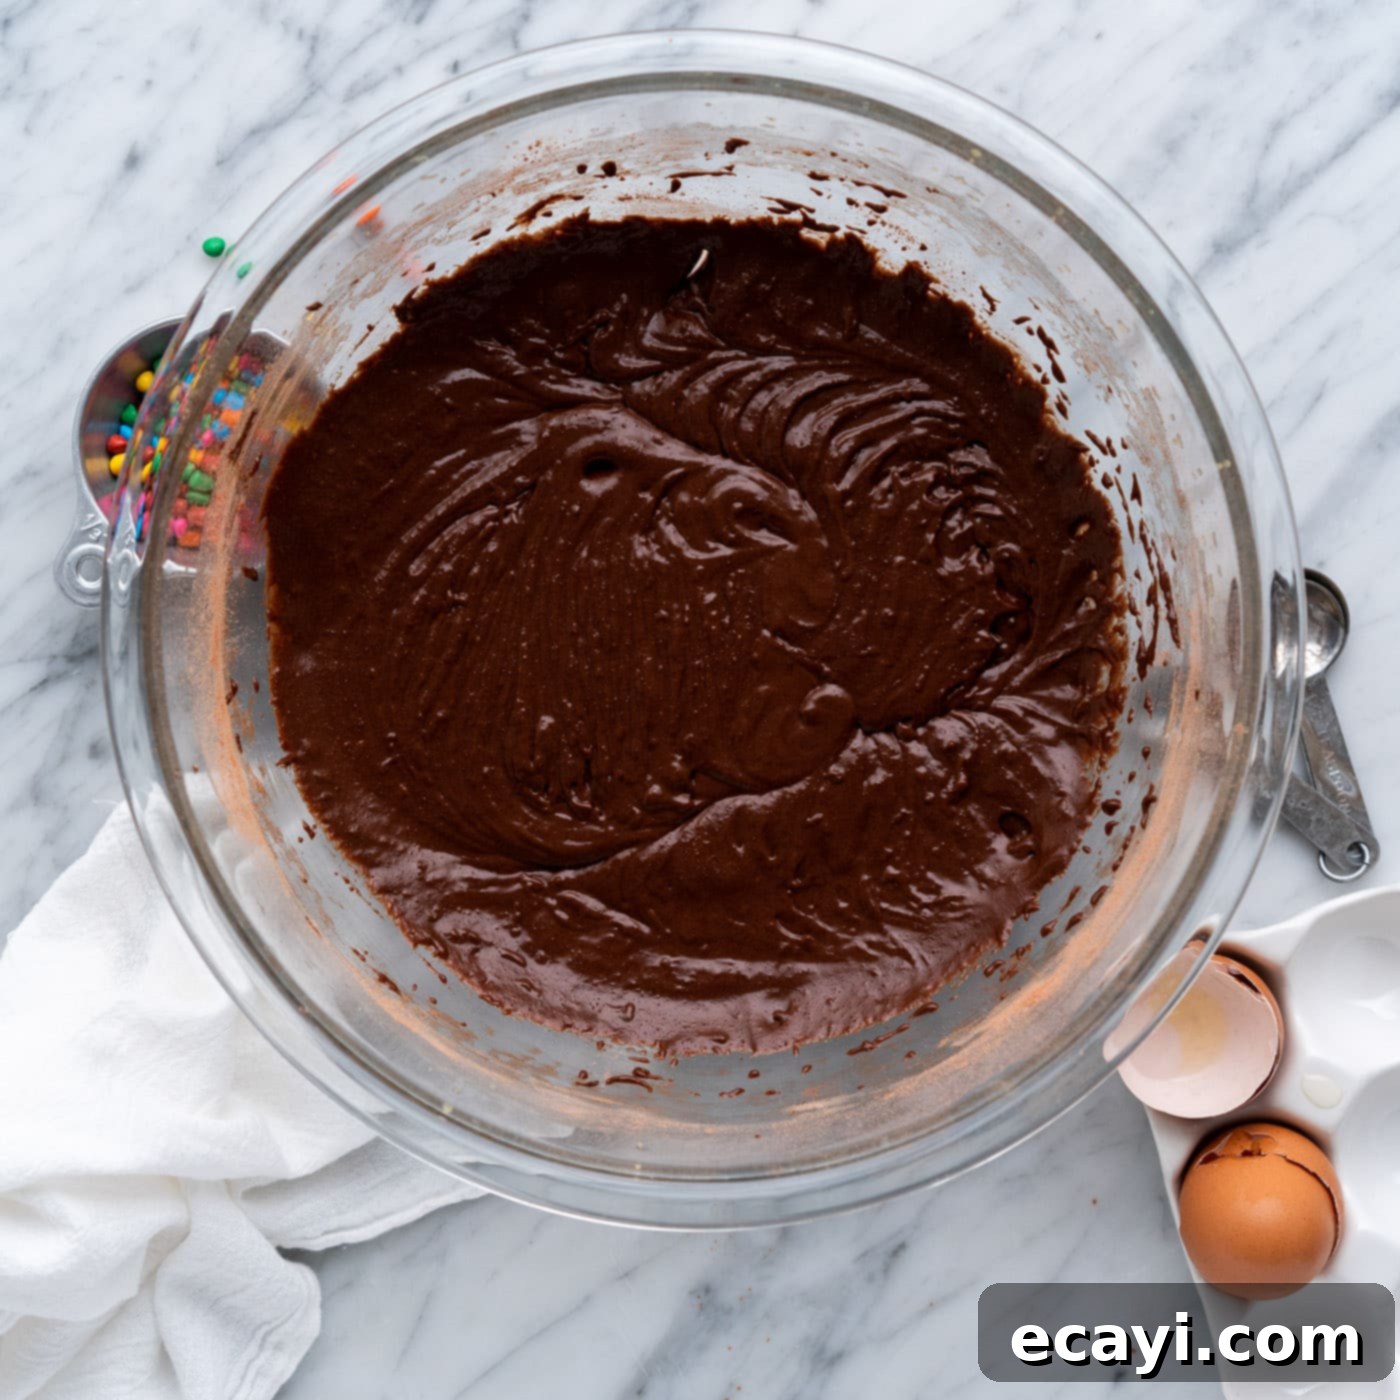
- Combine Dry and Wet Ingredients: Gently add the whisked dry ingredients to the aerated wet mixture. Beat just until everything is combined and no dry streaks of flour are visible. Be extremely careful not to over-mix at this stage! Over-mixing develops gluten in the flour, which can lead to tough, cakey brownies rather than the desired fudgy texture. Stop as soon as the ingredients are incorporated.


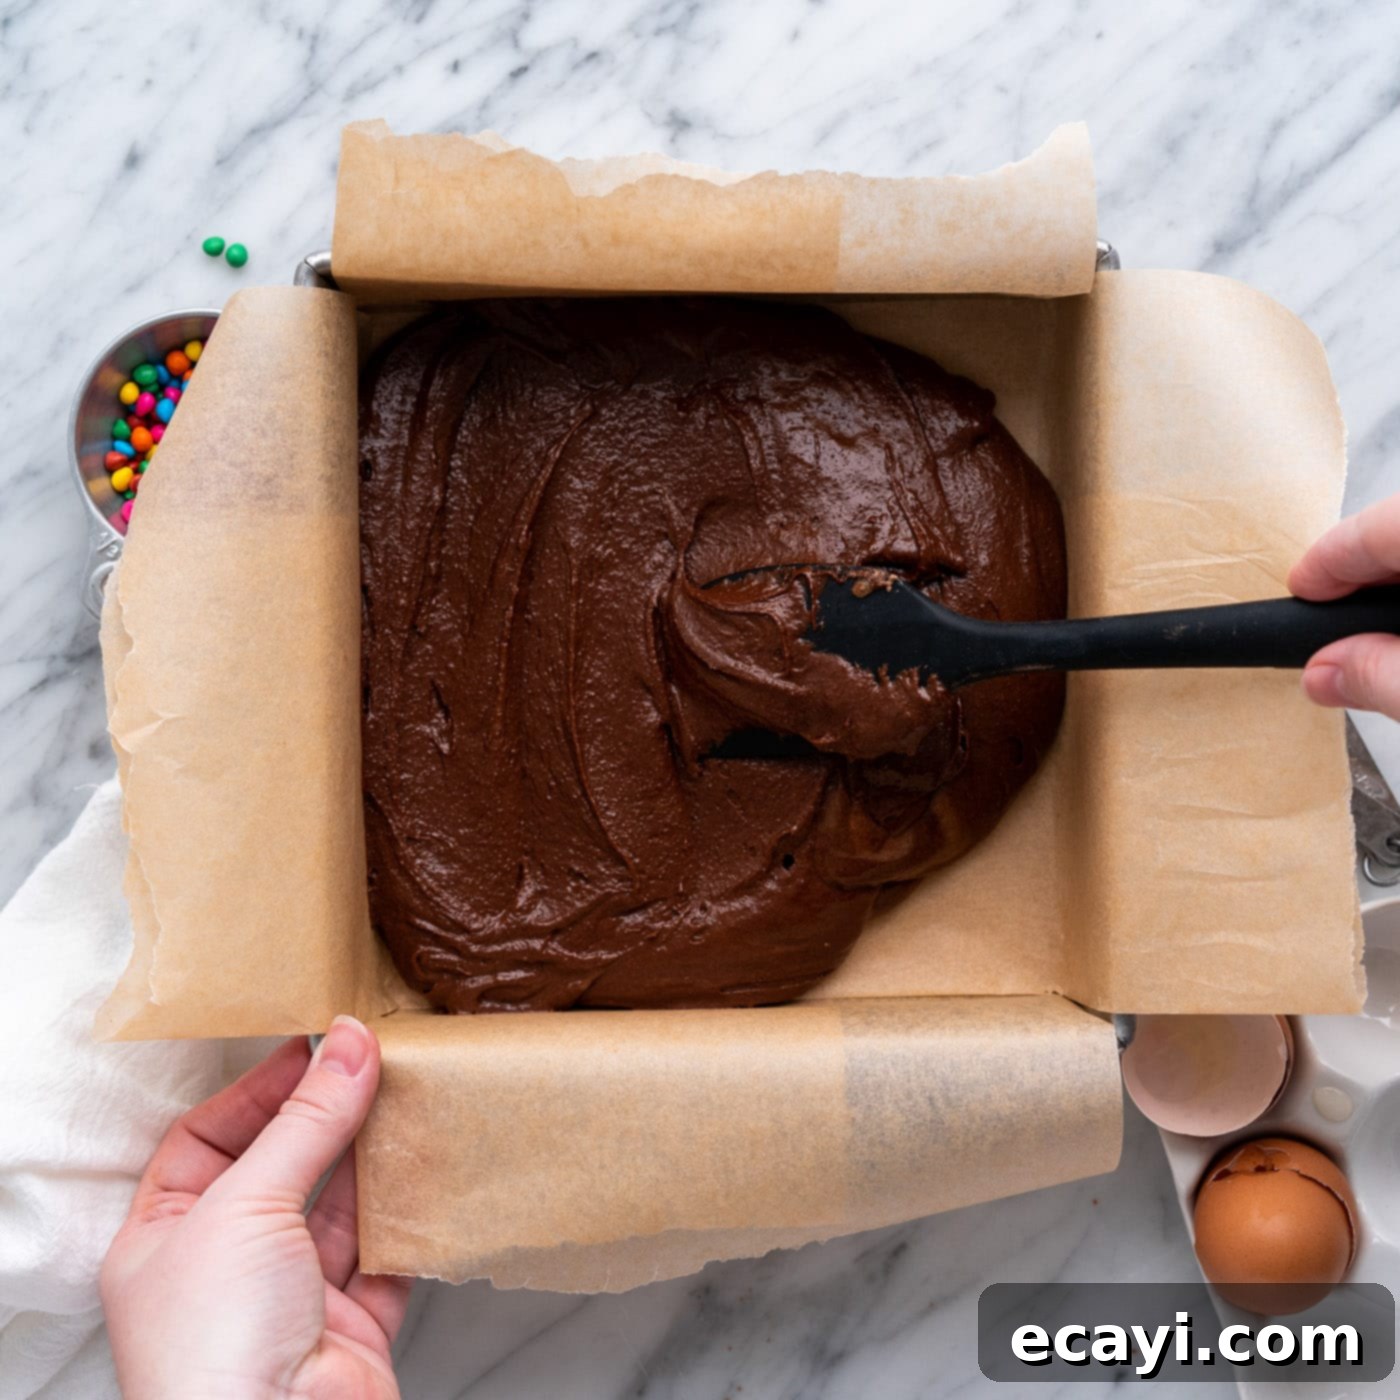
- Pour and Spread Batter: Pour the rich brownie batter into your prepared 8×8-inch baking pan. Using an offset spatula or the back of a spoon, spread the batter out evenly across the pan. This ensures uniform thickness, which is important for consistent baking and an even texture in every brownie slice.

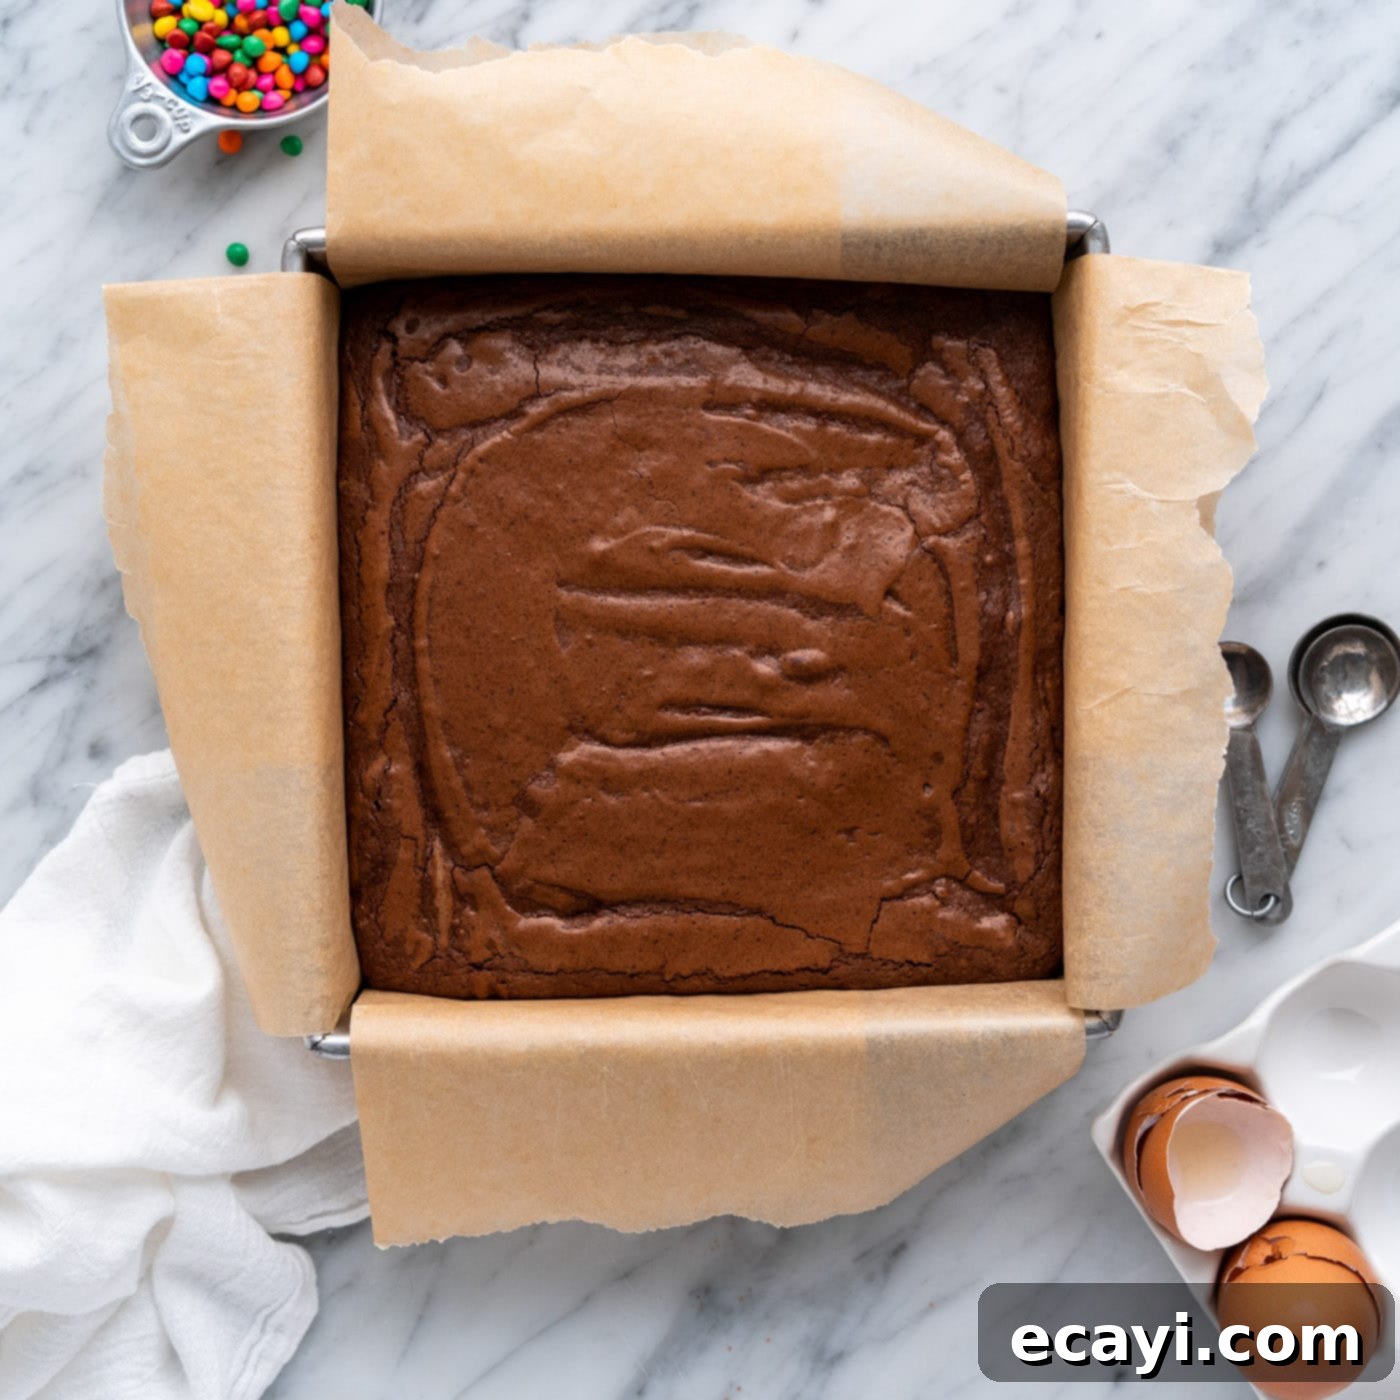
- Bake to Perfection & Cool Completely: Bake the brownies in the preheated oven for approximately 20 to 25 minutes. You’ll know they are done when the edges are set and firm to the touch, and the top begins to crackle, indicating that shiny, delicate crust. The center may still have a slight wobble – this is perfectly normal and desired for fudgy brownies, as they will continue to set as they cool. Be vigilant not to over-bake, as this is the quickest way to end up with dry, cakey brownies. Once baked, remove the pan from the oven and let the brownies cool completely on a wire rack.
EXPERT TIP – Patience is key! It’s absolutely crucial to let the brownies fully cool before you even think about frosting them. Attempting to spread ganache on warm brownies will result in a messy, melted catastrophe. Once frosted, allow the ganache to fully set at room temperature or in the refrigerator before attempting to slice them for the cleanest cuts.

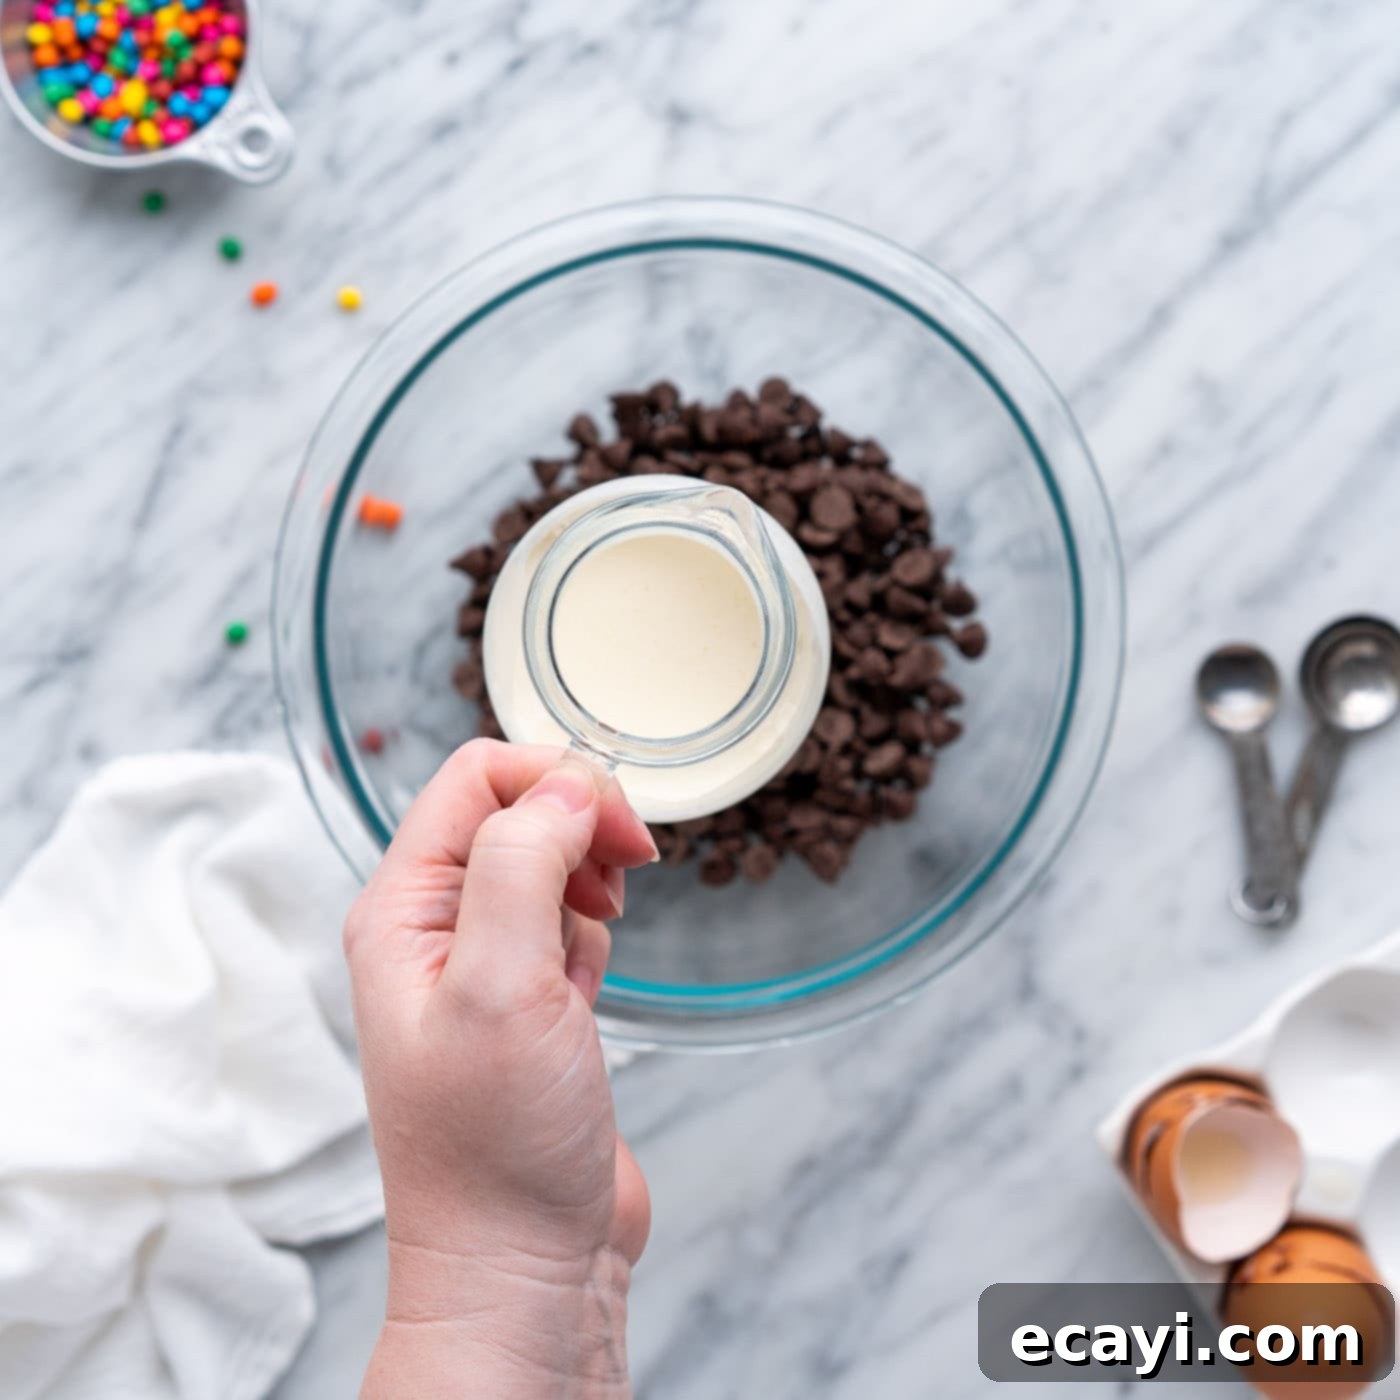
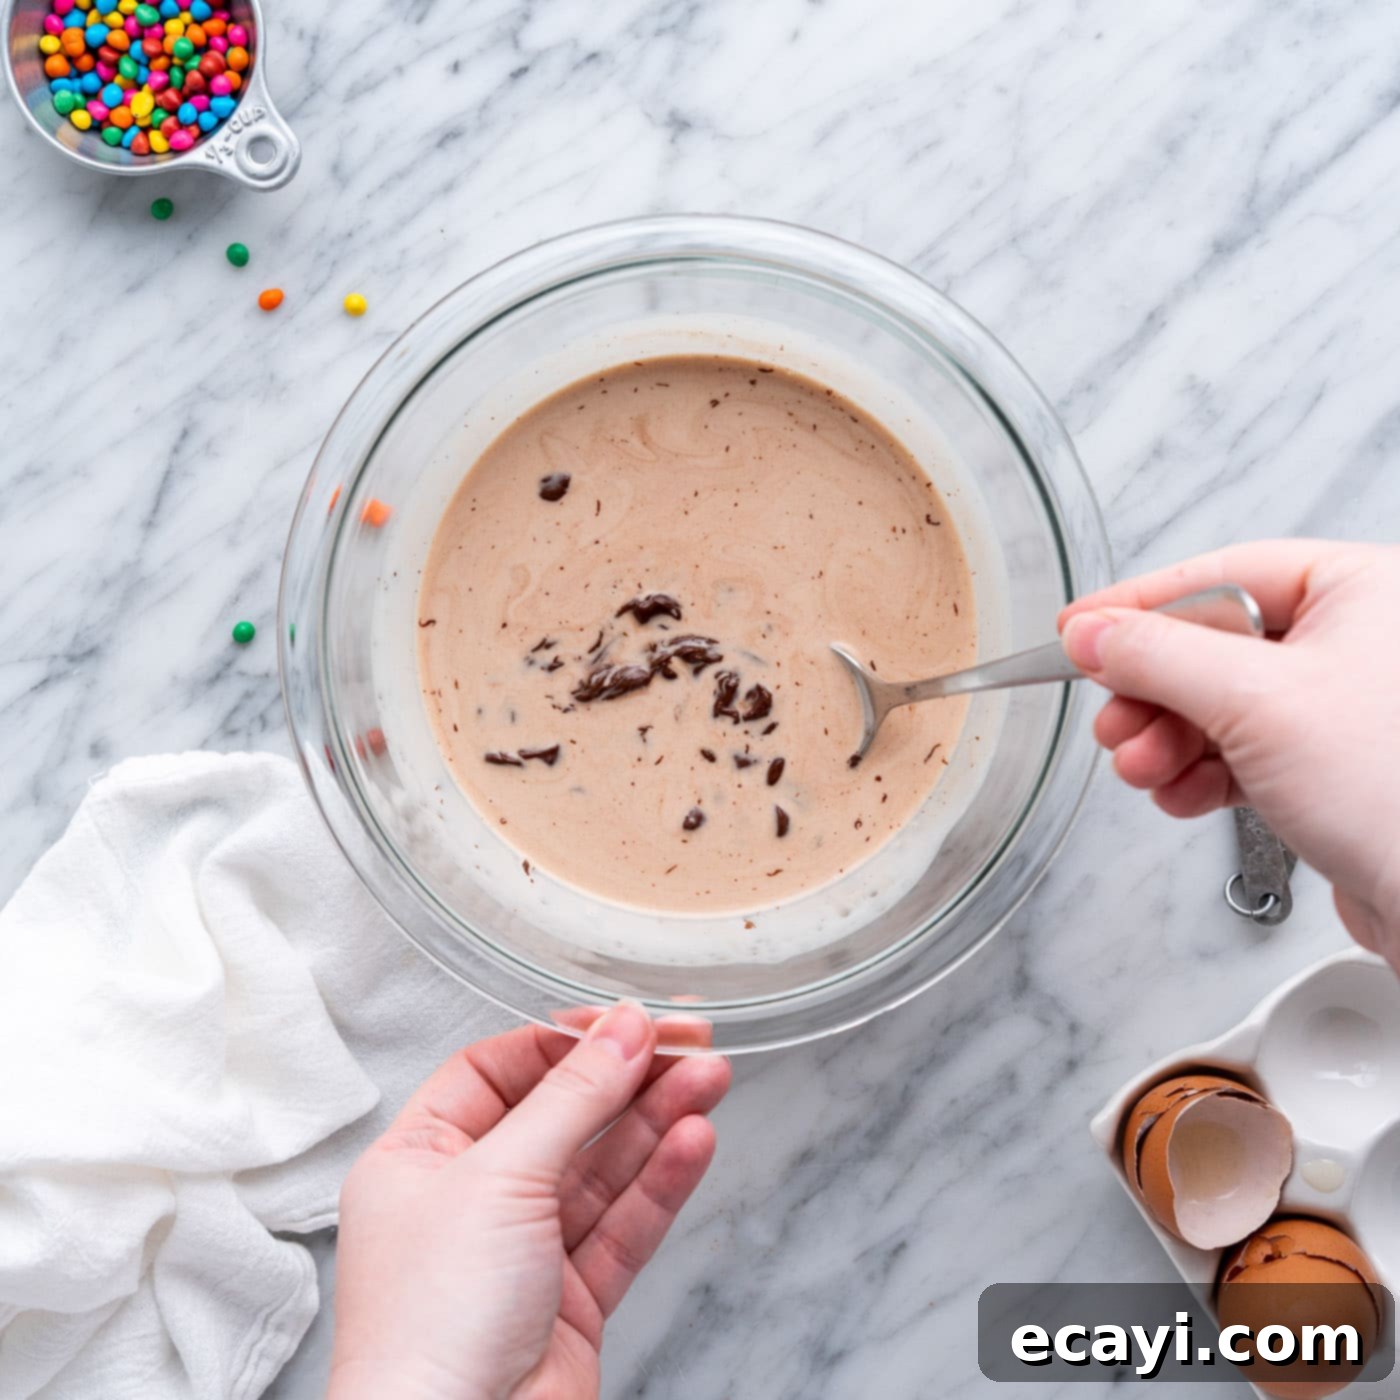
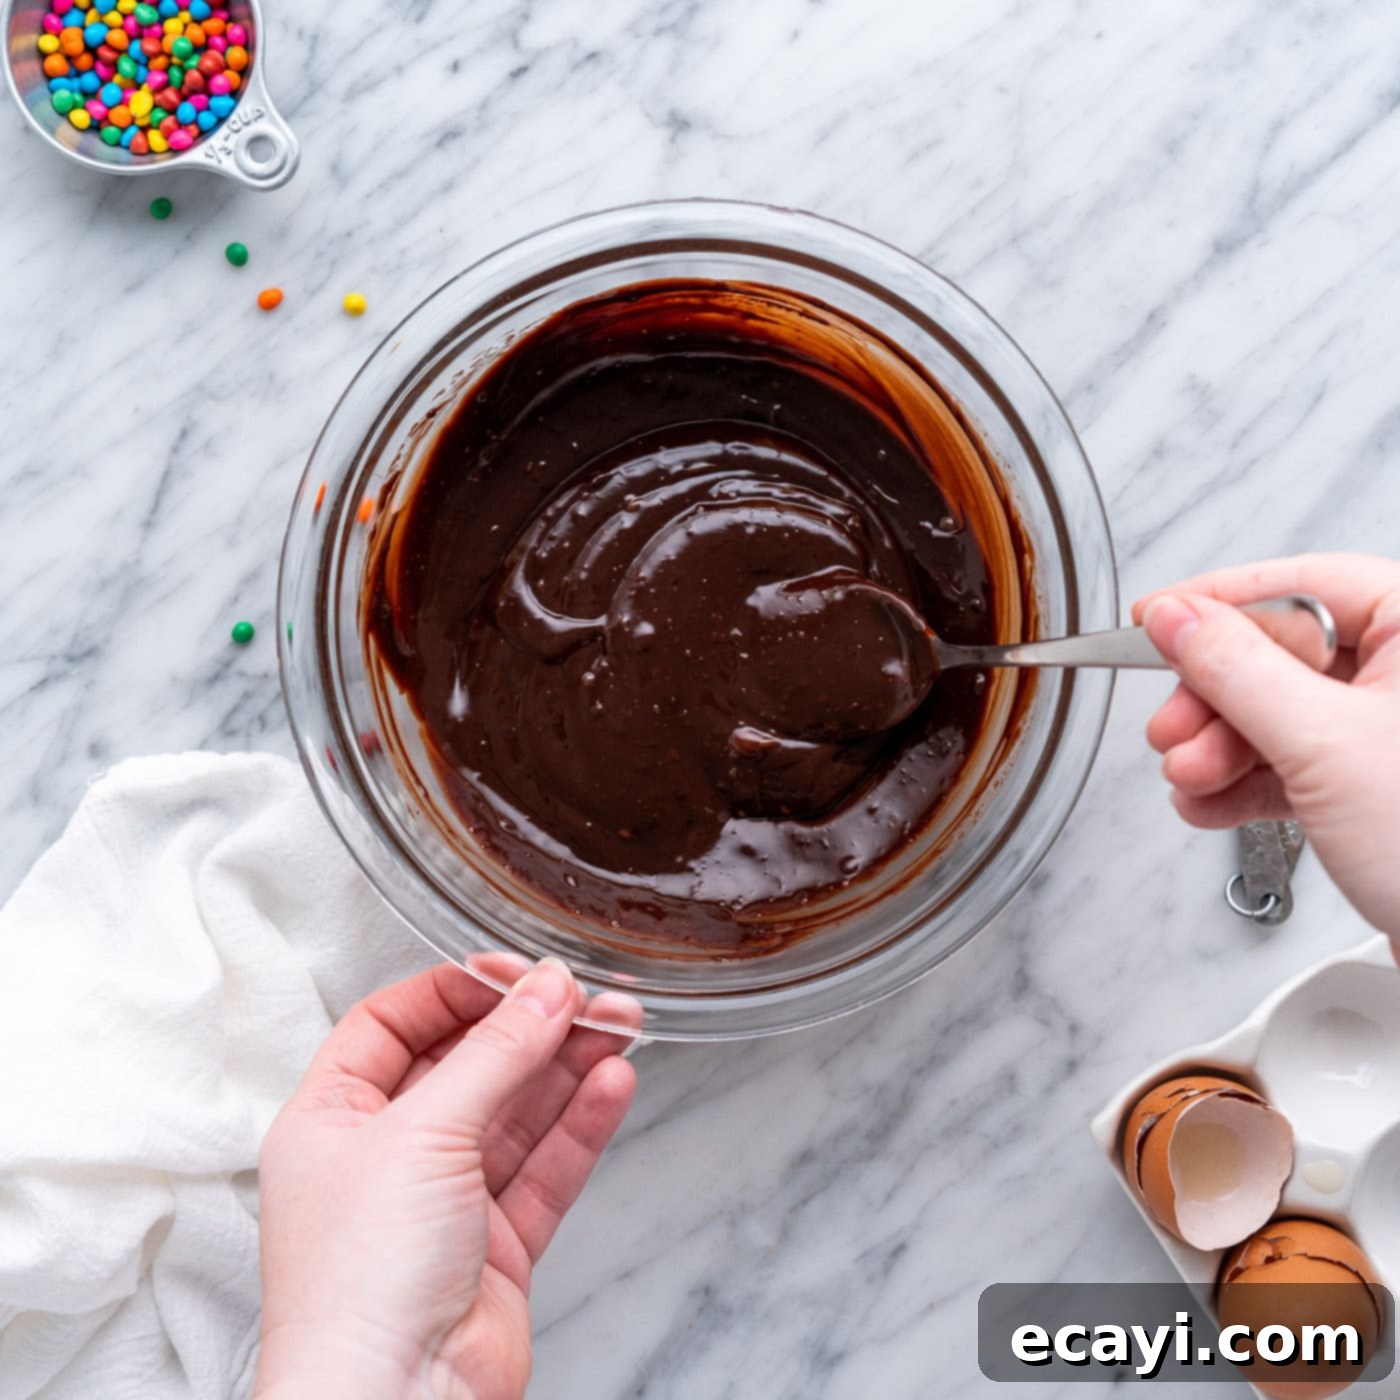
- Prepare the Silky Chocolate Ganache: Once your brownies are completely cooled, it’s time to make the luscious ganache topping. In a large, microwave-safe bowl, combine the semi-sweet chocolate chips and heavy whipping cream. Microwave this mixture for 45 seconds. Immediately remove it from the microwave and let it sit undisturbed for 30 seconds to allow the hot cream to melt the chocolate. After 30 seconds, gently stir the mixture with a spoon or whisk until smooth and glossy. If any chocolate chunks remain, microwave in additional 10-second intervals, stirring gently between each, until the chocolate is fully melted and the ganache is smooth and silky. Alternatively, you can achieve the same result using a double boiler for a more controlled melting process.


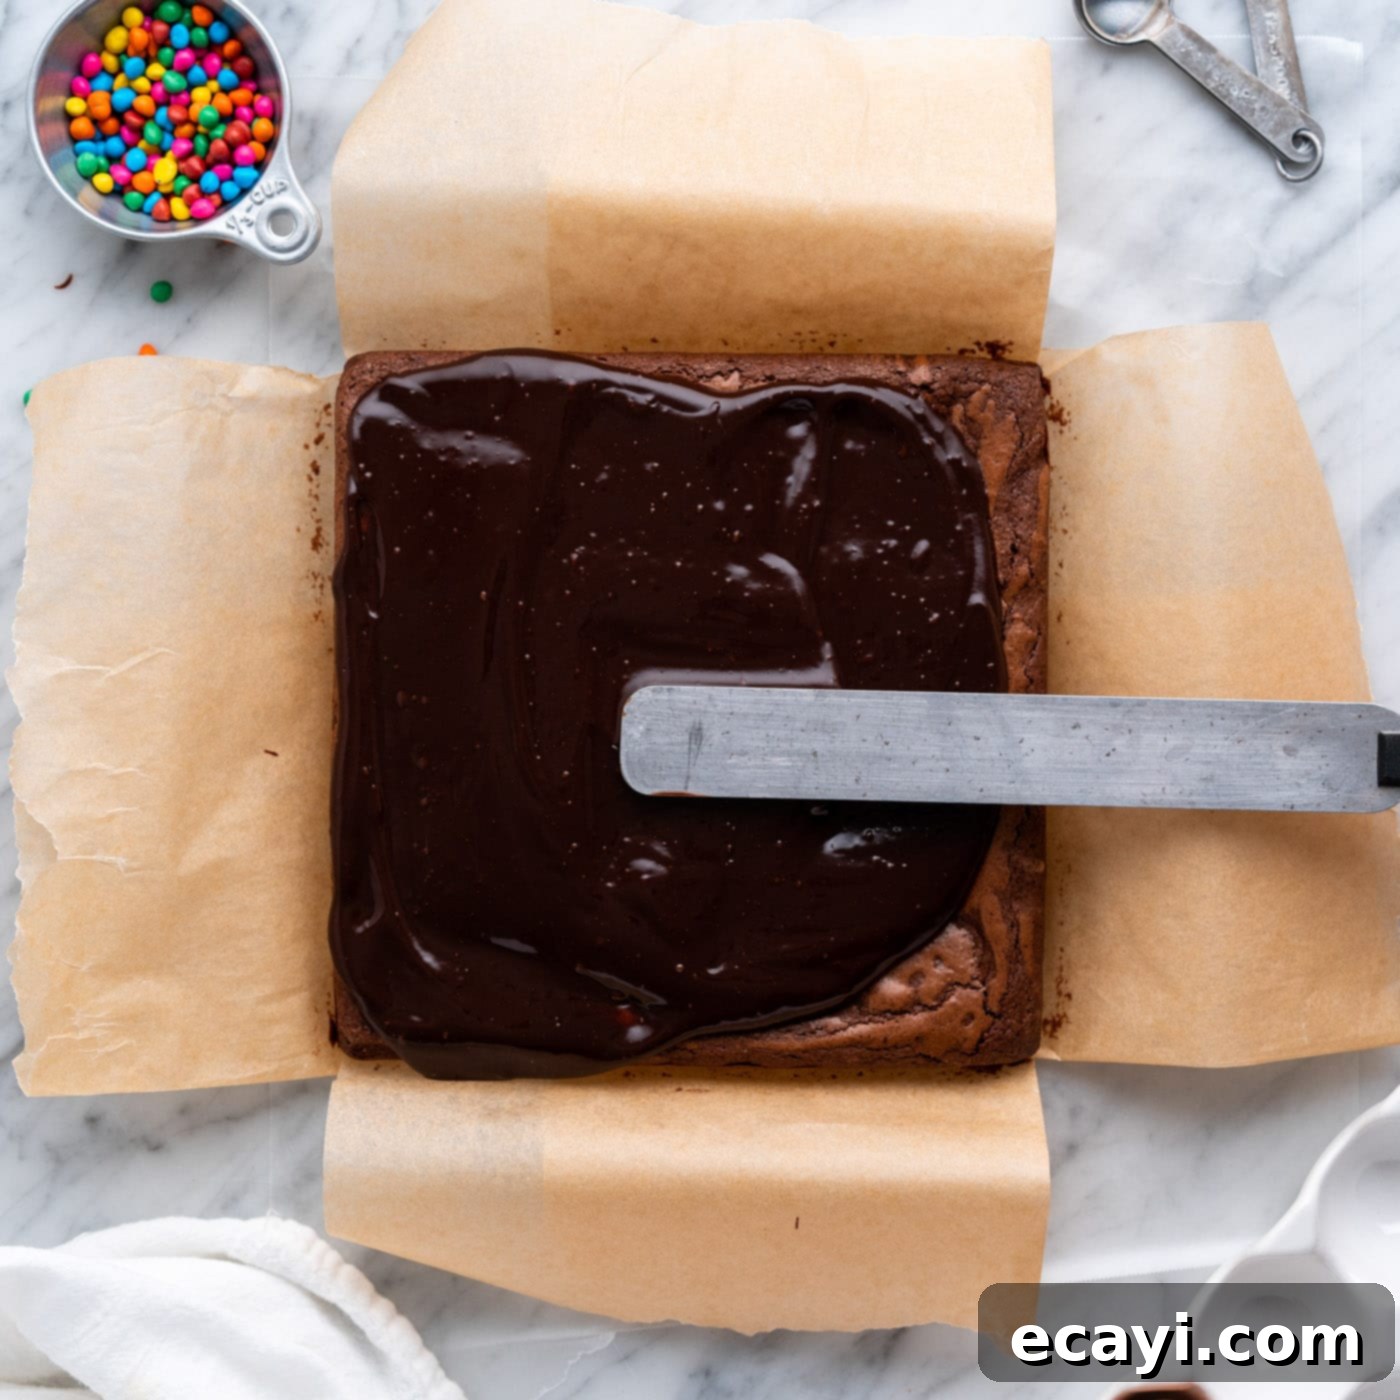
- Spread Ganache and Add Sprinkles: Once the brownies are fully cooled and the ganache is still liquid but not too hot, spread the chocolate ganache evenly over the top of the brownies using an offset spatula. Work quickly but carefully to get an even layer. Immediately after spreading the ganache, liberally sprinkle the rainbow chip sprinkles over the entire surface. Applying them while the ganache is still wet ensures they adhere perfectly.


- Allow Ganache to Set: Let the ganache set completely before cutting and serving. This can take an hour or two at room temperature, or you can speed up the process by placing the brownies in the refrigerator for about 30-60 minutes. A fully set ganache will yield clean, beautiful slices.
Frequently Asked Questions & Expert Tips for Perfect Brownies
To maintain the incredible fudgy texture of the brownie and the creamy consistency of the ganache, it is highly recommended to store your homemade Cosmic Brownies in the refrigerator. Place them in an airtight container or cover them tightly with plastic wrap. Stored this way, they will stay fresh and delicious for up to 6 days. Bringing them to room temperature for 15-20 minutes before serving can enhance their chewiness and flavor.
Absolutely! These brownies freeze beautifully, ganache topping and all, making them perfect for meal prep or a quick treat later. To freeze, first place the whole pan of brownies (after the ganache has set) onto a baking sheet and flash-freeze them for about 1-2 hours until they are firm to the touch. This prevents them from sticking together. Once firm, you can cut them into individual squares. Wrap each brownie tightly in plastic wrap, then place them in a large freezer-safe ziptop bag or an airtight container. They can be stored in the freezer for up to 2 months. To enjoy, simply unwrap and thaw them at room temperature for a few hours, or overnight in the refrigerator.
You’re right, the traditional toothpick test (where it comes out clean) isn’t the best indicator for fudgy brownies. If a toothpick comes out completely clean, your brownies are actually likely overcooked and will be more cakey than fudgy! Instead, look for these visual cues: the brownies should be set and firm along the outside edges, and the top surface will appear beautifully crackled. The very center may still look slightly soft and have a gentle wobble when you lightly shake the pan. This indicates a perfectly fudgy interior that will set completely as the brownies cool. Trust these visual signs over a clean toothpick!
For those perfectly neat, professional-looking brownie squares, an easy trick is to run a sharp knife under very hot water for a few seconds. Wipe the blade clean and dry with a paper towel, then make your first cut. Repeat this process – rinse, wipe, cut – before each subsequent slice. The hot blade will effortlessly glide through the ganache and brownie, preventing sticking and smudging. This ensures every slice is as picture-perfect as it is delicious!
A common culprit for cakey brownies is overmixing the batter after adding the flour. Once the dry ingredients are introduced, you want to mix just until they are combined and no dry streaks remain. Overmixing develops gluten, which leads to a tougher, more cake-like texture. Another reason could be overbaking; baking too long dries out the brownies, robbing them of their signature fudginess. Refer to our “how to know when they’re done” tip above to avoid this!
Serving Suggestions for Your Irresistible Cosmic Brownies
These homemade Cosmic Brownies are a treat unto themselves, but there are countless ways to enjoy and serve them! Feel free to customize the sprinkles to match a holiday theme, or go wild and use other fun toppings like mini chocolate chips, chopped nuts, or even mini M&M’s if desired for a different textural contrast. Serve them alongside a tall, cold glass of milk for the quintessential nostalgic experience. They are also incredibly versatile – perfect for wrapping individually and tucking into school lunch boxes, bringing as a delightful sweet treat to work, or simply enjoying as an after-dinner indulgence. Consider warming a slice slightly for an even gooier, more decadent dessert, perhaps topped with a scoop of vanilla bean ice cream. However you choose to enjoy them, these fudgy, chocolatey delights are sure to bring smiles all around!
More Decadent Brownie Recipes to Explore
If you love these Cosmic Brownies, you’re in for a treat! Our collection of brownie recipes offers a variety of flavors and textures to satisfy every craving. Dive into more chocolatey goodness with these favorites:
- Quick & Easy Brownie In A Mug
- Refreshing Chocolate Mint Brownies
- Classic Peanut Butter Swirl Brownies
- Indulgent Oreo Cheesecake Brownies
- Rich Chocolate Cheesecake Swirl Brownies
- Campfire Favorite S’mores Brownies
I love to bake and cook and share my kitchen experience with all of you! Remembering to come back each day can be tough, that’s why I offer a convenient newsletter every time a new recipe posts. Simply subscribe and start receiving your free daily recipes!
Cosmic Brownies
IMPORTANT – There are often Frequently Asked Questions within the blog post that you may find helpful. Simply scroll back up to read them!
Print It
Pin It
Rate It
Save ItSaved!
Ingredients
Brownies
- ¾ cup all-purpose flour
- ¾ cup unsweetened cocoa powder
- ½ teaspoon salt
- 1 cup granulated sugar
- ⅓ cup light brown sugar lightly packed
- 6 Tablespoons vegetable oil
- 6 Tablespoons unsalted butter melted and cooled slightly
- 1 teaspoon vanilla extract
- 2 large eggs
- 1 large egg yolk
Ganache
- 1 ½ cups semi-sweet chocolate chips
- ½ cup heavy whipping cream
Garnish
- 3 Tablespoons rainbow chip sprinkles
Things You’ll Need
-
8×8 baking pan
-
Hand mixer
-
Mixing bowls
Before You Begin
- For an extra shiny ganache, reminiscent of the store-bought gloss, add 1/2 tablespoon of corn syrup along with the chocolate chips and heavy whipping cream. This helps prevent crystallization and enhances the sheen.
- ***Crucial Tip: For the best results and a clean finish, make sure to let the brownies cool completely before you spread on the ganache. Subsequently, allow the ganache to fully set (at room temperature or in the refrigerator) before attempting to cut into them. Patience here is rewarded with perfect brownies!
- The traditional “toothpick test” isn’t ideal for fudgy brownies. If a toothpick comes out completely clean, your brownies are actually likely overcooked! Instead, look for edges that are set and a top that has begun to crackle. The center should still have a slight jiggle, as they will continue to set and become perfectly fudgy as they cool.
- For Slicing Perfection – To achieve beautifully clean, sharp slices every time, run your knife under hot water for a few seconds. Wipe the blade completely clean with a paper towel, then make your cut. Repeat this hot water and wipe-clean process before each individual slice. This prevents ganache and brownie crumbs from sticking to the knife.
- Storage Guidelines – To preserve the delightful texture of both the fudgy brownie and the firm, yet creamy ganache, it’s recommended to store these homemade cosmic brownies in the refrigerator. Keep them covered tightly with plastic wrap or in an airtight container for up to 6 days.
- To Freeze for Later – These brownies freeze wonderfully! First, place the uncut brownies on a baking sheet and flash-freeze them until firm to the touch (about 1-2 hours). Once firm, cut them into individual squares. Wrap each brownie piece tightly in plastic wrap, then place them in a large ziptop freezer bag or an airtight freezer-safe container. They can be stored in the freezer for up to 2 months. When ready to enjoy, simply unwrap and thaw at room temperature for a few hours, or overnight in the refrigerator.
Instructions
To Make the Brownies
-
Preheat the oven to 350°F (175°C). Line an 8 by 8-inch baking pan with 2 pieces of parchment paper so it hangs over all 4 sides for easy removal of the baked brownies.
-
In a medium bowl, whisk together the flour, cocoa powder, and salt until well combined and lump-free.
-
In a large bowl, use a handheld electric mixer to beat together the granulated sugar, brown sugar, oil, melted butter (cooled slightly), and vanilla until it thickens slightly and resembles fluffy wet sand. Add the eggs and egg yolk, and continue to beat vigorously for 6 to 8 minutes until the mixture is thick, fluffy, and visibly paler in color. This step is key for a crackly top!
-
Add the dry ingredients to the wet ingredients and beat just to combine. Be careful not to over-mix, as this can lead to tough brownies; stop as soon as no dry streaks remain.
-
Pour the batter into the prepared pan and spread it out evenly using an offset spatula or the back of a spoon.
-
Bake for 20 to 25 minutes, or until the edges are set and the top starts to crackle, and the center has a slight wobble. Do not over-bake for fudgy results. Cool completely in the pan on a wire rack.
Making the Ganache
-
Once the brownies are fully cooled, prepare the ganache. Combine the chocolate chips and heavy whipping cream in a large microwave-safe bowl. Microwave for 45 seconds, then let it sit for 30 seconds before gently stirring. Continue microwaving in 10-second intervals, stirring after each, until the chocolate is fully melted and the ganache is smooth and silky. Alternatively, use a double boiler method.
Assembling the Brownies
-
Once the brownies are completely cool, spread the prepared ganache evenly over the top. Immediately sprinkle the rainbow chip sprinkles generously over the wet ganache.
-
Allow the ganache to set fully at room temperature or in the refrigerator before cutting into squares and serving. Enjoy your perfectly nostalgic homemade Cosmic Brownies!
Nutrition
The recipes on this blog are tested with a conventional gas oven and gas stovetop. It’s important to note that some ovens, especially as they age, can cook and bake inconsistently. Using an inexpensive oven thermometer can assure you that your oven is truly heating to the proper temperature. If you use a toaster oven or countertop oven, please keep in mind that they may not distribute heat the same as a conventional full sized oven and you may need to adjust your cooking/baking times. In the case of recipes made with a pressure cooker, air fryer, slow cooker, or other appliance, a link to the appliances we use is listed within each respective recipe. For baking recipes where measurements are given by weight, please note that results may not be the same if cups are used instead, and we can’t guarantee success with that method.
