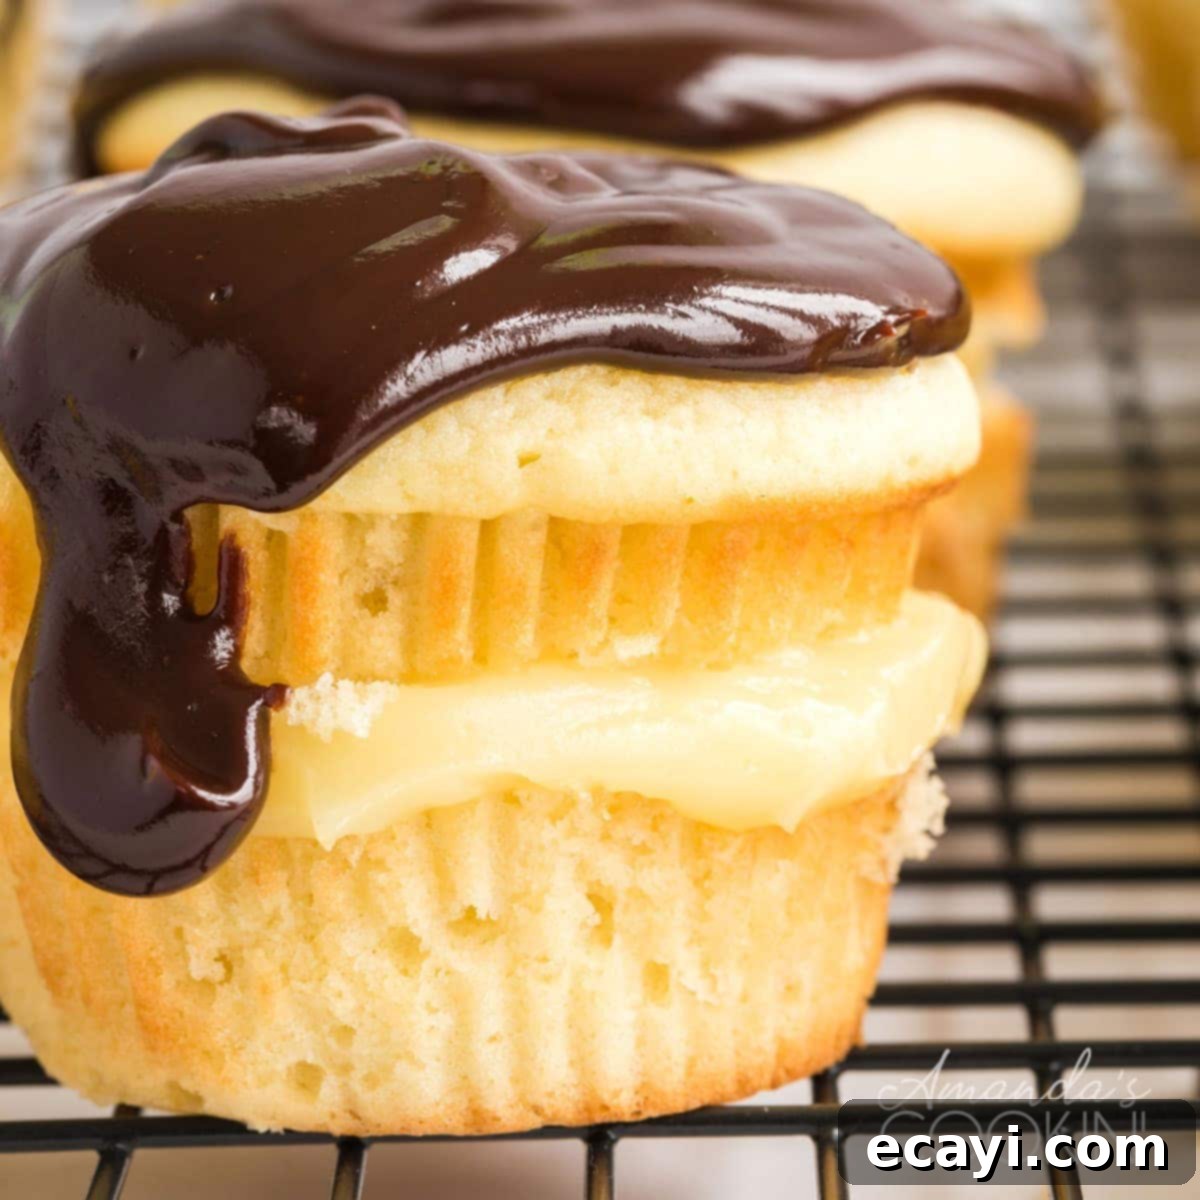
Easy Homemade Boston Cream Cupcakes: Decadent Dessert with a Shortcut Twist
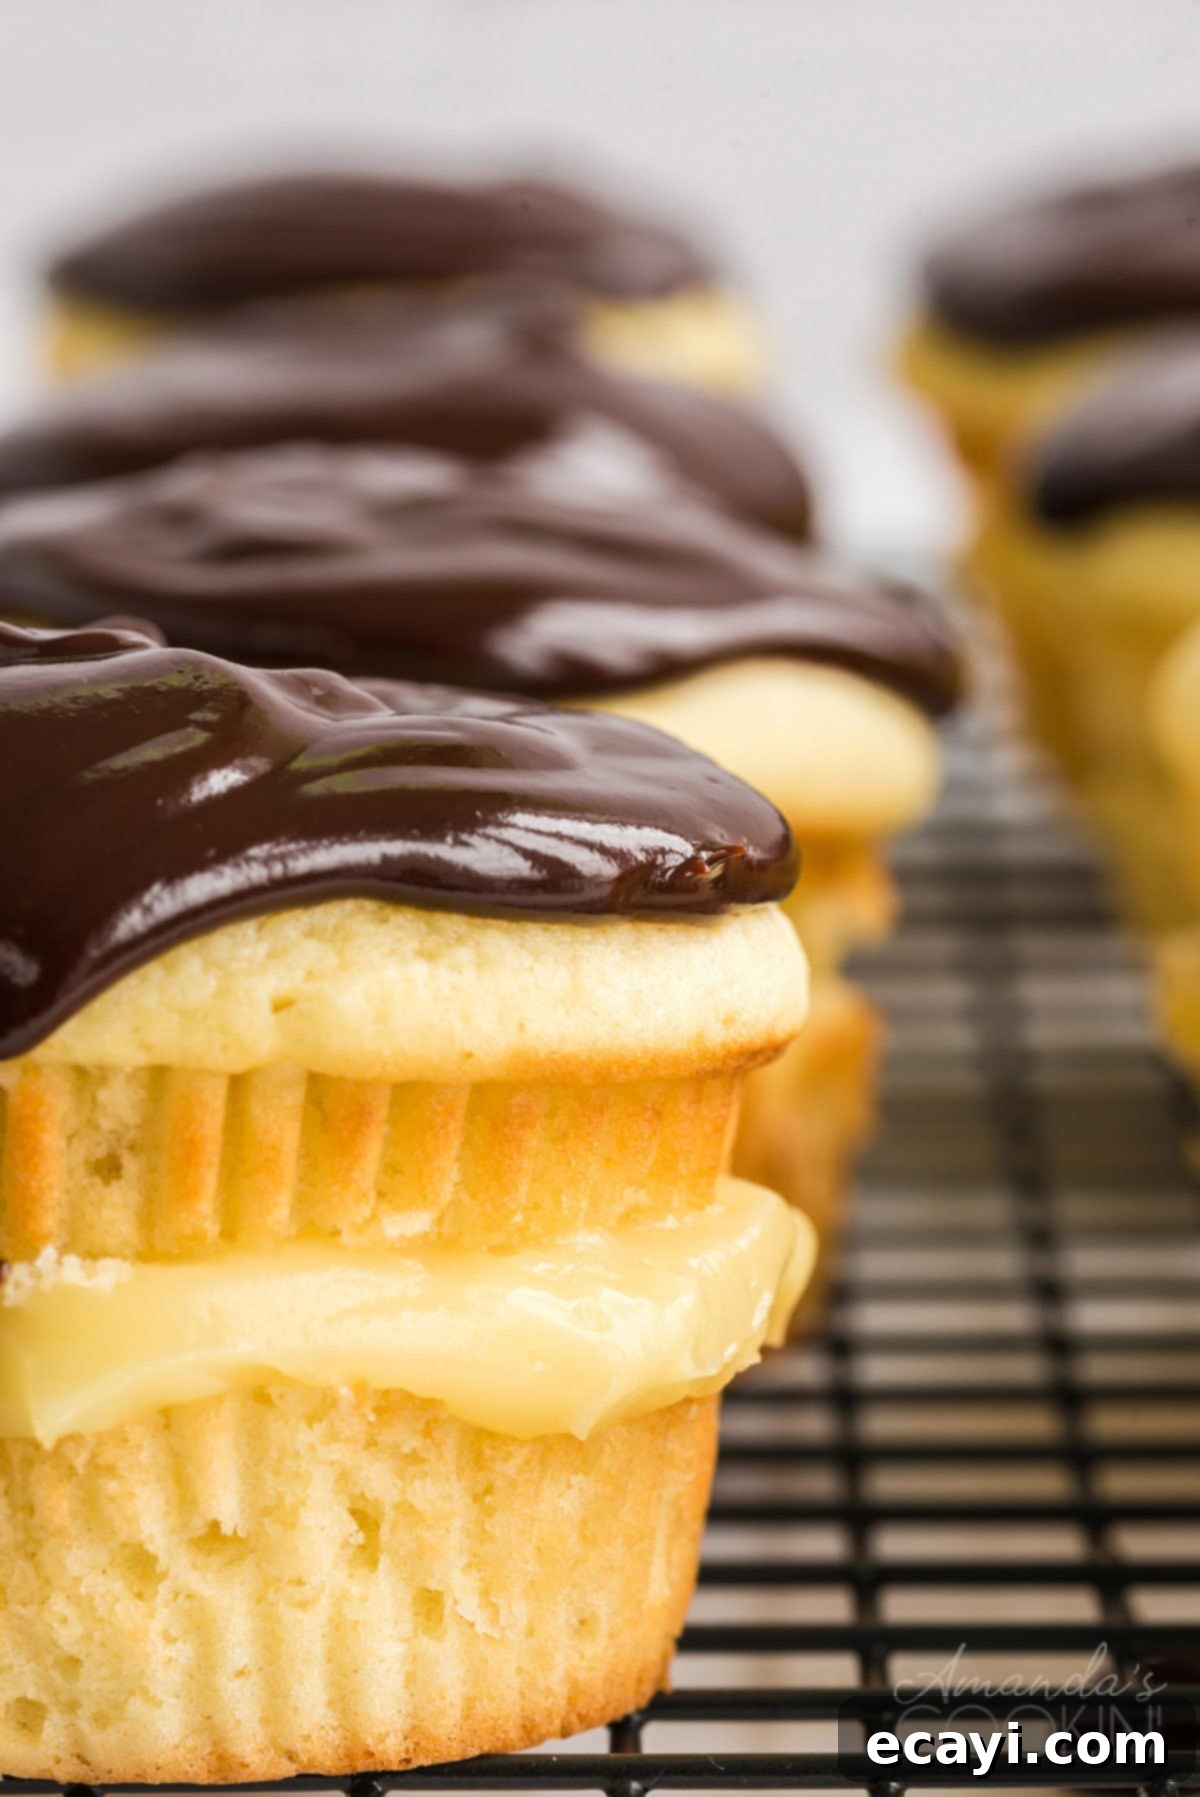
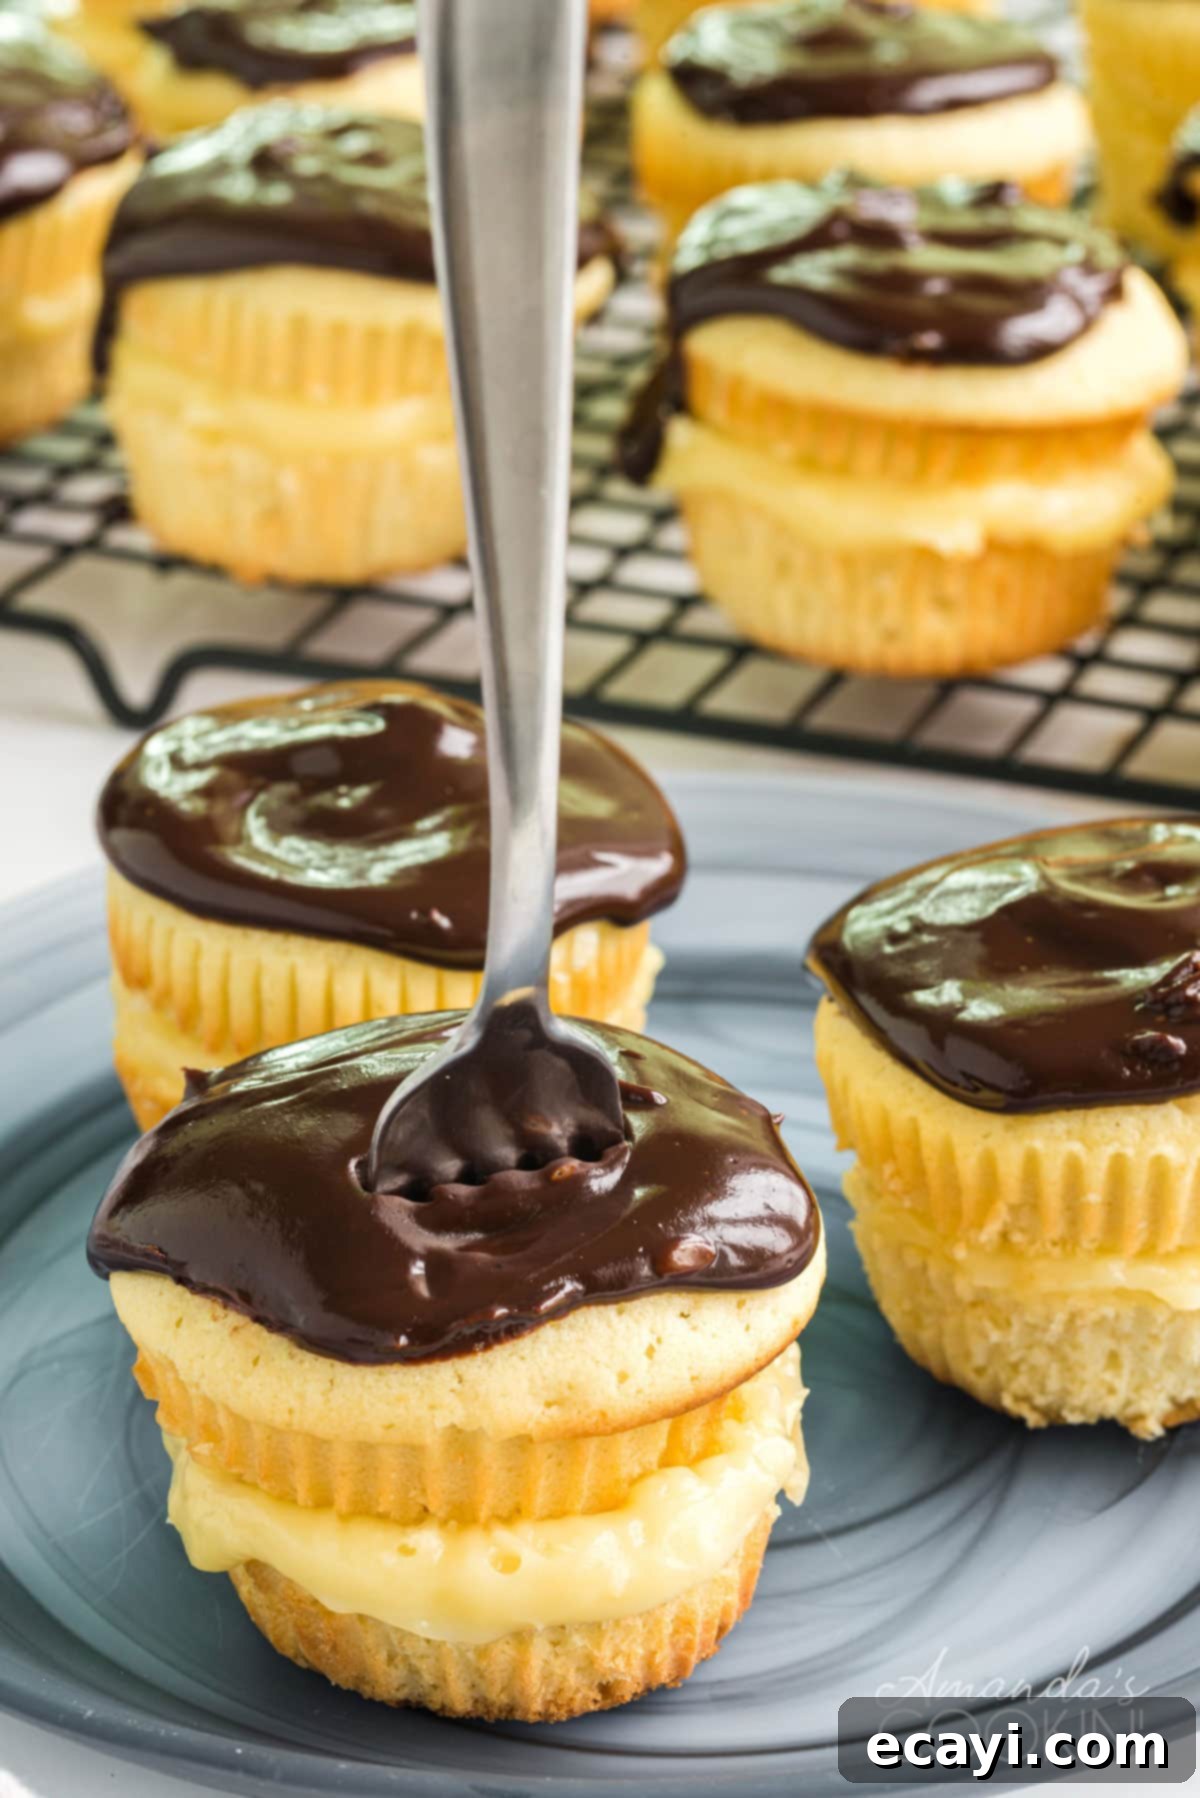
If you adore the classic Boston Cream Pie, then prepare to fall in love with these delightful Boston Cream Cupcakes! Imagine all the rich flavors of a traditional Boston Cream Pie — the tender yellow cake, the silky vanilla cream filling, and the luscious chocolate ganache — but in a charming, individual handheld portion. These cupcakes offer a touch of elegance that elevates them beyond ordinary treats, making them perfect for parties, special occasions, or simply a luxurious everyday indulgence. My family absolutely adores these, and I’m confident yours will too!
Why You’ll Love This Boston Cream Cupcake Recipe
Traditional Boston Cream Pie is a masterpiece of baking, featuring a rich, buttery yellow cake generously filled with a velvety custard or pastry cream, all crowned with a glistening chocolate ganache. While achieving this from scratch can be a lengthy process, our cupcake version offers a fantastic shortcut without compromising on that beloved authentic flavor. We streamline the process by using a wonderfully moist homemade yellow cake base, but for the filling, we’ve cleverly doctored a boxed pudding mix into a decadent, thick vanilla cream that rivals any pastry cream. The chocolate ganache, a signature element, remains incredibly easy to prepare with just a few simple ingredients: chocolate, heavy cream, and butter.
This recipe is designed to bring you the joy of a homemade classic with significantly less time and effort in the kitchen. It’s perfect for bakers of all skill levels, allowing you to create impressive treats that taste like they came from a high-end bakery. The individual portions also make them incredibly convenient for serving and sharing, ensuring everyone gets a perfect bite of this iconic dessert.
Many home bakers have already fallen in love with my Boston Cream Poke Cake, which shares a similar flavor profile and ease of preparation. If you enjoyed that, these individual Boston Cream Cupcakes are sure to become another favorite in your baking repertoire!
Essential Ingredients for Your Boston Cream Cupcakes
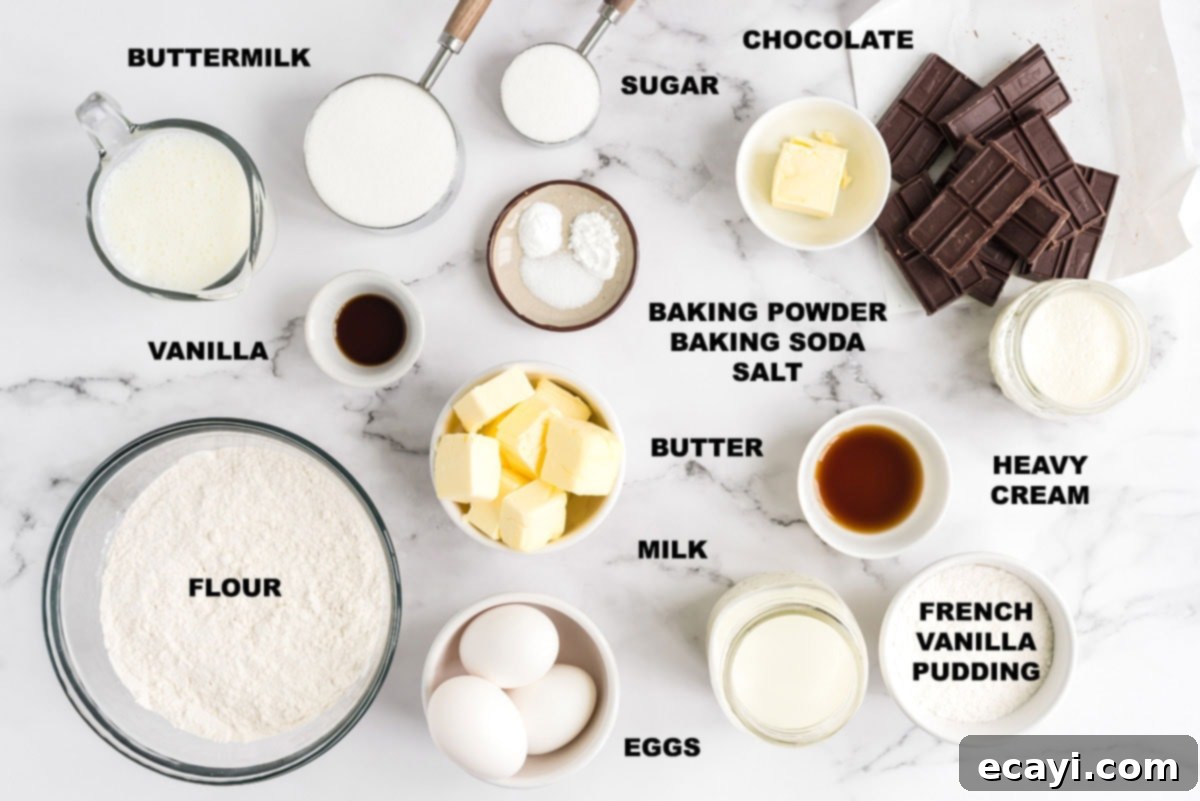
Crafting these delicious Boston Cream Cupcakes requires a combination of common pantry staples and a few key components for that signature flavor. For the cupcake base, you’ll need the usual suspects: all-purpose flour for structure, eggs for richness and binding, and granulated sugar for sweetness. We specifically use buttermilk in our scratch-made cake recipe because its acidity reacts with the leavening agents (baking soda and baking powder) to create an incredibly tender, moist crumb. If you don’t have buttermilk on hand, don’t worry – there’s an easy homemade substitution you can whip up (see our expert tips below!). Additionally, a touch of vanilla extract enhances the overall flavor profile of the cake.
For the creamy filling, the star is instant French vanilla pudding mix. While French vanilla adds a lovely depth, regular vanilla pudding mix works perfectly fine if that’s what you have. The pudding mix, combined with milk and a hint of vanilla extract, transforms into a luscious, thick cream that perfectly mimics traditional pastry cream. Finally, for the glossy chocolate ganache topping, you’ll need good quality semisweet chocolate (chips or chopped bars work best), heavy whipping cream for that rich, smooth texture, and a touch of unsalted butter to add shine and a silky finish. Each ingredient plays a vital role in creating these irresistible treats.
Expert Tips & Frequently Asked Questions (FAQs) for Perfect Boston Cream Cupcakes:
- Buttermilk Substitution Made Easy: If you find yourself without buttermilk, it’s incredibly simple to make a substitute. Place one tablespoon of lemon juice or white vinegar into a liquid measuring cup. Then, add enough regular milk (dairy or non-dairy, though whole milk works best for richness) to reach the one-cup mark. Stir the mixture gently and let it sit at room temperature for about 5-10 minutes. The milk will curdle slightly, indicating it’s ready to use. This homemade version works beautifully in this recipe to provide that essential acidity.
- Choosing Your Cake Base: While our from-scratch cupcake recipe yields a robust yet tender cake that holds up exceptionally well to slicing and filling, you can opt for a yellow cake mix if you’re looking for an even quicker solution. Be aware that cake mixes tend to produce a softer, sometimes more crumbly texture. If you go this route, I highly recommend chilling the baked and cooled cupcakes in the refrigerator for at least a couple of hours before attempting to slice them. This firming-up process will help prevent them from falling apart during assembly.
- Pudding Perfection: When preparing the instant pudding for the filling, do NOT follow the instructions on the back of the box! Our recipe specifies a slightly reduced amount of milk compared to the box directions. This intentional adjustment ensures that your vanilla cream filling will be wonderfully thick and stable, providing the perfect creamy texture for your cupcakes. All the correct measurements are listed in the recipe card below.
- Timing is Key for Ganache: For the best results, prepare your chocolate ganache last, after you have already baked, cooled, sliced, and filled all your cupcakes. This prevents the ganache from thickening or hardening prematurely while you’re still working on the other components. You want it to be warm and pourable when it’s time to top the cupcakes.
- Flawless Ganache Technique: For a super smooth ganache, ensure your butter is softened and cut into small pieces before adding it to the warm chocolate and cream mixture. Softened butter melts more evenly and incorporates seamlessly. If, after stirring, you still have small, stubborn pieces of butter that haven’t melted, you can gently heat the mixture in the microwave in very short bursts (5 seconds at a time). Stir well after each burst. Be extremely cautious not to overheat the chocolate, as this can cause it to “seize,” resulting in a grainy, unusable texture.
- Storage and Shelf Life: Boston Cream Cupcakes, with their creamy filling, are best stored in an airtight container in the refrigerator. They will stay fresh and delicious for 3-4 days. Allow them to come to room temperature for about 15-20 minutes before serving for the best flavor and texture.
- Can I Make These Ahead? Absolutely! You can bake the cupcakes a day in advance, cool them completely, and store them in an airtight container at room temperature. Prepare the pudding filling and store it in the refrigerator. Make the ganache just before assembly for optimal pouring consistency.
- Freezing Instructions: You can freeze the unfrosted, unfilled cupcakes for up to 3 months. Wrap them tightly in plastic wrap and then aluminum foil. Thaw at room temperature before filling and topping. Freezing filled and frosted cupcakes is not recommended as the texture of the pudding and ganache might be affected.
How to Make Delicious Boston Cream Cupcakes: A Step-by-Step Guide
- Prepare for Baking: Begin by preheating your oven to 350°F (175°C). Line 22 muffin cups with paper or silicone liners. While the recipe is designed for 22, you might yield between 20-24 cupcakes depending on how much batter you spoon into each.
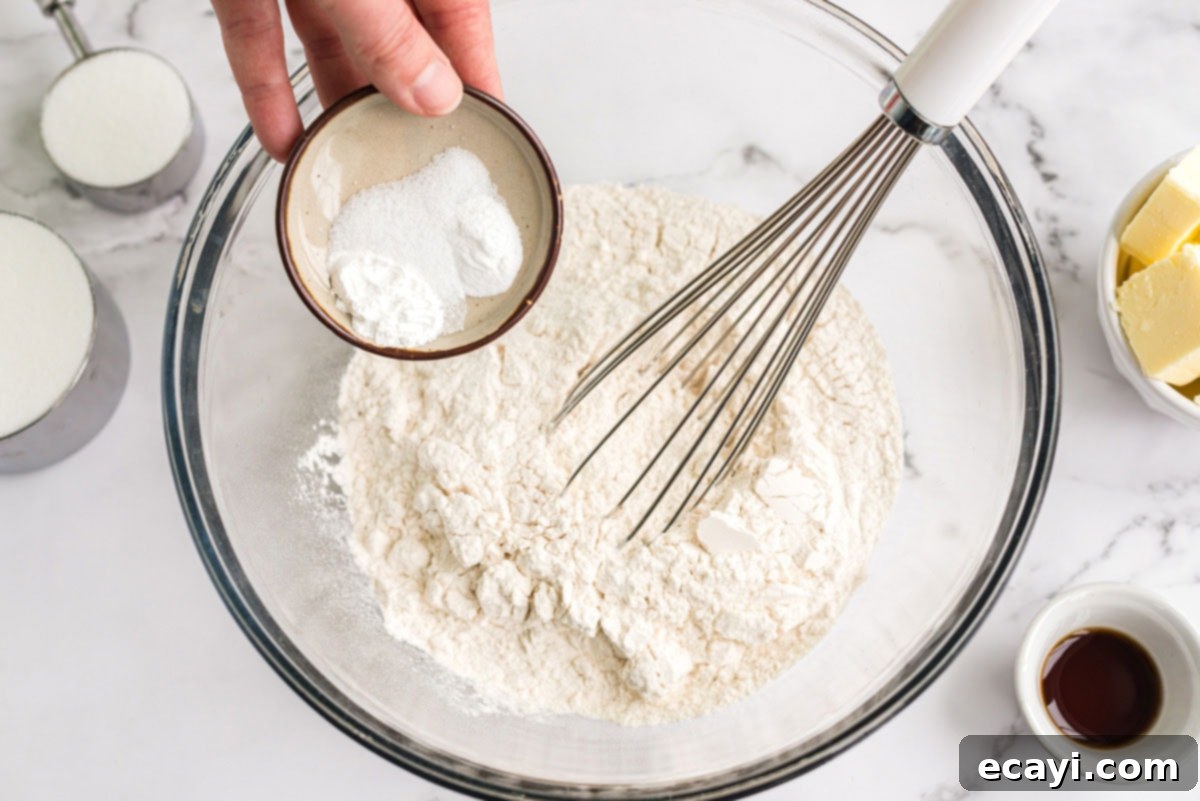
- Combine Dry Ingredients: In a large mixing bowl, whisk together the all-purpose flour, baking soda, baking powder, and salt until they are thoroughly blended. This ensures an even distribution of leavening agents throughout the batter.
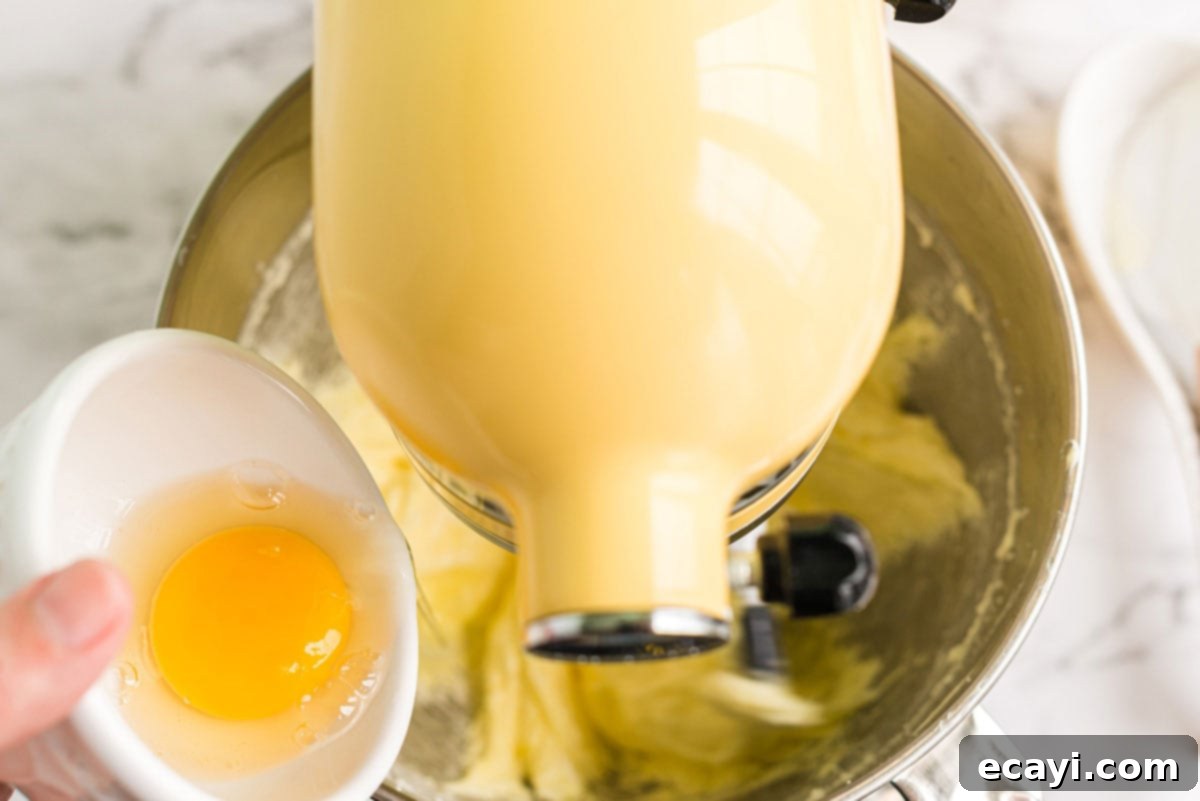
- Cream Butter and Sugar: Using a stand mixer (or a hand mixer) fitted with the paddle attachment, beat the softened unsalted butter at medium-low speed until it’s creamy and light. Gradually add the granulated sugar, continuing to beat for about 2 minutes until the mixture is light and fluffy. This creaming process incorporates air, contributing to a tender cake. Incorporate the eggs one at a time, ensuring each is fully blended before adding the next. Finally, beat in the vanilla extract until just combined.
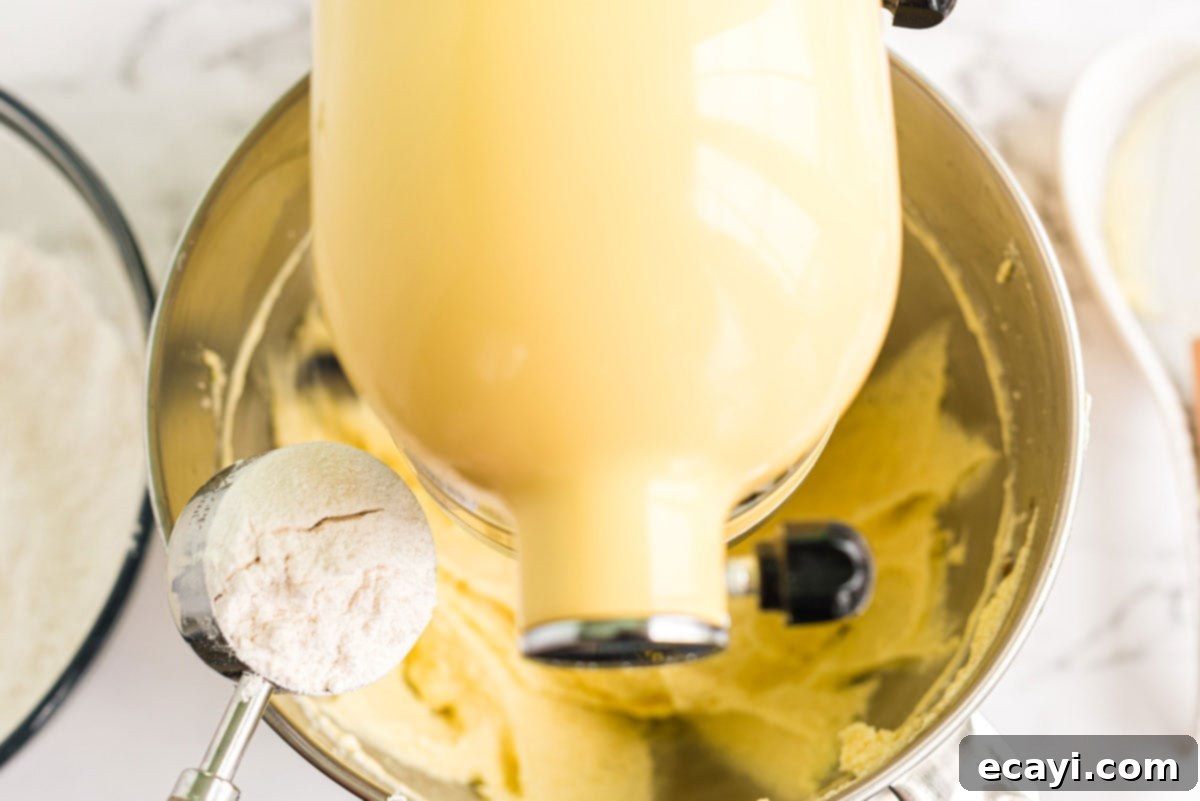
- Alternate Wet and Dry Ingredients: With the mixer on low speed, alternately add the flour mixture and the buttermilk to the wet ingredients. Begin and end with the flour mixture, mixing until just blended after each addition. Be careful not to overmix the batter. Once everything is incorporated, increase the mixer speed to medium and beat for an additional minute. This final aeration step helps create a lighter, fluffier cupcake.
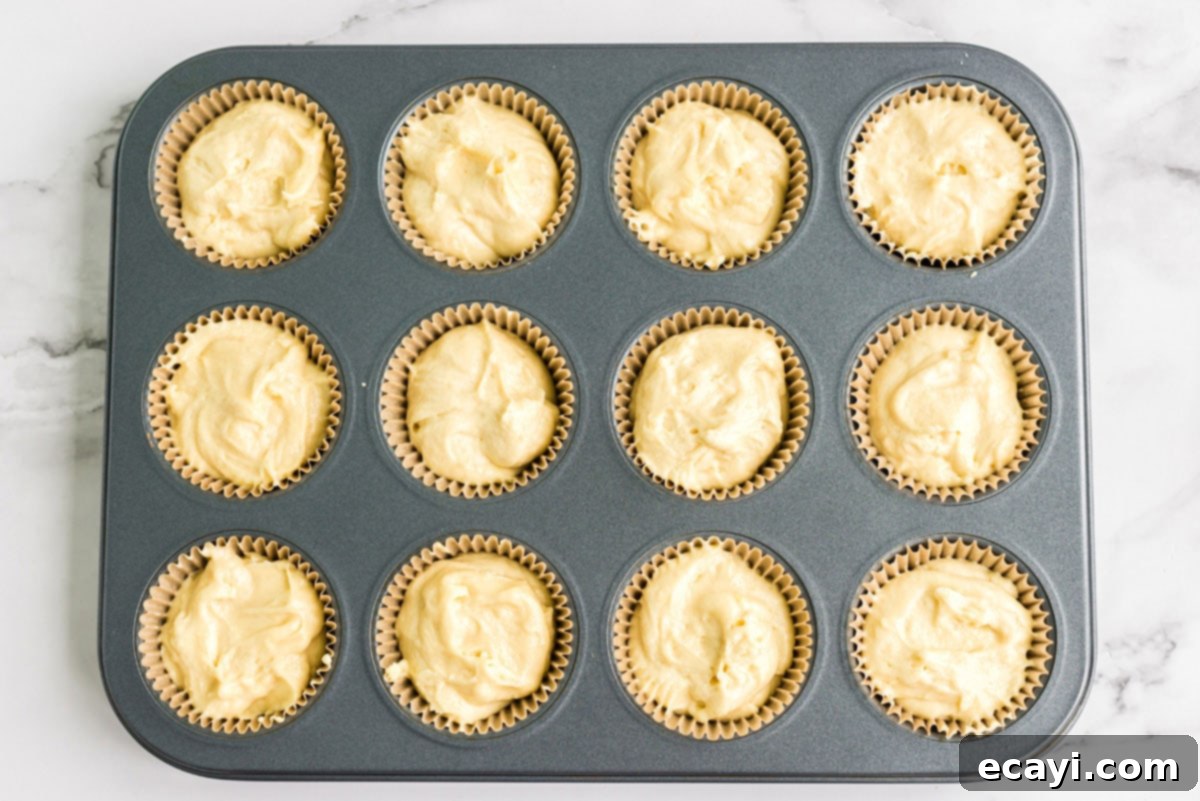
- Bake and Cool Cupcakes: Spoon approximately 1/4 cup of batter into each prepared muffin cup. Bake for 15 to 18 minutes, or until a wooden pick inserted into the center of a cupcake comes out clean. Allow the cupcakes to cool in the muffin pan for 5 minutes before carefully transferring them to a wire rack to cool completely. Ensure they are fully cooled before proceeding to the next steps.
- Prepare the Vanilla Cream Filling: In a separate bowl, whisk together the dry instant pudding mix with the milk and vanilla extract as specified in the recipe card (remembering our tip to use less milk than the box directions). Continue whisking until the mixture is smooth and begins to thicken. Cover the bowl and chill it in the refrigerator for at least 30 minutes, or until the filling is firm enough to spread.
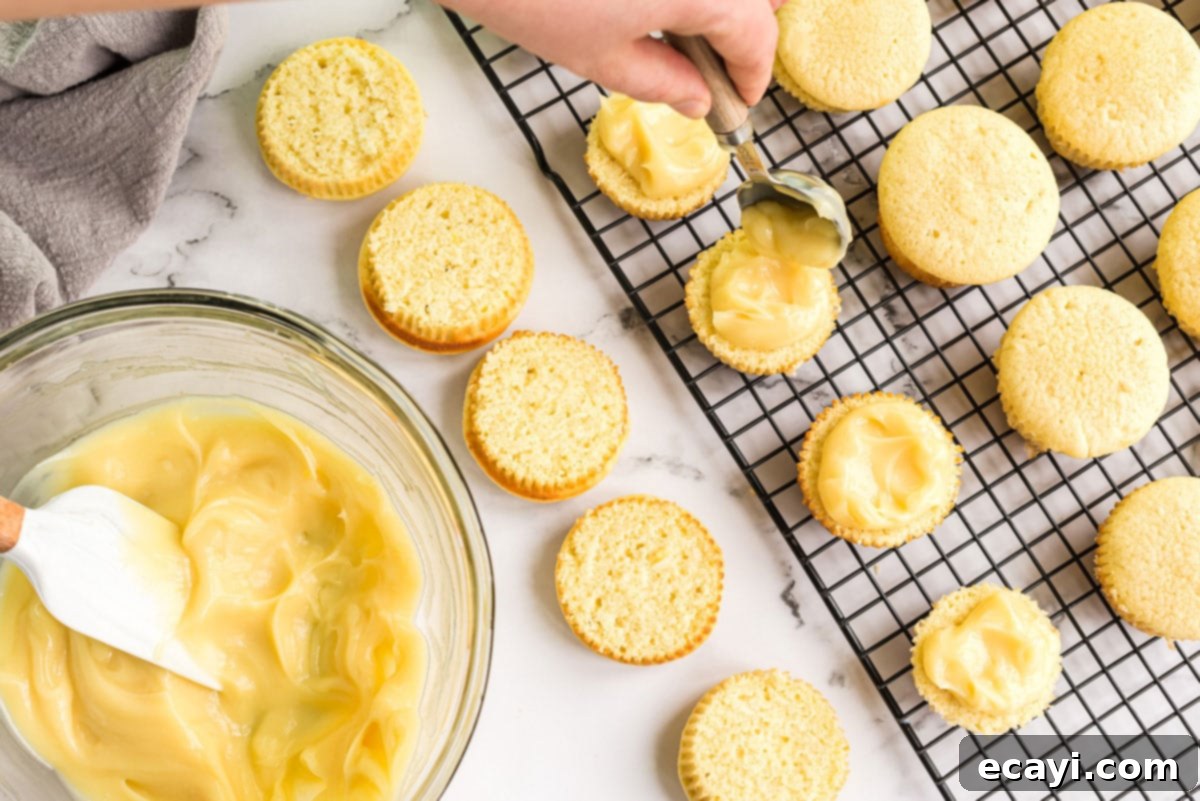
- Fill the Cupcakes: Once the cupcakes are completely cool and the pudding has thickened, it’s time for assembly. Using a bread knife or a small, sharp serrated knife, carefully slice the top off each cupcake, creating a flat surface. Remove the chilled pudding from the fridge and give it another quick whisk to ensure it’s smooth and thick. Spread about one tablespoon of the vanilla cream filling onto the bottom portion of each cupcake. Gently replace the sliced top of the cupcake over the filling.
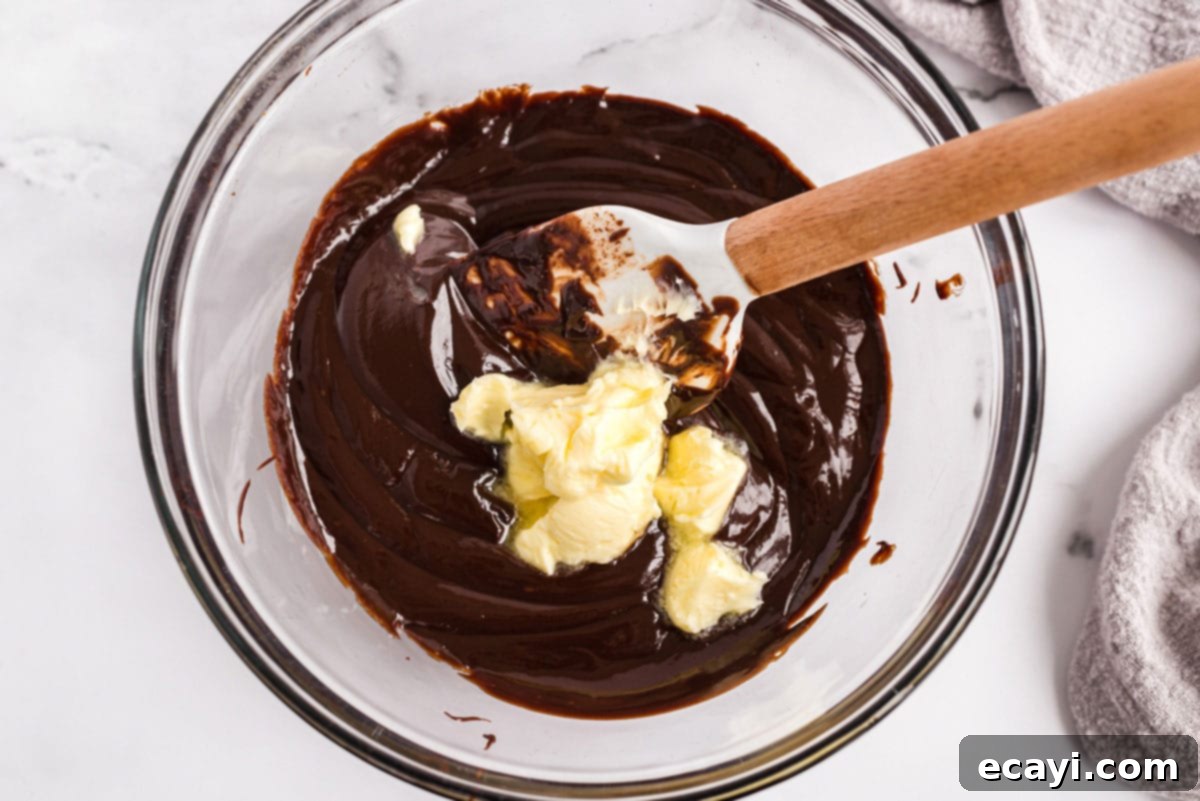
- Make the Chocolate Ganache: Place your chopped semisweet chocolate (or chocolate chips) in a medium, heatproof bowl. Heat the heavy cream in the microwave until it’s hot and just simmering (about 60-75 seconds for ½ cup, depending on your microwave). Carefully pour the hot cream over the chocolate. Gently wiggle the bowl to ensure all the chocolate is submerged in the hot cream. Let it sit undisturbed for two minutes. This allows the hot cream to melt the chocolate. After two minutes, stir the chocolate and cream until the mixture is completely blended and smooth. Stir in the softened butter cubes until they disappear and the ganache becomes glossy and smooth.
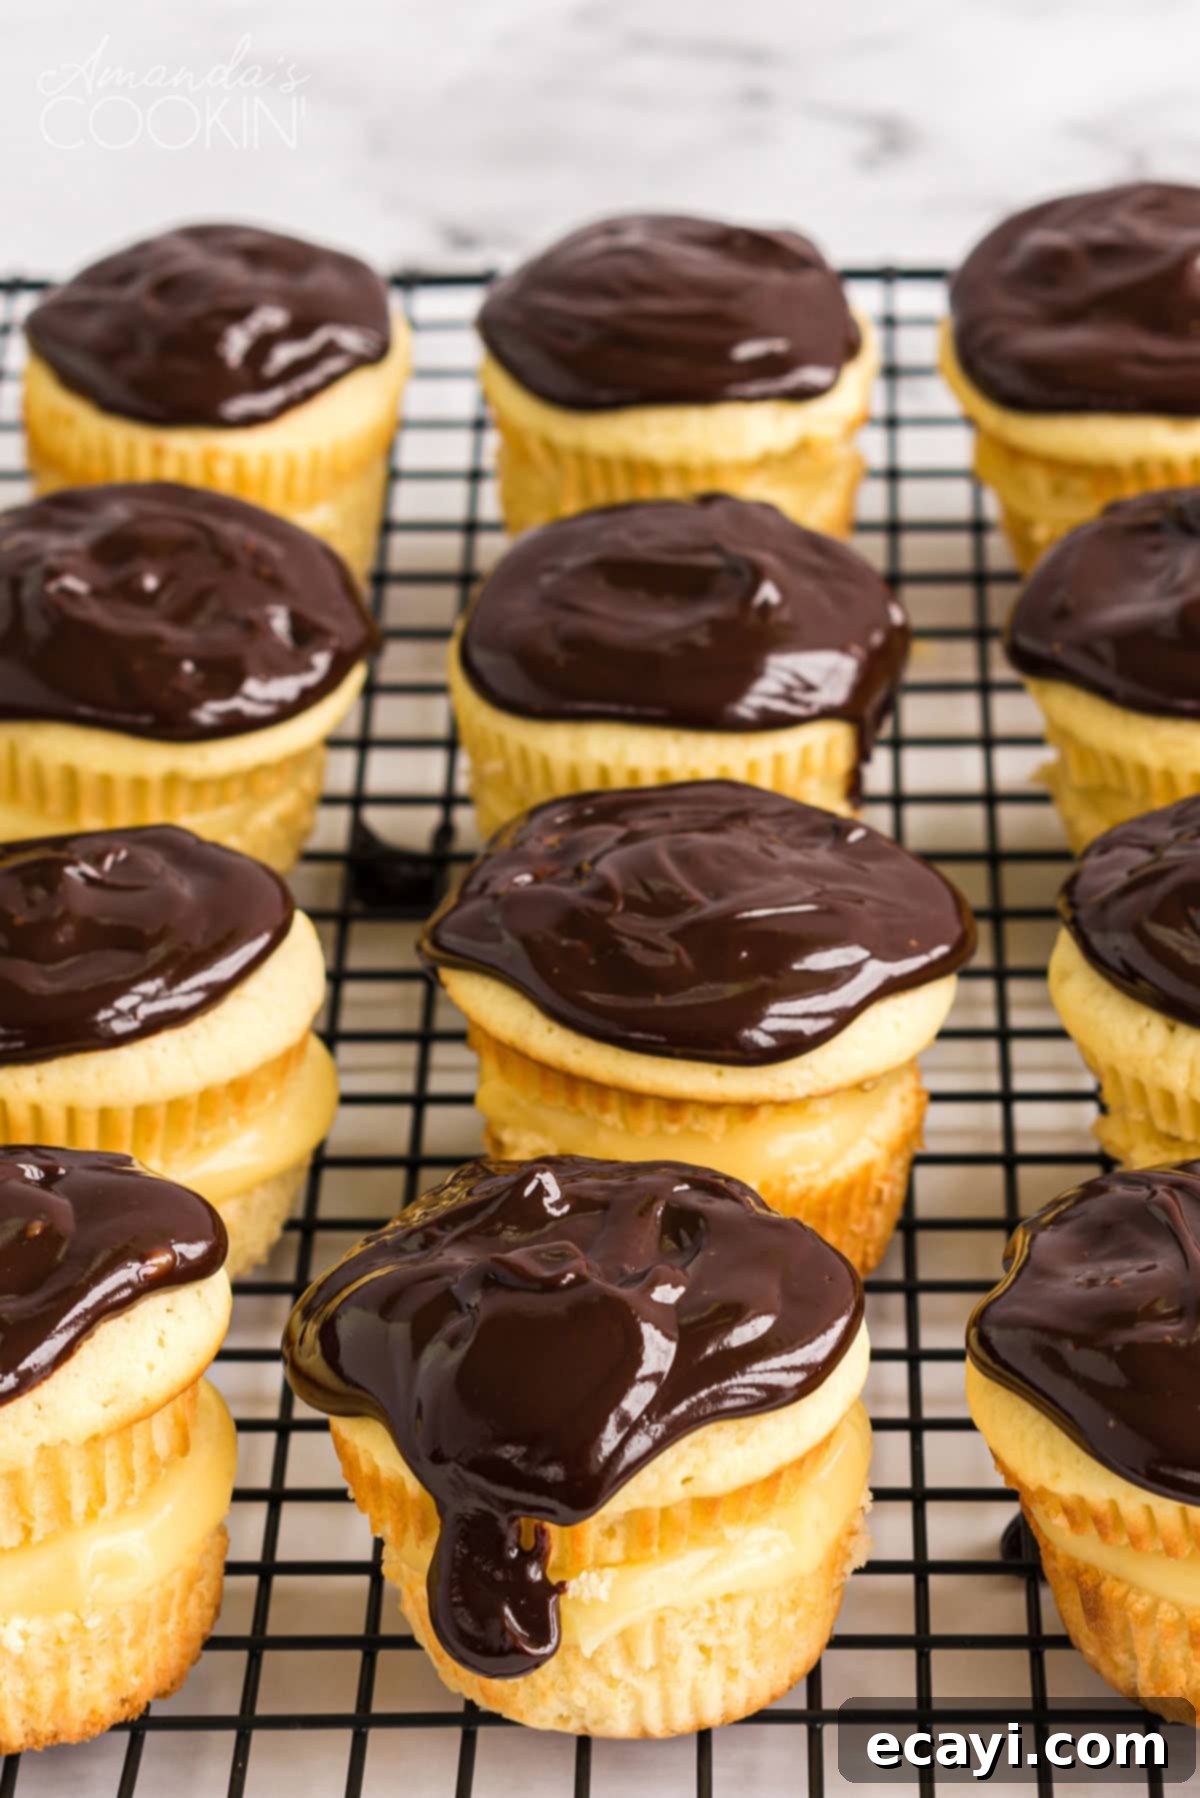
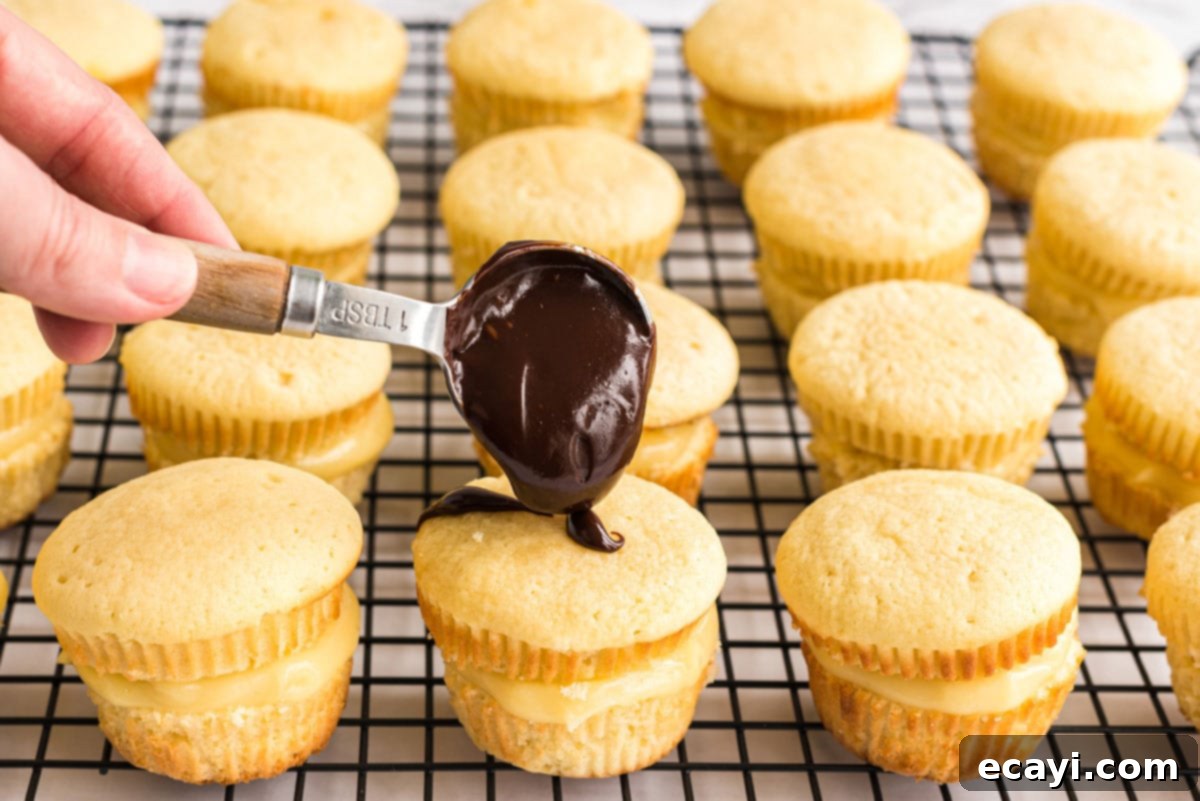
- Glaze the Cupcakes: Spoon about a tablespoon (or slightly more, to your preference) of the warm ganache onto the top of each filled cupcake. Allow the ganache to spread naturally across the surface. If needed, you can gently encourage it with the back of a spoon to cover the entire top.
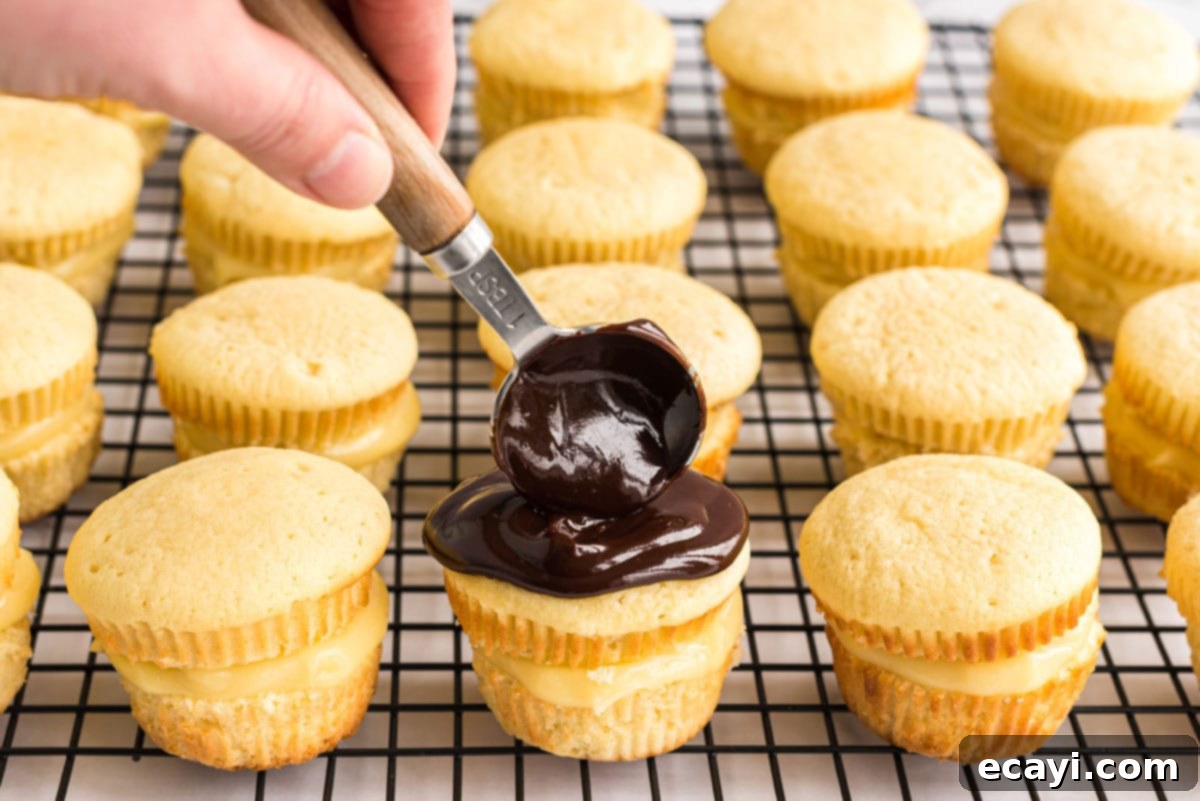
- Set and Serve: Allow the chocolate ganache to set at room temperature for about 30-60 minutes, or in the refrigerator for 15-20 minutes, before serving. This ensures the ganache is firm and beautifully shiny.
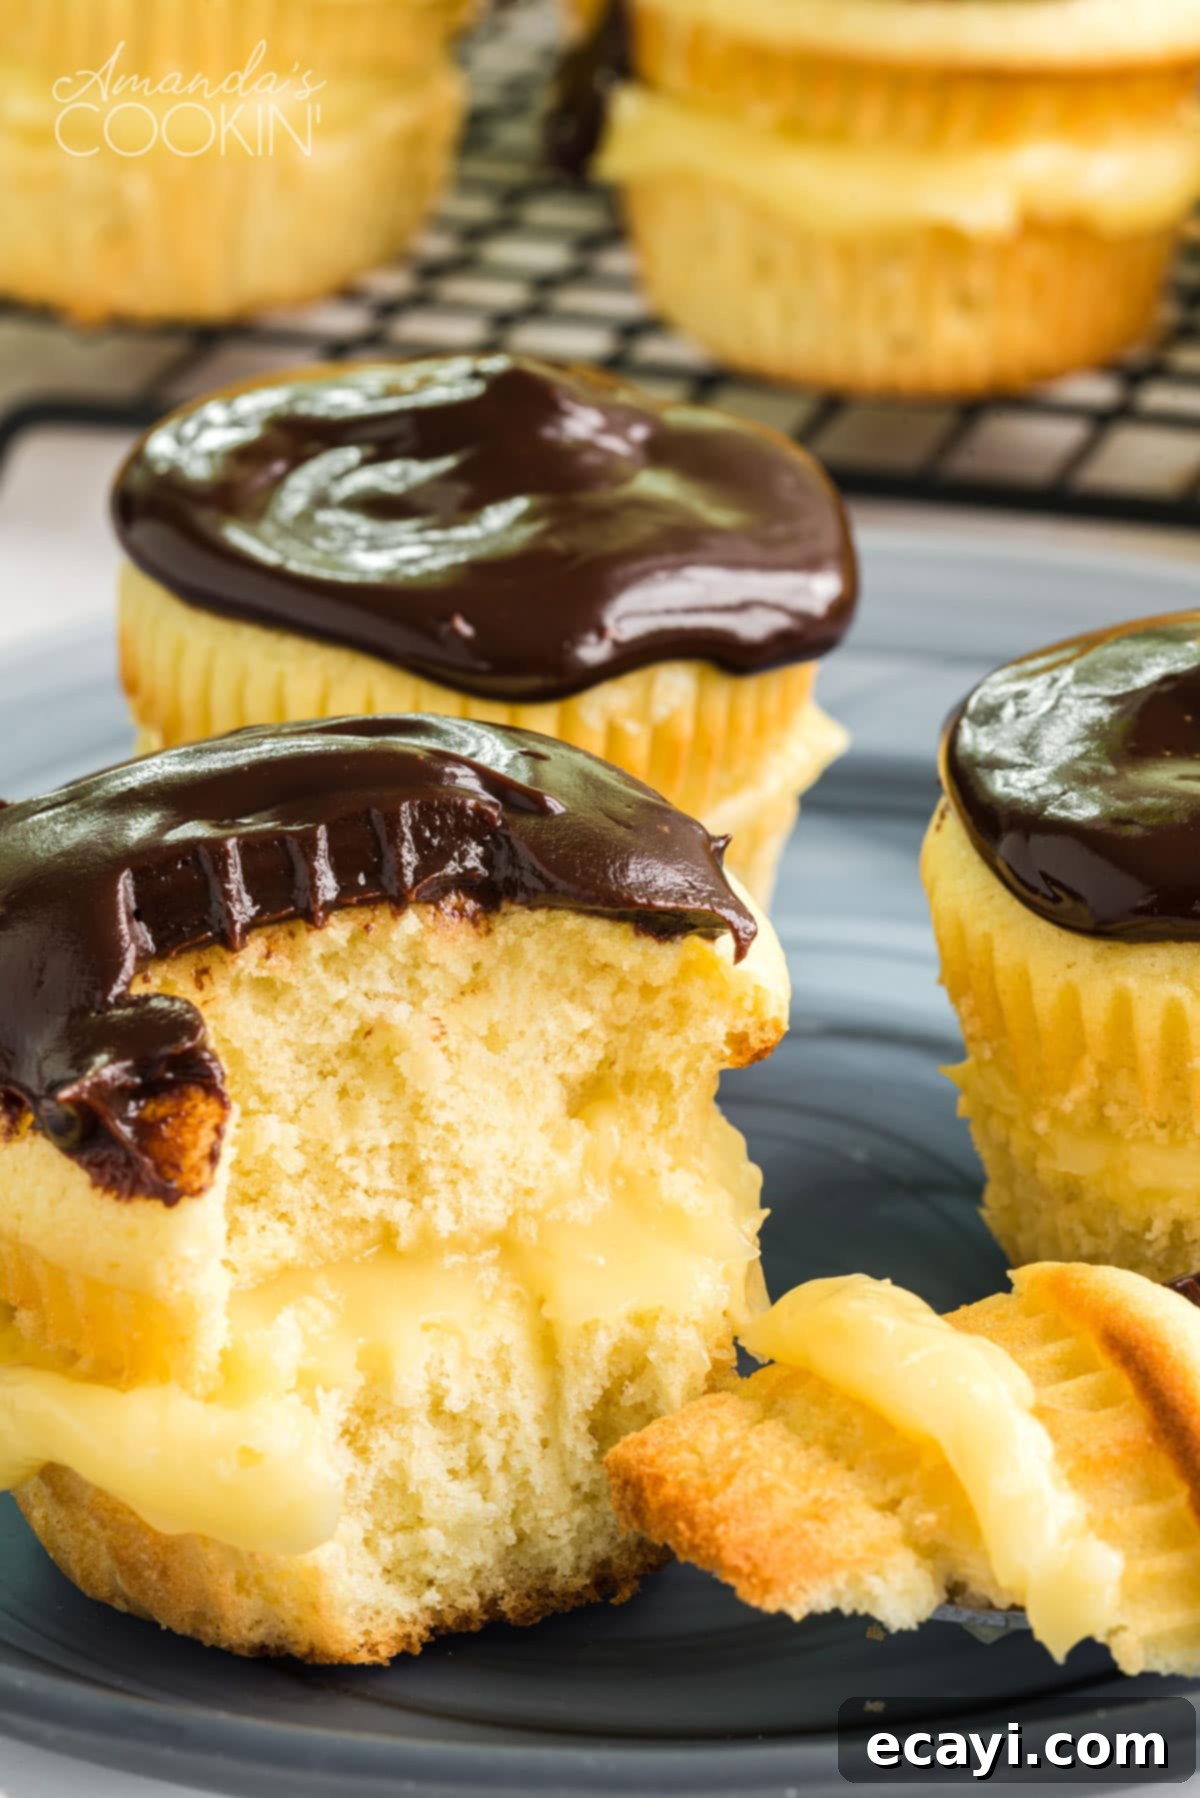
These miniature versions of a classic dessert are not only incredibly fun to make (and a fantastic baking project to share with kids!) but also impressively elegant when presented at any gathering. Everyone deserves the joy of a perfect Boston Cream Cupcake in their life!
More Delicious Cake and Cupcake Recipes You’ll Love:
- Classic White Cake
- Strawberry Shortcake
- Banana Pudding Poke Cake
- Texas Sheet Cake
- S’mores Cupcakes
- Chocolate Mug Cake
- Orange Creamsicle Cupcakes
- Raspberry White Chocolate Cupcakes
I love to bake and cook and share my recipes with you! I know it’s hard to remember to come back and search, so I’ve made it easy for you with my weekly newsletter! You can subscribe for free and I’ll send you delicious recipes every week right to your email.
Boston Cream Cupcakes
Yummy yellow cupcakes, filled with a vanilla cream pudding, then topped with amazing chocolate ganache. What could be better, and great for a party!
IMPORTANT – There are often Frequently Asked Questions within the blog post that you may find helpful. Simply scroll back up to read them!
Ingredients
Cupcakes
- 2 ½ cups all-purpose flour
- ¾ tsp baking soda
- ½ tsp baking powder
- ½ tsp salt
- ¾ cup unsalted butter (1 1/2 sticks, softened)
- 1 ¼ cups granulated sugar
- 3 large eggs
- 2 tsp vanilla extract
- 1 cup buttermilk (see substitution in notes)
Filling
- 3.4 ounce instant French vanilla pudding mix
- 1 ½ cups milk
- 1 tablespoon vanilla
Chocolate Ganache
- 8 oz semisweet chocolate (chopped, or chocolate chips)
- ½ cup heavy whipping cream
- 2 Tbsp unsalted butter (cut into small pieces and allowed to soften)
Things You’ll Need
-
Stand mixer
-
Mixing bowls
-
Whisk
-
Rubber spatula
-
Muffin pan
Before You Begin
- This recipe makes roughly 20-22 cupcakes. You could probably stretch it to 24 if you wish.
- If you don’t have buttermilk on hand, put one tablespoon of lemon juice or white vinegar into a liquid measuring cup. Add enough regular milk to the measuring cup to equal one-cup. Stir, then allow to sit at room temperature for 30 minutes.
- If you like, you can use a yellow cake mix instead of the cupcake recipe above. However, cake mix sets up soft and a bit crumbly. The from-scratch recipe above holds up well to slicing. If using a cake mix, be sure to chill the cupcakes in the fridge for a couple hours before cutting so they don’t fall apart.
- Do not follow the instructions on the back of the instant pudding box. All the ingredients you need are listed in this recipe. We use a little bit less milk than the box directs so that the filling will be thick.
- Make the ganache last, after you’ve cut the tops off all the cupcakes, so that it doesn’t thicken or harden while it sits.
- For the ganache, be sure to soften the butter pieces so they will melt easier when added to the chocolate. If you have stubborn pieces of butter after continuous stirring you can heat the mixture in the microwave for short 5 second bursts. Be careful, you don’t want to overheat the chocolate which could cause it to seize up.
Instructions
Make the Cupcakes
- Preheat oven to 350 F and line 22 muffin cups with paper or silicone liners. (this recipe makes 20-22)
- In a large bowl, whisk flour, baking soda, baking powder, and salt until blended.
- Beat butter until creamy, slowly add sugar and beat until light and fluffy, about 2 minutes. Add eggs, one at a time, until well blended. Beat in vanilla extract.
- With mixer on low speed, alternately beat in flour mixture and buttermilk, beginning and ending with flour mixture, until just blended. Beat on medium speed for an additional minute to aerate the batter.
- Spoon about 1/4 cup batter into each muffin cup. Bake 15 to 18 minutes until wooden pick inserted in center comes out clean. Cool 5 minutes; remove from pan to wire rack to cool completely.
Filling
- Whisk together dry pudding mix with milk and vanilla extract. Chill until thickened.
- Slice the top off of each cupcake. Remove pudding from fridge and whisk again to make smooth, it should be thick. Spread about one tablespoon of pudding onto the cupcake bottom, then replace the top.
Glaze
- Place chocolate in a medium bowl. Heat the heavy cream in the microwave until hot, about 60-75 seconds. Pour hot cream over the chocolate. Wiggle the bowl to be sure all chocolate is in the hot cream. Let sit for two minutes. Stir chocolate and cream until completely blended then stir in the softened butter cubes until butter disappears and mixture is smooth.
- Add about a tablespoon or so of ganache to the top of the cupcake. Allow it to spread, add more or help it along by spreading the ganache across the top a bit.
- Allow ganache to set before serving.
Nutrition
Serving: 1 cupcake | Calories: 285cal | Carbohydrates: 33g | Protein: 4g | Fat: 15g | Saturated Fat: 9g | Cholesterol: 56mg | Sodium: 157mg | Potassium: 137mg | Fiber: 1g | Sugar: 20g | Vitamin A: 392IU | Calcium: 54mg | Iron: 1mg
The recipes on this blog are tested with a conventional gas oven and gas stovetop. It’s important to note that some ovens, especially as they age, can cook and bake inconsistently. Using an inexpensive oven thermometer can assure you that your oven is truly heating to the proper temperature. If you use a toaster oven or countertop oven, please keep in mind that they may not distribute heat the same as a conventional full sized oven and you may need to adjust your cooking/baking times. In the case of recipes made with a pressure cooker, air fryer, slow cooker, or other appliance, a link to the appliances we use is listed within each respective recipe. For baking recipes where measurements are given by weight, please note that results may not be the same if cups are used instead, and we can’t guarantee success with that method.
This post originally appeared here on Mar 23, 2011 and has since been updated with new photos.
