Quick Pickled Asparagus: An Easy, No-Canning Refrigerator Pickle Recipe
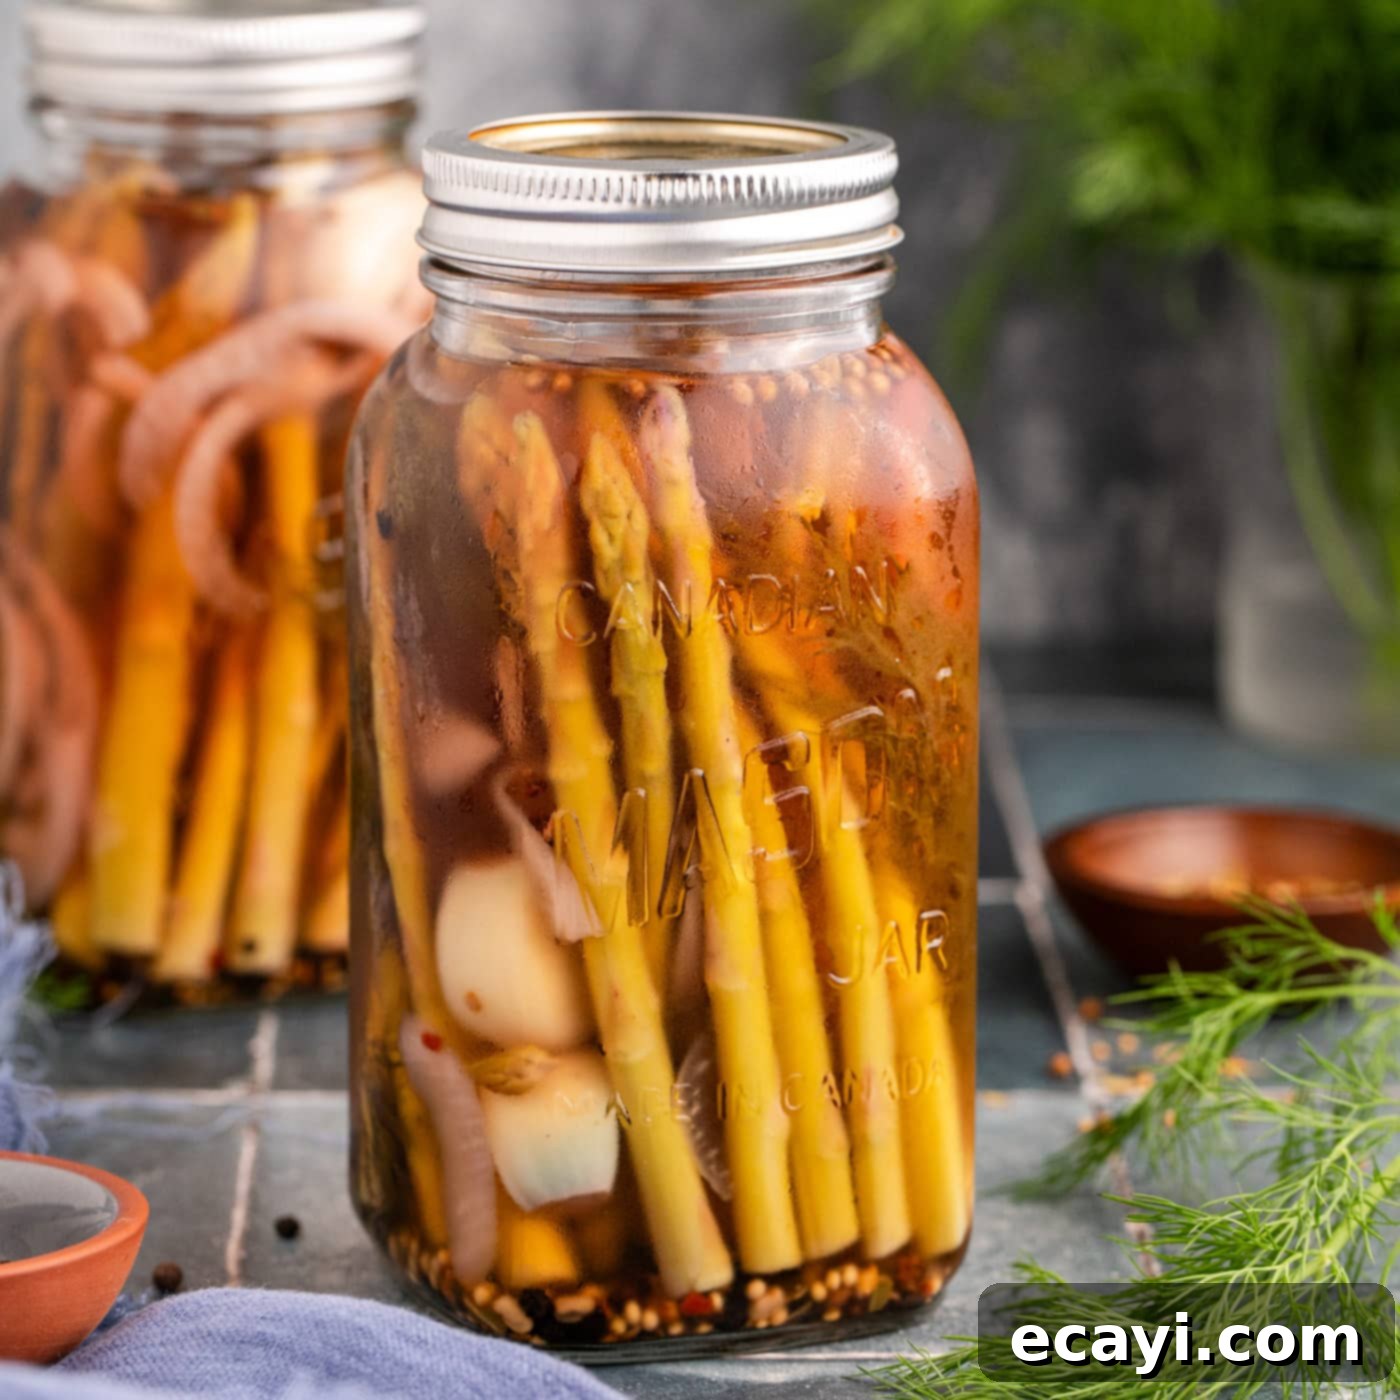
Discover the incredibly simple and fast way to make flavorful quick pickled asparagus right in your refrigerator. This recipe requires absolutely no canning and comes together in just about 10 minutes of active prep time. Infused with fresh dill, vibrant red onion, aromatic garlic, classic pickling spice, and pungent peppercorns, these tender-crisp asparagus spears burst with a zesty, savory taste that’s absolutely irresistible. Perfect for a gourmet snack or an impressive addition to any meal, these refrigerator pickles are a game-changer for fresh vegetable preservation.
Why This Quick Pickled Asparagus Recipe is a Must-Try
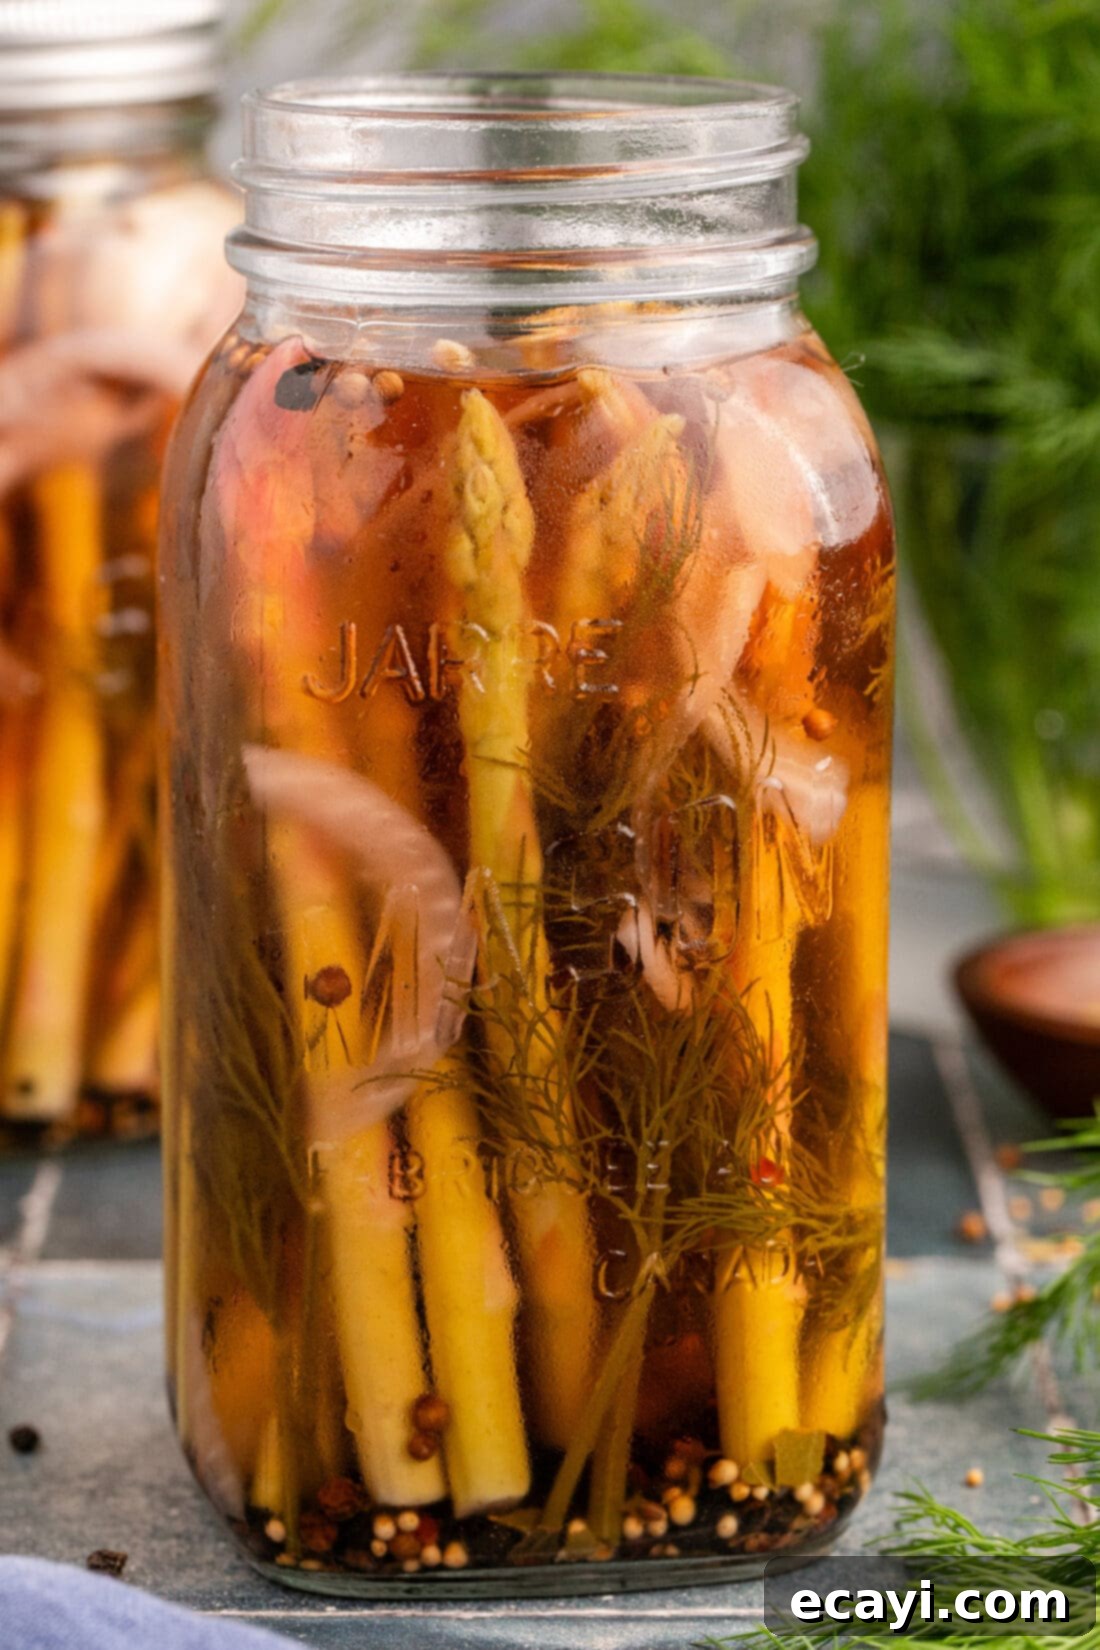
This recipe truly stands out because it eliminates the often intimidating and time-consuming traditional canning process. Forget sterilizing jars for long periods or dealing with a water bath canner! Our method focuses on creating delicious refrigerator pickles that are ready to enjoy without the fuss. This makes it an ideal entry point for anyone new to pickling, or for experienced home cooks looking for a speedy and reliable way to preserve fresh produce.
The beauty of quick pickling lies in its simplicity and accessibility. In just about 10 minutes of hands-on preparation, you can transform fresh asparagus into a tangy, crunchy delicacy. Refrigerator pickles, sometimes called “quick pickles,” are stored in the fridge and don’t require the same strict sterilization and sealing methods as traditional canning. This means you can enjoy the vibrant flavors of pickled vegetables much sooner and with less effort.
We’ve successfully applied this quick pickling method to a variety of vegetables, from zesty red onions to earthy beets, always achieving fantastic results. This versatility highlights the effectiveness of the brine and spice combination we use. Once prepared, the most challenging part is simply waiting for the asparagus to fully absorb the delicious flavors in the refrigerator. While they’re tasty overnight, the flavors truly deepen and meld after 3-5 days, creating an even more satisfying pickle.
Essential Ingredients for Your Pickled Asparagus
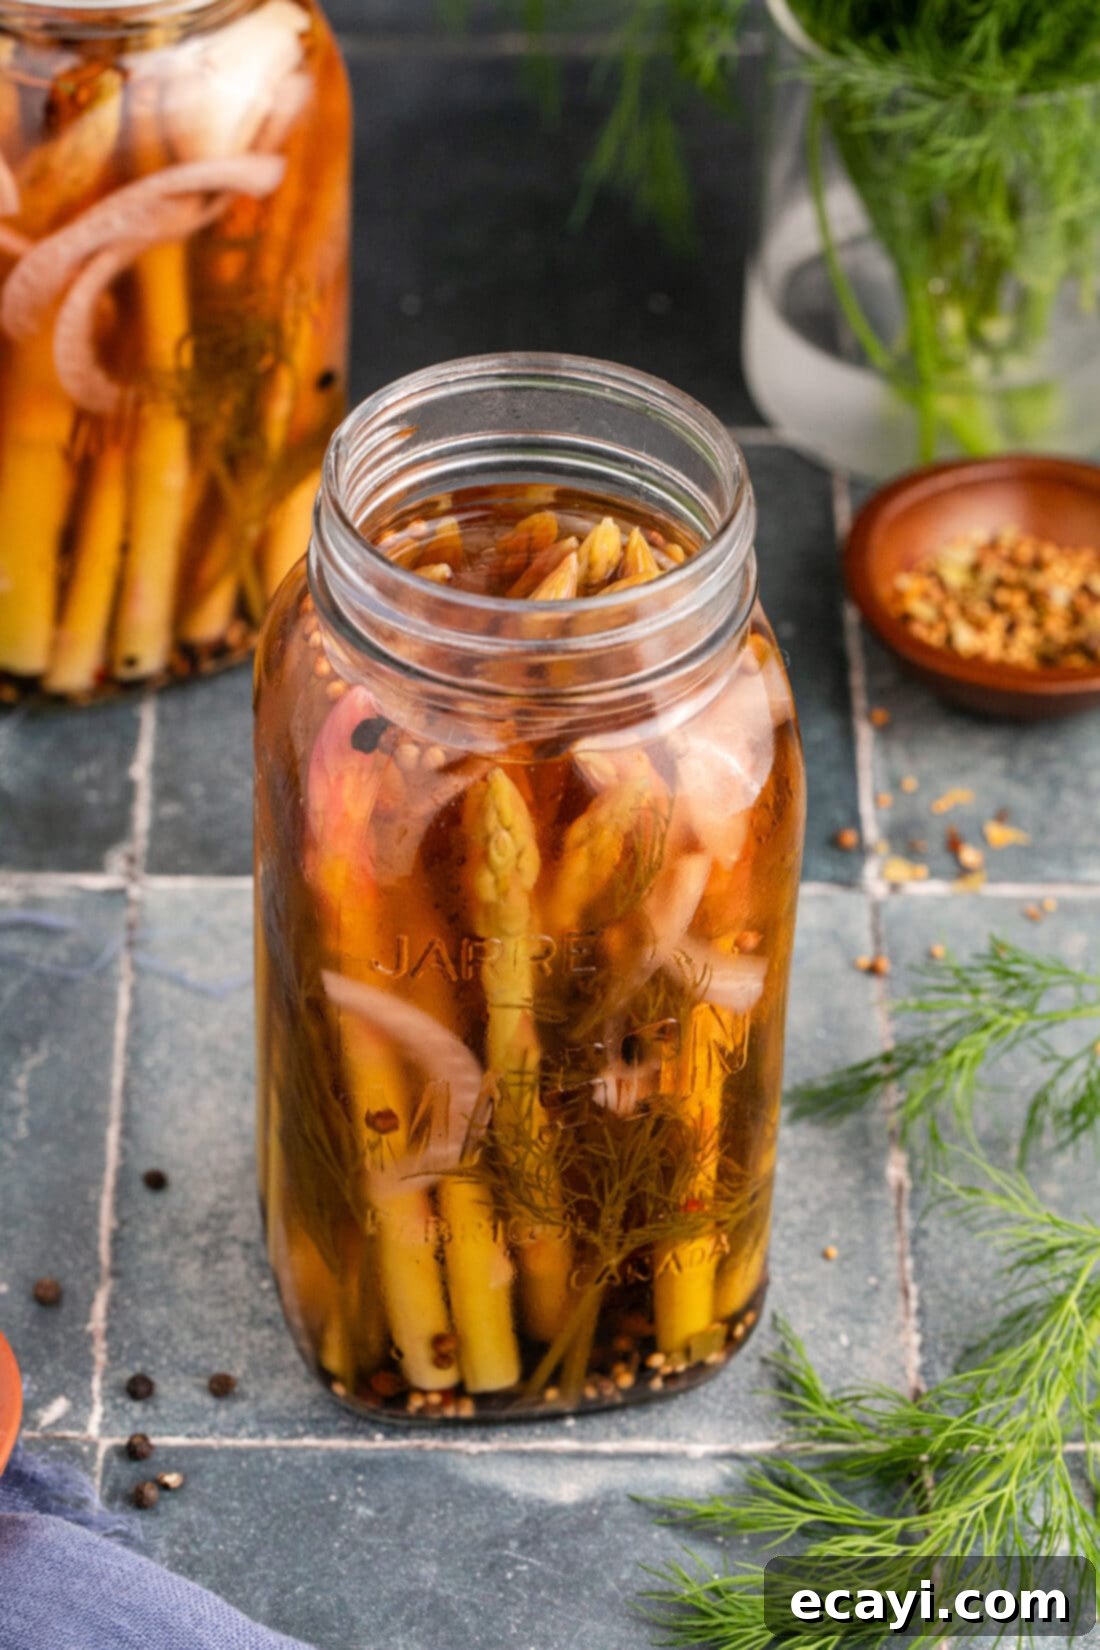
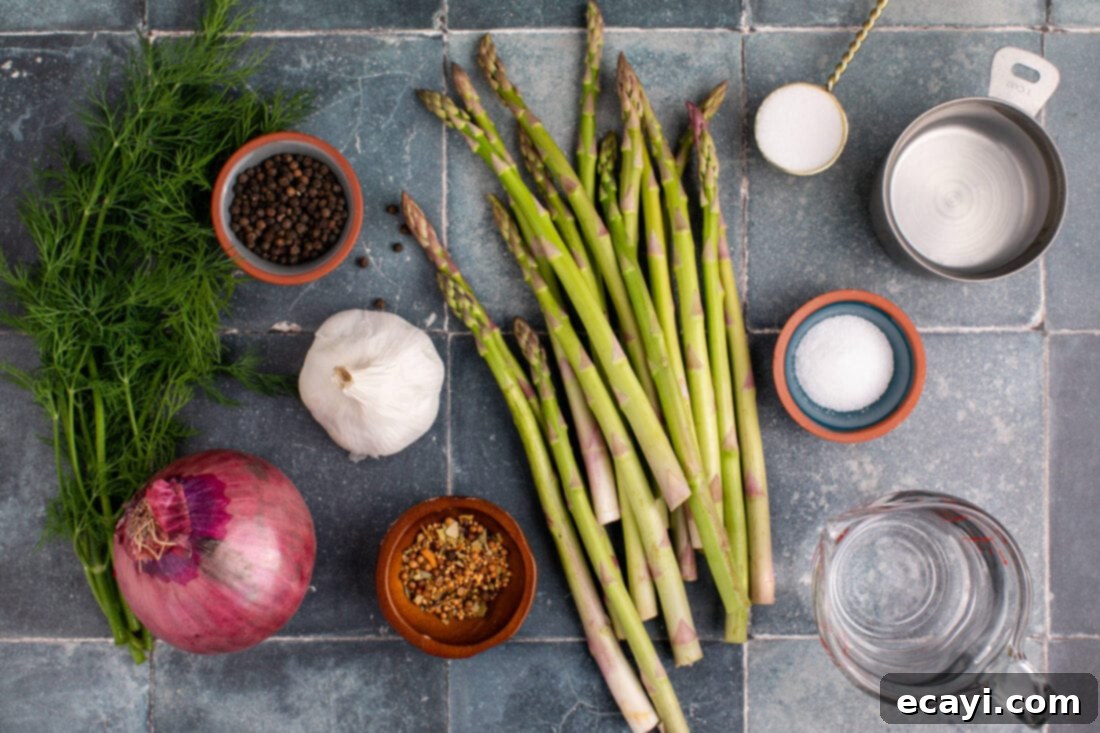
To embark on this delightful pickling journey, you’ll need a handful of fresh ingredients and pantry staples. All precise measurements, quantities, and detailed instructions are conveniently available in the printable recipe card at the very end of this post, ensuring you have everything you need at your fingertips for a seamless cooking experience.
Ingredient Spotlight & Customization Tips
Let’s dive deeper into the key components of this quick pickled asparagus recipe and explore some easy substitution options to suit your taste preferences or what you have on hand.
ASPARAGUS – For this recipe, you will need two bunches of medium-sized asparagus, typically weighing around 325 grams (or about 0.75 pounds) each, totaling approximately 650 grams (or 1.5 pounds). This quantity is perfect for filling two standard 16-ounce mason jars. When selecting asparagus, look for firm, bright green spears with tightly closed tips. Avoid any that look limp or have flowering tips. Before pickling, remember to trim the tough, woody ends of the asparagus spears. A common method is to bend each spear gently until it naturally snaps, indicating where the tough part ends and the tender part begins. Alternatively, you can simply cut about an inch or two from the bottom. Ensure the trimmed spears fit vertically into your mason jars without bending.
VINEGAR – Our recipe uses distilled white vinegar, which provides a clean, sharp tang that is characteristic of classic pickles. It has a neutral flavor profile that allows the other spices and fresh ingredients to shine. If you prefer a slightly sweeter and fruitier undertone in your brine, you can easily substitute it with apple cider vinegar. While both work wonderfully, apple cider vinegar might impart a subtle color to the brine, which is perfectly normal and won’t affect the quality or taste.
ADDITIONS (Aromatics & Spices) – The fresh dill, red onion, and garlic are crucial for the aromatic depth of these pickled spears. We’ve experimented with both red and white onions for this recipe, and both yield excellent results. Red onion tends to give the brine a slight pinkish tint after a few days in the refrigerator, but rest assured, this is purely aesthetic and does not impact the flavor or safety of your pickles. The granulated sugar included in the brine is essential; it doesn’t make the pickles sweet, but rather balances the sharp acidity of the vinegar, creating a more harmonious and palatable flavor profile. For those who enjoy a bit of heat, consider adding a pinch or two of red pepper flakes directly into each jar along with the other aromatics. Other exciting additions could include mustard seeds for a classic pickle tang, bay leaves for an earthy note, or even a few coriander seeds for a citrusy hint.
SALT – We specify sea salt for its pure flavor and lack of anti-caking agents that can sometimes make pickle brine cloudy. Pickling salt is also an excellent choice. It’s important to avoid using iodized table salt, as the iodine can turn your vegetables dark and the anti-caking agents can make the brine cloudy.
WATER – Water is used to dilute the vinegar, creating the perfect acidity level for flavor and preservation without being overwhelmingly sour.
How to Make Quick Pickled Asparagus: Step-by-Step
These step-by-step photos and detailed instructions are designed to guide you through the process, helping you visualize each stage of making this delicious recipe. For a convenient printable version of this recipe, complete with precise measurements and comprehensive instructions, you can jump directly to the recipe card located at the bottom of this page.
- Prepare the Asparagus: Begin by thoroughly washing your asparagus spears under cold running water. Next, carefully trim the tough, woody ends. To ensure they fit perfectly, measure them against your two 16-ounce mason jars, cutting them to the appropriate length. Once trimmed, divide the spears equally between the two jars, arranging them vertically for an appealing presentation and even pickling.
- Layer the Aromatics: Into each jar, distribute the fresh sprigs of dill, finely sliced red onion, whole garlic cloves, peppercorns, and pickling spices. Layering these aromatics ensures that every asparagus spear is infused with maximum flavor.
- Prepare and Pour the Brine: In a small saucepan, combine the distilled white vinegar, water, granulated sugar, and sea salt. Bring this mixture to a rolling boil over high heat, stirring continuously until both the sugar and salt are completely dissolved. Once the brine is ready, carefully pour it evenly into each jar, ensuring all the asparagus spears are fully submerged.
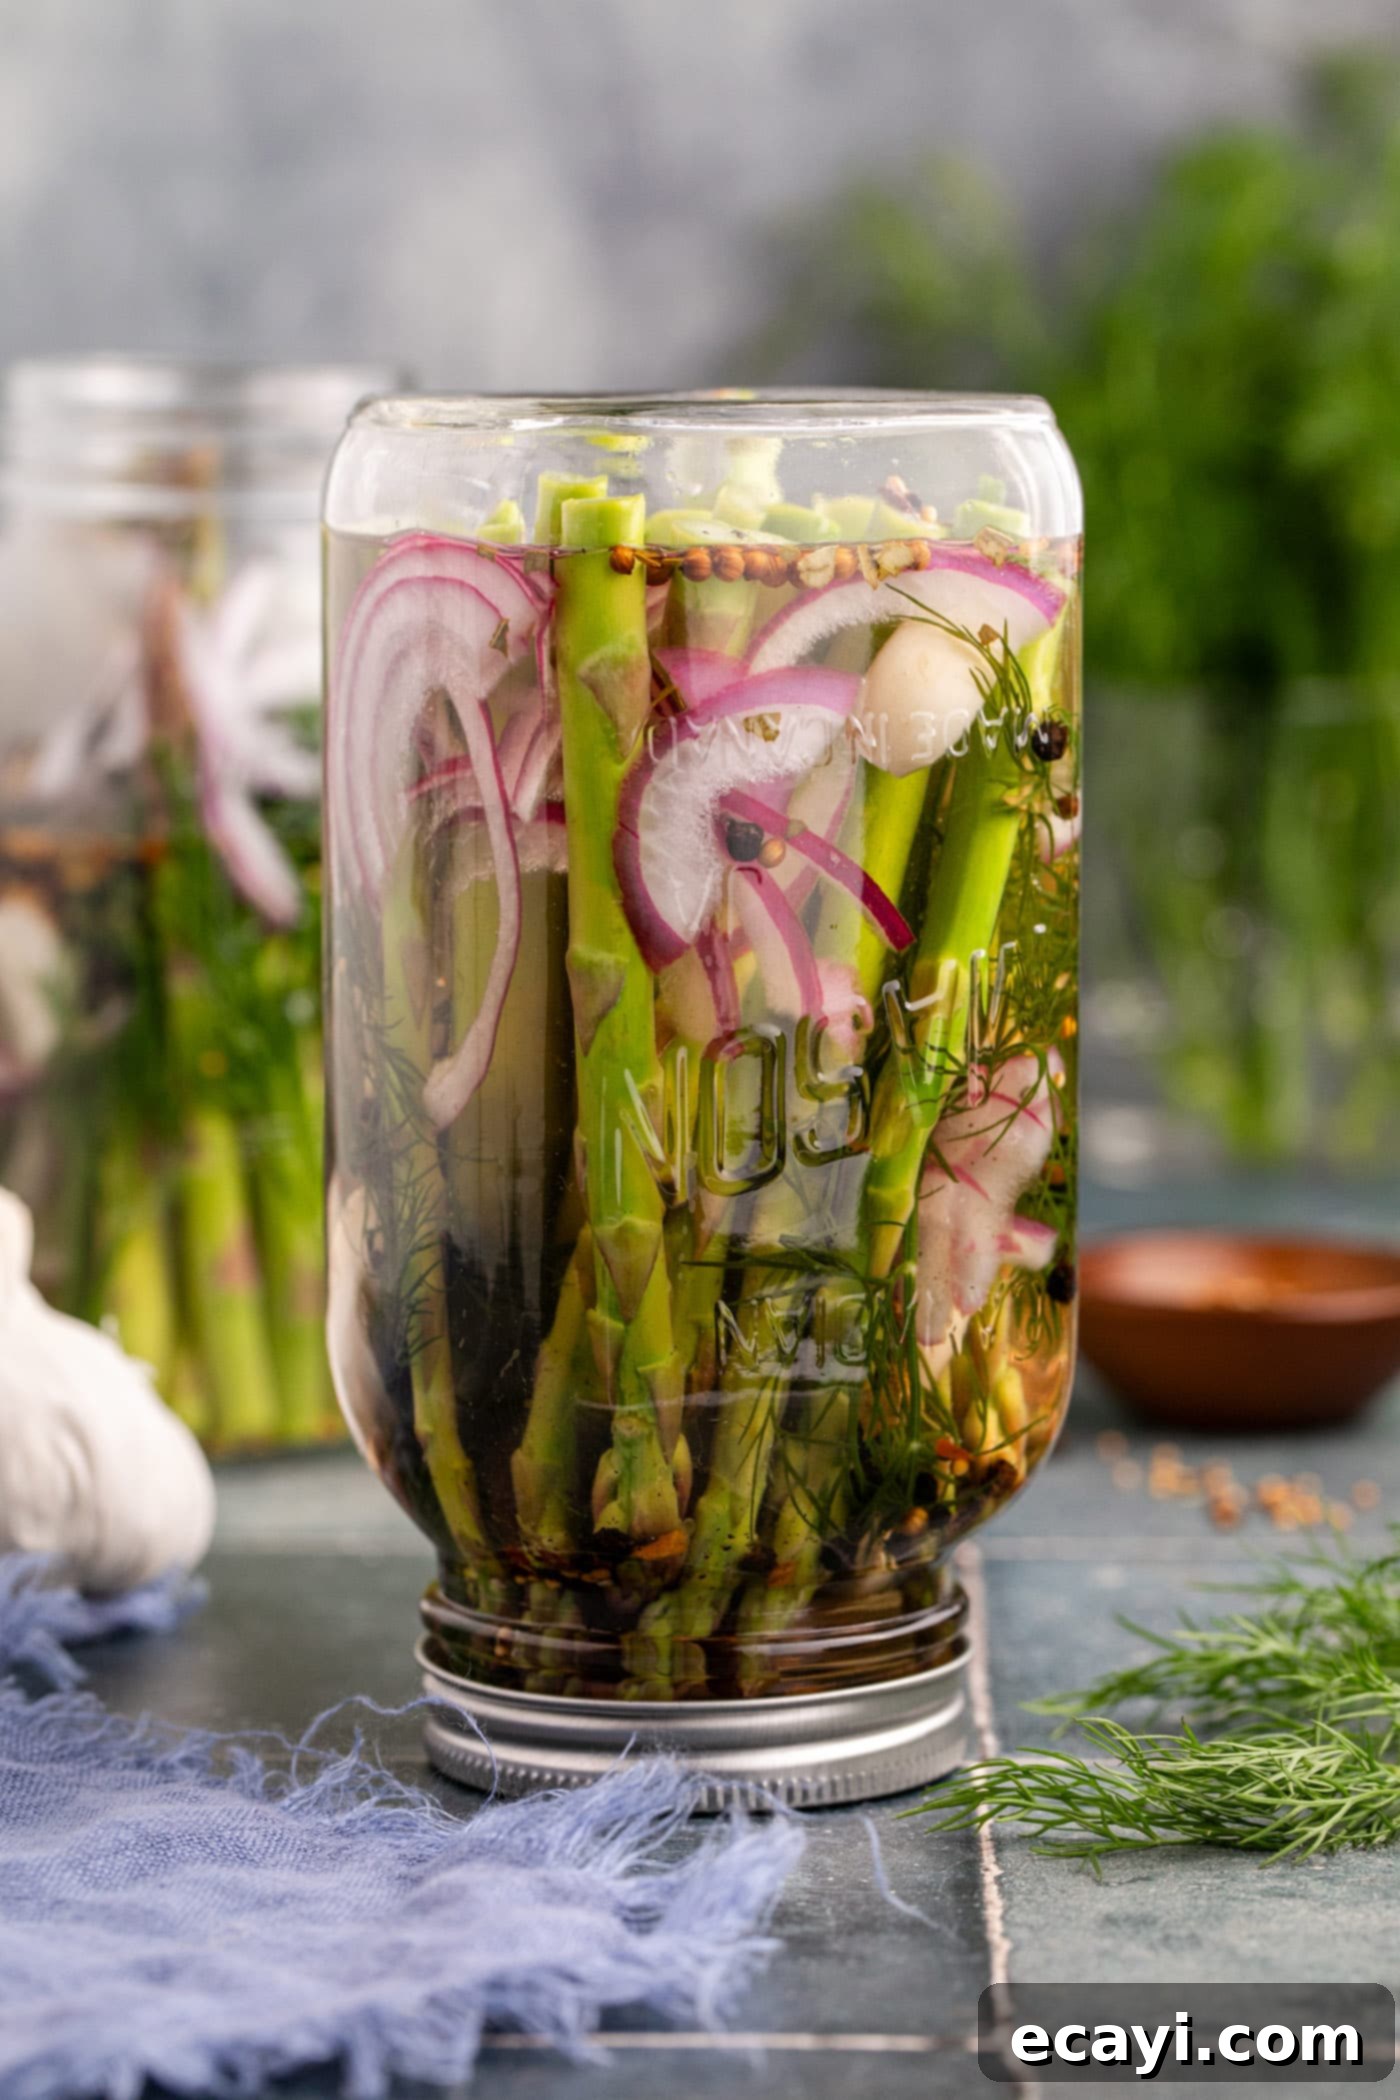
- Seal, Cool, and Refrigerate: Gently place the lids on the jars to create a tight seal. For optimal cooling and to help distribute the flavors, carefully flip the sealed jars upside-down. Allow them to cool completely at room temperature before transferring them to the refrigerator. While you can technically enjoy them after an overnight chill, for the absolute best flavor development, we recommend letting them sit in the fridge for at least 3 to 5 days. This resting period allows the asparagus to fully absorb the tangy, aromatic brine.
TIP – It’s crucial that the asparagus spears are completely covered by the brine. If your brine has boiled down too much and doesn’t fully cover the spears, simply boil a small amount of extra water and top off the jars to ensure full submersion.

- Storage and Consumption: Once you open a jar of your delicious quick pickled asparagus, make sure to consume it within 2 weeks to enjoy the freshest taste and best texture. Always store the sealed jars in the refrigerator.
Frequently Asked Questions & Expert Tips for Perfect Pickled Asparagus
Since this is a refrigerator pickled asparagus recipe and not a traditional canning method, these pickles are not shelf-stable. They require constant refrigeration. Store your quick pickled asparagus in an air-tight jar, always kept in the fridge, where they will maintain their quality and flavor for up to 2 weeks. For best results and to maximize their shelf life, always ensure the asparagus spears are fully submerged in the pickling brine.
No, for this particular recipe, blanching the asparagus beforehand is not necessary. While blanching can sometimes help vegetables retain their vibrant color and open their pores to better absorb the brine, our method incorporates a clever shortcut. We prepare a hot brine by boiling the vinegar mixture and then pour it directly over the raw asparagus spears in the jars. This hot liquid effectively tenderizes the asparagus and encourages its pores to open, allowing it to soak up all the delicious flavors without an extra cooking step. This technique saves time and simplifies the process without compromising on taste or texture.
While it might seem economical, we generally do not recommend reusing pickling brine from refrigerator pickles. Over time, the brine becomes diluted with water released from the vegetables, and its acidity level may decrease. This can compromise the safety and flavor quality for subsequent batches. For the best results and safest practices, always use fresh brine for each batch of quick pickled asparagus.
Several factors can lead to mushy pickled asparagus. The most common reasons include using asparagus that wasn’t fresh to begin with, over-processing (if you were to try a canning method, which isn’t used here), or improper storage. For quick pickles, ensure your asparagus is firm and vibrant. Overly thin spears can also become mushier quicker. Sticking to the recommended refrigeration time and consuming within two weeks will help maintain their desirable crisp-tender texture.
A slightly cloudy brine can be normal, especially if you used red onions, which can leach some pigment. However, if the cloudiness is excessive or accompanied by an off-odor, mold, or bubbling (beyond initial settling), it could indicate spoilage. Always ensure your jars are clean and your ingredients are fresh. Using proper pickling salt (non-iodized) helps prevent cloudiness from iodine.
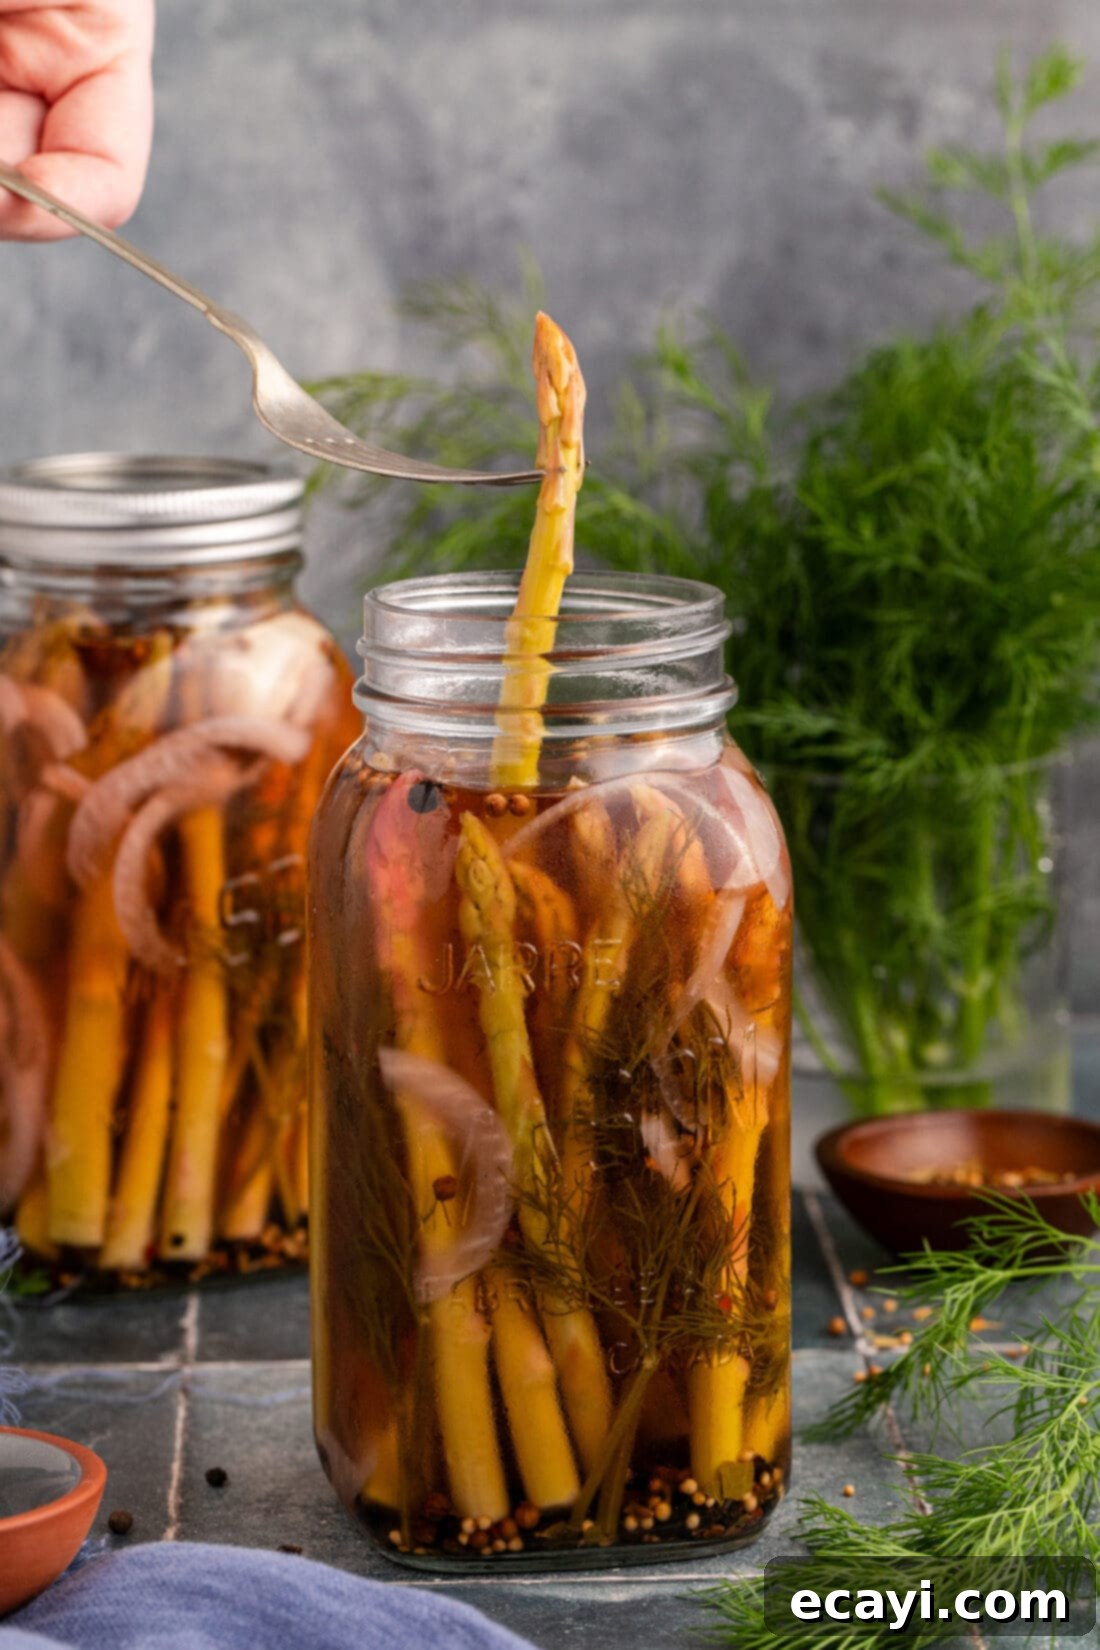
Creative Ways to Serve Your Pickled Asparagus
Once your quick pickled asparagus has had ample time to develop its tantalizing flavors in the refrigerator, it’s ready to elevate a variety of dishes and snacks. The satisfying crunch and tangy bite make it incredibly versatile. Here are some fantastic serving suggestions:
- Charcuterie Boards: Pickled asparagus is a superstar on any charcuterie or cheese board. Its bright, acidic flavor cuts through rich cheeses and meats, providing a refreshing contrast and a delightful textural element. It pairs wonderfully with cured meats, olives, and crusty bread.
- Cocktail Garnish: Take your cocktails to the next level! These spears are an exceptional garnish for Bloody Marys, adding a savory, briny kick that’s far more interesting than a standard celery stick.
- Salads: Chop the pickled asparagus into smaller pieces and toss them into your favorite green salads for an extra layer of flavor and crunch. They also work well in potato salads, pasta salads, or grain bowls, adding a zesty zing.
- Sandwiches & Wraps: Add whole or sliced pickled asparagus spears to sandwiches, subs, or wraps for a burst of tangy flavor and satisfying texture. They complement everything from turkey and ham to grilled vegetables.
- Side Dish: Serve them as a refreshing side alongside grilled fish, roasted chicken, or any rich main course to brighten the palate.
- Snack: Sometimes, the simplest way is the best! Enjoy them straight from the jar as a healthy, low-calorie, and satisfyingly crunchy snack.
Truly, there’s no single “right” or “wrong” way to enjoy quick pickled asparagus. Its delightful balance of tang, salt, and herbaceous notes makes it a welcome addition to almost any meal where a little zest and crunch are desired.
Explore More Delicious Pickled Recipes
If you’ve enjoyed the ease and flavor of this quick pickled asparagus, you’ll love exploring other simple pickling projects. Expand your repertoire with these additional recipes:
- Pickled Eggs
- Pickled Beets
- Pickled Onions
- Homemade Claussen Pickles
I love to bake and cook and share my kitchen experience with all of you! Remembering to come back each day can be tough, that’s why I offer a convenient newsletter every time a new recipe posts. Simply subscribe and start receiving your free daily recipes!
Pickled Asparagus
★
★
★
★
IMPORTANT – For additional helpful information, tips, and answers to common questions, please refer to the detailed sections within the blog post above!
Print It
Pin It
Rate It
Save ItSaved!
Ingredients
- 2 bundles medium asparagus 650 grams total or close to 1.5 pounds, trimmed to fit jars
- 12 sprigs fresh dill
- 1 small red onion finely sliced (or white onion)
- 8 cloves garlic peeled
- 2 Tablespoons peppercorns
- 2 teaspoons pickling spices
- 2 ¾ cup distilled white vinegar (can substitute with apple cider vinegar for a sweeter brine)
- 2 ¾ cup water
- 1 Tablespoon granulated sugar (to balance acidity)
- 2 teaspoons sea salt (or pickling salt)
Things You’ll Need
-
2 16 ounce mason jars
-
Saucepan
Instructions
-
Wash and trim the asparagus spears to fit vertically into two 16-ounce mason jars. Divide the trimmed asparagus equally between the two jars.
-
Into each of the two jars, evenly distribute the fresh dill sprigs, sliced red onion, garlic cloves, peppercorns, and pickling spices.
-
In a small saucepan, combine the vinegar, water, sugar, and sea salt. Bring the mixture to a boil over high heat, stirring until the sugar and salt are fully dissolved. Carefully pour the hot brine evenly into each jar, ensuring the asparagus is completely covered.
Tip: If the brine level is too low, boil a bit more water and top up the jars to ensure full coverage.
-
Carefully place lids on the jars to seal them. Flip the jars upside-down to cool at room temperature. Once cooled completely, place the jars in the refrigerator. For the best flavor development, allow them to sit for 3-5 days, though they can be enjoyed after overnight chilling.
-
Once opened, consume the pickled asparagus within 2 weeks for optimal freshness and taste.
Important Notes & Storage
- The provided nutrition facts are approximate and may vary based on the specific quantities and brands of products used. Always calculate for precise dietary needs.
- Since this is a quick pickled (refrigerator) recipe and not traditional canning, the asparagus must be stored in an air-tight jar in the refrigerator for up to 2 weeks.
- For spicy pickled asparagus, consider adding a pinch of red pepper flakes to each jar along with the other spices.
Nutrition Information
The recipes on this blog are tested with a conventional gas oven and gas stovetop. It’s important to note that some ovens, especially as they age, can cook and bake inconsistently. Using an inexpensive oven thermometer can assure you that your oven is truly heating to the proper temperature. If you use a toaster oven or countertop oven, please keep in mind that they may not distribute heat the same as a conventional full sized oven and you may need to adjust your cooking/baking times. In the case of recipes made with a pressure cooker, air fryer, slow cooker, or other appliance, a link to the appliances we use is listed within each respective recipe. For baking recipes where measurements are given by weight, please note that results may not be the same if cups are used instead, and we can’t guarantee success with that method.
