Ultimate Dutch Oven Braised Beef: A Rich Red Wine Recipe for Melt-in-Your-Mouth Tenderness
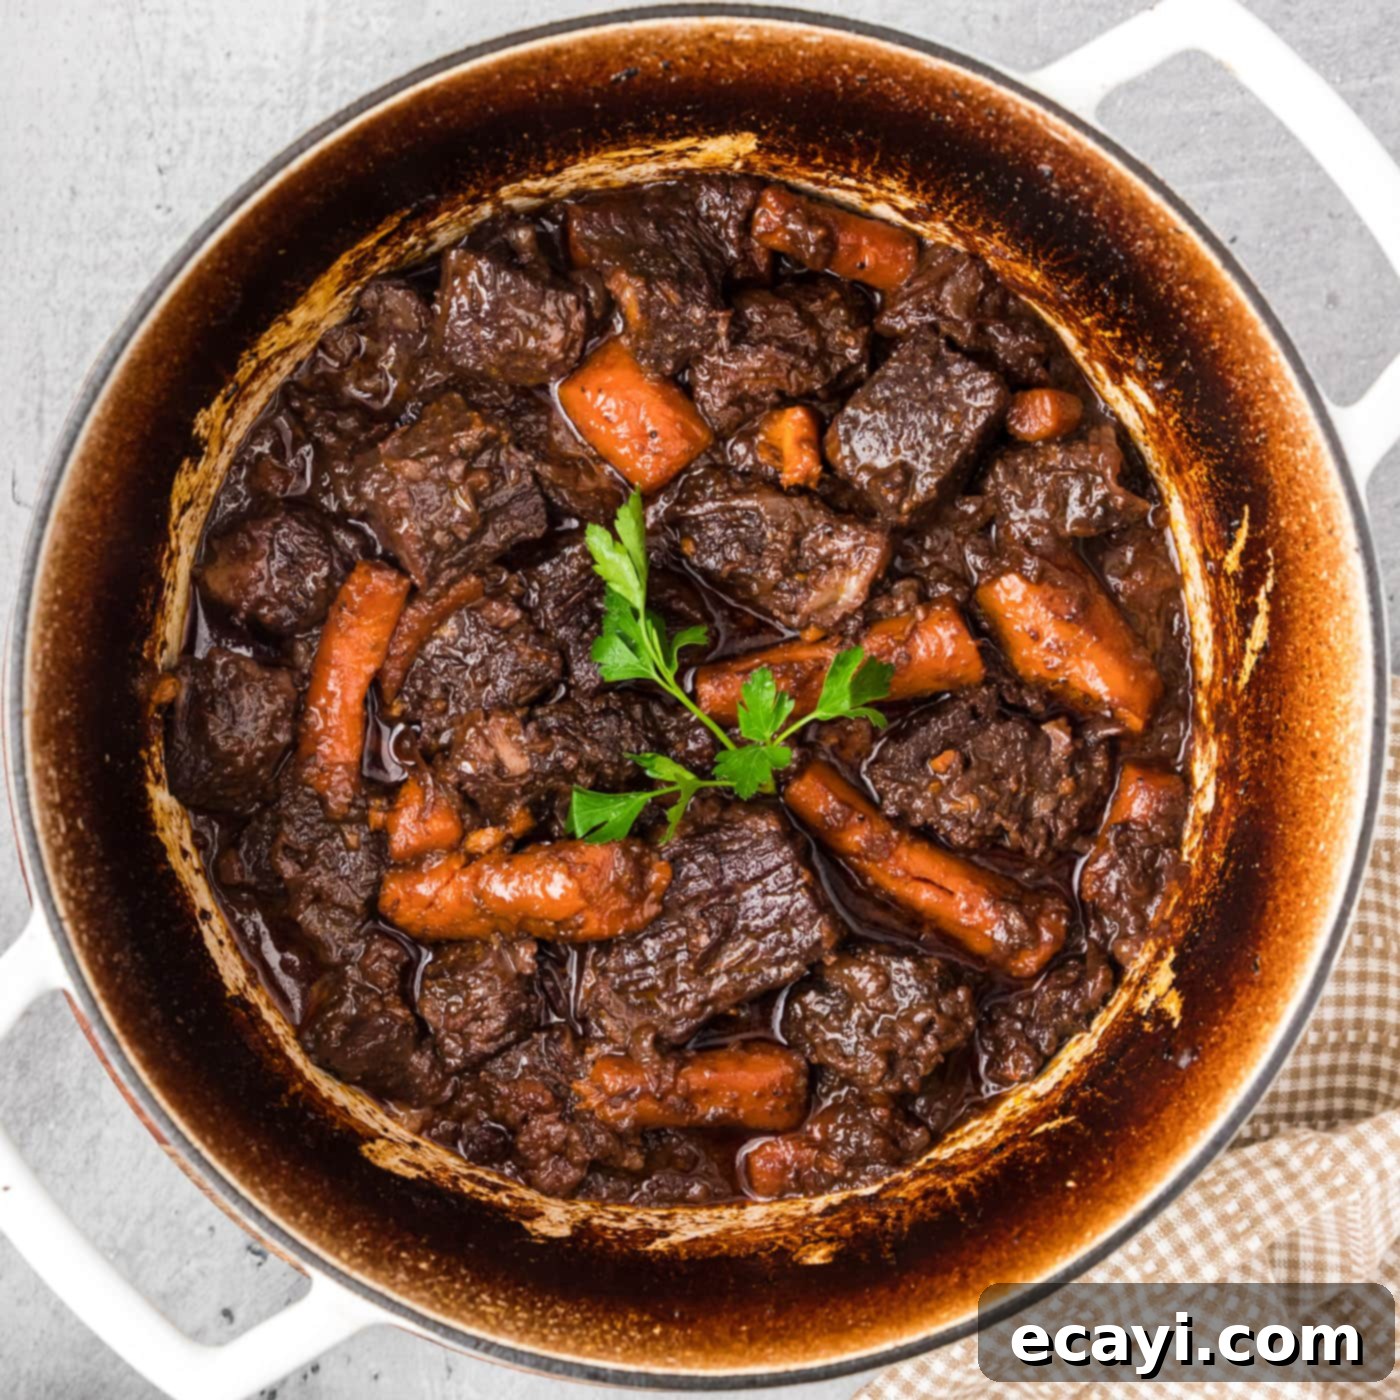
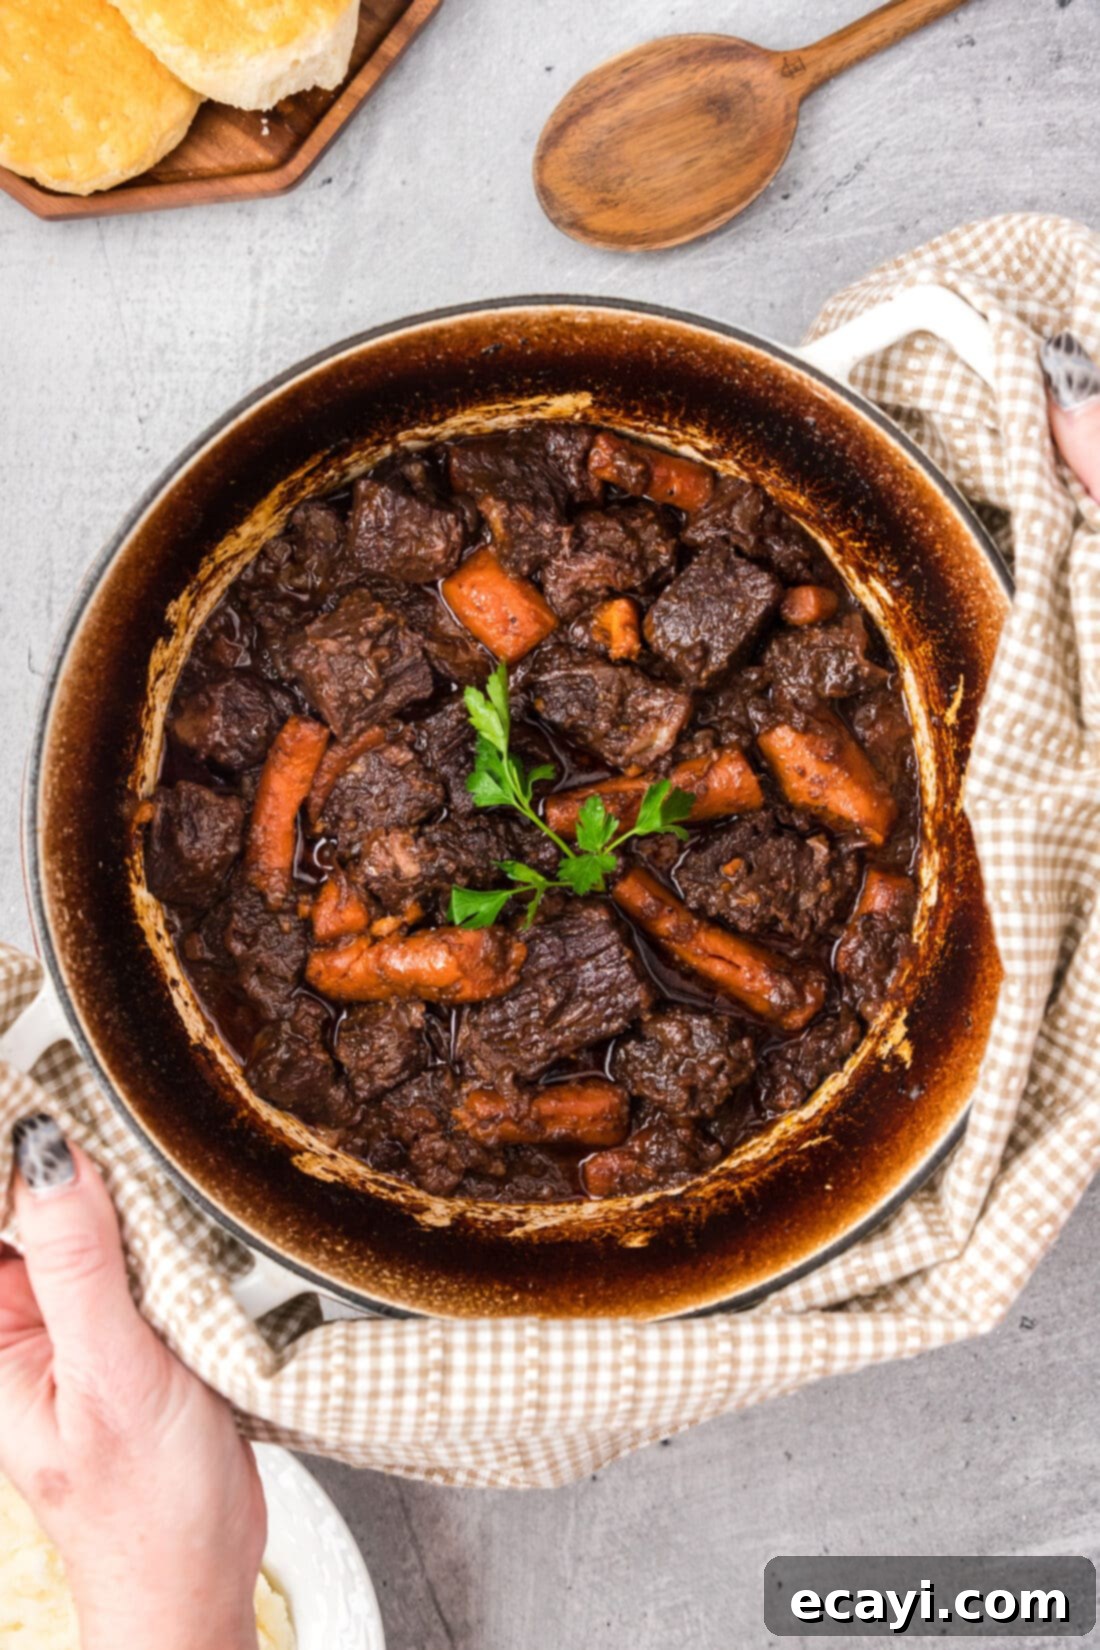
This braised beef recipe takes comfort food to an exquisite level. Imagine incredibly tender beef, slowly roasted in a sturdy Dutch oven, alongside succulent, fork-tender vegetables, all bathed in a deeply flavorful red wine sauce. The result is a culinary masterpiece, where every bite of beef melts in your mouth, infused with a symphony of rich, aromatic flavors. Perfect for a cozy family dinner or an impressive meal for guests, this dish is more than just food; it’s an experience that promises to delight your senses.
Why This Braised Beef Recipe Works So Well
This recipe is celebrated for a multitude of reasons, making it a staple for anyone seeking a hearty and elegant meal. The magic truly begins with a careful selection of ingredients: tender carrots, pungent garlic, sweet onions, and a thoughtfully curated blend of seasonings. These foundational aromatics are perfectly paired with a well-marbled chuck roast, which, when slowly cooked, transforms into unbelievably succulent meat. The braising liquid, a harmonious blend of savory chicken stock and robust dry red wine, creates a sauce that is rich, complex, and utterly irresistible. This isn’t just a meal; it’s a testament to the power of slow cooking, allowing flavors to meld and deepen over time.
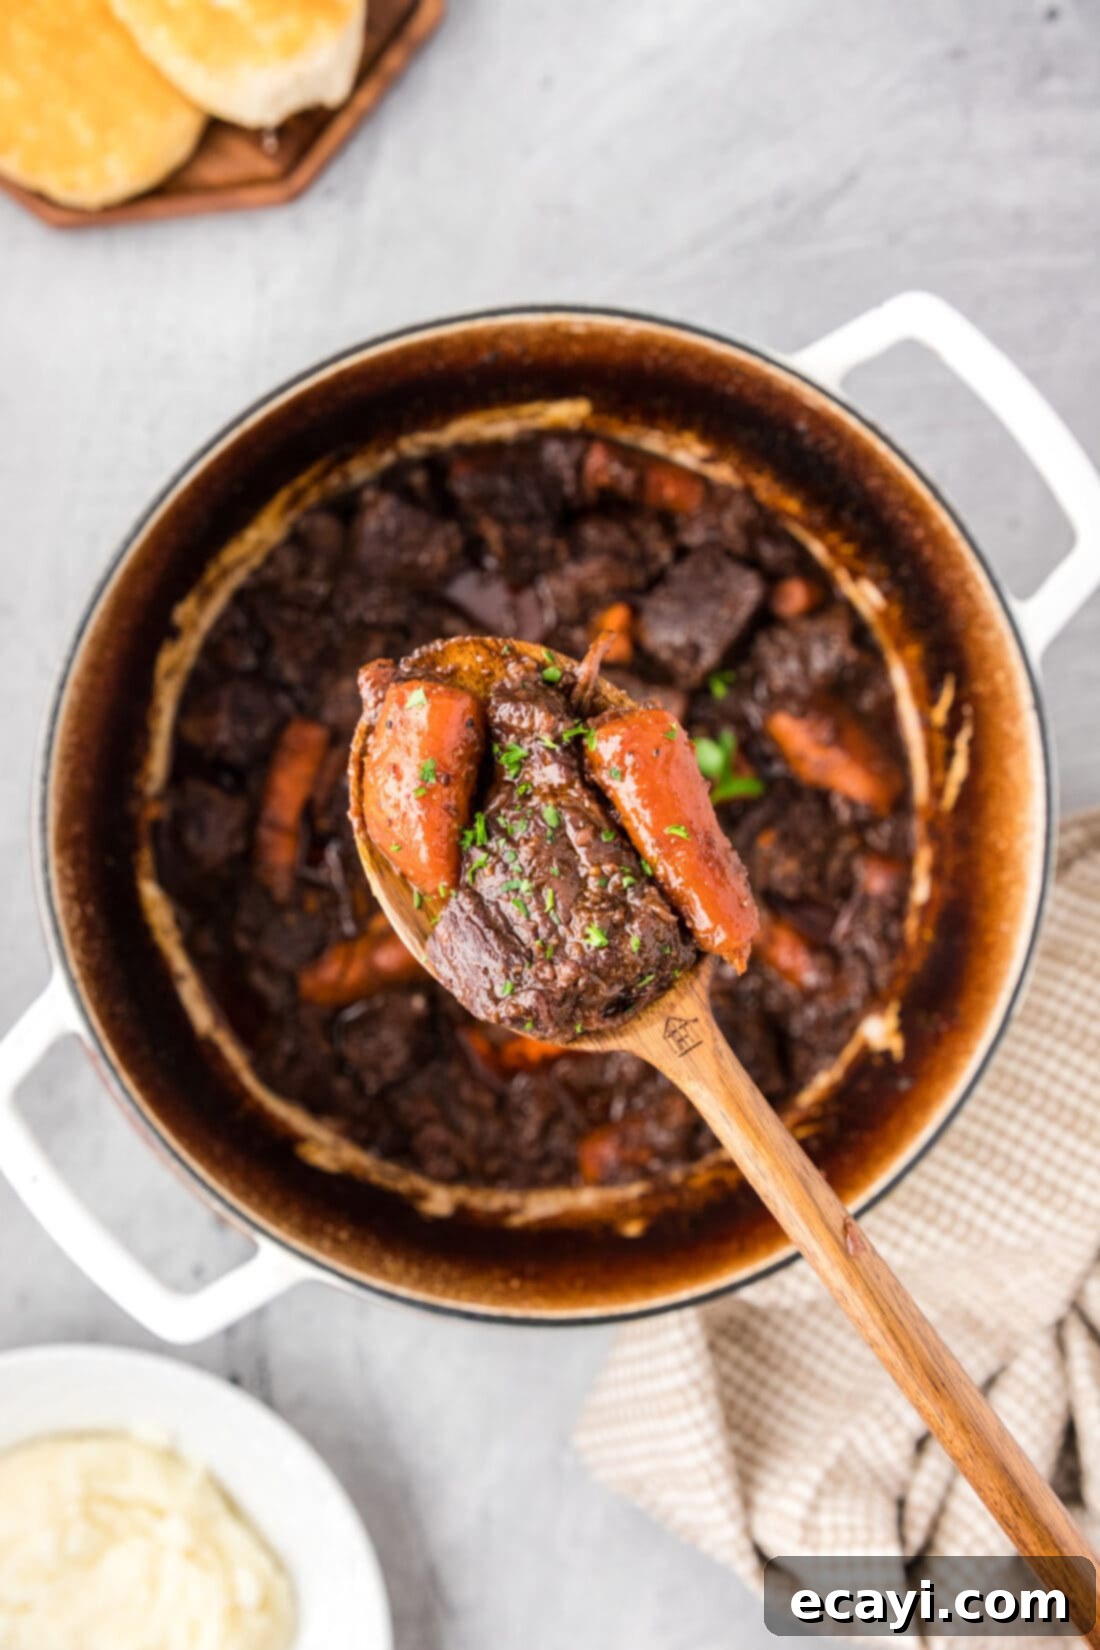
While classic pot roast holds a special place in our hearts, braised beef, particularly this rendition, significantly elevates the experience. It offers a more refined flavor profile and a luxurious texture that sets it apart. The red wine adds an unparalleled depth, a beautiful color, and a subtle acidity that brightens the entire dish, creating layers of flavor that a simple pot roast might not achieve. The Dutch oven plays a crucial role here, providing consistent, even heat distribution and a sealed environment that locks in moisture, ensuring the beef remains incredibly juicy and tender. Whether you’re hosting a dinner party, preparing a holiday feast, or simply want to treat your family to an extraordinary meal, this braised beef recipe is consistently praised for its exceptional results, delivering tender, juicy beef and a sophisticated sauce that begs to be savored.
Key Ingredients You Will Need
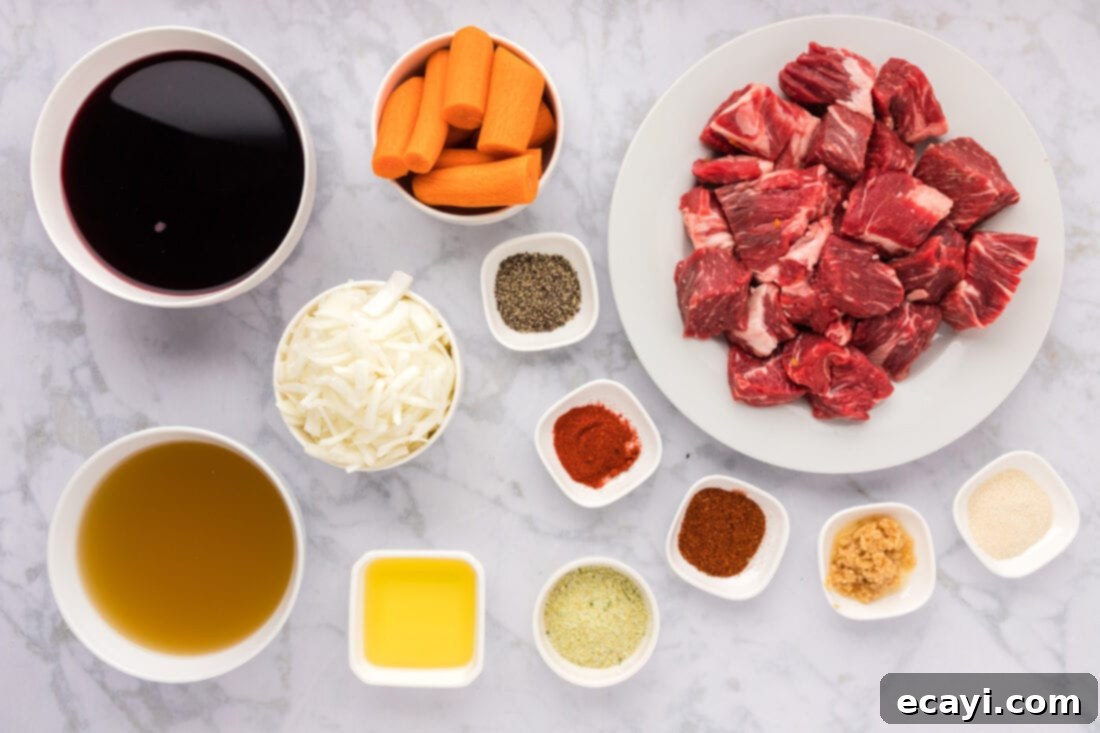
To embark on this culinary journey, gather your ingredients. Using fresh, high-quality components will significantly enhance the final taste and texture of your braised beef. You can find all specific measurements, a complete list of ingredients, and detailed instructions in the printable recipe card located at the very end of this post.
Ingredient Information & Substitution Suggestions
Achieving culinary excellence starts with understanding your ingredients and their purpose. Here’s a deeper look into what you’ll need and how to make the most of each component, along with helpful substitution ideas.
BEEF – The star of this dish is a well-marbled chuck roast. This particular cut is ideal for braising because it contains a good amount of connective tissue and intramuscular fat (marbling). During the long, slow cooking process in moist heat, this connective tissue breaks down into gelatin, resulting in that coveted fork-tender, melt-in-your-mouth texture. When selecting your chuck roast, look for one with visible streaks of white fat throughout, as this contributes significantly to both flavor and moisture. Other suitable cuts for braising include beef short ribs or brisket, though a chuck roast remains our top recommendation for its balanced fat content and robust flavor profile when cooked this way.
WINE – A dry red wine is essential for the rich, complex flavor of this braised beef. The wine adds depth, acidity, and a beautiful color to the sauce, while also aiding in deglazing the pan. Don’t worry about the alcohol content; it cooks out almost entirely during the braising process, leaving behind only its delicious essence and flavor compounds. Excellent choices for a dry red include Cabernet Sauvignon, Merlot, Pinot Noir, or a dry Chianti. Always choose a wine you would enjoy drinking on its own. If you prefer to omit alcohol, simply substitute with an equal amount of additional chicken stock, or even beef broth for an even deeper, more savory liquid base.
VEGETABLES – Carrots, garlic, and onion form the classic aromatic base, often referred to as a mirepoix, which builds the fundamental savory and slightly sweet flavor profile of the sauce. For optimal flavor and texture, ensure your onions are chopped evenly and your carrots are cut into substantial 2-inch pieces so they retain some integrity and don’t disintegrate entirely during the long cooking time. Feel free to enhance your braise with other root vegetables such as celery or parsnips, which can be added alongside the carrots, or even small potatoes, which can be added during the last hour of cooking.
SEASONINGS – This recipe uses a balanced blend of garlic salt, black pepper, chili powder, onion powder, and smoked paprika. Each spice plays a vital role in creating a rich, layered flavor. Garlic salt provides a convenient combination of garlic and sodium, enhancing the overall savory profile of the beef. Black pepper adds a subtle, pungent kick. Chili powder contributes warmth and a hint of earthy spice, while onion powder amplifies the natural sweetness of the onions already in the dish. Smoked paprika is particularly key, lending a beautiful rustic color and a depth of smoky flavor that truly rounds out the entire dish. For an even more aromatic experience, consider adding fresh herbs like sprigs of rosemary and thyme to the Dutch oven along with the liquids; their essences will infuse beautifully into the sauce as it braises.
How to Make Braised Beef (Step-by-Step Guide)
These step-by-step photos and instructions are here to help you visualize how to make this recipe. You can Jump to Recipe to get the printable version of this recipe, complete with measurements and instructions at the bottom.
- Preheat Oven: Begin by preheating your oven to 360°F (180°C). This ensures that once your Dutch oven goes in, it starts cooking immediately and consistently, which is crucial for even and effective braising.
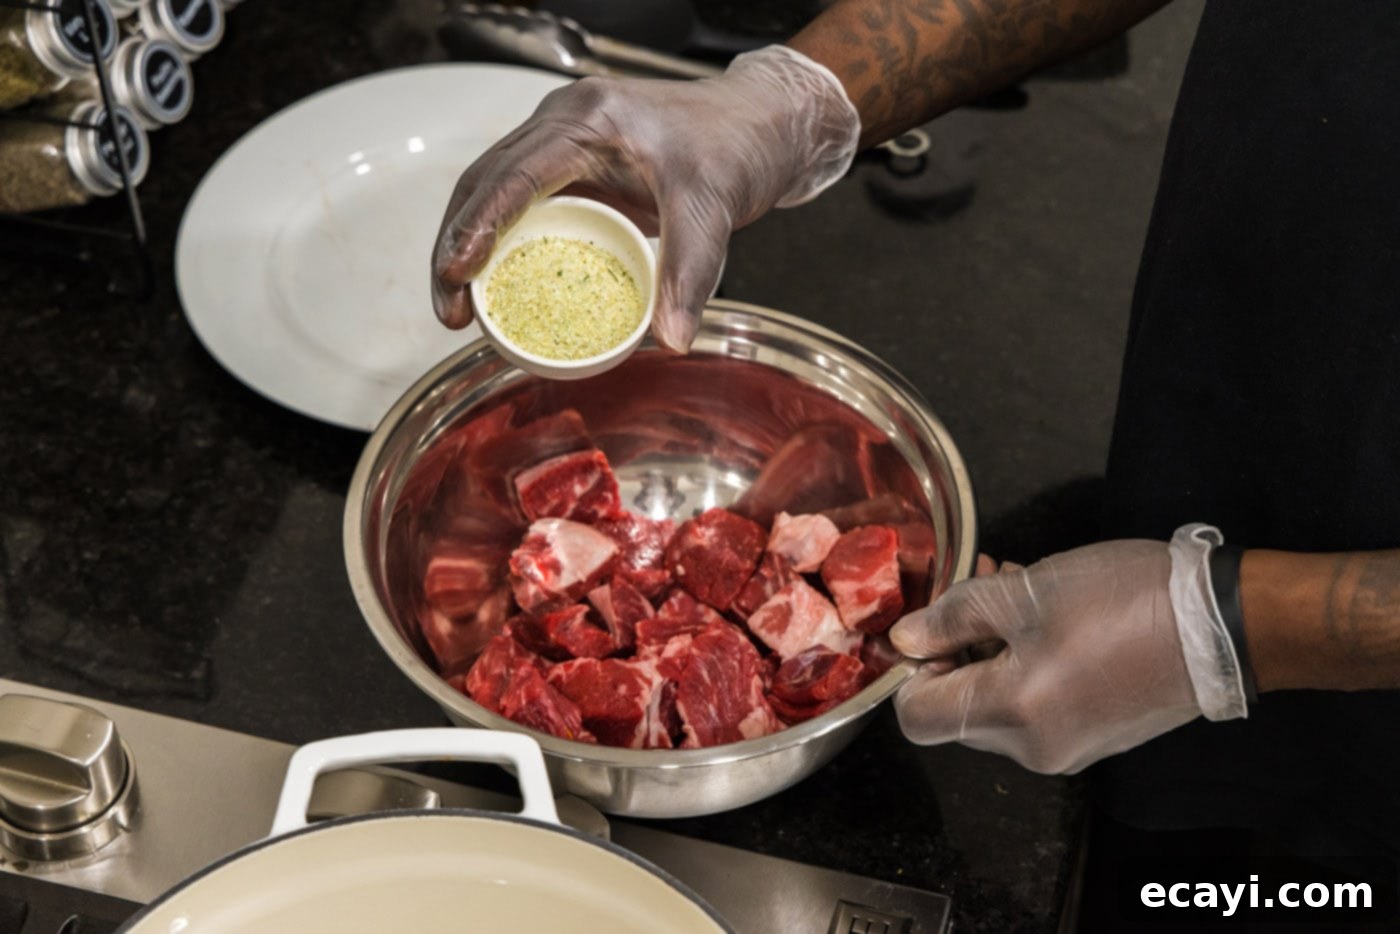
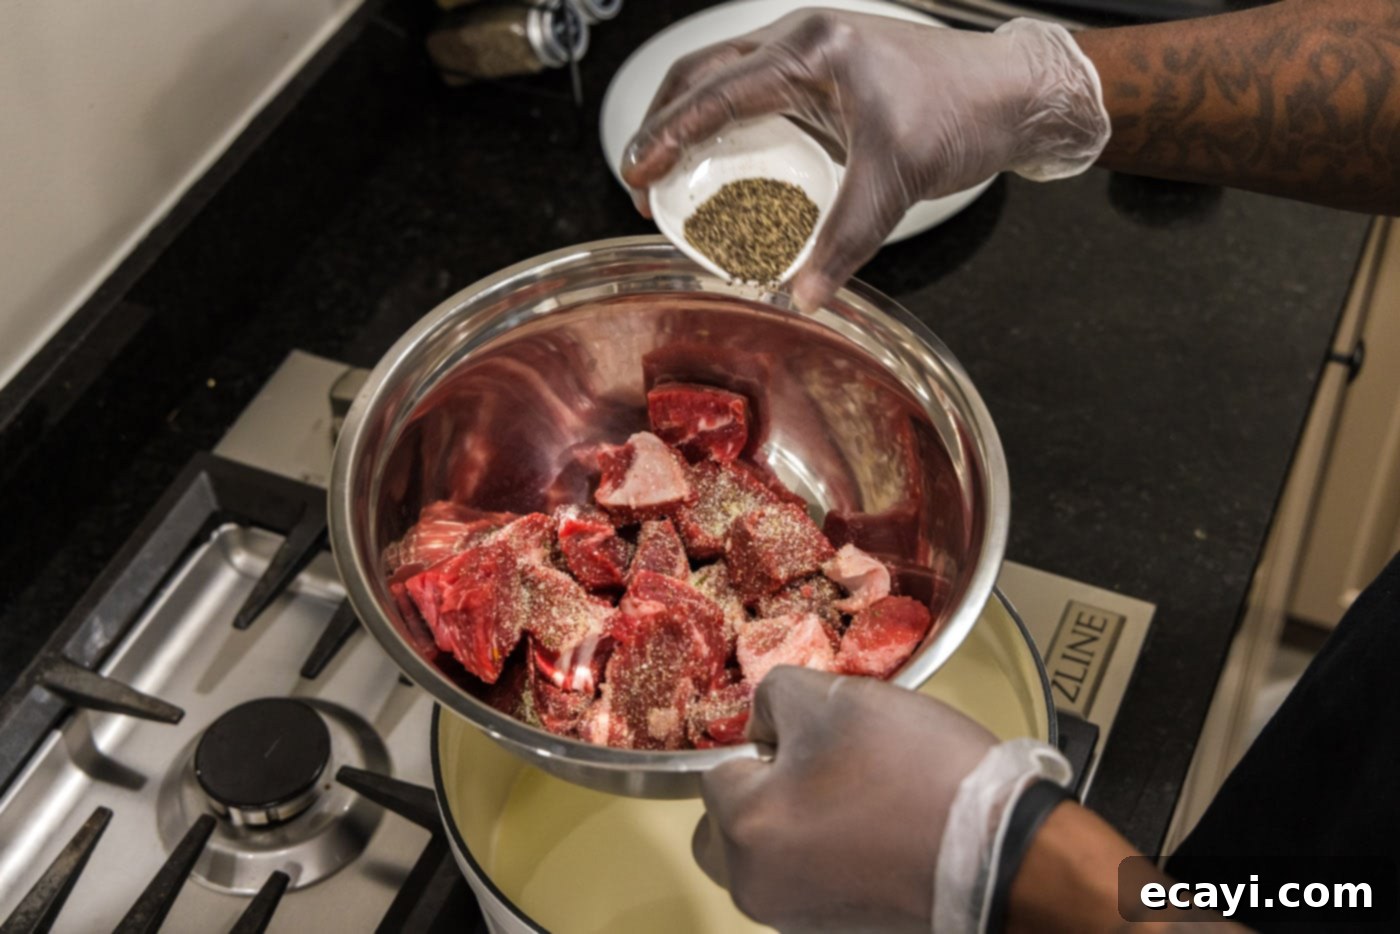
- Season the Beef: Pat your cubed beef chuck roast thoroughly dry with paper towels. This crucial step helps achieve a superior sear. Season the beef generously with 1 tablespoon of the garlic salt (remember to reserve the remaining garlic salt for later) and all of the black pepper. Ensure all sides of the beef cubes are well-coated for maximum flavor development during the searing process.


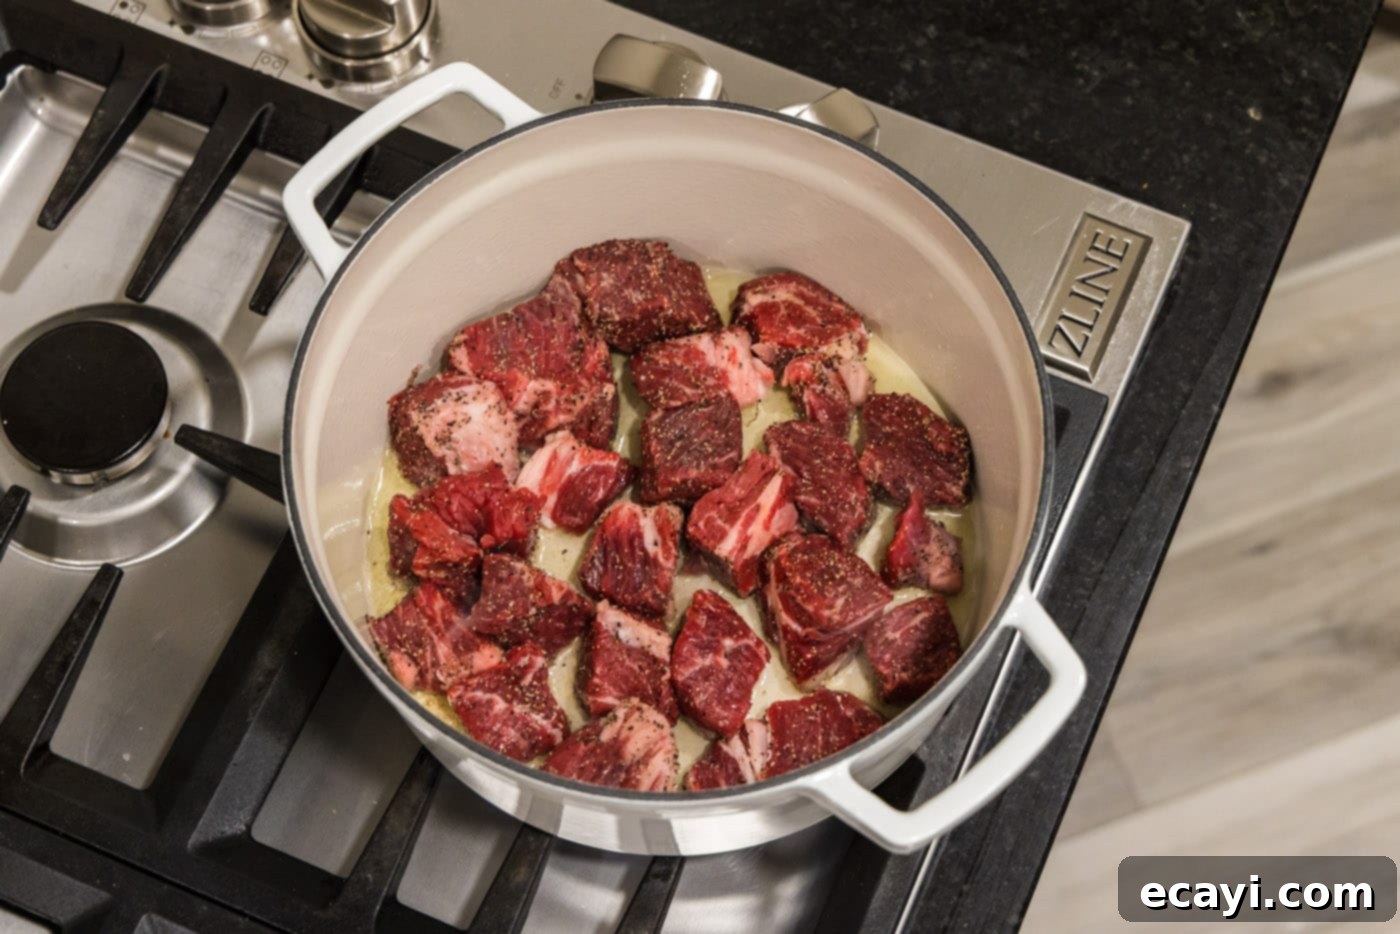
- Heat Oil in Dutch Oven: Place your Dutch oven over medium-high heat and add the olive oil. Allow the oil to get hot but not smoking. A good test is to add a small piece of beef; if it sizzles immediately upon contact, the oil is at the right temperature and ready for searing.
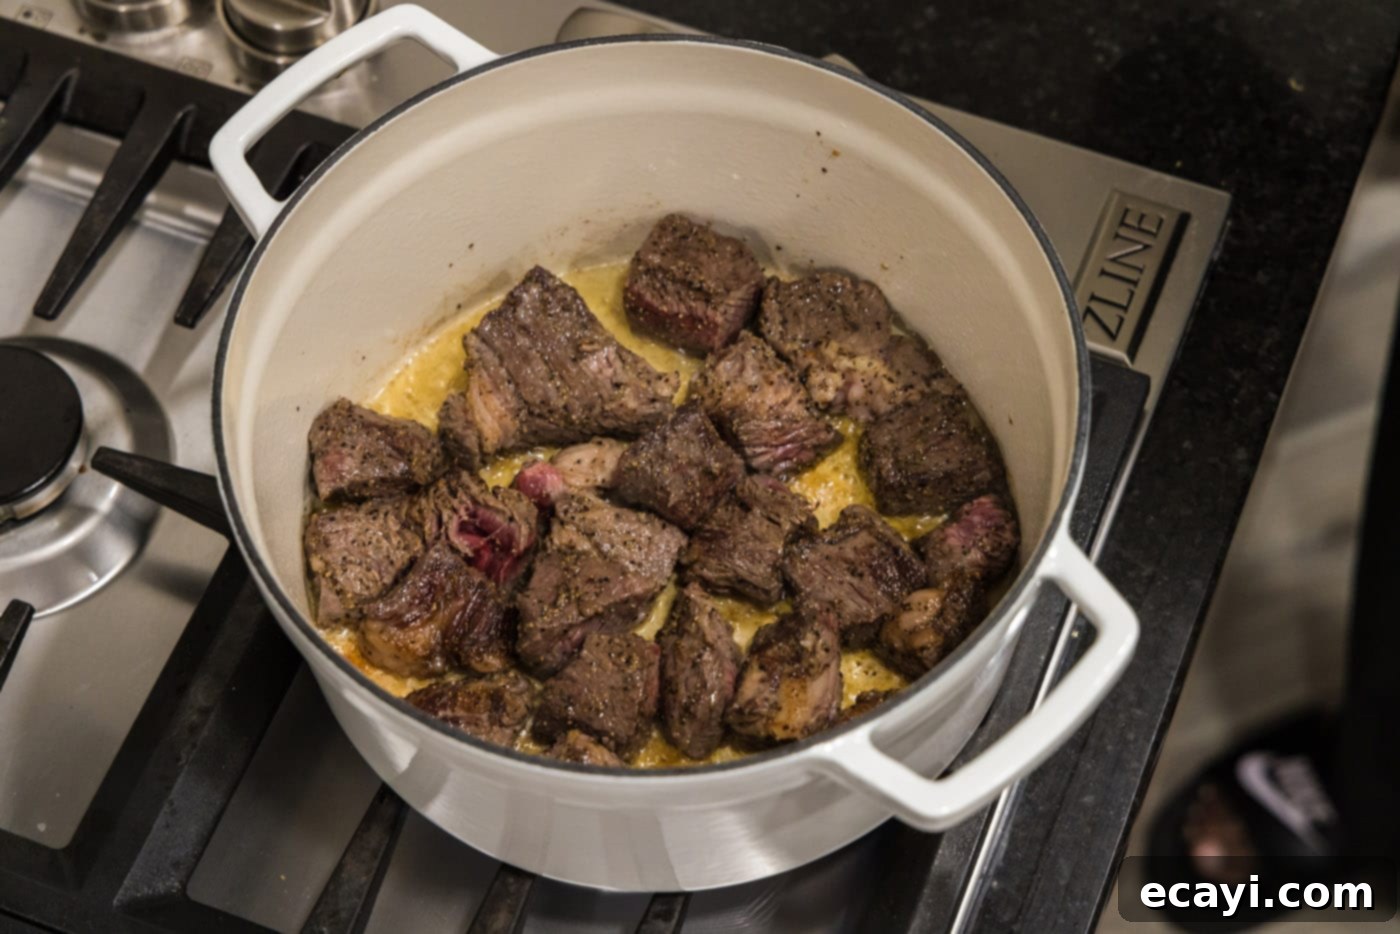
- Sear the Beef: Carefully add the seasoned beef cubes to the hot oil in batches if necessary, ensuring not to overcrowd the pot. Searing is a critical step; it caramelizes the exterior of the beef, creating a rich brown crust through the Maillard reaction, which locks in juices and develops deep savory flavors that will form the backbone of your sauce. Sear on all sides until beautifully browned and crusty.


- Remove Beef: Once thoroughly seared, remove the beef from the Dutch oven and set it aside on a plate. Leave any rendered fat and particularly the browned bits (fond) stuck to the bottom of the pot – these are concentrated flavor gold that will enrich your sauce.
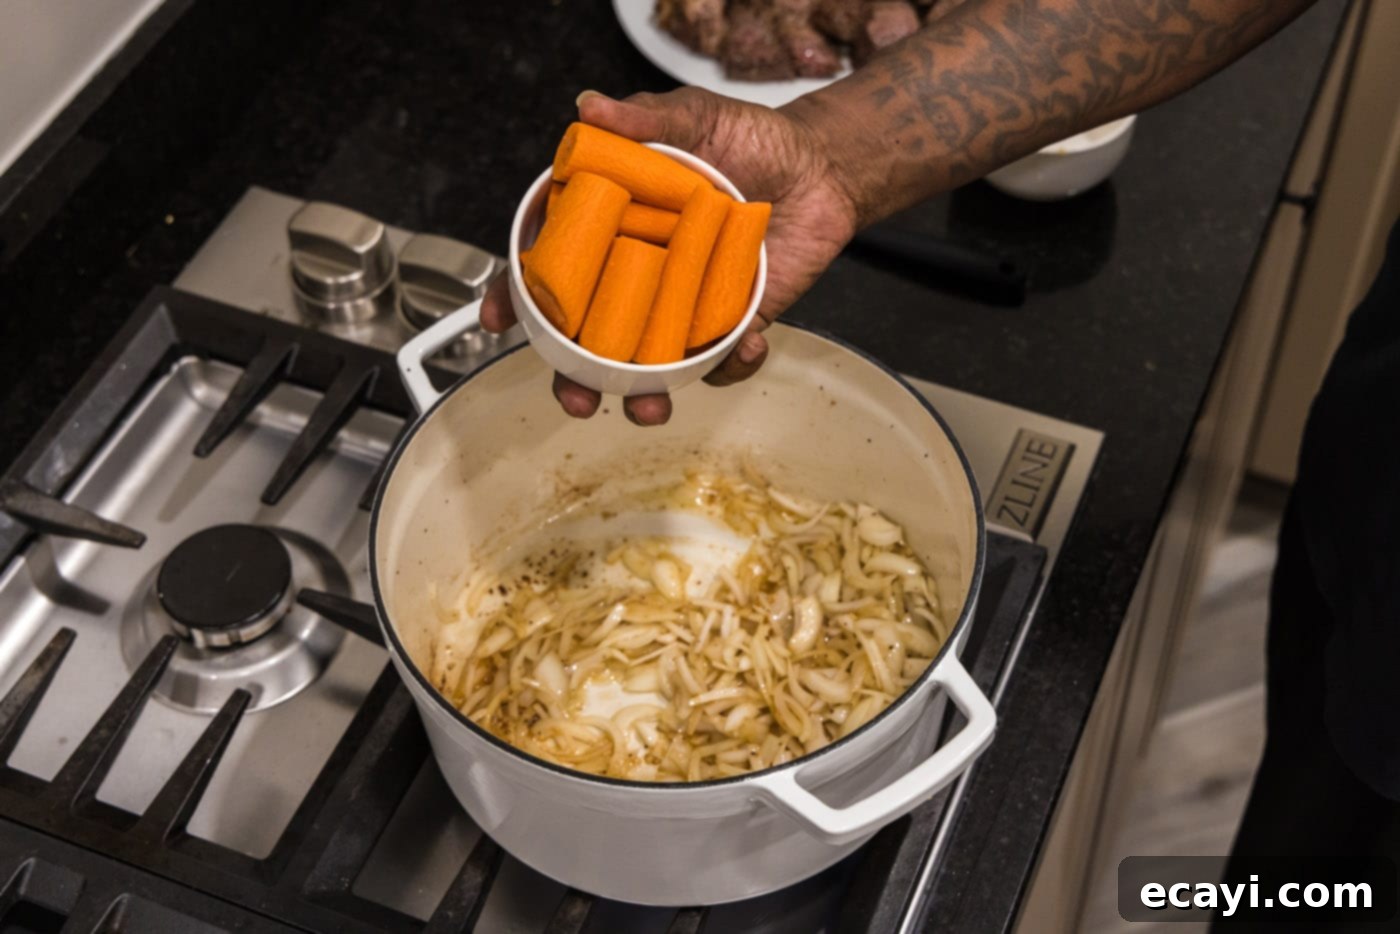
- Sauté Aromatics: To the same hot oil and fond in the Dutch oven, add the minced garlic, chopped onion, and carrots. Cook these vegetables over medium heat, stirring occasionally, until the onions become soft and translucent, typically about 5-7 minutes. This step softens the vegetables and allows their natural sweetness to develop, forming the base of your sauce.

- Add Dry Spices: Stir in the chili powder and onion powder. Cook for another minute, stirring constantly, to lightly toast the spices. This crucial step helps to release their aromatic compounds, intensifying their flavor before the liquids are added and integrated into the dish.
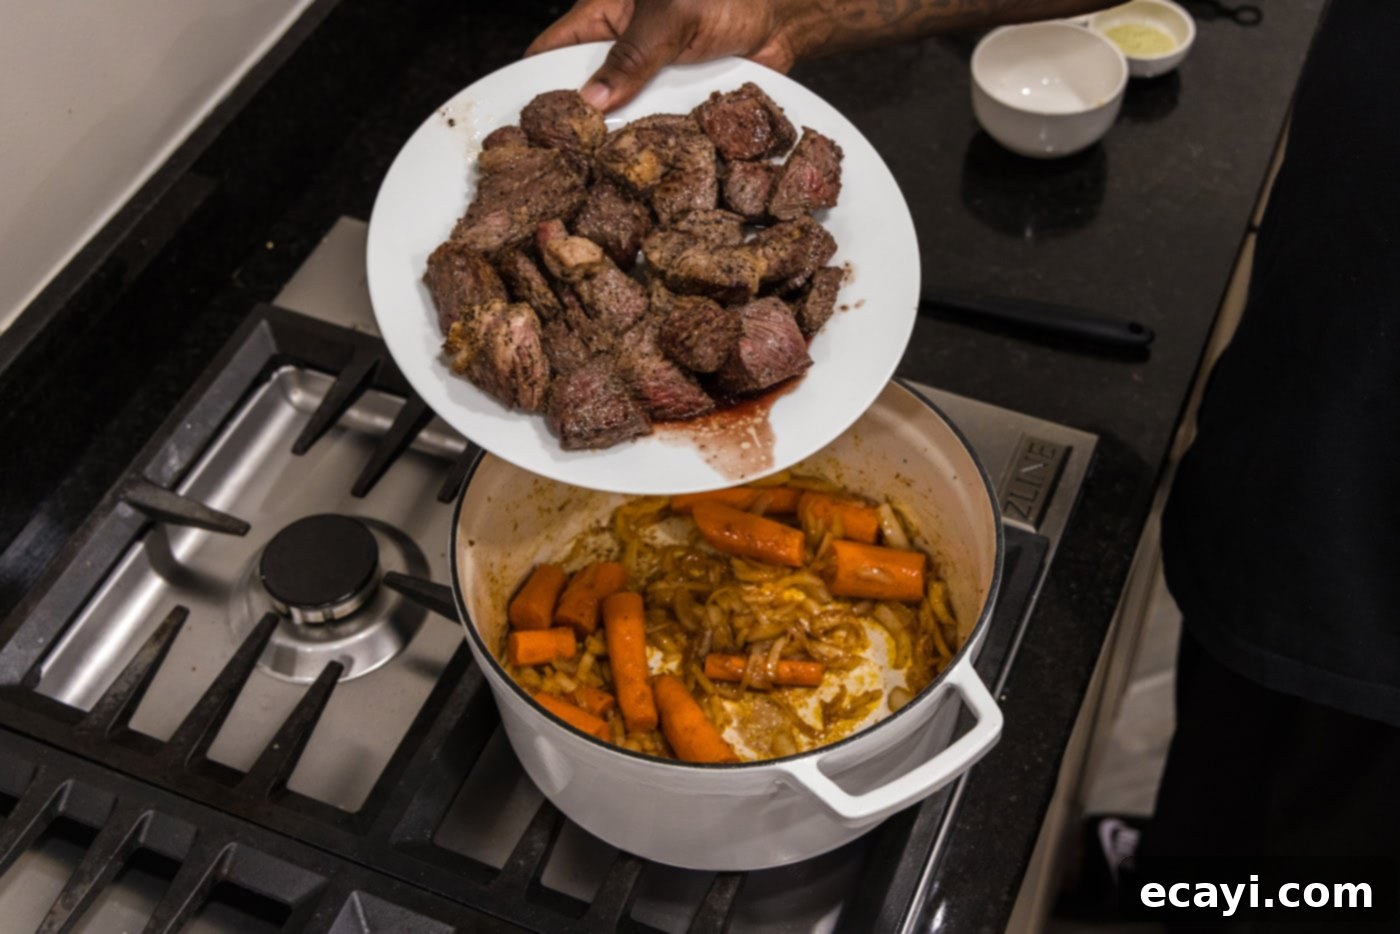
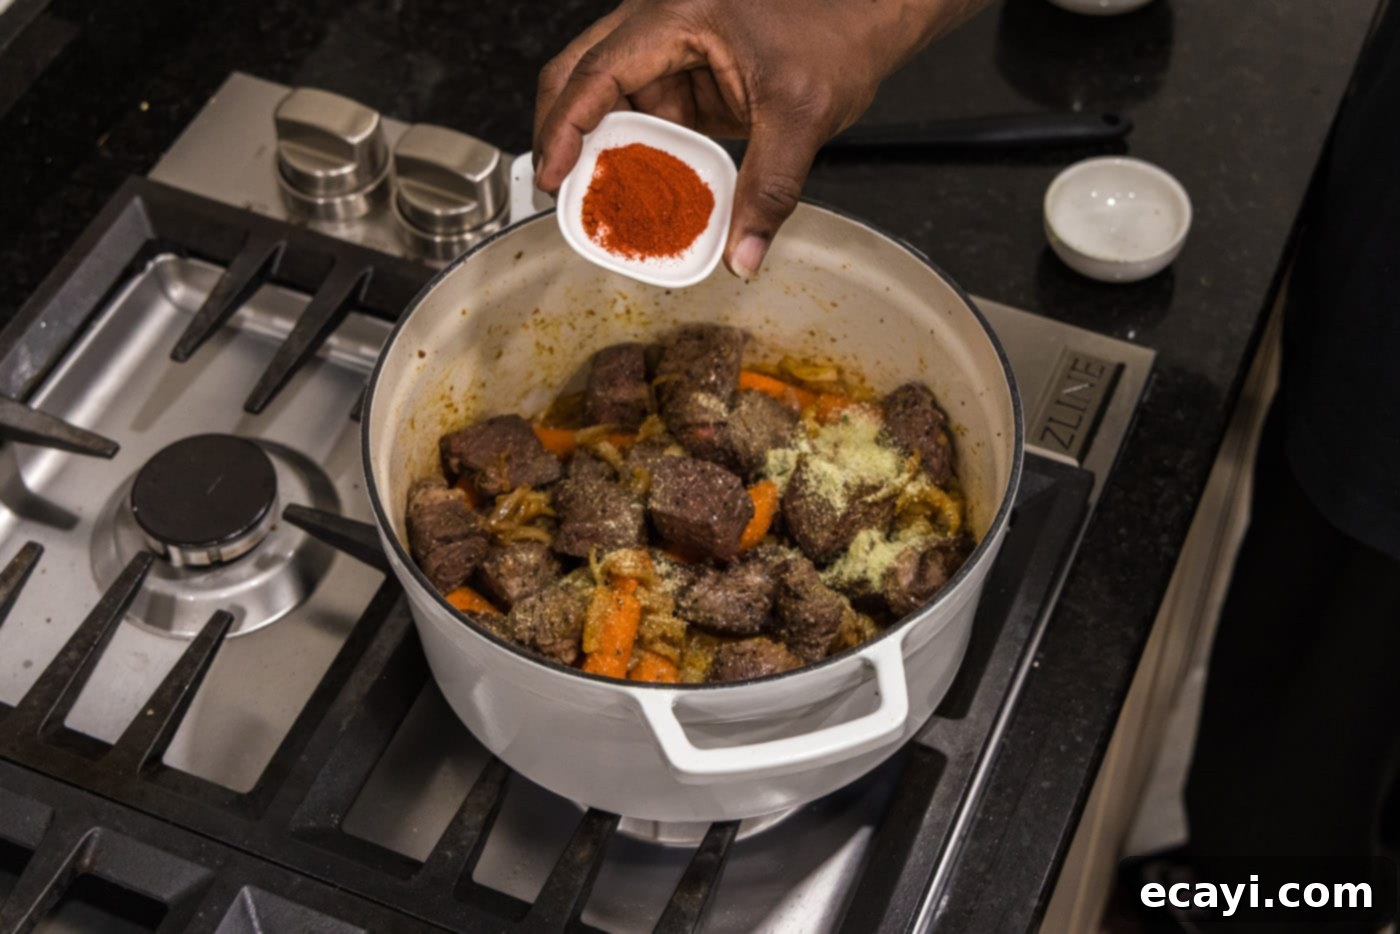
- Return Beef and Add Remaining Seasoning: Return the seared beef to the Dutch oven with the softened vegetables and toasted spices. Sprinkle in the remaining garlic salt and the smoked paprika. Stir everything gently to ensure the beef and vegetables are well-coated with the spices, building layers of flavor.


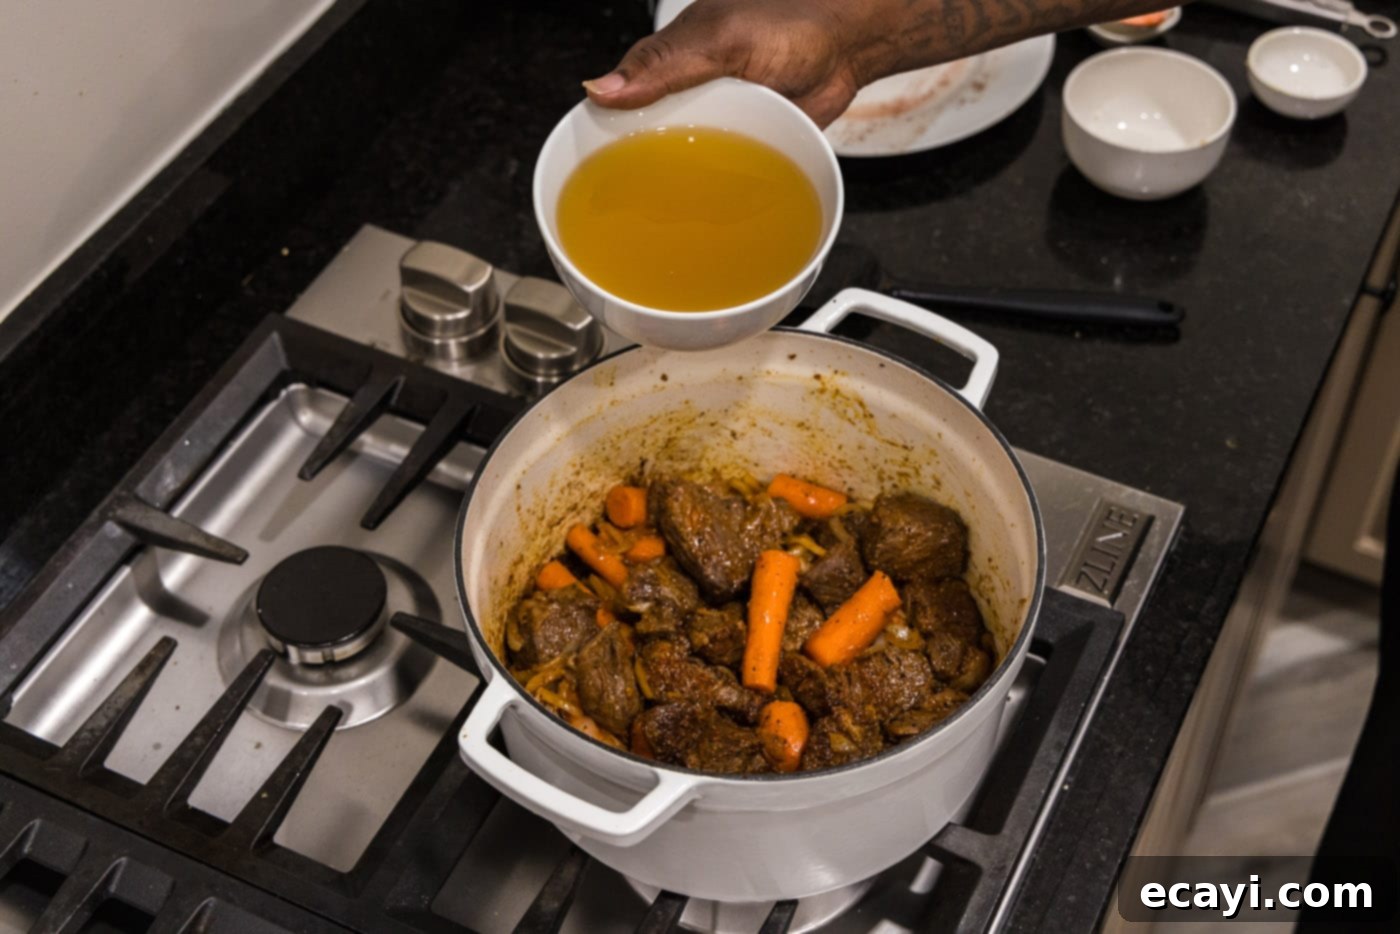
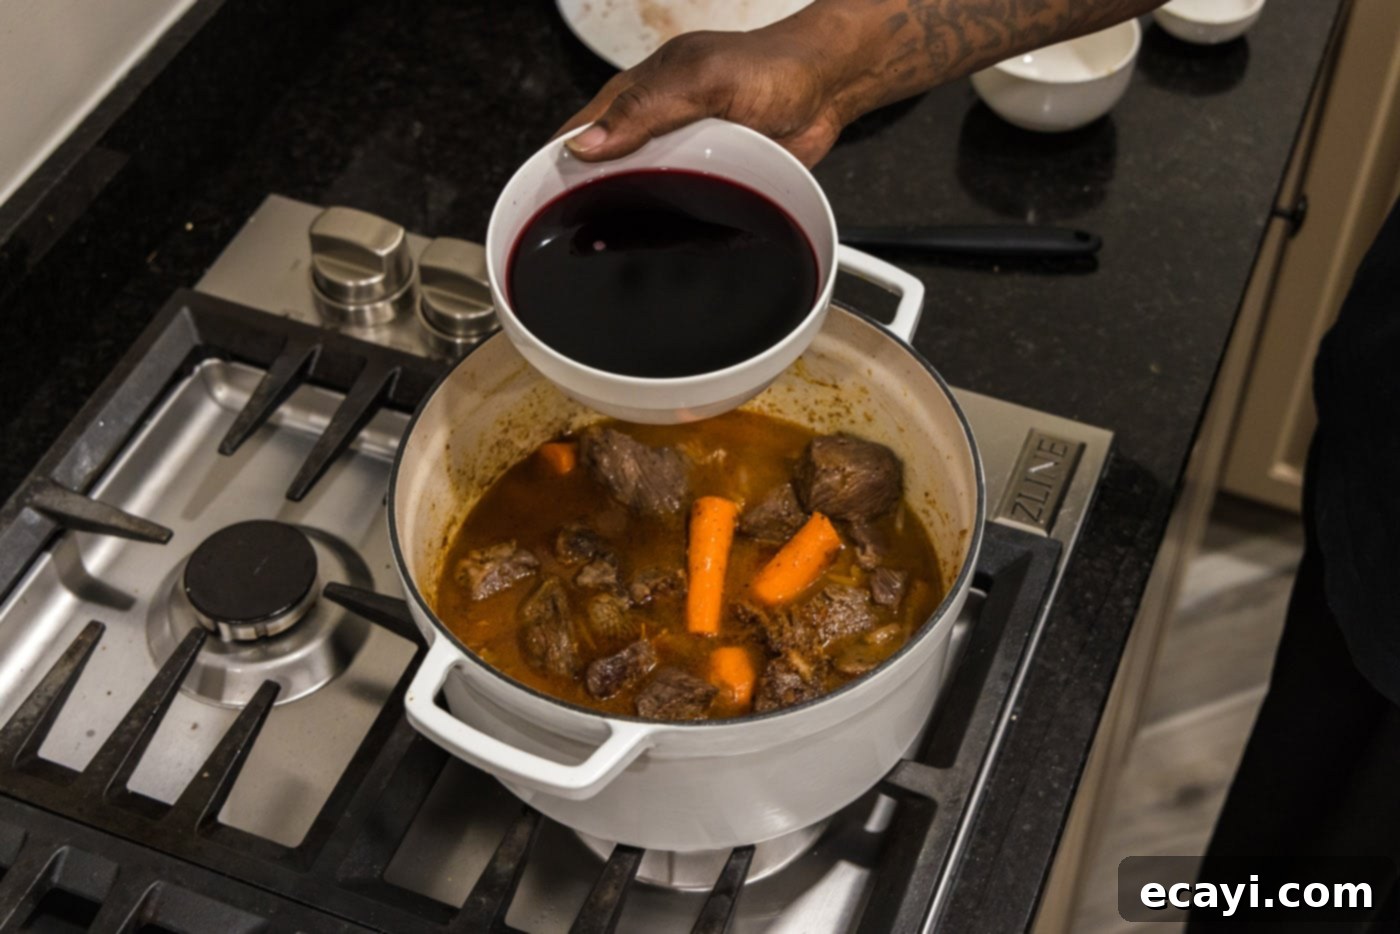
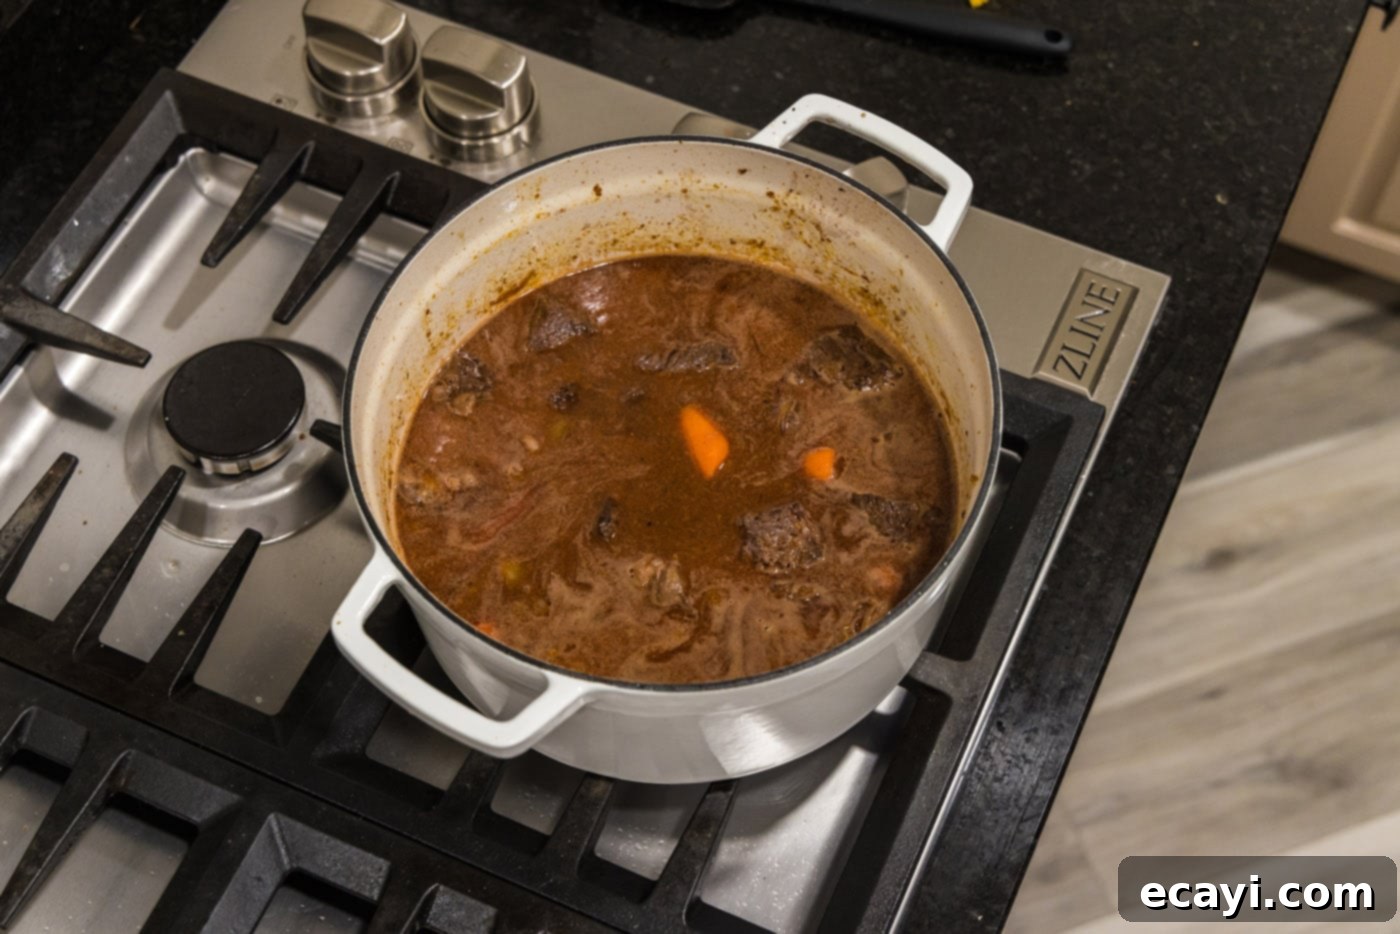
- Deglaze with Liquids: Pour in the chicken stock and dry red wine. Stir well, making sure to scrape the bottom of the Dutch oven with a wooden spoon to release any browned bits (fond) that might be stuck. This “deglazing” step is incredibly crucial for incorporating all those caramelized, savory flavors from the searing and sautéing into the sauce. Bring the mixture to a gentle boil, then immediately turn off the heat.


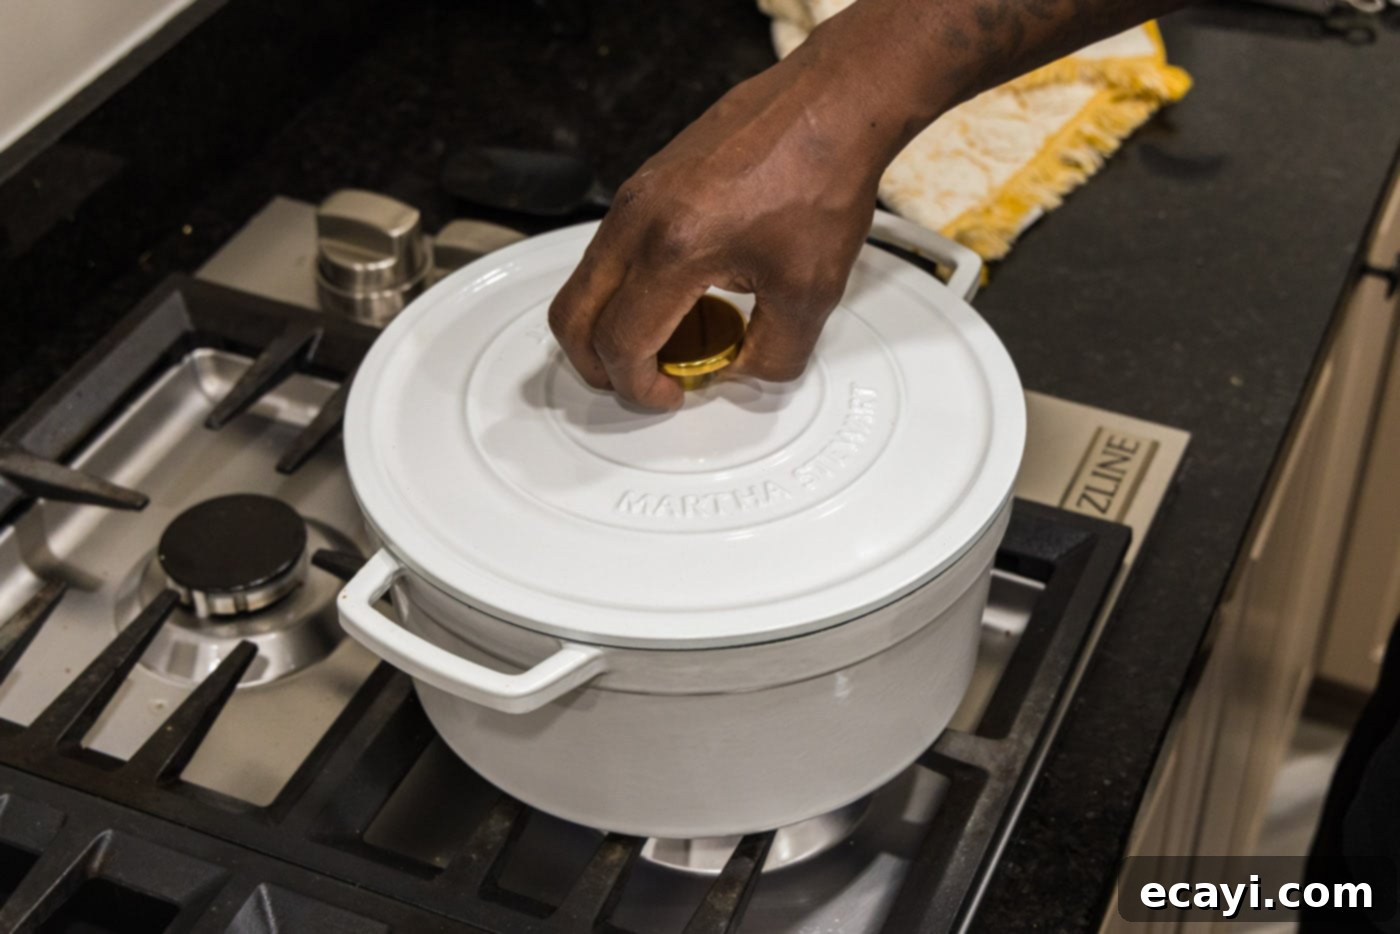
- Braise in Oven: Securely place the lid on your Dutch oven. Transfer the covered pot to the preheated oven. Cook, covered, for 2 hours. This slow, moist heat is precisely what breaks down the tough muscle fibers and collagen in the chuck roast, making it incredibly tender and infused with all the rich flavors of the sauce. After 2 hours, check the beef for tenderness; it should be easily shredded with a fork. If not, continue cooking for another 30-60 minutes, checking periodically until it reaches your desired tenderness.

Frequently Asked Questions & Expert Tips
Storing your delicious braised beef properly ensures its flavor and safety. Once cooled to room temperature, transfer the leftovers, including all the rich sauce and vegetables, into an air-tight container. It can be safely kept in the refrigerator for up to 4 days. To reheat, gently warm it on the stovetop over low heat, stirring occasionally, until heated through. For quicker reheating, the microwave can be used, but ensure even heating to maintain texture and avoid drying out the beef.
Absolutely! Braised beef is one of those magical dishes that often tastes even better the next day, as the flavors have more time to meld and deepen. You can easily prepare and cook the entire braised beef dish a day or even two days in advance. Once cooked, allow it to cool completely before transferring it to an air-tight container and refrigerating. When you’re ready to serve, simply reheat it gently on the stovetop until warmed through. This makes it an excellent option for entertaining, allowing you to enjoy your guests without last-minute cooking stress.
For the most outstanding results in braised beef, a well-marbled chuck roast is our unequivocal recommendation. Chuck roast is not only widely available and budget-friendly, but its inherent toughness and high collagen content make it perfectly suited for the slow, moist cooking method of braising. As it cooks slowly in liquid, the collagen breaks down into gelatin, yielding incredibly tender, juicy, and flavorful beef that effortlessly falls apart with a fork. While other cuts like brisket, short ribs, or even round roast can be braised, chuck roast offers an ideal balance of fat, flavor, and texture for this specific recipe.
Yes, braised beef freezes beautifully! This makes it an excellent meal prep option for busy weeknights or future gatherings. Once completely cooled, transfer the beef and its rich sauce into freezer-safe containers or heavy-duty freezer bags. Make sure to remove as much air as possible to prevent freezer burn. It can be safely stored in the freezer for up to 3-4 months. When ready to enjoy, simply thaw overnight in the refrigerator and then reheat gently on the stovetop or in the oven until piping hot.
If you prefer a thicker sauce, there are a few simple methods you can use after the braising is complete and the beef is tender. After removing the beef from the pot, you can create a slurry by mixing a tablespoon of cornstarch or flour with an equal amount of cold water until smooth. Whisk this mixture into the simmering sauce on the stovetop and cook for a few minutes until it thickens to your desired consistency. Alternatively, you can simply allow the sauce to simmer uncovered for an additional 10-15 minutes, which will naturally reduce and thicken it. The latter method will also intensify the flavors even further.
Given the richness and depth of this braised beef, a robust red wine is an excellent pairing. Consider serving the same type of wine you used in the recipe, such as a Cabernet Sauvignon, Merlot, or a full-bodied Zinfandel. These wines complement the savory beef and rich sauce beautifully, enhancing the overall dining experience. For white wine drinkers, a full-bodied Chardonnay or a dry Riesling could also work, though red is typically preferred for its synergistic flavor profile.
Serving Suggestions for Braised Beef
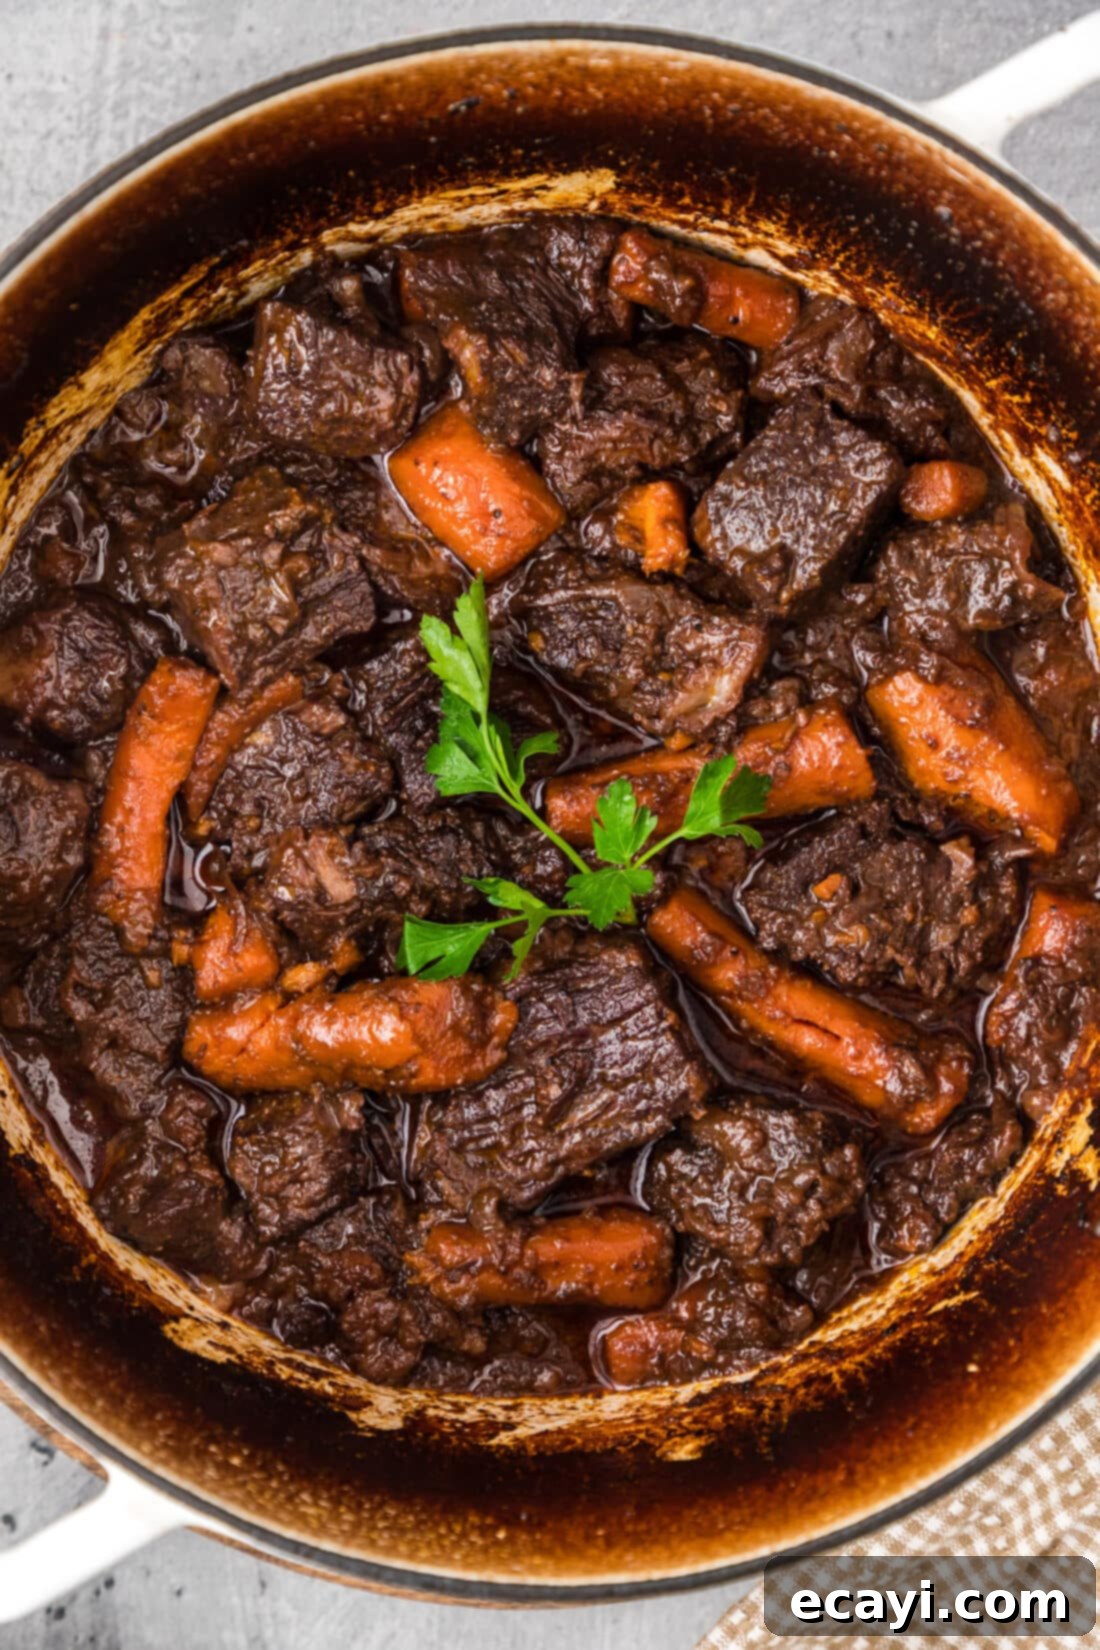
This exquisite braised beef is incredibly versatile and pairs wonderfully with a variety of side dishes that can soak up its magnificent red wine sauce. The classic choice is to spoon it generously over a bed of creamy mashed potatoes or fluffy white rice, allowing every drop of the rich sauce to be savored. Beyond these staples, consider serving it with soft polenta, buttery egg noodles, or even creamy grits for an equally comforting and delightful experience. Don’t forget a side of crusty bread, like a baguette or sourdough, to mop up any remaining sauce – it’s far too good to waste! To complete your meal, a fresh, leafy green salad with a light vinaigrette or some simply steamed green beans or asparagus offer a refreshing and crisp contrast to the richness of the beef.
More Delicious Chuck Roast Recipes to Try
If you’ve fallen in love with the versatility and deliciousness of chuck roast after making this braised beef, you’re in luck! This economical cut of beef is a true workhorse in the kitchen, capable of creating a wide array of comforting and flavorful dishes. Here are some more of our favorite recipes featuring chuck roast that we think you’ll adore:
- Beef Barbacoa
- Homemade Goulash
- Beef Bourguignon
- Mississippi Pot Roast
- Braised Beef Short Ribs
I love to bake and cook and share my kitchen experience with all of you! Remembering to come back each day can be tough, that’s why I offer a convenient newsletter every time a new recipe posts. Simply subscribe and start receiving your free daily recipes!
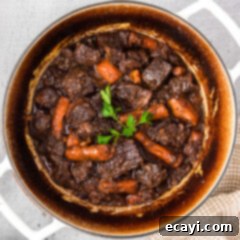
Braised Beef
IMPORTANT – There are often Frequently Asked Questions within the blog post that you may find helpful. Simply scroll back up to read them!
Print It
Pin It
Rate It
Save ItSaved!
Ingredients
- 2 pounds beef chuck roast trimmed and cut into 2-inch cubes
- 2 tablespoons garlic salt divided
- 1 ½ teaspoons black pepper
- 1 tablespoon minced garlic
- 2 cups chopped onion
- 1 cup carrots cut into 2-inch pieces
- 1 teaspoon chili powder
- ½ tablespoon onion powder
- ½ tablespoon smoked paprika
- 2 cups chicken stock
- 2 cups dry red wine
- 3 tablespoons olive oil
Things You’ll Need
-
Dutch oven 6 quart
-
Vinyl gloves
Before You Begin
- To achieve perfectly tender, melt-in-your-mouth beef, we highly recommend using a well-marbled chuck roast. Look for cuts with a nice amount of fat streaks throughout for the best flavor and texture.
- The dry red wine significantly adds to the depth, acidity, and overall rich flavor of the braised beef sauce. Rest assured, the alcohol content cooks out almost entirely during the slow braising process. If you prefer to omit alcohol, simply substitute with an equal amount of extra chicken stock or even beef broth.
- Braised beef often tastes even better the next day, as the flavors have more time to meld and deepen. This makes it an ideal dish for preparing in advance for entertaining or holiday meals.
- Store cooled leftovers, including all the delicious sauce and vegetables, in an air-tight container in the refrigerator for up to 4 days. Reheat gently on the stovetop or in the microwave until thoroughly warm.
- This recipe is also freezer-friendly! Once completely cooled, transfer portions of the beef and sauce into freezer-safe containers or heavy-duty freezer bags. It can be stored in the freezer for up to 3-4 months. Thaw overnight in the refrigerator before reheating.
Instructions
-
Preheat oven to 360°F (180°C).
-
Pat the cubed beef chuck roast dry with paper towels. Season generously with 1 tablespoon of the garlic salt (reserve the rest for later) and all of the black pepper, ensuring all sides are well-coated.
-
Heat the olive oil in a Dutch oven over medium-high heat until shimmering but not smoking.
-
Add the seasoned beef cubes to the hot oil in batches, if necessary, to avoid overcrowding the pot. Sear on all sides until beautifully browned and a crust has formed.
-
Remove the seared beef from the Dutch oven and set aside on a plate, leaving any rendered fat and browned bits (fond) in the pot.
-
To the same hot oil in the Dutch oven, add the minced garlic, chopped onion, and carrots. Cook, stirring occasionally, until the onions are soft and translucent, about 5-7 minutes.
-
Stir in the chili powder and onion powder. Cook for another minute, stirring constantly, to lightly toast the spices and release their aroma.
-
Return the seared beef to the Dutch oven with the softened vegetables and spices. Sprinkle in the remaining garlic salt and the smoked paprika, stirring gently to combine.
-
Pour in the chicken stock and dry red wine. Stir well, scraping the bottom of the Dutch oven with a wooden spoon to deglaze and incorporate all the delicious browned bits. Bring the mixture to a gentle boil, then immediately turn off the heat.
-
Place the lid securely on the Dutch oven. Transfer the covered pot to the preheated oven and cook, covered, for 2 hours, or until the beef is fork-tender.
Nutrition
The recipes on this blog are tested with a conventional gas oven and gas stovetop. It’s important to note that some ovens, especially as they age, can cook and bake inconsistently. Using an inexpensive oven thermometer can assure you that your oven is truly heating to the proper temperature. If you use a toaster oven or countertop oven, please keep in mind that they may not distribute heat the same as a conventional full sized oven and you may need to adjust your cooking/baking times. In the case of recipes made with a pressure cooker, air fryer, slow cooker, or other appliance, a link to the appliances we use is listed within each respective recipe. For baking recipes where measurements are given by weight, please note that results may not be the same if cups are used instead, and we can’t guarantee success with that method.
