Spooky Sweet Halloween Spider Cookies: The Ultimate Easy Peanut Butter Treat for Your Party!
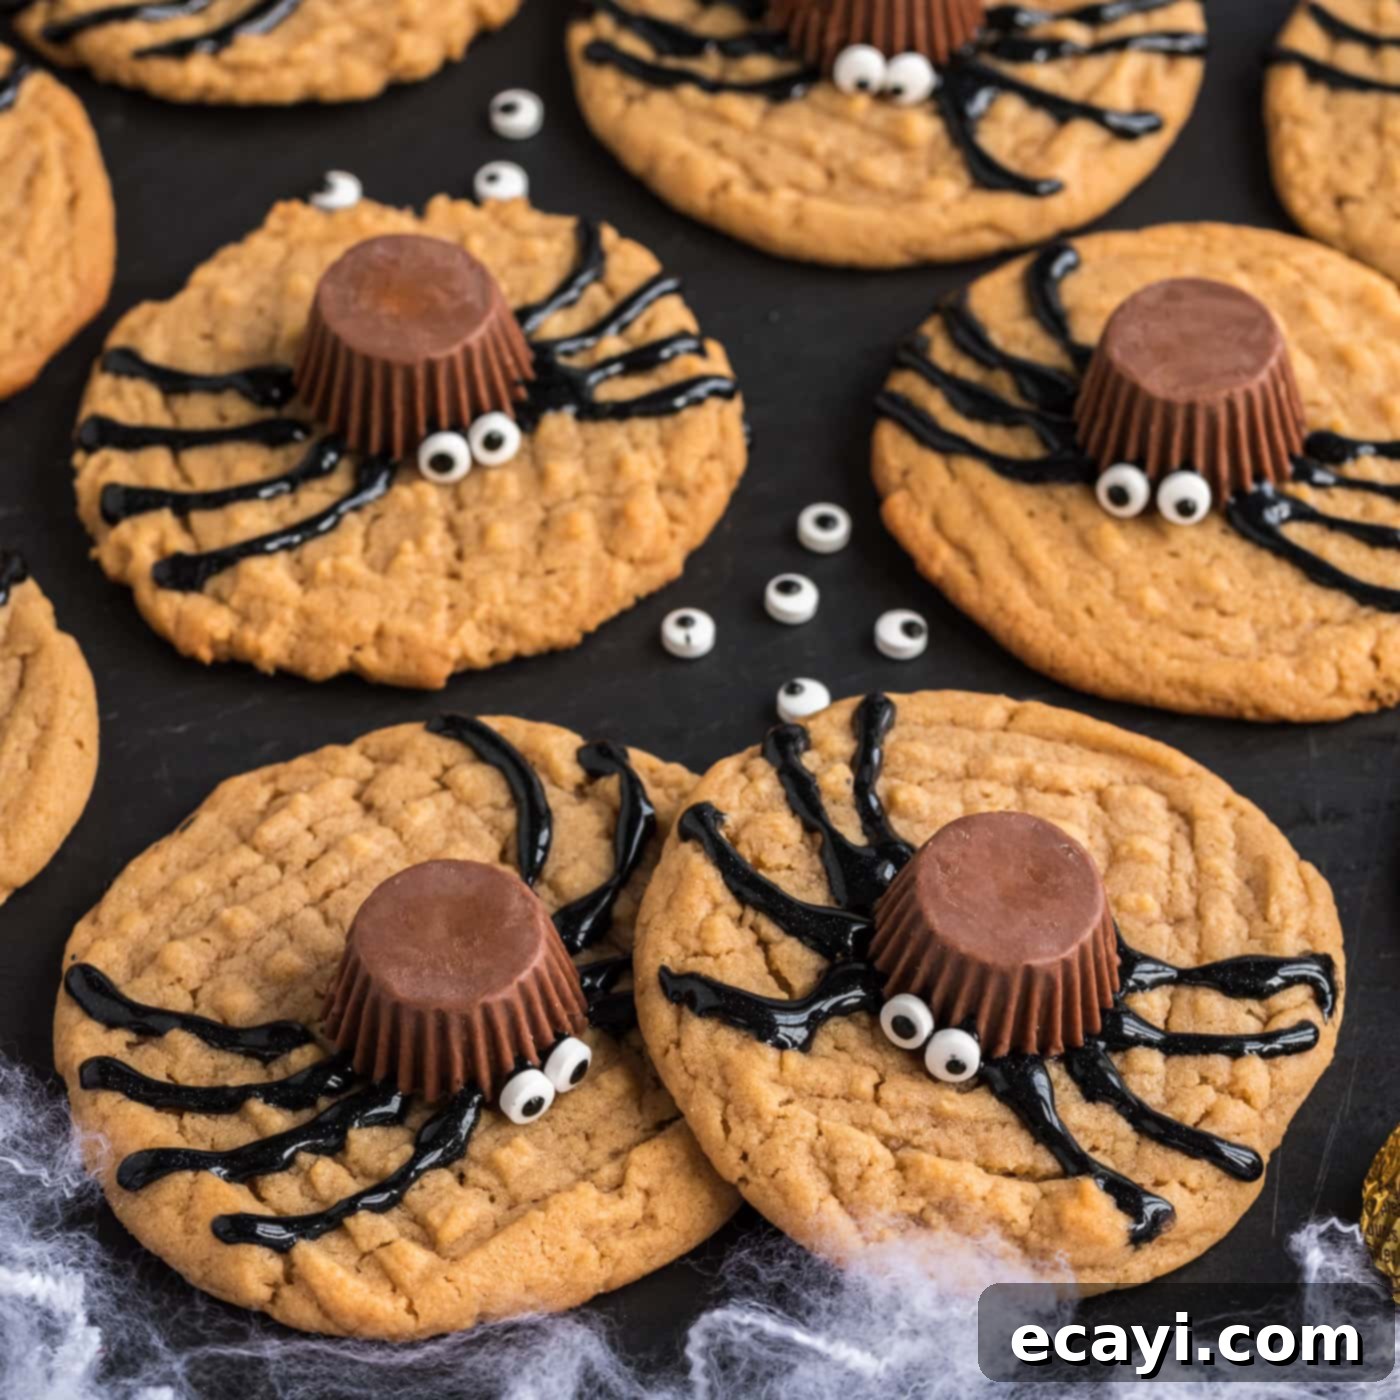
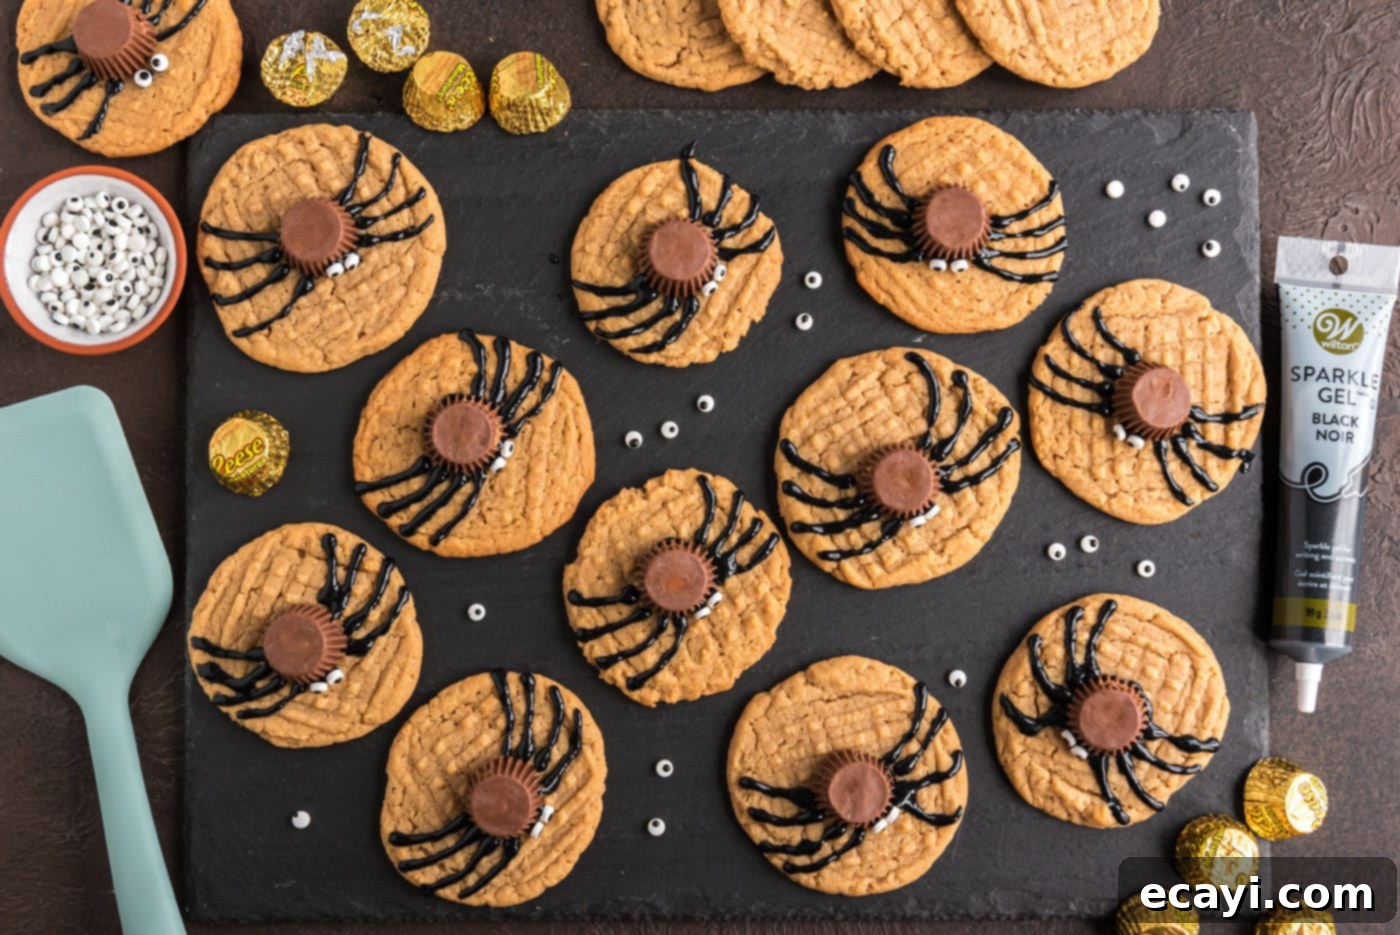
Get ready for a treat that’s both adorable and a little bit spooky! These irresistible spider cookies are guaranteed to be the first to disappear from your Halloween dessert table. Combining the comforting taste of homemade peanut butter cookies with the fun of mini Reese’s peanut butter cups and playful candy eyeballs, they create the most charmingly creepy-crawly dessert imaginable. Perfect for parties, trick-or-treaters, or just a fun family baking project, these cookies are a surefire hit that everyone will adore.
Why These Spider Cookies Will Be Your Halloween Favorite
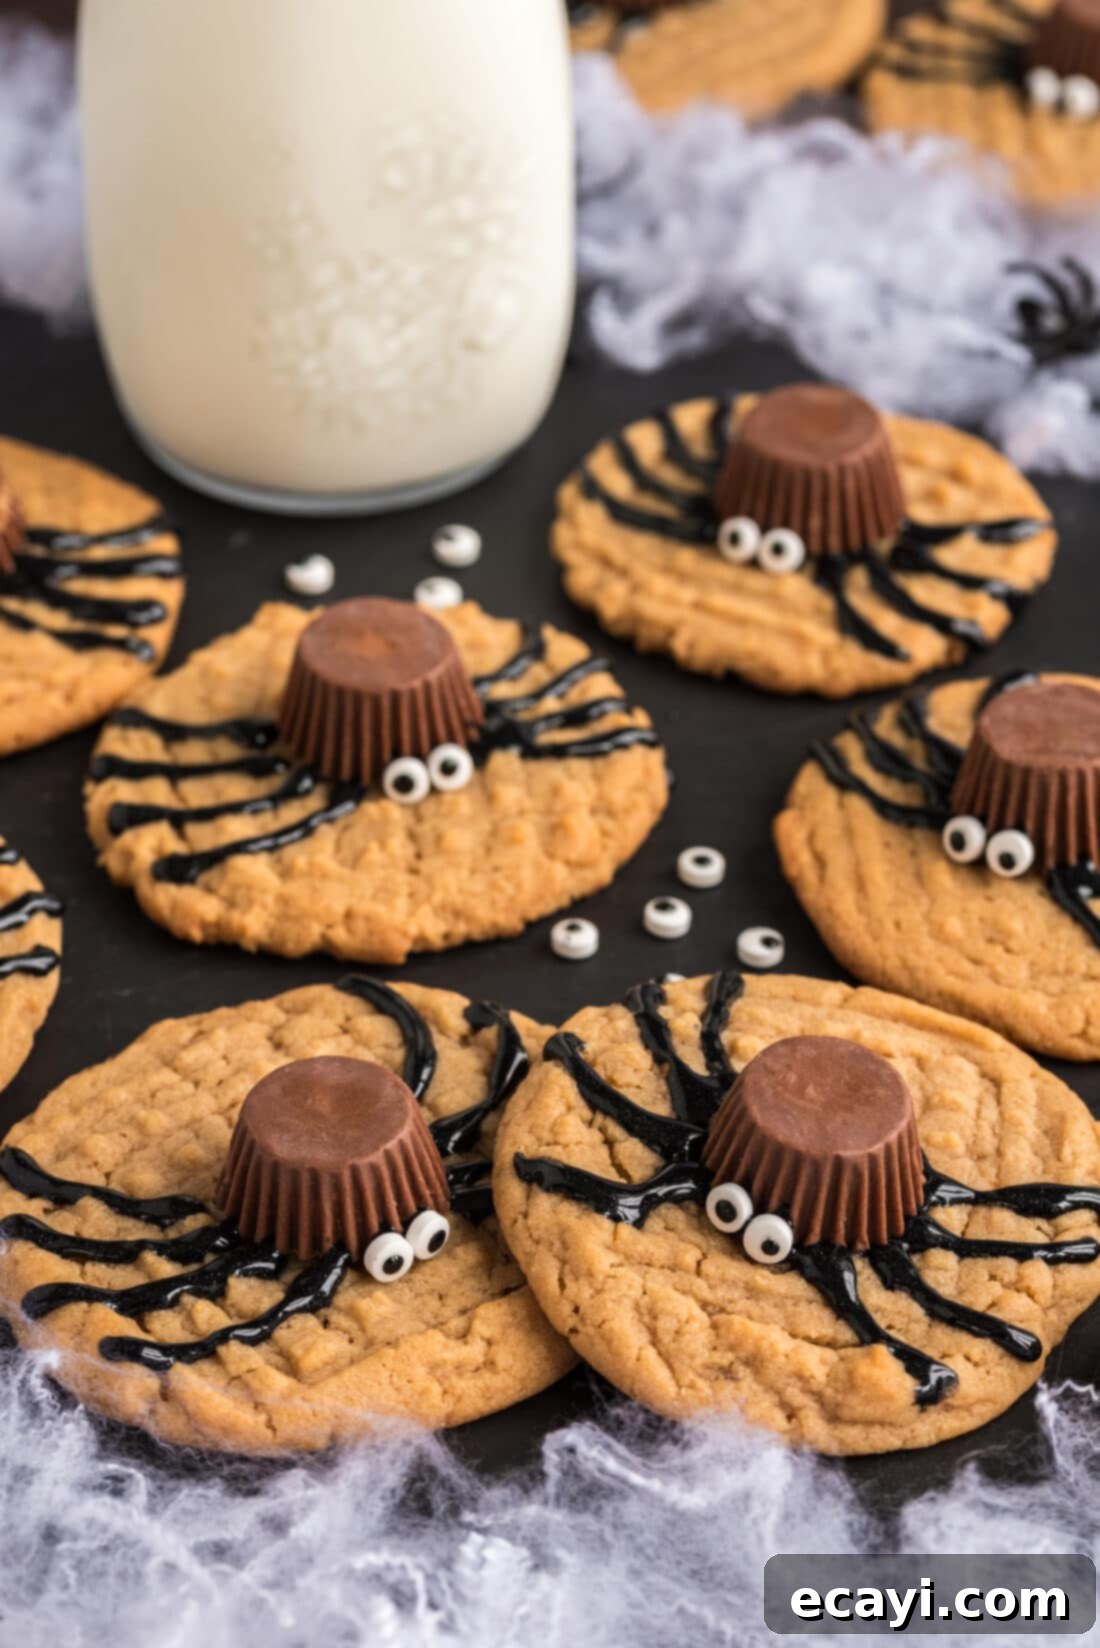
There’s something uniquely charming about these spider cookies that makes them an instant hit. They offer that rare, acceptable instance where creepy crawlies are not only welcome on your food but are eagerly devoured! The foundation of these delightful treats is a perfectly baked, soft, and chewy peanut butter cookie. We’ve fine-tuned this classic recipe to ensure every bite is bursting with that rich, nutty flavor everyone loves, making it the ideal canvas for our festive Halloween decorations.
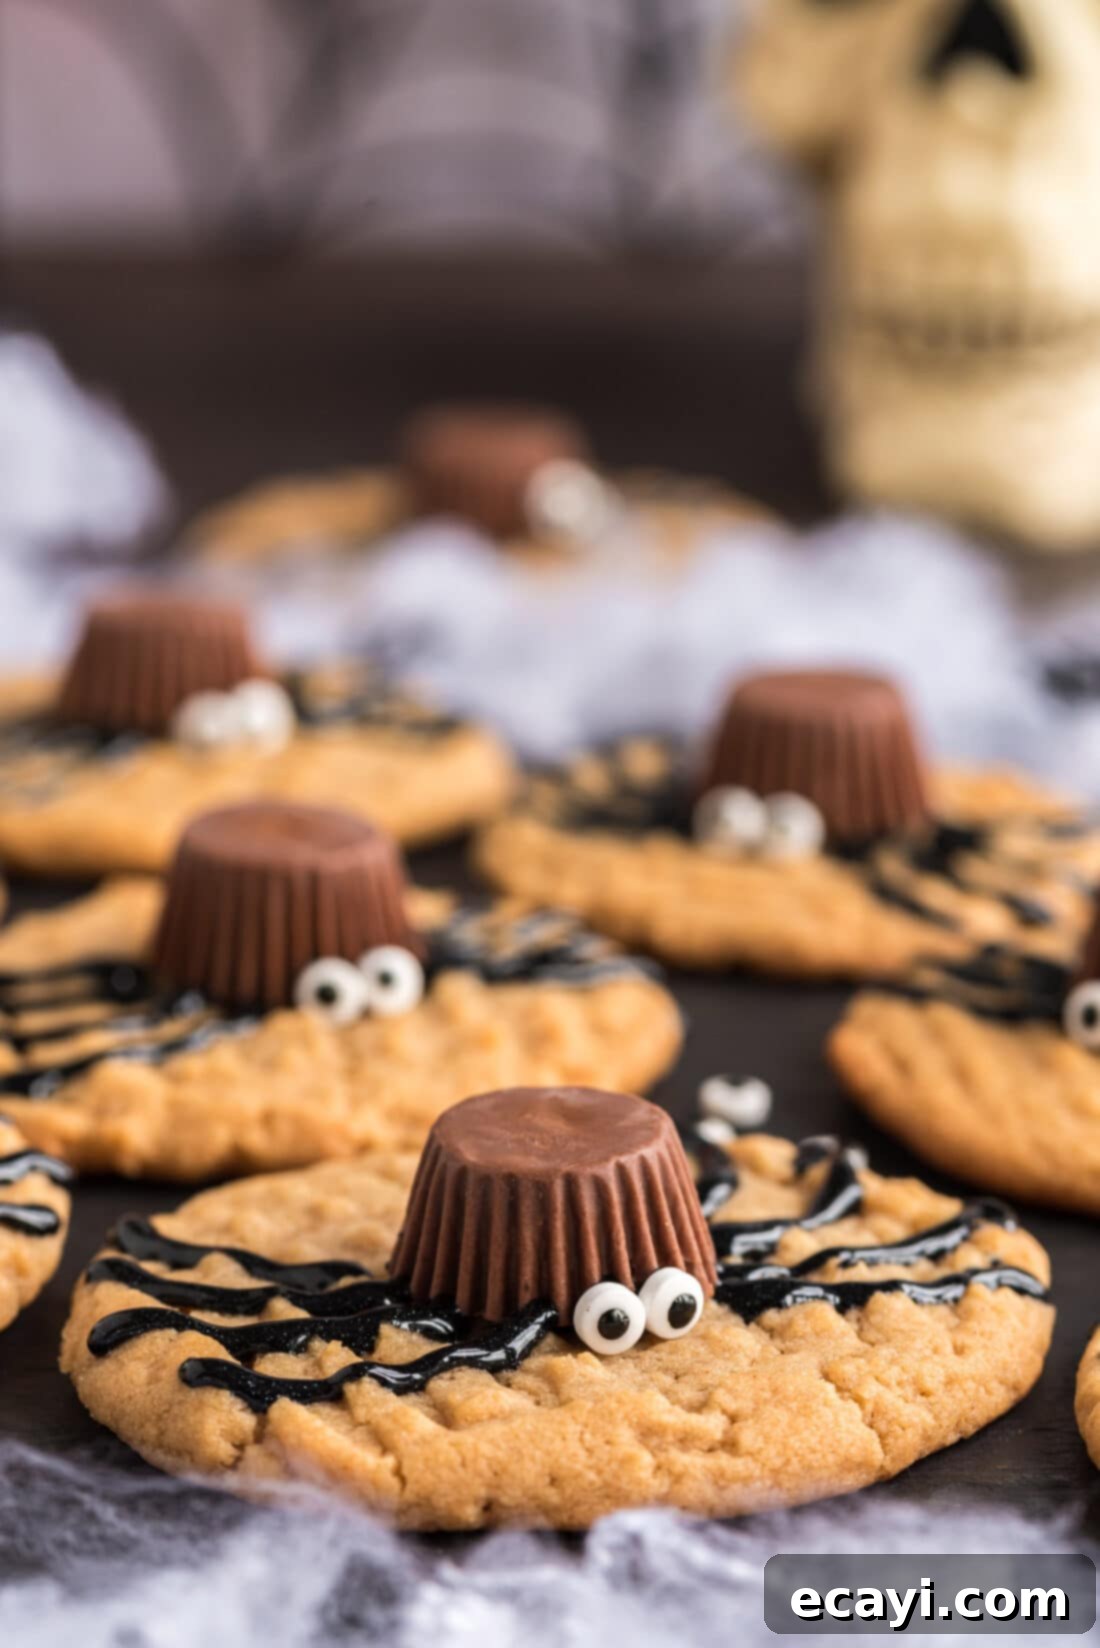
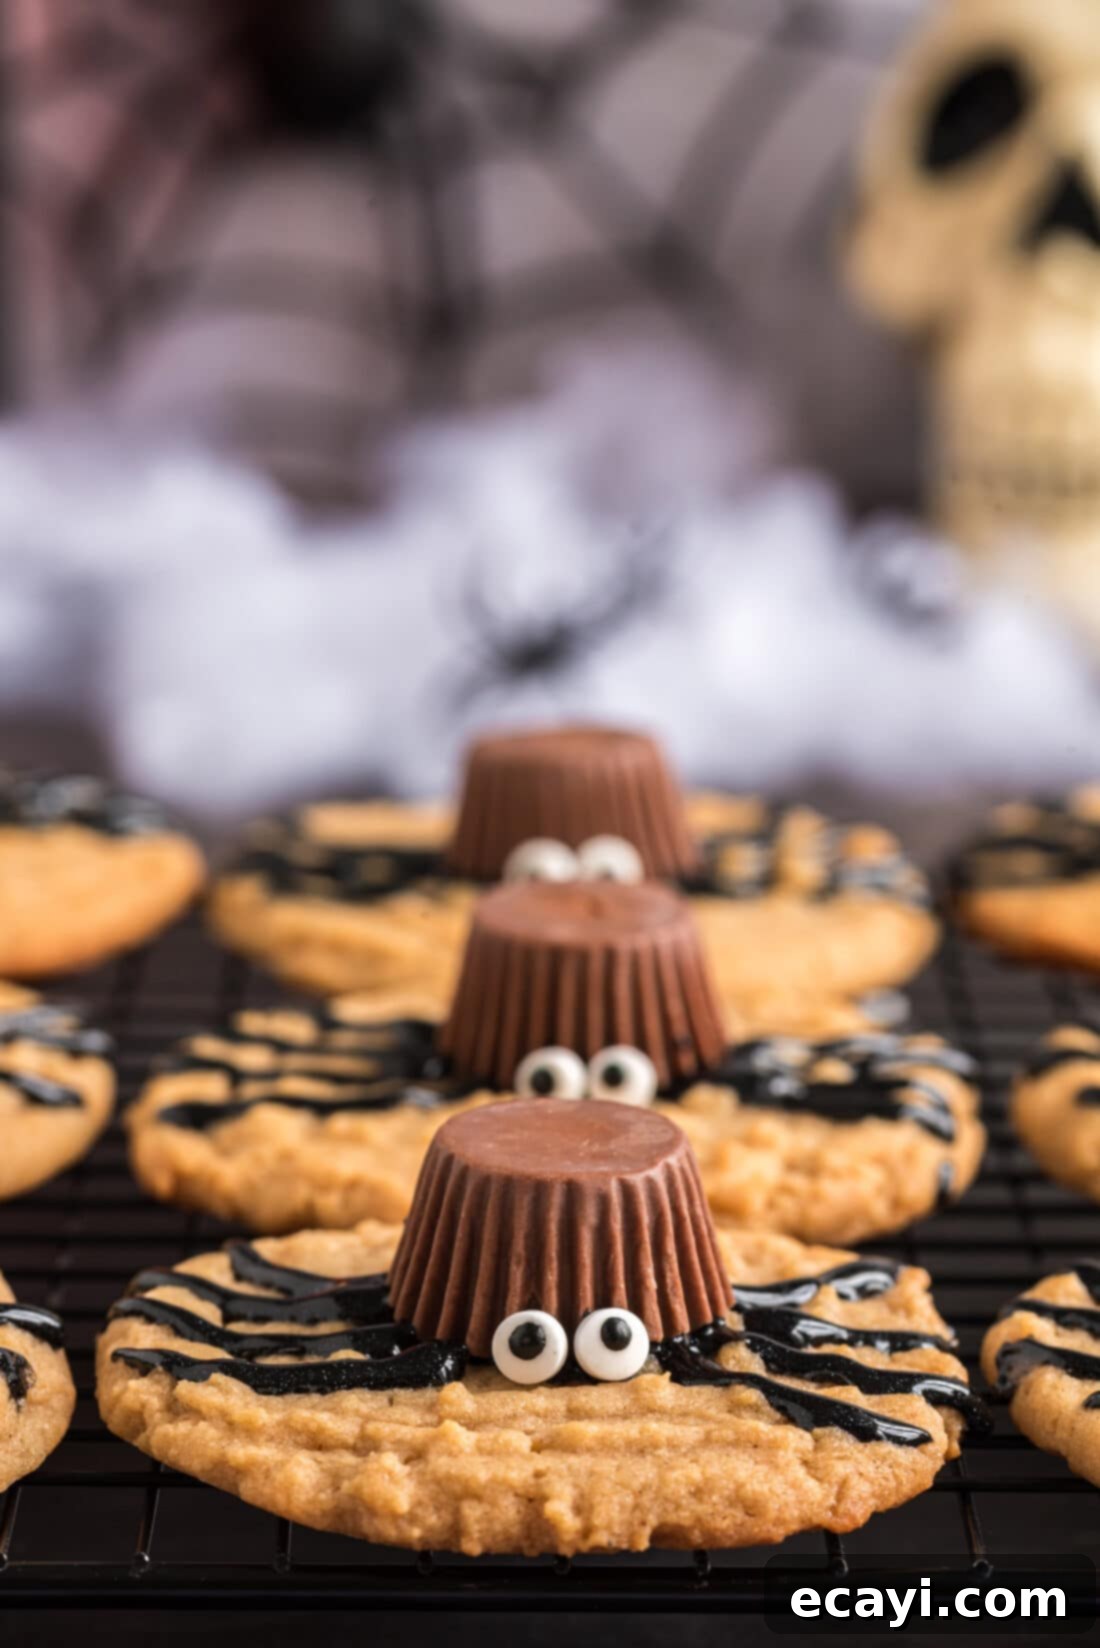
What truly elevates this recipe is its simplicity and undeniable appeal. Transforming a humble cookie into a playful spider involves topping it with a miniature Reese’s peanut butter cup, positioning two whimsical candy eyeballs, and artfully piping on eight decorator gel legs. The result is one of the most adorable and talked-about Halloween desserts you’ll encounter. We first brought these to our annual pumpkin painting party a couple of years ago, and they vanished from the table faster than any other treat – a testament to their universal charm and deliciousness.
Beyond their charming appearance, we absolutely adore this recipe because it’s incredibly straightforward and fun to make. It requires minimal extra effort beyond the usual cookie-baking process. The decorating stage, which might sound intricate, is surprisingly quick and enjoyable. It’s a simple sequence: prep the dough, roll, bake, and then decorate. This streamlined process makes it a fantastic project for involving the kids, who will undoubtedly relish the chance to help assemble their own edible spiders. The combination of easy execution, delicious flavor, and festive appeal makes these spider cookies an absolute must-try for your next Halloween celebration!
Gather Your Ingredients for These Fun Spider Cookies
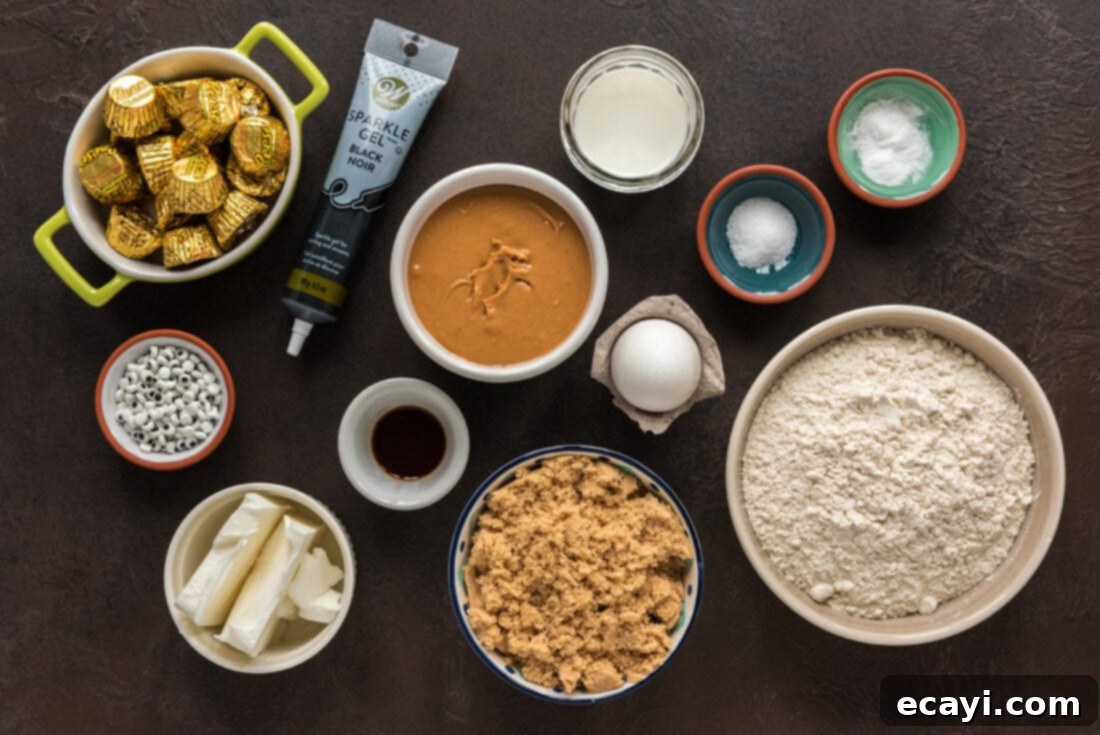
To whip up a batch of these charming Halloween spider cookies, you’ll need a selection of common baking ingredients for the peanut butter cookie base, plus a few special decorative elements. All precise measurements, a complete list of ingredients, and detailed instructions are readily available in the printable recipe card at the very end of this post.
Ingredient Spotlight & Smart Substitutions
Let’s dive deeper into the key ingredients and explore some helpful tips and substitution ideas to make these spider cookies your own!
The Perfect Cookie Base
COOKIES – For the foundation of our adorable spider treats, we use our tried-and-true classic peanut butter cookie recipe. This recipe consistently delivers soft, chewy, and flavorful cookies that hold up beautifully to decoration. While traditional peanut butter cookies often feature a crisscross fork mark, you can absolutely skip this step for a smoother surface if you prefer. For an even chewier cookie, consider slightly underbaking them by a minute or so – they’ll continue to set as they cool. If you’re looking to save time or prefer a different flavor profile, the versatility of this concept allows for several fantastic substitutes:
- Cake Mix Peanut Butter Cookies: For ultimate convenience, cake mix peanut butter cookies are a speedy and delicious alternative.
- Sugar Cookies: A neutral sugar cookie provides a sweet base and lets the spider decoration truly pop.
- Chocolate Chip Cookies: For a chocolatey twist, chocolate chip cookies offer a delightful flavor combination with the Reese’s cups.
- Pumpkin Cookies: Embrace the fall season fully with pumpkin cookies as your base, adding an extra layer of seasonal flavor.
- Shortening vs. Butter: Our recipe calls for shortening (or butter-flavored shortening), which contributes to a softer, more tender cookie texture. If you opt for unsalted butter, ensure it’s softened to room temperature for proper creaming. Butter may also slightly alter the cookie’s spread and chewiness.
- Peanut Butter Type: Creamy peanut butter is recommended for a smooth cookie dough texture. If you use natural peanut butter, ensure it’s well-stirred and smooth, as separated oils can affect the dough’s consistency.
Decorating Essentials
DECORATOR GEL – Black decorator gel is our secret weapon for piping on those iconic spider legs and securely adhering both the Reese’s cup body and the candy eyeballs. It’s easy to use and gives a great defined look. However, it’s important to note that decorator gel can take a little while to fully set and firm up. To prevent any sliding or smudging, try to minimize handling the cookies excessively right after decorating, giving everything ample time to dry. If decorator gel isn’t readily available, or you prefer another option, here are some excellent alternatives:
- Cookie Icing: Pre-made cookie icing, especially in black, offers a similar convenience and consistency.
- Melted Chocolate: Semi-sweet chocolate chips, baking chocolate, or chocolate candy melts can be melted and used for piping. This option will set more quickly than decorator gel once cooled, providing a firmer hold for your decorations.
- Almond Bark or Candy Melts: These are excellent for melting and piping, offering a smooth finish and quicker setting time, especially when using black or dark colors.
REESE’S PEANUT BUTTER CUPS – The adorable body of each spider is crafted from individually wrapped mini Reese’s peanut butter cups. These are perfectly sized for the cookies and provide that delightful peanut butter and chocolate flavor contrast. A crucial tip: make sure your cookies are completely cool before you attempt to attach the Reese’s cups. Placing them on warm cookies will cause the chocolate to melt, leading to a messy, un-spider-like disaster!
CANDY EYEBALLS – These are what bring our spiders to life! Large or small, they add an immediate touch of fun and personality to each cookie. Having a variety of sizes can also give your spiders different “expressions.”
How to Craft Your Own Spooky Sweet Spider Cookies
These step-by-step photos and instructions are designed to help you visualize each stage of making this recipe. For a quick reference or to print, you can Jump to Recipe to get the printable version of this recipe, complete with precise measurements and instructions at the bottom of this post.
Crafting these spider cookies is a delightful process that combines classic baking with creative decorating. Follow these steps for perfect results:
- Preheat & Prepare: Begin by preheating your oven to 375 degrees F (190 degrees C). This ensures your oven is at the correct temperature for even baking from the start.
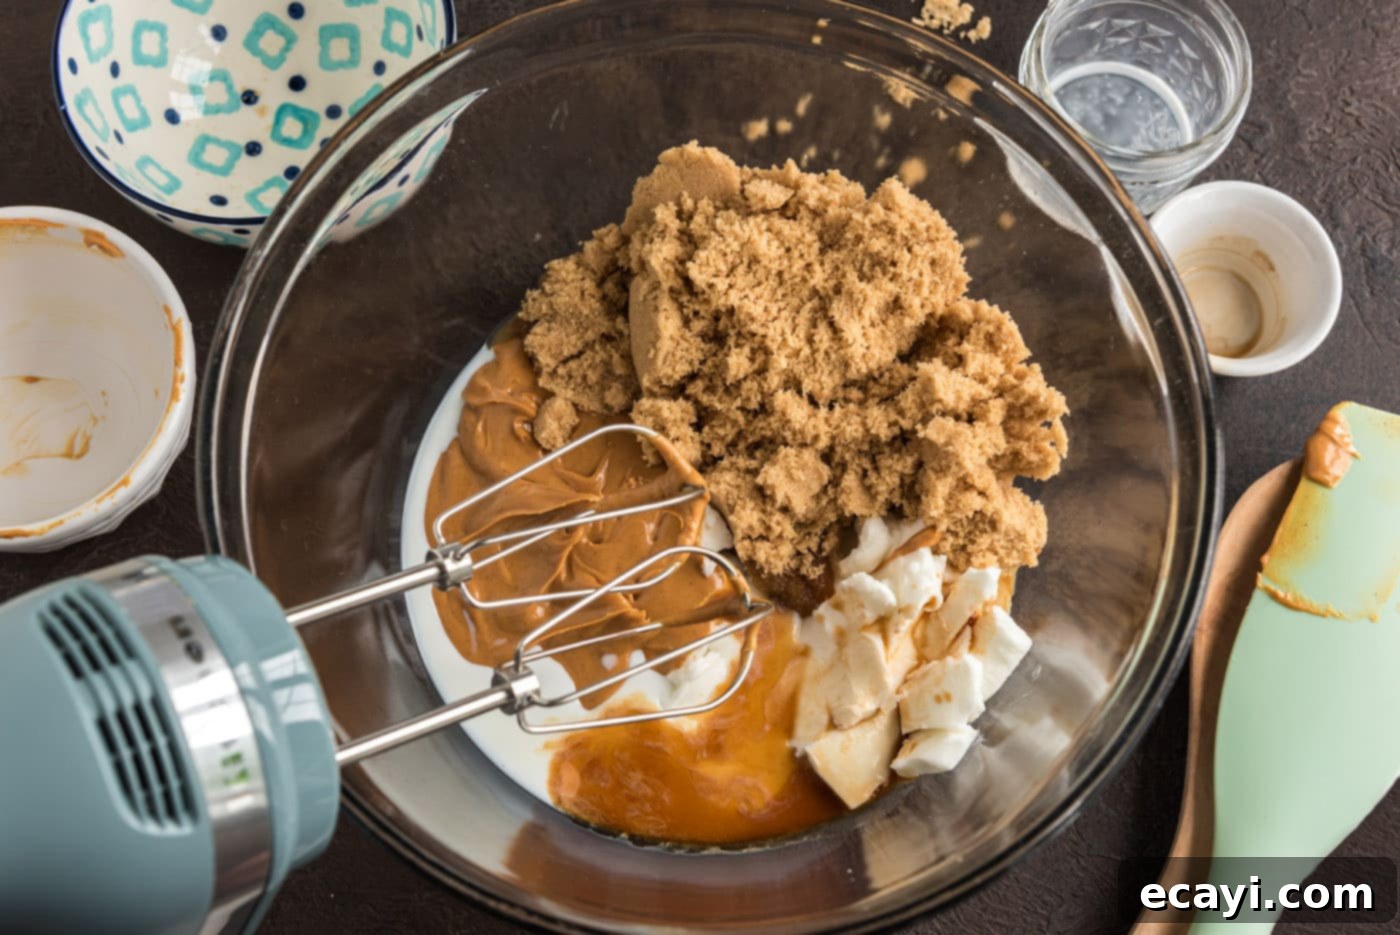
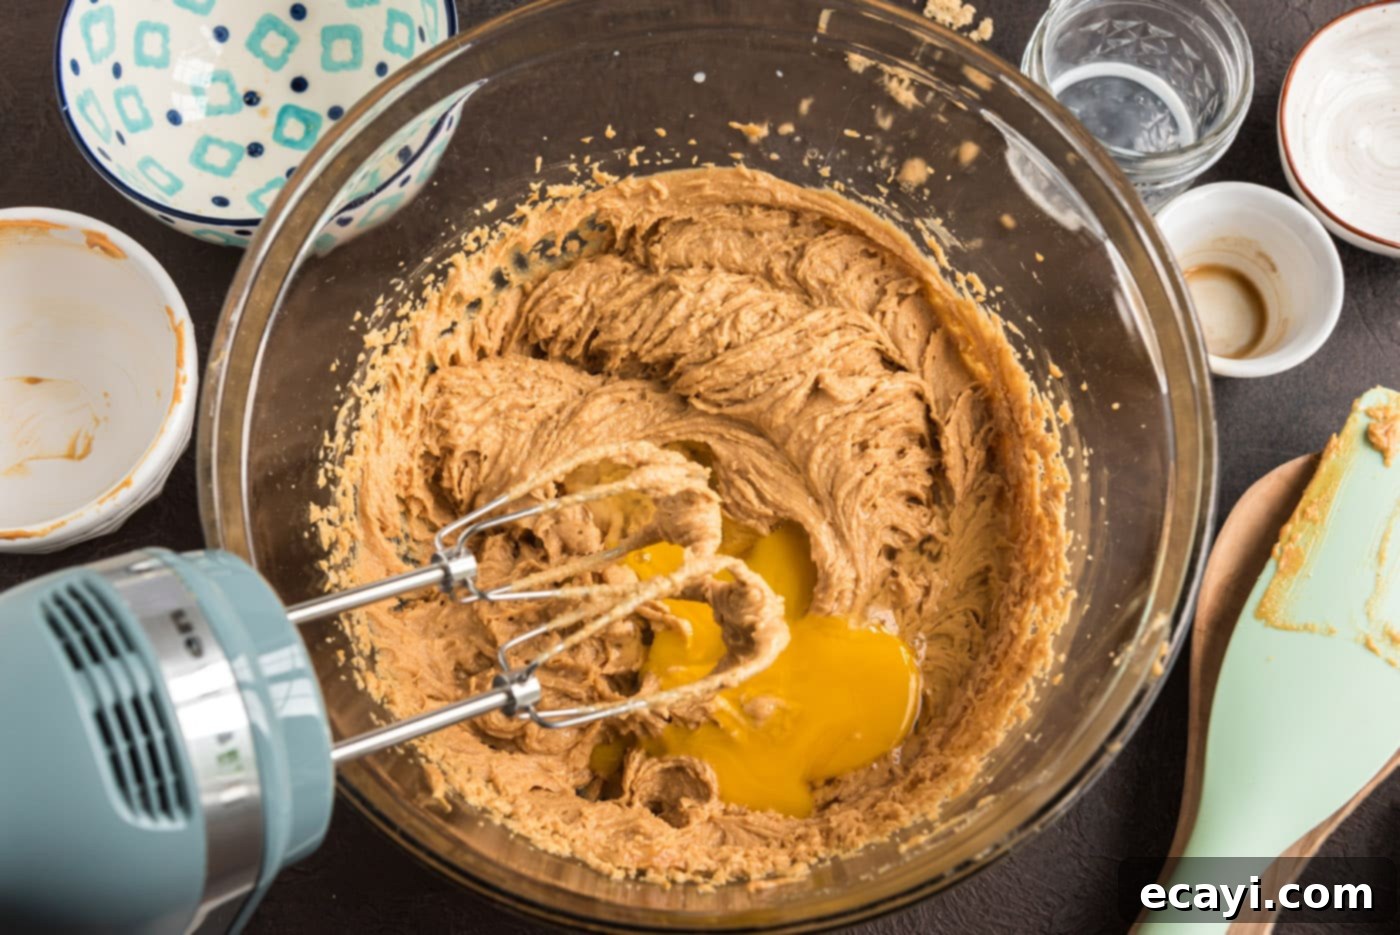
- Cream Wet Ingredients: In a large mixing bowl, combine the shortening (or butter-flavored shortening), creamy peanut butter, light brown sugar (firmly packed), milk, and vanilla extract. Using an electric mixer, beat these ingredients together at medium speed until they are thoroughly blended and have a light, creamy consistency. This step is crucial for incorporating air and ensuring a tender cookie. Once creamed, add the large egg and continue to beat just until it’s fully blended into the mixture. Avoid overmixing once the egg is added.


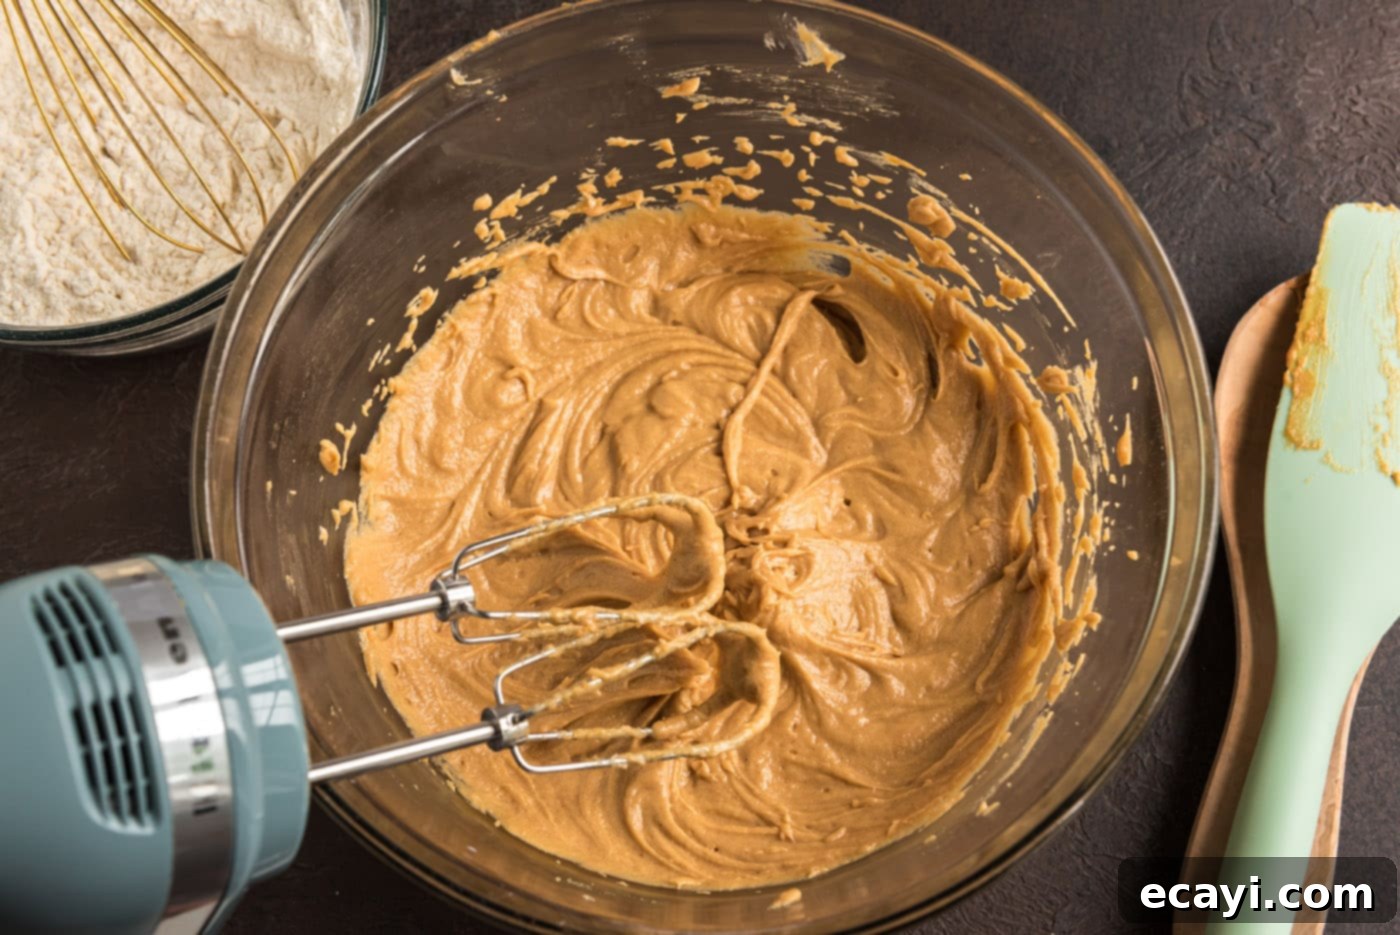
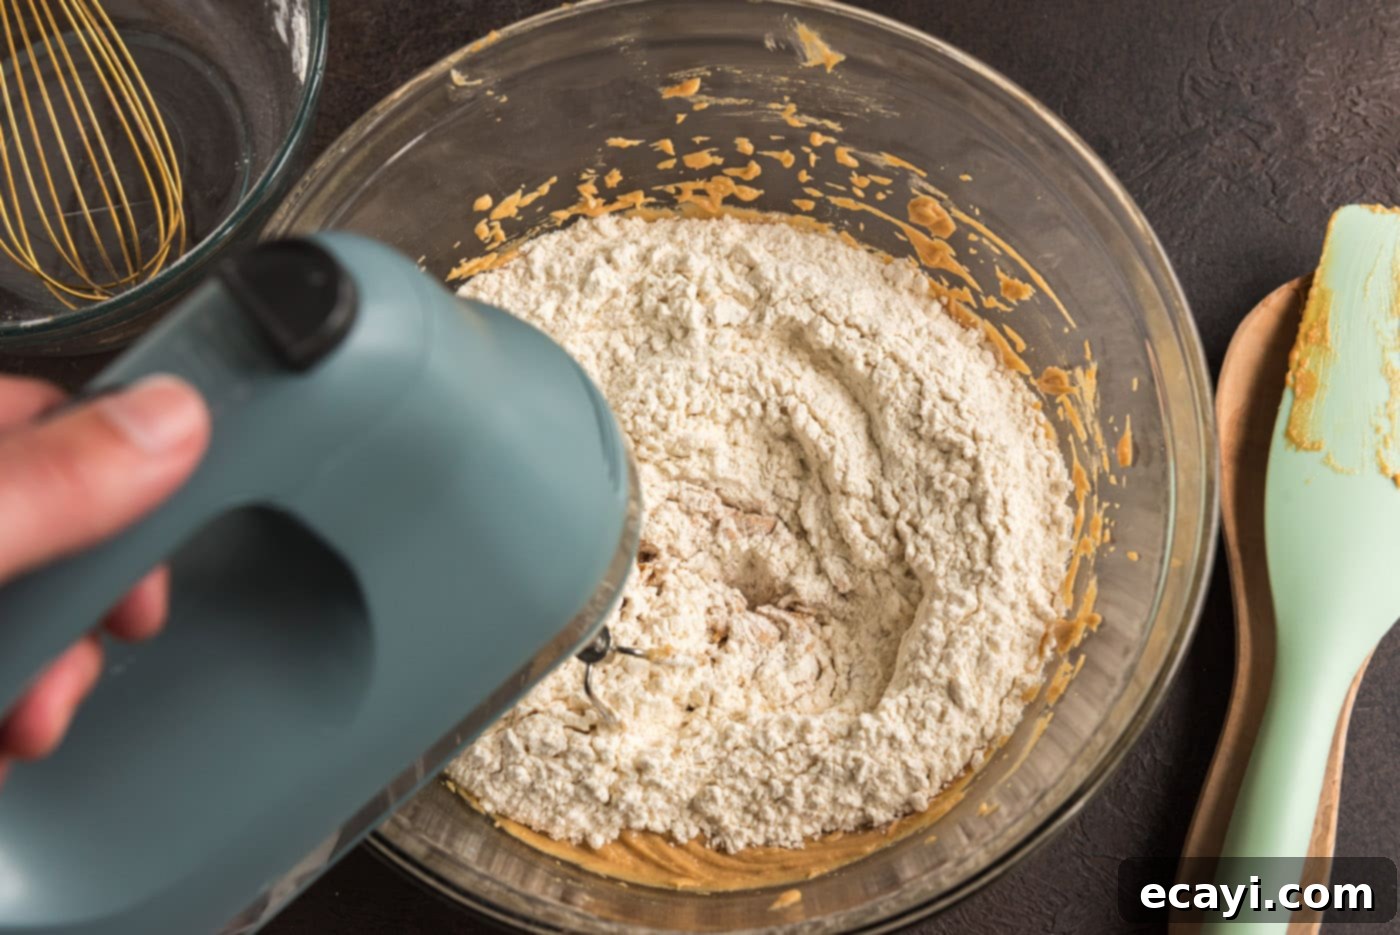
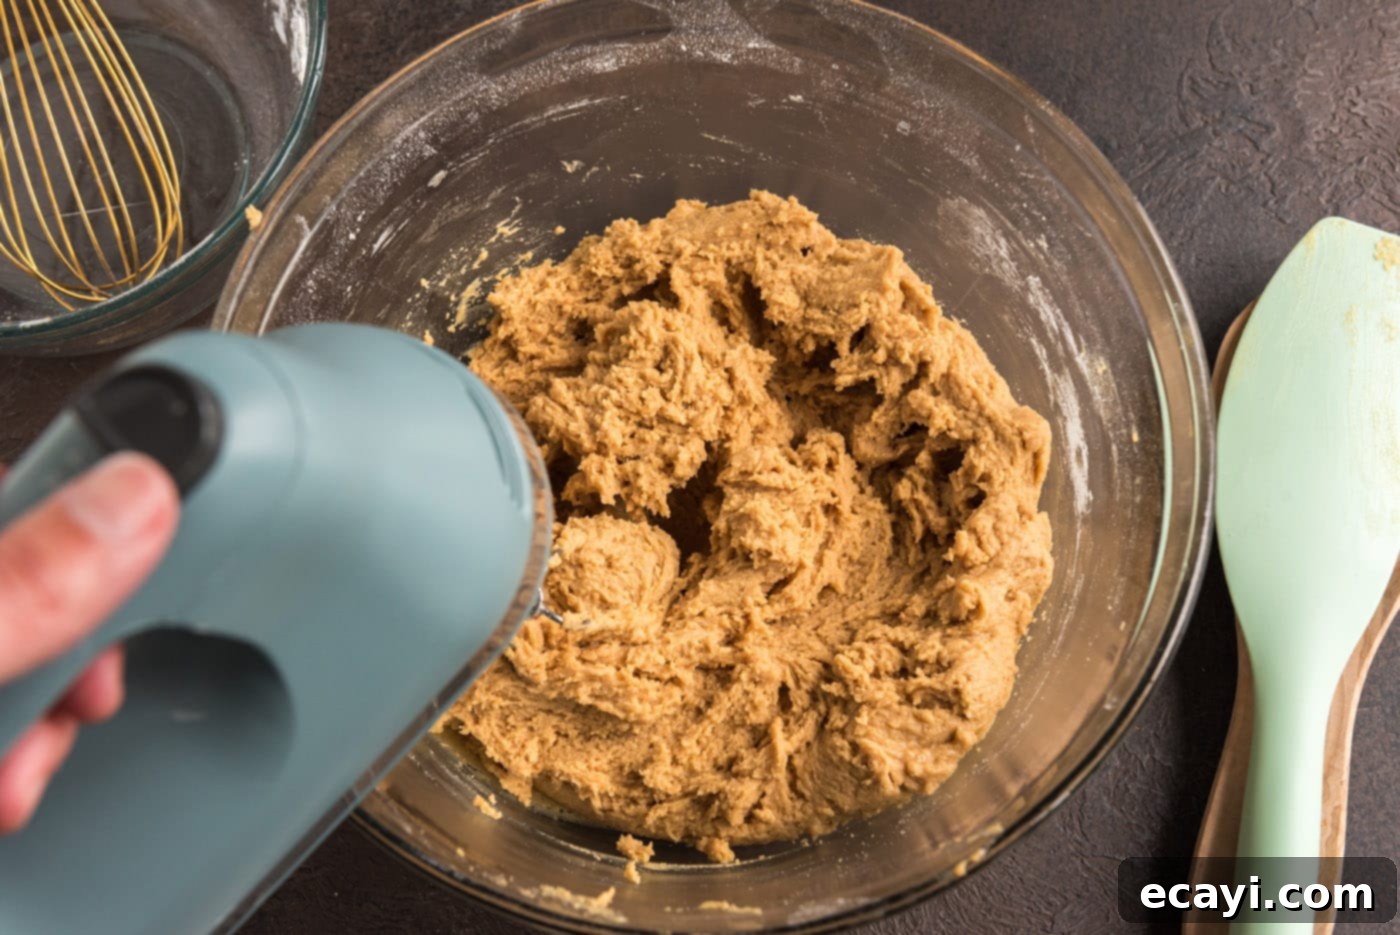
- Incorporate Dry Ingredients: In a separate bowl, whisk together the all-purpose flour, salt, and baking soda. Gradually add this dry mixture to your creamed wet ingredients, mixing at a low speed with your electric mixer. Mix only until the dry ingredients are just incorporated and no streaks of flour remain. Overmixing the flour can lead to tough cookies, so stop as soon as it’s combined.


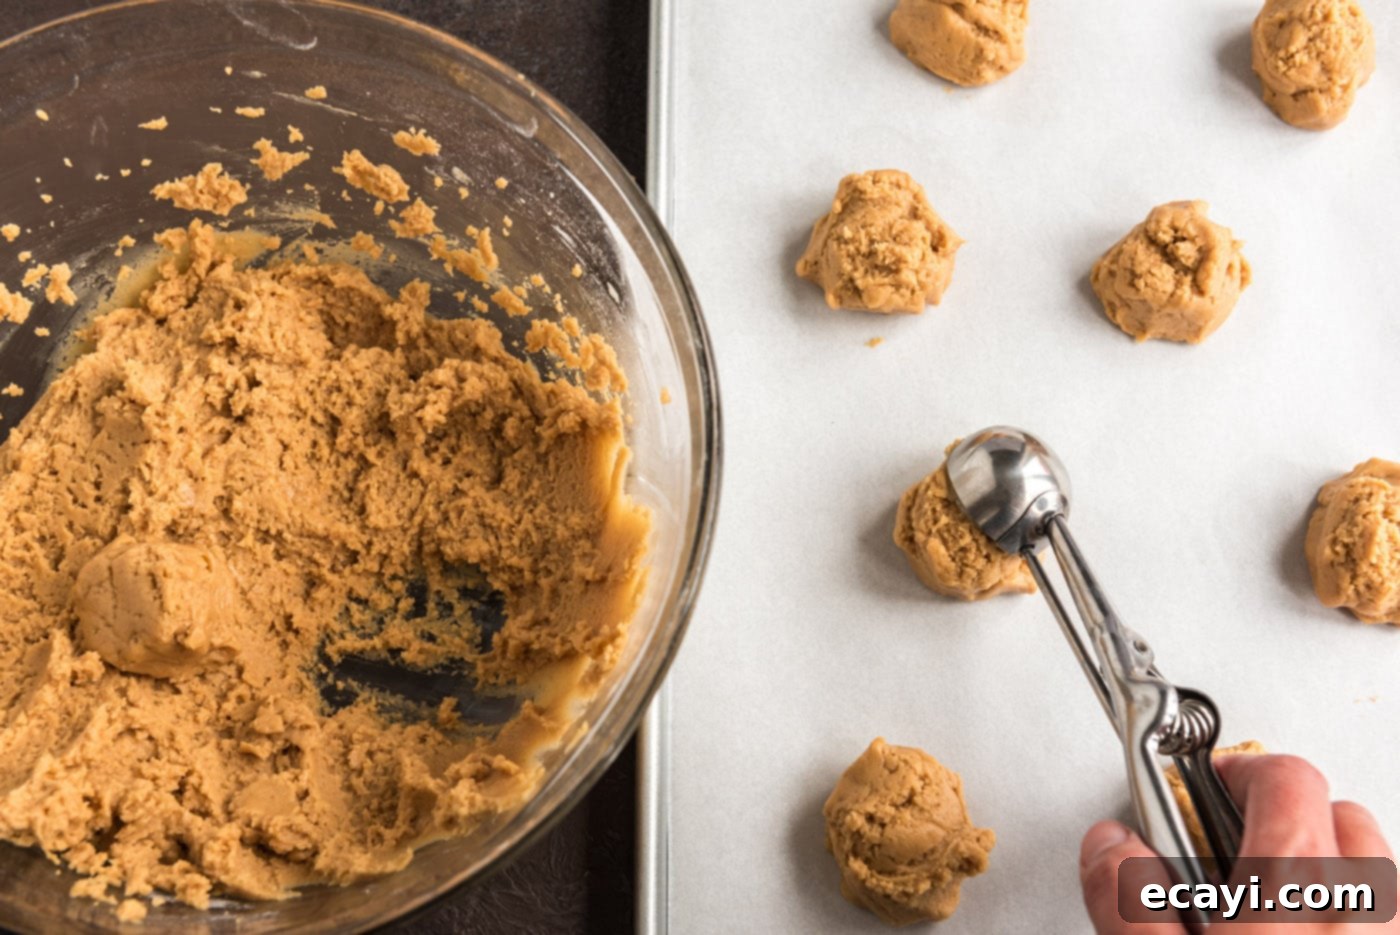
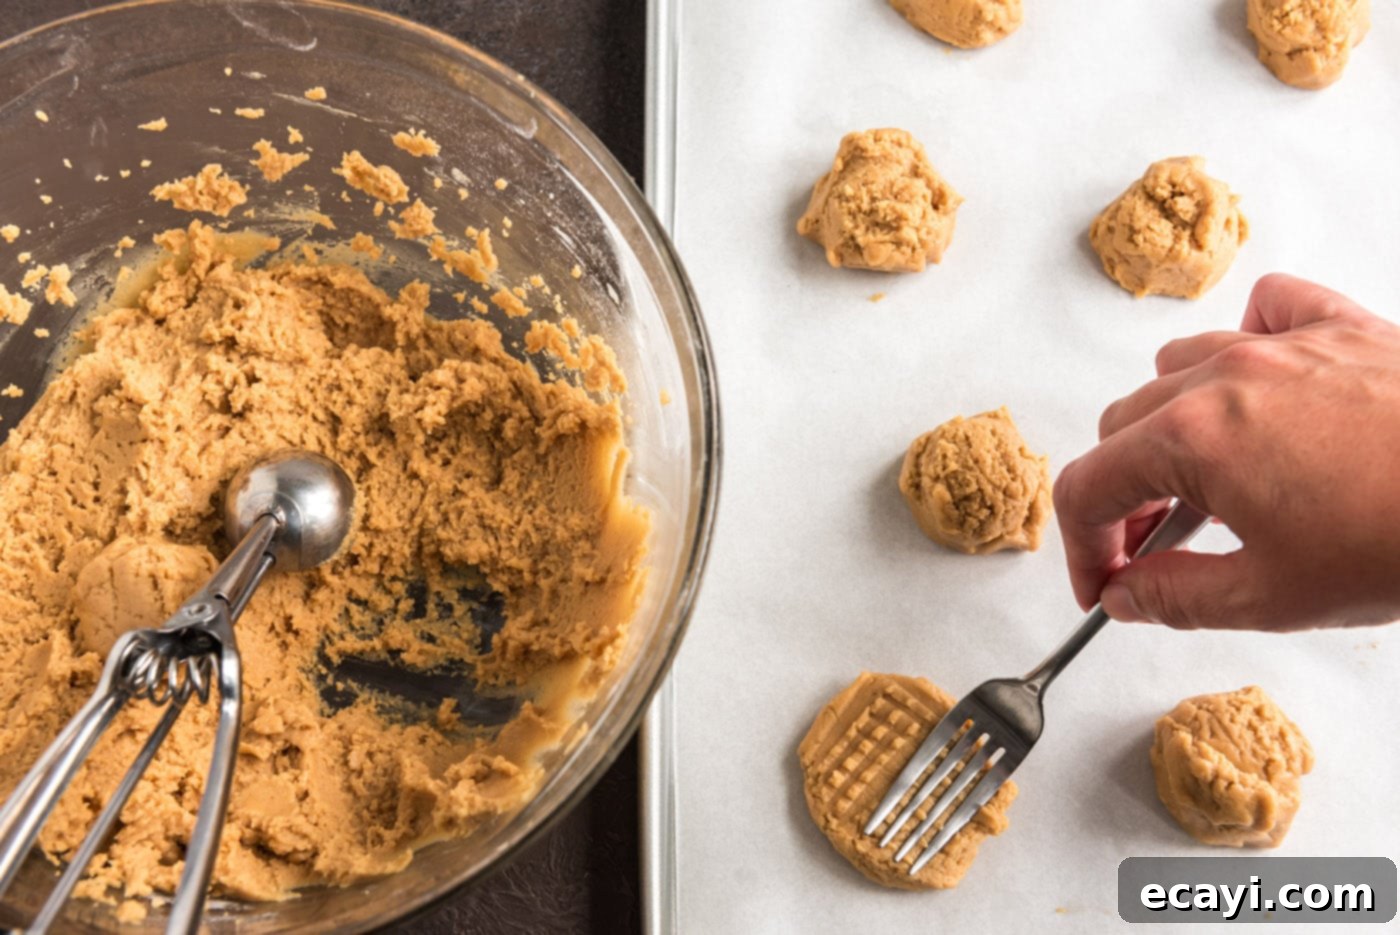
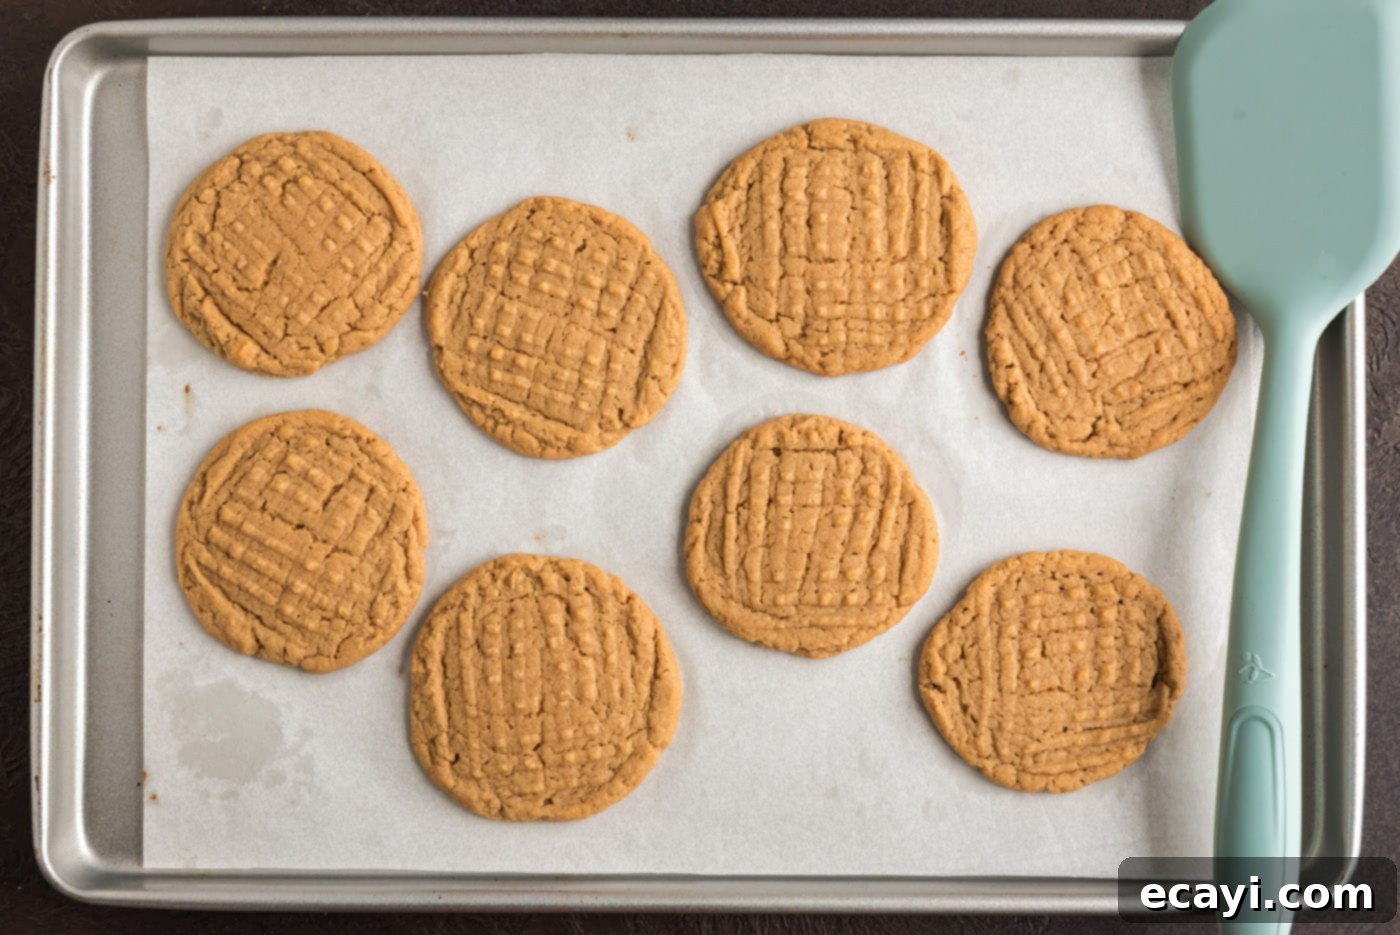
- Portion and Shape: Drop the cookie dough by heaping tablespoonfuls onto an ungreased baking sheet, ensuring they are spaced about 2 inches apart to allow for spreading. A cookie scoop is incredibly helpful here for uniform sizing. For a classic peanut butter cookie look, gently flatten each dough ball slightly in a crisscross pattern using the tines of a fork. If you prefer a smoother, rounder cookie for your spider body, you can optionally skip these fork marks.


- Bake to Perfection: Bake the cookies for 7 to 8 minutes, or until the edges are just beginning to brown and the centers appear set but still slightly soft. The key is to NOT OVERBAKE, as this is how you achieve that wonderfully chewy texture. They might look a little puffy and underdone when first removed, but they will settle and firm up as they cool. Let them cool on the baking sheet for 2 minutes before carefully transferring them to wire racks to cool completely. Complete cooling is essential before decorating!

- Cool Completely: Resist the urge to decorate warm cookies! Wait until the cookies are fully cooled to room temperature. This prevents your Reese’s cups from melting and your decorator gel from running.
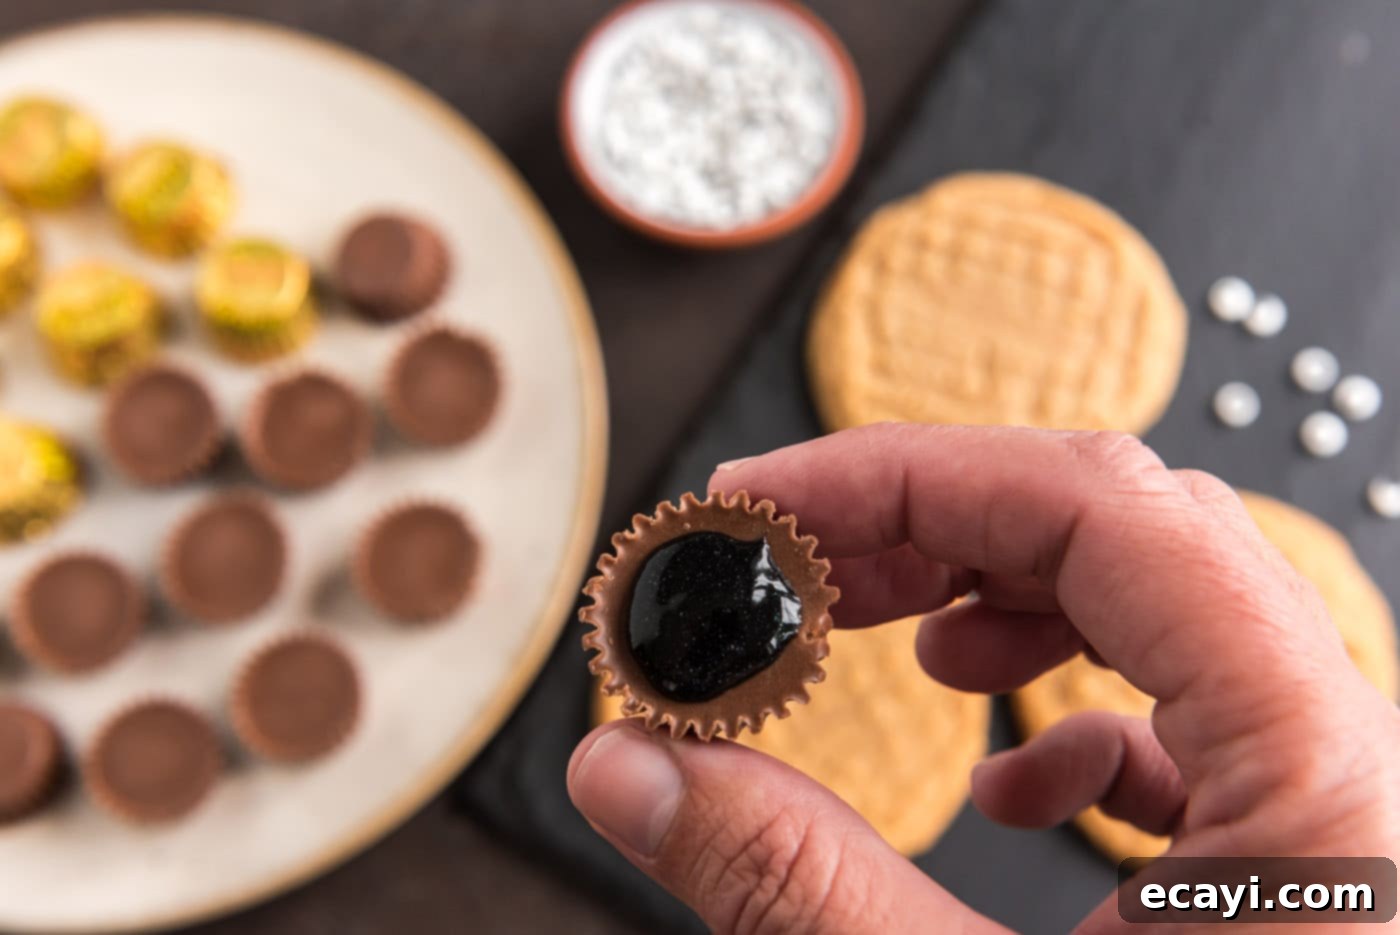
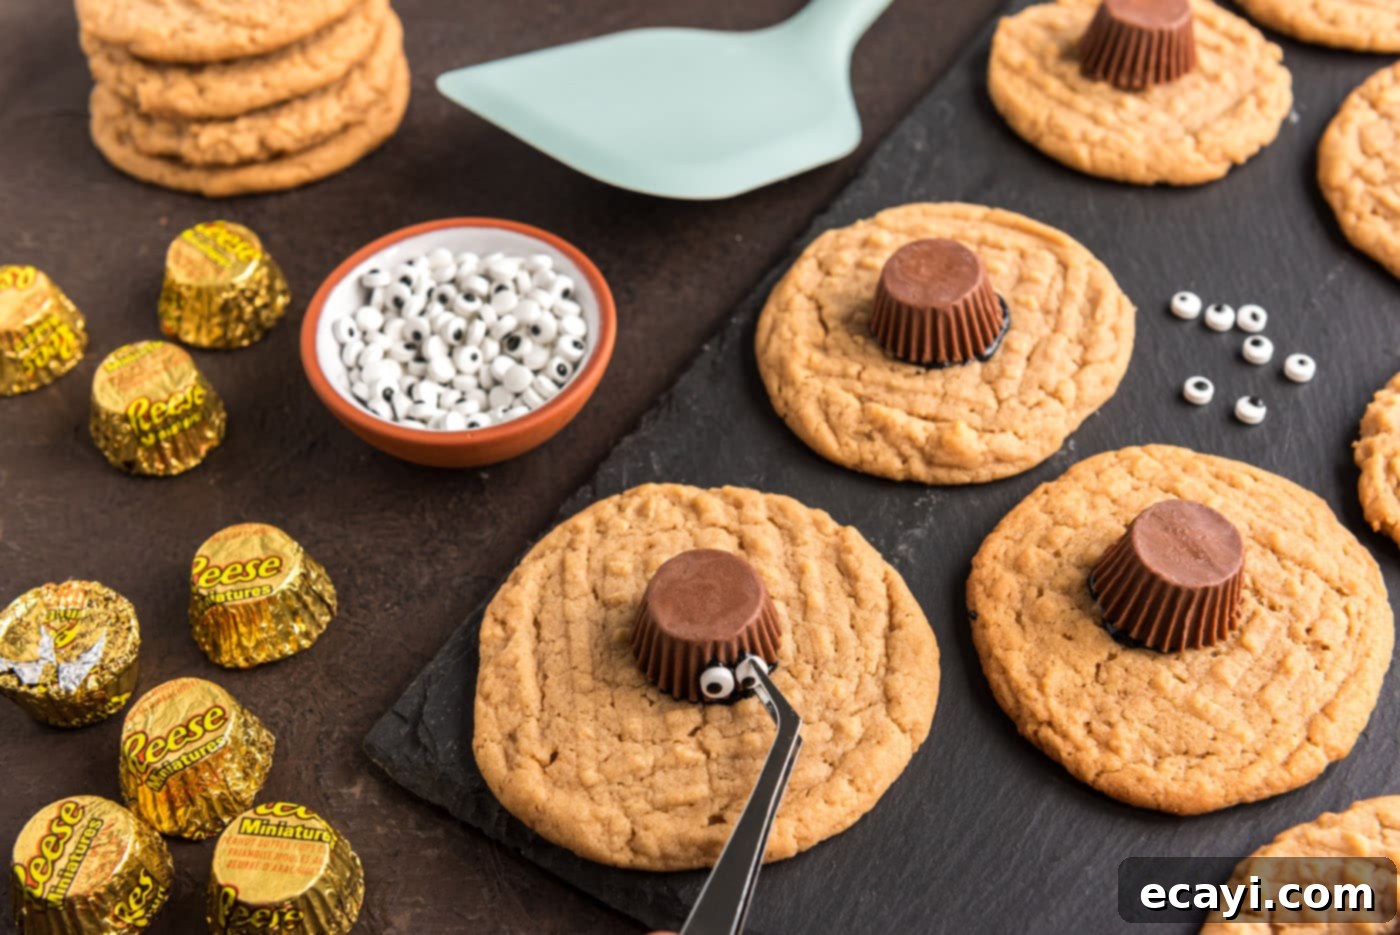
- Attach the Spider Body: Once your cookies are perfectly cool, it’s time for the fun to begin! Squeeze a small dab of black decorator gel onto the flat bottom of an unwrapped mini Reese’s cup. Gently press the Reese’s cup onto the center of each cookie to create the spider’s body. Be mindful not to use too much gel, as it might overflow when pressed.
TIP – While we don’t typically recommend it, if you’re in a pinch and need to adhere the Reese’s quickly, you *can* place the Reese’s cup on still-warm (but not hot!) cookies. The residual heat will slightly soften the chocolate, helping it stick. However, proceed with caution as very warm cookies will melt the Reese’s. Ensure they are merely warm to the touch, not hot.

- Add the Eyes: Dot the backside of each candy eyeball with a tiny bit of black decorator gel. Carefully position two eyeballs onto the lower portion of the Reese’s cup, giving your spider its characteristic adorable (or spooky!) gaze. You can experiment with placement to give your spiders different personalities!

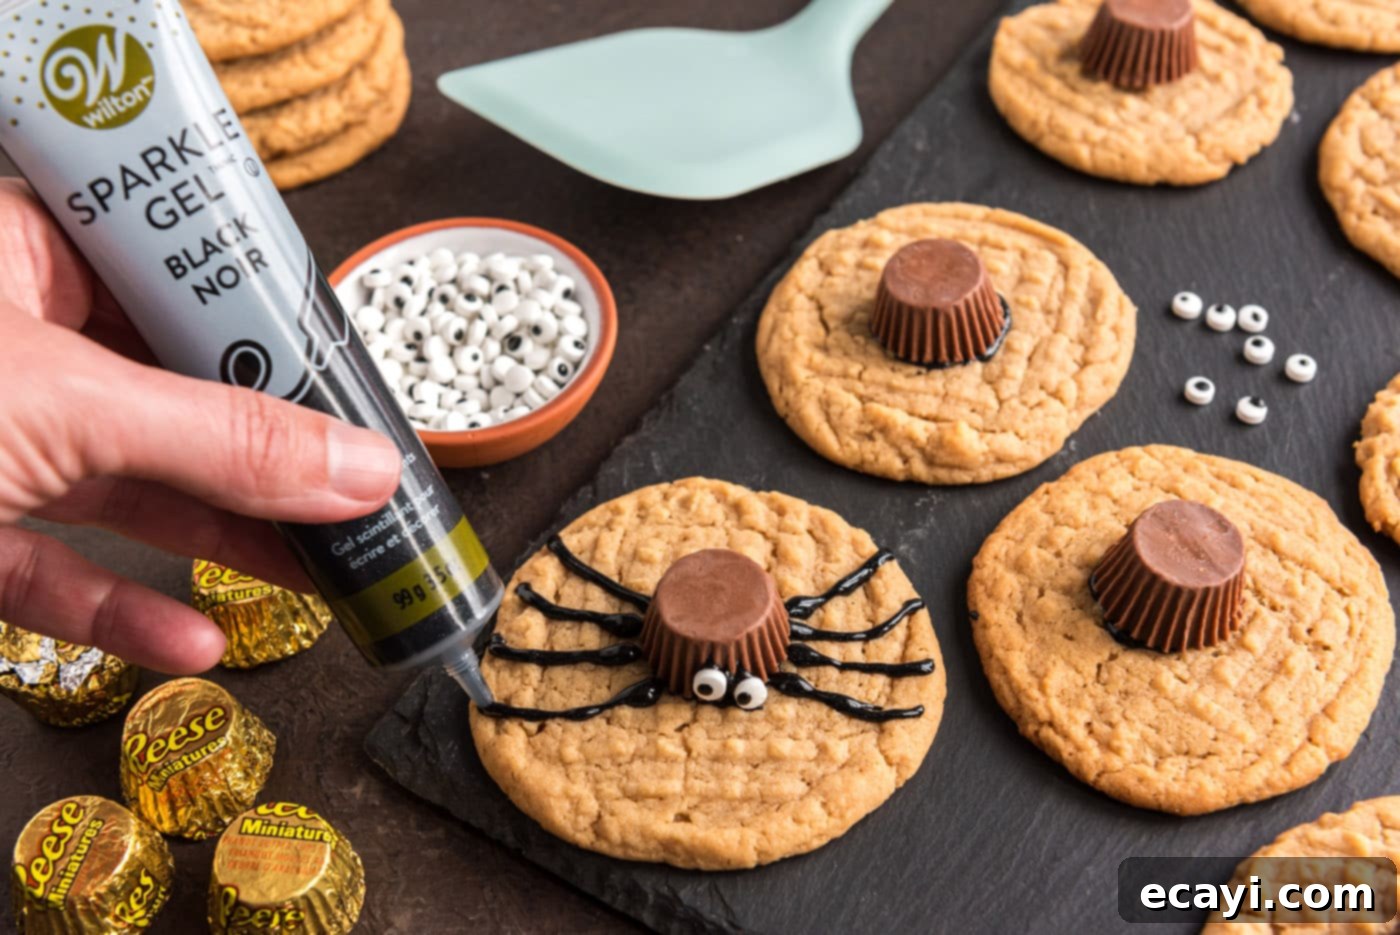
- Pipe the Legs: Now for the spider’s legs! Starting from the base of the Reese’s cup, gently squeeze the black decorator gel to pipe four legs curving outwards on each side of the Reese’s cup. Aim for eight distinct legs in total, giving your spiders a realistic yet playful appearance. A steady hand helps here, but don’t worry if they’re not perfect – homemade charm is part of the fun!

- Allow to Set: Once all your spiders are decorated, let them rest undisturbed for at least an hour or two. Black decorator gel can take a bit of time to fully firm up, so patience is key. This waiting period ensures that the Reese’s cups and candy eyeballs are securely attached and the legs won’t smudge when handled. Once set, your charming spider cookies are ready to be served and admired!

Frequently Asked Questions & Expert Tips for Perfect Spider Cookies
Absolutely! In fact, we highly recommend making them ahead, ideally the morning of your event or even the night before. This gives the decorator gel ample time to set completely, ensuring your adorable spider decorations are firm and won’t smudge during transport or handling. Once fully set, store them in an airtight container in a single layer to prevent any damage to the delicate legs and eyeballs. Making them in advance takes the stress out of last-minute preparations, allowing you to enjoy your Halloween celebration.
To maintain their freshness and decorative integrity, store your finished spider cookies in an airtight container or a large zip-top bag. Arrange them in a single layer to prevent the decorations from sticking together or getting damaged. Keep them at room temperature, and they will stay delightfully fresh and delicious for up to 5 days. For longer storage, you can freeze the undecorated peanut butter cookies, then thaw and decorate them closer to your event.
Expert Tips for Success:
- Perfect Cookie Texture: Don’t overbake your peanut butter cookies! They should look slightly soft in the middle when you take them out. They’ll firm up as they cool, giving you that ideal chewy texture.
- Piping Practice: If you’re new to piping with decorator gel, try practicing a few spider legs on a piece of parchment paper first. This helps you get a feel for the pressure and motion needed to create consistent, curved legs.
- Kid-Friendly Fun: These cookies are fantastic for involving children! Kids can help roll the dough, press on the Reese’s cups, and carefully place the candy eyeballs. Let them get creative with the eye placement for humorous results.
- Alternative Decorations: While black gel is classic, consider using different colored gels for legs for a fun, vibrant look. You could also sprinkle edible glitter on the Reese’s cups for an extra sparkly spider body.
- Cooling is Crucial: Emphasize again: ensure your cookies are completely cool before starting any decoration. Warm cookies will lead to melted chocolate and runny gel.
- Batch Baking: If making a large quantity for a party, bake your cookie bases in batches and allow them to cool completely before starting the decorating assembly line. This makes the process more efficient.
Creative Serving Ideas for Your Spider Cookies
Once your charming spider cookies are fully set, they are ready to steal the show! For a Halloween party, arrange them artfully on a large platter or a multi-tiered dessert tray to create a striking centerpiece. You can scatter some plastic spider rings or mini decorative pumpkins around the tray for an even more festive display. Pair them with a spooky punch, hot apple cider, or a tall glass of cold milk for a comforting treat. These cookies also make fantastic party favors when individually wrapped in clear cellophane bags with a festive ribbon. Imagine the delight of guests receiving their own edible spider to take home!
As mentioned previously, if you’re not using decorator gel, you have plenty of options. Melted semi-sweet chocolate chips, rich baking chocolate, versatile almond bark, or colorful candy melts can all be used in place of the black decorator gel to pipe the legs and secure the Reese’s and eyeballs. Each option will offer a slightly different texture and setting time, so choose the one that best suits your preference and availability.
More Spooktacular Halloween Dessert Recipes
If you’re looking to complete your Halloween dessert spread, be sure to check out these other fun and festive recipes:
- Adorable Mummy Cookies
- Spooky & Sweet Ghost Brownies
- Fun Monster Cupcakes
- Delightful Halloween Dirt Cups
- Creepy-Cute Halloween Oreo Truffles
I absolutely love sharing my passion for baking and cooking with all of you! To make sure you never miss out on a delicious new recipe, I offer a convenient newsletter delivered straight to your inbox every time a new post goes live. Simply subscribe here and start receiving your free daily recipes!
Spider Cookies
IMPORTANT – There are often Frequently Asked Questions within the blog post that you may find helpful. Simply scroll back up to read them!
Print It
Pin It
Rate It
Pin It
Save ItSaved!
Ingredients
For the Peanut Butter Cookies
- ½ cup shortening or butter flavored shortening
- ¾ cup creamy peanut butter
- 1 ¼ cups light brown sugar firmly packed
- 3 Tablespoons milk
- 1 teaspoon vanilla extract
- 1 large egg
- 1 ¾ cups all purpose flour
- ¾ teaspoon salt
- ¾ teaspoon baking soda
For the Decorations
- black decorator gel or cookie icing. (See notes above for substitutes like melted chocolate.)
- 36 mini Reese’s peanut butter cups unwrapped
- 72 candy eyeballs
Things You’ll Need
-
Electric mixer
-
Wire cooling racks
-
Baking sheet
Before You Begin & Important Tips
- When you bake the cookies, always start with a small test batch to check your oven’s temperature and timing. Mine are typically perfect at 8 minutes. Don’t worry if they look slightly underdone and puffy right out of the oven; they will continue to set and flatten as they cool, achieving that ideal chewy texture.
- If you prefer a perfectly smooth base for your spider, you can easily skip the traditional step of creating fork marks on the cookie dough before baking. For extra chewy cookies, underbake by about a minute. These spider cookies are also incredibly versatile! Feel free to substitute the peanut butter cookie base with other favorites like cake mix peanut butter cookies (for speed), classic sugar cookies, rich chocolate chip cookies, or even festive pumpkin cookies for a seasonal twist.
- Remember that decorator gel can take a while to fully set. To prevent any accidental smudges or sliding of the Reese’s cups or candy eyes, handle the decorated cookies gently and allow them sufficient time to dry, ideally an hour or two. If decorator gel isn’t your preference, don’t hesitate to use alternative “glue” options such as pre-made cookie icing, melted semi-sweet chocolate chips, baking chocolate, almond bark, or candy melts. These alternatives can often set more quickly.
- A crucial tip for decorating: Do not stick the Reese’s cups onto hot cookies! The heat will cause the chocolate to melt, creating a messy situation and potentially causing the Reese’s cup to slide off. Always ensure your cookies are completely cool before starting the decoration process.
- Store your finished spider cookies in a single layer within an airtight container or a large zip-top bag at room temperature. This method helps preserve their freshness and prevents the decorations from sticking together or getting damaged, keeping them delicious for up to 5 days.
Instructions
To Make the Cookies
-
Preheat oven to 375 degrees F (190°C).
-
In a large bowl, combine shortening, peanut butter, brown sugar, milk, and vanilla extract. Beat with an electric mixer at medium speed until thoroughly blended and creamy. Add the egg and beat just until incorporated.
-
In a separate bowl, whisk together flour, salt, and baking soda. Gradually add this dry mixture to the wet ingredients at low speed, mixing just until blended. Do not overmix.
-
Drop cookie dough by heaping tablespoonfuls (a cookie scoop works great for consistency) about 2 inches apart onto an ungreased baking sheet. Optionally, flatten slightly in a crisscross pattern with a fork.
-
Bake for 7 to 8 minutes, or until the edges are lightly browned and the cookies are set but still soft in the center. DO NOT OVERBAKE. Let cool on the baking sheet for 2 minutes, then transfer to wire racks to cool completely.
-
Ensure cookies are fully cooled to room temperature before beginning any decoration.
To Decorate
-
Apply a small dab of black decorator gel (or chosen alternative) to the flat bottom of an unwrapped mini Reese’s cup. Gently press it onto the center of each cooled cookie to form the spider’s body.
-
Dot the back of two candy eyeballs with decorator gel and attach them to the lower portion of the Reese’s cup for eyes.
-
Using the black decorator gel, carefully pipe 4 legs on both sides of the Reese’s cup, curving them slightly outwards, for a total of 8 spider legs per cookie.
-
Allow the decorated cookies to set undisturbed for at least an hour or two until the decorator gel is firm. Handle with care until fully set.
Nutrition
The recipes on this blog are tested with a conventional gas oven and gas stovetop. It’s important to note that some ovens, especially as they age, can cook and bake inconsistently. Using an inexpensive oven thermometer can assure you that your oven is truly heating to the proper temperature. If you use a toaster oven or countertop oven, please keep in mind that they may not distribute heat the same as a conventional full sized oven and you may need to adjust your cooking/baking times. In the case of recipes made with a pressure cooker, air fryer, slow cooker, or other appliance, a link to the appliances we use is listed within each respective recipe. For baking recipes where measurements are given by weight, please note that results may not be the same if cups are used instead, and we can’t guarantee success with that method.
