The Ultimate Chocolate Chip Cookie Tower Recipe: A Showstopping Layered Dessert for Any Celebration
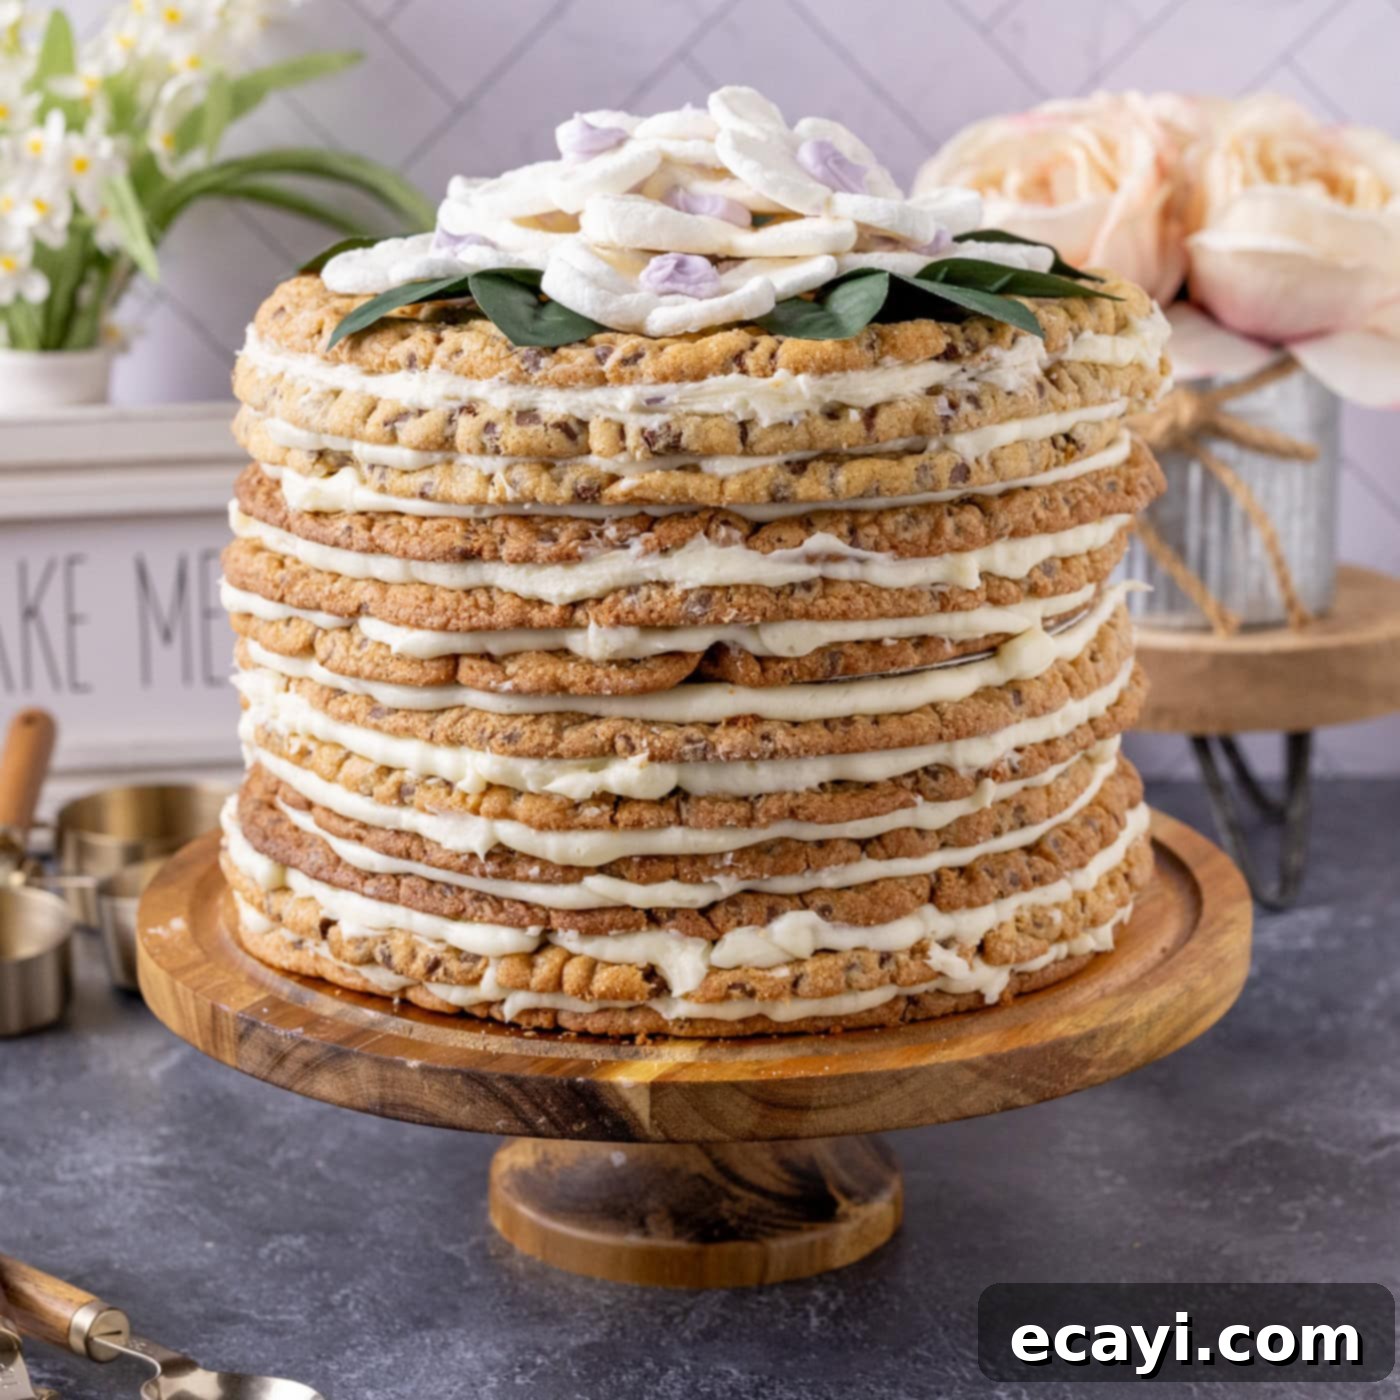
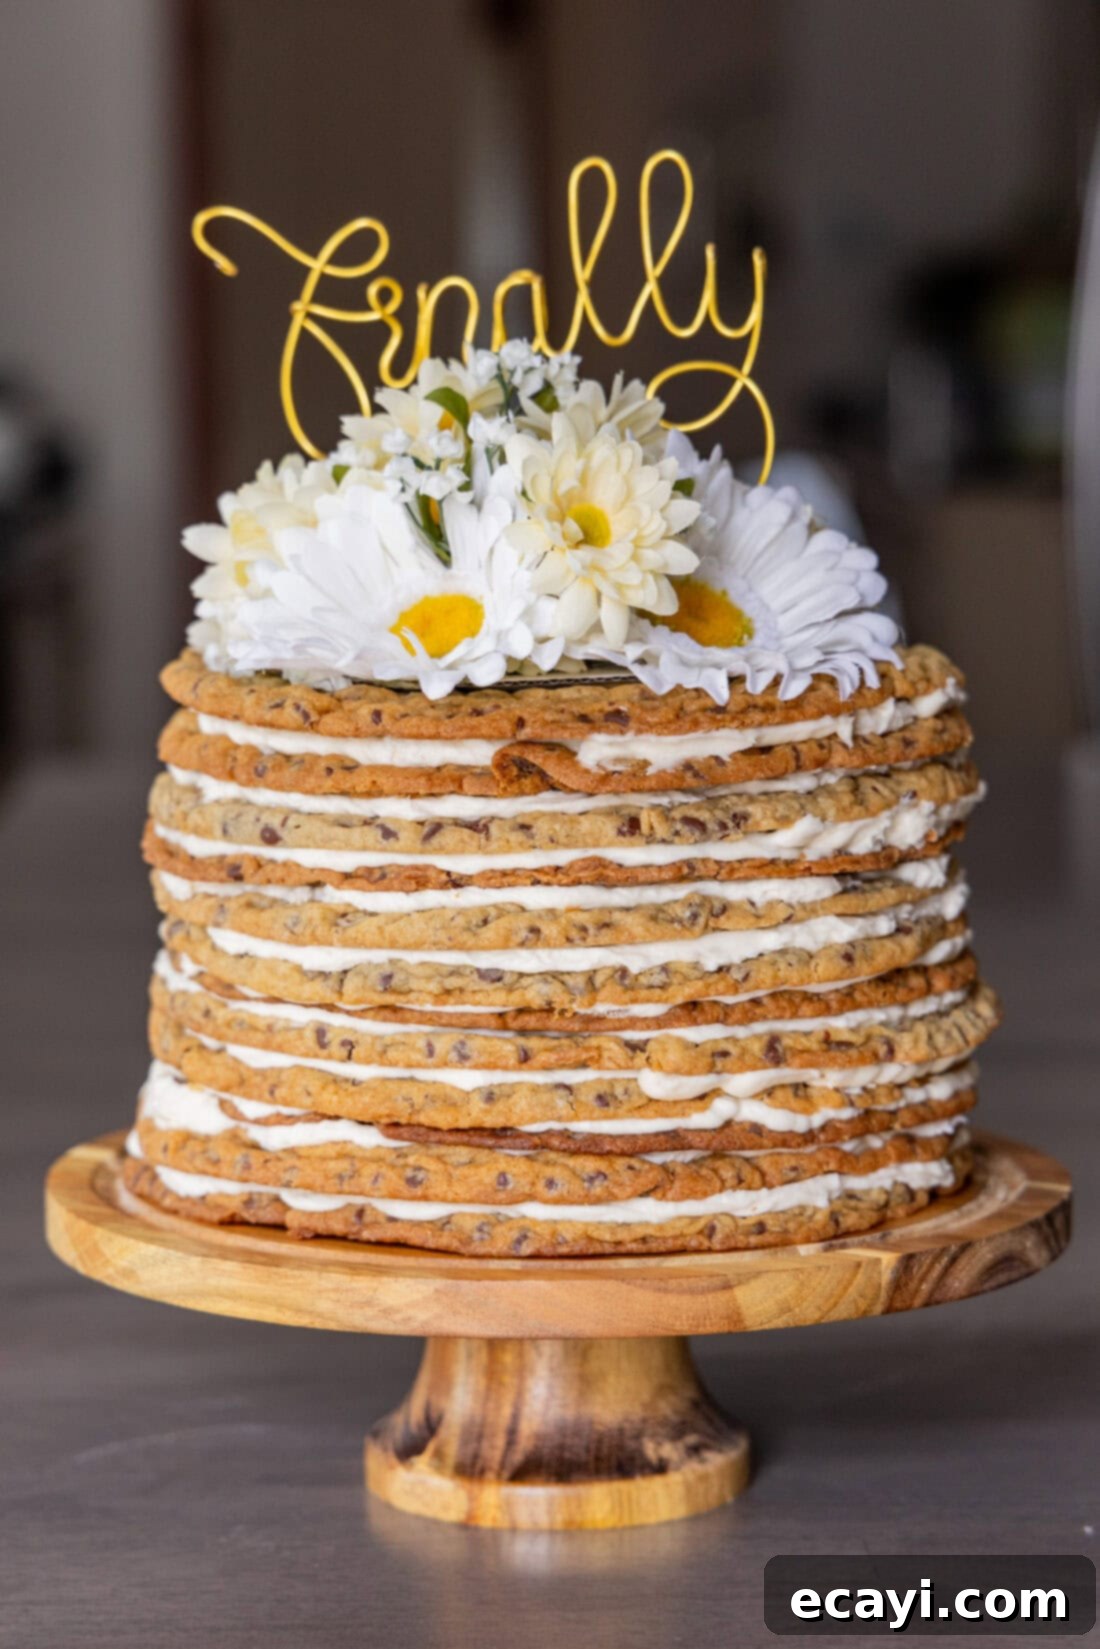
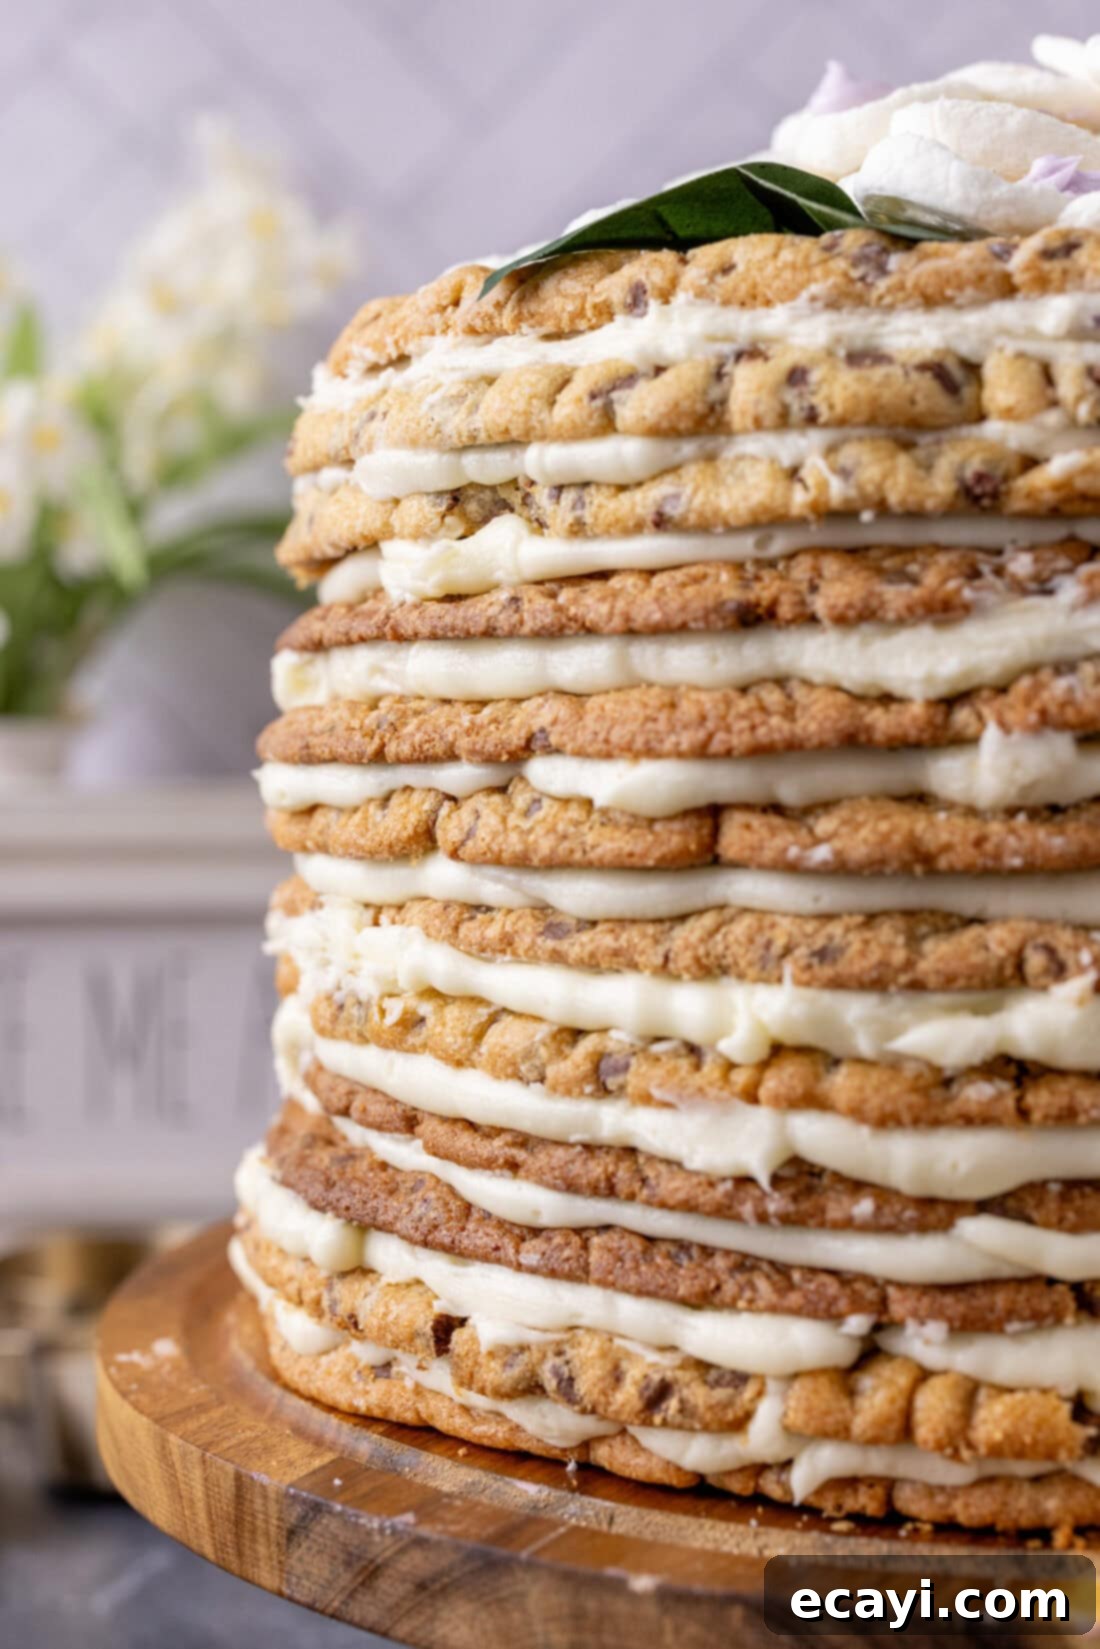
Imagine a culinary masterpiece that combines the comforting chewiness of your favorite chocolate chip cookies with the luxurious indulgence of creamy buttercream frosting. This isn’t just a dream; it’s the magnificent Chocolate Chip Cookie Tower. Standing tall and proud, this impressive dessert is a true showstopper, meticulously crafted from multiple layers of jumbo, chocolate-studded cookies, each separated by generous swirls of rich, decadent buttercream. It’s more than just a dessert; it’s an edible architectural marvel designed to impress and delight at any grand occasion.
Each bite offers a perfect harmony of textures and flavors: the satisfying give of a freshly baked cookie, bursting with sweet chocolate chips, perfectly complemented by the smooth, melt-in-your-mouth frosting. This towering creation promises not just a treat for the palate, but also a spectacular visual centerpiece that will have your guests talking long after the last crumb is gone. Get ready to bake a dessert that’s as fun to assemble as it is to devour, turning any gathering into an unforgettable celebration.
Why This Recipe Is a Must-Try
Forget the humble single-layer cookie cake; this chocolate chip cookie tower elevates dessert to an art form! Our recipe isn’t just about stacking cookies; it’s about engineering a dessert that is both visually stunning and incredibly delicious. With a grand total of 12 giant chocolate chip cookies forming its majestic structure, each layer is generously adorned with a thick, luscious buttercream frosting. This impressive height and rich filling ensure every slice is a taste of pure bliss, offering an unparalleled dessert experience.
The secret to this tower’s impressive stability and seamless presentation lies in the smart use of cardboard cake rounds. Strategically placed between every four cookies, these rounds provide crucial structural support, preventing the tower from toppling and allowing for elegant multi-tiered serving. This thoughtful design ensures that your masterpiece remains picture-perfect from assembly to the final slice, making it not only beautiful but also incredibly practical for large gatherings.
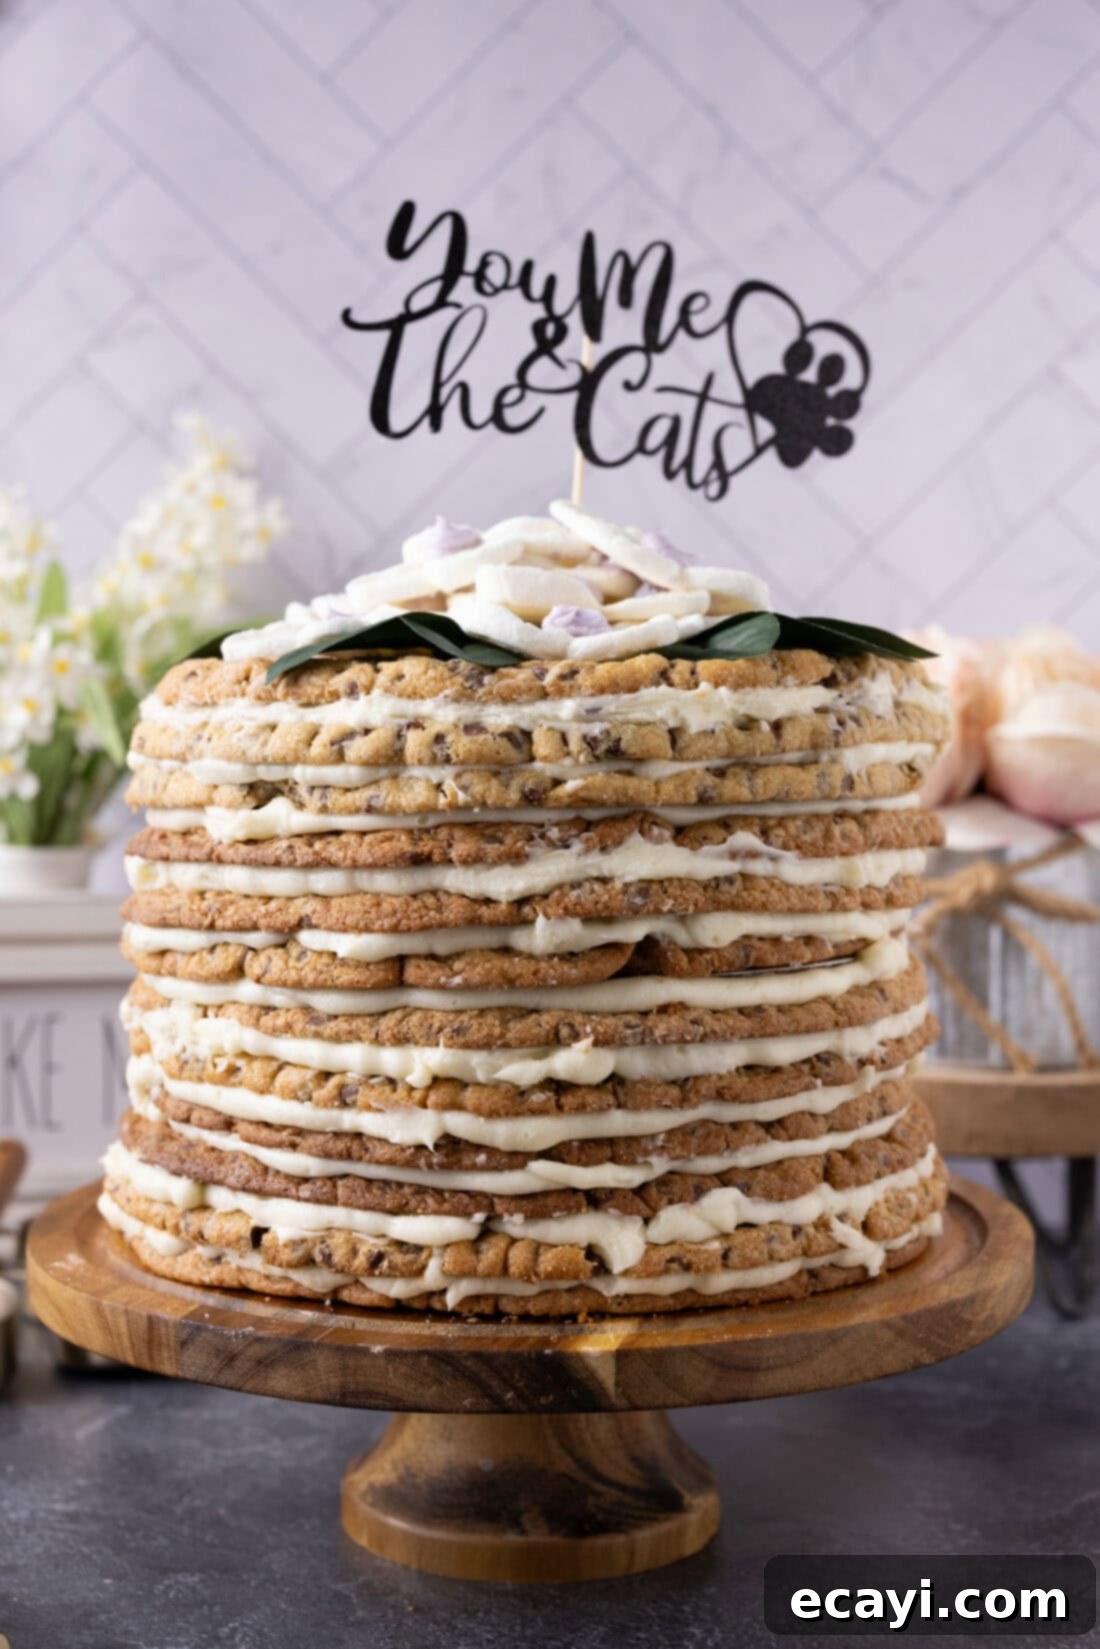
I’ve had the distinct pleasure of preparing this magnificent chocolate chip cookie tower on two special occasions, both for my two youngest sons’ weddings. It was an honor to contribute such a memorable dessert, and you can see both personalized versions, complete with their unique cake toppers, featured within this post. These experiences truly cemented its reputation as a celebratory centerpiece. Beyond weddings, this versatile cookie tower is the ideal dessert for a multitude of festivities. Imagine it gracing the table at birthday parties, adding a sweet highlight to graduation celebrations, bringing families together at reunions, or serving as the ultimate crowd-pleaser at large potlucks. Its generous yield of approximately 32 slices, divided among its three distinct tiers, ensures there’s more than enough to go around, satisfying every sweet tooth in the room.
What truly sets this recipe apart is its ability to blend rustic charm with sophisticated presentation. The homemade cookies bring a comforting, familiar taste, while the towering structure and elegant frosting elevate it to a celebratory showpiece. It’s a dessert that speaks of warmth, generosity, and a little bit of baking magic, promising to be the highlight of any event.
Gather Your Ingredients for This Magnificent Dessert
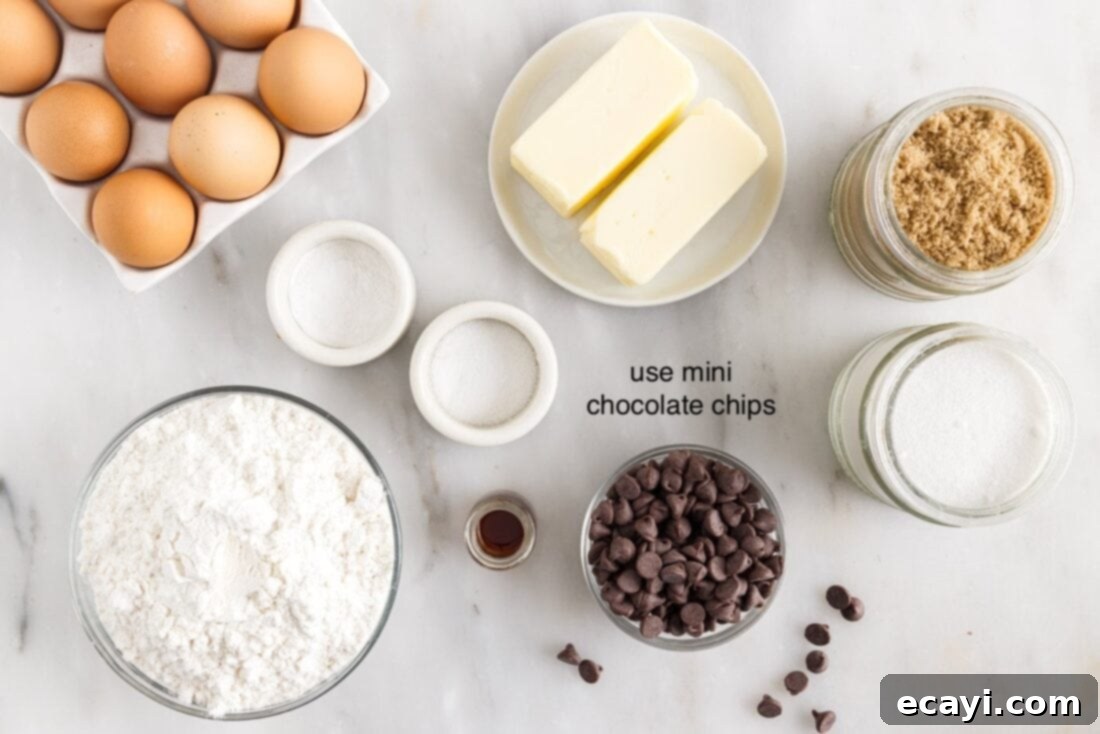
Preparing this impressive Chocolate Chip Cookie Tower requires a careful selection of fresh, high-quality ingredients to ensure the best possible flavor and texture. From the foundational cookie dough to the luscious buttercream frosting, each component plays a vital role in creating a dessert that is both delicious and structurally sound. While you’ll find all precise measurements, a comprehensive list of ingredients, and detailed instructions in the printable version at the very end of this post, let’s take a moment to appreciate the building blocks of this extraordinary treat.
Ingredient Information and Smart Substitution Tips
Understanding each ingredient and knowing how to adapt can be key to baking success. Here’s a closer look at what goes into your cookie tower and how you can make it your own:
For the Cookies: To construct this magnificent tower, you’ll need a substantial amount of cookie dough—specifically, three separate batches. We embarked on a delicious testing journey, initially trying our favorite big soft chocolate chip cookie recipe. While undoubtedly delicious, we found that the classic Toll House recipe provided the ideal balance of chewiness and sturdiness needed for stacking. Its slightly denser texture ensures that each jumbo cookie layer holds up beautifully under the weight of the frosting and subsequent layers, preventing any unwanted crumbling or collapsing. For a unique twist, consider experimenting with different types of chocolate chips – milk, dark, or even white chocolate can add a delightful variation. You could also fold in chopped nuts like pecans or walnuts for added crunch and flavor, keeping in mind that these additions might slightly alter the dough’s consistency.
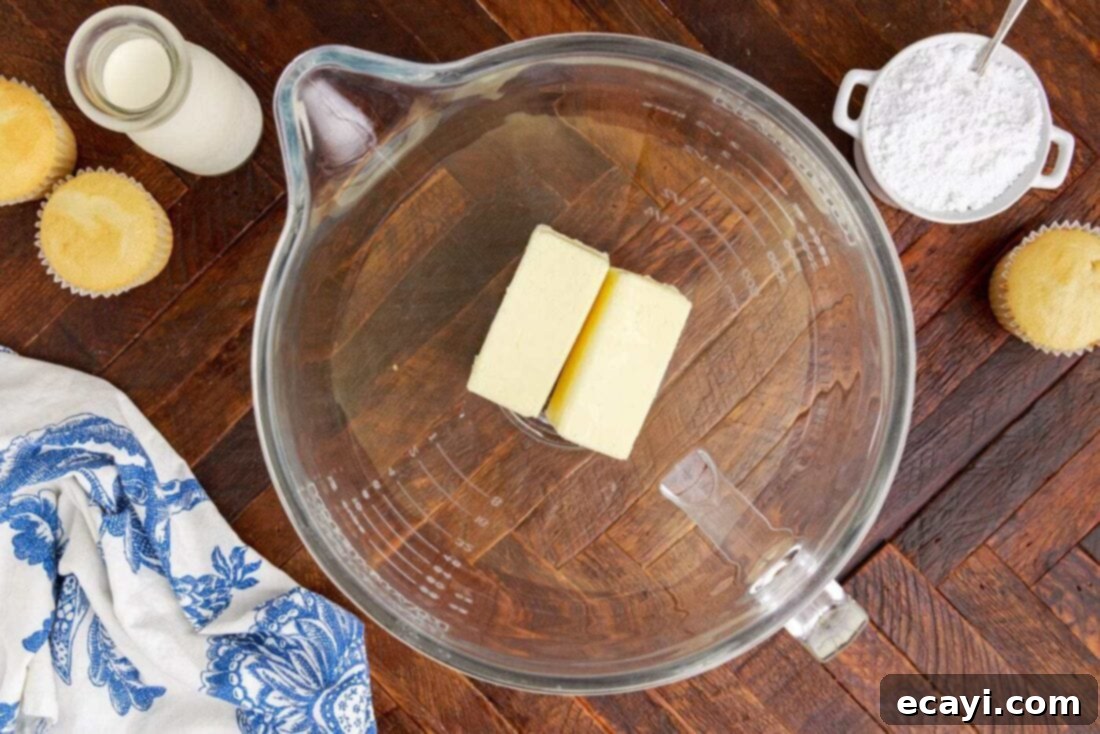
For the Frosting: Just as with the cookies, preparing enough frosting is crucial. This recipe calls for a generous four batches of classic American buttercream frosting. This quantity is essential to create the thick, luscious layers that not only taste incredible but also help bind the cookie layers together securely. While making multiple batches might seem like a labor of love, I promise the rich, creamy result is absolutely worth the effort. The consistency of this buttercream is key – it needs to be firm enough to hold the weight of the cookies, yet smooth and spreadable for easy application. If you’re feeling adventurous, you can infuse your buttercream with different flavors. A hint of almond extract, a touch of orange zest, or even a swirl of melted Biscoff can transform the flavor profile. For a less sweet option, a cream cheese frosting could also work, though you’d want to ensure it’s firm enough to support the tower, perhaps by chilling it slightly between layers.
Step-by-Step Guide: Crafting Your Chocolate Chip Cookie Tower
These step-by-step photos and detailed instructions are provided to help you visualize each stage of making this recipe. For a convenient printable version, complete with precise measurements and full instructions, you can Jump to Recipe at the bottom of this post.
Preparing the Perfect Cookie Dough
- Make 3 separate batches of cookie dough. It is critical to prepare the dough in three distinct batches rather than attempting one large batch, as this ensures proper mixing and the correct consistency for each set of cookies. The instructions provided below are for ONE batch; remember to repeat the entire process twice more.
- In a small mixing bowl, thoroughly whisk together the all-purpose flour, baking soda, and salt. This step is crucial for even distribution of the leavening agents and seasoning throughout the dough. Set this dry mixture aside.
- In a large mixing bowl, using either a hand mixer or a stand mixer fitted with the paddle attachment, cream together the softened butter, granulated sugar, packed brown sugar, and pure vanilla extract until the mixture is light, fluffy, and pale in color. This creaming process incorporates air, contributing to the cookies’ final texture.
- Add the eggs one at a time, beating well after each addition. This allows each egg to fully incorporate into the mixture, creating an emulsion that will give your cookies a rich, chewy texture.
- Gradually incorporate the reserved flour mixture into the wet ingredients, mixing on low speed until just combined. Be careful not to overmix, as this can lead to tough cookies. Once the flour is mostly incorporated, gently stir in the semi-sweet mini chocolate chips. Mini chips are preferred here as they distribute more evenly in thinner cookie layers.
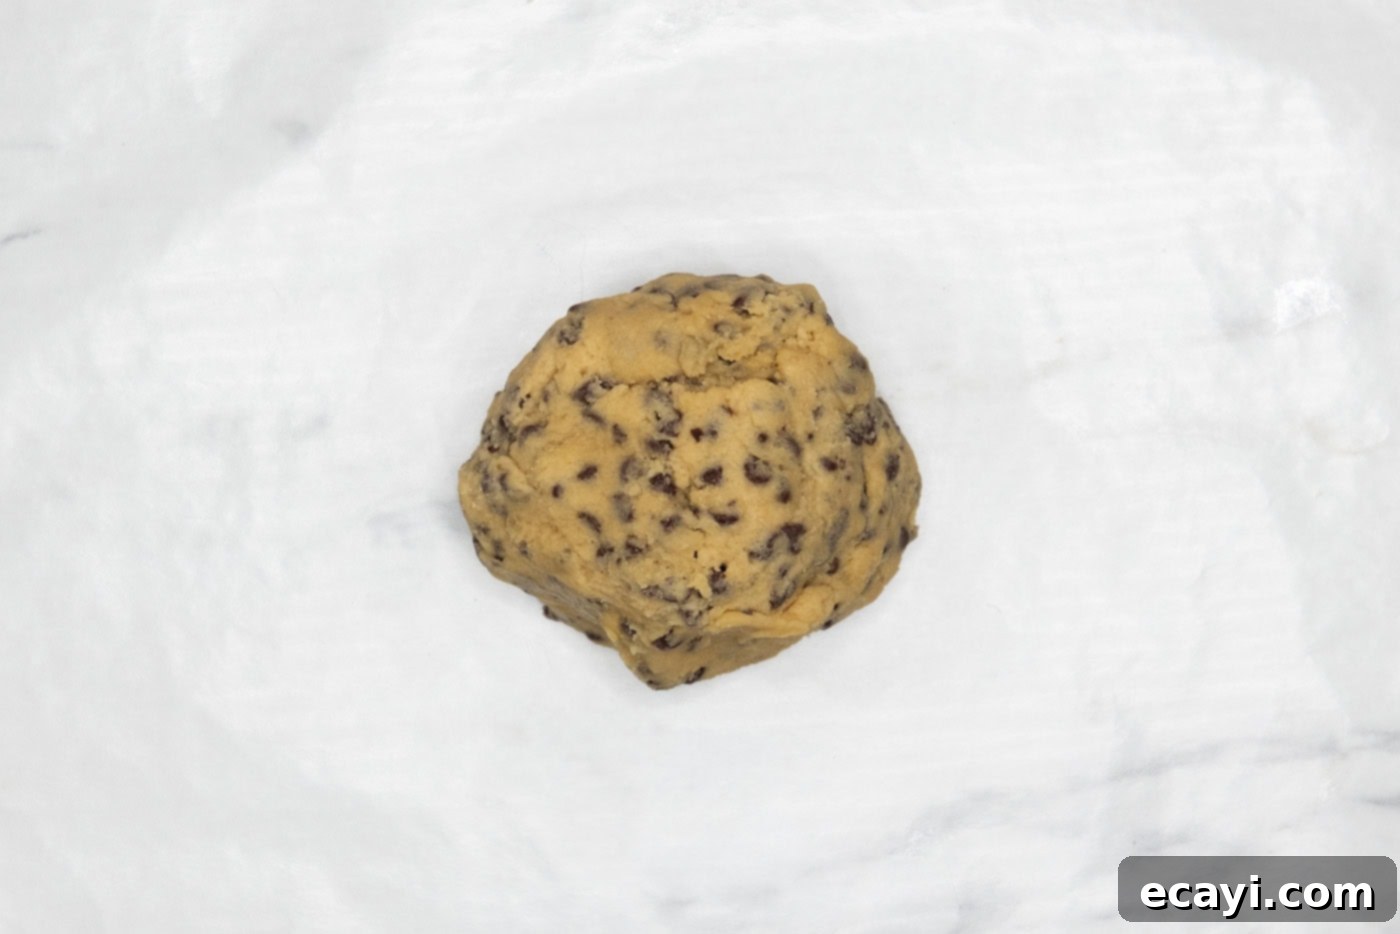
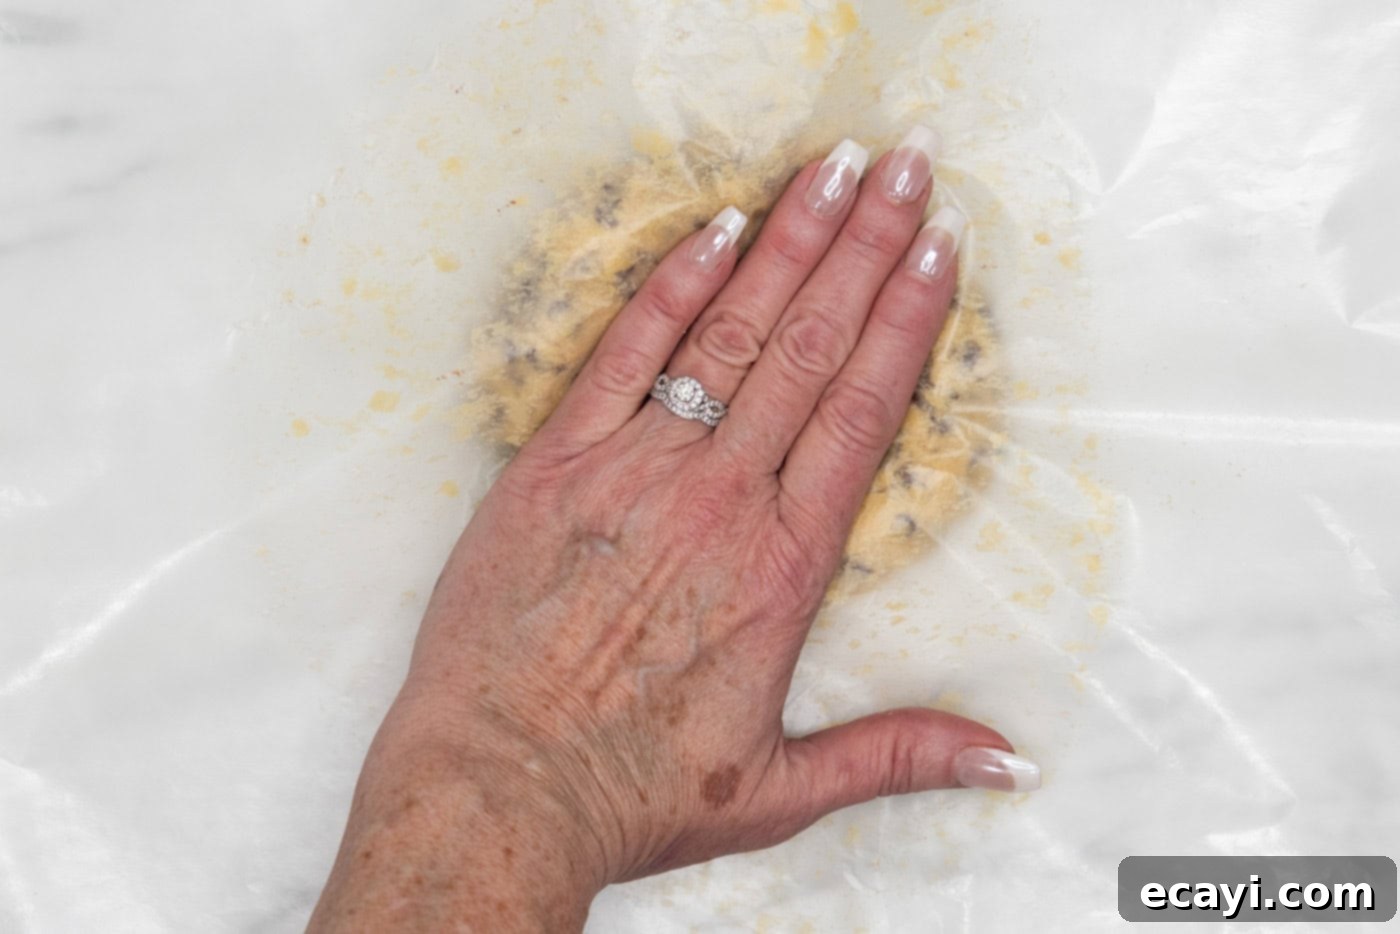
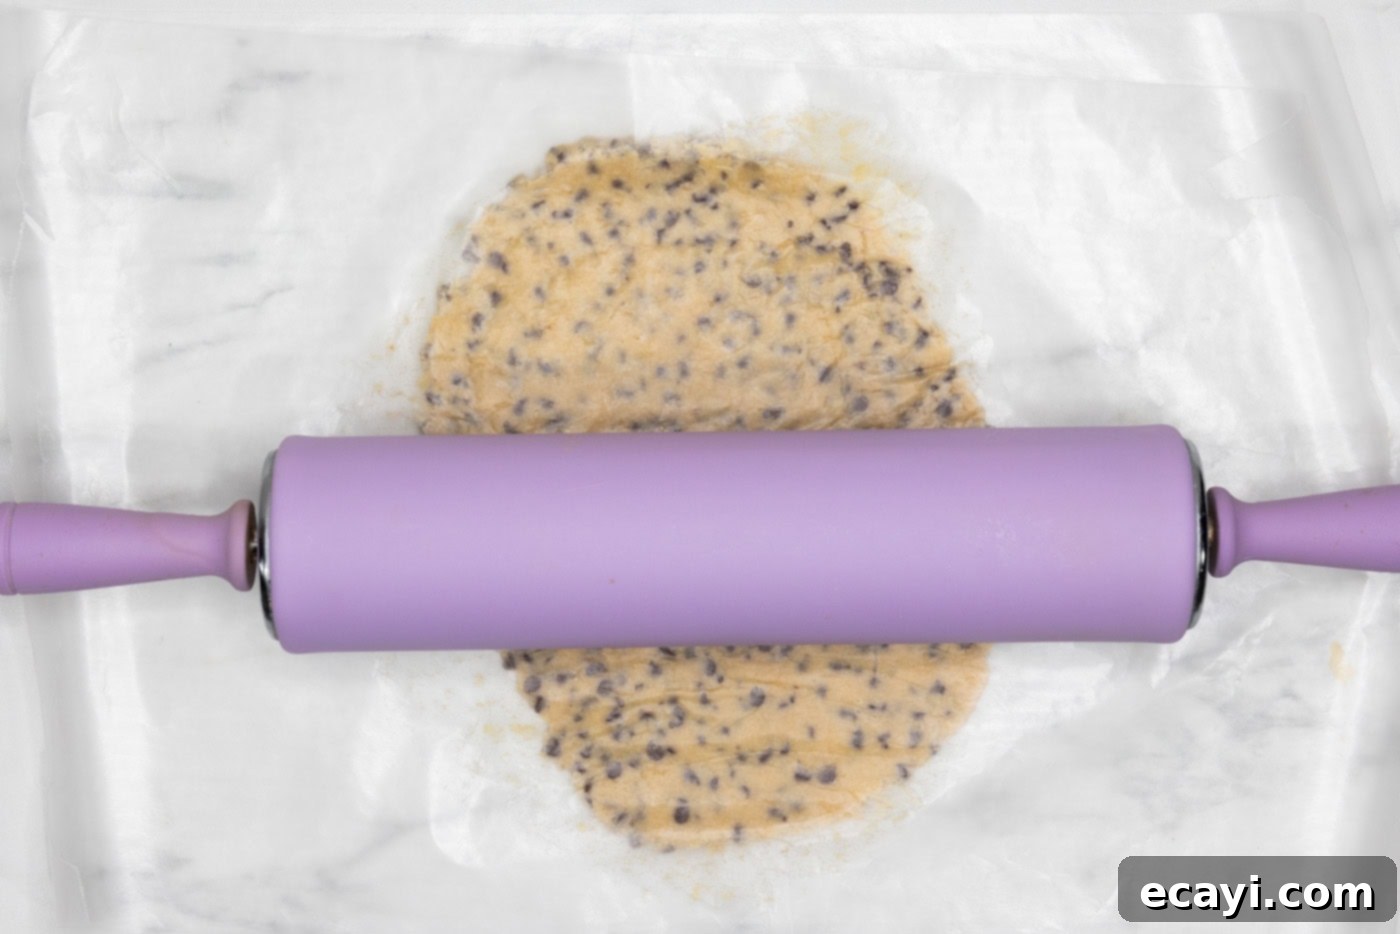
- Weigh the entire batch of dough to ensure even distribution, then divide it into 4 smaller, equal batches. Form each smaller batch into a neat circular disc. Place each disc between two sheets of wax paper or parchment paper. Using a rolling pin, flatten each disc until it measures approximately 9 inches in diameter and the rolling pin just starts to hit the mini chocolate chips, indicating a uniform, relatively thin layer. This precise thickness is important for stacking.


- Carefully transfer the flattened cookie dough circles, still separated by wax or parchment paper, to the freezer. Chill for at least 2 hours, or for up to a month. Freezing the dough prevents excessive spreading during baking and ensures a thicker, chewier cookie.
- Remember to repeat this entire process for the remaining two batches of cookie dough to yield a total of 12 individual cookie layers.
Whipping Up the Silky Buttercream Frosting
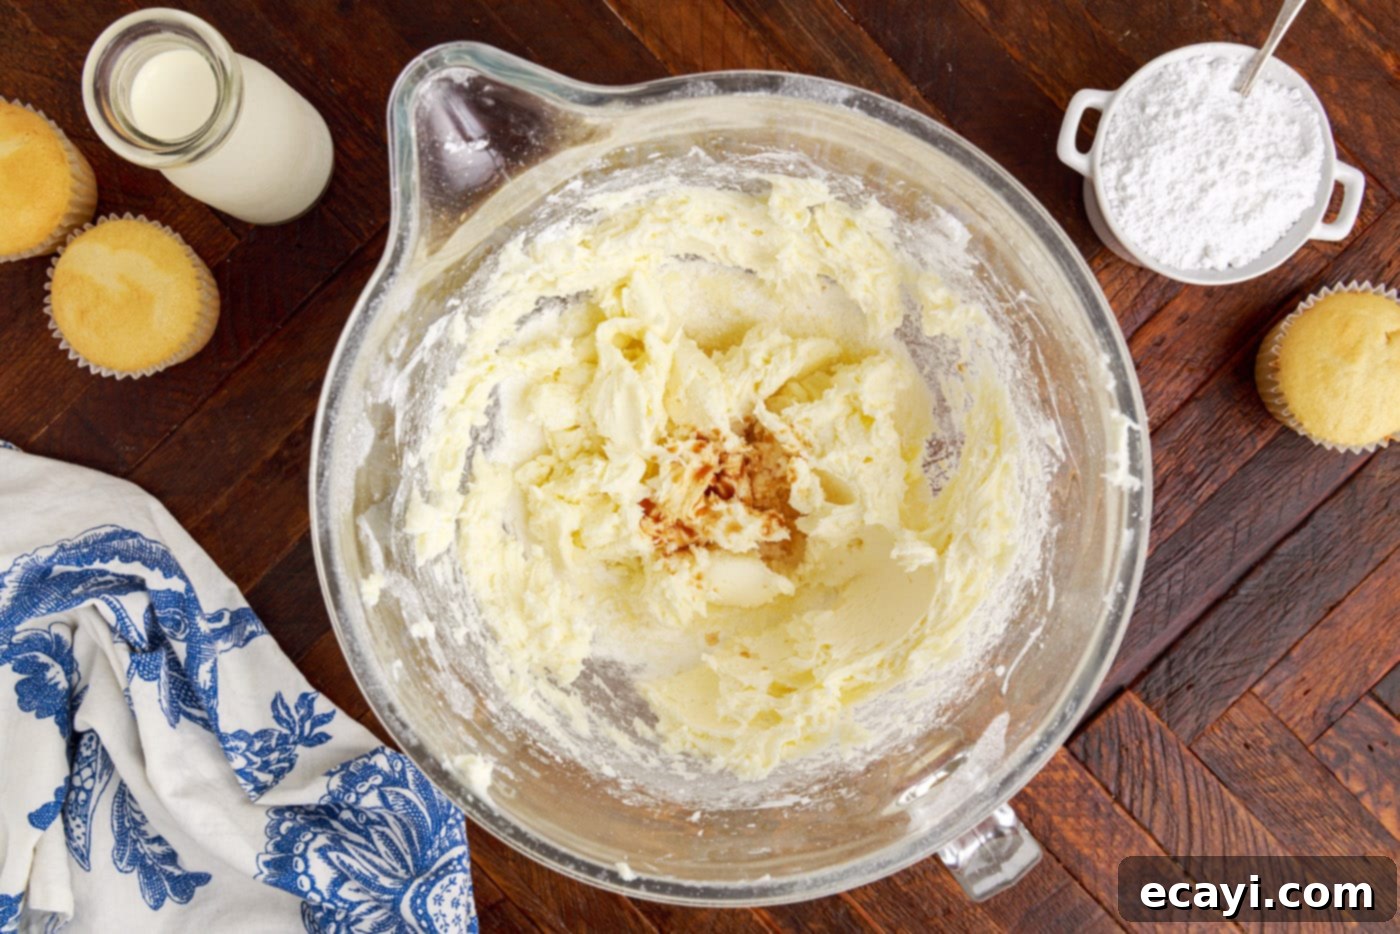
- In the bowl of a stand mixer (or a large bowl with a hand mixer) fitted with the whisk attachment, beat the softened unsalted butter on medium-high speed until it becomes noticeably light, airy, and fluffy, typically for 3-5 minutes. This aeration is key to a smooth, delicious buttercream.
- Gradually add in the powdered sugar, starting on low speed to prevent a cloud of sugar from escaping the bowl. Once incorporated, slowly increase the speed, ensuring the sugar is fully mixed in.
- Beat in the pure vanilla extract until just combined. You can increase the vanilla for a stronger flavor, or add other extracts if desired.

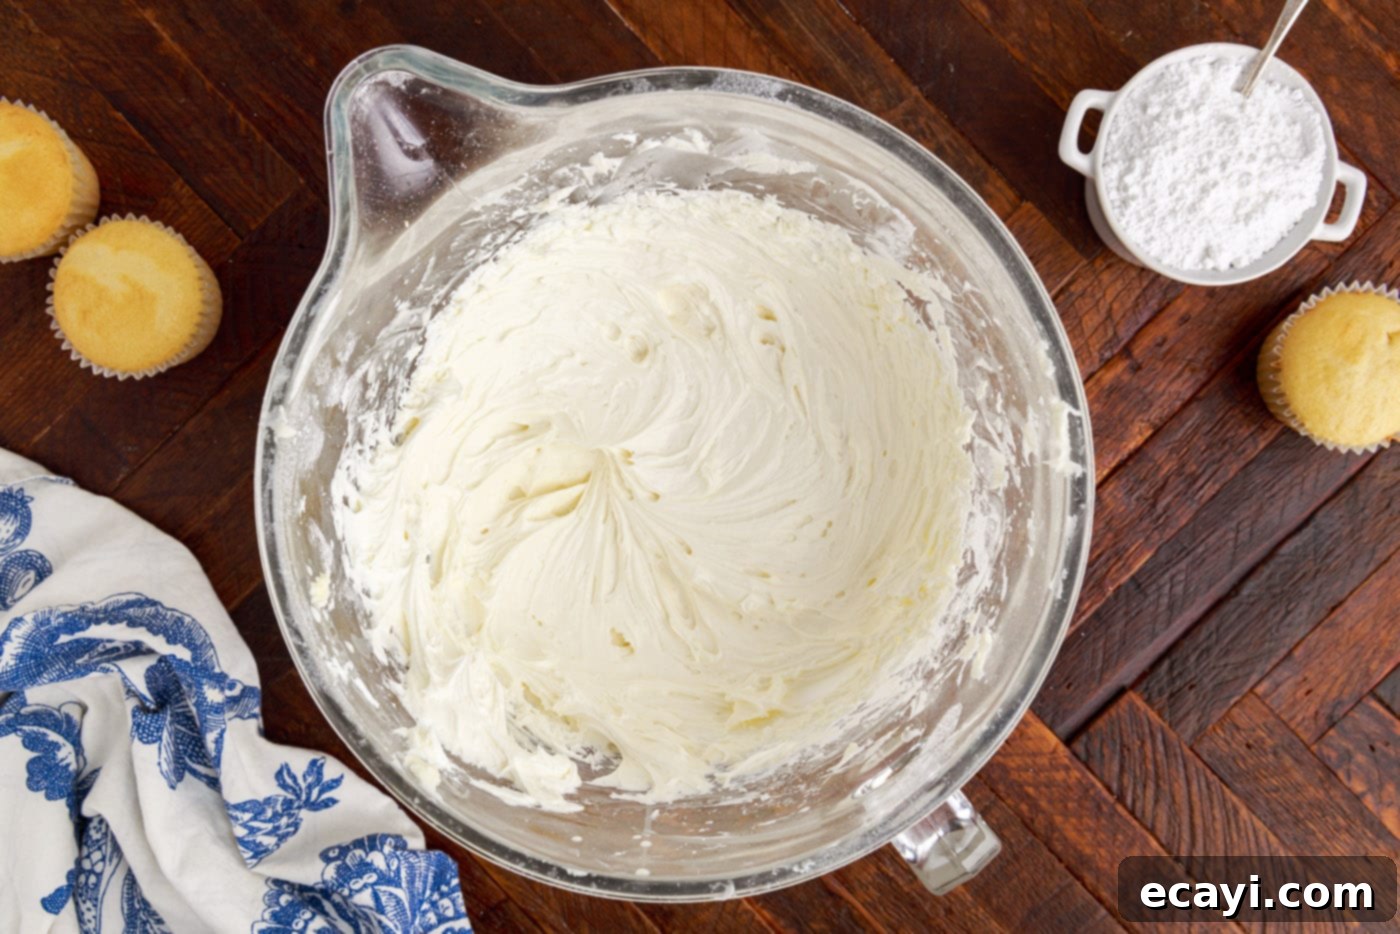
- Pour in the heavy cream and whisk on high speed for approximately 5 minutes, or until the buttercream reaches a light, fluffy, and spreadable consistency. Don’t forget to scrape down the sides of the bowl periodically to ensure all ingredients are thoroughly mixed. The final consistency should be firm enough to hold its shape but soft enough to spread easily.

- Repeat this process for 3 more batches to ensure you have ample frosting to generously fill and decorate your entire cookie tower.
Achieving Perfectly Baked Cookie Layers
- Preheat your oven to 375°F (190°C). It’s essential to allow your oven to fully preheat to the correct temperature for even baking. Line an insulated baking sheet with parchment paper. Insulated sheets help prevent the edges from browning too quickly. While I used four baking sheets in total to expedite the process, using just one or two is perfectly fine; you’ll simply rotate them as needed.
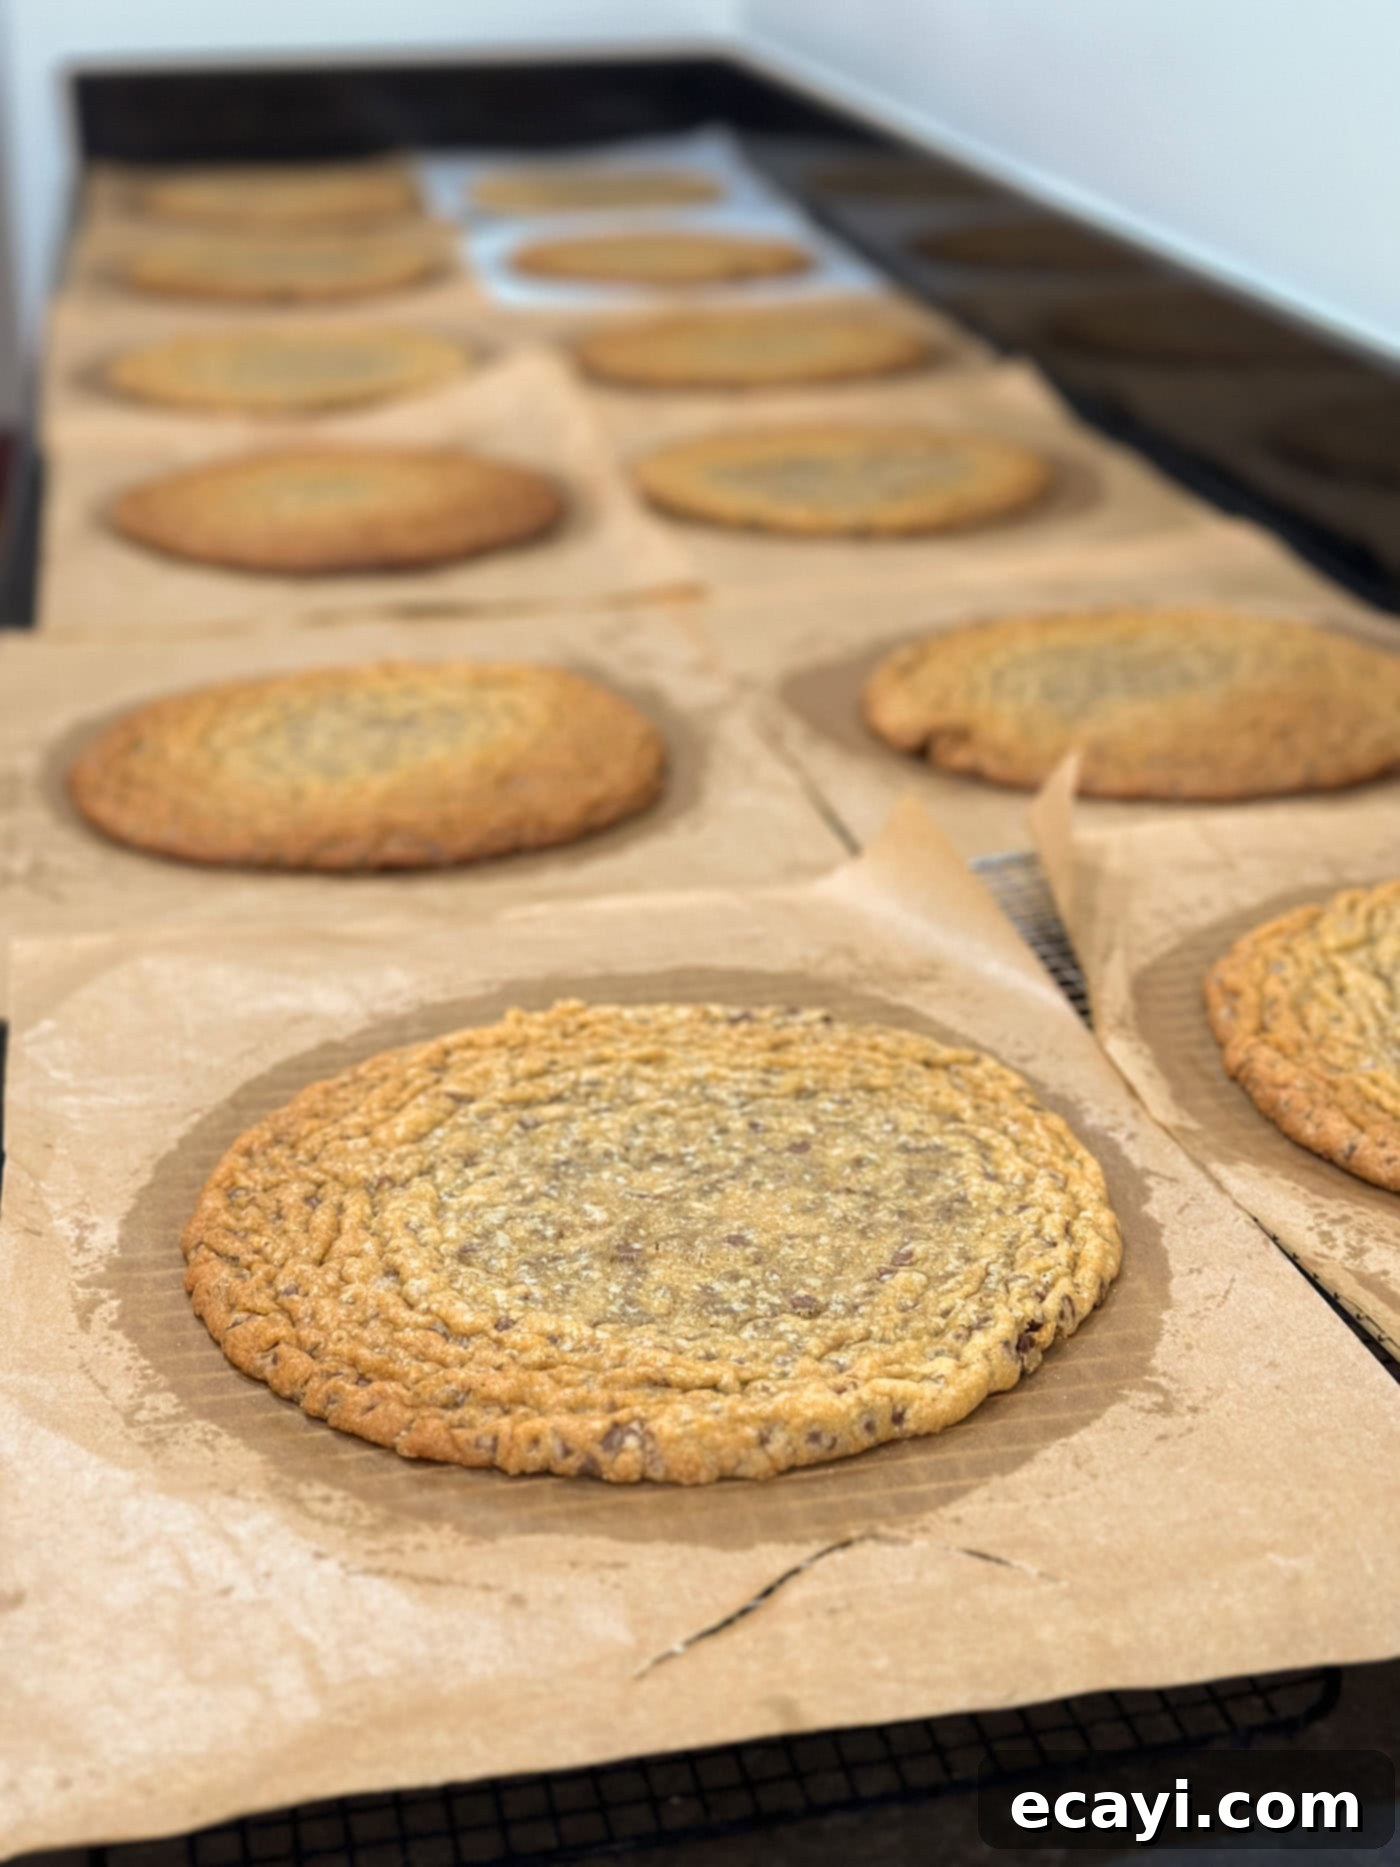
- Bake the frozen cookie dough layers one at a time, directly from the freezer onto the prepared baking sheet. This helps maintain their shape and creates a delightful chewiness. Bake for 10-12 minutes; in my oven, 11.5 minutes yielded the perfect result. Look for lightly golden edges and a set center.
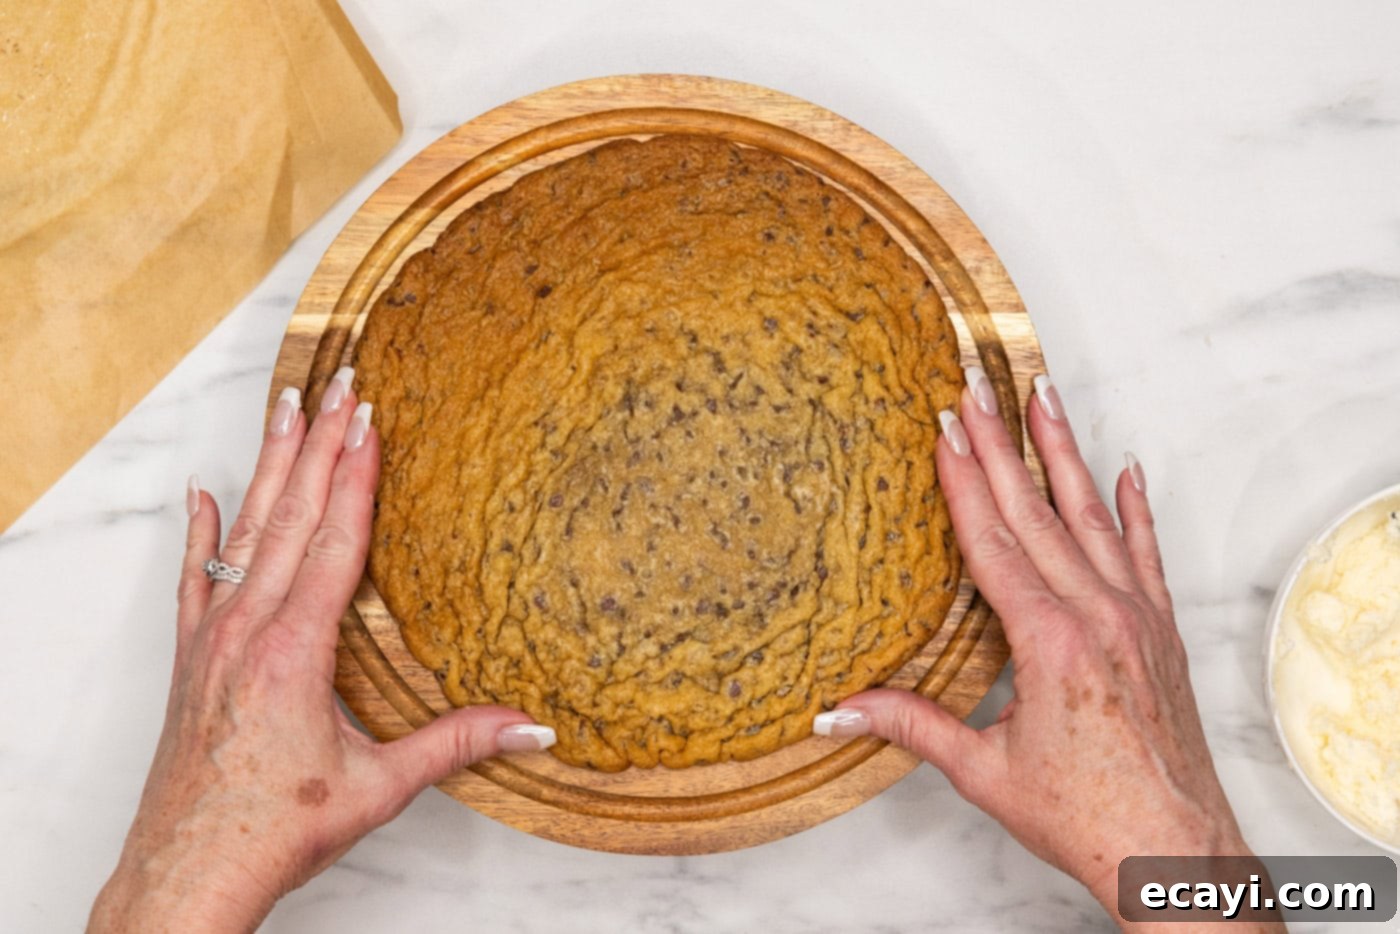
- Immediately upon removing the cookie sheet from the oven, while the cookie is still hot and pliable, use the edge of a spatula or a round cookie cutter slightly larger than 9 inches to gently push and shape the warm cookie into a perfect 9-inch circle. This ensures uniform layers for stacking. This step is crucial, as the cookie will firm up as it cools.
- Carefully slide the parchment paper with the newly shaped cookie onto a wire cooling rack and allow it to cool completely. Ensuring each cookie layer is fully cooled before frosting is paramount; otherwise, the buttercream will melt and compromise the tower’s structure.

- Repeat this baking and shaping process for all remaining cookie layers until you have 12 perfectly baked and cooled jumbo chocolate chip cookies.
Building Your Magnificent Cookie Tower
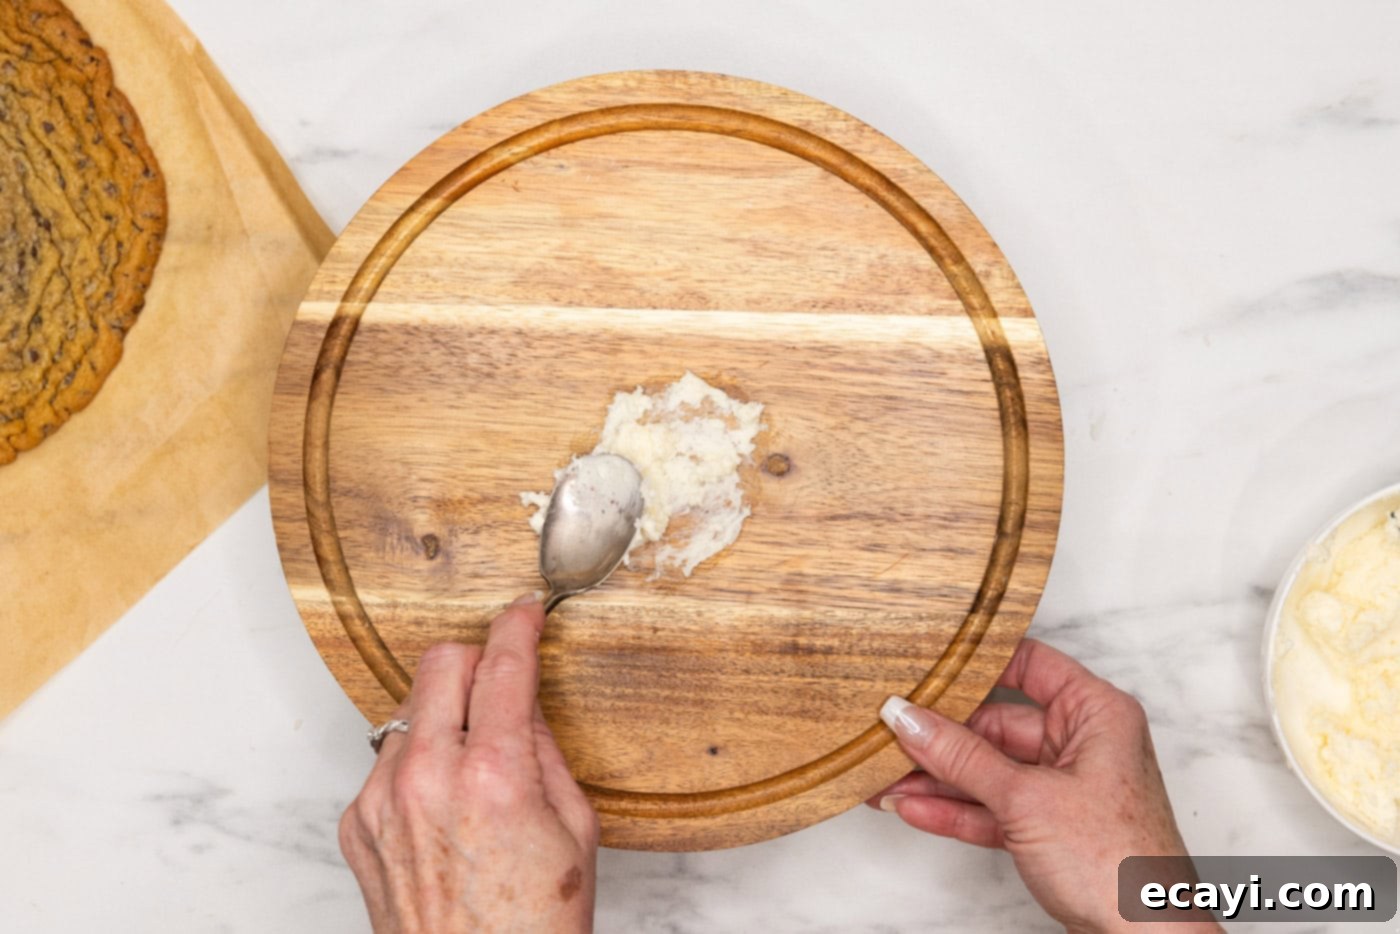
- To ensure your cookie tower stays securely in place, begin by adding a small dollop (about a tablespoon) of buttercream to the very center of your chosen cake stand or serving plate. This acts as an adhesive. Carefully place the first cooled cookie layer directly on top of this buttercream, pressing down gently to secure it.


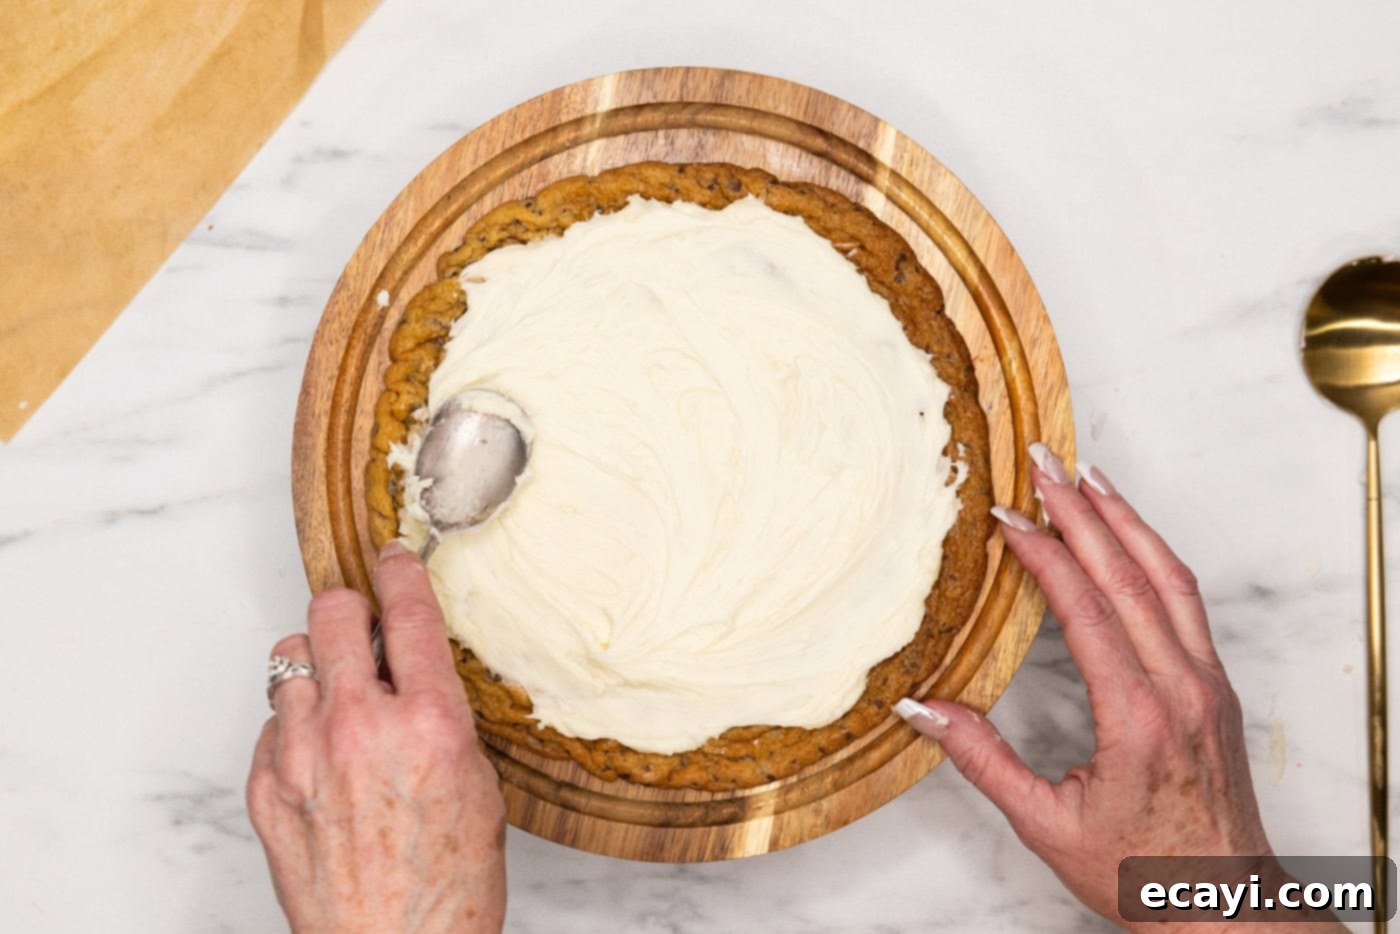
- Generously spread about 1 cup of buttercream on top of the first cookie layer, extending almost to the edges. For a neat finish and added stability, pipe a small border or “dam” of frosting around the very edge of the cookie. This helps to contain the filling and creates a beautiful, defined layer.

- Place the second cookie layer directly on top of the frosted first layer, aligning it carefully. Repeat the frosting process with another cup of buttercream and a piped edge.
- Now, place the third cookie layer on top. This is where the structural support comes in. Add another tablespoon of buttercream to the center of this third cookie. Then, carefully place one of your cardboard cake circles (8-inch diameter recommended) directly on top of the buttercream. The frosting will help prevent the cake circle from sliding. This cardboard layer is crucial for separating the tiers and making serving much easier.
- Pipe buttercream around the edges of the cookie to create a neat boundary for the next layer. Add a tablespoon of buttercream to the center of the cardboard cake circle, preparing it for the next cookie.
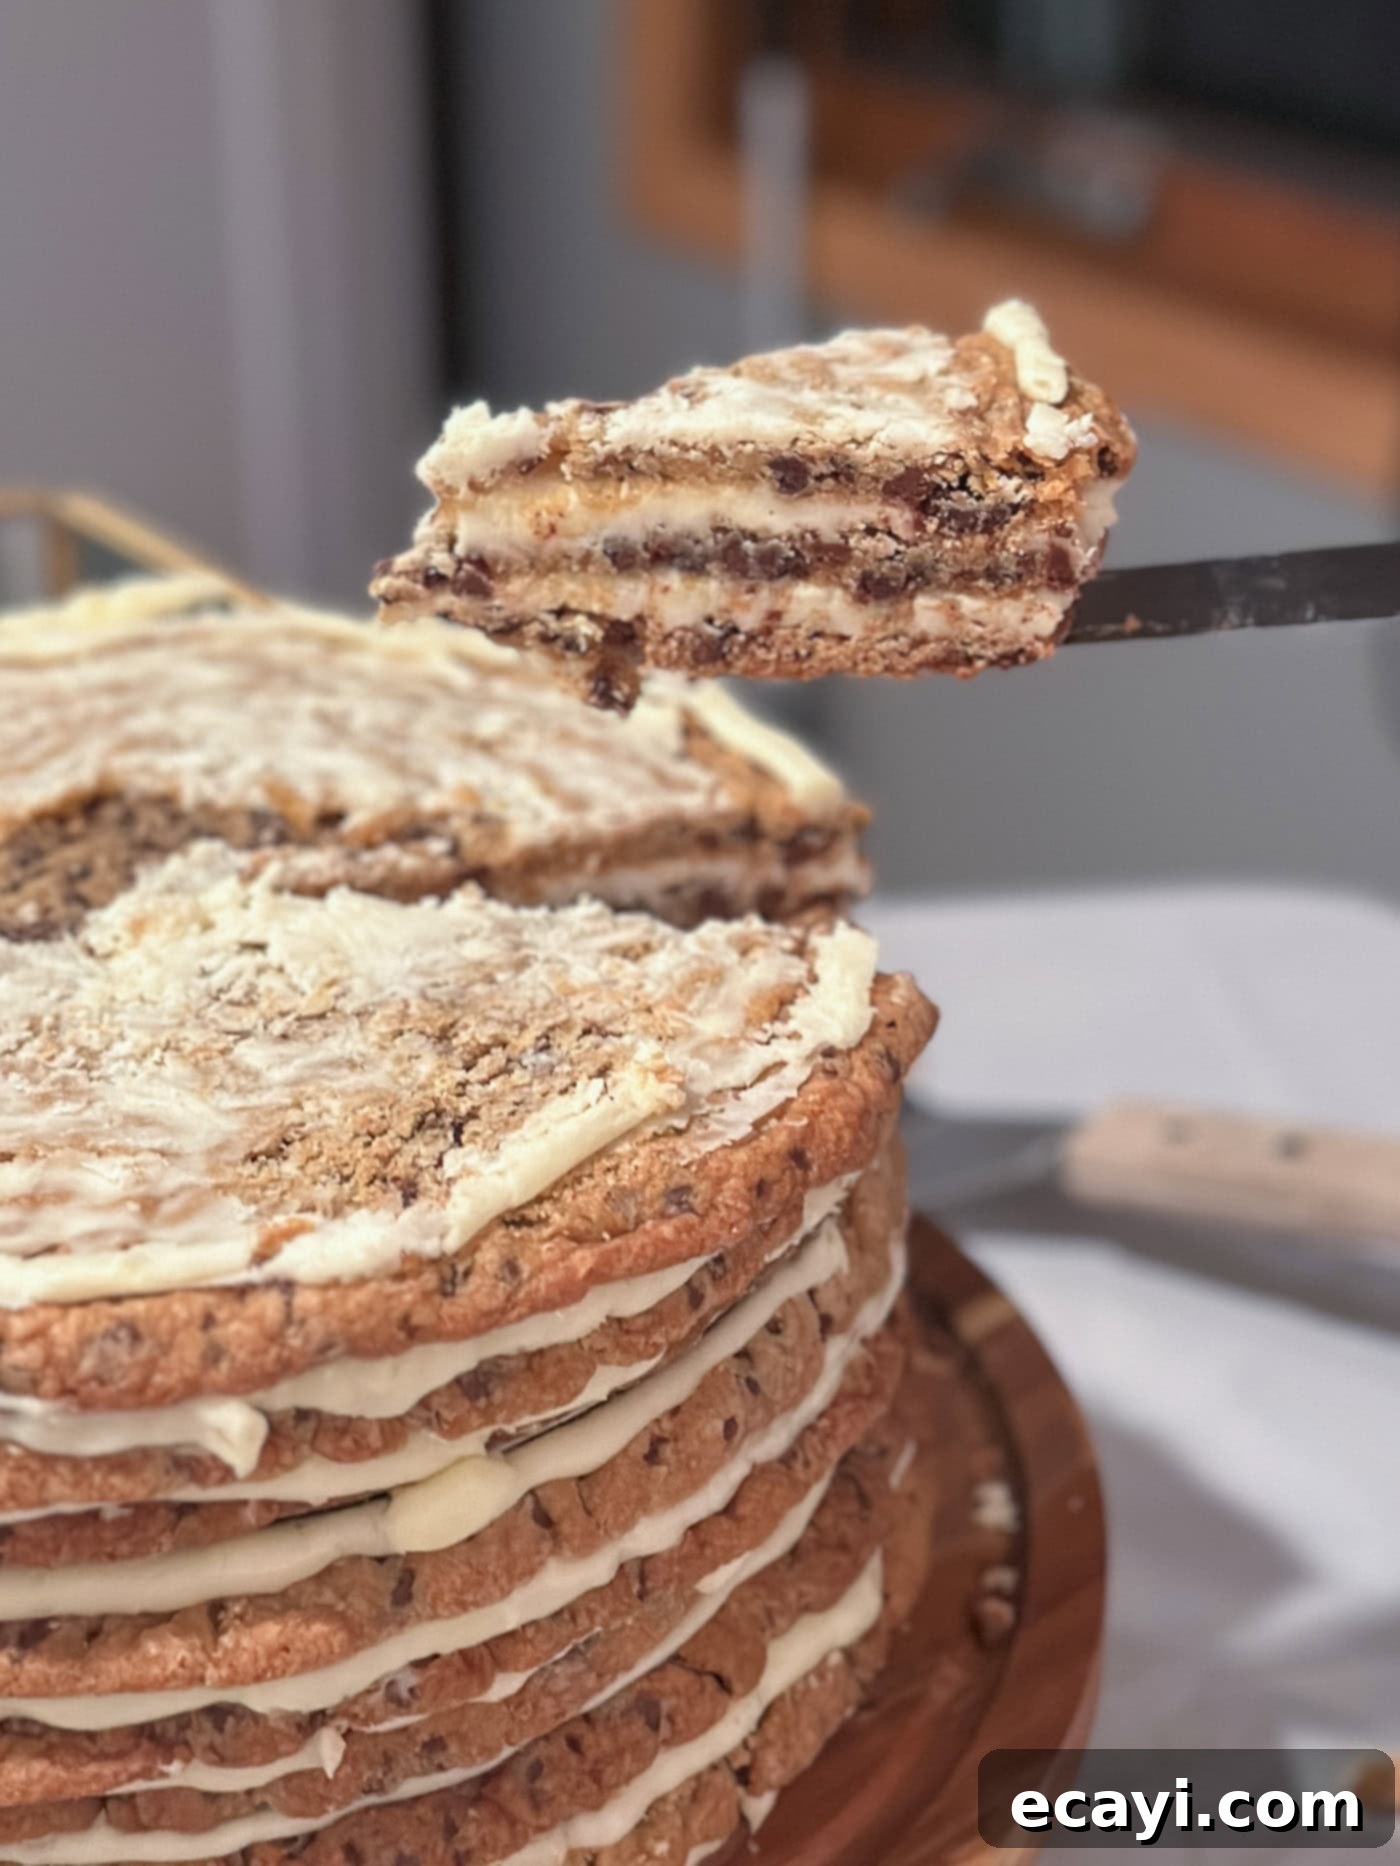
- Place the fourth cookie layer on top of the cake circle and repeat the frosting process as described above. Continue this pattern: three cookie layers, then a cardboard cake circle, followed by three more cookie layers, and another cardboard cake circle. You will ultimately have three tiers, each consisting of three cookie layers. This design allows you to easily slice and remove one entire tier (3 cookies + frosting) without disturbing the lower tiers.
PRO TIP – The image below illustrates how one tier has already been gracefully removed, allowing us to delve into slicing the second tier. This tiered approach simplifies serving a large dessert.

- It is quite likely that you will have some buttercream left over. Don’t let it go to waste! It’s perfect for frosting a few extra cupcakes, topping plain cookies, or simply enjoying with a spoon.
Frequently Asked Questions & Expert Tips for Your Cookie Tower
Absolutely, and in fact, I highly recommend preparing the cookie tower a full day in advance. This foresight will significantly reduce stress on the day of your event, allowing you to focus on other preparations. Moreover, allowing the frosting to settle overnight actually helps to firm up the structure and meld the flavors, often resulting in a richer taste and more stable tower. However, if your event is further in the future, it’s best to prepare the cookie dough batches and freeze them separately. Once you’re ready to bake and serve, simply follow the baking instructions, then assemble. When storing the assembled tower a day ahead, ensure it is completely covered with plastic wrap, creating an airtight seal to prevent any air penetration that could dry out the cookies. Store it at room temperature to maintain the frosting’s optimal consistency.
Proper storage is essential to keep your magnificent cookie tower fresh and delicious. For any leftover portions of the assembled tower, wrap it tightly with plastic wrap directly on its cake stand. This will protect the cookies from drying out and the frosting from hardening too much. Alternatively, you can carefully slice the tower into individual wedges and store them in a large ziptop bag or an airtight container. At room temperature, the cookie tower will remain delightful for up to 2 days. If you need to extend its freshness, storing it in the refrigerator can keep it good for up to 4 days. Regardless of the storage location, ensure the cookies are well-covered; exposure to air is the enemy of chewy cookies, quickly turning them crumbly and stale.
Transporting a dessert of this stature can be a delicate operation, which is why thoughtful preparation is key. It’s highly advisable to assemble the entire tower directly on the sturdy cake stand you intend to use for serving. Once assembled and decorated, loosely wrap the entire cookie tower, including the cake stand, with multiple layers of plastic wrap. This provides a gentle barrier without squishing any decorations. Next, find a large, sturdy box that provides ample space around the cake. Carefully place the wrapped tower into the box. To cushion it during transit and prevent any shifting or damage, surround the cake with soft materials such as bubble wrap, clean grocery bags, kitchen towels, or even crumpled parchment paper. The goal is to fill any empty space in the box, providing stability without applying direct pressure to the tower itself. Drive carefully, and your beautiful cookie tower will arrive at its destination intact!
Creative Serving and Decoration Ideas
The beauty of this chocolate chip cookie tower is its versatility, making it a perfect canvas for your creative flair. While stunning on its own, a few thoughtful additions can transform it even further. Here are some fantastic ideas to customize and present your masterpiece:
- Personalized Cake Toppers & Candles: Elevate the celebration by adding a themed cake topper that reflects the event, whether it’s a “Happy Birthday,” “Mr. & Mrs.,” or a whimsical design. For birthdays, don’t forget to embed sparkling candles to make a wish!
- Elegant Buttercream Dollops: For a professional and polished look, pipe decorative dollops of leftover buttercream around the perimeter of each cookie layer, or just along the top. You can use a star tip for a classic look or a round tip for a more modern aesthetic.
- Floral Accents: Bring a touch of natural beauty to your tower. Use faux flowers for a reusable, long-lasting decoration, or opt for fresh, food-safe flowers that complement your event’s color scheme. Ensure any fresh flowers are organic and cleaned thoroughly before placing them near the edible parts of the cake.
- Fondant Embellishments: If you enjoy working with fondant, crafting delicate fondant flowers, leaves, or other small shapes can add an extra layer of charm and sophistication. These can be easily made ahead of time and placed on the tower just before serving.
- Simplicity is Key: Remember, the chocolate chip cookie tower is a showstopper in its own right. It’s also absolutely fantastic and impressive when served as-is, without any additional toppers or elaborate decorations. Its natural beauty and deliciousness speak for themselves!
- Serving Technique: When it’s time to serve, use a sturdy cake knife or spatula. The tiered structure with cardboard rounds makes cutting and serving incredibly convenient. Simply lift an entire tier and slice it into wedges, then move on to the next tier below. This ensures clean slices and minimizes mess.
Explore More Delicious Dessert Recipes
If you’ve enjoyed creating and devouring this cookie tower, you’ll love these other fantastic dessert recipes from our kitchen. Each one promises a delightful treat for your taste buds and is perfect for sharing with friends and family:
- Funfetti Cake: A vibrant and joyful cake bursting with colorful sprinkles, perfect for any celebration.
- Chantilly Cake: An elegant and delicious cake featuring layers of moist cake, fresh berries, and luscious cream cheese frosting.
- Lemon Lush Trifle: A refreshing and light dessert with zesty lemon, creamy layers, and a delightful crunch.
- Skillet Chocolate Chip Cookie: The ultimate warm, gooey chocolate chip cookie, baked and served in a skillet – perfect for a cozy night in.
I love to bake and cook and share my kitchen experience with all of you! Remembering to come back each day can be tough, that’s why I offer a convenient newsletter every time a new recipe posts. Simply subscribe and start receiving your free daily recipes!
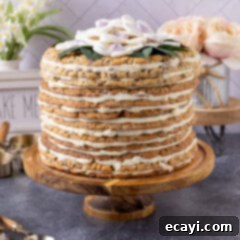
Chocolate Chip Cookie Tower
IMPORTANT – There are often Frequently Asked Questions within the blog post that you may find helpful. Simply scroll back up to read them!
Print It
Pin It
Rate It
Save ItSaved!
Ingredients
One Batch of Cookie Dough (x3)
- 2 ¼ cups all purpose flour
- 1 teaspoon baking soda
- 1 teaspoon salt
- 1 cup unsalted butter 2 sticks, softened
- ¾ cup granulated sugar
- ¾ cup brown sugar packed
- 1 teaspoon pure vanilla extract
- 2 large eggs
- 10 ounces semi-sweet mini chocolate chips
One Batch of Buttercream Frosting (x4)
- 1 cup unsalted butter softened. 2 sticks
- 1 teaspoon pure vanilla extract
- 4 ½ cups powdered sugar
- 3 Tablespoons heavy whipping cream
Things You’ll Need
-
Stand mixer or hand mixer
-
Insulated baking sheets
-
Parchment paper
-
Spatula
-
Wire cooling racks
-
3 8-inch cardboard cake circles
Before You Begin
- IMPORTANT – To successfully create this impressive tower, you will need to prepare three separate batches of the cookie dough (ingredients for one batch are listed above) and four separate batches of the buttercream frosting (ingredients for one batch are listed above). Attempting to make all cookie dough in one bowl is not recommended due to volume and ensuring proper mixing; working in smaller, separate batches is much easier and yields better results. The same applies to the frosting to achieve the right consistency and volume.
- I strongly recommend preparing the buttercream frosting when you are ready to begin assembling the cake. I generally advise against refrigerating the buttercream before assembly, as it can firm up significantly, making it much harder to spread smoothly between the cookie layers. Freshly made buttercream will be at its most pliable and easy to work with for a beautifully frosted tower.
Instructions
Making the Cookie Dough
-
Make 3 separate batches of cookie dough. Instructions for ONE batch follows.
-
Combine the flour, baking soda, and salt in a small mixing bowl and set aside.2 1/4 cups all purpose flour, 1 teaspoon baking soda, 1 teaspoon salt
-
In a large bowl, beat the butter, granulated sugar, brown sugar, and vanilla extract with a hand mixer or stand mixer.1 cup unsalted butter, 3/4 cup granulated sugar, 3/4 cup brown sugar, 1 teaspoon pure vanilla extract
-
Add the eggs, one at a time, beating well after each addition.2 large eggs
-
Slowly add in the flour mixture until combined. Stir in mini chocolate chips.10 ounces semi-sweet mini chocolate chips
-
Weigh the dough then divide into 4 smaller batches. Form each smaller batch into a circle. Flatten between 2 pieces of wax paper or parchment paper, rolling until the rolling pin is hitting the mini chocolate chips.
-
Freeze circles, separated between sheets of wax paper or parchment, for 2 hours or up to a month.
-
Repeat for 2 more batches.
Making the Buttercream
-
Beat softened butter in the bowl of a stand mixer using the whisk attachment until light and fluffy.1 cup unsalted butter
-
Add in powdered sugar. Mix slowly, gradually increasing the speed so that the powdered sugar stays in the mixing bowl.4 1/2 cups powdered sugar
-
Beat in vanilla extract.1 teaspoon pure vanilla extract
-
Add the heavy cream and whisk on high speed. Scrape down the sides of the bowl, beat until desired consistency is achieved (about 5 minutes).3 Tablespoons heavy whipping cream
-
Repeat for 3 more batches.
Baking the Layers
-
Preheat oven to 375 F. Line an insulated baking sheet with parchment paper. I used 4 total, but if you only have 1 or 2 that’s fine as well.
-
Bake the cookie layers, one at a time, straight from freezer. Bake for 10-12 minutes, mine were good at 11.5 minutes.
-
As soon as you remove the cookie sheet from the oven, use the edge of the spatula to form the hot cookie into a 9-inch circle.
-
Slide parchment with cookie onto a cooling rack and cool completely.
-
Repeat for remaining cookie layers.
Frost and Assemble
-
Add a tablespoon of buttercream to the center of your cake plate. Place a cookie layer on the cake plate.
-
Spread 1 cup of the buttercream on top of the first cookie and spread almost to the edges. Pipe frosting around the cookie along the edge.
-
Place second cookie on top of that and repeat.
-
Place third cookie on top of that. Add a tablespoon of buttercream in the center of that cookie and place a cardboard cake circle on top of that. This keeps the cake circle from sliding.
-
Pipe buttercream on the edges of the cookie. Add a tablespoon of buttercream to the center of the cake circle.
-
Place fourth cookie on top and repeat the above process. You want a cake circle every three layers. This allows you to cut the cake into 3 layer wedges, then remove the cake circle to move down to the next tier.
-
You will probably have buttercream left over.
Expert Tips & FAQs
- Make Ahead – For optimal flavor development and to ease event-day stress, I wholeheartedly recommend assembling your cookie tower a day in advance. This period allows the frosting to set beautifully, creating a more stable and cohesive structure, and the flavors to meld wonderfully. If your planning extends beyond a single day, a great strategy is to prepare and freeze the individual cookie dough batches. These can be stored for up to a month, ready to be baked on demand when you’re closer to serving time. When storing the assembled tower a day ahead, meticulously cover the entire dessert with plastic wrap to ensure no air can penetrate, which is crucial for preventing the cookies from drying out. Keep the covered tower at room temperature to maintain the buttercream’s perfect consistency.
- Storing Leftovers – To preserve the deliciousness of any leftover chocolate chip cookie tower, prompt and proper storage is key. You can wrap the remaining tower tightly with plastic wrap directly on its serving stand. Alternatively, for easier portioning, carefully slice the tower into individual wedges and place them in a large ziptop bag or an airtight container. When stored at room temperature, it will remain fresh and delightful for up to 2 days. For longer enjoyment, you can refrigerate it for up to 4 days. Regardless of the chosen storage method, the most important factor is to ensure the cookies are covered exceptionally well to prevent them from becoming dry, crumbly, and stale.
- Transporting Your Masterpiece – Moving a grand cookie tower can be a bit challenging, which is precisely why it’s best practice to assemble the entire creation on the cake stand you’ll use for presentation. Once complete, wrap the entire cake and its stand loosely but thoroughly in plastic wrap. Next, place this wrapped tower into a large, sturdy box. To protect your dessert during transit, surround it with cushioning materials such as bubble wrap, crumpled paper grocery bags, or soft towels. These materials will help absorb shocks and prevent the tower from shifting, ensuring it arrives at its destination in perfect, picture-ready condition.
Nutrition
The recipes on this blog are tested with a conventional gas oven and gas stovetop. It’s important to note that some ovens, especially as they age, can cook and bake inconsistently. Using an inexpensive oven thermometer can assure you that your oven is truly heating to the proper temperature. If you use a toaster oven or countertop oven, please keep in mind that they may not distribute heat the same as a conventional full sized oven and you may need to adjust your cooking/baking times. In the case of recipes made with a pressure cooker, air fryer, slow cooker, or other appliance, a link to the appliances we use is listed within each respective recipe. For baking recipes where measurements are given by weight, please note that results may not be the same if cups are used instead, and we can’t guarantee success with that method.
