Crispy & Delicious Homemade Breaded Shrimp: Your Easy Guide to Golden Perfection
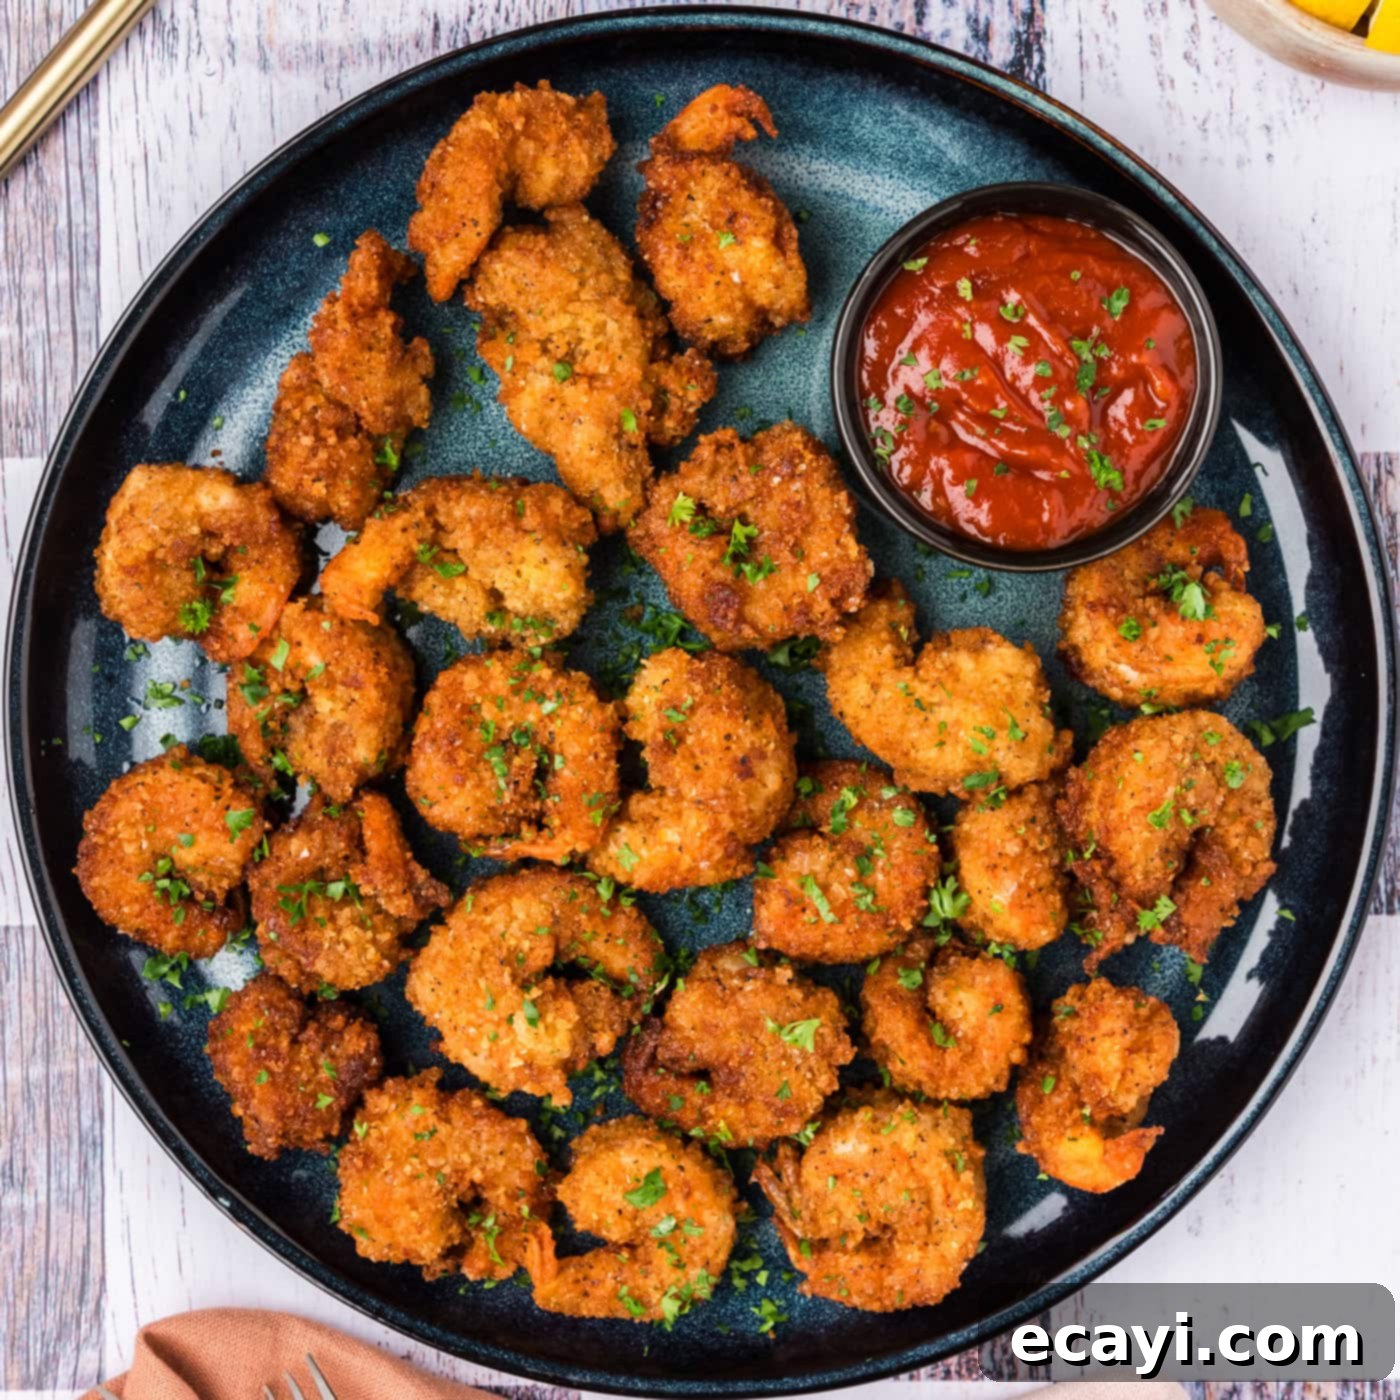
Prepare to tantalize your taste buds with this incredibly easy breaded shrimp recipe! Coated in a unique blend of breadcrumbs and expertly fried to a crispy, crunchy, golden brown finish, these delectable morsels are ready to enjoy in approximately 20 minutes from start to finish. Perfect as a quick appetizer or a satisfying main course, this recipe promises a restaurant-quality experience right in your own kitchen.
Why This Easy Breaded Shrimp Recipe Works Wonders
This breaded shrimp recipe stands out for several compelling reasons, making it a go-to for anyone craving perfectly crispy seafood. The magic lies in the carefully chosen combination of Panko breadcrumbs and plain breadcrumbs. Panko, with its lighter, flakier texture, creates an airy crispness and absorbs less oil, resulting in a less greasy final product. Meanwhile, traditional plain breadcrumbs contribute a finer, denser coating that delivers that satisfying, audible crunch we all love. This dynamic duo ensures the breading remains light yet incredibly crunchy and seriously delicious.
Unlike our classic fried shrimp recipe which uses cornmeal for its distinctive texture, this breaded version offers a different, equally delightful textural experience. When it comes to anything fried, achieving the right texture is paramount, and this recipe absolutely nails it. You’ll simply have to try both variations to discover your personal favorite, but for a universally loved, golden-fried crunch, this breaded shrimp is unparalleled. Moreover, making breaded shrimp at home allows you to control the quality of your ingredients and the freshness of your oil, ensuring a superior taste and healthier outcome compared to takeout.
Key Ingredients for Perfect Crispy Breaded Shrimp
Gathering your ingredients is the first step towards culinary success. You’ll find all precise measurements, a complete list of ingredients, and detailed instructions in the convenient printable recipe version located at the very end of this post. For now, let’s dive into some specifics about what you’ll need to create this fantastic homemade breaded shrimp.
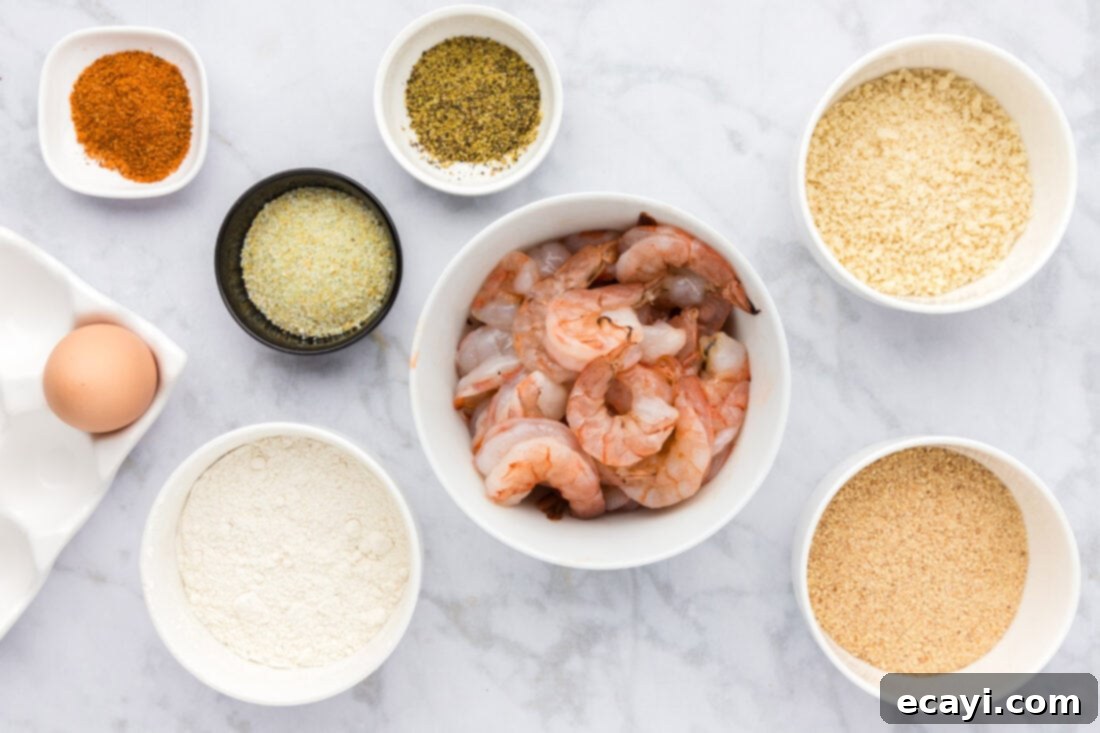
Ingredient Spotlight & Smart Substitutions for Your Breaded Shrimp
Understanding your ingredients is key to mastering any recipe. Here’s a closer look at the components of our crispy breaded shrimp and how you can adapt them to your preferences:
SHRIMP – We opted for fresh jumbo shrimp in this recipe, which offer a satisfying bite. However, almost any size or variety of fresh shrimp will work wonderfully. If using smaller shrimp, adjust your frying time accordingly, as they will cook faster. Frozen shrimp are also a viable option, but it’s crucial to ensure they are fully thawed before preparation. After thawing, pat them thoroughly dry with paper towels. This step is non-negotiable, as excess moisture will prevent the breading from adhering properly and result in a soggy coating rather than a crispy one. For convenience, you can choose shrimp with tails on or off; tails-on makes for an attractive presentation and a convenient handle for dipping, while tails-off are easier for younger eaters.
SEASONING – The blend of garlic salt, seafood seasoning, and lemon pepper creates a beautifully balanced flavor profile that perfectly complements the natural sweetness of the shrimp. This combination offers a zesty, savory, and slightly aromatic note. Feel free to customize! You can substitute the pre-made seafood seasoning with our easy homemade shrimp seasoning for a personalized touch. For those who enjoy a little extra kick, a dash of Cajun seasoning will infuse your breaded shrimp with a vibrant, spicy zip. Other options include simple salt and freshly cracked black pepper for a minimalist approach, or adding a pinch of onion powder, dried dill, or a touch of cayenne for subtle variations.
BREADING – The genius of this recipe lies in the mixture of both plain and Panko breadcrumbs. This blend is the secret to achieving a light yet exceptionally crispy coating. Panko breadcrumbs, hailing from Japan, are made from crustless white bread and have a distinctively flaky, airy texture. This characteristic allows them to absorb less oil during frying, leading to a lighter, crispier result. On the other hand, plain breadcrumbs provide a finer texture and contribute to a lovely, robust crunch and golden color. Combining them offers the best of both worlds: the light crispiness of Panko with the satisfying crunch and adherence of plain breadcrumbs. For a gluten-free alternative, look for gluten-free Panko or regular breadcrumbs. You could also try finely crushed cornflakes or pretzels for a different type of crunch, though the flavor profile would change.
FLOUR – All-purpose flour is used as the first layer in our breading station. Its purpose is to create a dry surface on the shrimp, giving the egg wash something to cling to. This initial layer is vital for ensuring the subsequent breadcrumb coating adheres evenly and completely, preventing any bare spots.
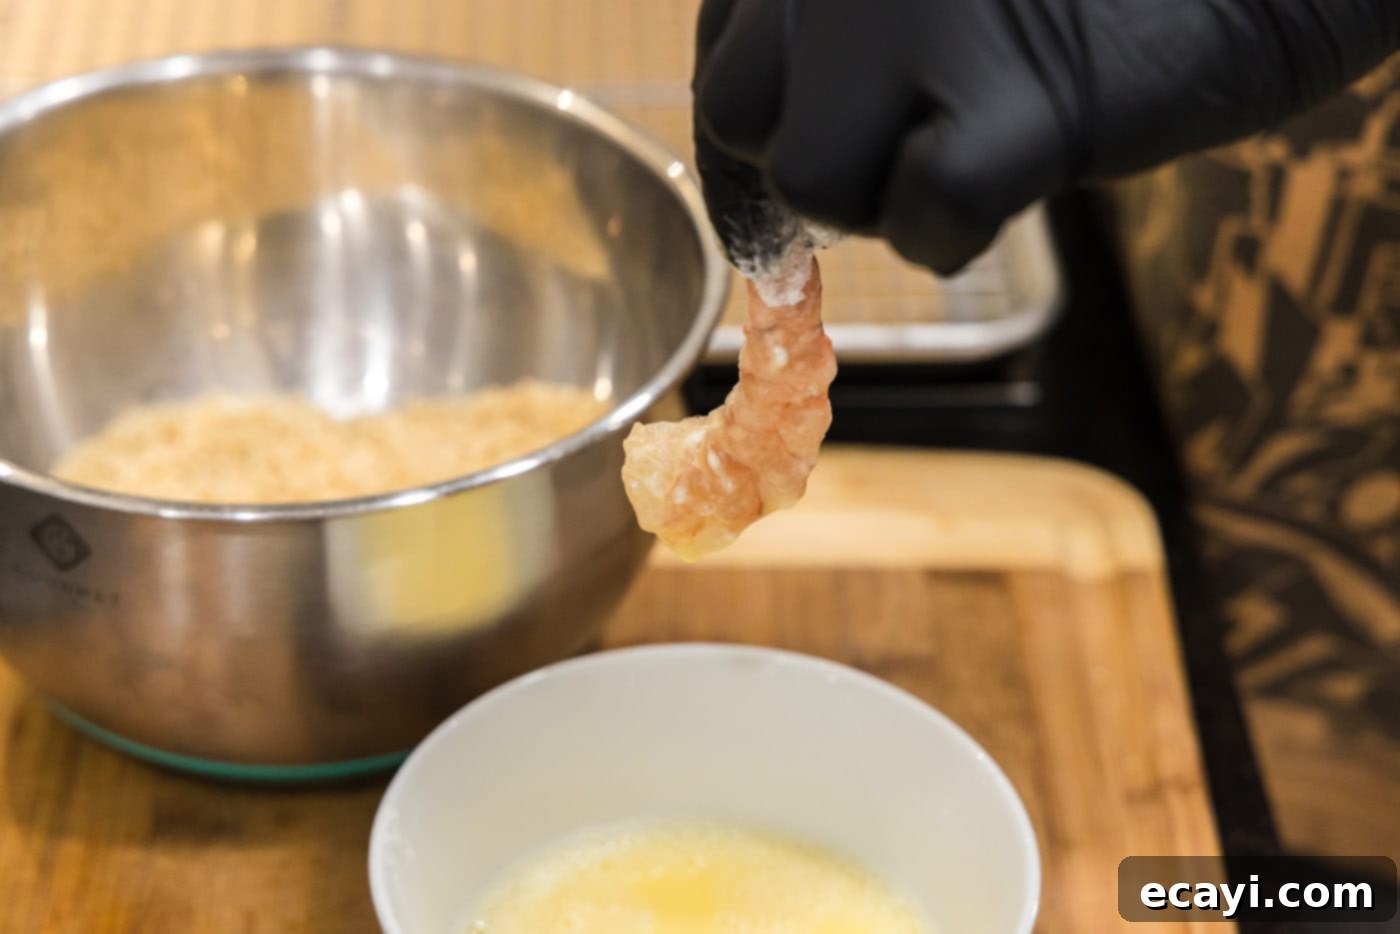
EGG – The whisked egg acts as the crucial “glue” that binds the breadcrumbs to the flour-dusted shrimp. It provides moisture for the dry breading mixture to stick to, creating a cohesive, golden crust when fried. A single large egg is typically sufficient for a pound of shrimp, providing ample coverage.
VEGETABLE OIL – For frying, we recommend a neutral-flavored oil with a high smoke point, such as vegetable oil, canola oil, or peanut oil. These oils can withstand the higher temperatures required for frying without burning, ensuring a clean taste. The quantity needed will depend on your skillet size, aiming for about 1/2-inch depth. Maintaining the correct oil temperature (around 325°F) is critical; too low, and the shrimp will be greasy; too high, and the breading will burn before the shrimp cooks through. A kitchen thermometer is your best friend here!
Step-by-Step: Crafting Your Perfect Homemade Breaded Shrimp
These step-by-step photos and detailed instructions are provided to help you visualize each stage of making this delectable recipe. For a convenient printable version of this recipe, complete with precise measurements and instructions, simply Jump to Recipe at the bottom of this page.
- Prepare Your Workspace: Begin by lining a baking sheet with several layers of paper towels. This will be where you place the freshly fried shrimp to drain any excess oil. On top of the paper towels, set a wire rack. The rack allows air to circulate around the shrimp, preventing them from becoming soggy as they cool.
- Dry the Shrimp: Thoroughly pat your peeled and deveined shrimp dry with paper towels. This is a crucial step! Any residual moisture on the shrimp will prevent the flour and breading from sticking properly, leading to a patchy, less crispy coating.
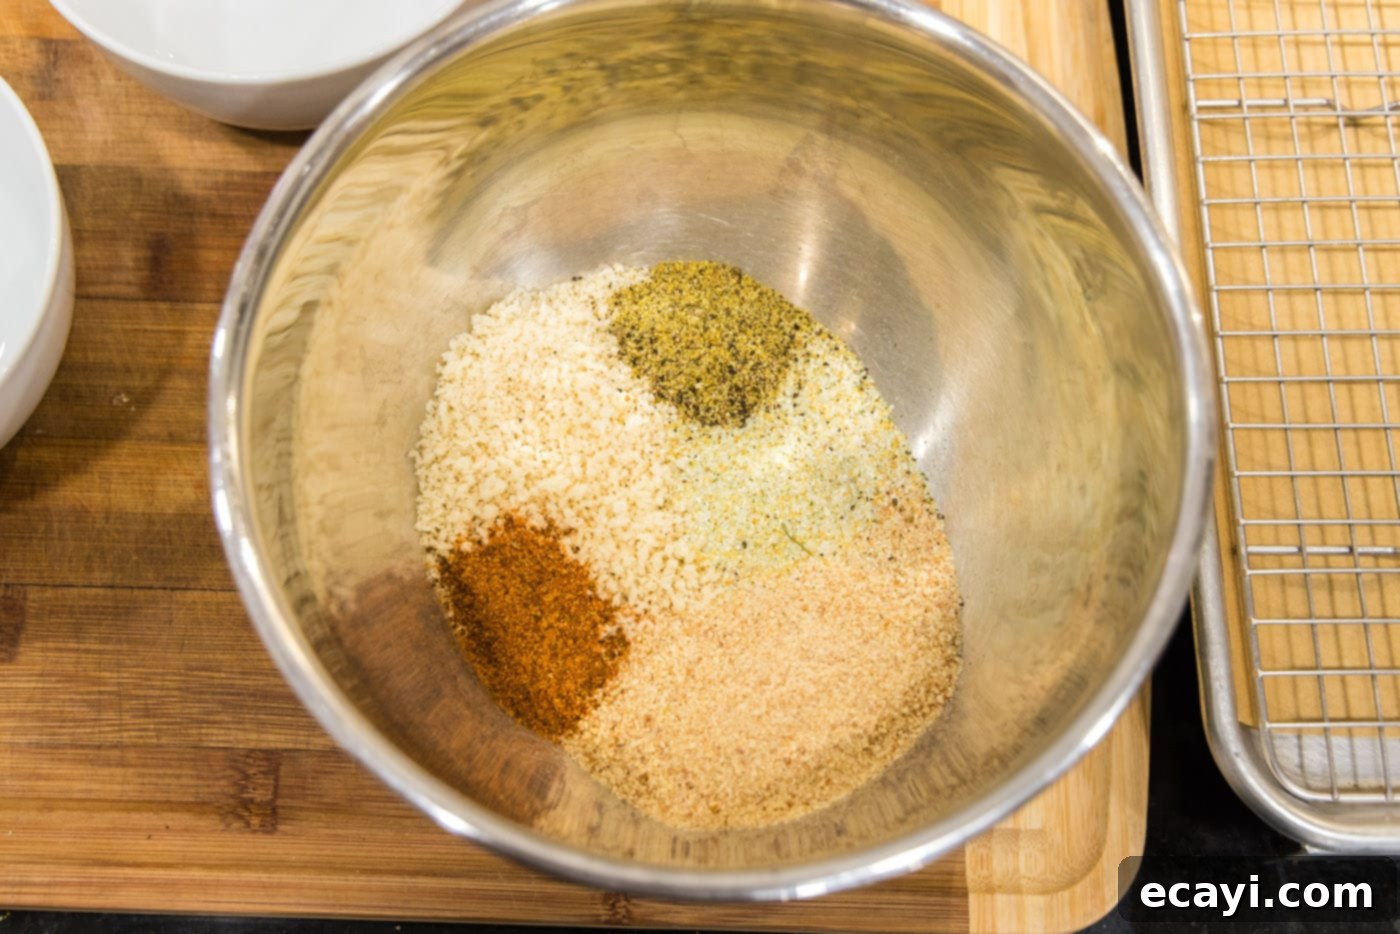
- Create the Breading Mixture: In a large mixing bowl, combine the Panko bread crumbs, plain bread crumbs, garlic salt, seafood seasoning (or paprika if using), and lemon pepper. Use a fork or whisk to mix these ingredients thoroughly until evenly combined. This ensures every bite of shrimp gets a burst of flavor and the perfect crunch.

- Prepare the Egg Wash: In a separate, small bowl, whisk the large egg until the yolk and white are fully combined and slightly frothy. This will serve as the “glue” for your breading.
- Set Up the Flour Station: Place the all-purpose flour in a third small, shallow bowl. It’s helpful to arrange your bowls in an assembly line: flour, then egg, then breadcrumbs, for an efficient breading process.
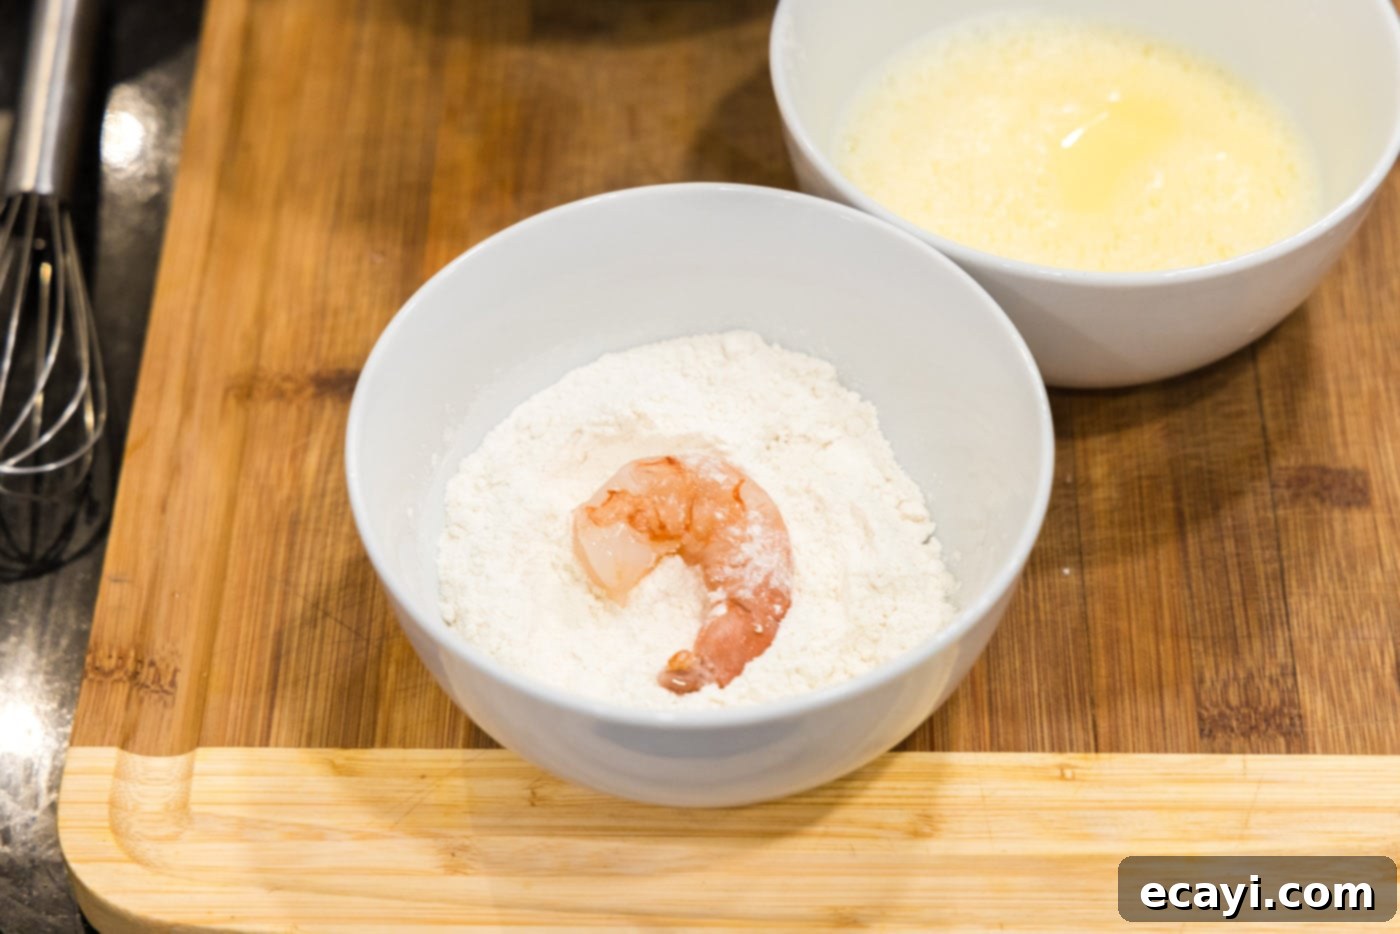
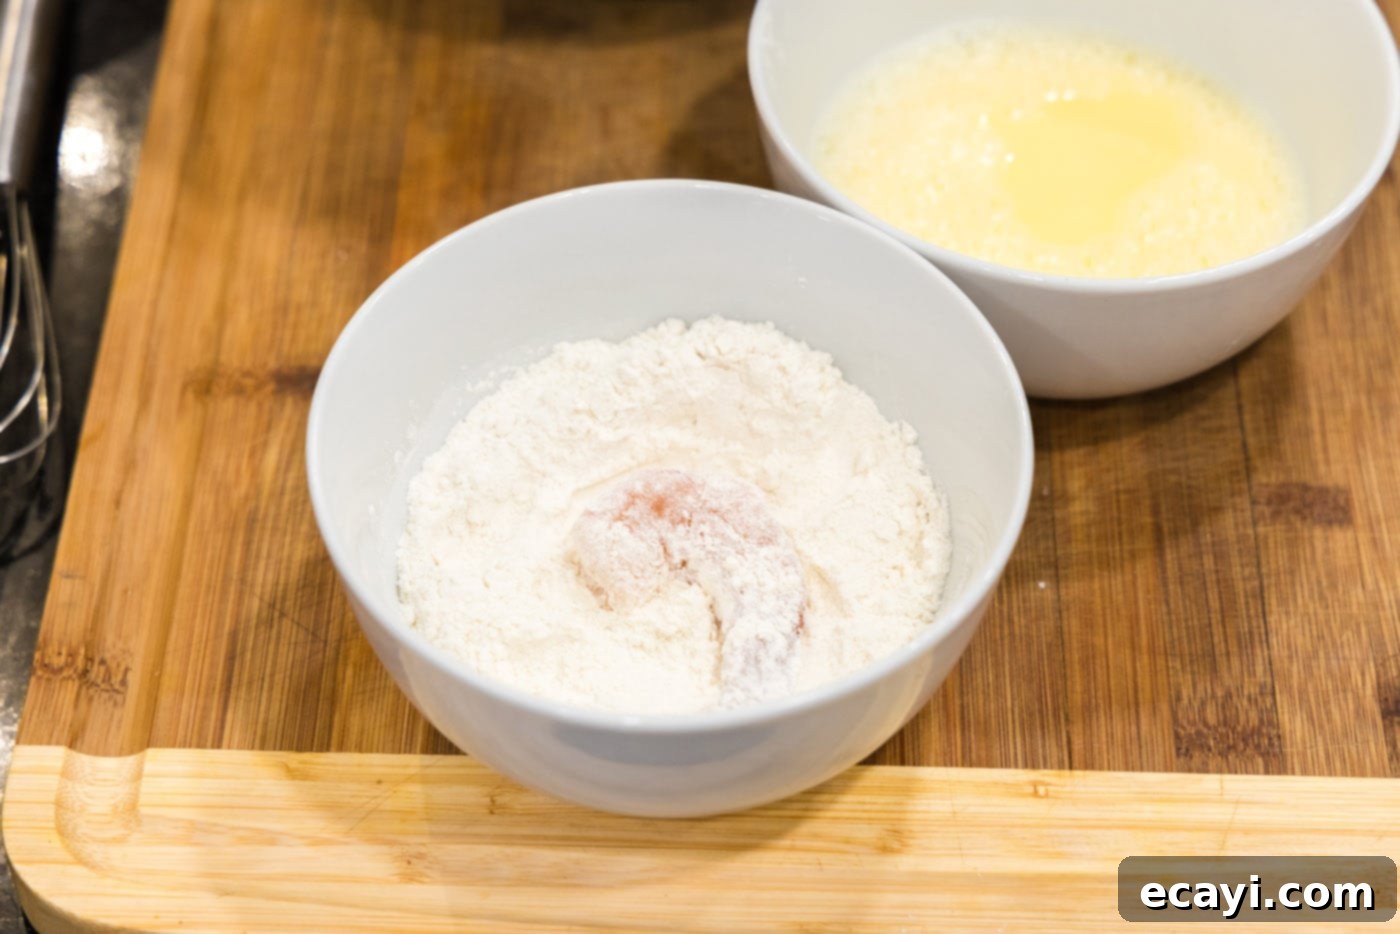
- Flour the Shrimp: Take one shrimp and dredge it thoroughly in the flour, ensuring it’s completely coated. Gently shake off any excess flour. A thin, even layer is what you’re aiming for.


- Dip in Egg: Next, dip the flour-coated shrimp into the whisked egg, allowing any excess egg to drip off. The egg wash will create a sticky surface for the breadcrumbs.

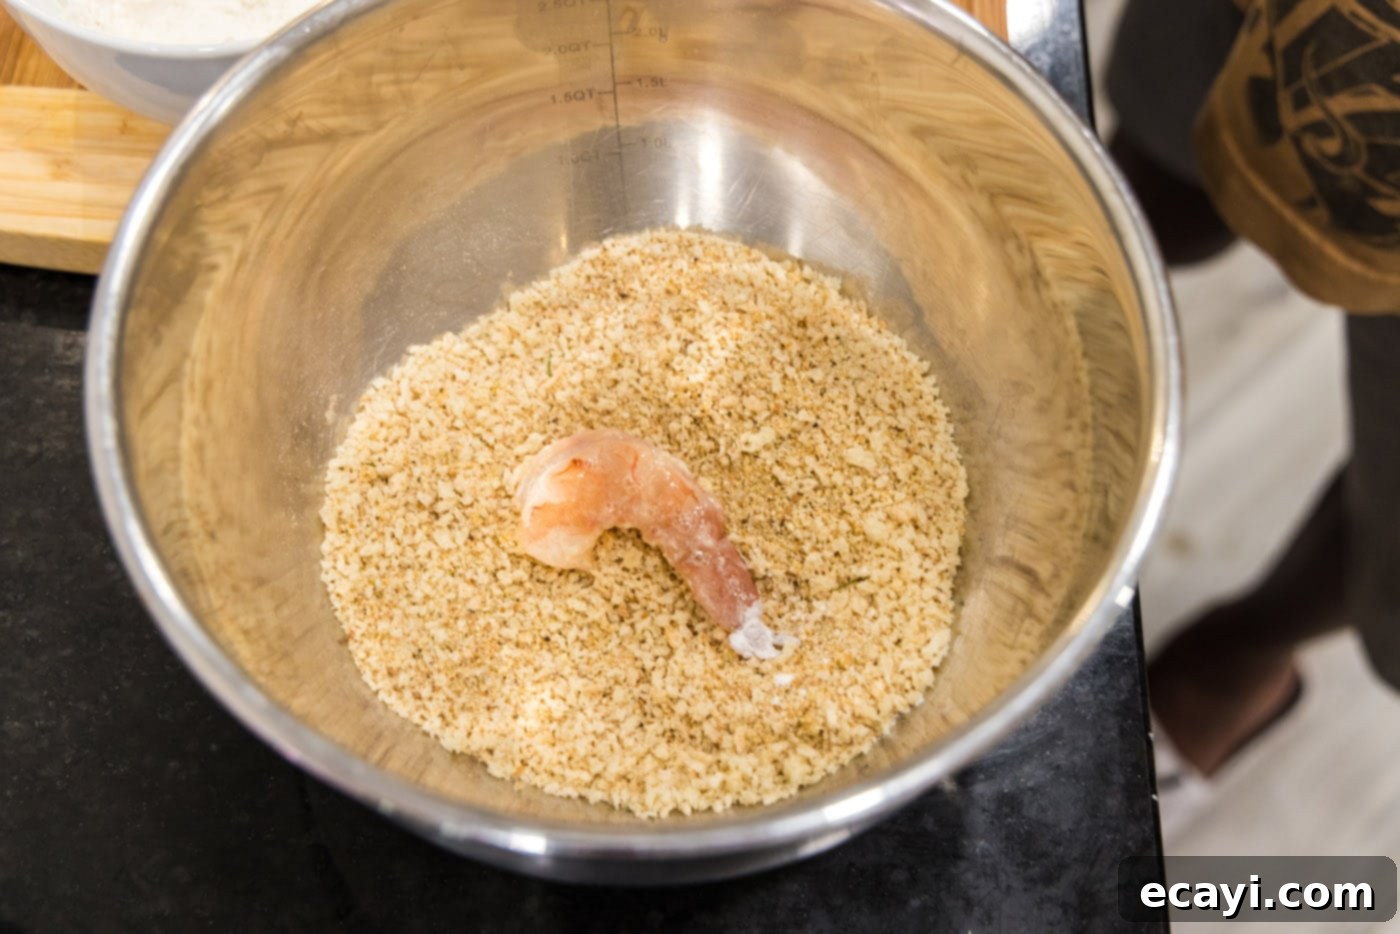
- Coat in Breading: Immediately transfer the egg-dipped shrimp into the bread crumb mixture. Gently press the shrimp into the breadcrumbs, turning to coat both sides completely and evenly. Don’t be shy about pressing firmly to ensure good adhesion.


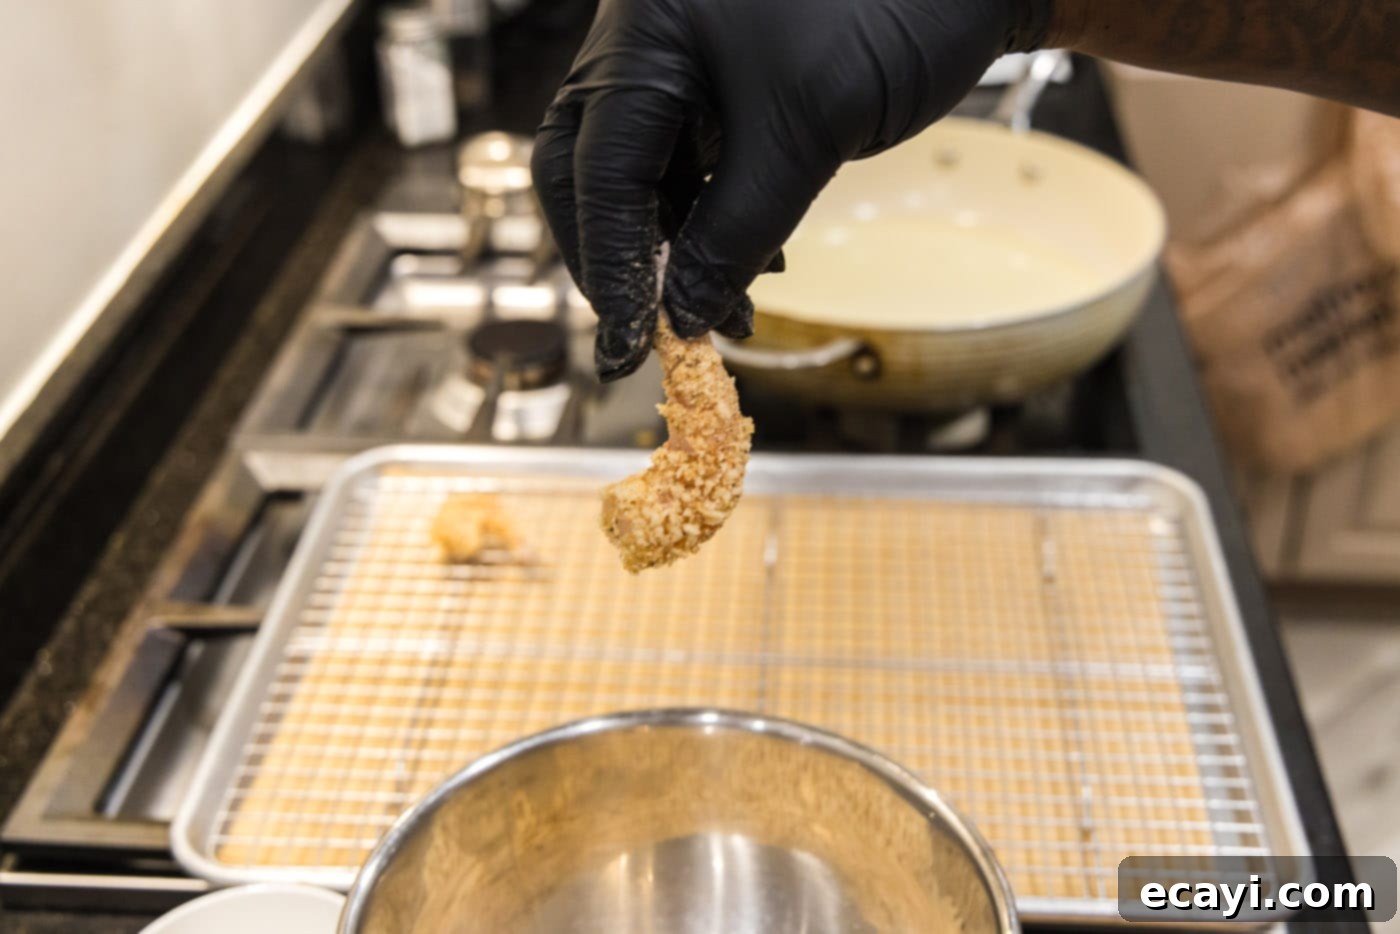
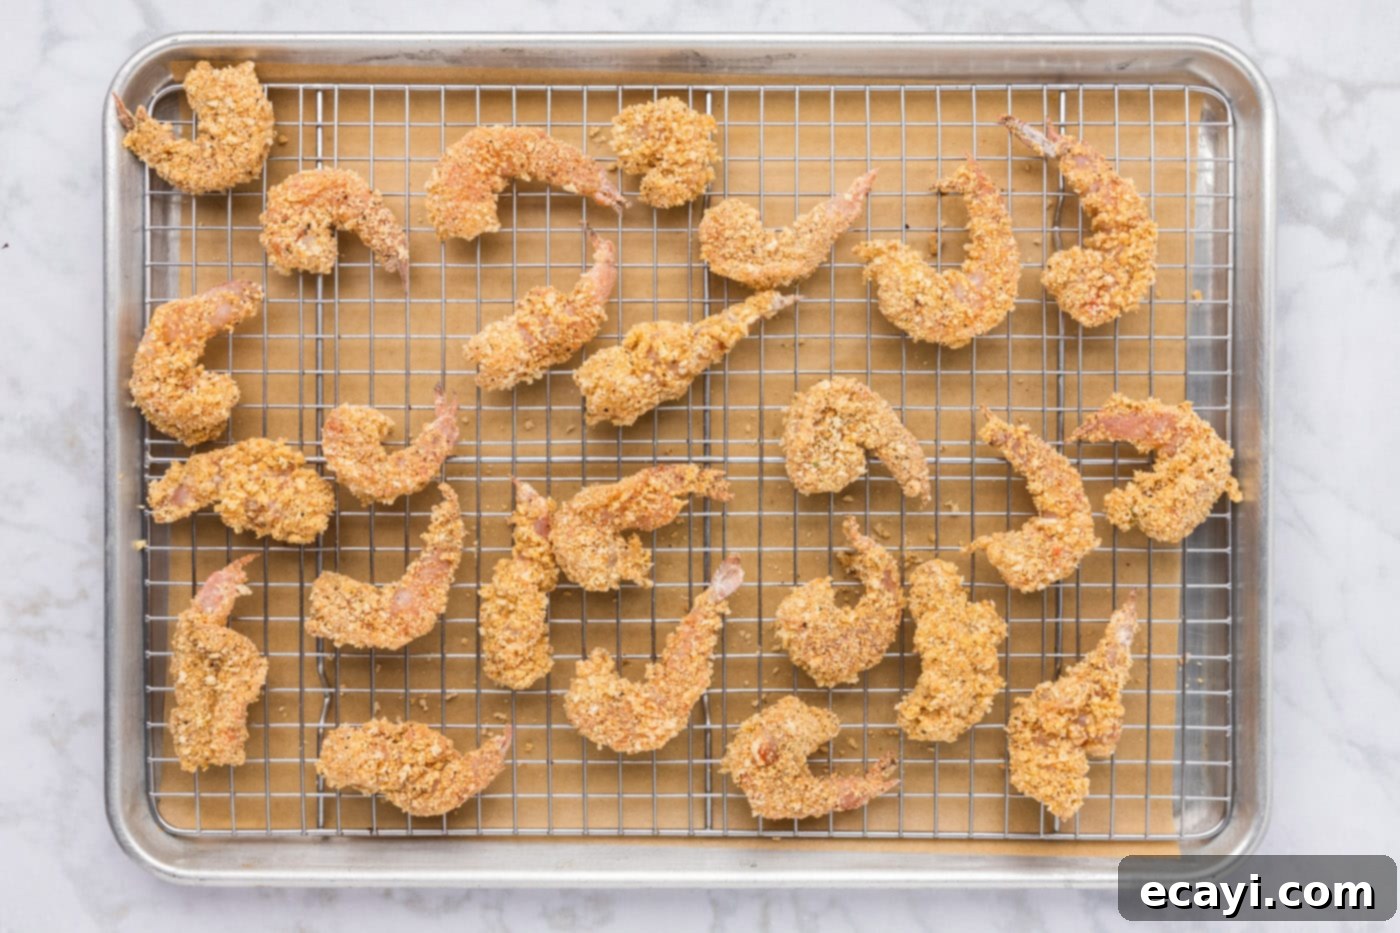
- Prepare for Frying: Place the fully breaded shrimp on the clean wire rack on the baking sheet. Repeat the entire breading process (steps 6-8) for all remaining shrimp. Allowing the breaded shrimp to rest on the rack for a few minutes can help the coating set, reducing the chance of it falling off during frying.

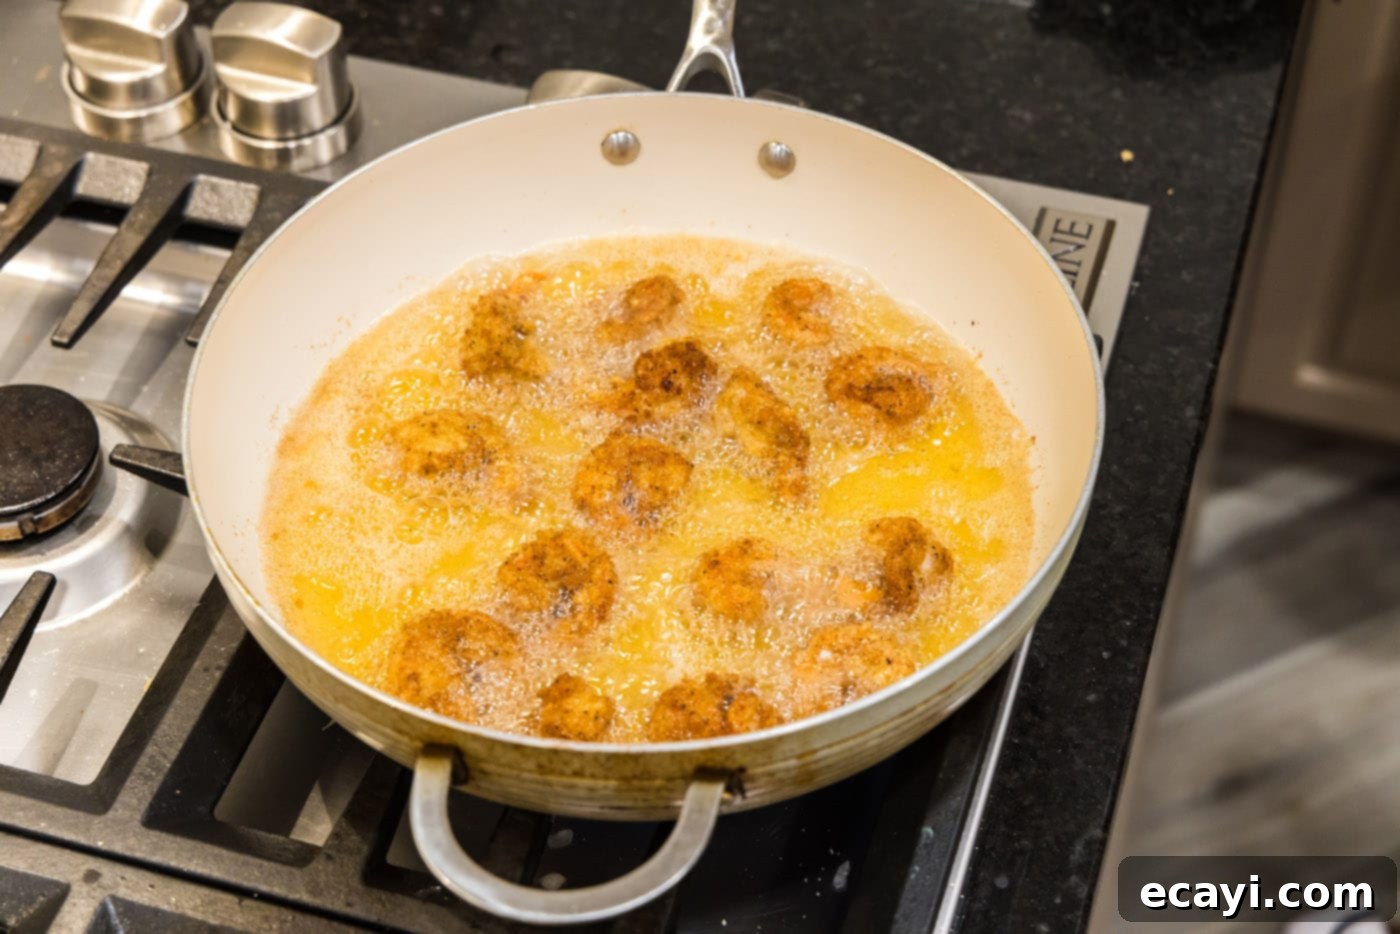
- Heat the Oil: Pour enough vegetable oil into a large deep-sided skillet to reach a depth of about 1/2-inch up the sides of the pan. Heat the oil over medium-high heat until it reaches a temperature of 325°F (160°C). Using a kitchen thermometer is highly recommended for accuracy. If you don’t have one, you can test the oil by dropping a tiny pinch of breadcrumbs into it; they should sizzle gently and immediately.
- Fry the Shrimp: Carefully add a single layer of breaded shrimp to the hot oil, ensuring not to overcrowd the pan. Overcrowding will lower the oil temperature and lead to soggy, not crispy, shrimp. Cook the shrimp for approximately 2-3 minutes per side, or until they turn a beautiful golden brown and are cooked through. Shrimp cooks quickly, so keep a close eye on them.


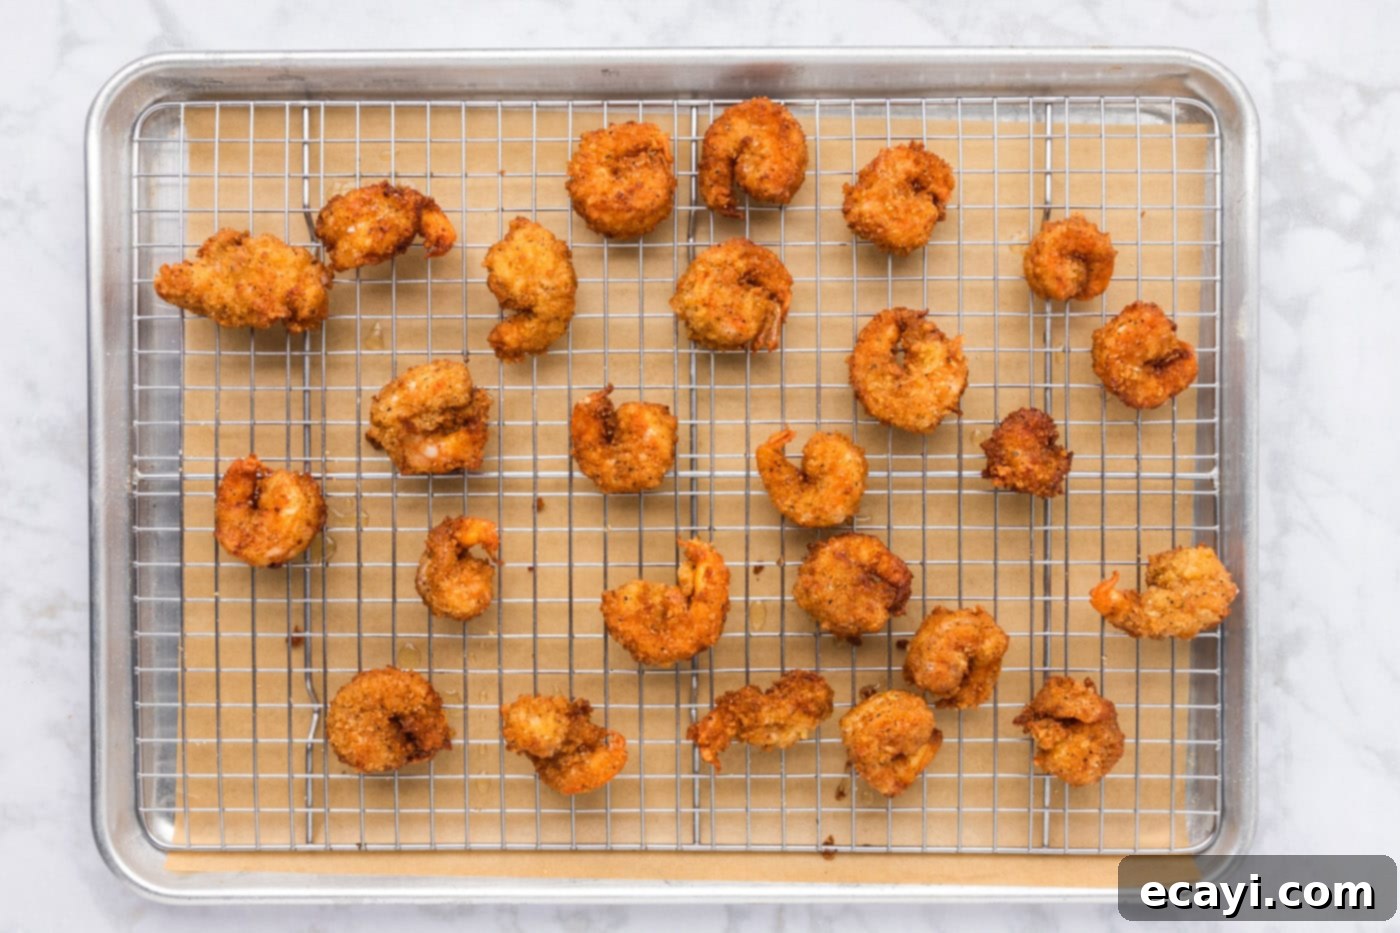
- Drain and Serve: Once cooked, carefully remove the shrimp from the skillet using tongs or a slotted spoon and place them back onto the wire rack on the prepared baking sheet to drain any excess oil. Repeat with the remaining shrimp, ensuring the oil returns to temperature between batches. Serve immediately while hot and crispy!
Frequently Asked Questions & Expert Tips for Breaded Shrimp
To maintain their deliciousness, store any leftover breaded shrimp in an airtight container in the refrigerator for 3-4 days. For reheating, the key is to bring them back to crispiness without overcooking. Add the fried shrimp to a skillet over medium-low heat with a small amount of oil, reheating until warmed through, about 1-2 minutes per side. Be cautious not to reheat them for too long, as shrimp can quickly become tough and chewy. Alternatively, for best results and to regain that initial crisp, you can reheat them in an air fryer at 350°F (175°C) for 3-5 minutes, or in a conventional oven preheated to 375°F (190°C) for about 5-8 minutes, flipping halfway. This method helps to re-crisp the breading beautifully.
Shrimp cooks remarkably fast, whether breaded or not. There are a few clear indicators that your breaded shrimp are perfectly done. First, look for a vibrant golden brown color on the breading, indicating crispness. Second, the shrimp itself will curl into a loose “C” shape and become opaque throughout. If it forms a tight “O” shape, it’s likely overcooked. A quick internal temperature check with an instant-read thermometer should show 120°F (49°C) to 140°F (60°C). Remember, shrimp will continue to cook slightly from residual heat after being removed from the oil.
Yes, for a lighter alternative, you can absolutely bake or air fry breaded shrimp. For air frying, preheat your air fryer to 375°F (190°C). Lightly spray the breaded shrimp with cooking spray on both sides, then arrange them in a single layer in the air fryer basket, ensuring not to overcrowd. Air fry for 8-12 minutes, flipping halfway, until golden and crispy. For baking, preheat your oven to 400°F (200°C). Arrange the sprayed breaded shrimp on a baking sheet lined with parchment paper. Bake for 12-18 minutes, flipping halfway, until golden and cooked through. While these methods produce delicious results, deep frying typically yields the crispiest coating.
Jumbo or large shrimp (21/25 count or larger per pound) are generally ideal for breaded shrimp as they offer a substantial, satisfying bite and are less prone to overcooking quickly. Medium shrimp (31/35 count) also work well, but keep an even closer eye on them during frying due to their smaller size. While fresh shrimp are always preferred for their texture and flavor, high-quality frozen shrimp (thawed and dried properly) are a convenient and excellent alternative.
Several factors contribute to breading adhesion. First, ensure your shrimp are thoroughly patted dry before dredging in flour. Second, coat each shrimp evenly and completely in flour, then egg, then breadcrumbs, pressing gently to adhere. Third, do not overcrowd the frying pan; this helps maintain a consistent oil temperature, which is essential for setting the breading. Lastly, letting the breaded shrimp rest for 10-15 minutes on a wire rack before frying can help the coating bind more firmly.
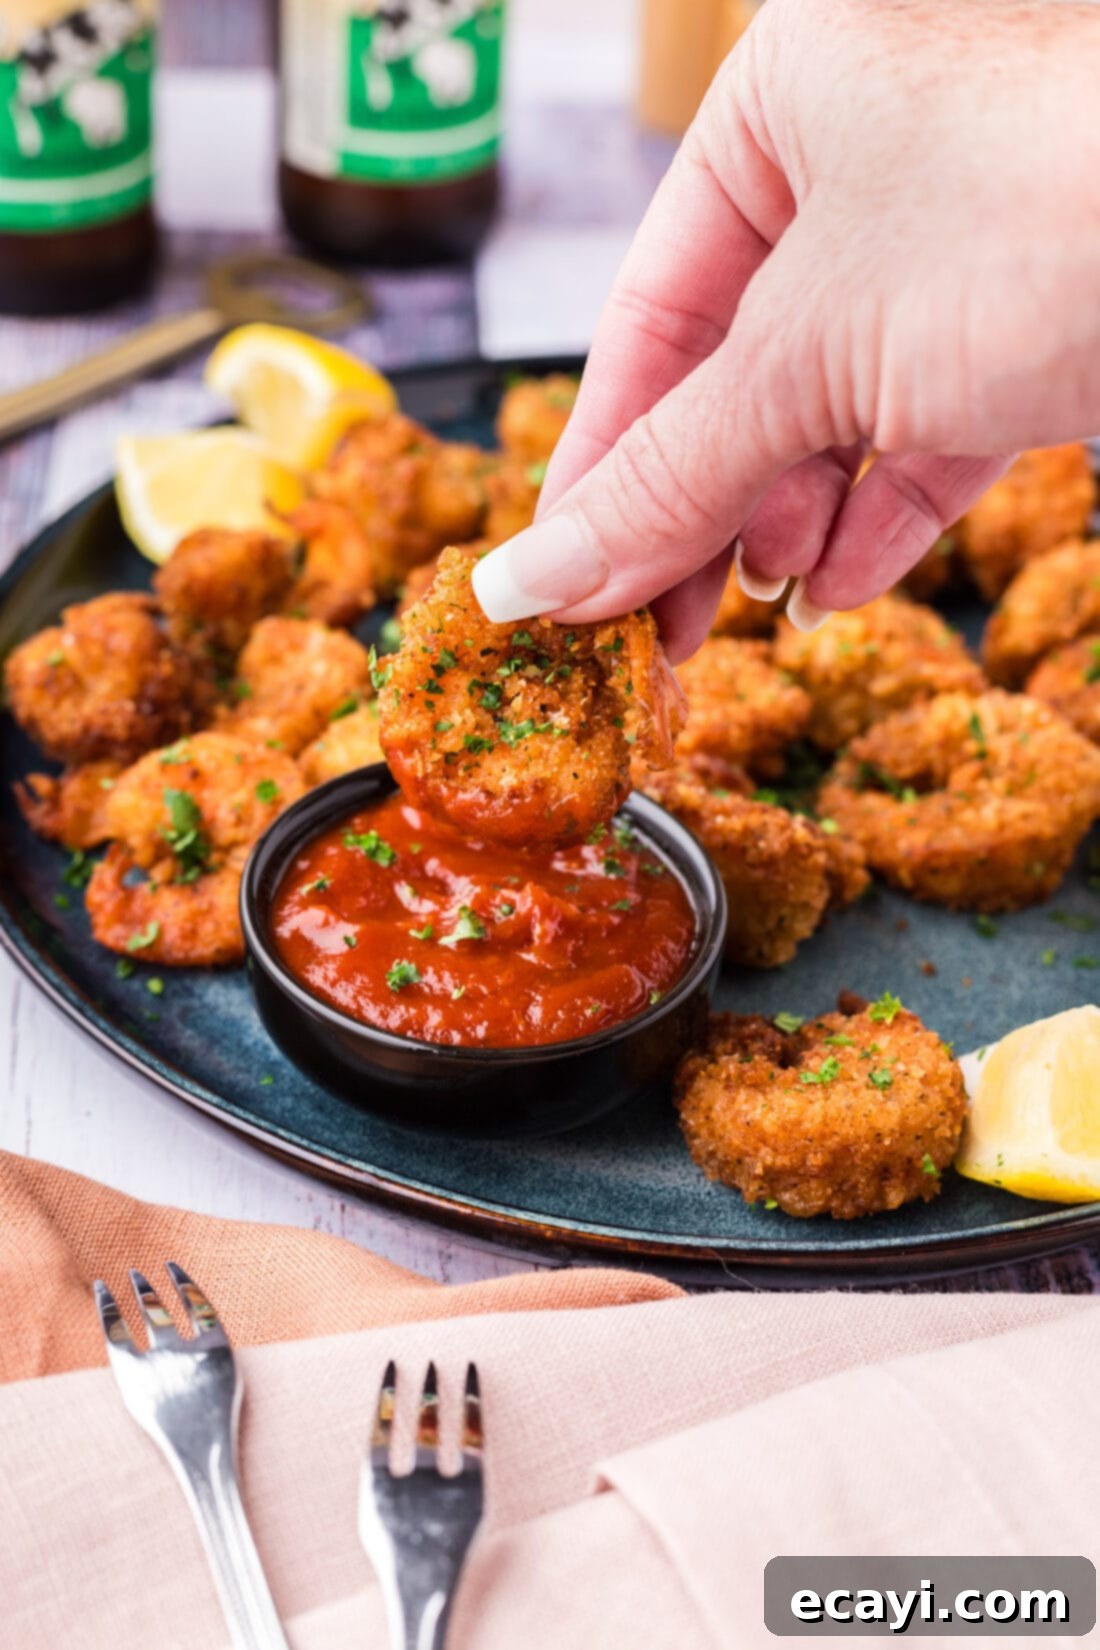
Delicious Serving Suggestions for Your Breaded Shrimp
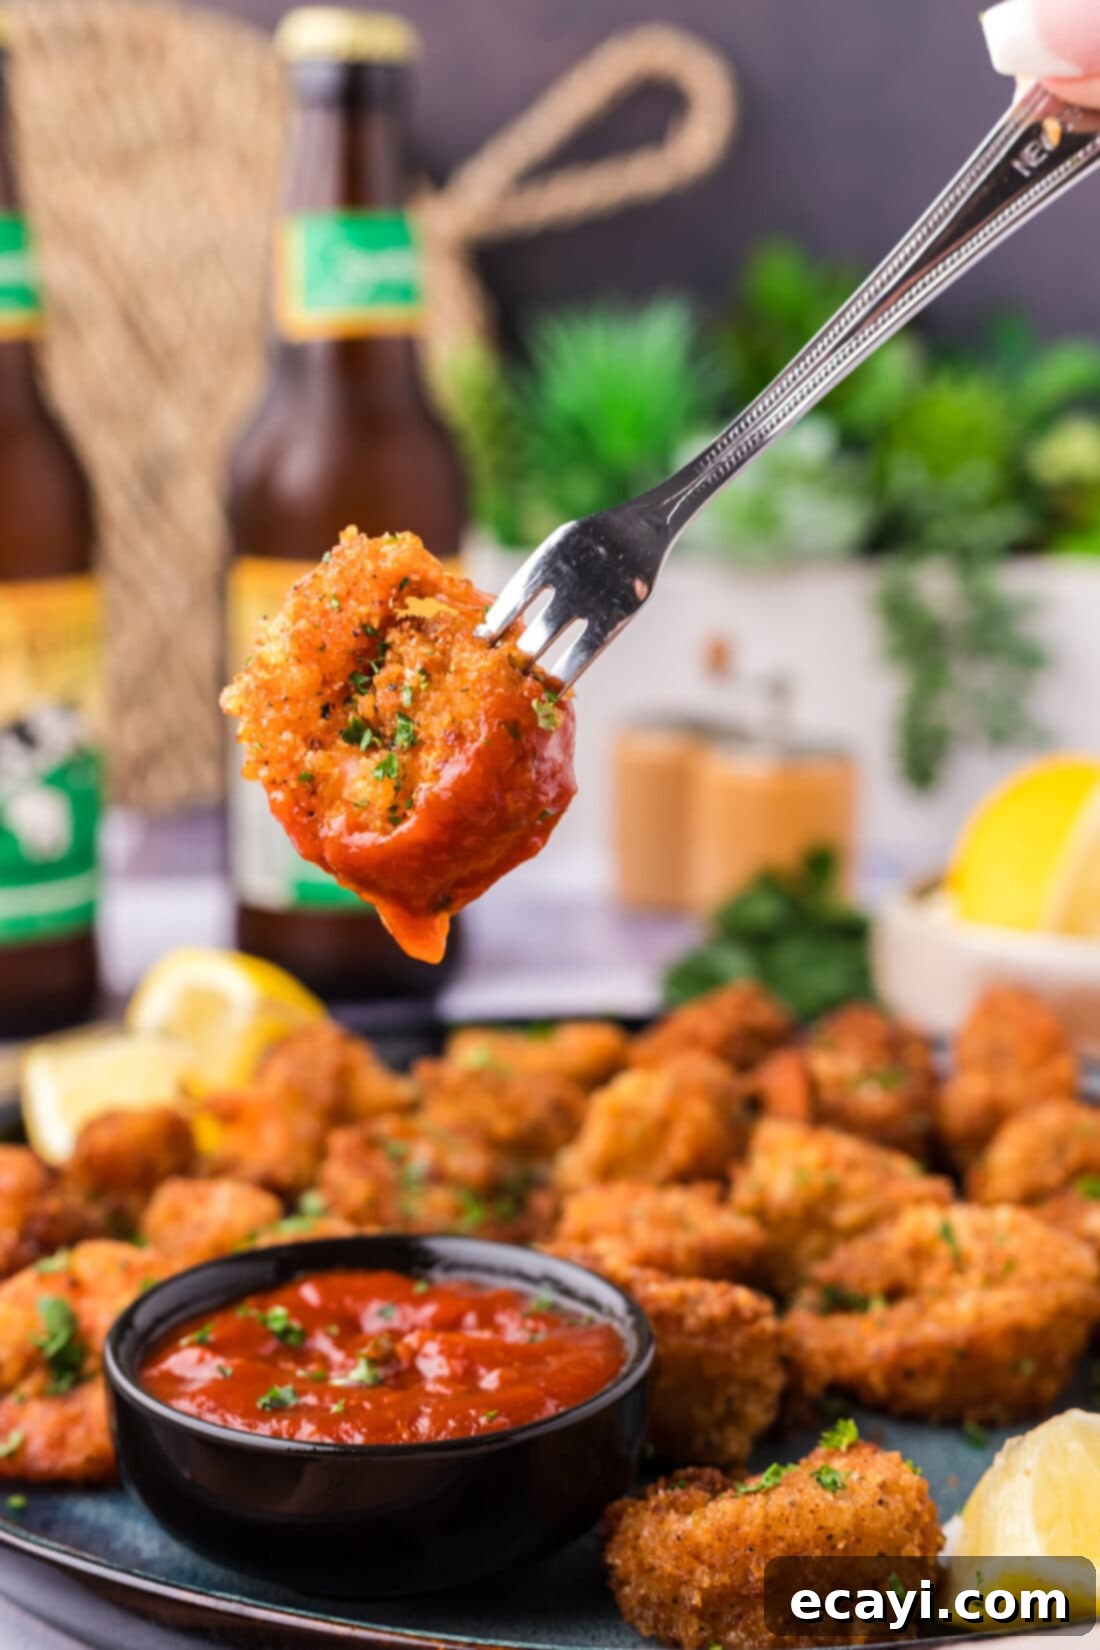
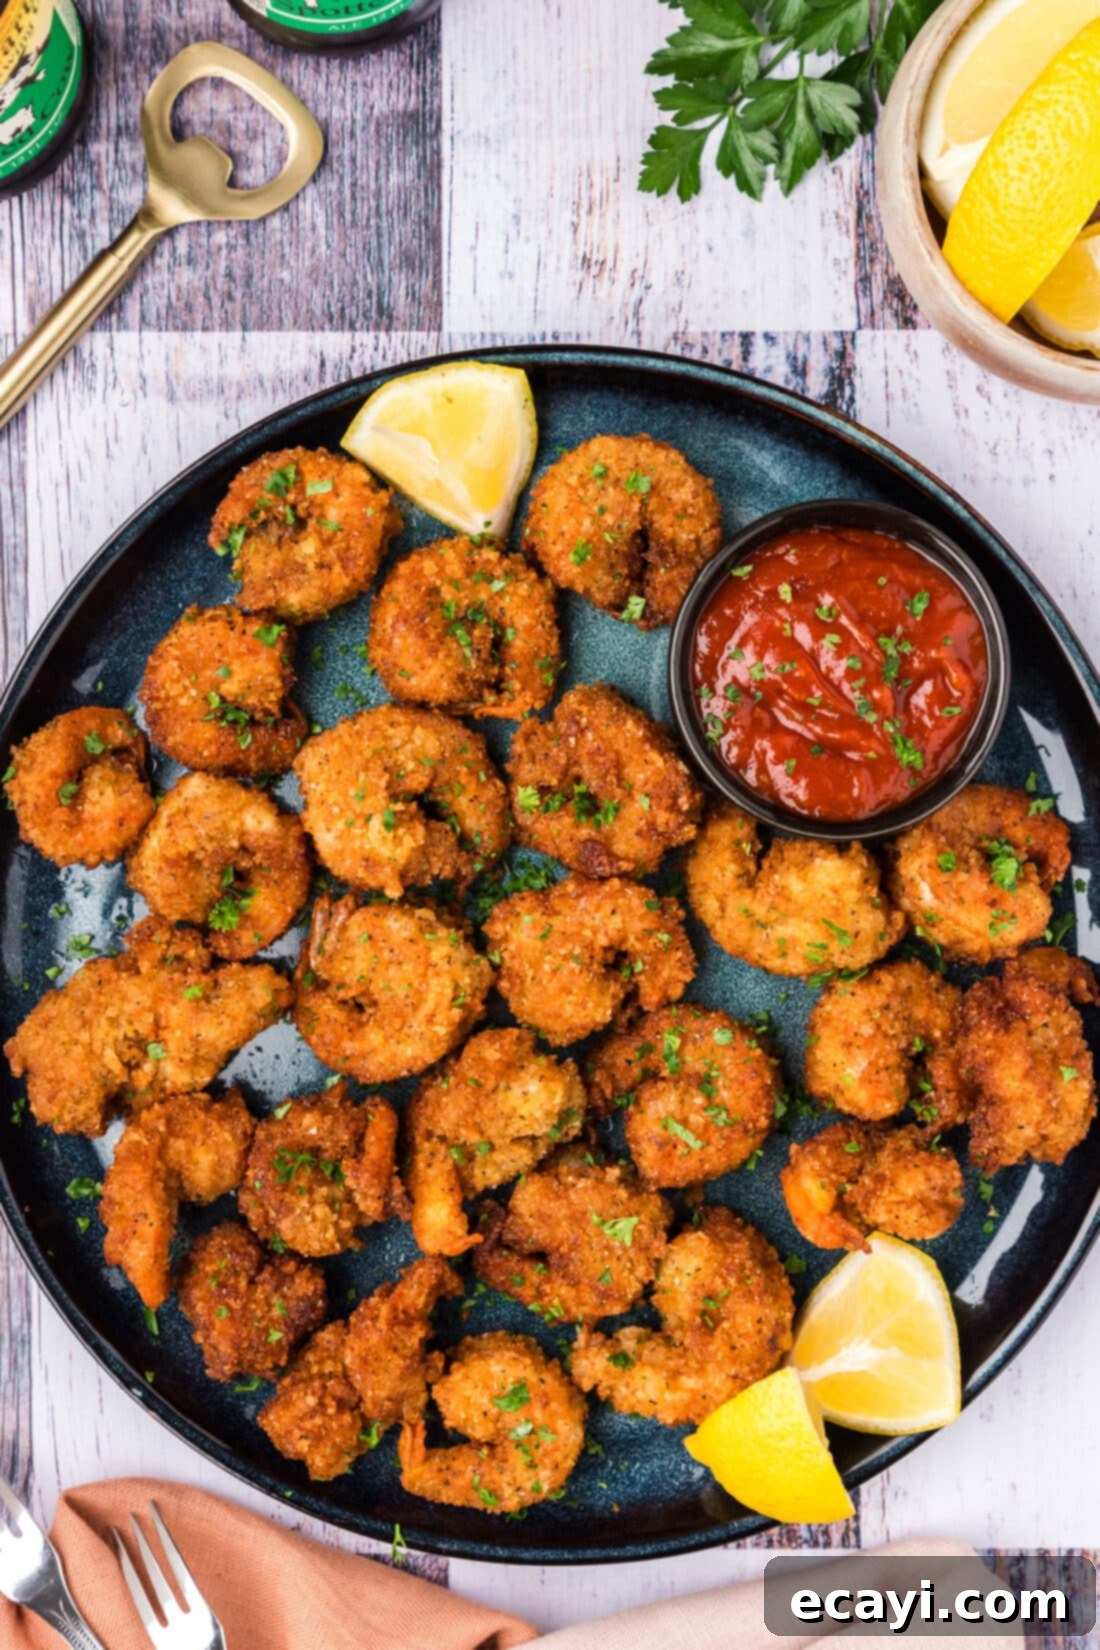
Crispy breaded shrimp are incredibly versatile and pair beautifully with a variety of sides and dipping sauces. For a classic experience, serve them with a generous side of tangy cocktail sauce. Other fantastic dipping options include creamy garlic butter sauce, a sweet and tangy sweet and sour sauce, or the popular, slightly spicy yum yum sauce. For a zesty finish, a squeeze of fresh lemon juice over the hot shrimp is always a winner.
To make a complete meal, fried shrimp pairs exceptionally well with traditional comfort food sides such as crispy french fries, creamy coleslaw, or sweet corn on the cob. For a lighter touch, consider serving them alongside a fresh green salad with a light vinaigrette, a vibrant pasta salad, or a simple rice pilaf. These golden, crunchy delights are best enjoyed warm, straight from the skillet, offering an irresistible combination of flavor and texture that everyone will love.
Explore More Delicious Shrimp Recipes
If you’re a fan of succulent shrimp, we have plenty more mouth-watering recipes for you to explore. From quick weeknight dinners to impressive appetizers, shrimp is a versatile protein that always delights. Be sure to check out some of our other popular shrimp creations:
- Crispy Shrimp
- Coconut Shrimp
- Popcorn Shrimp
- Butterfly Shrimp
I love to bake and cook and share my kitchen experience with all of you! Remembering to come back each day can be tough, that’s why I offer a convenient newsletter every time a new recipe posts. Simply subscribe and start receiving your free daily recipes!
Breaded Shrimp
IMPORTANT – There are often Frequently Asked Questions within the blog post that you may find helpful. Simply scroll back up to read them!
Print It
Pin It
Rate It
Save ItSaved!
Ingredients
- 1 pound jumbo shrimp peeled, deveined, tails removed
- 2 cups panko bread crumbs
- 2 cups plain bread crumbs
- 2 Tablespoons garlic salt
- 1 Tablespoon seafood seasoning
- 1 Tablespoon lemon pepper
- 1 large egg
- 2 cups all purpose flour
- vegetable oil for frying
Things You’ll Need
-
Mixing bowls
-
Baking sheet
-
Wire cooling rack
-
Large deep sided skillet
Before You Begin
- We used fresh jumbo shrimp, though you can use almost any kind of fresh shrimp for this recipe. Frozen shrimp will also work, but be sure you allow them to thaw then pat them dry so the breading can stick. The smaller the shrimp you use, the less time it will take them to fry in the oil. Shrimp cooks quickly, once they begin to turn golden and curl up, they should be finished cooking.
- The mixture of both plain and Panko breadcrumbs helps the breading stay light yet crispy. Panko breadcrumbs soak up less oil compared to plain breadcrumbs, but the plain breadcrumbs produce a lovely crunch – which is why it’s a good idea to use a combination of both when frying. For best results, use a neutral oil with a high smoke point like vegetable or canola oil, and maintain a consistent oil temperature of 325°F (160°C).
- For a lighter coating, you can reduce the amount of plain breadcrumbs or use entirely Panko. If you prefer a more substantial crust, increase the plain breadcrumbs slightly.
Instructions
-
Line a baking sheet with paper towels and place a wire rack on top. This setup will be used for draining the fried shrimp.
-
Thoroughly pat the shrimp dry with paper towels to ensure the breading adheres properly.
-
In a large mixing bowl, combine Panko bread crumbs, plain bread crumbs, garlic salt, seafood seasoning, and lemon pepper. Mix well.
-
In a small, separate bowl, whisk the egg until smooth.
-
Place the all-purpose flour in another small, shallow bowl.
-
Dredge each shrimp in the flour, coating it completely and gently shaking off any excess.
-
Dip the flour-coated shrimp in the whisked egg wash, allowing excess to drip off.
-
Gently press the shrimp into the bread crumb mixture, ensuring both sides are fully coated.
-
Place the fully breaded shrimp on the wire rack. Repeat these breading steps for all the shrimp.
-
Pour enough vegetable oil into a large, deep skillet to come about 1/2-inch up the sides of the pan. Heat over medium-high heat until the temperature reaches 325°F (160°C).
-
Carefully add enough shrimp to the pan in a single layer, ensuring they do not overcrowd. Cook for 2-3 minutes per side, or until golden brown and cooked through.
-
Remove fried shrimp and place them on the wire rack to drain excess oil. Repeat with remaining batches. Serve immediately and enjoy!
Expert Tips & FAQs
- Shrimp cooks quickly, whether it’s breaded or not. They should be done cooking once they begin to coil into a gentle “C” shape and the breading reaches a nice golden brown color and crisp texture. Overcooked shrimp will be tough and rubbery.
- Store leftovers in an air-tight container in the refrigerator for 3-4 days. To reheat and restore crispness, add the fried shrimp to a skillet over medium-low heat with a small amount of oil, reheating until warmed through (about 1-2 minutes per side). Be careful not to reheat them too long as the shrimp can become tough and chewy. For best crisping, you can also reheat them in the air fryer at 350°F (175°C) for 3-5 minutes, or in a conventional oven preheated to 375°F (190°C) for 5-8 minutes.
- Always use a cooking thermometer to monitor oil temperature for optimal frying results. Consistent temperature prevents soggy or burnt breading.
- Do not overcrowd the pan when frying. Cook in batches if necessary to maintain oil temperature and ensure even cooking and crispness.
- If you prefer a spicier breading, add a pinch of cayenne pepper or a dash of your favorite hot sauce to the egg wash or breadcrumb mixture.
Nutrition
The recipes on this blog are tested with a conventional gas oven and gas stovetop. It’s important to note that some ovens, especially as they age, can cook and bake inconsistently. Using an inexpensive oven thermometer can assure you that your oven is truly heating to the proper temperature. If you use a toaster oven or countertop oven, please keep in mind that they may not distribute heat the same as a conventional full sized oven and you may need to adjust your cooking/baking times. In the case of recipes made with a pressure cooker, air fryer, slow cooker, or other appliance, a link to the appliances we use is listed within each respective recipe. For baking recipes where measurements are given by weight, please note that results may not be the same if cups are used instead, and we can’t guarantee success with that method.
