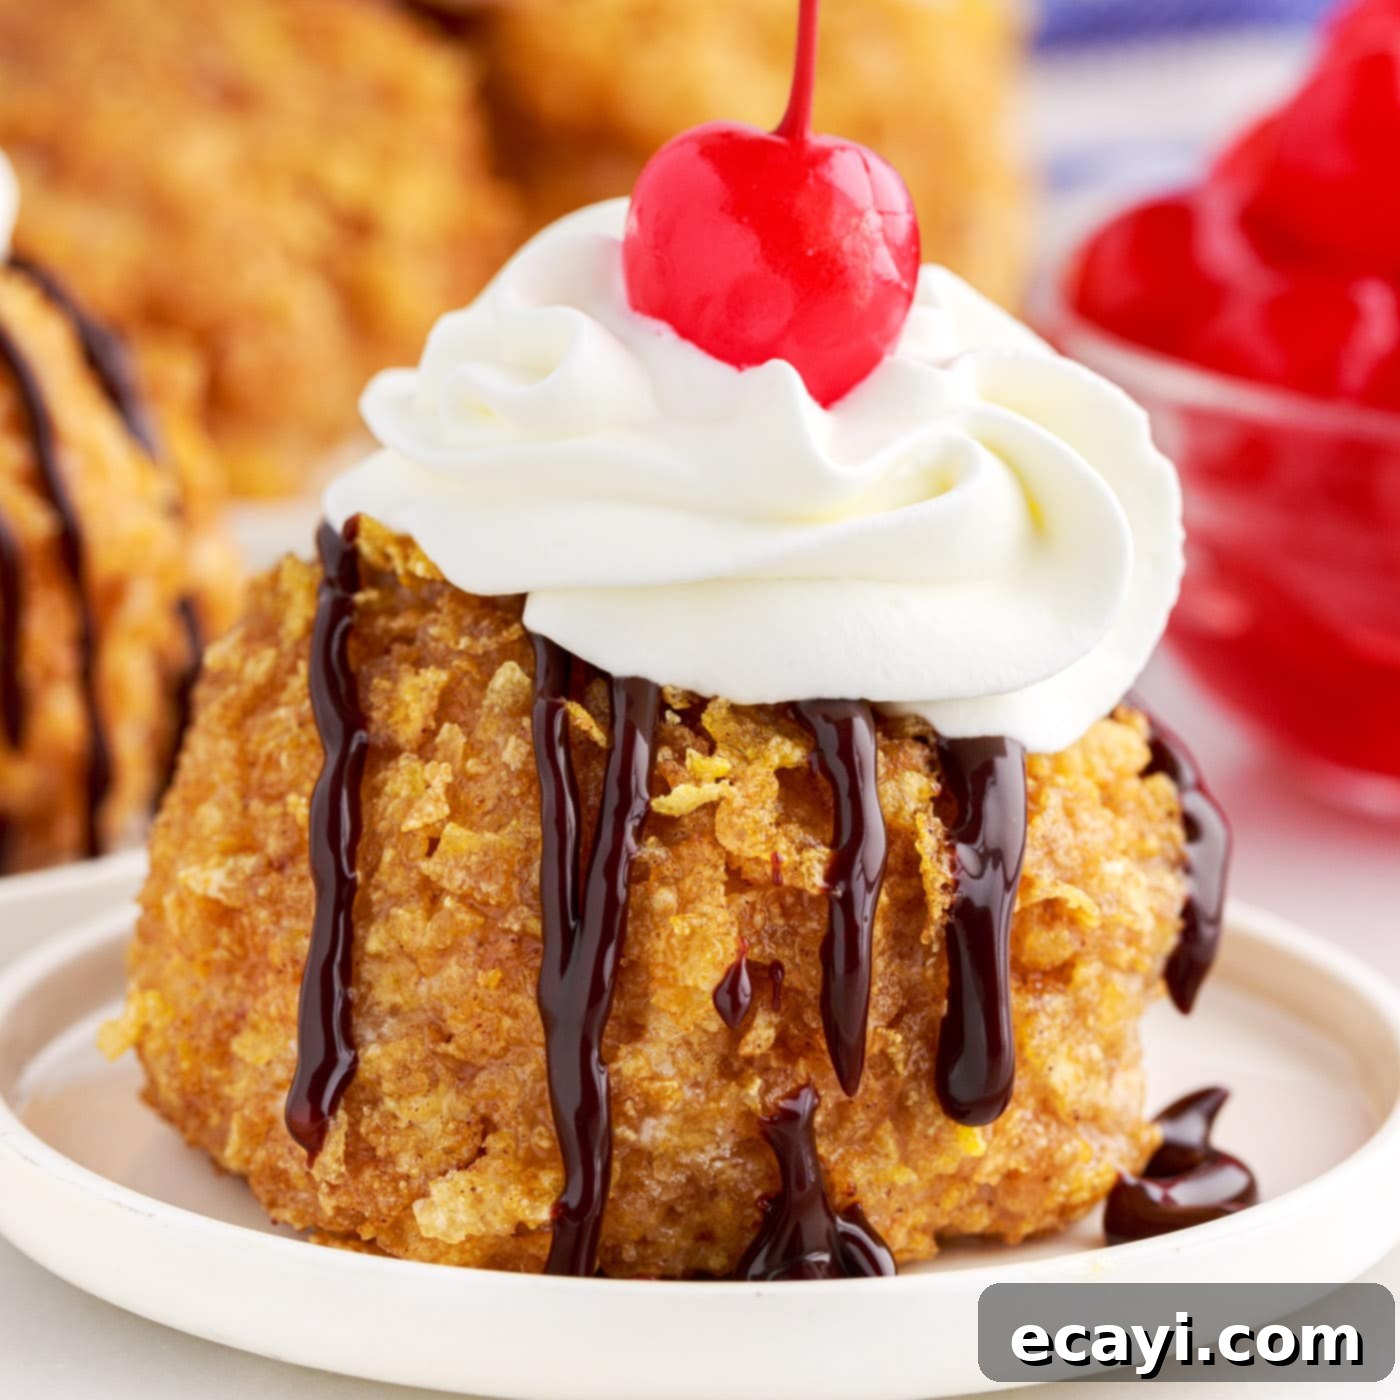
Ultimate Homemade Fried Ice Cream Recipe: Crispy Cinnamon Cornflake Coating
Prepare to be truly amazed by this ultimate fried ice cream recipe! Imagine perfectly scooped balls of sweet, creamy vanilla ice cream, expertly coated in a delightfully crispy, crunchy, and aromatic cinnamon-spiced cornflake crust. With just a quick dip in hot oil, these delightful spheres are transformed into golden-brown perfection, creating a dessert that offers an extraordinary sensory experience. Each bite delivers a fascinating contrast: a warm, crisp shell giving way to an intensely cold, smooth, and luscious interior. This recipe brings the beloved classic from your favorite Mexican restaurant directly into your home kitchen, promising a show-stopping treat that will impress and delight everyone who tries it.
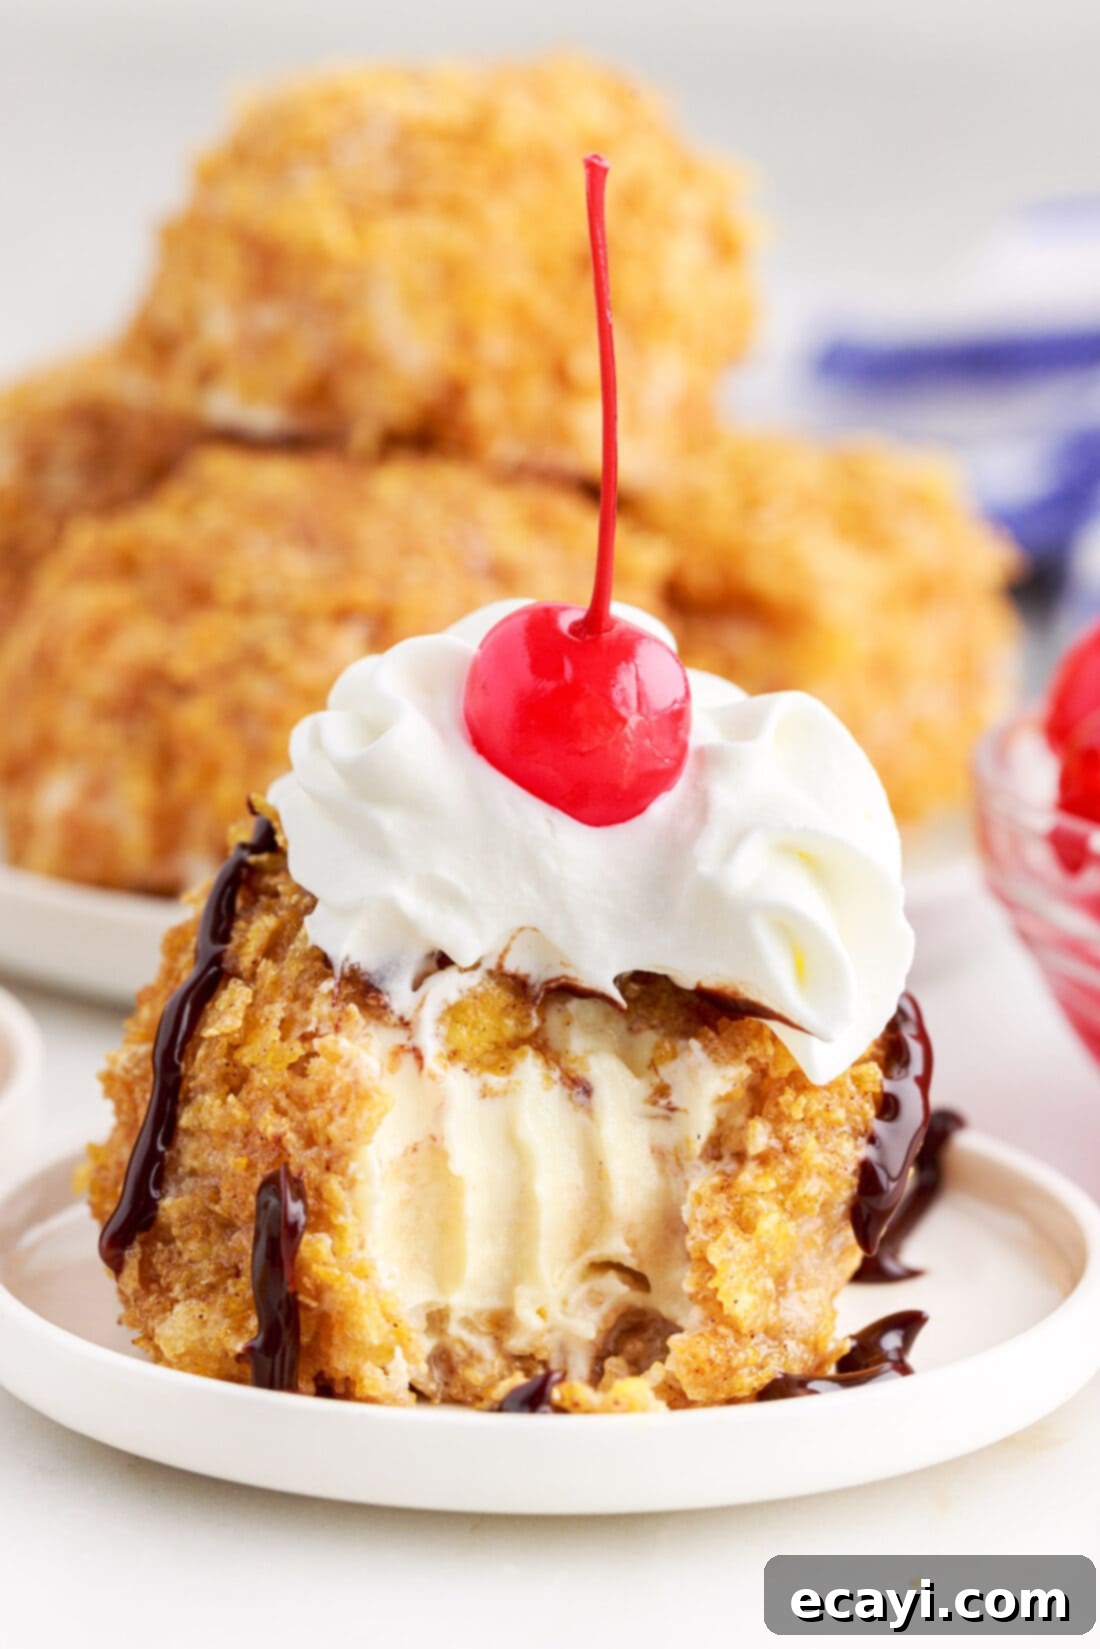
The Magic Behind Homemade Fried Ice Cream: Why This Recipe Works
Fried ice cream has long been a must-have dessert at our local Mexican restaurant, and for good reason! The extraordinary combination of a warm, crispy coating and a cold, creamy interior leaves you in awe with every single bite. The question often arises: “How is it even possible to fry ice cream without it turning into a melted mess?” The answer lies in a clever culinary technique that transforms what seems impossible into a delicious reality. This recipe leverages precise steps to create a perfect insulating barrier around the frozen dessert.
The core of this magic involves first rolling deeply frozen ice cream balls in frothy egg whites, which act as an adhesive. This is followed by a generous coating of finely crushed cornflakes, mixed with cinnamon and sugar. These layers work in tandem to create a robust, protective shell. When quickly immersed in hot oil, this shell fries rapidly to a golden crisp, sealing in the incredibly cold ice cream. The extreme temperature difference and the speed of frying prevent the ice cream from melting, allowing you to enjoy that delightful hot-and-cold sensation. It truly feels like magic, but it’s a testament to smart preparation.
Forget any intimidation you might have about deep-frying at home. With our straightforward tips, a handful of readily available ingredients, and a little patience for freezing, you can easily replicate this cinnamon-crunchy coated ice cream in your own kitchen. This detailed guide ensures that every time the craving for this unique dessert calls your name, you’ll be able to create a batch of homemade fried ice cream that rivals any restaurant version, delivering pure deliciousness in every crispy, creamy mouthful.
Essential Ingredients You Will Need for This Recipe
Before we dive into the cooking process, let’s gather all the necessary components for this delicious fried ice cream. The complete list of measurements, ingredients, and detailed instructions can be found in the printable recipe card at the very end of this post. For now, let’s explore the key ingredients and some helpful notes about each.
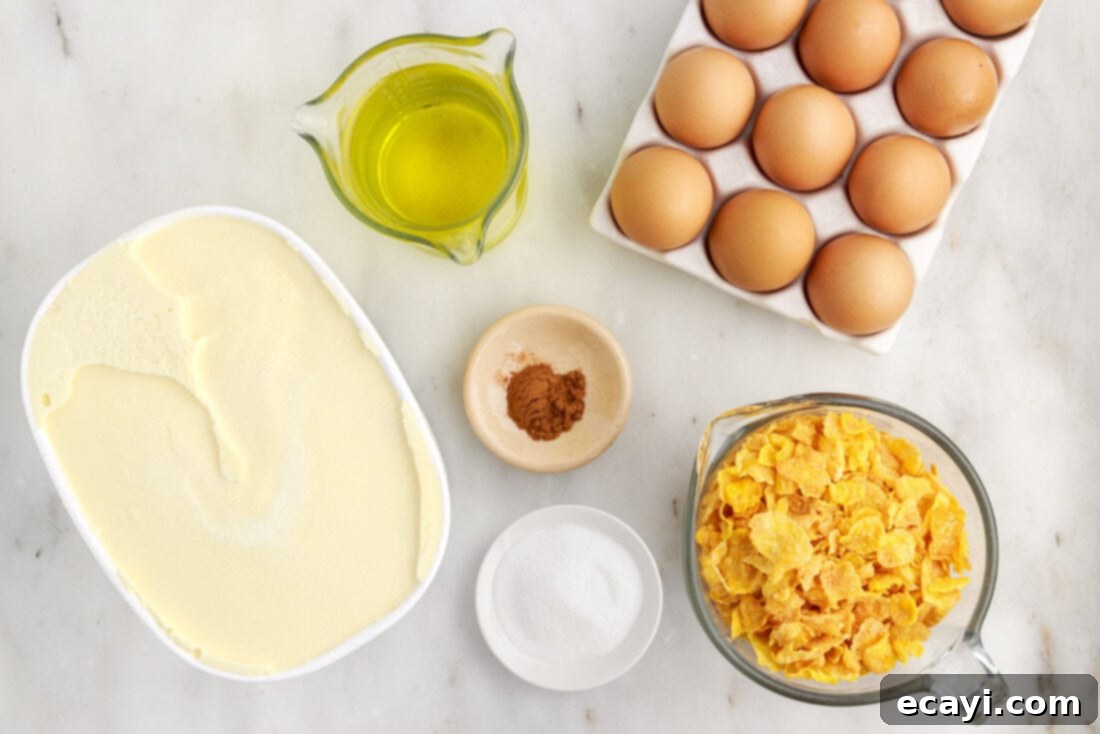
Ingredient Spotlight: Info and Smart Substitution Suggestions
Understanding each ingredient’s role is key to mastering homemade fried ice cream. Here’s a closer look at what you’ll need and how you can customize it.
ICE CREAM – The heart of this dessert! While classic vanilla is our go-to for its universal appeal and complementary flavor with cinnamon, this recipe is incredibly versatile. You can experiment with any flavor of ice cream you love. We often switch between traditional vanilla and a rich, spicy Mexican chocolate ice cream, which adds an exciting depth of flavor. Other fantastic options include coffee, strawberry, pistachio, or even a robust caramel swirl. The true “magic” of frying ice cream relies on a few critical elements related to the ice cream itself:
- Achieve Extreme Cold: It cannot be overemphasized: freeze the ice cream balls between each step. Each time the ice cream is handled, it softens. Immediately returning it to the freezer ensures it re-solidifies, making it as cold and solid as humanly possible before it encounters the hot oil. This prolonged and repeated freezing is your primary defense against melting.
- Optimal Ball Size: The size of your ice cream balls is crucial. They need to be large enough (typically about 1/2 cup scoops) to withstand the 375°F oil temperature for a few seconds. If your ice cream ball is too small, the heat will penetrate too quickly, causing it to melt completely before the outer shell can fry to perfection. Uniformity in size also aids in even cooking.
CORNFLAKES – This is the classic crispy coating for fried ice cream, and for good reason. Cornflakes provide an exceptional crunch and a neutral base that allows the cinnamon and sugar to shine. You’ll mix the crushed cornflakes with a bit of ground cinnamon and granulated sugar for that signature sweet and spiced flavor. When crushing the cornflakes, you have some flexibility: you can crush them very finely for a smoother, more uniform crust, or leave them a bit coarser (like “Rice Krispie” size) for an extra textural dimension. If you’re not keen on cinnamon, feel free to omit it or substitute it with other warm spices like a pinch of nutmeg, cardamom, or even a dash of pumpkin pie spice for a seasonal twist. For those looking to experiment, other coatings can include crushed shortbread cookies, graham cracker crumbs, finely chopped nuts (pecans, almonds), or even panko breadcrumbs for a different type of crisp. Ensure any alternative coating adheres well to the egg whites.
EGG WHITES – These are absolutely essential for binding the cornflake coating to the ice cream. When whisked until frothy, egg whites create a sticky, aerated surface that acts as the perfect “glue.” This ensures that the cornflake mixture adheres evenly and robustly, creating a solid insulating layer that won’t disintegrate in the hot oil. Make sure your egg whites are significantly frothy; the more airy and foamy they are, the better they will grip the coating.
CINNAMON AND GRANULATED SUGAR – These two simple ingredients are what give the cornflake coating its iconic warm, sweet, and aromatic flavor. They transform plain cornflakes into a delicious, spiced crust. Adjust the quantities to your personal taste preferences, making it sweeter or more cinnamon-forward as desired.
FRYING OIL – For deep-frying, selecting the right oil is paramount for both taste and safety. You need an oil with a high smoke point that can withstand temperatures around 375°F without burning or imparting off-flavors. Vegetable oil or canola oil are excellent, neutral-flavored choices that are widely available and perform well. Other suitable options include peanut oil or sunflower oil. Avoid oils with lower smoke points, such as extra virgin olive oil or butter, as they will smoke and burn quickly, ruining the taste of your fried ice cream and potentially creating a fire hazard.
How to Make Fried Ice Cream: Your Detailed Step-by-Step Guide
These step-by-step photos and comprehensive instructions are here to guide you visually through the process of making this incredible fried ice cream. For a quick and easy-to-print version of this recipe, complete with precise measurements and instructions, simply Jump to Recipe at the very bottom of this post.
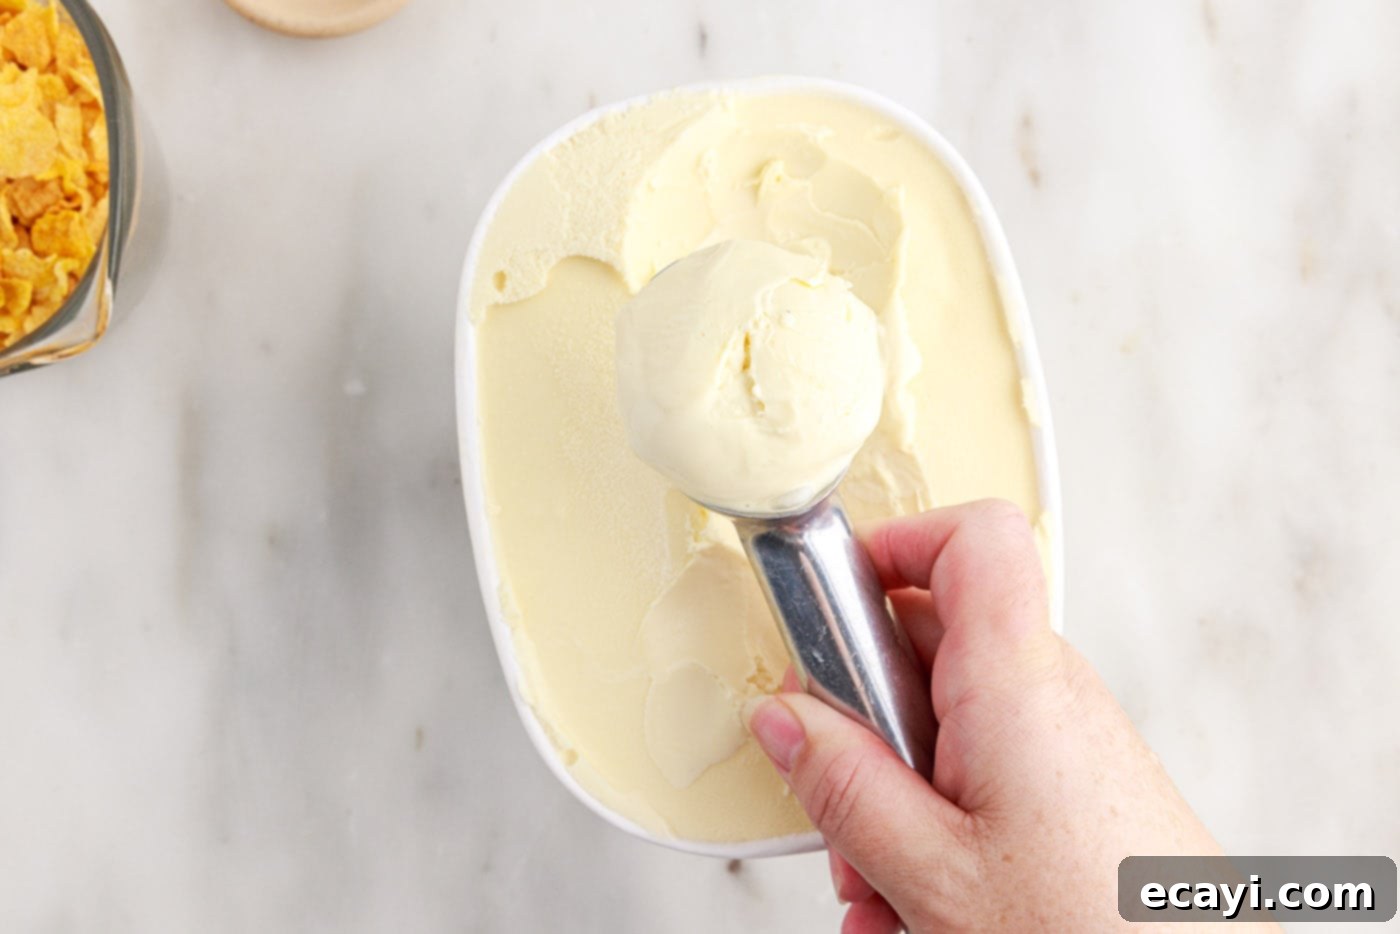
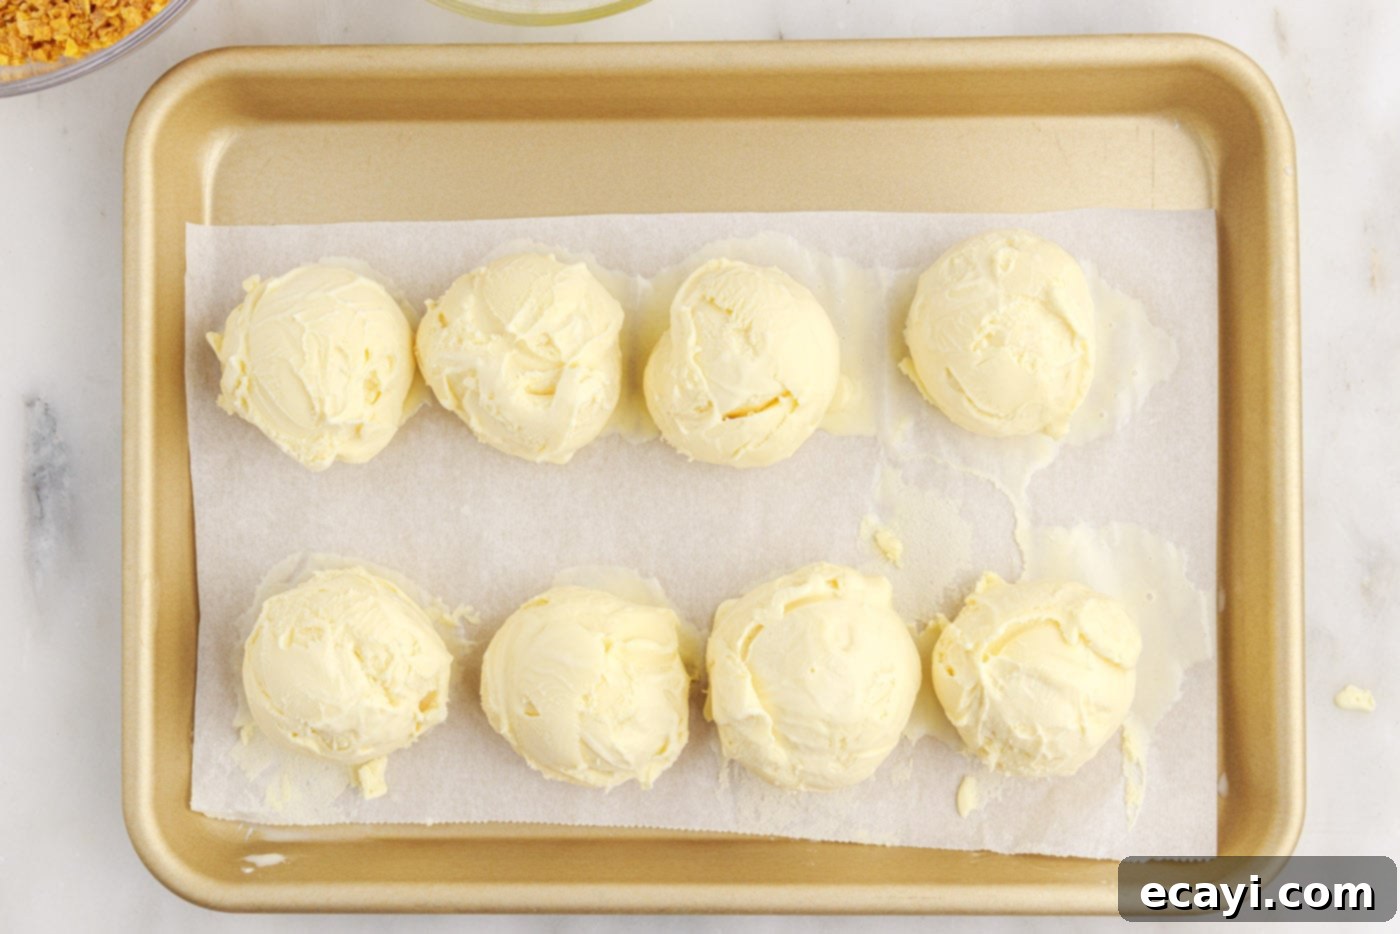
- Scoop and Initial Freeze: Begin by scooping approximately 8 uniform 1/2-cup round balls of your chosen ice cream. Using an ice cream scoop will help achieve consistent sizes and a perfectly spherical shape. Arrange these balls on a quarter sheet pan that has been lined with parchment paper – this prevents them from sticking. Immediately place the pan into the freezer. This initial freezing period is crucial for the ice cream to re-solidify and become rock-hard, which usually takes between 30 minutes to 1 hour. The colder they are, the better they’ll hold their shape.
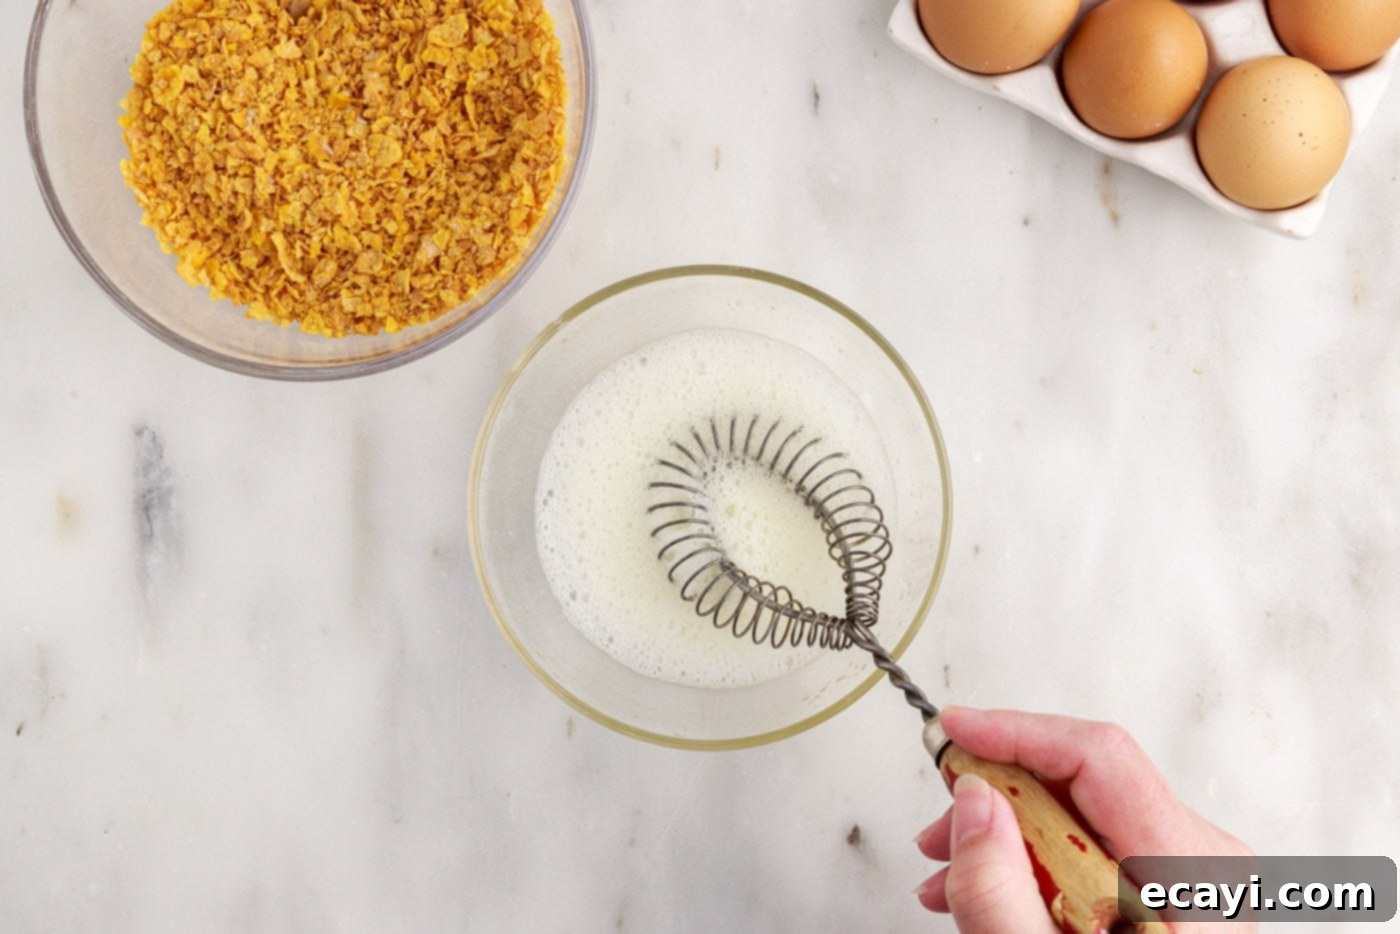
- Prepare Frothy Egg Whites: While your ice cream balls are firming up in the freezer, pour four large egg whites into a shallow bowl. Using a whisk, or even a hand beater for faster results, vigorously whisk the egg whites until they become light, airy, and frothy. You’re aiming for a foamy consistency, not stiff peaks. This frothiness is absolutely essential as it helps the cornflake mixture adhere seamlessly to the frozen ice cream.
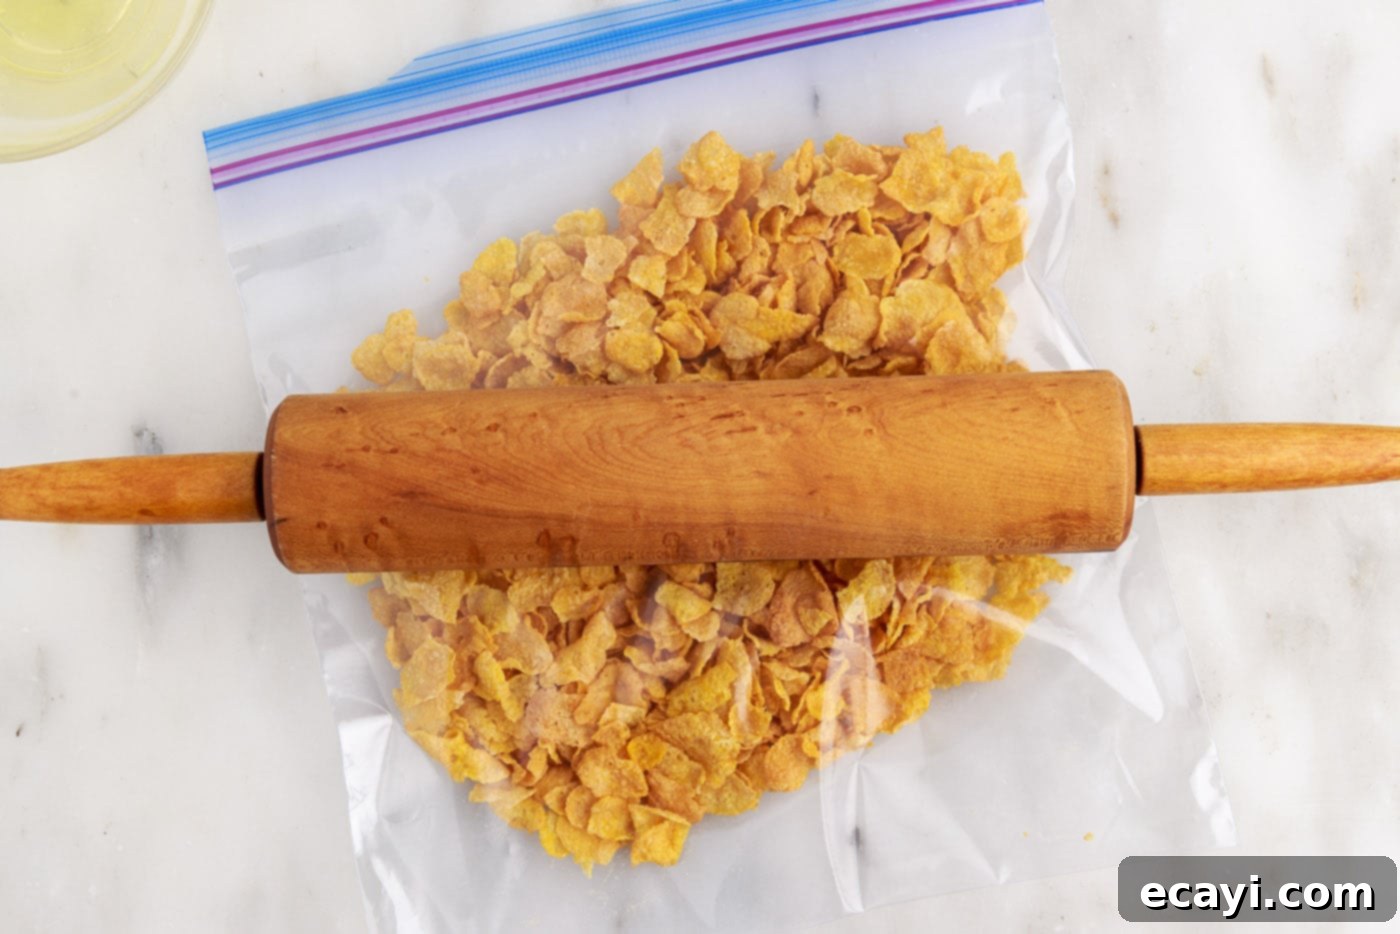
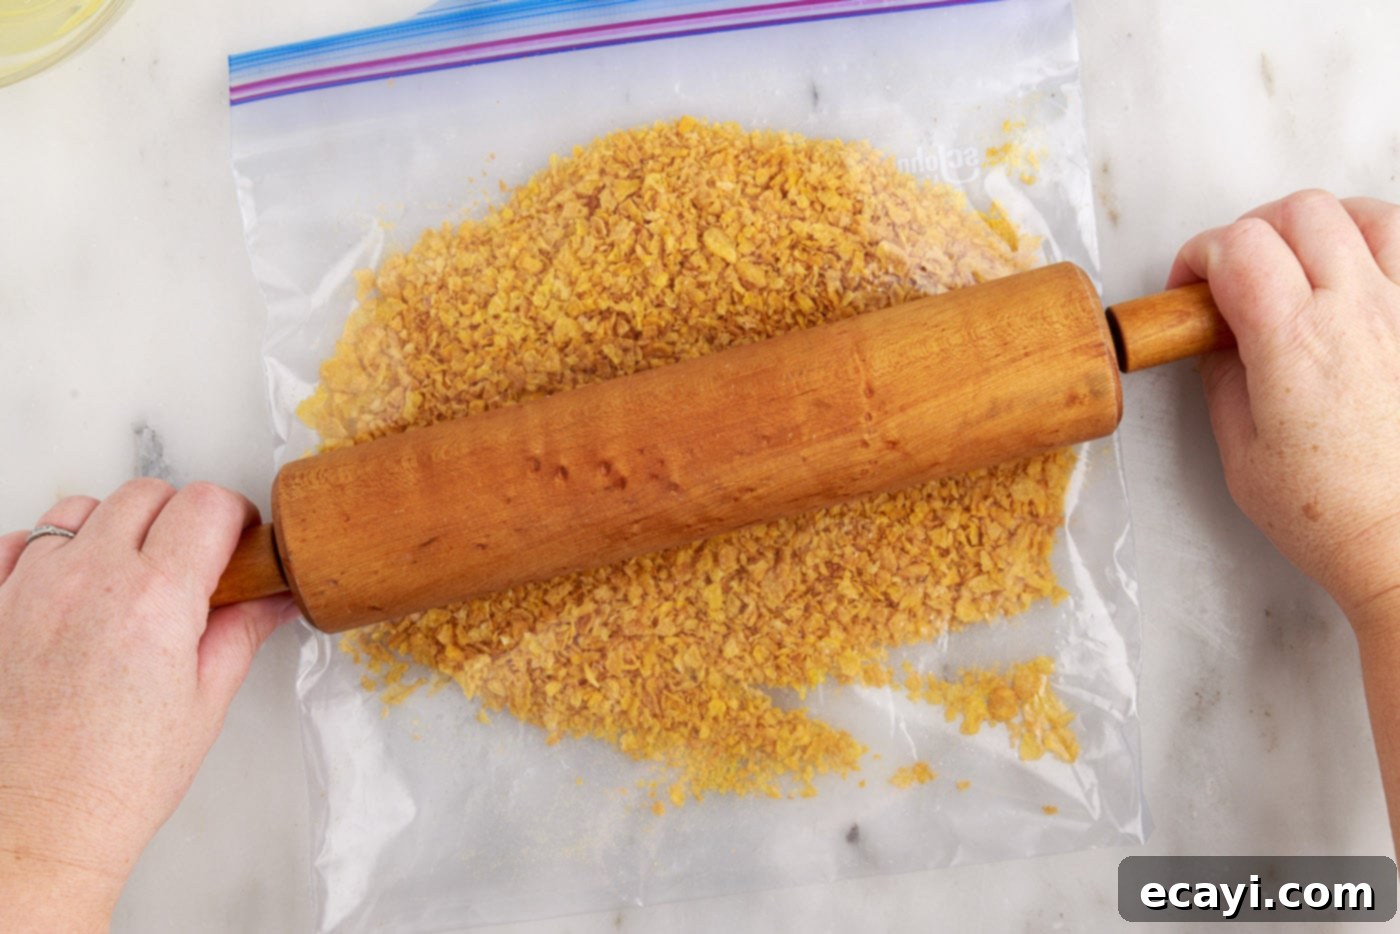
- Crush the Cornflakes: Take 4 cups of cornflakes cereal and place them into a gallon-sized ziptop bag. Seal the bag securely, pressing out as much air as possible. Using a rolling pin, gently but firmly roll over the bag to crush the cereal. You have control over the texture: you can crush them into very fine crumbs for a smooth coating, or leave some pieces slightly larger (similar to “Rice Krispie” size) to add extra crunch and textural intrigue to your fried ice cream.
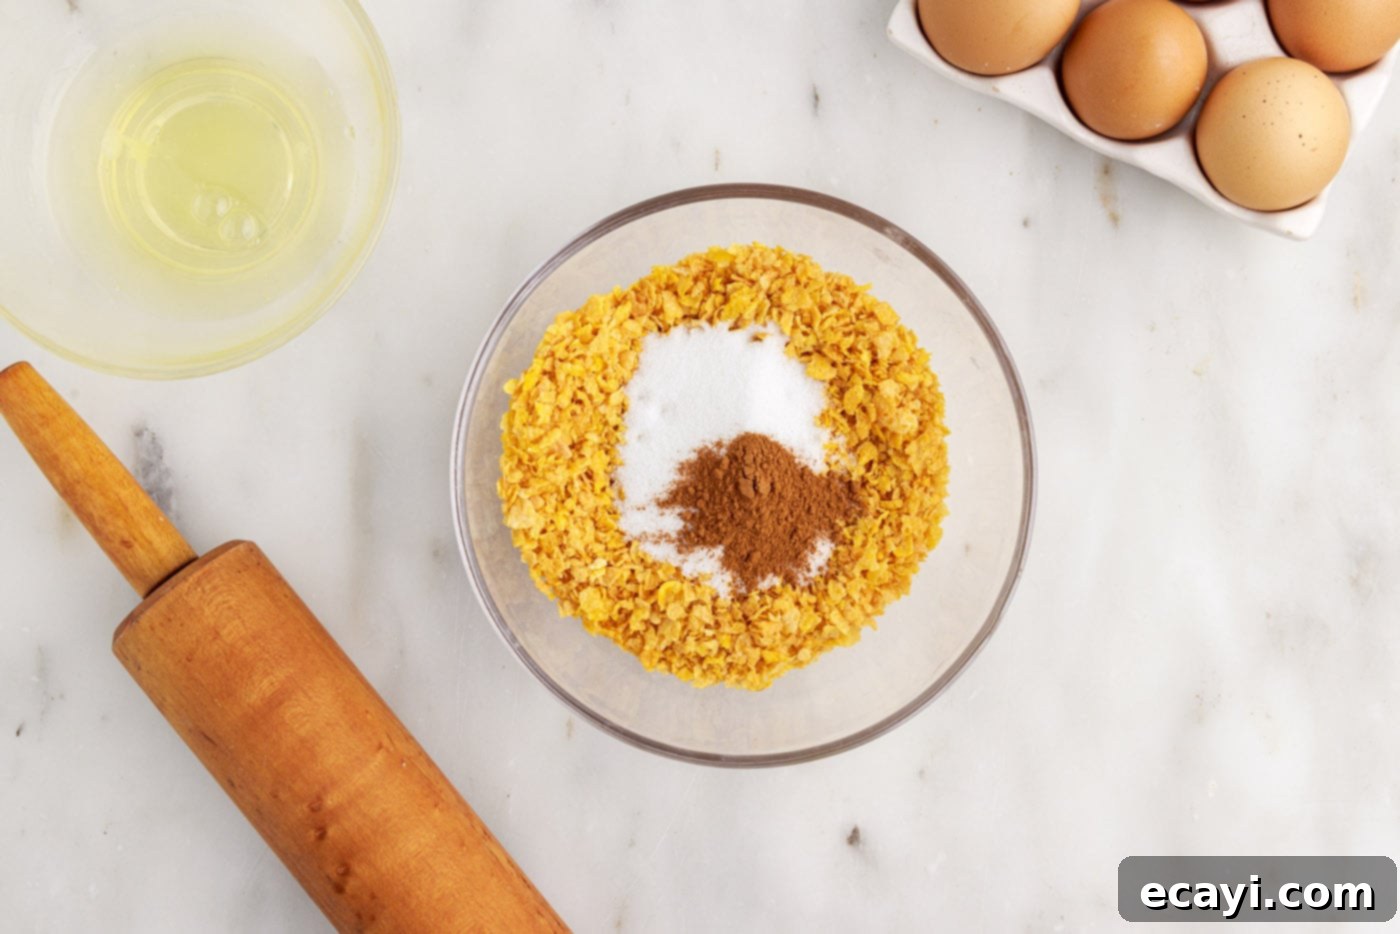
- Season the Coating Mixture: Transfer the crushed cornflakes from the bag to another shallow bowl. Add 1/2 teaspoon of ground cinnamon and 2 tablespoons of granulated sugar to the bowl. Stir these ingredients together thoroughly until they are uniformly combined. This ensures that every part of your crispy coating is infused with that wonderful sweet cinnamon flavor.
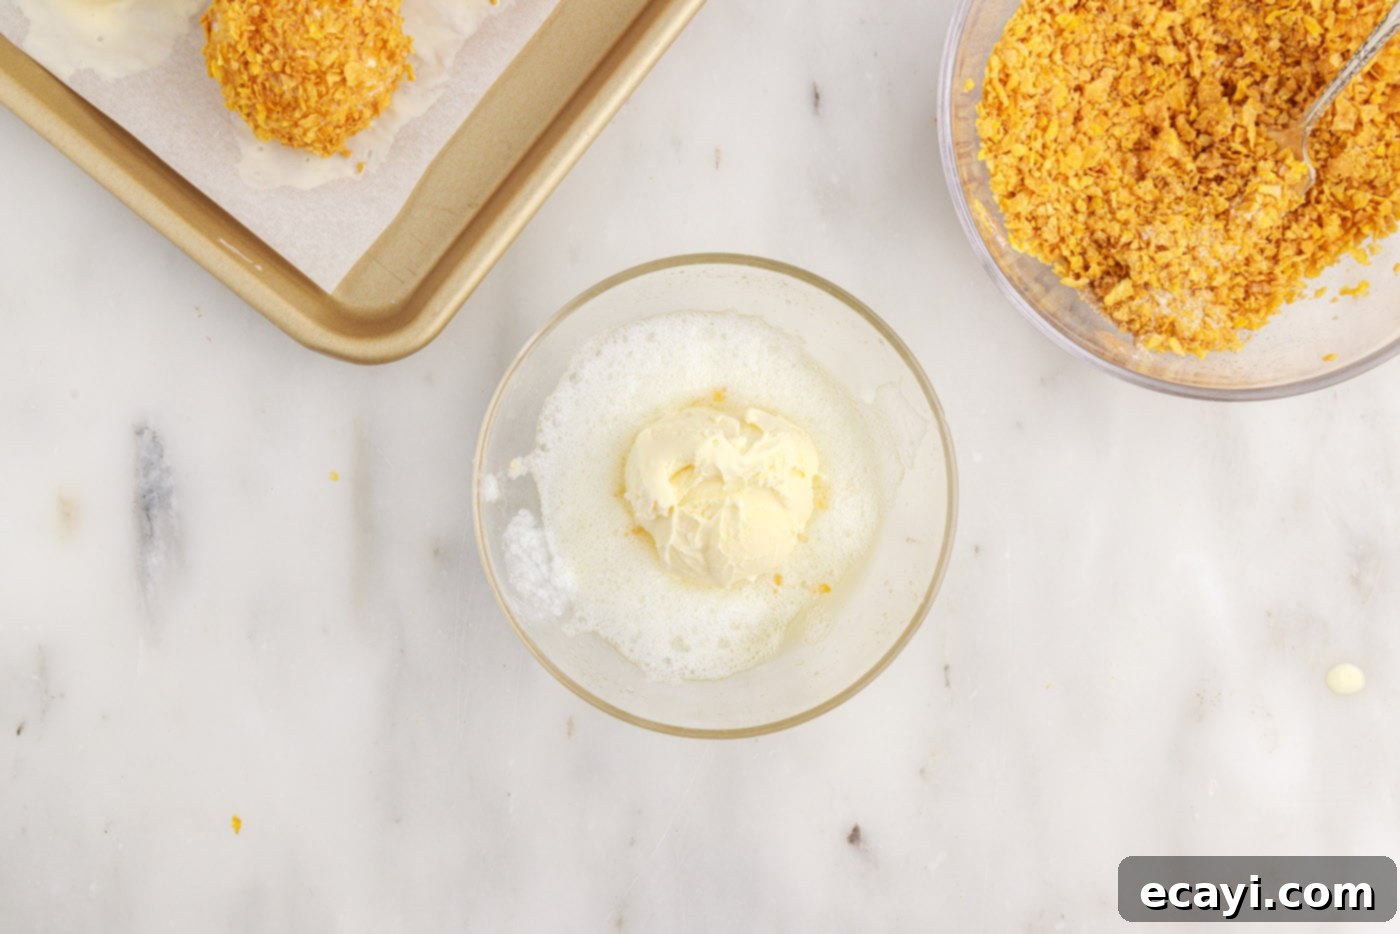
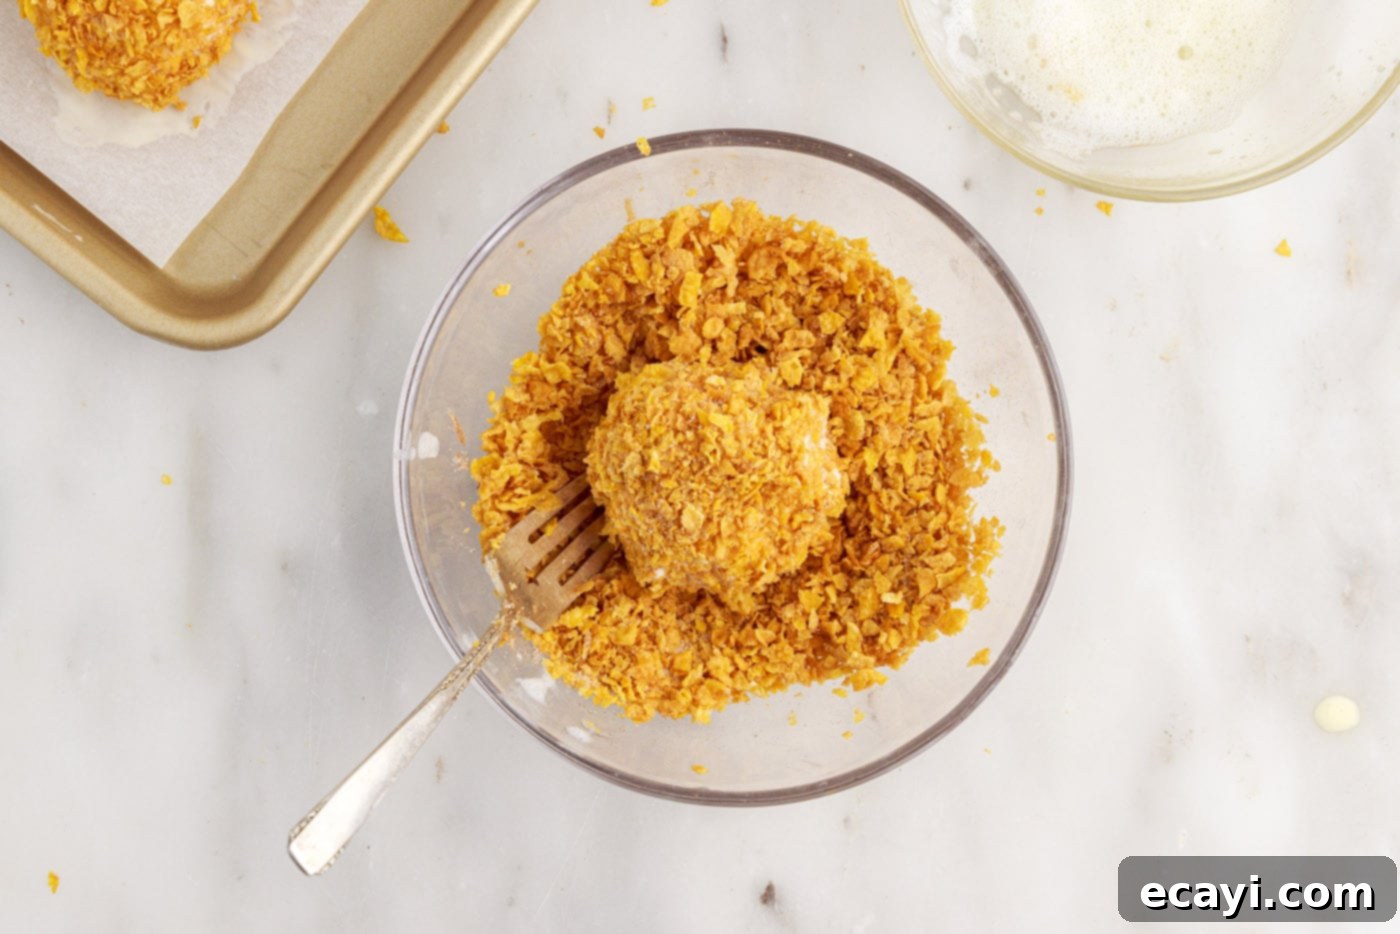
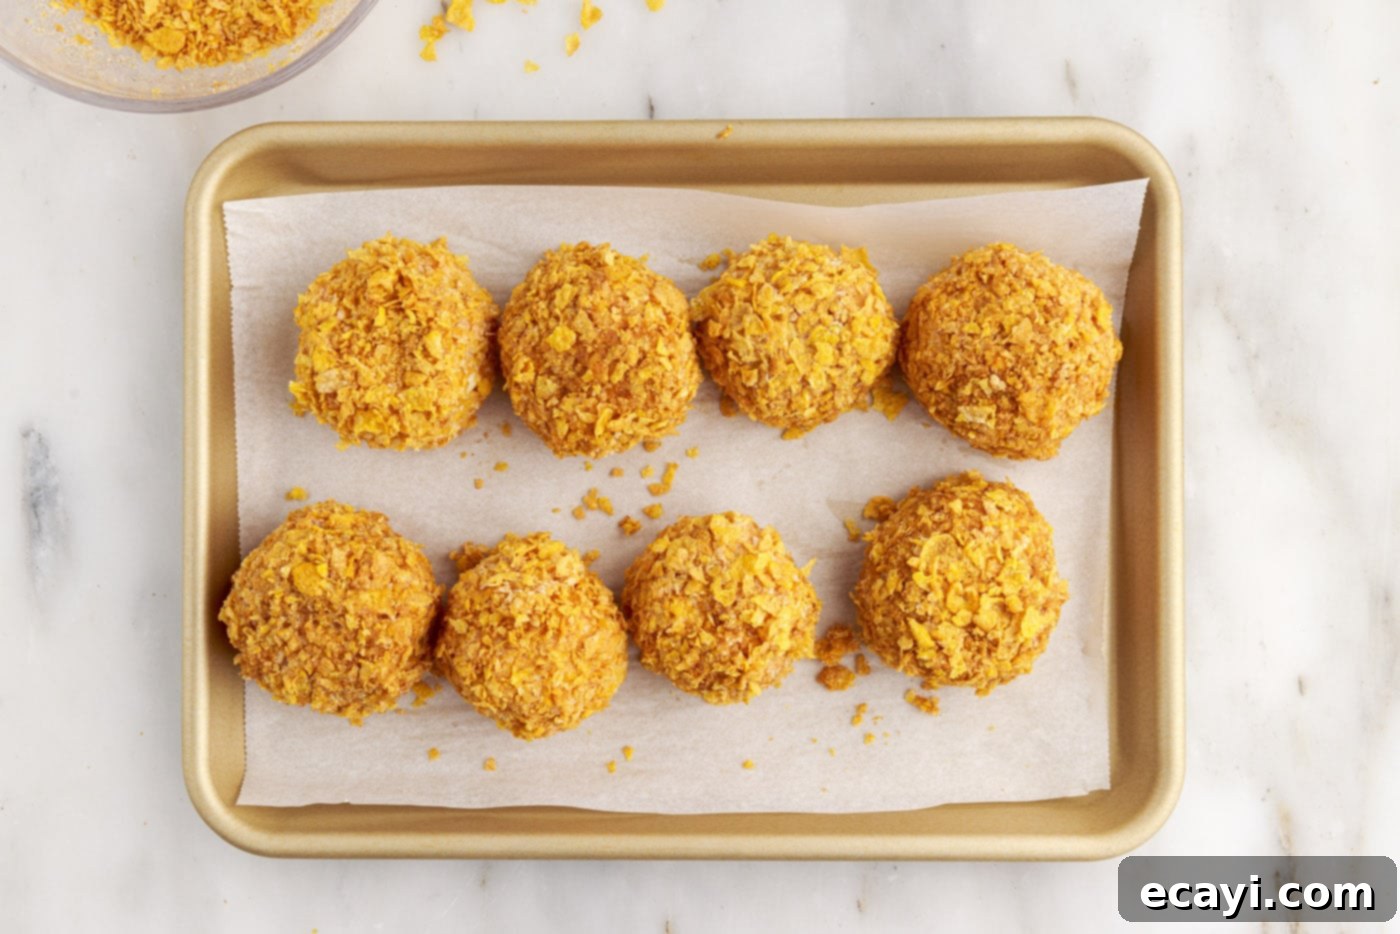
- First Layer of Coating: This step requires speed and precision! Take one rock-solid ice cream ball directly from the freezer. Immediately dip it into the frothy egg whites, ensuring it’s completely coated on all sides. Without delay, transfer the egg-white-coated ball into the seasoned cereal mixture. Toss it gently but thoroughly until it is completely and evenly coated with the cornflakes, leaving no bare spots. Once coated, place the ball back onto the parchment-lined sheet pan and return it to the freezer as quickly as possible. Rapid freezing between steps prevents the ice cream from softening too much.
- Second Layer and Deep Chill: Repeat step 5 for all remaining ice cream balls, giving each one its first layer of coating. Once all are coated, return them to the freezer for another 30 minutes to firm up again. This intermediate chill sets the first layer. After 30 minutes, repeat step 5 to apply a second, insulating layer of frothy egg whites and cereal to all of the balls. This double coating is absolutely essential for creating a robust and effective barrier that will protect the ice cream from melting during the brief, intense frying process.
- Final, Extensive Freeze: Once all ice cream balls have received their crucial double coating, place them back into the freezer for at least 3 more hours. For the best possible results and maximum melt protection, freezing them overnight is highly recommended. The colder and more solid the ice cream is before frying, the more successful your fried ice cream will be.
- Prepare Frying Oil: When you are ready to fry, fill a deep skillet, Dutch oven, or deep fryer with 4-5 inches of high smoke point cooking oil, such as vegetable oil or canola oil. Attach a reliable candy thermometer to the side of the pan to accurately monitor the oil temperature. Heat the oil until it reaches precisely 375°F (190°C). It is critical to maintain the oil temperature consistently between 370°F and 375°F throughout the entire frying process to ensure quick cooking without melting the ice cream.
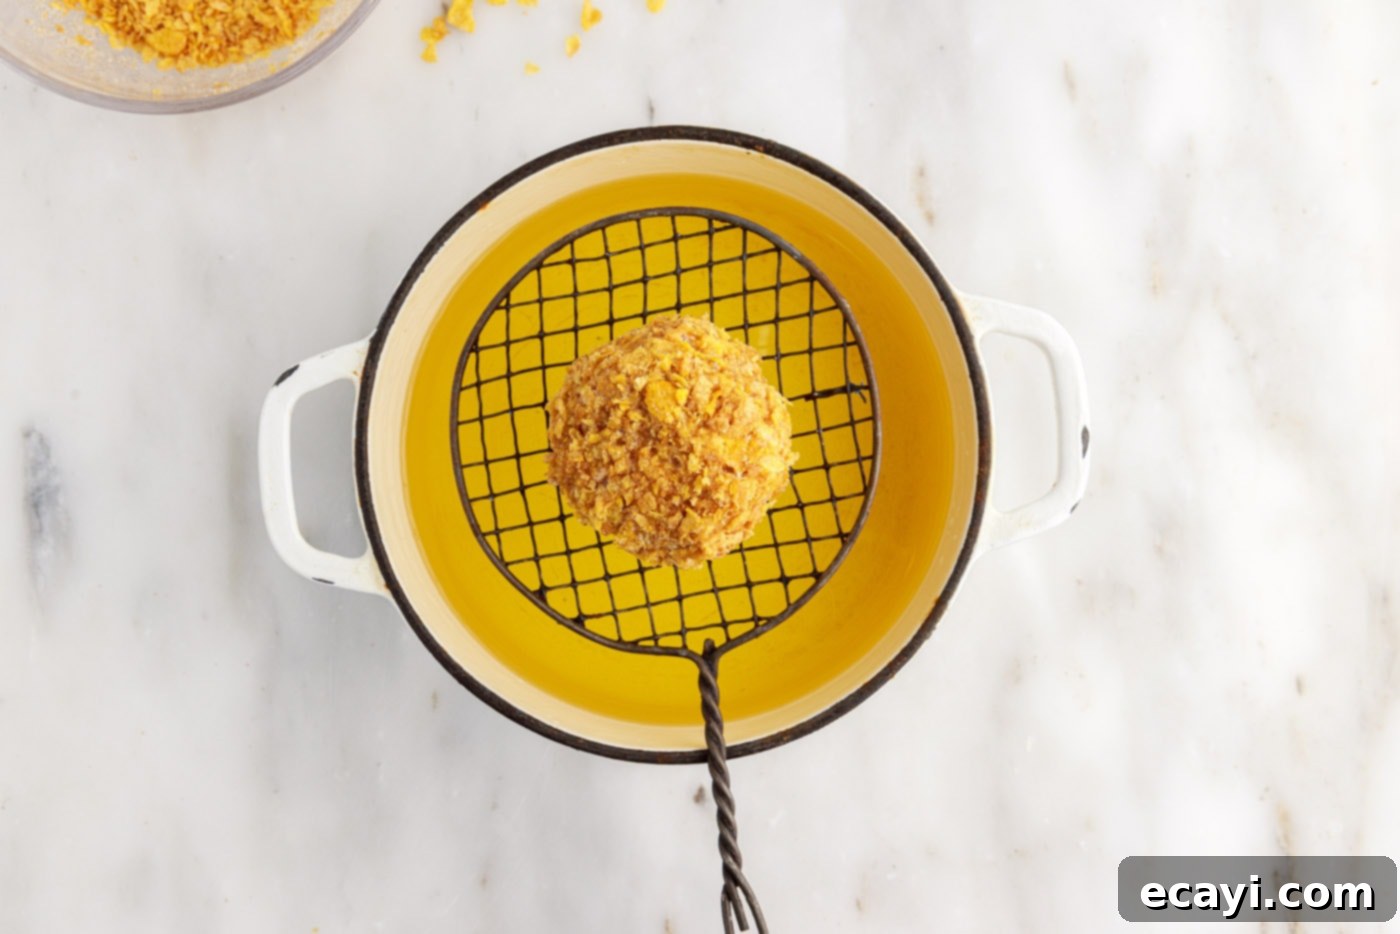
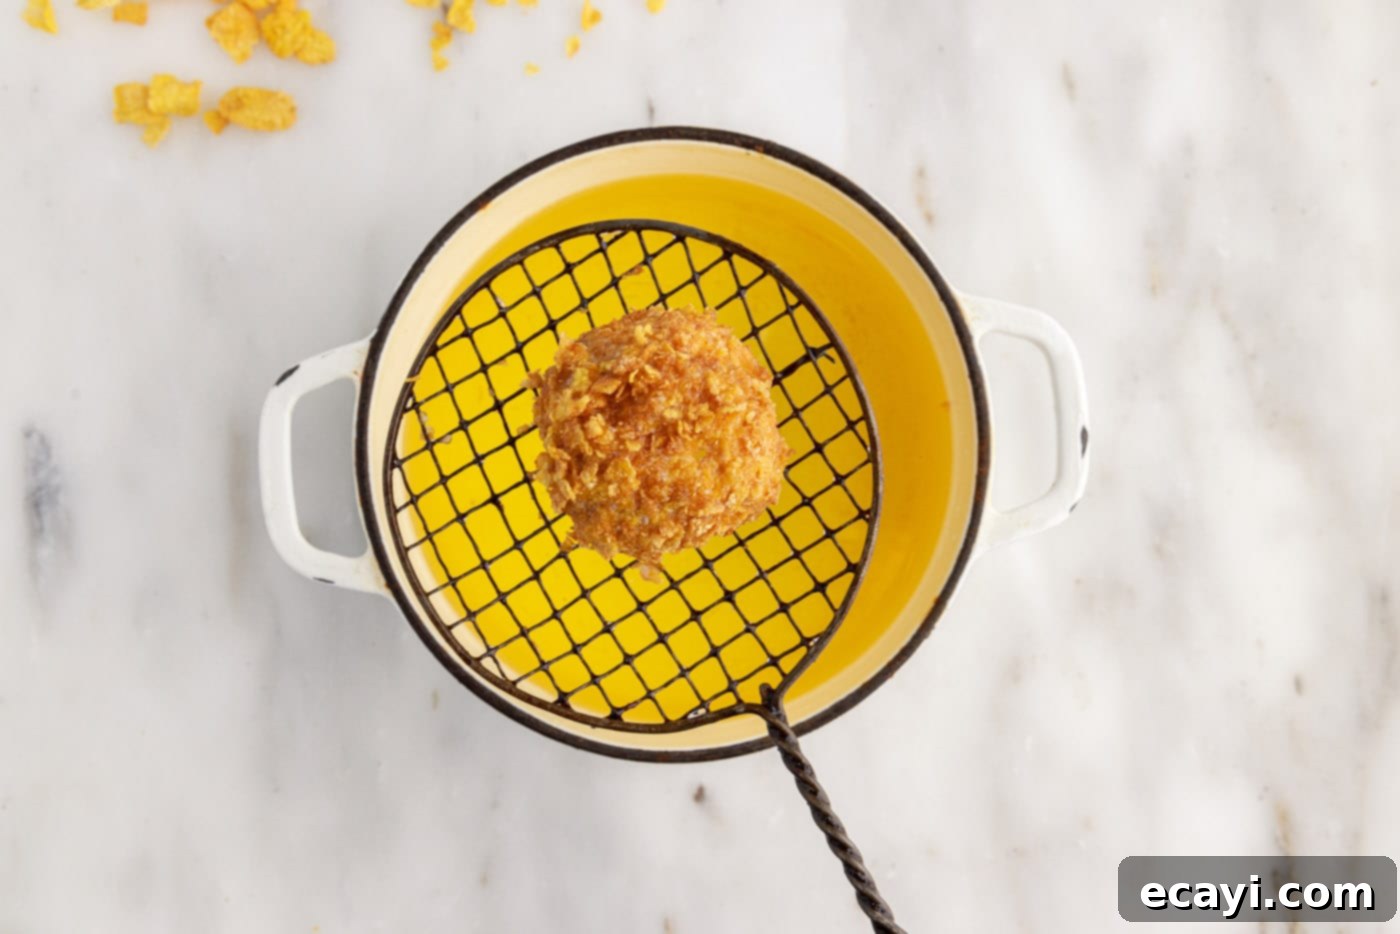
- The Frying Process: Working with one ice cream ball at a time, retrieve it directly from the deep freezer. Using a large, flat slotted spoon or a spider strainer, carefully lower the ice cream ball into the hot oil. Ensure it dunks all the way under the oil and is completely covered so it cooks evenly and quickly. Fry for a very brief period, approximately 10-15 seconds, or until the coating turns a beautiful golden brown and appears crispy. Immediately lift the fried ice cream ball out of the oil and gently blot it on a paper towel-lined plate to remove any excess oil. This is a rapid process, so work efficiently!
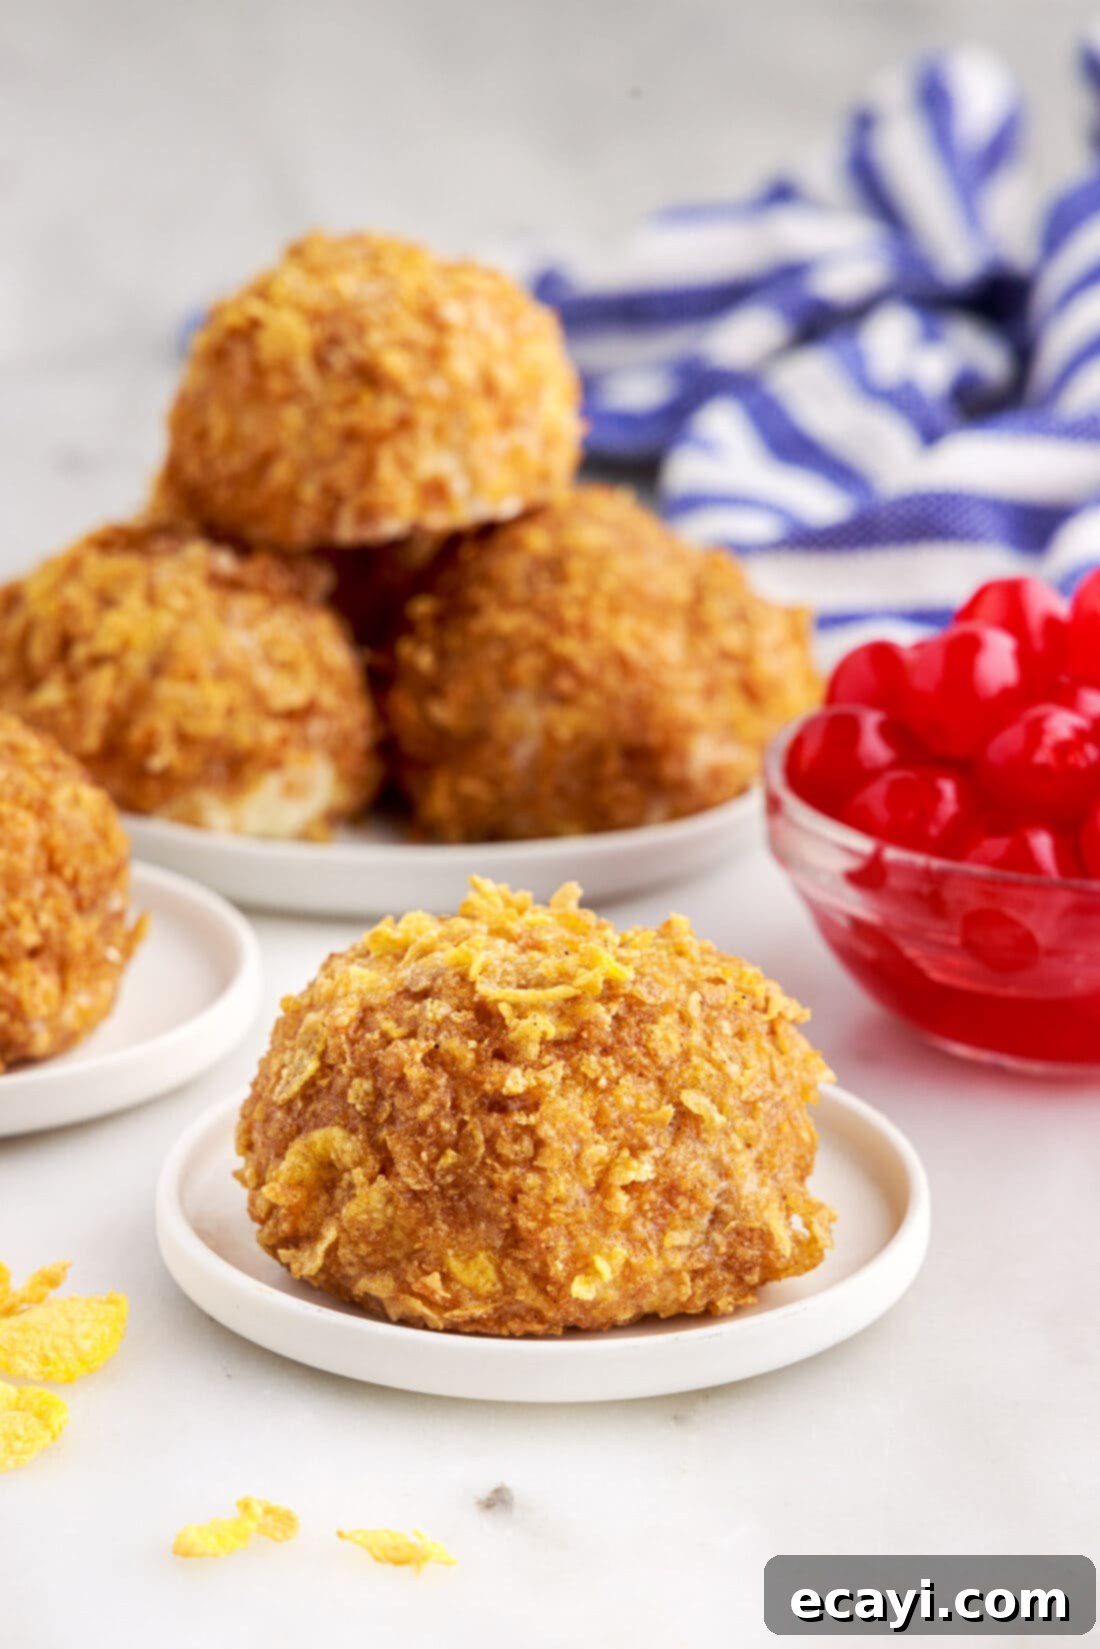
- Serve Immediately: For the ultimate experience, serve your perfectly fried ice cream immediately after frying. The delightful contrast of the hot, crispy exterior and the cold, creamy interior is at its absolute best right out of the oil. If you are frying multiple balls, you can briefly return them to the freezer for a minute or two while you finish the batch, but prolonged storage post-frying is not recommended for optimal crispness.
- One Ball at a Time: To maintain the optimal oil temperature and prevent the ice cream from thawing prematurely, it is crucial to fry the ice cream balls one at a time. Only remove each ball from the freezer just before you are ready to place it into the fryer. This ensures each piece receives the perfect, quick fry it needs.
Frequently Asked Questions & Expert Tips for Fried Ice Cream Success
Yes, you can prepare the ice cream balls, fully coated in cornflakes, ahead of time. Store them in an airtight container in the deep freezer for up to a week before frying. However, for the absolute best and crispiest results, this recipe is truly best when the ice cream is fried right before serving. Preparing them too far in advance might lead to a slightly less crisp coating. If you want to serve multiple portions simultaneously, you can place the fully coated (but unfried) ice cream balls back into the freezer for a few minutes while you complete the rest of your frying. Once fried, serving immediately is highly recommended to enjoy the perfect hot-cold contrast and crispy texture. Refreezing fried ice cream is possible, but the coating will likely lose its crispness upon thawing and any subsequent reheating.
Melting during frying is the most common challenge, but it’s easily preventable! Here are the primary reasons why your fried ice cream might melt and how to avoid them:
- Ice Cream Not Cold Enough: This is the number one culprit. The ice cream balls MUST be rock-solid, deeply frozen for at least 3 hours (preferably overnight) after their second coating. If they are not frozen to their core, they will melt too quickly.
- Inadequate Coating: A thin or incomplete coating provides insufficient insulation. Ensure you apply two generous layers of frothy egg whites and cornflakes, making sure every surface of the ice cream ball is thoroughly covered. Any gaps are weak points.
- Incorrect Oil Temperature:
- Oil too cold: If the oil is below the optimal 375°F, the ice cream will linger in the oil for too long, absorbing oil and melting before the coating has a chance to crisp up.
- Oil too hot: While less common for melting, excessively hot oil can burn the coating before it forms a stable, protective barrier, potentially leading to the shell cracking and the ice cream escaping. Always use a candy thermometer to maintain the precise 370-375°F range.
- Frying for Too Long: Fried ice cream is a quick-cook item. 10-15 seconds is often all it needs. Frying for longer than necessary will cause the heat to eventually penetrate the insulating layers, leading to melting.
- Overcrowding the Fryer: Adding too many ice cream balls to the oil at once will drastically lower the oil temperature, creating the same problem as oil that is too cold. Fry one, or at most two (if your pan is very large and can recover temperature quickly), at a time to maintain optimal heat.
For successful deep frying, you’ll need a neutral-flavored oil with a high smoke point. Excellent choices include vegetable oil, canola oil, peanut oil, or sunflower oil. These oils can safely reach and maintain the required 375°F (190°C) without burning, smoking excessively, or imparting unwanted flavors to your delicious dessert. Avoid using oils with lower smoke points, such as olive oil or butter, as they are not suitable for deep frying at these high temperatures.
Traditional fried ice cream achieves its unique, crispy-hot shell and still-frozen interior through the rapid, intense heat of deep frying. Baking or air frying typically involves a slower cooking process and circulating hot air, which would almost certainly cause the ice cream to melt entirely before the coating has a chance to become adequately crispy. While you might achieve a “baked” or “air-fried” coated ice cream, it will not replicate the iconic hot-cold contrast and specific texture that defines classic fried ice cream. This recipe is specifically developed and optimized for the deep-frying method to ensure authentic results.
Safe deep frying requires a few key pieces of equipment:
- Deep Skillet or Dutch Oven: A heavy-bottomed pot that can hold 4-5 inches of oil and allow enough space above the oil line to prevent boil-overs.
- Candy/Deep Fry Thermometer: Absolutely essential for monitoring and maintaining the precise oil temperature. Inconsistent temperature is the biggest cause of frying failures.
- Slotted Spoon or Spider Strainer: For safely lowering and retrieving the ice cream balls from the hot oil.
- Heat-Resistant Mitts: To protect your hands.
- Fire Extinguisher: Always have one nearby for safety when deep frying.
Creative Serving Suggestions for Your Homemade Fried Ice Cream
While homemade fried ice cream is a spectacular dessert all on its own, it also serves as a magnificent canvas for a wide array of delicious toppings and creative presentations. Elevate your dessert experience with these imaginative serving suggestions, ensuring every bite is a memorable one:
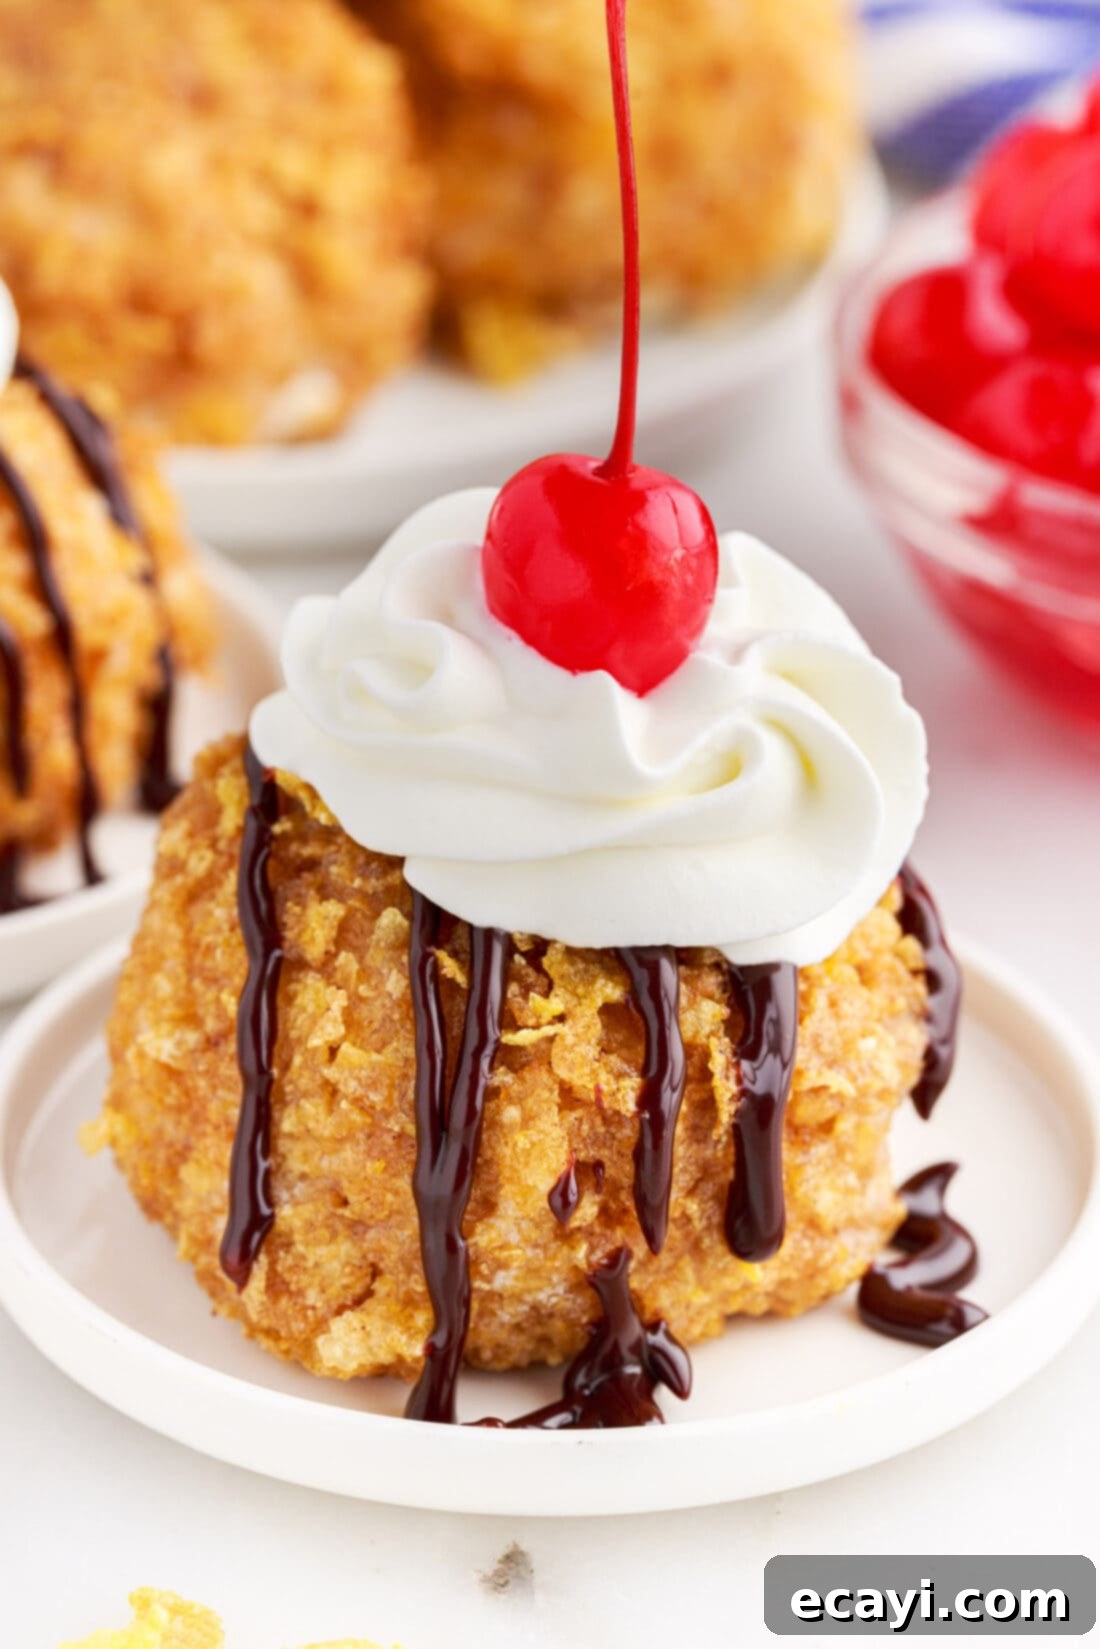
- Classic Indulgences: Adorn your golden fried ice cream with a generous dollop of fluffy whipped cream, a luxurious drizzle of rich chocolate syrup or velvety caramel sauce, and a vibrant maraschino cherry. These timeless additions enhance both the visual appeal and the decadent flavor.
- Fresh & Fruity: Introduce a burst of freshness and a touch of natural tang by pairing your dessert with fresh berries (such as strawberries, raspberries, or blueberries), thinly sliced bananas, or finely diced mango. A warm berry compote also works beautifully.
- Extra Nutty Crunch: For another layer of delightful texture, sprinkle your fried ice cream with chopped nuts like toasted pecans, walnuts, almonds, or even candied peanuts. The nutty flavor complements the sweet ice cream and crispy coating perfectly.
- Gourmet Sauces: Beyond the traditional chocolate and caramel, consider warm fruit drizzles, a zesty lemon curd, or a sweet dulce de leche sauce for an authentic Mexican-inspired touch.
- Playful Additions: For a fun and festive touch, scatter mini chocolate chips, colorful sprinkles, or crushed candy bars over your dessert. Kids and adults alike will love the extra element of surprise.
- Spice Adventures: A light dusting of extra cinnamon further emphasizes the coating’s flavor. For a truly adventurous pairing, especially if you used Mexican chocolate ice cream, a tiny pinch of chili powder can add an intriguing subtle kick.
- Perfect Pairings: Serve alongside a steaming cup of traditional Champurrado (thick Mexican hot chocolate) for a comforting and utterly decadent duo, or with a refreshing glass of horchata to complete the Mexican dessert experience.
The serving possibilities are truly endless, allowing you to customize each portion to individual preferences and make every fried ice cream moment unique and delightfully delicious!
Explore More Delicious Mexican-Inspired Recipes
If you thoroughly enjoyed creating and savoring this incredible fried ice cream recipe, we invite you to delve deeper into the vibrant and flavorful world of Mexican cuisine with these other delightful dishes and desserts. Expand your culinary repertoire and bring more authentic tastes of Mexico into your home kitchen:
- Champurrado (Thick Mexican Hot Chocolate)
- Mexican Street Corn (Esquites or Elote)
- Traditional Mexican Cookie Rings
- Rich Homemade Mexican Chocolate Ice Cream
- Decadent Mexican Chocolate Cupcakes with Dulce De Leche Frosting
I absolutely adore cooking and baking, and there’s nothing I enjoy more than sharing my kitchen adventures and delicious recipes with all of you! It can be tricky to remember to check back every day for new delights, which is why I offer a convenient newsletter delivered straight to your inbox every time a fresh recipe is posted. Simply subscribe here and start receiving your free daily dose of delicious inspiration!
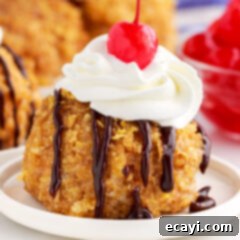
Fried Ice Cream
IMPORTANT – Don’t miss the detailed Frequently Asked Questions and Expert Tips section within the blog post for invaluable advice and troubleshooting! Simply scroll up to read them for successful results.
Print It
Pin It
Rate It
Save ItSaved!
Ingredients
- 4 cups vanilla ice cream
- 4 large egg whites
- 4 cups cornflakes cereal
- ½ teaspoon ground cinnamon
- 2 Tablespoons granulated sugar
- vegetable oil or canola oil for frying
Things You’ll Need
-
Spider strainer or large flat slotted spoon
-
Candy thermometer
Before You Begin: Essential Tips for Success
- Freeze, Freeze, Freeze: The absolute most crucial element for successful fried ice cream is keeping the ice cream as cold and solid as possible. Freeze the ice cream balls between each step of coating, and then give them a long, final freeze (at least 3 hours, preferably overnight) before frying. This creates a thermal barrier that resists melting.
- Quick Fry is Key: 10 to 15 seconds is truly all it takes to fry the exterior of each ice cream ball to golden perfection. Any longer, and the insulation will fail, and the ice cream will begin to melt rapidly. Work quickly and precisely.
- Gentle Handling in Oil: When dipping the ice cream into the hot oil, try to simply dunk it and lift it straight back out using a spider strainer or flat slotted spoon. The ice cream just beneath the cornflake coating softens almost immediately. If you try to aggressively fish it out or flip it multiple times, the softened ice cream can dent or smush, breaking the protective shell. Since the ice cream balls are dense, they will sink under the oil, allowing for a clean, quick submersion and retrieval.
- Frothy Egg Whites Matter: Don’t just use plain egg whites. Whisk them thoroughly until they are light and frothy, forming a foamy texture. This aeration helps the cornflake mixture adhere much better, acting like a strong “glue” for your coating. Re-whisk the egg whites periodically if they lose their frothiness while you’re coating multiple balls.
- Immediate Serving for Optimal Crunch: For the best textural experience, serve your fried ice cream immediately after frying. The warm, crispy coating is at its peak right out of the oil. While you can briefly return unfried, coated balls to the freezer for a few minutes while you complete a batch, storing fried ice cream for extended periods in the freezer will lead to a softer, less crispy coating upon reheating or thawing.
Instructions
-
Scoop 4 cups of vanilla ice cream into 8 uniform 1/2-cup round balls. Place these on a quarter sheet pan lined with parchment paper and immediately transfer to the freezer to re-solidify for 30 minutes to 1 hour, or until thoroughly frozen.
-
Meanwhile, place 4 large egg whites into a shallow bowl and whisk until they are light and frothy.
-
Place 4 cups of cornflakes in a gallon-sized ziptop bag, seal it, and use a rolling pin to crush the cereal into small pieces. You can crush them completely for a fine coating or leave them about “Rice Krispie” size for more texture.
-
Transfer the crushed cereal to another shallow bowl and stir together with 1/2 teaspoon ground cinnamon and 2 tablespoons granulated sugar until well combined.
-
Working quickly with one ice cream ball from the freezer at a time, dip it into the frothy egg whites, ensuring a full coating. Immediately place the ice cream ball into the cereal mixture and toss until it is completely and evenly coated. Return the coated ball back to the freezer as swiftly as possible to prevent melting.
Pro Tip: A few cornflakes may dislodge when the ice cream enters the hot oil, so a very thorough and robust initial coating is essential. If the coating is too thin or incomplete, the ice cream will melt directly into the oil once its protective shell breaks.
-
Repeat step 5 for all remaining ice cream balls to apply the first layer of coating. Chill the coated balls in the freezer for about 30 minutes to firm up. Then, repeat step 5 once more to apply a second, insulating layer of frothy egg whites and cereal to all of the balls. This double coating is critical for successful frying.
-
Leave the thoroughly prepared and double-coated ice cream balls in the freezer for at least 3 more hours. For optimal results, freezing them overnight is highly recommended to ensure they are as solid as possible before frying.
-
When you are ready to fry, fill a deep skillet or Dutch oven with 4-5 inches of high smoke point cooking oil (e.g., vegetable, canola). Use a reliable candy thermometer to monitor the oil temperature. Heat the oil until it reaches precisely 375°F (190°C). Throughout the frying process, it’s vital to maintain the oil temperature between 370°F and 375°F.
-
Using a large, flat slotted spoon or a spider strainer, carefully dip one ice cream ball at a time into the hot oil. Ensure the ice cream is fully submerged and completely covered so that it cooks evenly and quickly. Fry for a very brief period, approximately 10-15 seconds, until the coating achieves a beautiful golden-brown crispness. Immediately lift the fried ice cream ball from the oil and blot it gently on a paper towel to absorb any excess oil.
-
Serve your perfectly fried ice cream immediately to enjoy the delightful contrast of the hot, crispy exterior and the cold, creamy interior. This dessert is best savored right after it’s made.
-
Remember to fry the ice cream balls one at a time. This helps maintain the oil temperature and ensures each ball is perfectly cooked. Only remove an ice cream ball from the freezer just before you are ready to place it into the fryer.
Nutrition Information
The recipes on this blog are tested with a conventional gas oven and gas stovetop. It’s important to note that some ovens, especially as they age, can cook and bake inconsistently. Using an inexpensive oven thermometer can assure you that your oven is truly heating to the proper temperature. If you use a toaster oven or countertop oven, please keep in mind that they may not distribute heat the same as a conventional full sized oven and you may need to adjust your cooking/baking times. In the case of recipes made with a pressure cooker, air fryer, slow cooker, or other appliance, a link to the appliances we use is listed within each respective recipe. For baking recipes where measurements are given by weight, please note that results may not be the same if cups are used instead, and we can’t guarantee success with that method.
