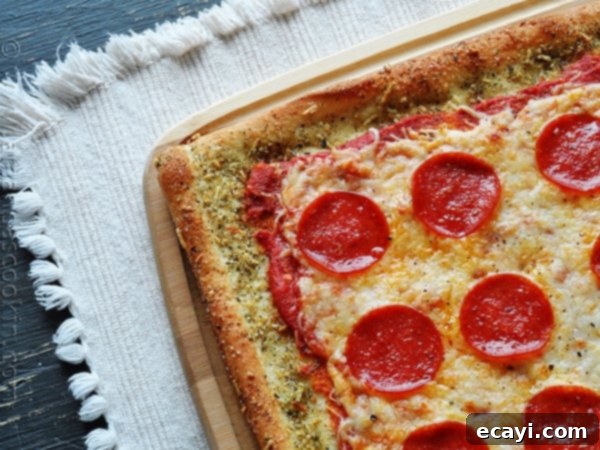
Garlic Bread Crusted Classic Pizza: The Ultimate Easy Weeknight Meal
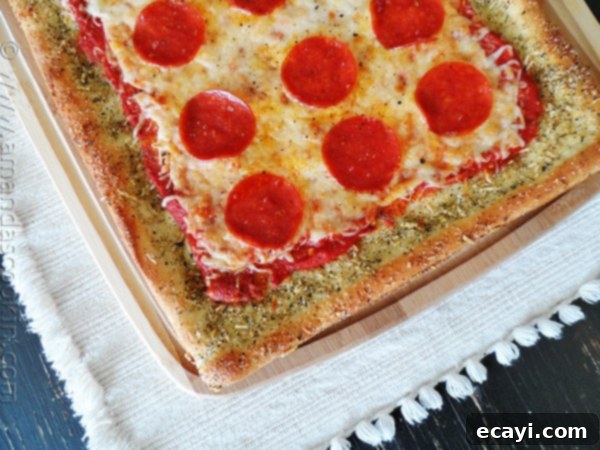
Craving the irresistible combination of crispy, garlicky bread and your favorite pizza? You’ve come to the right place! Garlic bread pizza isn’t just a culinary trend; it’s a flavor explosion that brings comfort and joy to any mealtime. While many restaurants and pizza places now offer their own versions, we’re here to show you how to recreate that heavenly experience right in your own kitchen – no actual garlic bread required for the base. Instead, we’ll infuse the pizza crust itself with those savory garlic bread flavors, elevating a classic pizza into something truly special. This recipe is wonderfully reminiscent of our popular French Bread Pizza, but instead of individual portions, we’re creating a whole pie with a crust that’s bursting with aromatic garlic and herbs.
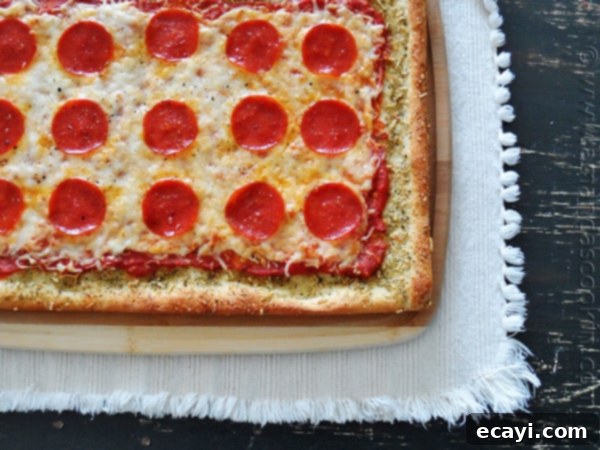
One of the best things about pizza is its universal appeal and ease of preparation, making it a perfect meal for families. My own children, now young adults, have grown up enjoying homemade pizza. It’s a dish they can easily make themselves, requiring minimal supervision and satisfying even the pickiest eaters. This recipe harnesses that simplicity, making it ideal for busy weeknights or a fun cooking project for teenagers eager to get creative in the kitchen. It’s a delicious way to bring everyone together around a shared love for pizza.
This particular journey into garlic bread pizza started when the wonderful teams at Pillsbury and General Mills challenged me to get creative with their convenient refrigerated pizza crust. My goal was to take this everyday staple and dress it up in a unique and exciting way. Instantly, I knew this would be a fantastic opportunity to involve my sons in the cooking process. We weren’t just thinking about toppings *on* the pizza; we were thinking about transforming the *crust* itself!
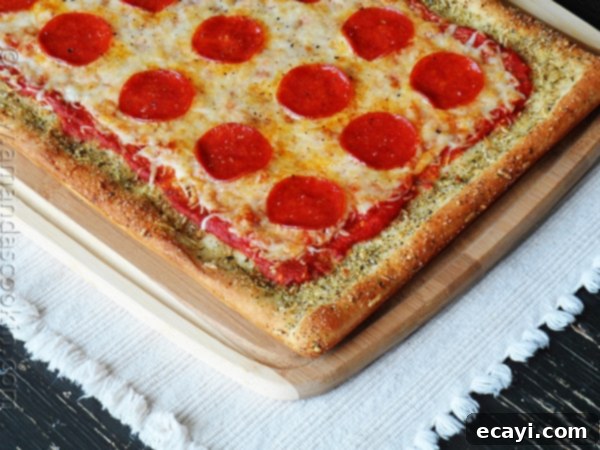
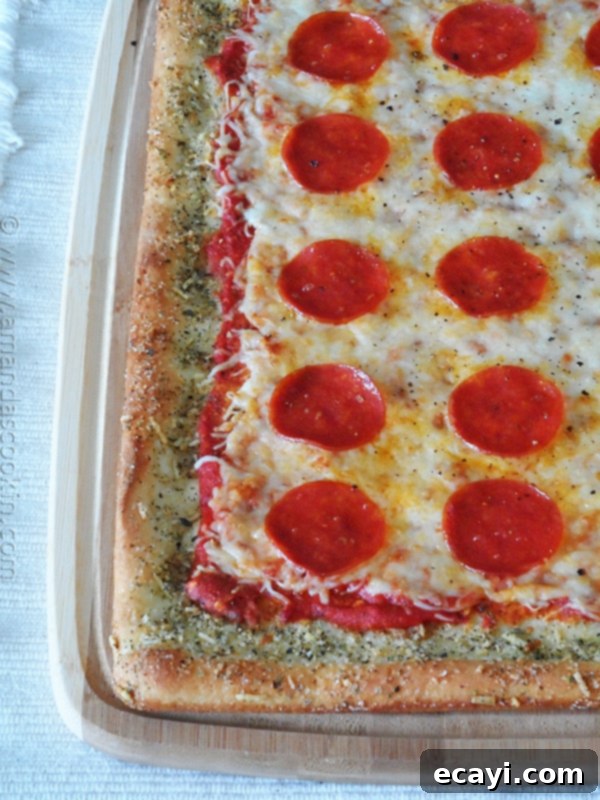
The decision was easy: garlic bread. The aroma, the savory kick, the golden-brown crispness – it’s a flavor profile that perfectly complements a classic pizza. My boys enthusiastically agreed. Who doesn’t love garlic bread? By incorporating those beloved flavors directly into the crust, we could elevate a simple pizza into a gourmet experience without adding extra steps to a busy cooking schedule. The result is a pizza that not only tastes incredible but also looks far more appealing than a plain, unadorned crust.
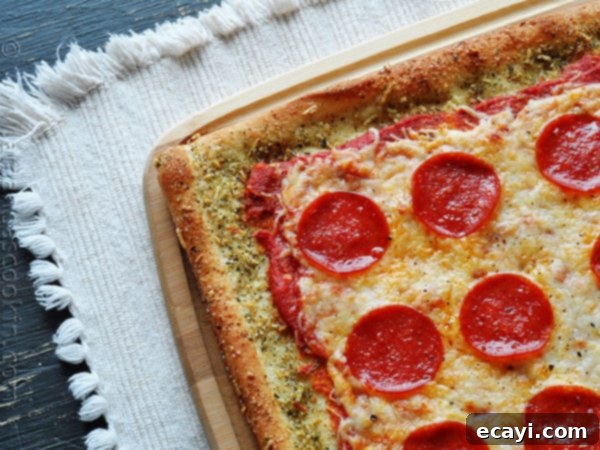
Why Choose a Garlic Bread Crust?
Transforming your pizza crust into a garlic bread masterpiece adds an incredible layer of flavor and texture. Imagine every bite, from the saucy center to the crispy edge, being imbued with savory garlic, aromatic herbs, and rich Parmesan cheese. It’s a game-changer! This simple trick makes your homemade pizza feel truly special, offering a gourmet touch with minimal effort. Plus, let’s be honest, the golden, herb-speckled crust simply looks much more inviting and delicious than a plain one.
Getting Started: Preparing Your Pillsbury Pizza Crust
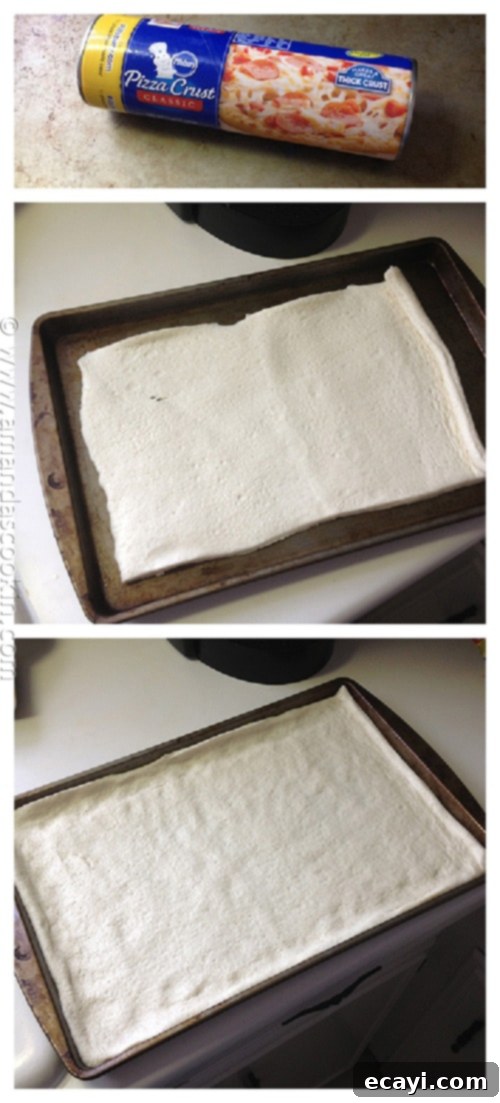
One of the true marvels of this recipe is its simplicity, largely thanks to convenient refrigerated pizza dough. Pillsbury’s Classic Pizza Crust is incredibly user-friendly, making it perfect for novice cooks and busy parents alike. Here’s how to prepare it:
- **Preheat Your Oven:** Start by preheating your oven to 400°F (200°C). This ensures your pizza bakes evenly and achieves that perfect crispness.
- **Prepare Your Baking Sheet:** Lightly spray a rimmed cookie sheet with non-stick cooking spray. This prevents the dough from sticking and ensures easy removal.
- **Unroll the Dough:** Carefully unroll the Pillsbury pizza crust onto the prepared baking sheet.
- **Shape and Create the Rim:** Gently press the dough out toward the edges of the baking sheet. Use your fingers to create a slightly raised crust rim around the perimeter. This not only gives your pizza a professional look but also acts as a barrier to keep your delicious sauce and toppings from spilling over. This step is surprisingly easy and very satisfying, making it a great task for aspiring young chefs!
Crafting the Flavorful Garlic Salt Topping
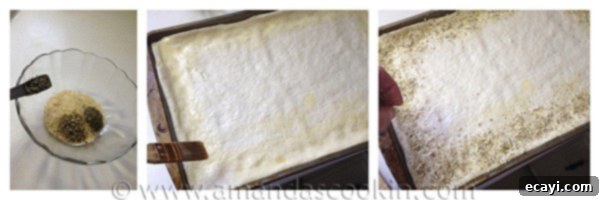
The secret to our amazing garlic bread crust lies in this simple yet potent seasoning mix. While you can certainly use pre-made herbed garlic salt for convenience, mixing your own allows you to control the freshness and intensity of flavors. If you opt for an already-herbed garlic salt, simply combine it with the Parmesan cheese. Otherwise, here’s how to make your own:
- **Combine Dry Ingredients:** In a small bowl, mix together garlic salt, oregano, basil, marjoram, and a touch of rosemary. These herbs create a classic Italian-inspired profile that pairs beautifully with garlic.
- **Add Parmesan Cheese:** Stir in fresh grated Parmesan cheese. This adds a salty, nutty depth and helps create a golden, cheesy crispness on the crust.
- **Brush with Olive Oil:** Once your dough is shaped on the baking sheet, lightly brush the outer edges (the rim you just created) with olive oil. This not only helps the garlic salt mixture adhere but also promotes a beautiful golden-brown finish and a rich flavor.
- **Sprinkle Generously:** Evenly sprinkle the garlic salt mixture all around the olive-oiled edges of the crust. Don’t be shy; this is where the magic happens!
Baking Your Garlic Bread Crusted Pizza to Perfection
Achieving the perfect pizza involves a two-stage baking process, ensuring both a crispy crust and perfectly melted toppings:
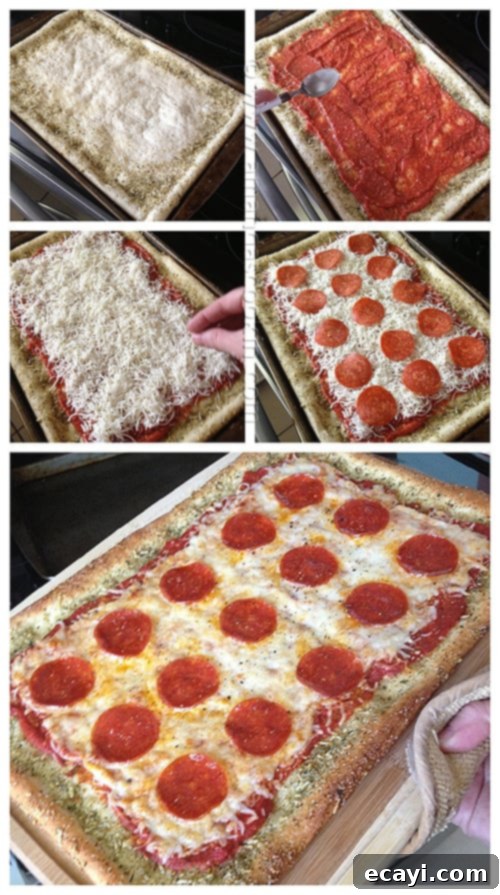
- **First Bake (Partial):** Place your seasoned pizza crust in the preheated oven and partially bake for 8 minutes. This crucial step helps to firm up the crust, preventing it from becoming soggy once the sauce and toppings are added. It also starts to toast that delicious garlic bread topping.
- **Add Sauce and Toppings:** Carefully remove the partially baked crust from the oven. Now it’s time to add your favorite pizza sauce, spreading it evenly over the center, but leaving the garlic bread crust visible around the edges. Follow with a generous layer of shredded mozzarella cheese and any other desired toppings. Whether you prefer classic pepperoni, savory sausage, or a medley of fresh vegetables, now’s the time to personalize your pie!
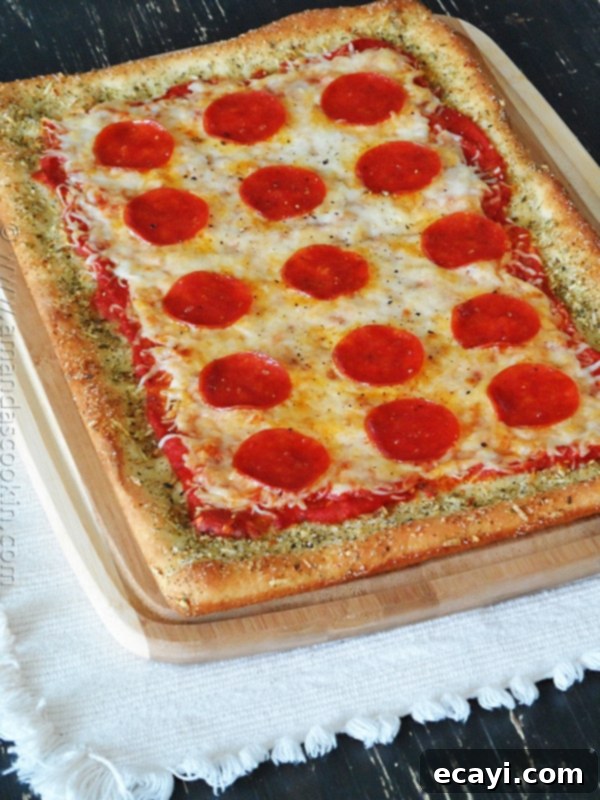
- **Second Bake (Final):** Return the pizza to the oven and bake for another 6-10 minutes, or until the cheese is beautifully melted and bubbly, and the garlic bread crust is a golden brown. Keep a close eye on it during this stage to prevent over-baking.
The Convenience Factor: Why Refrigerated Dough is a Game-Changer
While I truly adore making homemade pizza dough from scratch, I understand that it’s often a long process that requires time for mixing, kneading, and rising. For those busy moments when time is short, or when you want to empower younger family members to take charge in the kitchen, ready-made refrigerated dough is an absolute lifesaver. It eliminates all the fuss of dough preparation, allowing you to get straight to the fun part: assembling and baking your pizza. It’s perfect for impromptu pizza nights, quick family dinners, or even for making homemade breadsticks with minimal effort. This convenience means more time enjoying delicious food and less time stressing in the kitchen.
Creative Topping Ideas for Your Garlic Bread Crusted Pizza
The beauty of pizza lies in its endless customization! While a simple cheese pizza with a garlic bread crust is divine on its own, here are some topping ideas to inspire your next creation:
- **Classic Pepperoni & Sausage:** A timeless combination that always satisfies.
- **Veggie Supreme:** Bell peppers, onions, mushrooms, black olives, and spinach for a garden-fresh experience.
- **Meat Lovers:** Crumbled bacon, ham, pepperoni, and sausage for the ultimate protein-packed pie.
- **Chicken Bacon Ranch:** Cooked chicken, crispy bacon, a drizzle of ranch dressing (added after baking), and red onion.
- **Margherita Inspired:** Fresh mozzarella, basil leaves (added after baking), and a sprinkle of crushed red pepper flakes.
- **BBQ Chicken:** Shredded BBQ chicken, red onion, and a mix of mozzarella and provolone cheese.
Frequently Asked Questions (FAQs)
To help you master this delightful Garlic Bread Crusted Classic Pizza, here are answers to some common questions:
- **Can I use fresh garlic instead of garlic salt?**
Yes! If you prefer fresh garlic, mince 1-2 cloves and mix with a pinch of regular salt and your herbs. You might also want to melt a tablespoon of butter to mix it with, then brush it on the crust. Adjust quantities to your taste. - **What if I don’t have all the individual herbs?**
No problem! You can use 1 teaspoon of dried Italian seasoning blend in place of the individual oregano, basil, marjoram, and rosemary. - **Can I make this pizza ahead of time?**
You can prepare the garlic bread crust (steps 1-3) and par-bake it for 8 minutes. Let it cool completely, then wrap it tightly in plastic wrap and refrigerate for up to 24 hours. When ready to bake, add sauce and toppings, and bake as directed. - **How do I store leftover pizza?**
Store any leftover slices in an airtight container or wrapped in foil in the refrigerator for up to 3-4 days. Reheat in the oven or an air fryer for best results to maintain crispness. - **Can I freeze this pizza?**
Yes, you can freeze it! After partially baking the crust and adding the garlic topping, let it cool. Then add sauce and toppings (avoid watery vegetables). Freeze the assembled pizza on the baking sheet until solid, then transfer to a large freezer bag or wrap tightly in plastic wrap and foil. It can be frozen for up to 1-2 months. Bake from frozen at 400°F (200°C) for 15-25 minutes, or until cooked through and golden.
More Garlic Bread Pizza Recipes
For more inspiration on garlic bread pizza, check out these other delicious ideas:
- Made on actual garlic bread – Mommy Hates Cooking
- Another made on garlic bread – Culicurious
More Pillsbury Pizza Crust Ideas
The versatility of Pillsbury pizza crust is truly amazing. Here are a few more creative ways to use it:
- Parmesan Crusted Pepperoni Pizza
- Garlic Butter Crusted Margherita Pizza
- Parmesan Crusted Chicken Alfredo Pizza
If you have a bit more time and prefer to make everything from scratch, be sure to try my ultimate homemade pizza dough recipe for a truly authentic experience!
Garlic Bread Crusted Classic Pizza
IMPORTANT – There are often Frequently Asked Questions within the blog post that you may find helpful. Simply scroll back up to read them!
Print It
Pin It
Rate It
Save ItSaved!
Ingredients
- 1 tube Pillsbury Classic Pizza Crust
- ½ cup pizza sauce or my homemade pizza sauce
- 1 ½ cups shredded mozzarella cheese
- ½ tablespoon olive oil
- Pepperoni or sausage optional
Garlic Salt Topping
- 1 teaspoon garlic salt
- ¼ teaspoon oregano
- ¼ teaspoon basil
- ¼ teaspoon marjoram
- ⅛ teaspoon rosemary
- 2 teaspoon fresh grated parmesan
Before You Begin
Instructions
-
Preheat oven to 400°F (200°C).
-
Spray a rimmed baking sheet with non-stick spray and unroll the pizza dough. Press the dough to spread it towards the sides of the baking sheet. Use your fingers to gently raise the edges of the crust, creating a defined rim.
-
In a small bowl, mix together all the ingredients for the garlic salt topping. Brush the outside edges of the dough (the raised rim) generously with olive oil. Evenly sprinkle the garlic salt topping mixture all around these oiled edges of the crust.
-
Partially bake the dough for 8 minutes in the preheated oven. Remove from the oven and spread your pizza sauce over the main surface of the pizza, leaving the seasoned crust visible. Top with shredded mozzarella cheese and any other desired pizza toppings.
-
Return the pizza to the oven and bake for another 6-10 minutes, or until the cheese is melted and bubbly, and the crust is golden brown and crispy. Serve hot and enjoy your homemade garlic bread crusted pizza!
The recipes on this blog are tested with a conventional gas oven and gas stovetop. It’s important to note that some ovens, especially as they age, can cook and bake inconsistently. Using an inexpensive oven thermometer can assure you that your oven is truly heating to the proper temperature. If you use a toaster oven or countertop oven, please keep in mind that they may not distribute heat the same as a conventional full sized oven and you may need to adjust your cooking/baking times. In the case of recipes made with a pressure cooker, air fryer, slow cooker, or other appliance, a link to the appliances we use is listed within each respective recipe. For baking recipes where measurements are given by weight, please note that results may not be the same if cups are used instead, and we can’t guarantee success with that method.
I was compensated for the time I spent in the kitchen and writing this post for you, but all opinions expressed are 100% mine.
