Ultimate No-Churn Rocky Road Ice Cream: Easy Homemade Recipe for a Classic Delight
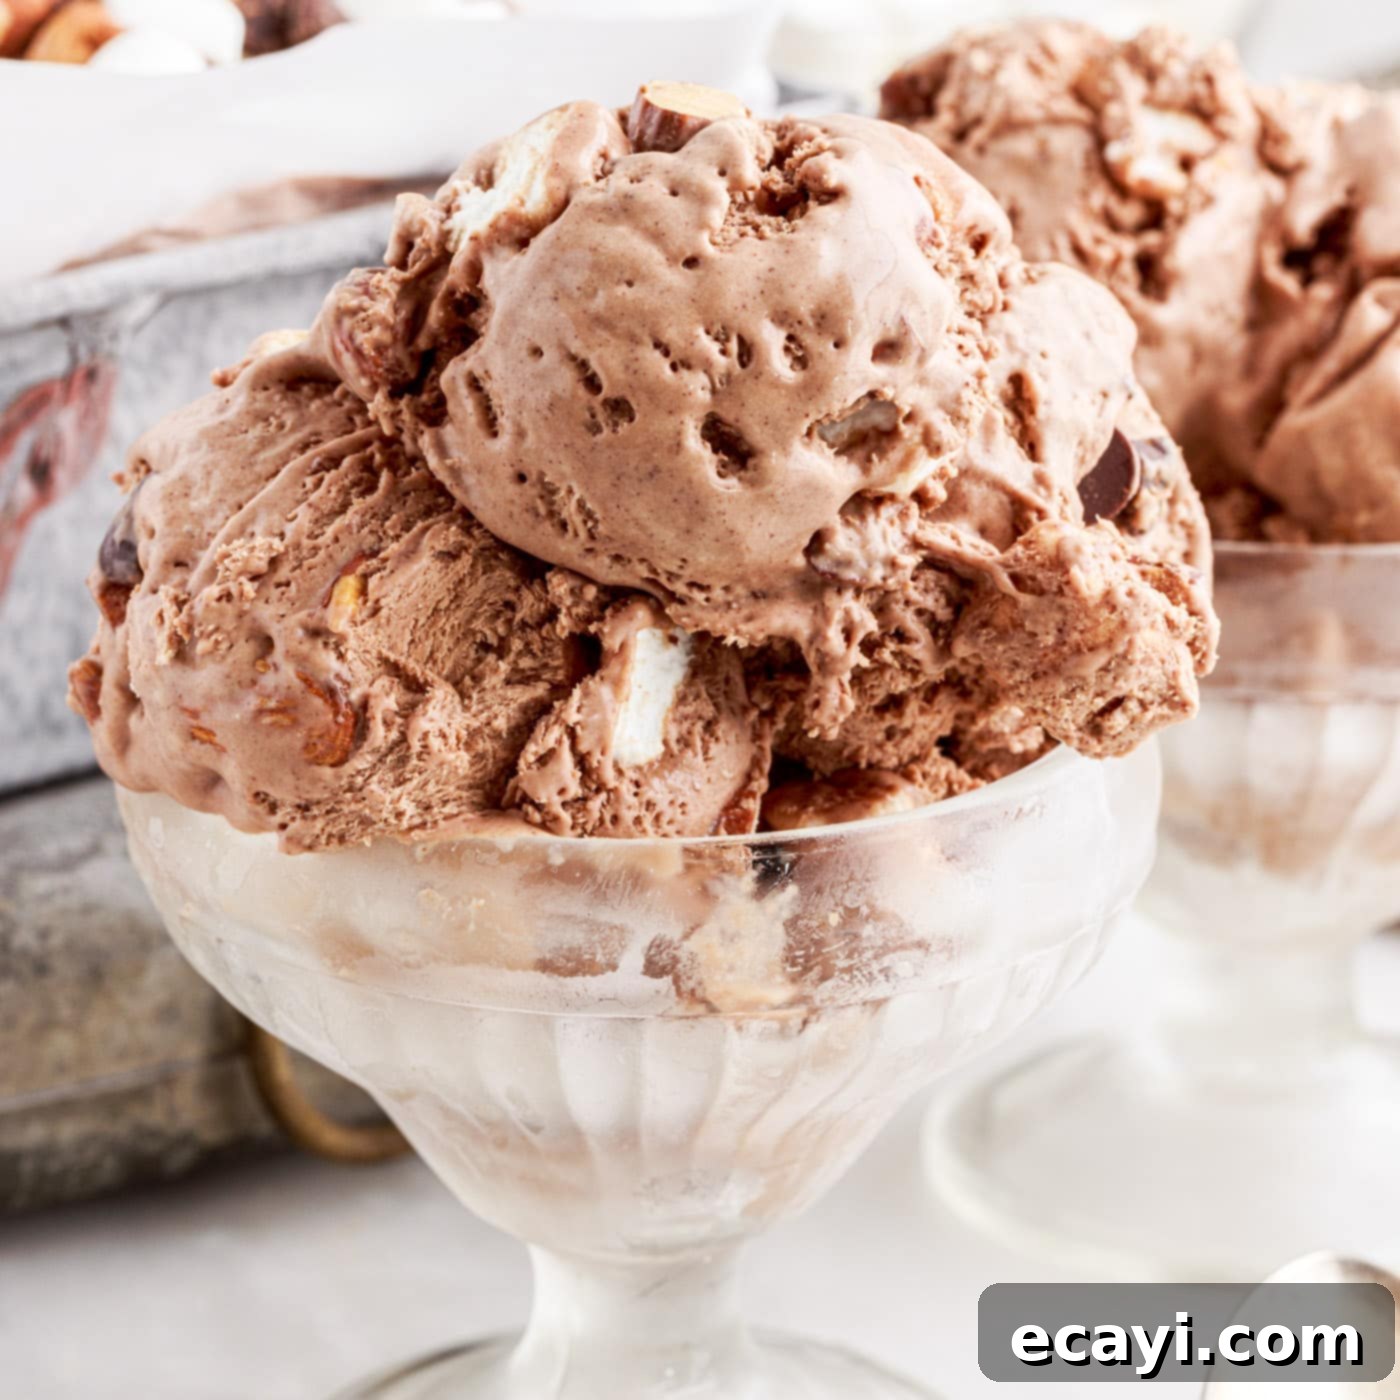
Indulge in the nostalgic charm of a true classic with this incredibly rich and creamy no-churn Rocky Road ice cream. Forget the ice cream maker; this recipe brings you a velvety smooth chocolate ice cream base, generously loaded with a delightful medley of soft mini marshmallows, satisfyingly crunchy almonds, and decadent chocolate chips, all swirled together to create the perfect scoop every single time. It’s an effortless way to create a gourmet dessert right in your own kitchen.
Why This No-Churn Rocky Road Ice Cream Recipe Works So Well
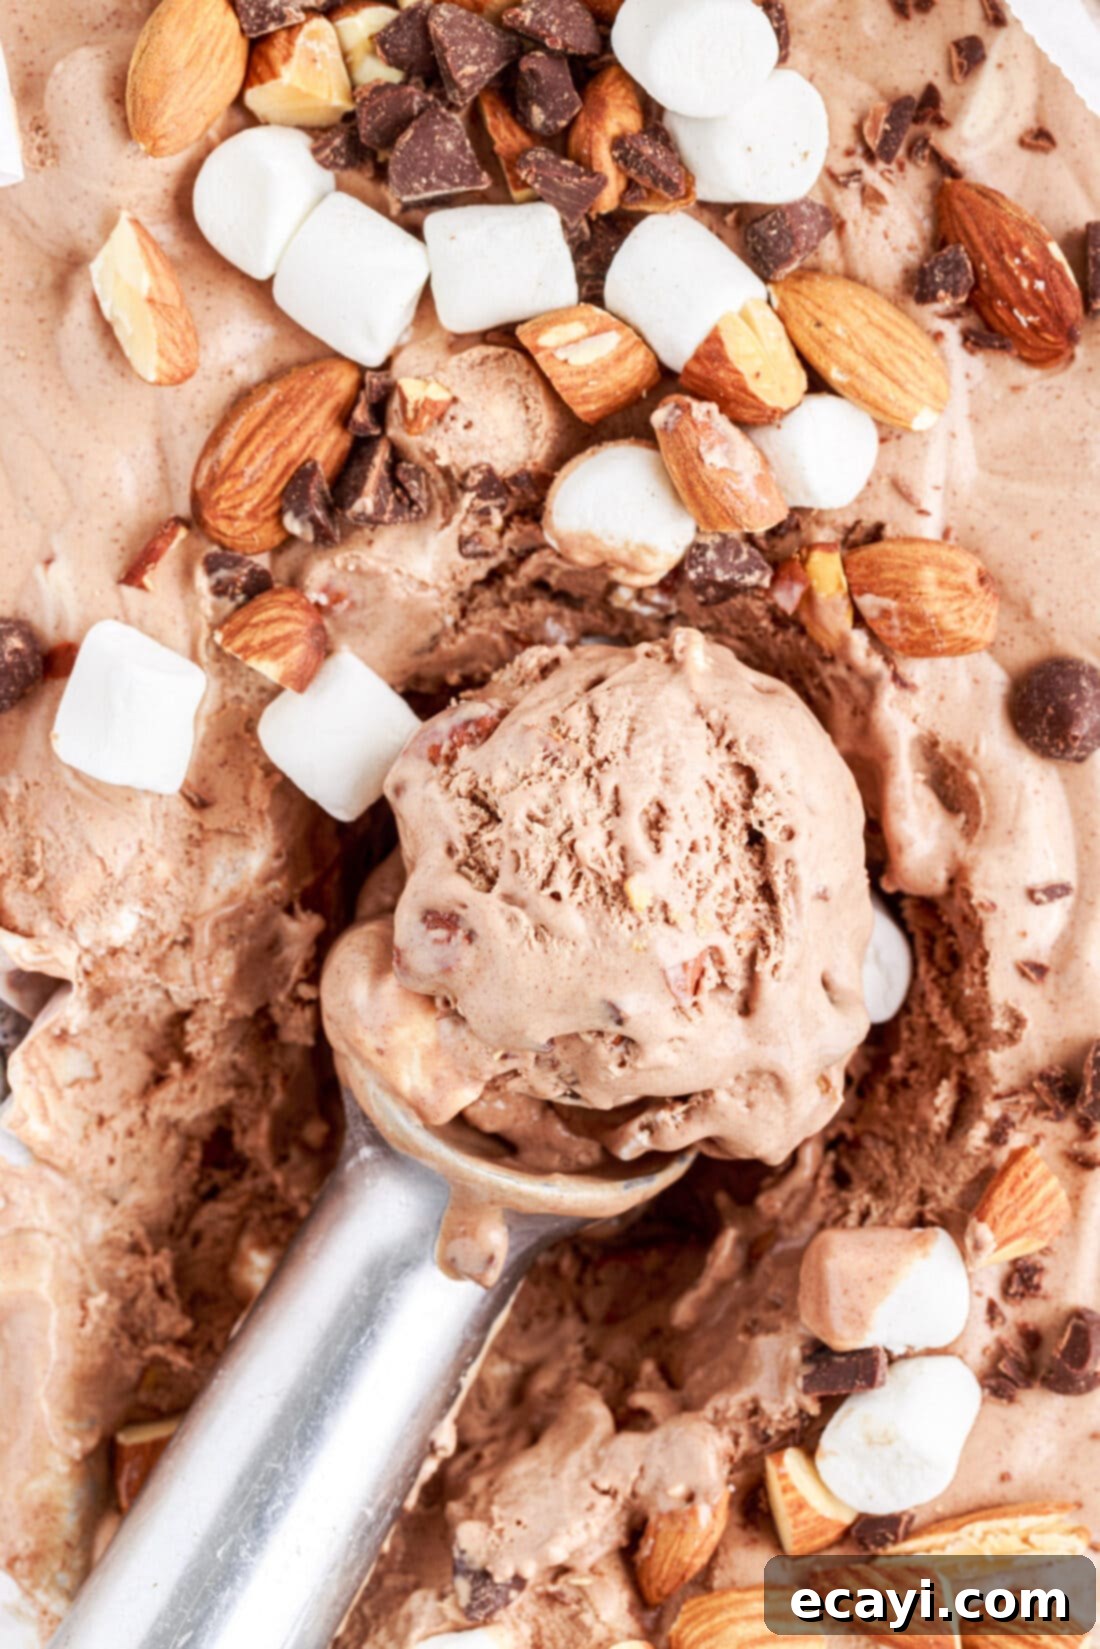
Rocky Road ice cream holds a special place in dessert history, having pioneered the concept of incorporating delicious mix-ins into a frozen treat. This innovation paved the way for countless beloved ice cream flavors we enjoy today. Our homemade version pays homage to this true classic, delivering a perfect balance of textures and flavors with its pillowy, soft marshmallows and distinctively crunchy almonds, all enveloped in a deeply satisfying chocolate base. It’s more than just a dessert; it’s a delightful experience.
The true magic of this particular Rocky Road ice cream recipe lies in its simplicity: it requires absolutely no ice cream maker. This eliminates the need for specialized equipment, making gourmet homemade ice cream accessible to everyone. You’ll achieve a remarkably creamy, intensely chocolatey ice cream, generously studded with all the signature Rocky Road goodies, crafted almost entirely by hand (with a little assistance from a mixer for whipping). The process involves layering the mixture into a standard pan and letting your freezer do the rest. This method makes it incredibly quick and easy to prepare at home, requiring only about 15 minutes of active prep time before it chills to perfection. It’s the ideal solution for satisfying your ice cream cravings without any fuss.
Key Ingredients for Your Homemade Rocky Road Ice Cream
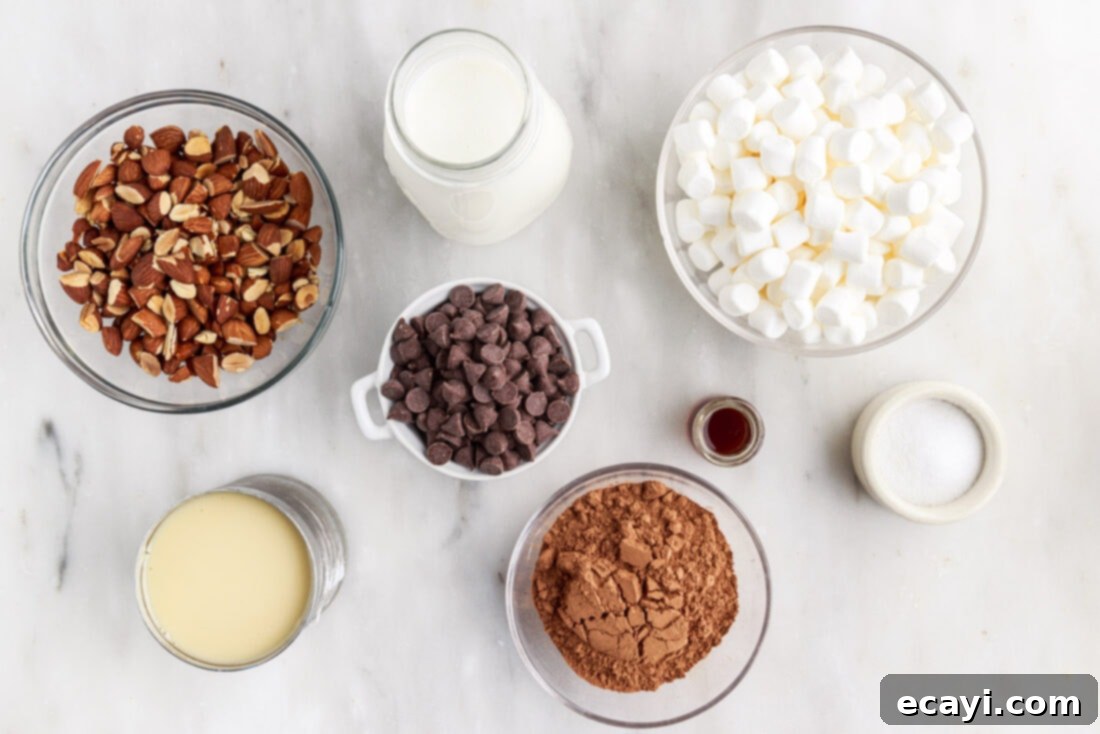
Crafting the perfect no-churn Rocky Road ice cream starts with a selection of high-quality ingredients that come together to create its signature rich flavor and delightful texture. Here’s a detailed look at what you’ll need to gather:
- Semi-Sweet Chocolate Chips: Essential for both the melted chocolate base and as delicious mix-ins.
- Sweetened Condensed Milk: This is the secret ingredient for no-churn ice cream, providing sweetness and preventing ice crystal formation for that smooth, creamy consistency.
- Sea Salt: A pinch enhances the chocolate flavor and balances the sweetness.
- Vanilla Extract: Adds a warm, aromatic depth to the chocolate base.
- Unsweetened Cocoa Powder: Deepens the chocolate flavor of the ice cream base.
- Heavy Whipping Cream: When whipped, it creates the light, airy, and voluminous base that gives no-churn ice cream its characteristic texture.
- Roasted Almonds: Provides the crucial crunch and nutty flavor characteristic of Rocky Road. Lightly chopped for easy biting.
- Mini Marshmallows: These soft, chewy pockets melt slightly into the ice cream, creating wonderful pockets of gooey sweetness and varying texture.
For precise measurements and detailed instructions, refer to the printable recipe card located at the end of this post.
Ingredient Insights and Smart Substitution Suggestions
Understanding each ingredient’s role and knowing your substitution options can elevate your Rocky Road ice cream experience and cater to various preferences or dietary needs.
ICE CREAM BASE – While traditional Rocky Road boasts a luscious chocolate ice cream base, you have the flexibility to customize. If you’re a vanilla enthusiast, you can easily adapt this recipe by using our proven vanilla no-churn ice cream recipe as your foundation. Once you have your vanilla base, simply fold in the delightful mix-ins (almonds, marshmallows, and chocolate chips) to create a unique vanilla Rocky Road. This simple swap allows for a completely different flavor profile without compromising the signature texture.
MIX-INS – The classic Rocky Road features crunchy chopped almonds, and they truly shine here. However, don’t feel limited! You can experiment with other nuts like walnuts, pecans, or even hazelnuts to introduce different nuances of flavor. Roasting your nuts beforehand, regardless of type, will significantly enhance their natural flavors and add an even more satisfying crunch. Beyond nuts, we’ve included soft mini marshmallows for that signature chewy contrast and chocolate chips. While chocolate chips are listed as optional for garnish, a portion of them is crucial for creating the rich chocolate ice cream base itself, so don’t skip them entirely! For the chocolate components, you have a wide array of choices: use mini or regular-sized chocolate chips, or opt for dark chocolate, white chocolate, or semi-sweet varieties. For an extra touch of elegance or varied texture as a garnish, consider using chocolate shavings or roughly chopped chocolate bars. Feel free to adjust the quantities of marshmallows, almonds, and chocolate chips to suit your personal preference for texture and flavor intensity.
CHOCOLATE BASE ENHANCEMENTS – The cocoa powder in this recipe adds depth to the chocolate flavor. For an even richer, darker chocolate base, you could opt for Dutch-processed cocoa powder. The sea salt is not just for taste; it helps to amplify the chocolate notes, making them pop. Don’t underestimate the power of a good vanilla extract; it rounds out the flavors beautifully. If you’re feeling adventurous, a hint of coffee extract could further intensify the chocolate. Always ensure your heavy cream is very cold before whipping to achieve the best stiff peaks, which are crucial for the airy texture of no-churn ice cream.
How to Craft Your Delicious No-Churn Rocky Road Ice Cream
These step-by-step photos and instructions are here to help you visualize how to make this recipe. You can Jump to Recipe to get the printable version of this recipe, complete with measurements and instructions at the bottom.
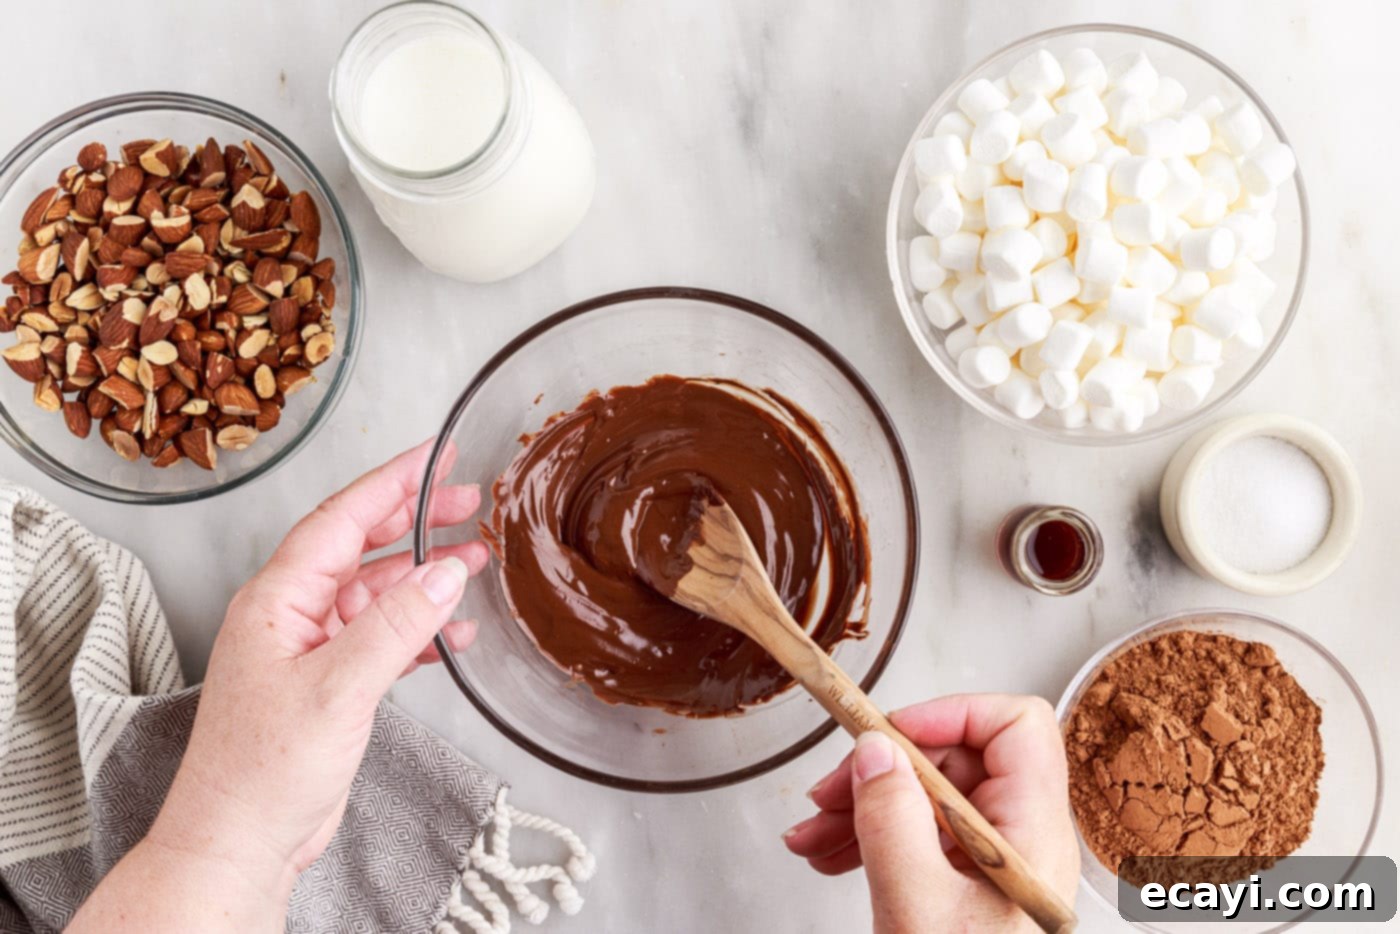
- Melt the Chocolate: Begin by placing 1⁄2 cup of your chosen semi-sweet chocolate chips into a heatproof glass bowl. Microwave them in short 30-second bursts, stirring thoroughly after each interval. Continue this process until the chocolate is completely melted and beautifully smooth. Be careful not to overheat the chocolate, as it can seize. If you don’t have a microwave, a double boiler method (placing the glass bowl over a pot of simmering water) works equally well.

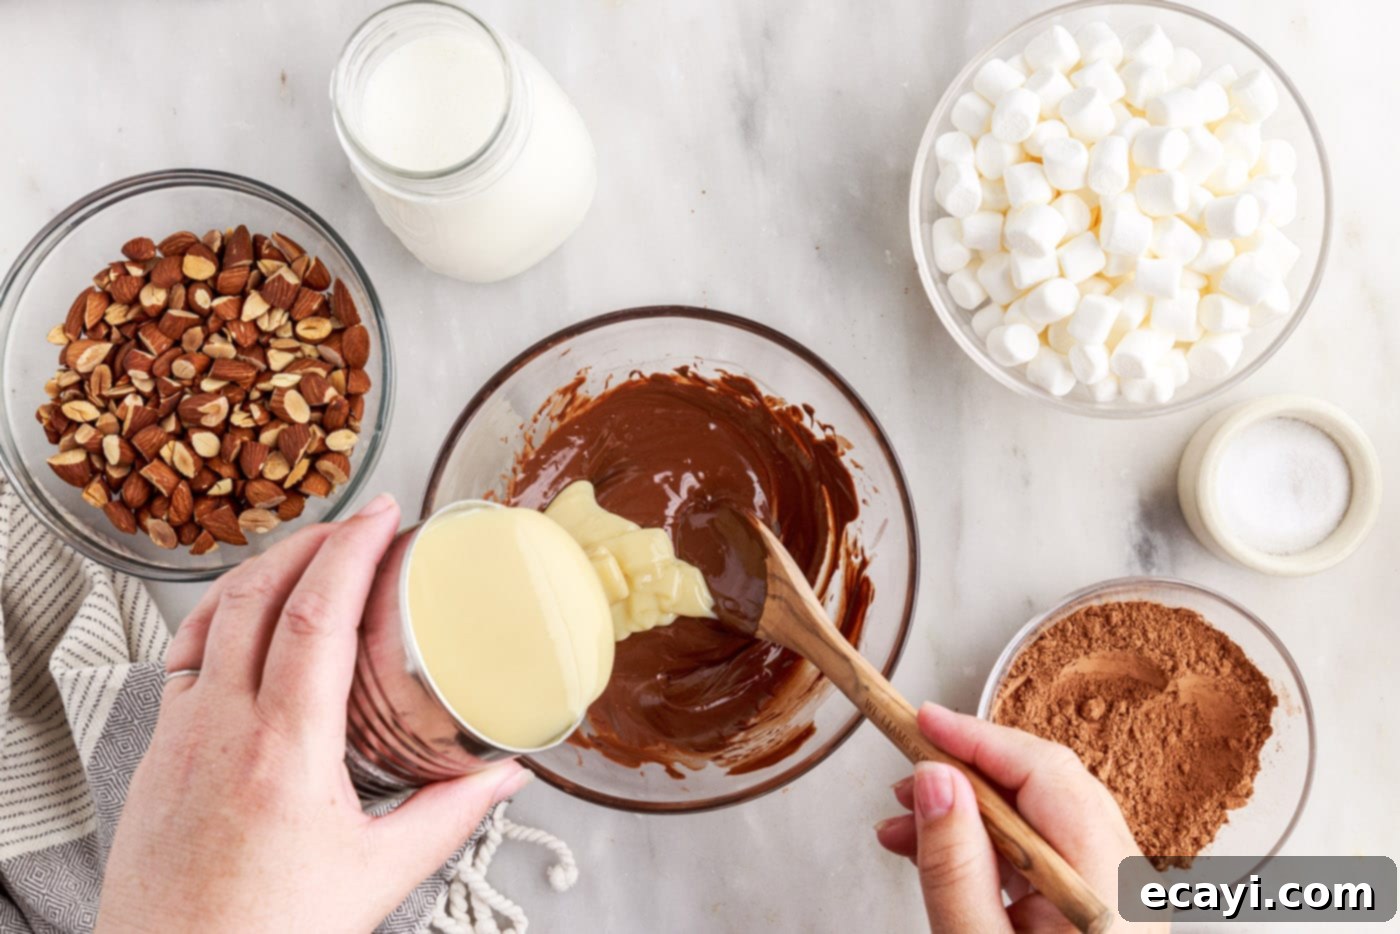
- Combine with Condensed Milk: Once the chocolate is perfectly melted, gradually pour the entire can of sweetened condensed milk into the bowl. Whisk vigorously and continuously until the chocolate and condensed milk are thoroughly combined, forming a uniform, smooth, and glossy mixture. This step is crucial for the base’s creamy texture.

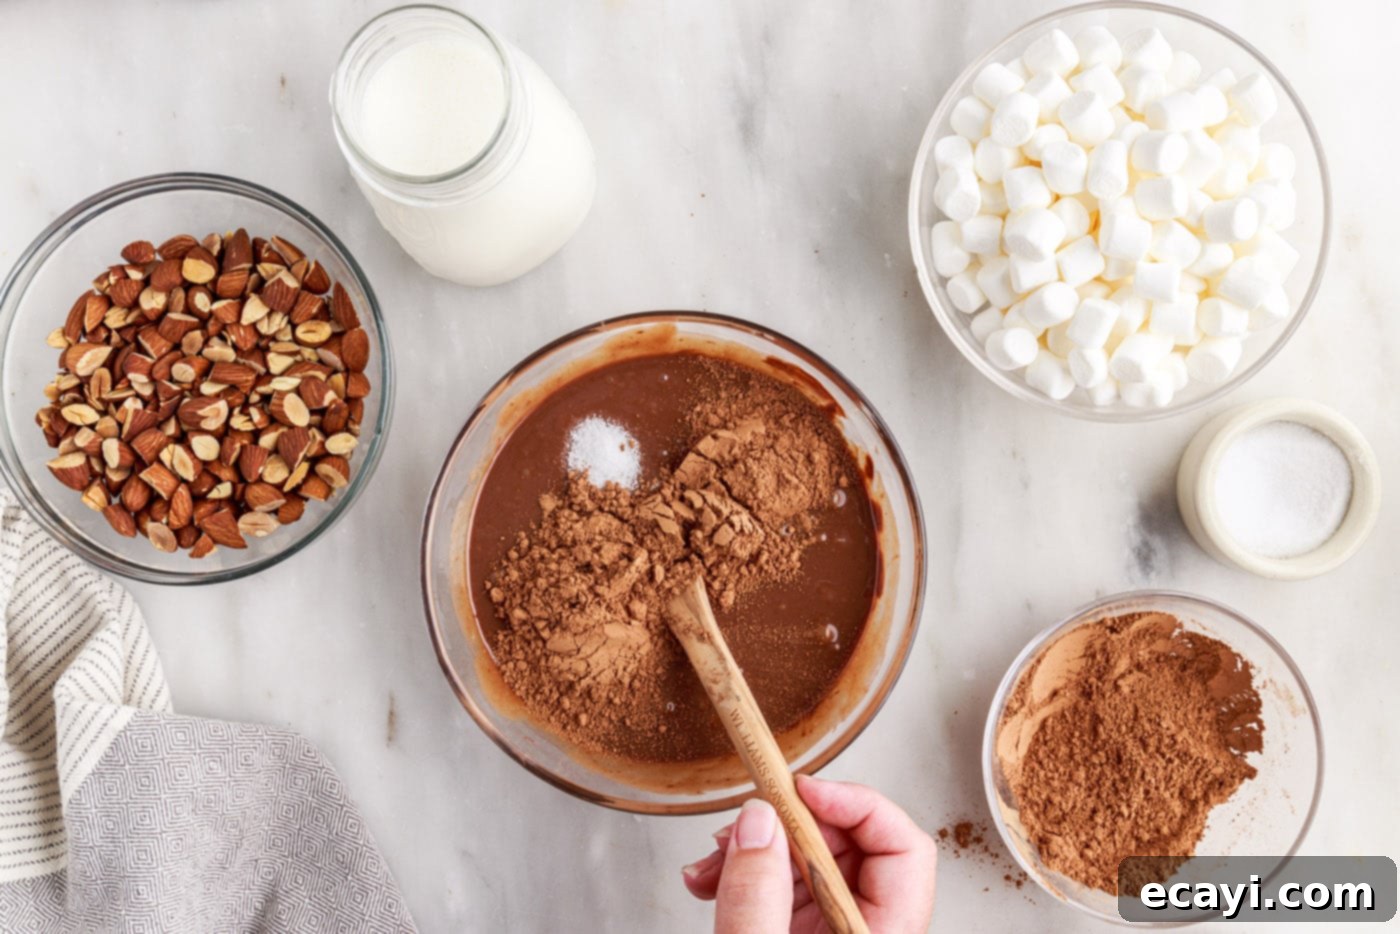
- Infuse Flavors: To enhance the depth of flavor in your chocolate base, stir in the sea salt, vanilla extract, and unsweetened cocoa powder. Mix until all these ingredients are fully incorporated and the mixture is uniformly dark and aromatic. This creates the rich chocolate foundation for your Rocky Road ice cream.

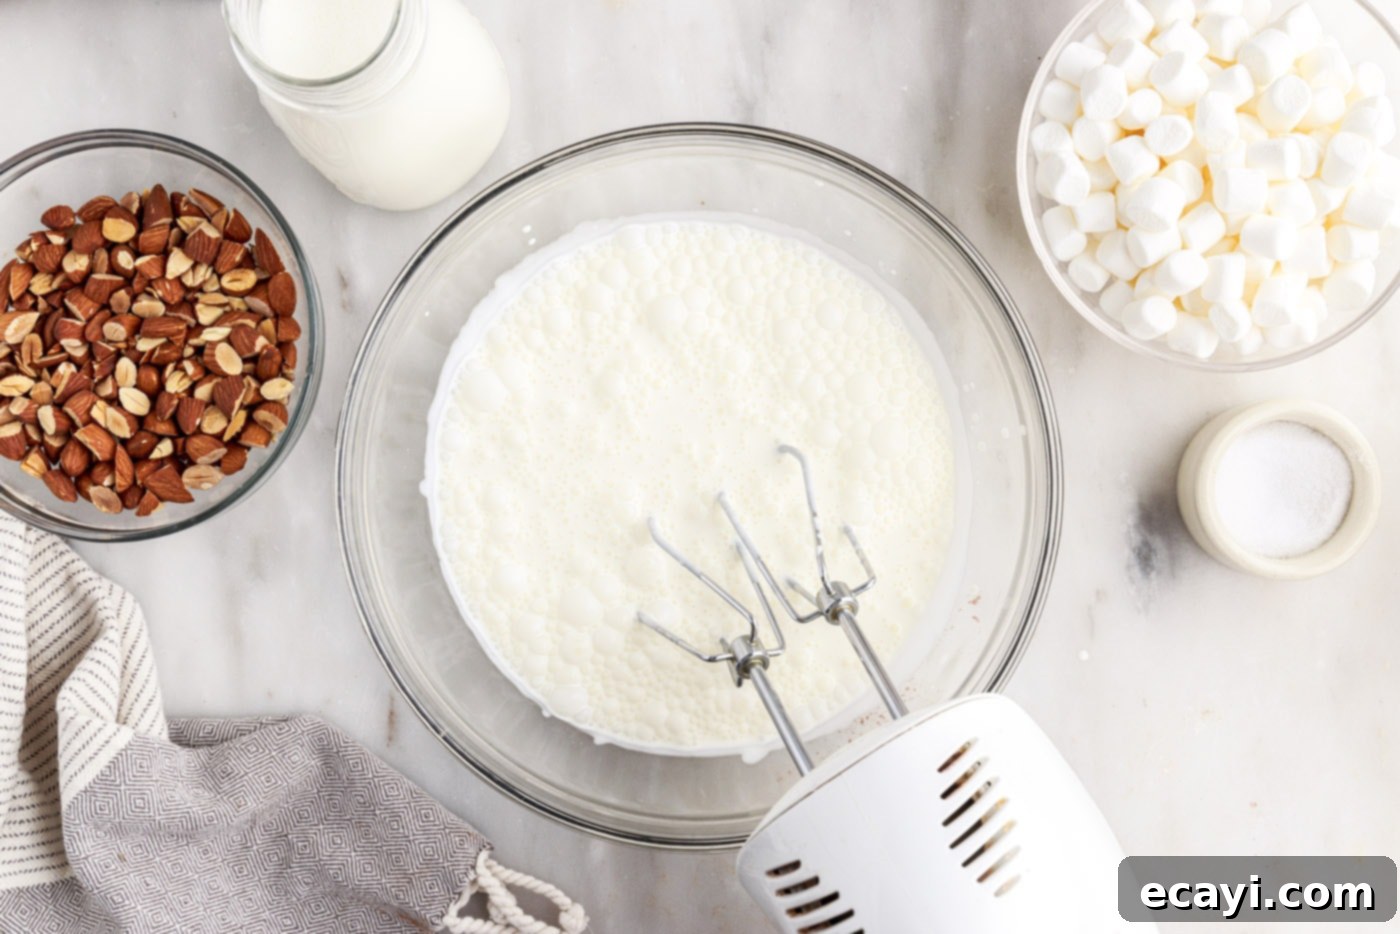
- Whip the Heavy Cream: In the clean bowl of a standing mixer fitted with a whisk attachment, or using a large bowl and a handheld electric mixer, whip the cold heavy cream. Start on medium speed and gradually increase to high. Continue whipping until stiff peaks form. This means when you lift the whisk, the cream holds its shape firmly. Be careful not to over-whip, as it can turn grainy. Ensure your cream and bowl are chilled for the best results.

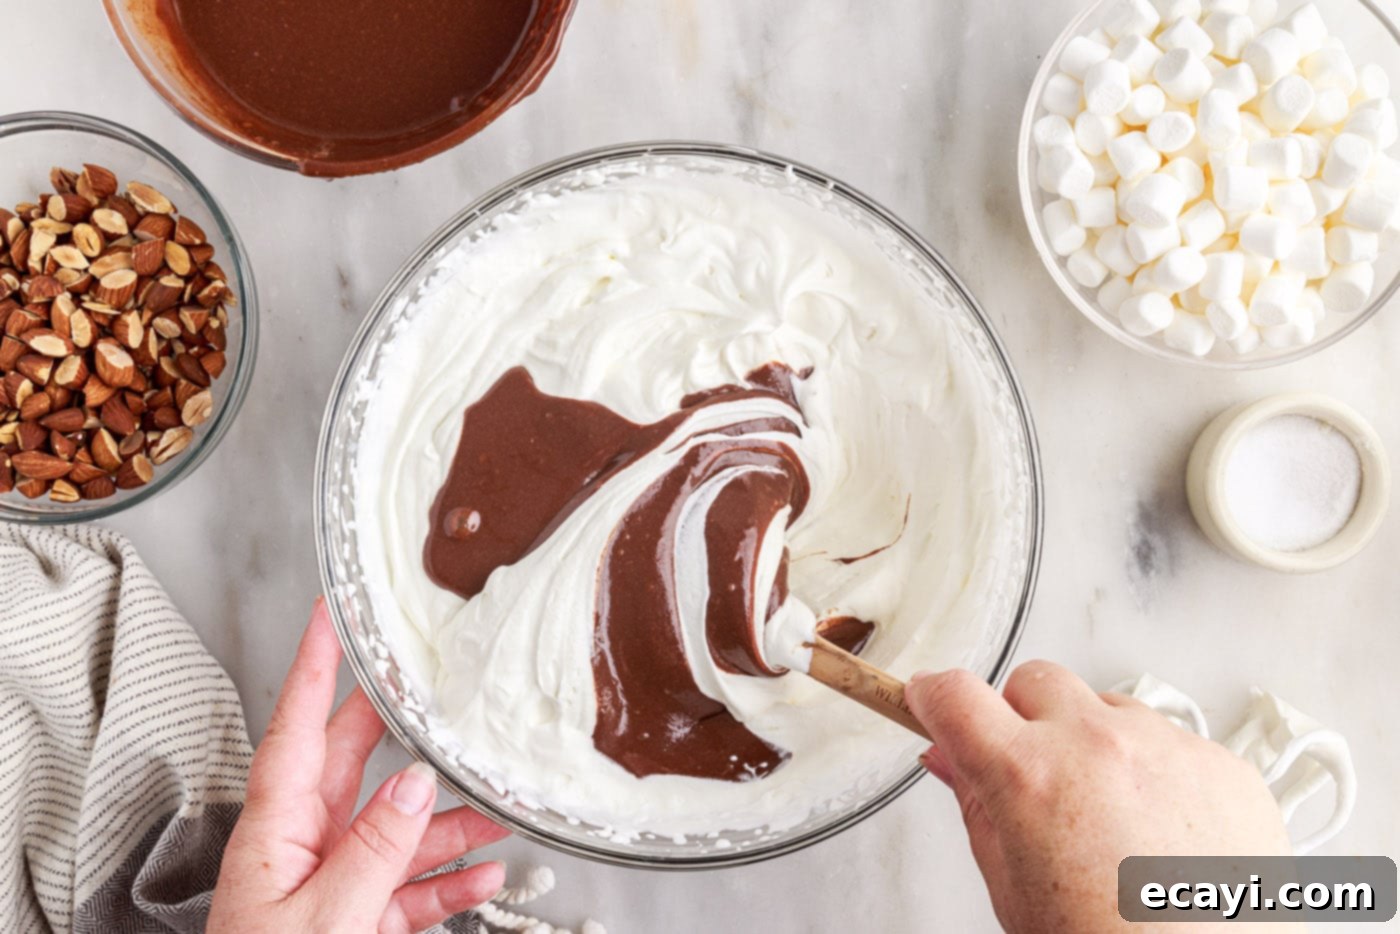
- Gently Fold in Chocolate Mixture: Now, for the delicate part. Slowly pour and gently fold the prepared chocolate mixture into the whipped cream. Add it in small increments, folding with a spatula using an upward motion, taking care not to deflate the airy whipped cream. This gentle technique is key to maintaining the light, creamy texture of your no-churn ice cream. Continue until just combined, ensuring no streaks of white cream remain.

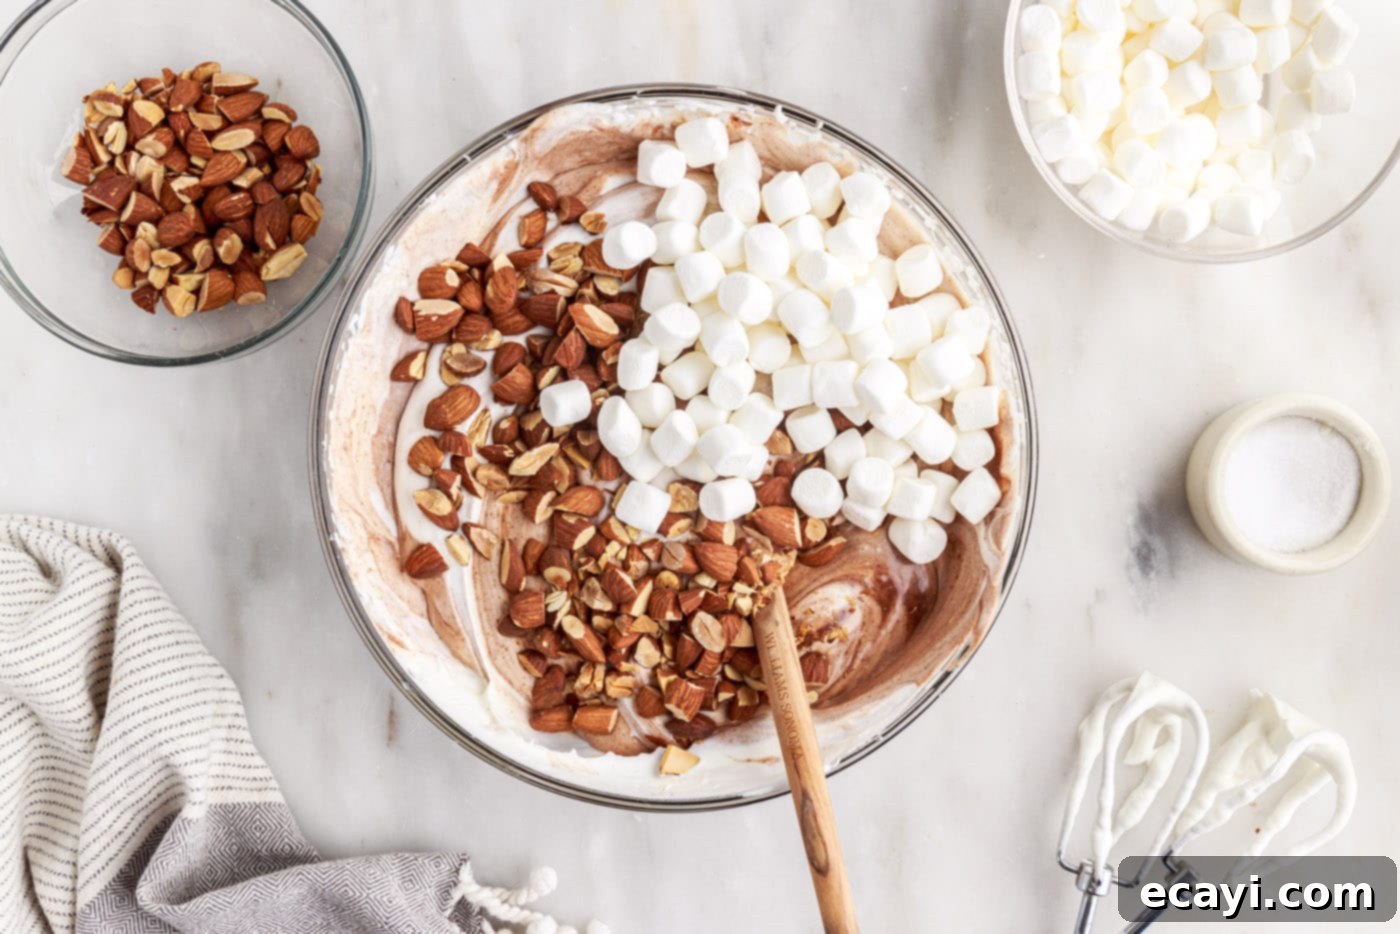
- Incorporate Mix-ins: Carefully fold in most of your chopped roasted almonds and 2 cups of the mini marshmallows into the chocolate ice cream base. Make sure they are evenly distributed throughout the mixture, but be gentle to keep the whipped cream airy. Reserve the remaining almonds and marshmallows for garnishing the top later.

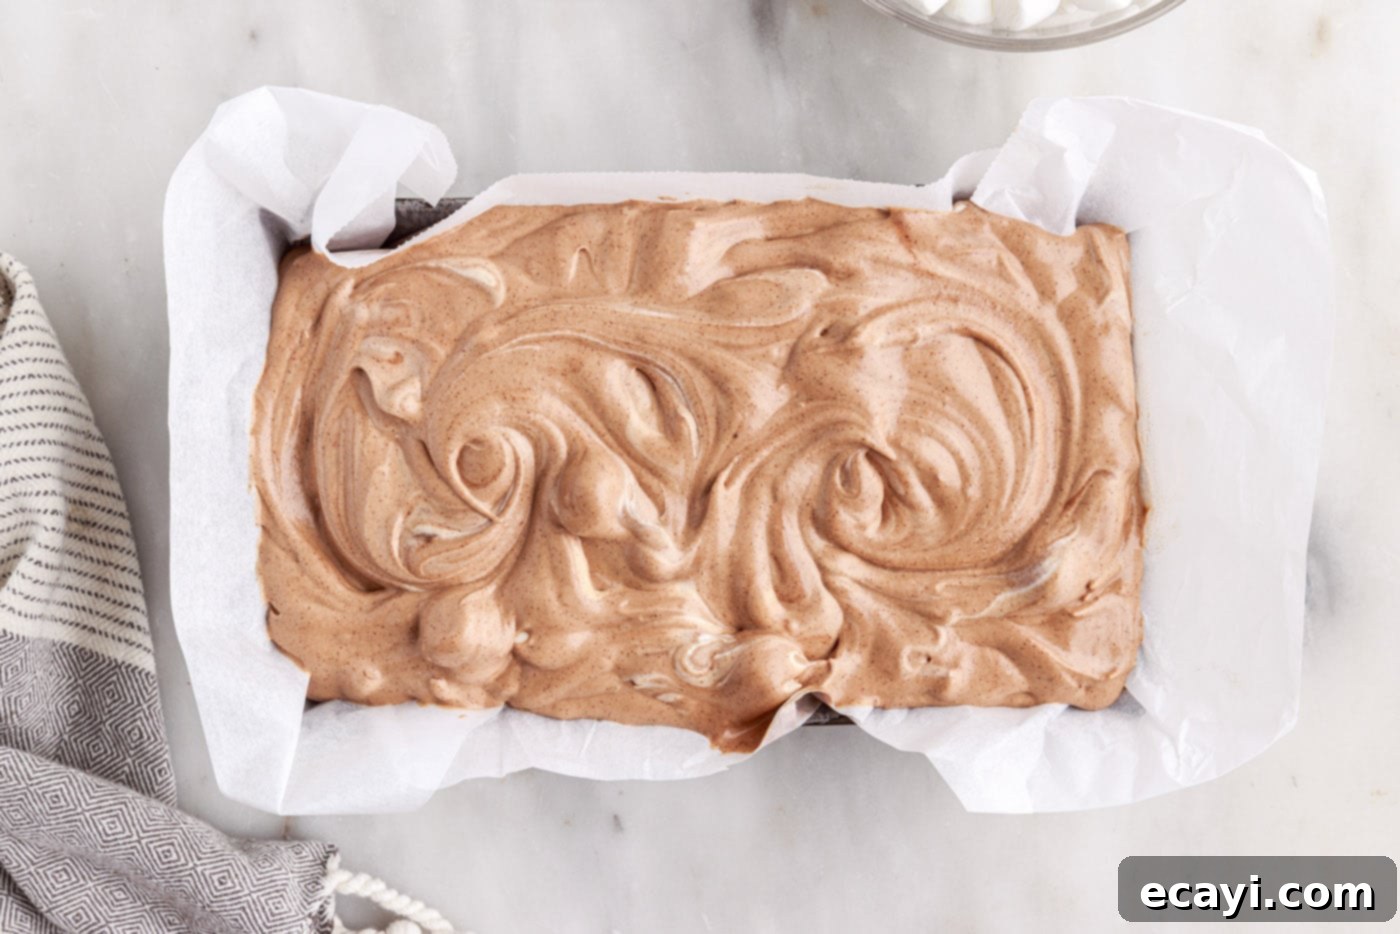
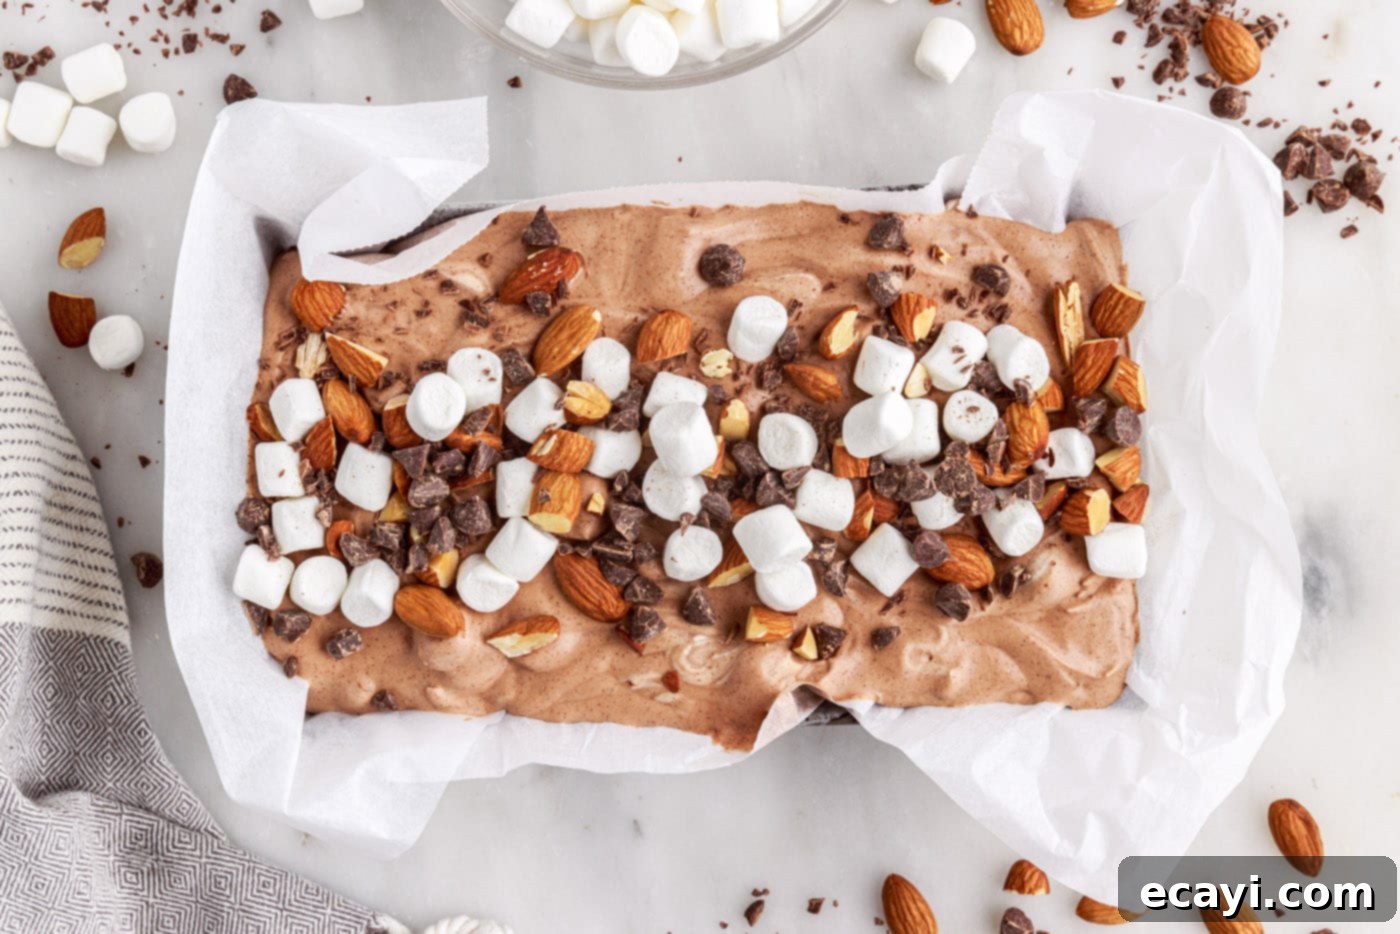
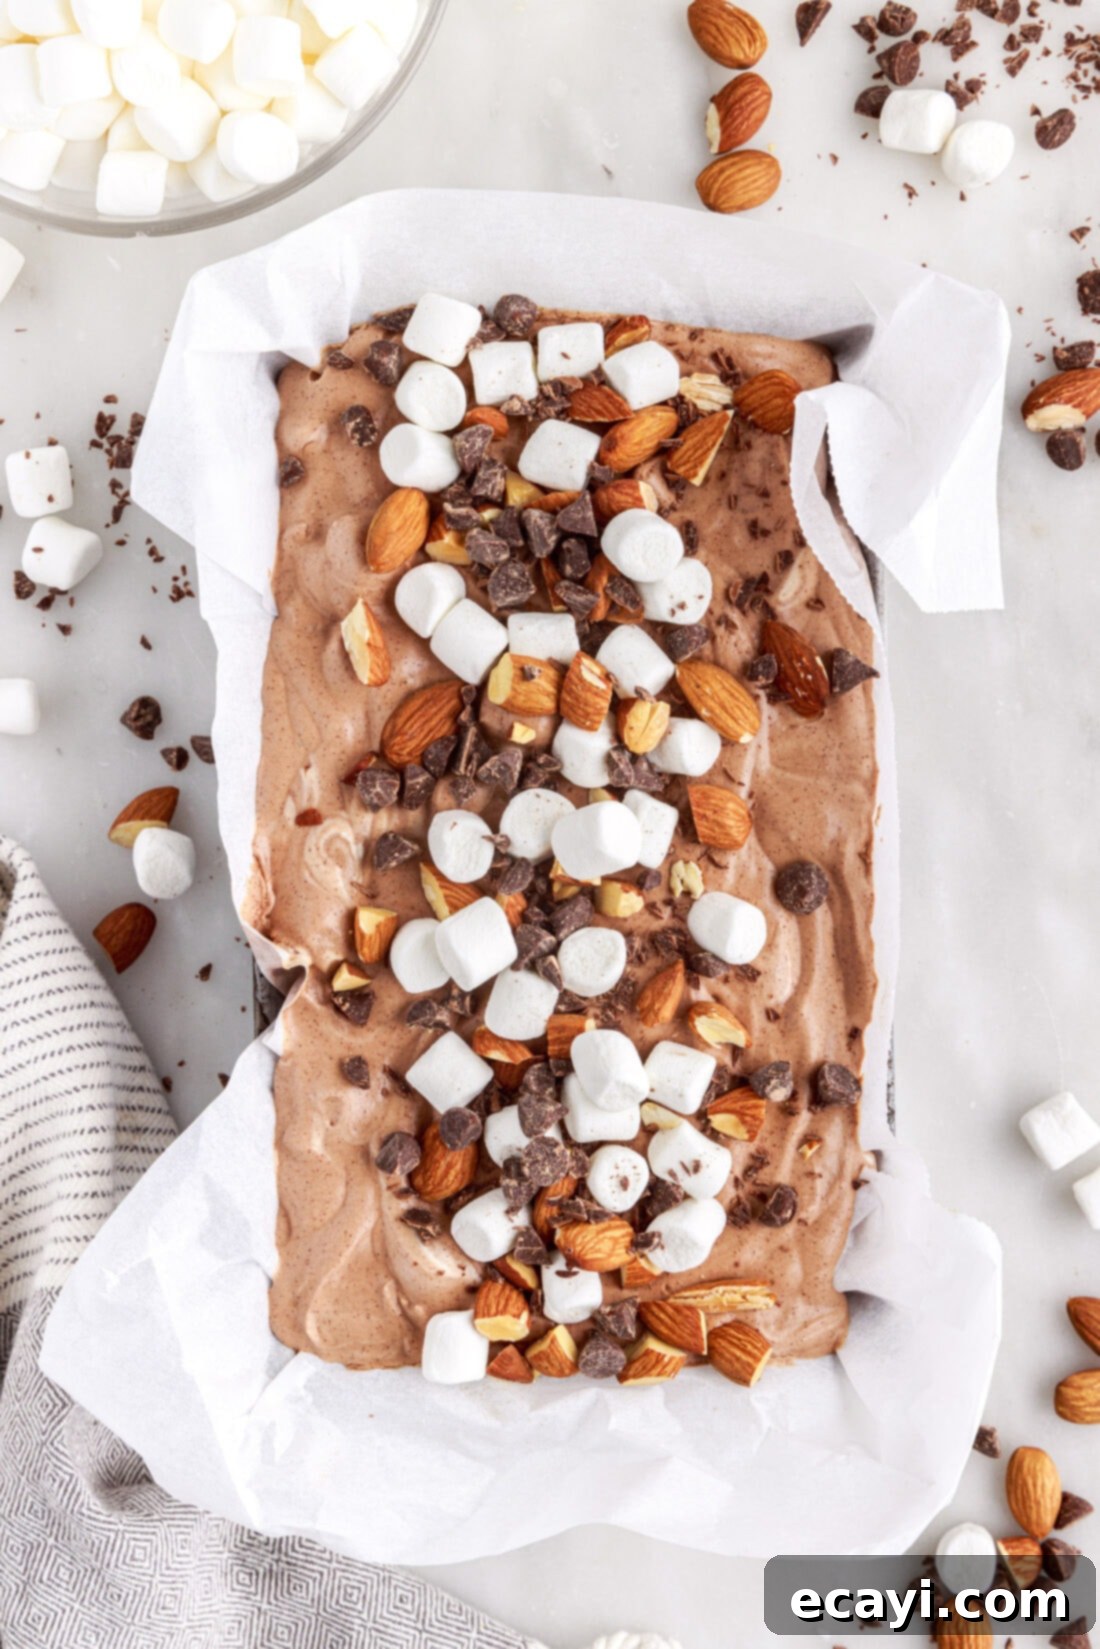
- Prepare for Freezing: Line a standard 9”x5” loaf pan with parchment paper, leaving an overhang on the sides for easy lifting once frozen. This also helps prevent freezer burn. Spoon the rich Rocky Road ice cream mixture into the prepared loaf pan, mounding it slightly and smoothing the top gently with your spatula.

- Add Final Toppings: Now, sprinkle the top of the ice cream generously with your reserved mix-ins. This includes the remaining 1⁄2 cup of roughly chopped chocolate chips, the rest of the almonds, and any leftover mini marshmallows. These toppings will provide a beautiful presentation and an extra burst of texture in every bite.

- Freeze to Perfection: Cover the loaf pan tightly with plastic wrap or aluminum foil, ensuring no air can get in. Transfer it to your freezer and allow it to chill for at least 4 hours, or until the ice cream is completely solid and perfectly scoopable. For the best results and a firmer set, leaving it overnight is often recommended.
Frequently Asked Questions & Expert Tips for Success
Proper storage is key to maintaining the delicious texture of your no-churn Rocky Road ice cream. Once frozen, ensure the ice cream is covered tightly with a layer of plastic wrap pressed directly onto the surface to prevent ice crystals from forming. Then, either cover the loaf pan with aluminum foil or transfer the entire block of ice cream (which the parchment paper helps with) into an airtight freezer-safe container. When stored correctly, your homemade Rocky Road ice cream will keep beautifully in the freezer for up to 1 month. Beyond that, the texture and flavor may start to degrade slightly.
No-churn ice cream, by nature, tends to be a bit softer in consistency than traditional churned ice cream. This is because it doesn’t incorporate as much air as an ice cream maker would, nor does it typically contain stabilizers found in commercial products. The sweetened condensed milk plays a vital role in preventing large ice crystals, contributing to its creamy, albeit softer, texture. If you prefer a firmer scoop, ensure your freezer is set to its coldest setting and allow the ice cream to freeze for a minimum of 6-8 hours, or even overnight, for the best results. A metal loaf pan can also help it freeze faster and more thoroughly than a glass pan.
Absolutely! While marshmallows, almonds, and chocolate chips are the traditional trio, the beauty of homemade ice cream is customization. Feel free to get creative! Consider adding crushed graham crackers for a s’mores twist, chopped brownies or cookies (like Oreos) for extra indulgence, or even a swirl of caramel or fudge sauce before freezing. Just be mindful not to add too many wet ingredients, as this can affect the freezing consistency. Aim for about 3-4 cups total of solid mix-ins for this recipe.
Roasting your almonds significantly boosts their flavor and crunch. To do this, spread your roughly chopped almonds in a single layer on a baking sheet. Roast them in a preheated oven at 350°F (175°C) for 7-10 minutes. Keep a close eye on them, stirring halfway through, as nuts can burn quickly. They’re done when they’re golden brown and emit a wonderfully fragrant, nutty aroma. Allow them to cool completely before adding them to your ice cream mixture to prevent them from melting the base.
Delightful Serving Suggestions
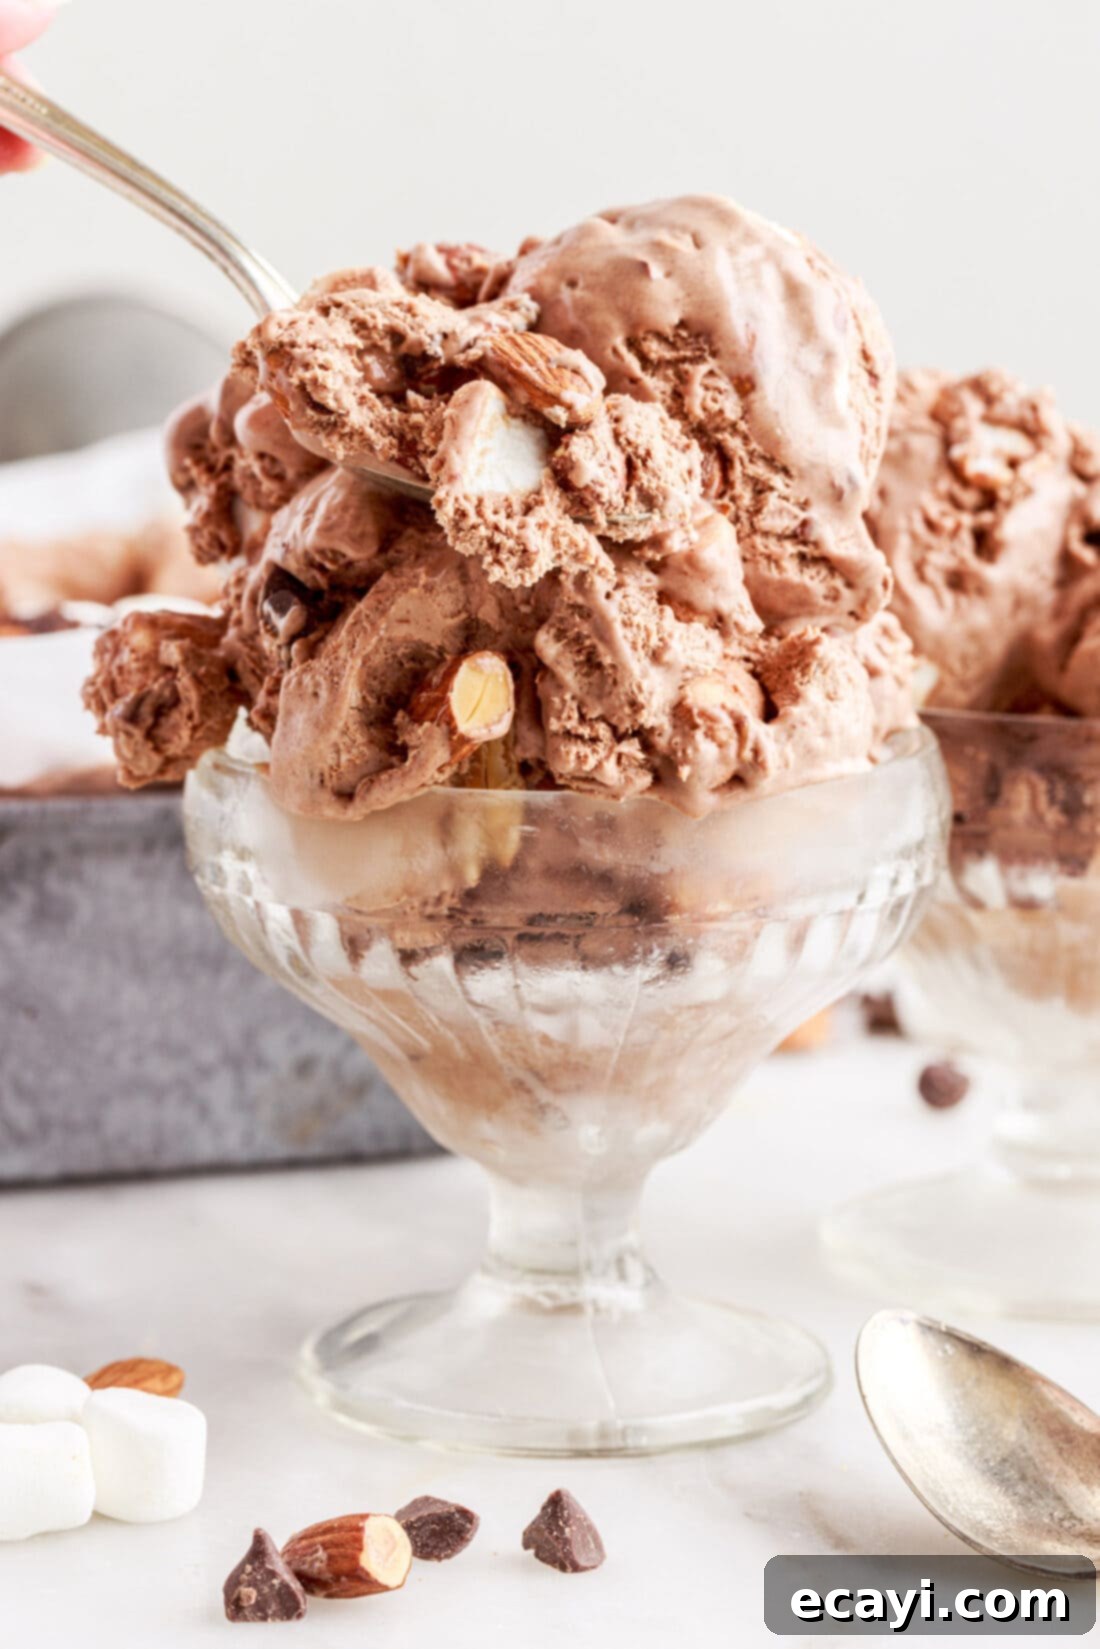
Once your homemade no-churn Rocky Road ice cream is perfectly frozen and ready, the serving possibilities are endless! We love to load ours up with an generous amount of additional mini marshmallows, freshly roasted almonds, and extra chocolate chips or elegant chocolate shavings on top. This ensures maximum crunch, chew, and chocolatey goodness in every bite. Serve this delightful treat in classic ice cream cones for a fun, casual experience, or scoop it into elegant dessert cups. For an extra touch of indulgence, add a dollop of freshly whipped cream and a luxurious drizzle of chocolate sauce or caramel. This Rocky Road ice cream is perfect on its own, but also pairs beautifully as a complement to warm brownies, apple pie, or alongside a cup of coffee. Enjoy this truly satisfying dessert!
Discover More Irresistible Ice Cream Recipes
If you loved making this easy no-churn Rocky Road, you’re in for a treat! Explore our other fantastic ice cream creations:
- Classic Chocolate Ice Cream: A timeless favorite, rich and smooth.
- Birthday Cake Rolled Ice Cream: A fun and vibrant dessert experience.
- No Churn Birthday Cake Ice Cream: All the celebration, without the machine.
- Nutella Swirl Cheesecake Ice Cream: A decadent fusion of flavors.
- Vanilla Blackberry Jam Ice Cream: Sweet and tart, a delightful combination.
- Peanut Butter Chocolate Chip Ice Cream: A creamy, nutty, and chocolatey dream.
- Homemade Mint Chocolate Chip Ice Cream (our most popular!): Refreshing and utterly delicious.
I love to bake and cook and share my kitchen experience with all of you! Remembering to come back each day can be tough, that’s why I offer a convenient newsletter every time a new recipe posts. Simply subscribe and start receiving your free daily recipes!

No-Churn Rocky Road Ice Cream
IMPORTANT – There are often Frequently Asked Questions within the blog post that you may find helpful. Simply scroll back up to read them!
Print It
Pin It
Rate It
Save ItSaved!
Ingredients
- 1 cup semi-sweet chocolate chips divided
- 14 ounces sweetened condensed milk
- ¼ teaspoon sea salt
- 2 teaspoons vanilla extract
- ¼ cup unsweetened cocoa powder
- 3 cups heavy whipping cream
- 2 cups roasted almonds lightly chopped, divided
- 2 ½ cups mini marshmallows divided
Things You’ll Need
-
9×5 loaf pan
-
Electric mixer
-
Mixing bowls
Before You Begin & Expert Tips
- We highly recommend using a metal loaf pan for freezing your ice cream mixture. Metal conducts cold much more efficiently than glass, which means your ice cream will freeze quicker and achieve a firmer consistency. While a glass pan will certainly work, it may require an additional hour or two of chilling time. Plan for a total of 4-6 hours of freezing time, or ideally, overnight, for the best scoopable texture.
- Remember that no-churn ice cream inherently has a softer set compared to traditional, churned ice cream. It achieves its sweetness and creamy texture from the sweetened condensed milk, meaning no additional granulated sugar is typically needed. This also contributes to its unique, rich mouthfeel.
- Enhance your almonds by roasting them! If you’re starting with raw almonds, simply chop them roughly and spread them in a single layer on a baking sheet. Roast them in a preheated oven at 350°F (175°C) for 7-10 minutes, or until they turn golden brown and become incredibly fragrant. Roasted almonds offer a deeper, more pronounced nutty flavor that truly elevates the Rocky Road experience. If time is short, unroasted (raw) almonds can also be used, though they will have a milder flavor.
- Feel free to be generous with your toppings! You can add any desired amount of mini marshmallows, roasted almonds, and chocolate chips or chocolate shavings to the top of the ice cream. We personally love to load ours up to maximize the crunch and varied textures in every spoonful.
- For optimal freshness and to prevent freezer burn, store your no-churn ice cream properly. Once it’s fully frozen, cover the surface directly with plastic wrap before putting a lid on or wrapping the entire pan tightly in aluminum foil. It will keep beautifully in the freezer for up to 1 month in an airtight container.
- To prevent over-whipping your heavy cream: Keep your cream and mixing bowl very cold. Watch carefully; as soon as stiff peaks form, stop mixing. Over-whipped cream can become grainy or separate.
Instructions
-
In a glass bowl, microwave 1⁄2 cup of the chocolate chips in 30-second intervals, stirring between each interval, until the chocolate chips are melted and smooth.
-
Slowly pour the sweetened, condensed milk into the melted chocolate, whisking to combine into a smooth mixture.
-
Add sea salt, vanilla extract, and cocoa powder into the chocolate mixture.
-
In the bowl of a standing mixer, or using a hand mixer and large bowl, whip the heavy cream until stiff peaks form.
-
Slowly pour and the fold the chocolate mixture into the whipped cream, adding just a little at a time so as not to deflate the whipped cream.
-
Fold in most of the almonds and 2 cups of the mini marshmallows, reserving the rest for the top of the ice cream.
-
Line a standard 9”x5” loaf pan with parchment paper. Mound the ice cream mixture into the loaf pan.
-
Top with roughly chopped chocolate chips (use the remaining 1⁄2 cup of chips), the remaining almonds and mini marshmallows.
-
Freeze for at least 4 hours or until the ice cream is solid and scoopable.
Nutrition
The recipes on this blog are tested with a conventional gas oven and gas stovetop. It’s important to note that some ovens, especially as they age, can cook and bake inconsistently. Using an inexpensive oven thermometer can assure you that your oven is truly heating to the proper temperature. If you use a toaster oven or countertop oven, please keep in mind that they may not distribute heat the same as a conventional full sized oven and you may need to adjust your cooking/baking times. In the case of recipes made with a pressure cooker, air fryer, slow cooker, or other appliance, a link to the appliances we use is listed within each respective recipe. For baking recipes where measurements are given by weight, please note that results may not be the same if cups are used instead, and we can’t guarantee success with that method.
