The Ultimate Guide to Classic Homemade Chex Mix: Easy Oven & Microwave Recipes
There are some snacks that transcend generations, evoking instant nostalgia and universal appeal. Classic Chex Mix is undeniably one of them. For many, the aroma of this savory, crunchy, and utterly addictive snack baking in the oven instantly transports them back to childhood memories. It’s more than just a snack; it’s a tradition, a cornerstone of casual gatherings, and a perfect companion for everything from road trips to movie nights. Its irresistible blend of crispy cereals, salty nuts, and seasoned pretzels, all coated in a buttery, savory sauce, makes it a fan favorite.
Whether you’re packing it for school lunches, serving it at a lively party, or simply enjoying a handful while relaxing, homemade Chex Mix delivers unparalleled satisfaction. While the original recipe holds a special place in our hearts, the beauty of Chex Mix lies in its versatility. You can stick to the timeless classic, or explore exciting variations like our zesty Taco Chex Mix, which offers a delightful twist on a beloved favorite.
This comprehensive guide will walk you through everything you need to know to create the perfect batch of classic Chex Mix, offering both the traditional oven method and a quick microwave alternative. Get ready to fill your home with that familiar, wonderful scent and delight your taste buds with this iconic snack!

The Enduring Appeal of Original Chex Mix
Who doesn’t remember the comforting scent wafting from the kitchen as a parent or grandparent pulled a large cookie sheet, brimming with golden-brown, aromatic Chex Mix, from the oven? That unforgettable aroma is etched into countless memories, instantly signaling warmth, comfort, and deliciousness. This iconic snack isn’t just about its incredible flavor and satisfying crunch; it’s deeply tied to nostalgic moments and shared experiences.
The beauty of the original Chex Mix recipe is its simplicity and universal appeal. It’s one of those rare recipes that nearly everyone recognizes, and many have a personal connection to. From helping to gently toss the ingredients together in a giant bowl to carefully spreading the mixture onto baking sheets, making Chex Mix is often a cherished family activity. It’s a fantastic way to introduce kids to the joys of cooking, as the steps are straightforward and the reward is instant gratification!
This is the very same beloved recipe that graced the back of cereal boxes for decades – a testament to its timeless popularity. Its perfect balance of savory, salty, and subtly spiced flavors ensures it’s a hit with all ages, from the youngest snackers to the most seasoned adults. Imagine a lively football watch party; it simply wouldn’t feel complete without a generous bowl of homemade Chex Mix proudly displayed on the snack table. Beyond game days and festive gatherings, it makes an excellent, wholesome snack to tuck into school lunchboxes or bring along for picnics and road trips. Its versatility and widespread appreciation truly cement its status as an American classic.
In a world of ever-changing culinary trends, the original Chex Mix remains a steadfast favorite, continually bringing people together with its familiar taste and satisfying crunch. It’s a recipe that has been passed down through generations, creating new memories while honoring old ones.
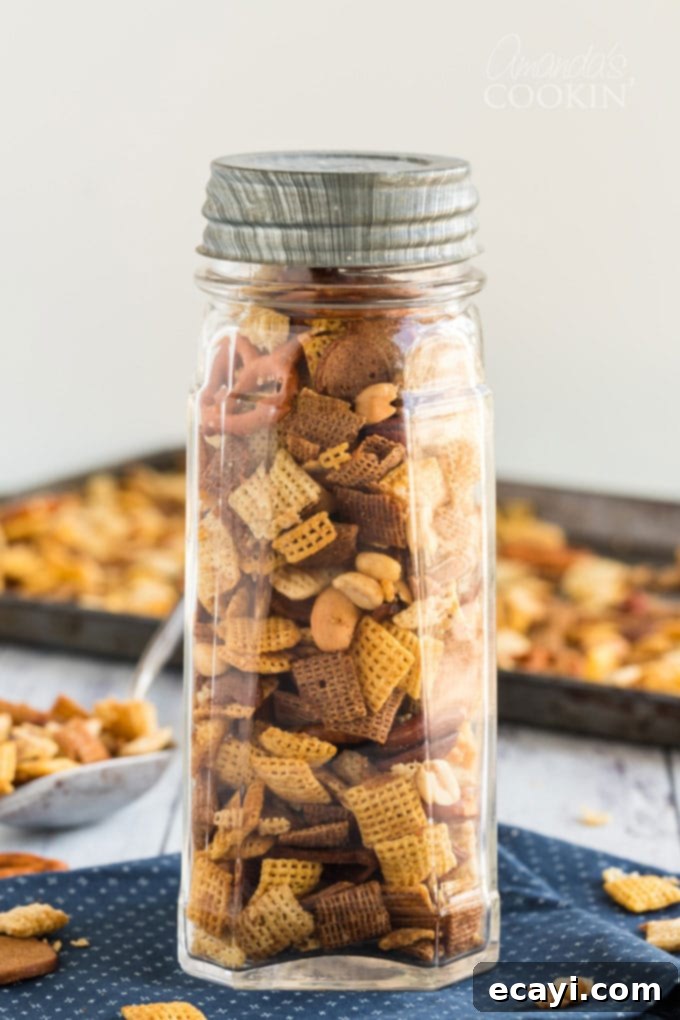
Essential Ingredients for Your Perfect Chex Mix
While the process of making Chex Mix is straightforward, having the precise ingredient list handy ensures a consistently delicious batch every time. You might think you know it by heart, but it’s always good to have a reference! Feel free to bookmark this page, or print out the recipe card at the end of this post and keep it in your kitchen for easy access.
For exact measurements, a comprehensive list of all ingredients, and detailed instructions, please refer to the printable recipe card located at the conclusion of this article.
Here’s a breakdown of the key components that come together to create this legendary snack:
- Chex Cereals: The heart of Chex Mix! The classic recipe features a delightful trio of Corn Chex, Rice Chex, and Wheat Chex cereals. This combination offers a varied texture and subtle flavor profiles that contribute to the snack’s complexity. However, don’t hesitate to customize! If you have a particular favorite, or simply want to use what you have on hand, feel free to adjust the ratios or use just one or two types of Chex cereal.
- Mixed Nuts: The original formula suggests mixed nuts, adding a rich, buttery depth and a satisfying crunch. A diverse mix often includes peanuts, cashews, almonds, and pecans, offering a range of flavors and textures. If you prefer, using just peanuts is a perfectly acceptable and delicious alternative, often more cost-effective.
- Pretzels: We typically opt for bite-size pretzel twists, as their shape allows them to capture the seasoning beautifully. Their inherent saltiness and crisp texture are vital for the overall balance. If pretzel twists aren’t available, pretzel sticks are a common and effective substitution, providing a similar salty crunch.
- Bagel Chips: Many enthusiasts declare the garlic-flavor bite-size bagel chips to be their absolute favorite element of Chex Mix. These add a garlicky, savory punch and a wonderfully robust crunch that stands out. If you can only find regular-sized bagel chips, simply break them into 1-inch pieces before adding them to the mix.
- Butter or Margarine: The essential binder and flavor enhancer. Either unsalted or salted butter works wonderfully, contributing to that rich, golden coating. For dietary preferences or availability, margarine is also a suitable substitute, delivering a similar richness.
- Signature Seasonings: The magical flavor profile comes from a carefully balanced blend of seasonings. You’ll need savory Worcestershire sauce, which adds an umami depth; versatile seasoned salt for an extra layer of flavor; aromatic garlic powder for a warm, pungent note; and earthy onion powder to round out the savory blend. These ingredients combine to create the unmistakable taste that makes Chex Mix so incredibly addictive.
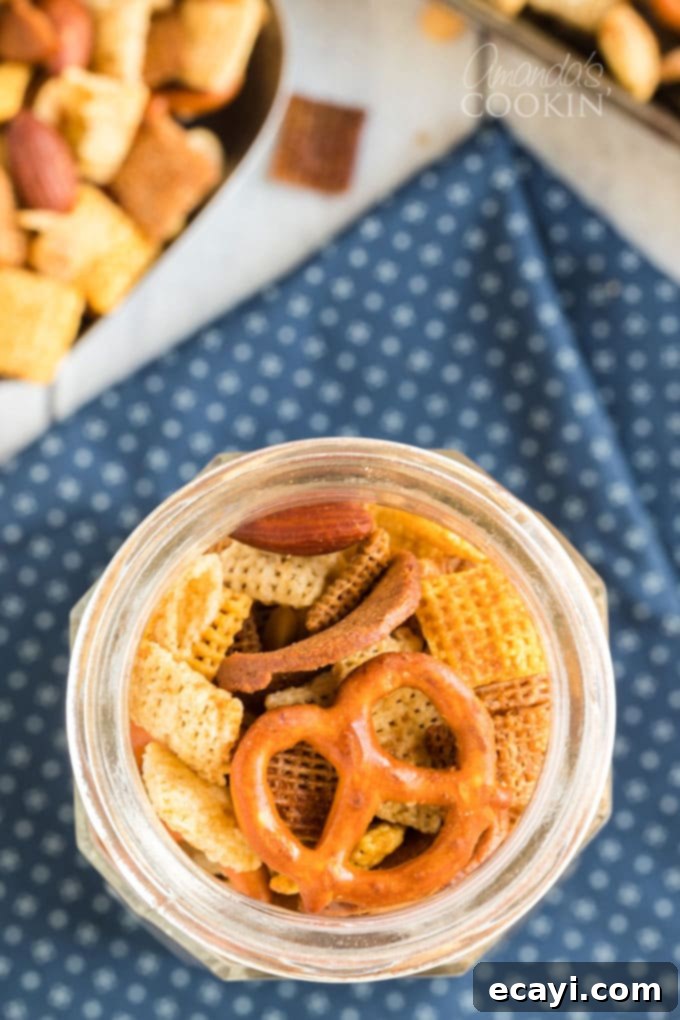
Helpful Kitchen Tools for Chex Mix Mastery:
While Chex Mix is renowned for its simplicity, having a few key kitchen tools on hand can make the preparation process even smoother and more enjoyable, especially if you’re making a large batch or preparing individual portions:
- Bag Holders: These are incredibly useful, particularly if you plan on dividing your Chex Mix into individual snack bags for lunches, party favors, or portion control. They hold bags upright, making filling them mess-free and efficient, and many models are adjustable for different bag sizes.
- Large Cookie Sheet or Roasting Pan: Essential for the oven method, a spacious cookie sheet or roasting pan ensures your Chex Mix can be spread in a single, even layer. This promotes consistent baking and achieves that perfectly crisp texture without overcrowding.
- Large Mixing Bowls (Microwave-Safe if applicable): You’ll need at least one very large bowl to combine all the dry ingredients and another smaller bowl for whisking the butter and seasonings. If you opt for the microwave method, ensure your large mixing bowl is microwave-safe.
- Sturdy Spatula or Spoon: A durable spatula or large spoon is crucial for thoroughly stirring the ingredients to ensure every piece is evenly coated with the savory sauce. This step is key to achieving that consistent, addictive flavor in every bite.
Crafting Your Perfect Batch of Chex Mix: Step-by-Step
These illustrative step-by-step photos and detailed instructions are designed to provide a clear visual guide for preparing this delicious recipe. For a concise, printer-friendly version, simply scroll down to the complete recipe card at the bottom of this page.
This is where the magic happens, and it’s a fantastic activity to involve the whole family! Chex Mix is an ideal recipe for getting kids engaged in the kitchen, as the steps are simple, safe, and incredibly rewarding. If you’re planning to portion out your Chex Mix into individual servings, tools like bag holders can be exceptionally useful. They make filling snack bags a breeze, minimizing spills and making the process much more efficient, and can often be adjusted to accommodate various bag sizes.
Below, we’ll cover the initial mixing steps, which remain consistent whether you choose the traditional oven method or the quicker microwave alternative. Just a friendly reminder: if you opt for the microwave, always ensure your mixing bowls are microwave-safe to prevent any mishaps.
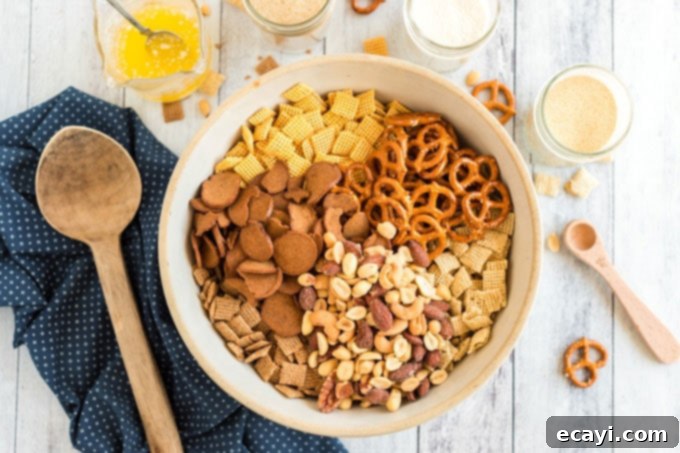
- Combine Dry Ingredients: In a generously sized mixing bowl, carefully combine all the cereals (Corn Chex, Rice Chex, and Wheat Chex), your chosen nuts (mixed nuts or peanuts), pretzels (twists or sticks), and the flavorful garlic-flavor bagel chips. Give them a gentle toss to ensure they are well distributed. Set this mixture aside while you prepare the savory coating.
- Melt the Butter: Take your butter or margarine and place it in a smaller, microwave-safe bowl. Microwave it uncovered on high power for approximately 40 seconds, or until it is completely melted and smooth. Keep a close eye on it to prevent burning.
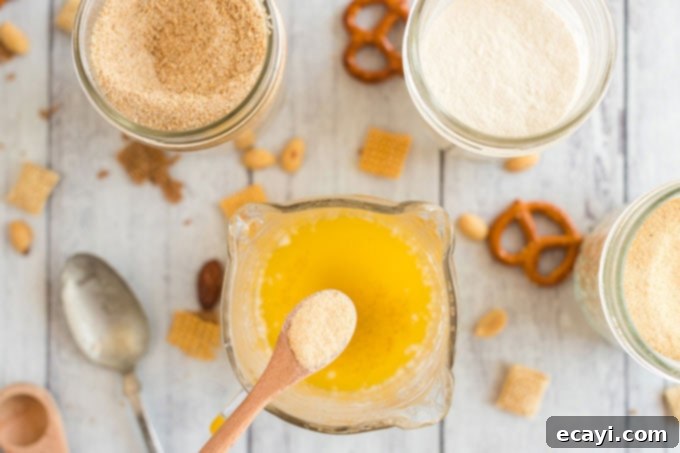
- Prepare the Seasoning Sauce: Once the butter is melted, carefully stir in the Worcestershire sauce, seasoned salt, garlic powder, and onion powder. Whisk these ingredients together until they are fully incorporated and the sauce is uniform. This aromatic blend is what gives Chex Mix its signature, irresistible flavor.
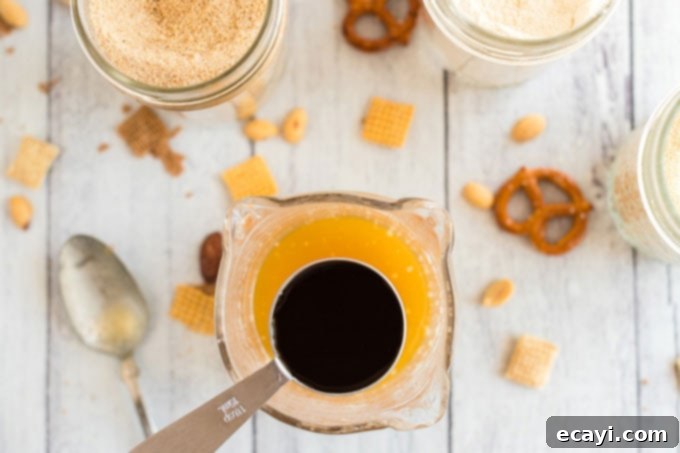
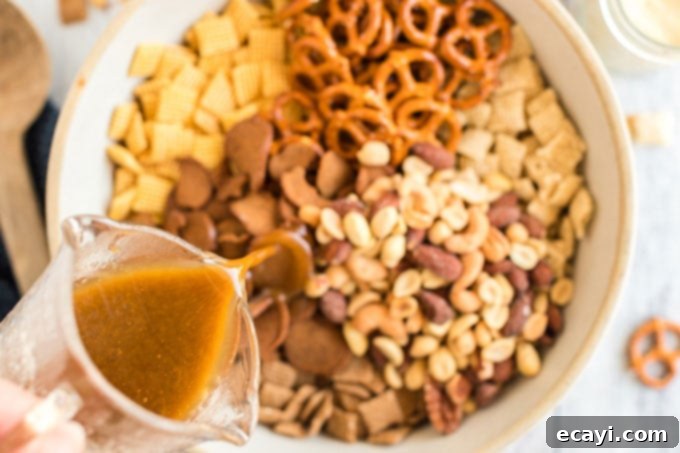
- Coat the Mixture: Pour the entire butter and seasoning mixture evenly over the dry cereal, nut, pretzel, and bagel chip mixture in the large bowl. Using a sturdy spatula or large spoon, gently but thoroughly stir everything together. The goal here is to ensure every single piece is beautifully and evenly coated with the savory sauce. Take your time with this step, as proper coating is essential for a flavorful batch of Chex Mix.
Traditional Oven Method for Crispy Perfection
The oven method is the classic way to make Chex Mix, yielding a wonderfully crisp, deeply flavorful, and evenly toasted snack. While it takes a little longer, the results are well worth the wait, filling your home with an irresistible aroma that’s pure comfort.
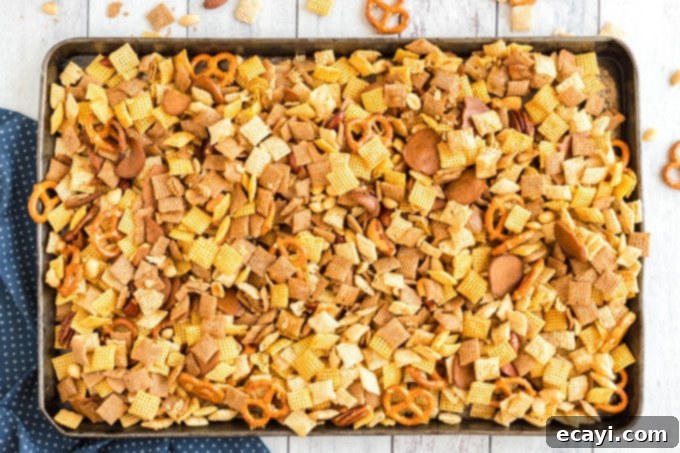
Begin by preheating your oven to a low 250°F (120°C). This gentle heat allows the mixture to slowly toast and absorb all the delicious flavors without burning. Once preheated, transfer your thoroughly coated cereal and seasoning mixture into an ungreased large roasting pan or spread it evenly across a large, rimmed baking sheet. Ensure the mixture is in a single layer as much as possible to promote even cooking and crisping.
Bake for a total of 1 hour. During this time, it’s crucial to stir the Chex Mix every 15 minutes. This ensures that all sides of the ingredients get toasted and that the seasoning is evenly distributed, preventing any parts from becoming soggy or burning. After an hour, your Chex Mix should be golden brown and incredibly fragrant. Carefully remove the pan from the oven.
To cool, immediately spread the hot Chex Mix in a single layer onto several sheets of paper towels or parchment paper laid out on a countertop. This step is vital for absorbing any excess oil and allowing the snack to crisp up perfectly. Let it cool completely for about 15-20 minutes. As it cools, it will become wonderfully crunchy. Once fully cooled, transfer it to an airtight container for storage.
Quick & Easy Microwave Method
For those times when you crave that irresistible Chex Mix but are short on time, the microwave method is a fantastic alternative that delivers delicious results with minimal fuss. It’s a faster way to achieve that savory crunch without heating up your whole kitchen.
After you’ve thoroughly coated your cereal mixture with the seasoned butter sauce (as described in the “How to Make Chex Mix” section), transfer it to a large, microwave-safe bowl. Make sure it’s uncovered. Microwave the mixture on High for a total of 5 to 6 minutes. The key to success with this method is frequent stirring. You must stir the entire mixture thoroughly every 2 minutes to ensure even heating and prevent burning, especially around the edges. This also helps distribute the seasoning and crisp up the components.
Once microwaved, the Chex Mix should be warm, fragrant, and slightly crisp. Immediately spread it out in a single layer onto paper towels or parchment paper to cool. Similar to the oven method, this cooling step is essential for achieving optimal crispness and absorbing any residual moisture. Allow it to cool completely before transferring it to an airtight container. This method is incredibly efficient and perfect for a last-minute snack attack or when you need a quick batch for a gathering.
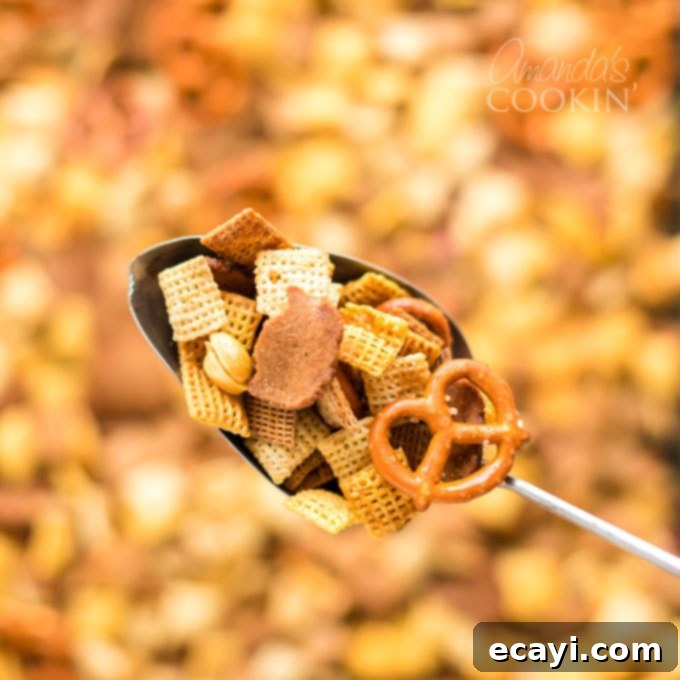
No matter which method you choose, homemade Chex Mix is a timeless delight. It’s a classic family favorite that consistently brings smiles and satisfies cravings throughout the year. From festive holiday gatherings like a bustling Christmas appetizer table to casual summer celebrations like a backyard barbecue, this versatile snack is always a welcome addition. Its crunchy texture and savory taste make it the ultimate crowd-pleaser for any occasion.
Tips for the Ultimate Chex Mix Experience
While Chex Mix is notoriously easy to make, a few simple tips can elevate your homemade batch from good to absolutely legendary:
- Even Coating is Key: Don’t rush the stirring process after pouring the seasoned butter. The more thoroughly you coat every piece, the more flavorful and consistent your Chex Mix will be. Use a large bowl and a sturdy spatula to really get in there and mix it well.
- Don’t Overcrowd the Pan (Oven Method): If you’re baking, use a large enough cookie sheet or roasting pan so the mixture can spread out in a relatively thin layer. Overcrowding can lead to steaming instead of toasting, resulting in a less crisp texture. If necessary, use two pans and rotate them halfway through.
- Stir Regularly: Whether you’re using the oven or microwave, consistent stirring is crucial. This prevents burning, promotes even browning, and ensures that the seasoning adheres uniformly to all components.
- Cool Completely: Resist the urge to snack immediately! Spreading the hot Chex Mix on paper towels or parchment paper and allowing it to cool completely is essential for achieving that signature crispness. It also helps any excess oil to drain.
- Customize Your Mix-ins: While the classic ingredients are perfect, feel free to experiment. Consider adding other small crackers, different types of nuts, or even some mini breadsticks. Just ensure they are similar in size for even cooking.
- Storage is Important: Once cooled, store your Chex Mix in an airtight container at room temperature. This will keep it fresh and crunchy for up to 1-2 weeks. For longer storage, you can freeze it in a freezer-safe bag for up to a month.
- Adjust Seasoning to Taste: The provided seasoning blend is a classic, but your kitchen is your canvas! Feel free to adjust the amounts of garlic powder, onion powder, or seasoned salt to suit your personal preference. A pinch of cayenne pepper can add a subtle kick, or a dash of smoked paprika can introduce a deeper, smoky flavor.
Creative Variations & Customization Ideas
While the original Chex Mix holds a special place in our hearts, one of its greatest strengths is how wonderfully adaptable it is. Don’t be afraid to get creative and put your own spin on this classic snack! Here are a few ideas to inspire your next batch:
- Spicy Chex Mix: For those who love a bit of heat, add a pinch or two of cayenne pepper or a dash of your favorite hot sauce to the butter mixture. You could also toss in some red pepper flakes with the dry ingredients.
- Sweet & Salty Chex Mix: This is a delightful contrast! After baking and cooling, mix in some M&M’s, chocolate chips, or mini marshmallows for a decadent treat.
- Herbaceous Chex Mix: Incorporate dried herbs like a teaspoon of dried dill, oregano, or a touch of rosemary into the butter mixture for an aromatic twist.
- Smoky Chex Mix: A teaspoon of smoked paprika added to the seasoning blend will give your Chex Mix a delicious smoky depth.
- Cheese Chex Mix: After baking, you could lightly spray the mix with cooking spray and toss it with some grated Parmesan cheese for a cheesy kick (though this might make it a bit less shelf-stable).
- Different Add-Ins: Beyond the traditional nuts, pretzels, and bagel chips, consider adding:
- Cheese crackers (like Goldfish or Cheez-Its)
- Rye chips or pita chips
- Different kinds of nuts (cashews, almonds, pecans)
- Pumpkin seeds or sunflower seeds
- Dried cranberries or cherries (add after baking and cooling for a sweet-tart burst)
- Theme-Specific Mixes: Just like the Taco Chex Mix mentioned earlier, you can tailor your seasonings for specific themes. Think Italian herbs for a “Pizza Chex Mix” or everything bagel seasoning for a unique breakfast-inspired snack.
Remember, the goal is to have fun and create a snack that perfectly suits your taste buds. Don’t be afraid to experiment with small batches to find your next favorite Chex Mix variation!
Frequently Asked Questions About Chex Mix
Here are answers to some common questions about making and enjoying classic Chex Mix:
- Q: Can I make Chex Mix ahead of time?
- A: Absolutely! Chex Mix is an ideal make-ahead snack. In fact, many people find the flavors meld and deepen even further after a day or two. Just ensure it’s stored in an airtight container once completely cooled.
- Q: How long does homemade Chex Mix stay fresh?
- A: When stored properly in an airtight container at room temperature, homemade Chex Mix will remain fresh and crunchy for about 1-2 weeks. You can extend its freshness by storing it in the refrigerator for up to 3 weeks, or even freeze it in a freezer-safe bag for up to a month. Just allow it to come to room temperature before serving.
- Q: Can I substitute different types of cereals?
- A: Yes, you can! While the classic recipe uses Corn, Rice, and Wheat Chex, feel free to use your favorite combination or adjust the ratios. Some people even incorporate other small, crunchy cereals, but ensure they can withstand the baking/microwaving process without becoming soggy.
- Q: What if I don’t have Worcestershire sauce?
- A: Worcestershire sauce is a key ingredient for its savory, umami depth. If you don’t have it, you can try a small amount of soy sauce (be mindful of salt content) or a dash of balsamic vinegar for a different but still savory profile. However, for the true classic flavor, Worcestershire is recommended.
- Q: How do I prevent my Chex Mix from getting soggy?
- A: The most important steps to prevent sogginess are even coating of the seasoning, not overcrowding the baking pan (for the oven method), regular stirring during baking/microwaving, and most critically, cooling the Chex Mix completely on paper towels or parchment paper after cooking. This allows excess moisture to evaporate and fat to drain, leading to a crisp final product.
- Q: Can I make this recipe in an air fryer?
- A: While possible, air fryers typically have smaller capacities, meaning you’d need to work in many batches. The key would be to use a very low temperature (around 250-275°F) and stir very frequently, likely every 3-5 minutes, until crisp. It would be a much more involved process than the oven or microwave for a full batch.
More Delicious Snack Ideas You’ll Love
- Looking to elevate other snacks? Try one of our delicious homemade popcorn seasonings – some might even be a fantastic addition to your Chex Mix!
- If popcorn is your ultimate snack, you’re in for a treat with our homemade kettle corn recipe. It’s the perfect balance of sweet and salty!
- Craving something sweet to complement your savory Chex Mix? Our crunchy popcorn chocolate bark is an indulgent and satisfying dessert.
- For all the pretzel enthusiasts out there, we have a wonderful recipe for sweet and salty pretzels. They’re not only incredibly tasty but also make fantastic gifts!
- And for a warm, savory bite, be sure to try our air fryer pretzel bites – a quick and satisfying hot snack option.

Chex Mix
IMPORTANT – There are often Frequently Asked Questions within the blog post that you may find helpful. Simply scroll back up to read them!
Print It
Rate It
Save ItSaved!
Ingredients
- 3 cups Corn Chex cereal
- 3 cups Rice Chex cereal
- 3 cups Wheat Chex cereal
- 1 cup mixed nuts or peanuts
- 1 cup bite-size pretzels or pretzel sticks
- 1 cup garlic-flavor bite-size bagel chips or regular-size bagel chips broken into 1-inch pieces
- 6 tablespoons butter or margarine
- 2 tablespoons Worcestershire sauce
- 1 ½ teaspoons seasoned salt
- ¾ teaspoon garlic powder
- ½ teaspoon onion powder
Instructions
-
In large microwavable bowl, mix cereals, nuts, pretzels and bagel chips; set aside.
-
In small microwavable bowl, microwave butter uncovered on High about 40 seconds or until melted.
-
Stir in seasonings.
-
Pour over cereal mixture; stir until evenly coated.
MICROWAVE
-
Microwave uncovered on High 5 to 6 minutes, thoroughly stirring every 2 minutes. Spread on paper towels to cool. Store in airtight container.
OVEN
-
Preheat oven to 250 Put cereal and seasoning mixture into ungreased roasting pan and bake for 1 hour, stirring every 15 minutes. Spread on paper towels to cool, about 15 minutes.
Nutrition
The recipes on this blog are tested with a conventional gas oven and gas stovetop. It’s important to note that some ovens, especially as they age, can cook and bake inconsistently. Using an inexpensive oven thermometer can assure you that your oven is truly heating to the proper temperature. If you use a toaster oven or countertop oven, please keep in mind that they may not distribute heat the same as a conventional full sized oven and you may need to adjust your cooking/baking times. In the case of recipes made with a pressure cooker, air fryer, slow cooker, or other appliance, a link to the appliances we use is listed within each respective recipe. For baking recipes where measurements are given by weight, please note that results may not be the same if cups are used instead, and we can’t guarantee success with that method.
