Homemade Pickled Eggs: Your Ultimate Guide to Tangy, Herb-Infused Perfection
Discover the delightful world of homemade pickled eggs! This comprehensive guide reveals how to create exceptionally flavorful pickled eggs, submerged in a perfectly balanced, aromatic brine. Crafted from a vibrant blend of vinegar, sliced onion, fresh garlic, fragrant dill, bay leaves, and a medley of pickling spices, these eggs offer a sweet, salty, and sour sensation that’s simply irresistible. Ideal for a quick, protein-packed snack, elevating your deviled egg game, or adding a unique twist to salads and charcuterie boards, this recipe promises a rewarding culinary experience.
Why This Pickled Eggs Recipe Is a Must-Try
There’s a unique satisfaction in creating your own pickled delights, and these homemade pickled eggs are no exception. This recipe stands out because it masterfully combines simplicity with profound flavor development. Instead of bland, rubbery store-bought versions, you’ll achieve eggs that are tender, firm, and bursting with a complex sweet-salty-sour profile.
The magic happens as fresh herbs and aromatic spices, along with thinly sliced onions, cozy up to perfectly hard-boiled eggs within a vibrant vinegar-based brine. As they rest peacefully in your refrigerator, a fascinating transformation occurs. The eggs slowly absorb the exquisite flavors of the brine, becoming an addictive snack with every passing day. The fresh dill lends a bright, herbaceous note, the garlic adds a subtle pungency, and the bay leaves contribute a warm, earthy depth. The pickling spices, a carefully chosen blend of seeds and aromatics, create a robust foundation that elevates the entire experience. This slow infusion process is key to achieving that irresistible taste that keeps you coming back for more. Once you try these, you’ll understand why they become a pantry staple!
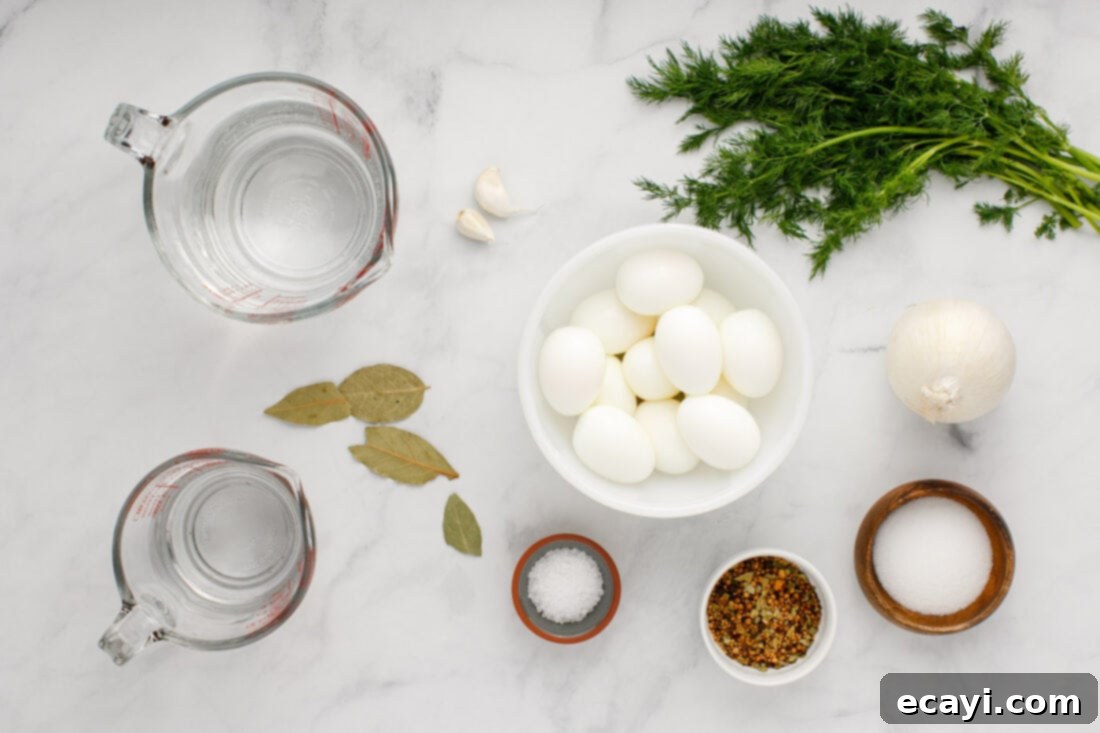
Essential Ingredients for Your Homemade Pickled Eggs
Crafting the perfect batch of pickled eggs requires a few simple, high-quality ingredients. While the full list with precise measurements can be found in the printable recipe card at the end of this post, here’s a sneak peek at what you’ll need to gather:
Ingredient Spotlight: Tips and Clever Substitutions
Understanding each ingredient’s role allows you to customize your pickled eggs to perfection. Here’s a closer look at the components and how you can experiment with them:
For the Flavorful Brine
Vinegar: We’ve opted for distilled white vinegar as our base. Its clean, sharp acidity provides a classic pickling tang that beautifully complements the eggs. For those who prefer a slightly mellower and sweeter brine, apple cider vinegar is an excellent substitute. It introduces subtle fruity notes and a gentler acidity, resulting in a distinct flavor profile. Feel free to experiment with a combination of both or even try rice vinegar for an Asian-inspired twist or champagne vinegar for a more delicate touch. Remember, the quality of your vinegar significantly impacts the final taste.
Onion: Both red and white onions perform admirably in this recipe. White onions offer a crisp, pungent flavor that mellows beautifully in the brine. Red onions, on the other hand, provide a milder, slightly sweeter taste and have the added bonus of imparting a gorgeous pinkish hue to your brine and eggs over time – a purely aesthetic effect that won’t compromise flavor or quality. Slice them thinly to allow their flavors to infuse more readily.
Sugar: Don’t skip the sugar! While you might associate pickling with savory flavors, a touch of granulated white sugar is crucial. It acts as a counterbalance, harmonizing the sharp acidity of the vinegar and preventing the brine from tasting too harsh. This subtle sweetness rounds out the flavor, creating a more pleasant and balanced overall experience.
Pickling Spices: This blend is where much of the magic happens! Commercial pickling spice mixes typically contain a medley of ingredients like mustard seeds, coriander seeds, peppercorns, dill seeds, bay leaves, and sometimes even cloves or allspice. These spices slowly release their essential oils into the brine, creating a complex, aromatic depth. If you don’t have a pre-made mix, you can create your own by combining whole spices you have on hand.
Fresh Dill: The star herb! Fresh dill brings a bright, grassy, and slightly anise-like flavor that is iconic in many pickled recipes. While dried dill can be used in a pinch, fresh dill offers superior aroma and taste. Don’t be shy with the sprigs; they infuse the eggs with a wonderfully fresh essence.
Garlic: Whole, peeled garlic cloves contribute a mild, sweet garlic flavor that mellows with pickling. Avoid minced garlic, as it can be overpowering and also make your brine cloudy. The whole cloves provide a more subtle infusion.
Bay Leaves: These unassuming leaves add a subtle, herbaceous, slightly floral, and almost minty aroma to the brine. They provide a foundational savory note that enhances the overall complexity of the pickled eggs.
Coarse Sea Salt: Essential for both flavor and preservation. Coarse sea salt dissolves well and provides a clean, briny taste without any harshness. Ensure you use non-iodized salt if possible, as iodine can sometimes cause discoloration in pickled foods.
The Perfect Eggs
Eggs: The foundation of our recipe! You’ll need twelve perfectly hard-boiled eggs. The key to great pickled eggs is starting with properly cooked and easily peeled eggs. Here’s a detailed guide on how to prepare them:
- Stovetop Method:
- Gently place your eggs at the bottom of a large saucepan.
- Fill the pot with cold water, ensuring the eggs are covered by at least one inch of water.
- Heat the pot over high heat until it reaches a rolling boil.
- As soon as the water is vigorously boiling, turn off the heat on the burner.
- Immediately cover the saucepan with a lid and let the eggs sit in the hot water for 10-12 minutes. The exact timing depends on your preferred yolk consistency – 10 minutes for a slightly creamier yolk, 12 for a firmer one.
- Once the time is up, carefully drain the hot water.
- Immediately rinse the eggs under cold running water or, even better, transfer them to an ice bath for about 15 minutes. This rapid cooling stops the cooking process and helps the shells detach more easily, preventing that frustrating struggle to peel.
- Once cooled, gently tap and roll each egg to crack the shell, then peel under running water for the cleanest result.
- Air Fryer Method: For a hands-off approach, you can also hard boil your eggs using an air fryer! Check out our detailed air fryer hard-boiled eggs recipe for specific instructions on achieving perfectly cooked eggs with this appliance.
Ensure your eggs are completely cooled and peeled before you begin the pickling process. Any lingering heat can negatively impact the texture and safety of the final product.
Crafting Your Own Pickled Eggs: A Step-by-Step Guide
These step-by-step photos and instructions are here to help you visualize how to make this recipe a success. For the complete printable version of this recipe, including exact measurements and detailed instructions, simply scroll down to the dedicated recipe card at the bottom of this post. You can also Jump to Recipe to get there directly.
Making pickled eggs is surprisingly straightforward and incredibly rewarding. Follow these steps for a perfect batch:
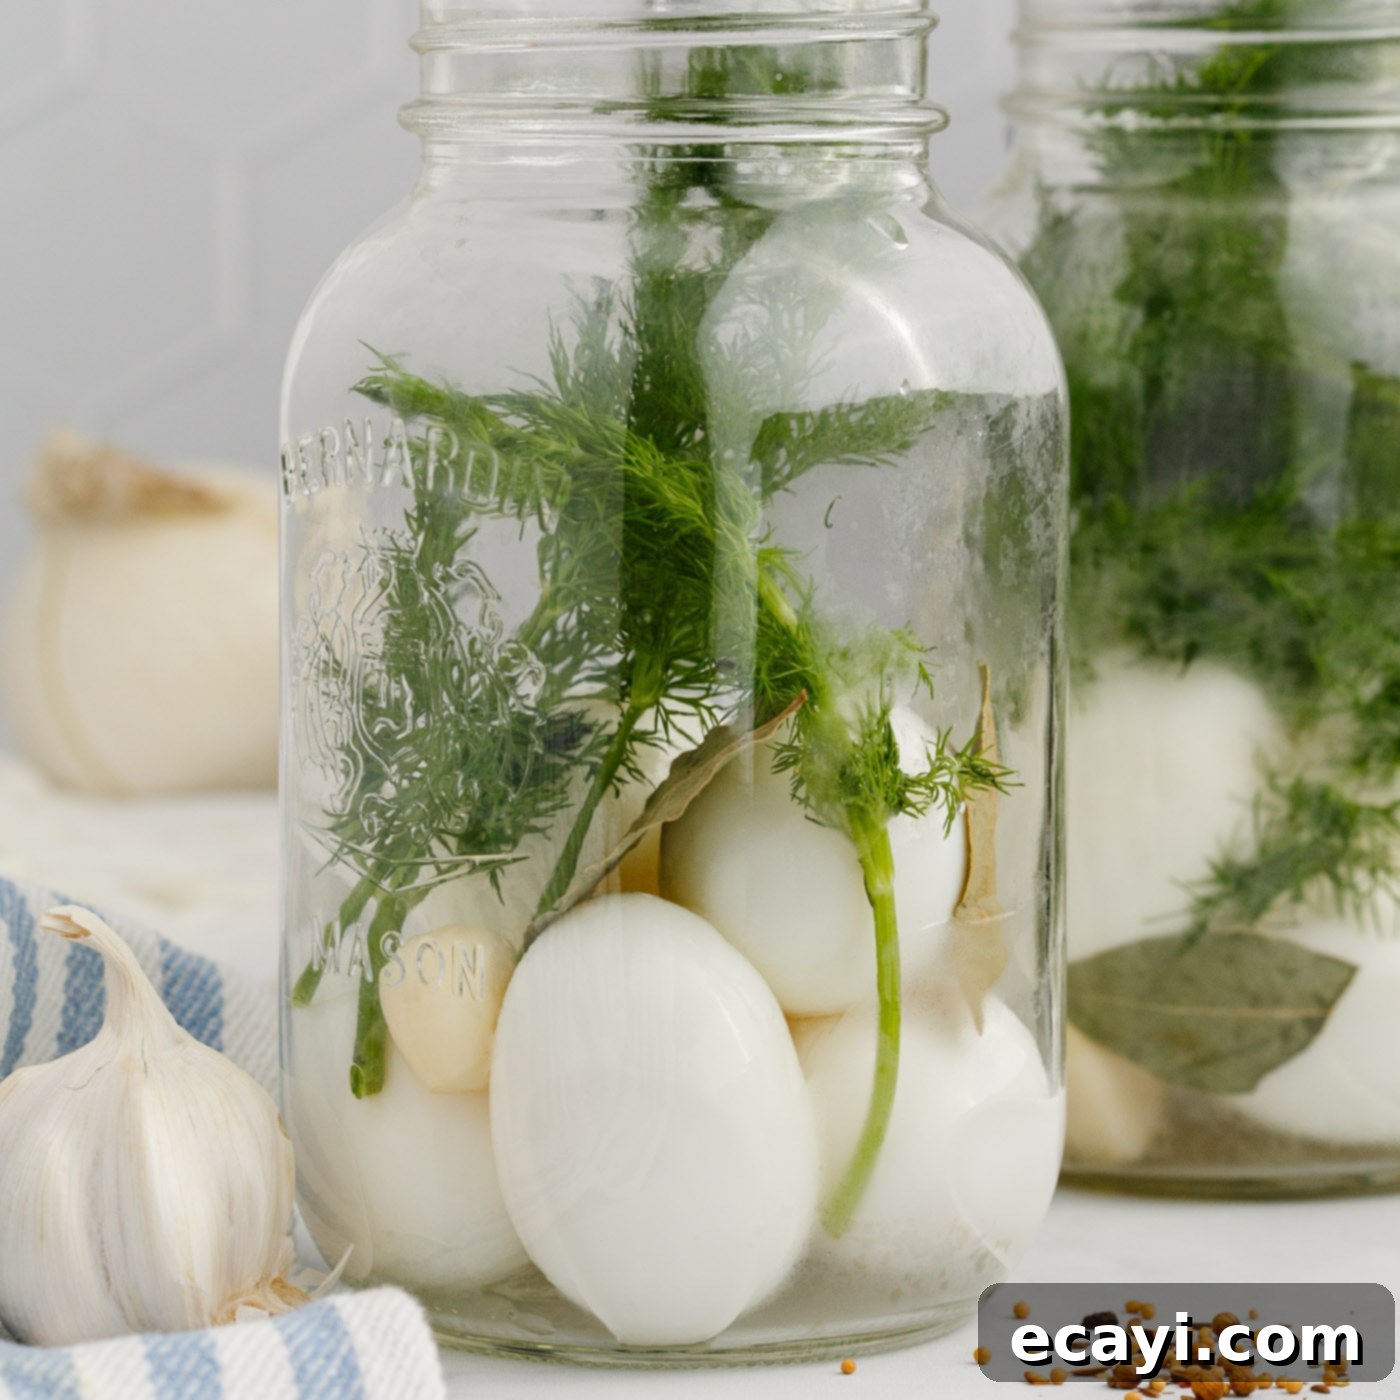
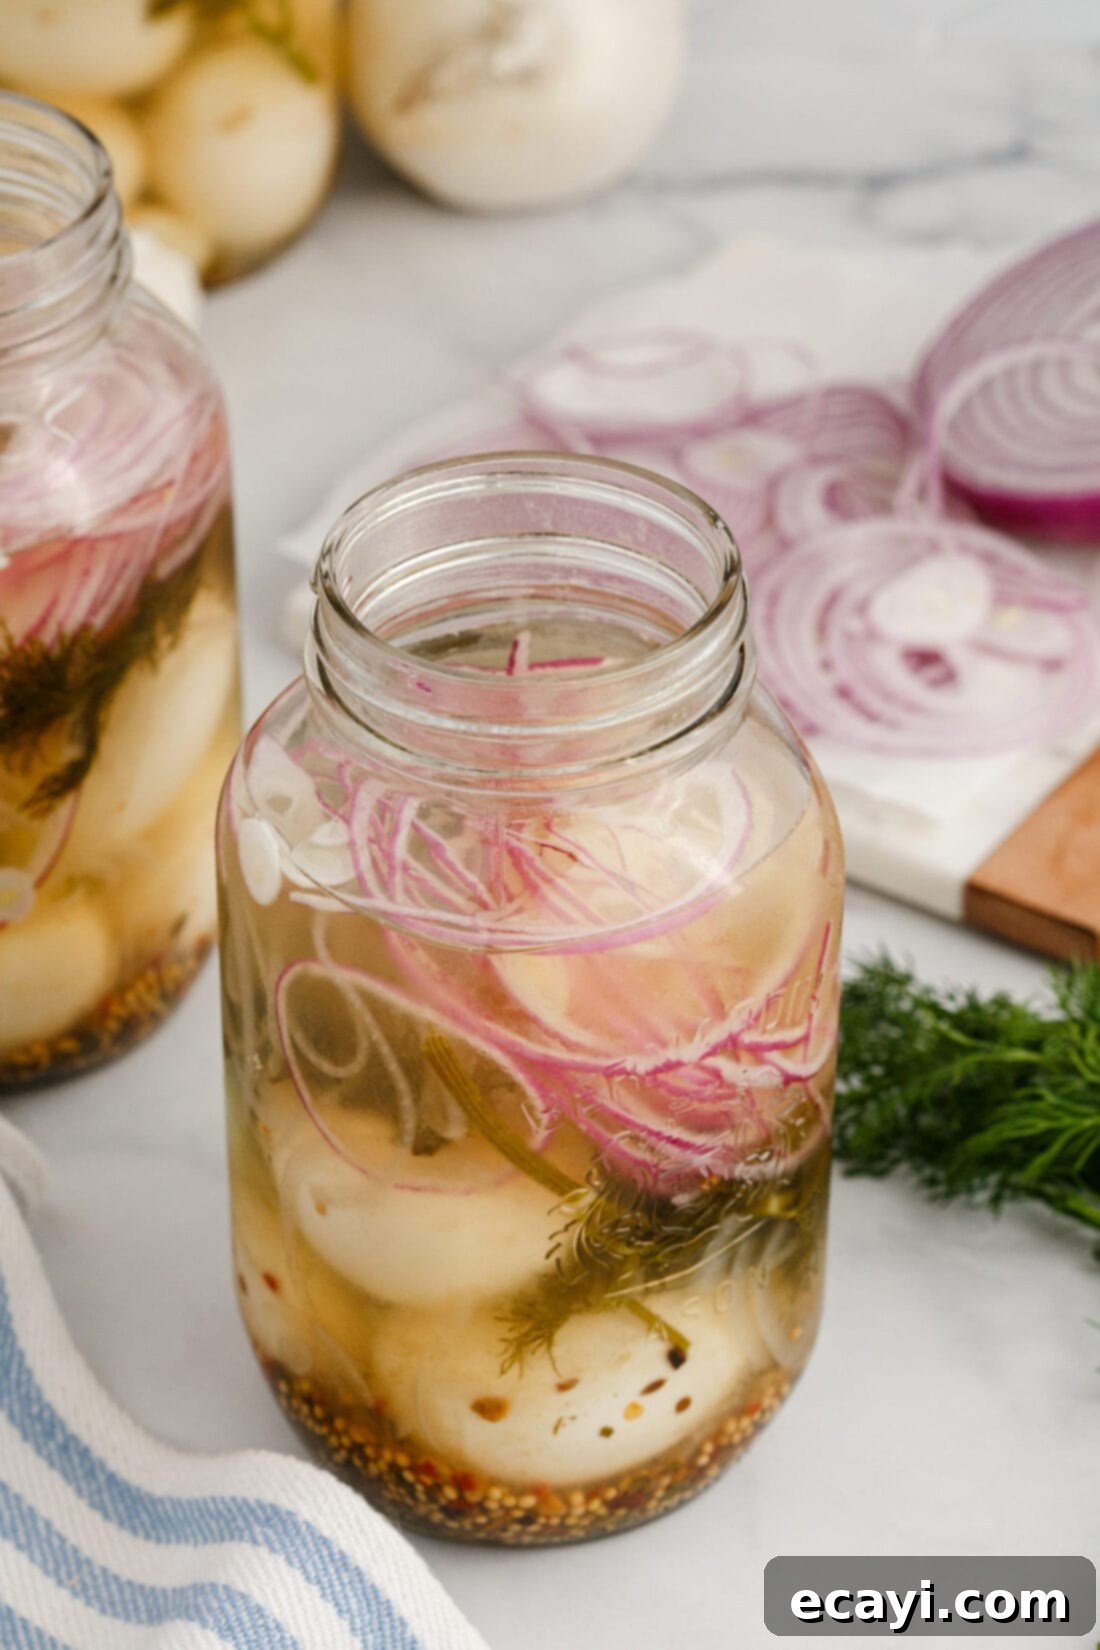
- Prepare Your Jars and Eggs: Begin by preparing two 1-liter (approximately 34 ounce) mason jars. Divide your 12 peeled hard-boiled eggs evenly between the two jars, placing 6 in each. Then, add the fresh aromatics to each jar: 3-4 sprigs of fresh dill, 1 whole peeled garlic clove, and 1-2 bay leaves (adjusting quantity based on their size). Arranging these ingredients neatly will make your pickled eggs look as good as they taste!

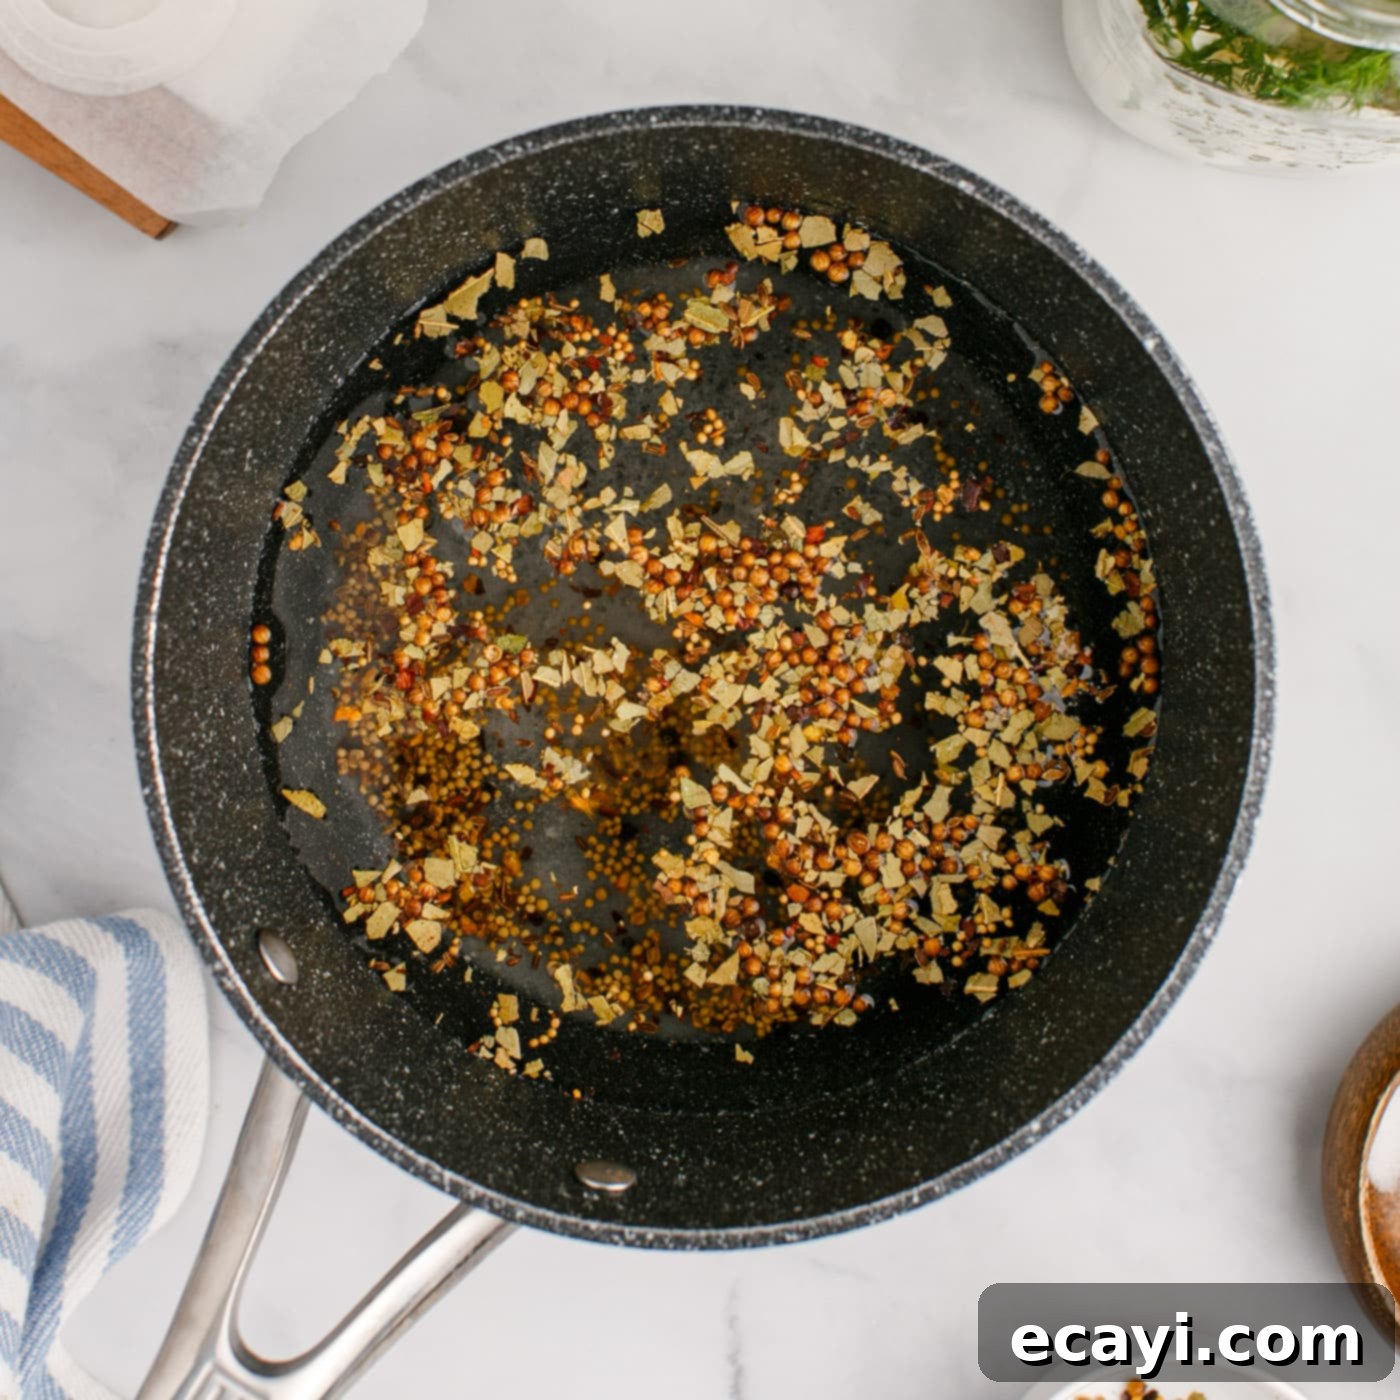
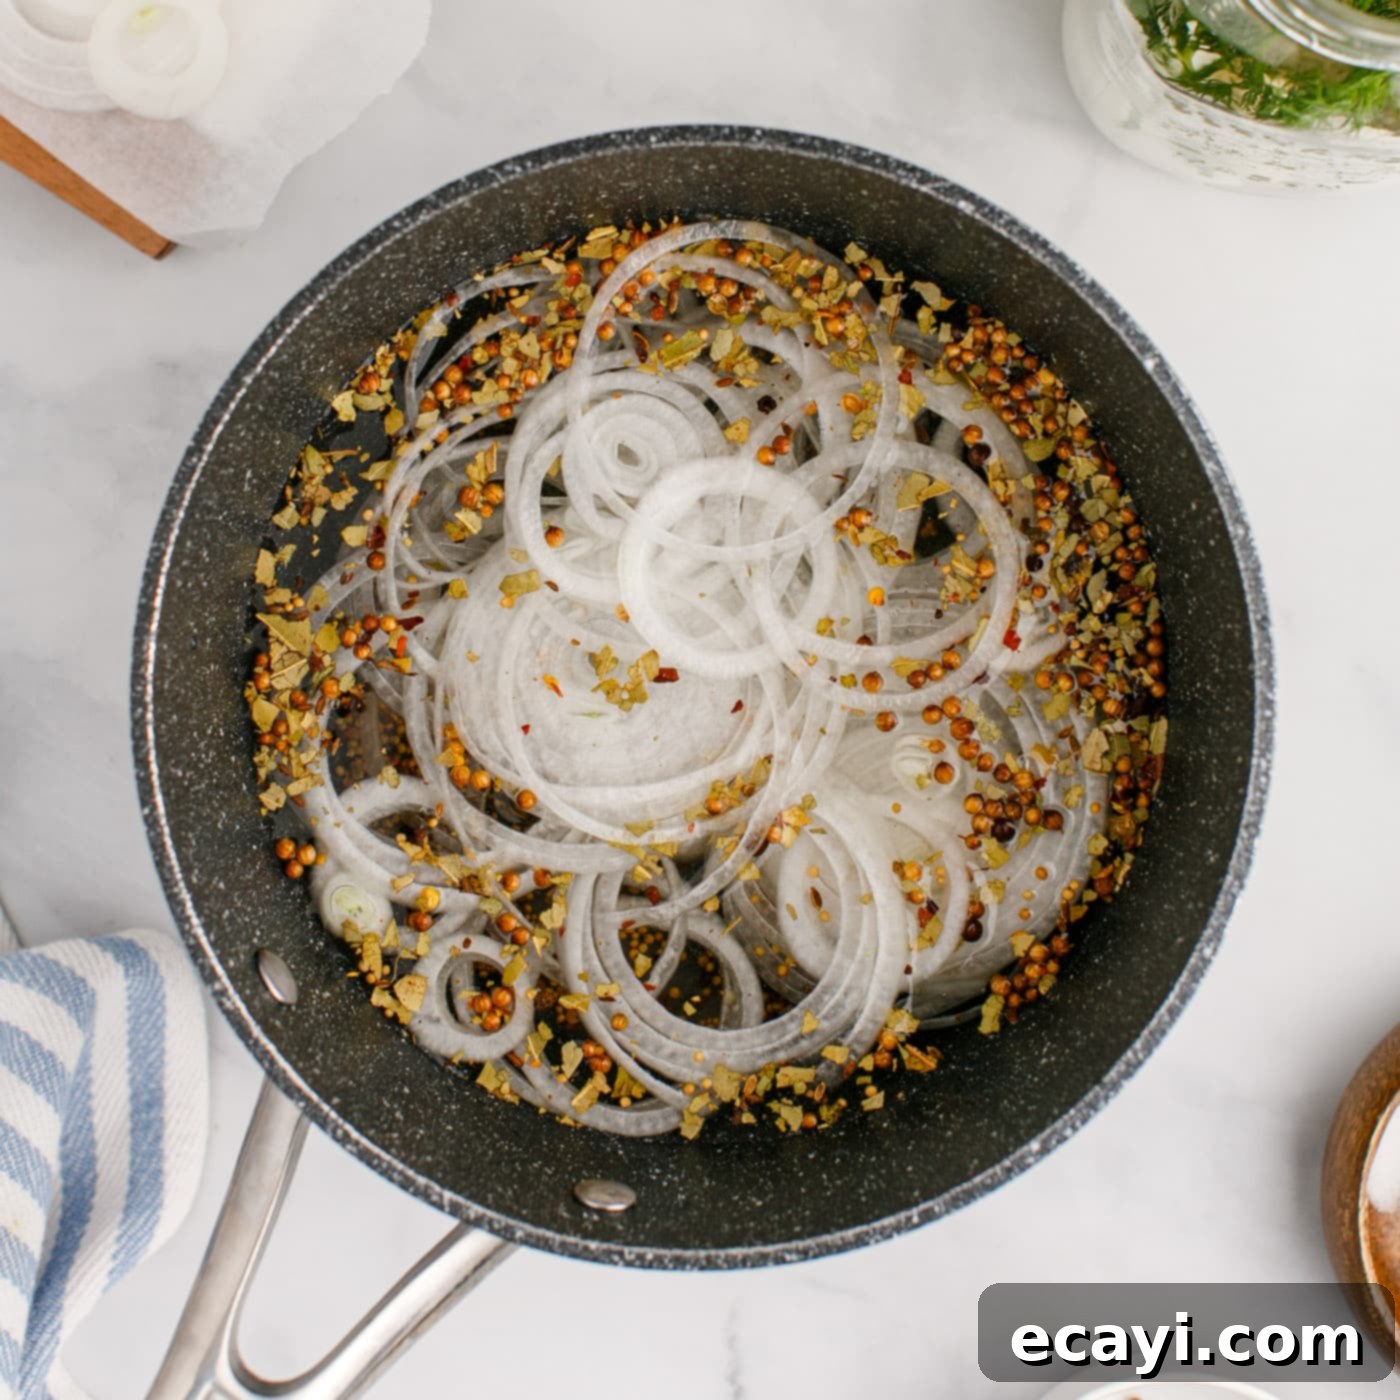
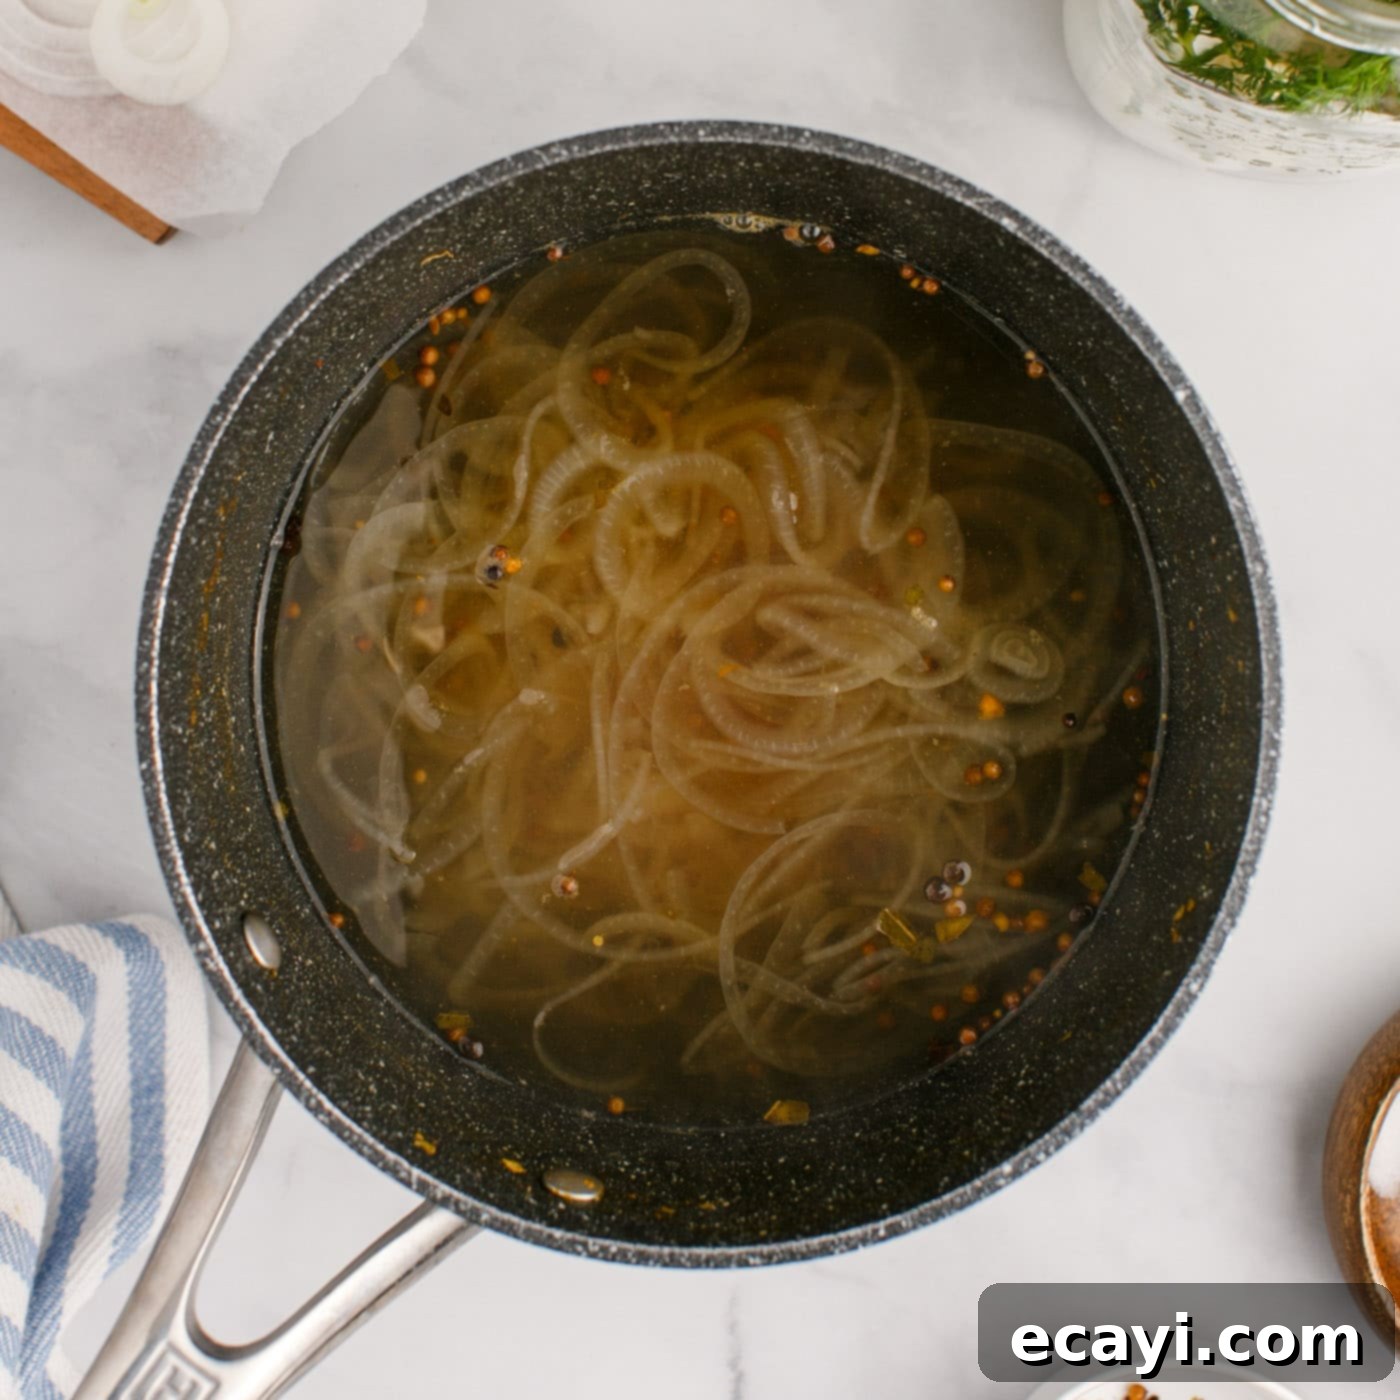
Jars prepped with eggs and fresh herbs. - Craft the Brine: In a medium-sized saucepan, combine all the ingredients designated for your brine: vinegar, water, coarse sea salt, thinly sliced onion, granulated white sugar, and pickling spices. Bring this mixture to a rolling boil over medium-high heat. Once boiling, reduce the heat to low and allow it to simmer gently for about 10 minutes. This simmering step is crucial as it allows the spices to release their full flavor into the liquid and ensures the sugar and salt are completely dissolved. Stir occasionally to help the flavors meld.

Adding pickling spices to the brine mixture. 
Sliced onion infusing flavor into the brine. 
The brine simmering to perfection. - Combine Brine and Eggs: Once the brine has simmered and its flavors have fully developed, carefully pour it evenly into each prepared mason jar, ensuring that the eggs are completely submerged. You might find it helpful to use a spoon to distribute the sliced onions and pickling spices evenly between the two jars, ensuring each egg gets its fair share of flavor. Fill the jars almost to the top, leaving a small headspace.

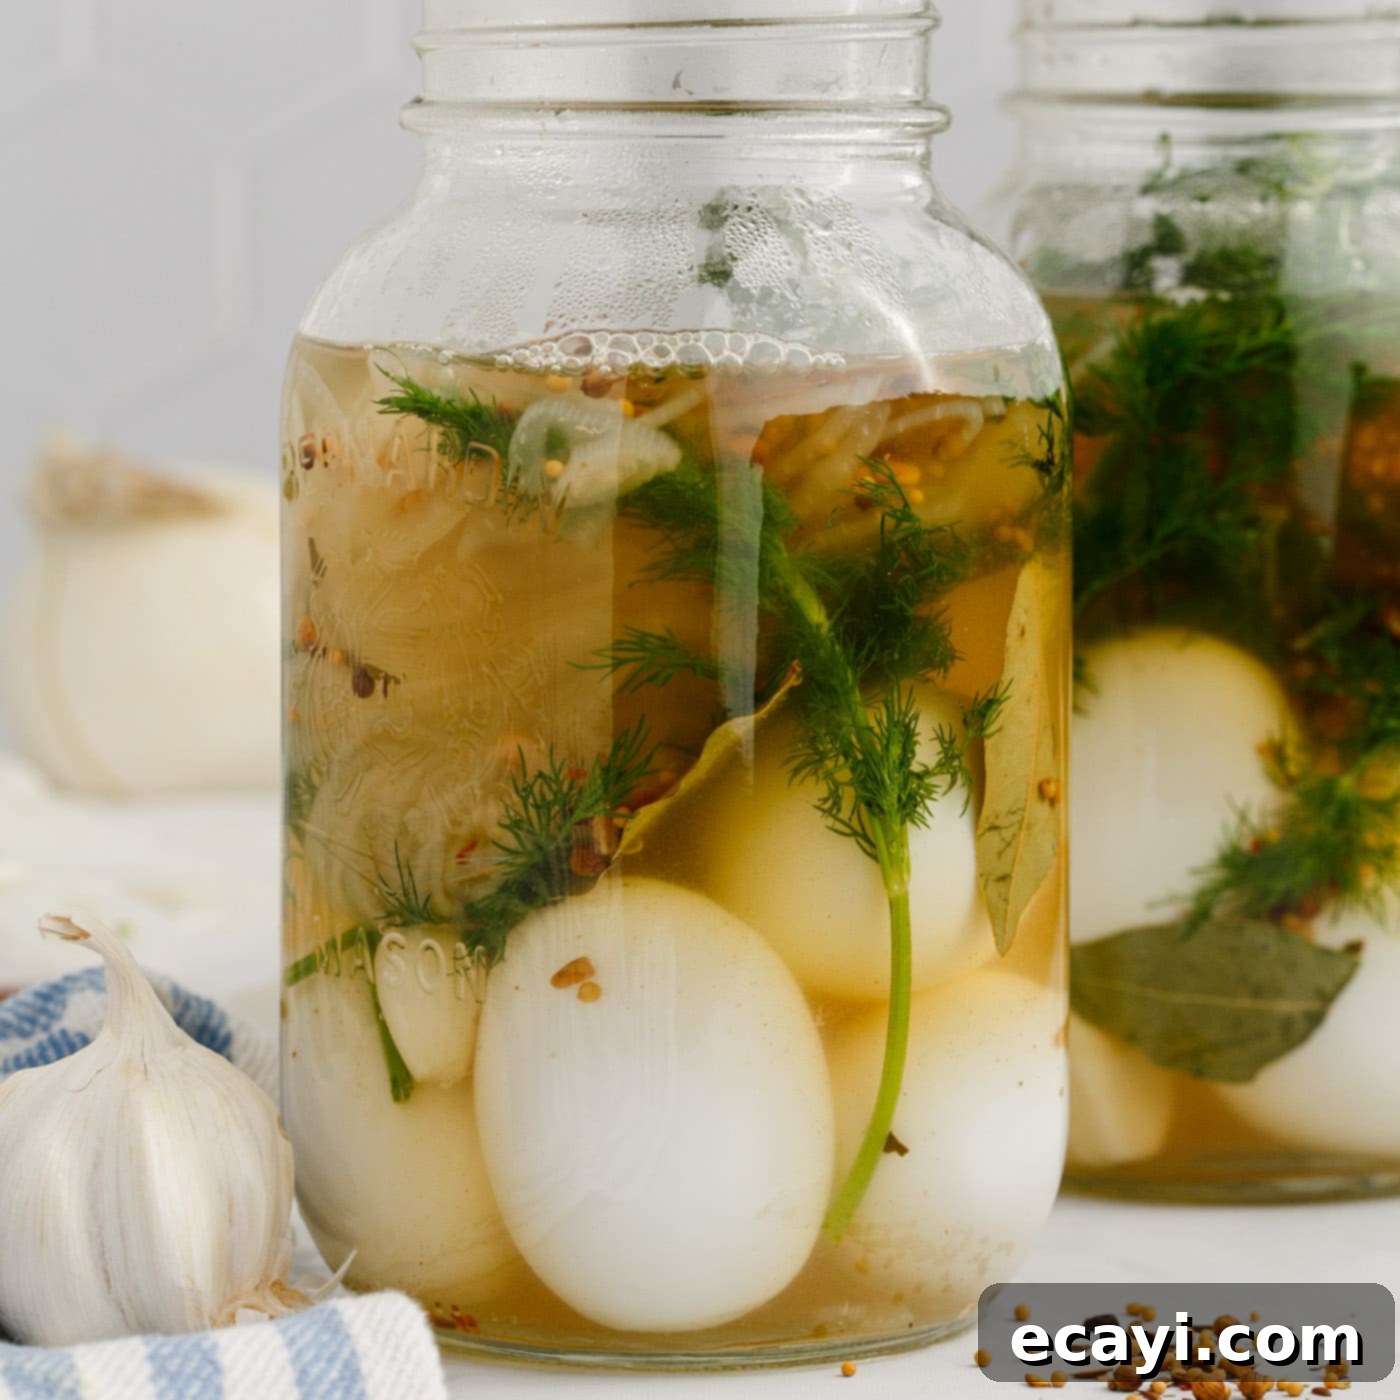
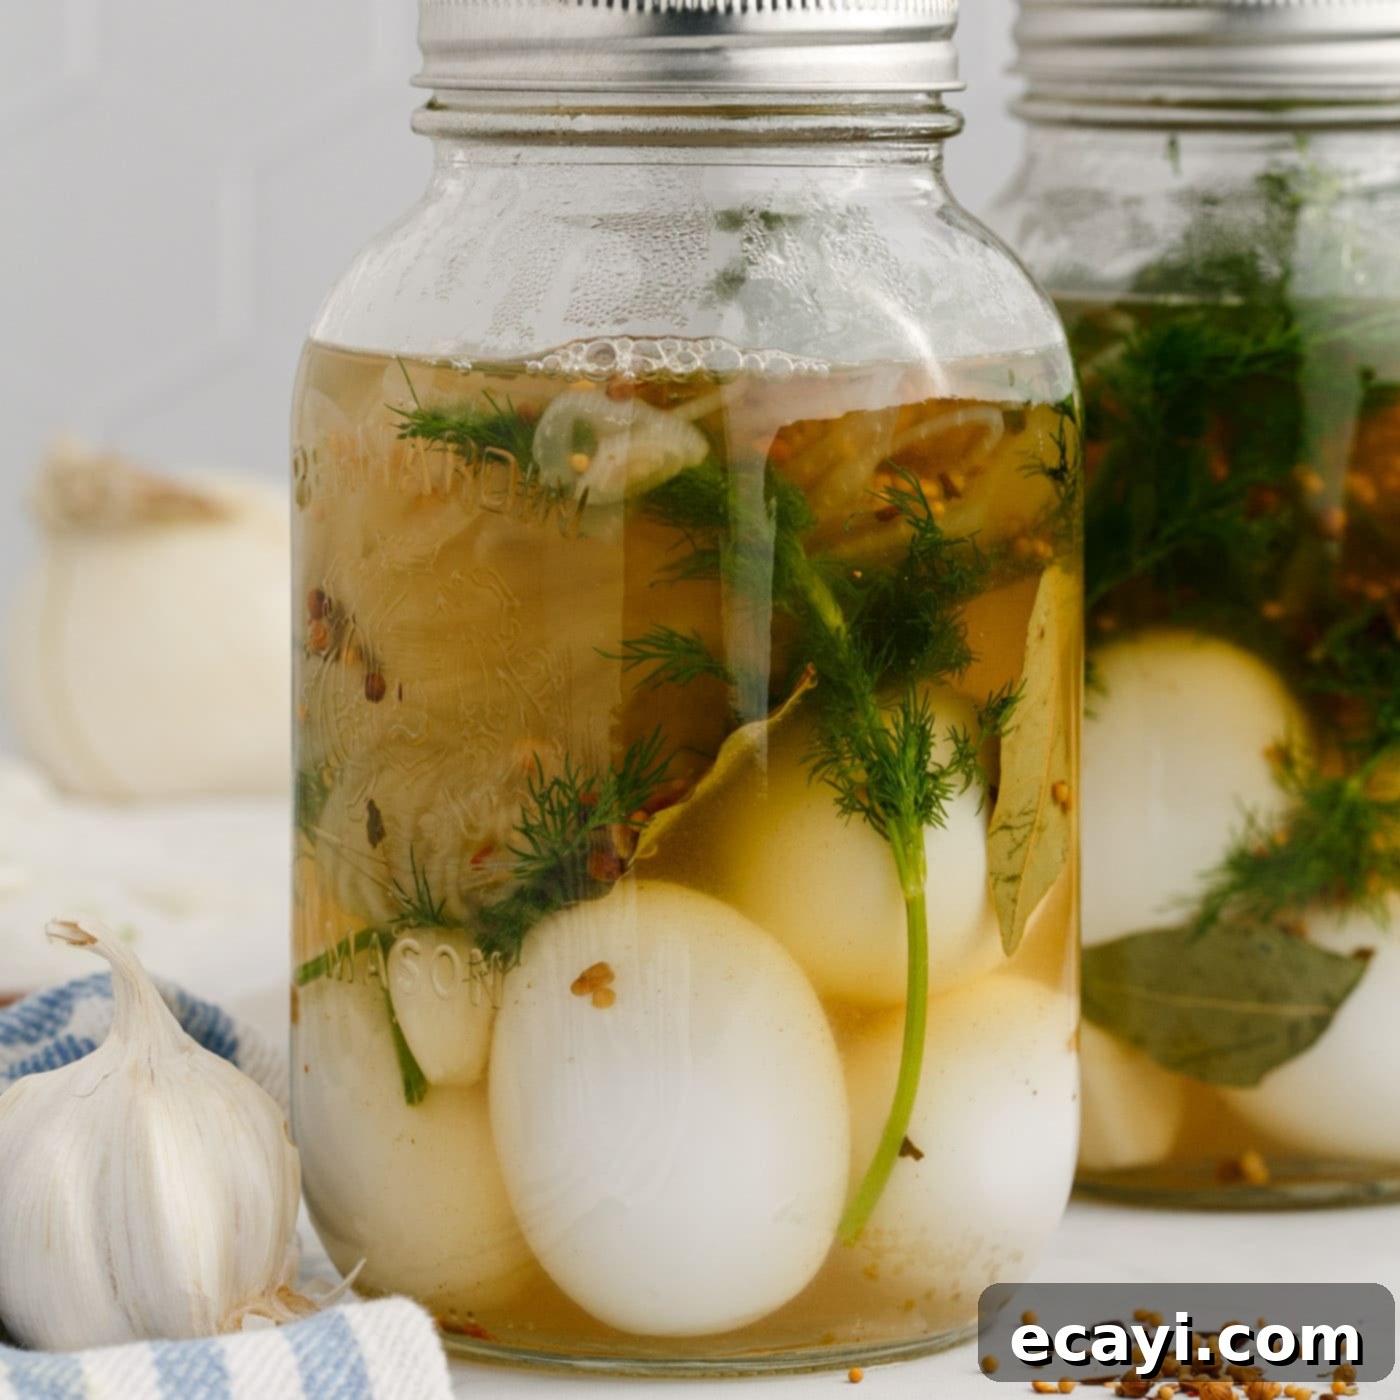
Pouring the aromatic brine over the eggs. - Cool and Chill for Flavor: Secure the lids tightly on your jars. Allow the jars to cool completely at room temperature on your countertop. This can take several hours. Once they have reached room temperature, transfer them to the refrigerator. While you can technically enjoy these pickled eggs after just 24 hours of chilling, the best, most complex flavors develop when they’re allowed to rest for 5-7 days. The longer they sit, the more the eggs will absorb the tangy, herbaceous goodness of the brine.

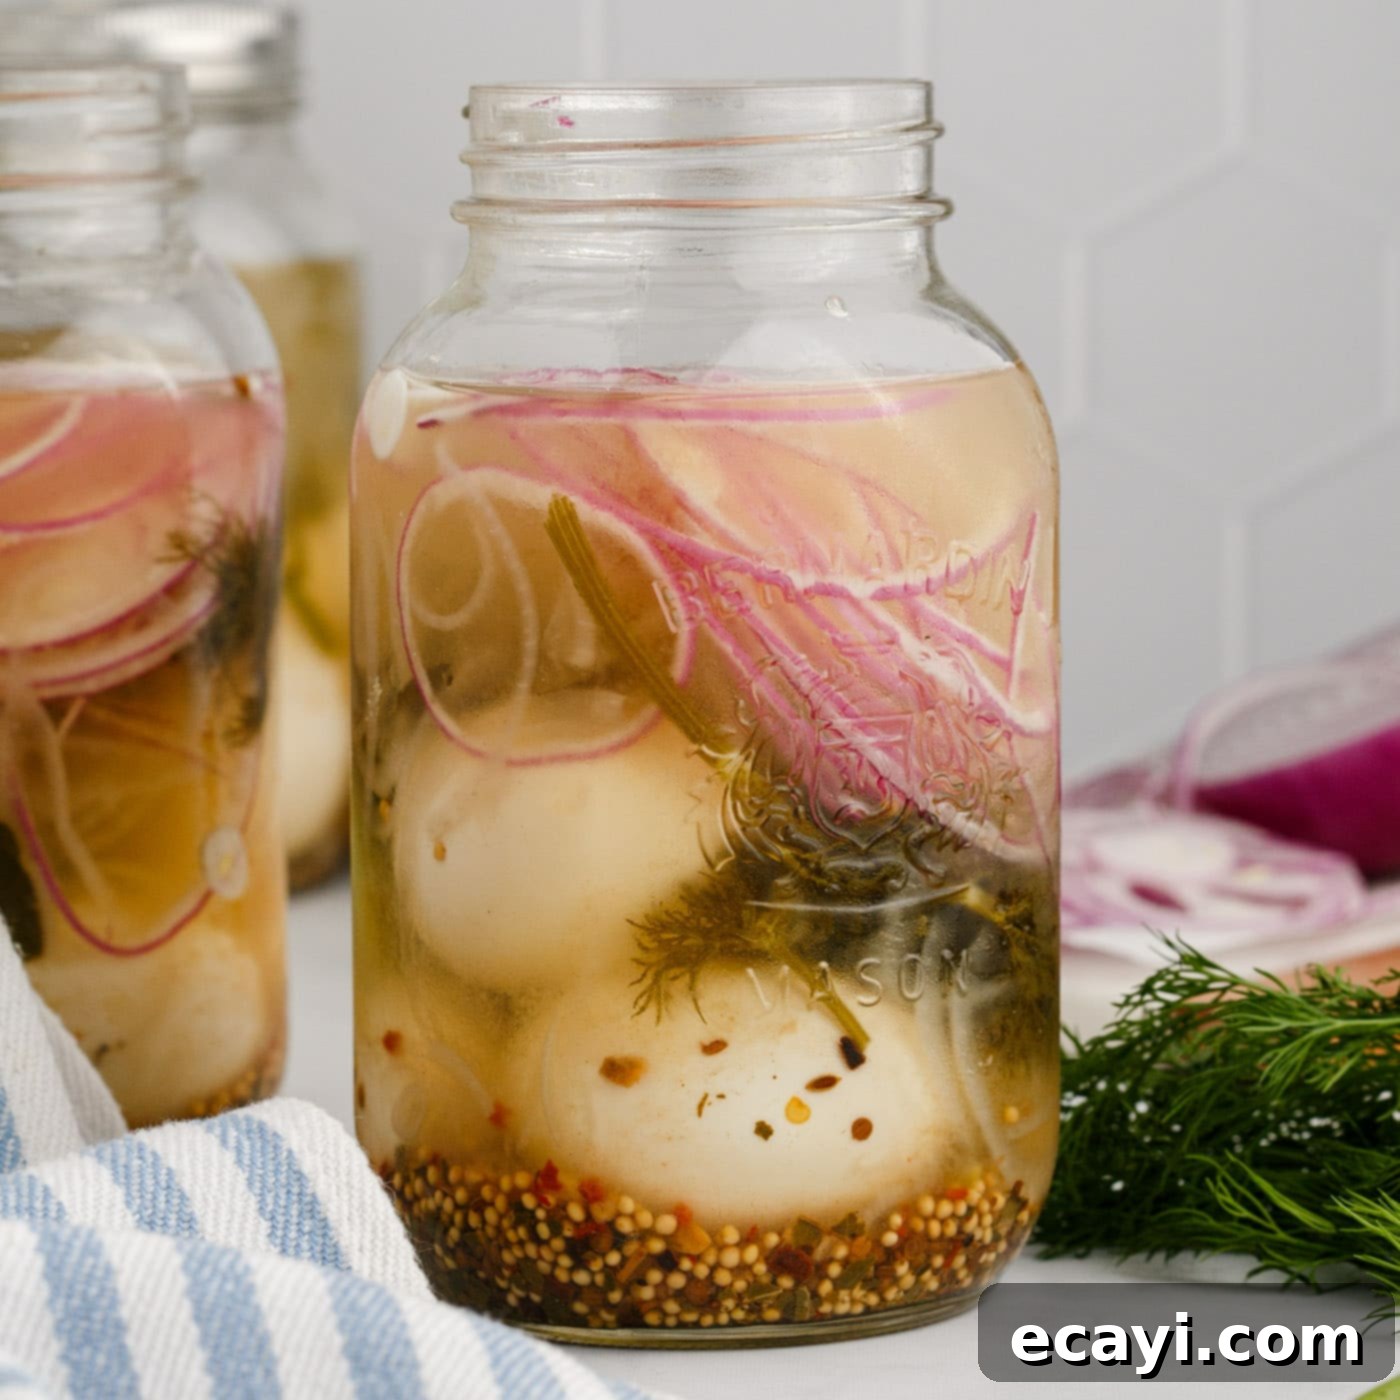
Pickled eggs ready for their flavor development in the fridge.
Frequently Asked Questions & Expert Tips for Perfect Pickled Eggs
To ensure your pickled eggs are always a success, here are some common questions answered and expert tips to keep in mind:
When stored correctly in an airtight jar and continuously refrigerated, these delicious homemade pickled eggs will maintain their quality and flavor for up to 3 months. It’s crucial to understand that this recipe produces **refrigerator-pickled eggs**, not canned or shelf-stable pickled eggs. Therefore, they are not designed for long-term pantry storage and **must** be kept in the refrigerator at all times to ensure food safety and prevent spoilage. Always use clean jars and utensils, and ensure the eggs remain fully submerged in the brine for optimal preservation.
While it might be tempting to reuse the leftover brine, it’s generally not recommended for food safety reasons, especially after it has contained eggs for an extended period. The brine absorbs flavors and some proteins from the eggs, which can reduce its preservative power and introduce potential spoilage factors. For the best quality and safety, always prepare a fresh batch of brine for each new batch of pickled eggs.
A cloudy brine can occur for several reasons. If your eggs weren’t perfectly clean, or if any small pieces of egg white broke off during peeling, they could contribute to cloudiness. Using tap water with high mineral content or unpeeled garlic cloves might also cause some haziness. While a slightly cloudy brine is usually harmless, ensuring your eggs are well-peeled and using filtered water can help maintain clarity.
Absolutely! Pickled eggs are incredibly versatile. You can add thinly sliced carrots, jalapeño rings, cauliflower florets, or even bell pepper strips to your jars for an extra burst of flavor and texture. Just make sure to blanch harder vegetables like carrots or cauliflower briefly before adding them to ensure they pickle properly and have a pleasant texture.
Expert Tips for Success:
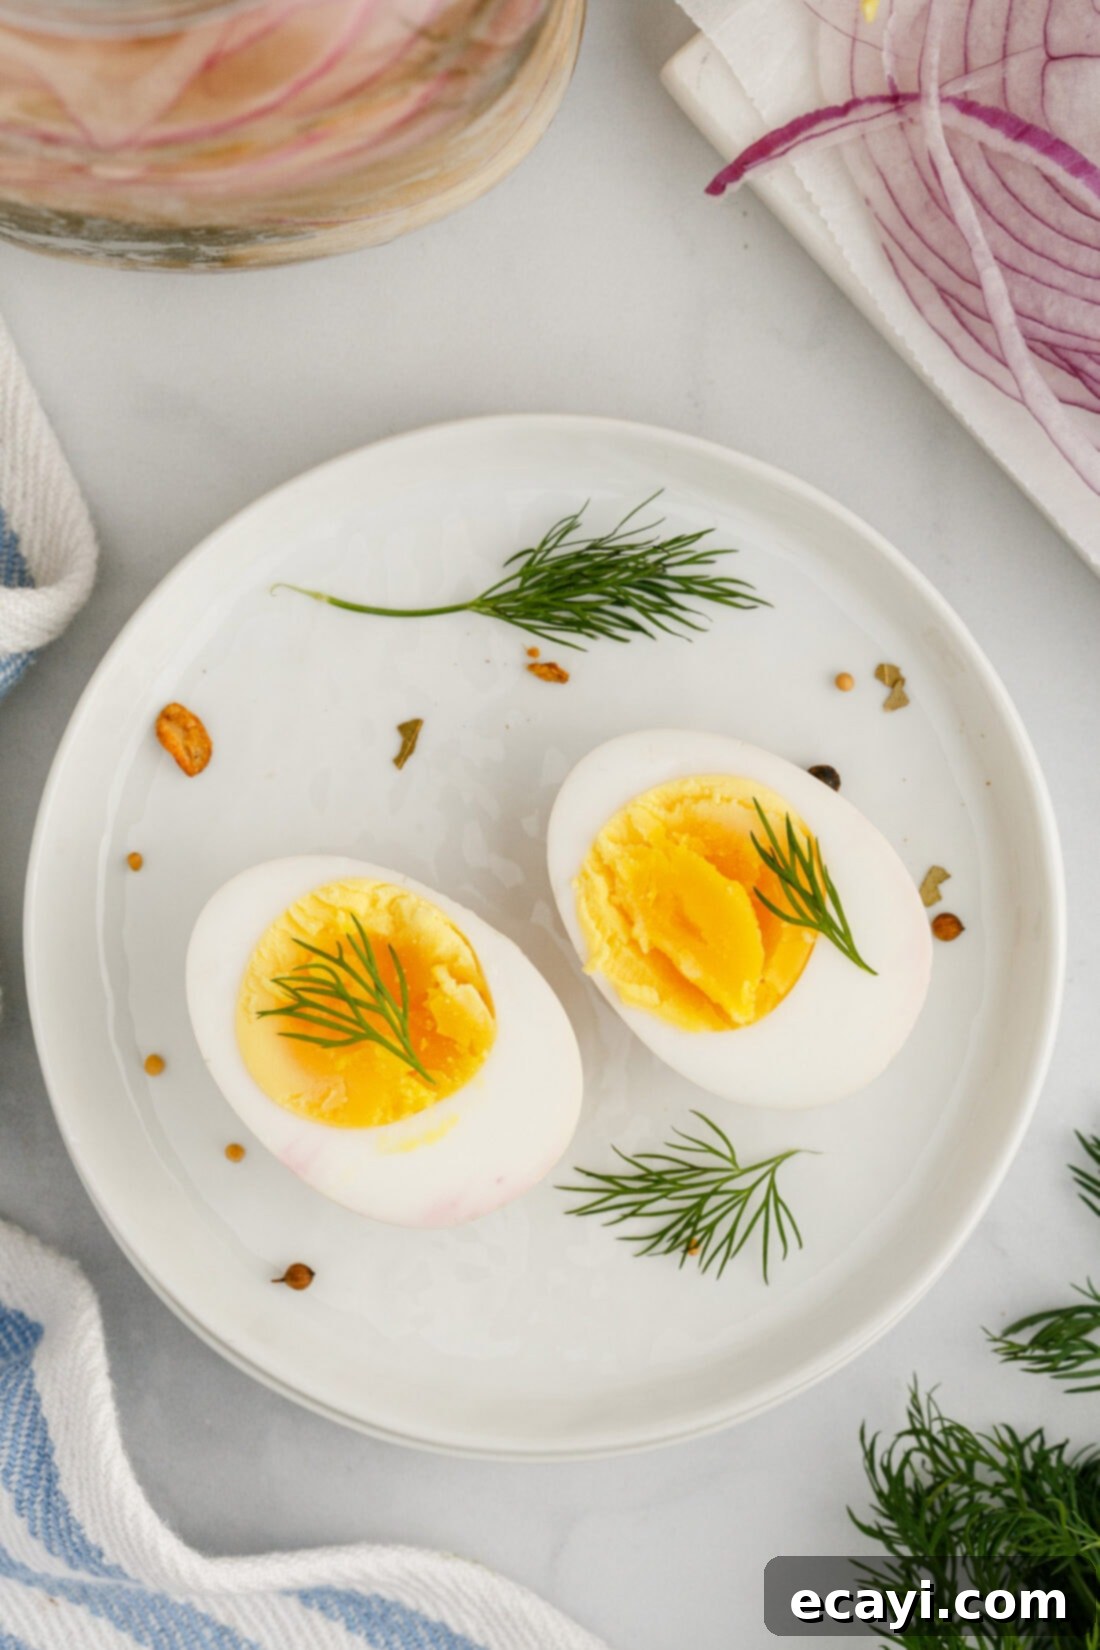
- Optimal Egg Doneness: The ideal hard-boiled egg for pickling has a firm white and a set, but not crumbly, yolk. Overcooked yolks can become grayish and less appealing. Refer to our detailed hard-boiling instructions to achieve this consistency.
- Patience is a Virtue: While waiting is hard, resist the urge to eat your pickled eggs too soon! The flavors deepen and meld beautifully over 5-7 days. Mark the date on your jar so you know when they’re at their peak.
- Keep Eggs Submerged: Ensure all eggs remain completely submerged in the brine. Any exposed portions are prone to spoilage. You can use a small, food-safe weight (like a clean, smaller jar or a fermentation weight) if needed to keep them down.
- Sterilize Your Jars: While these are refrigerator pickles and don’t require canning-level sterilization, it’s good practice to wash your jars and lids thoroughly with hot, soapy water and rinse well. You can also run them through a dishwasher on a hot cycle.
- Experiment with Spices: Don’t be afraid to customize your pickling spices! Add a pinch of red pepper flakes for heat, star anise for an exotic note, or mustard seeds for a sharper tang.
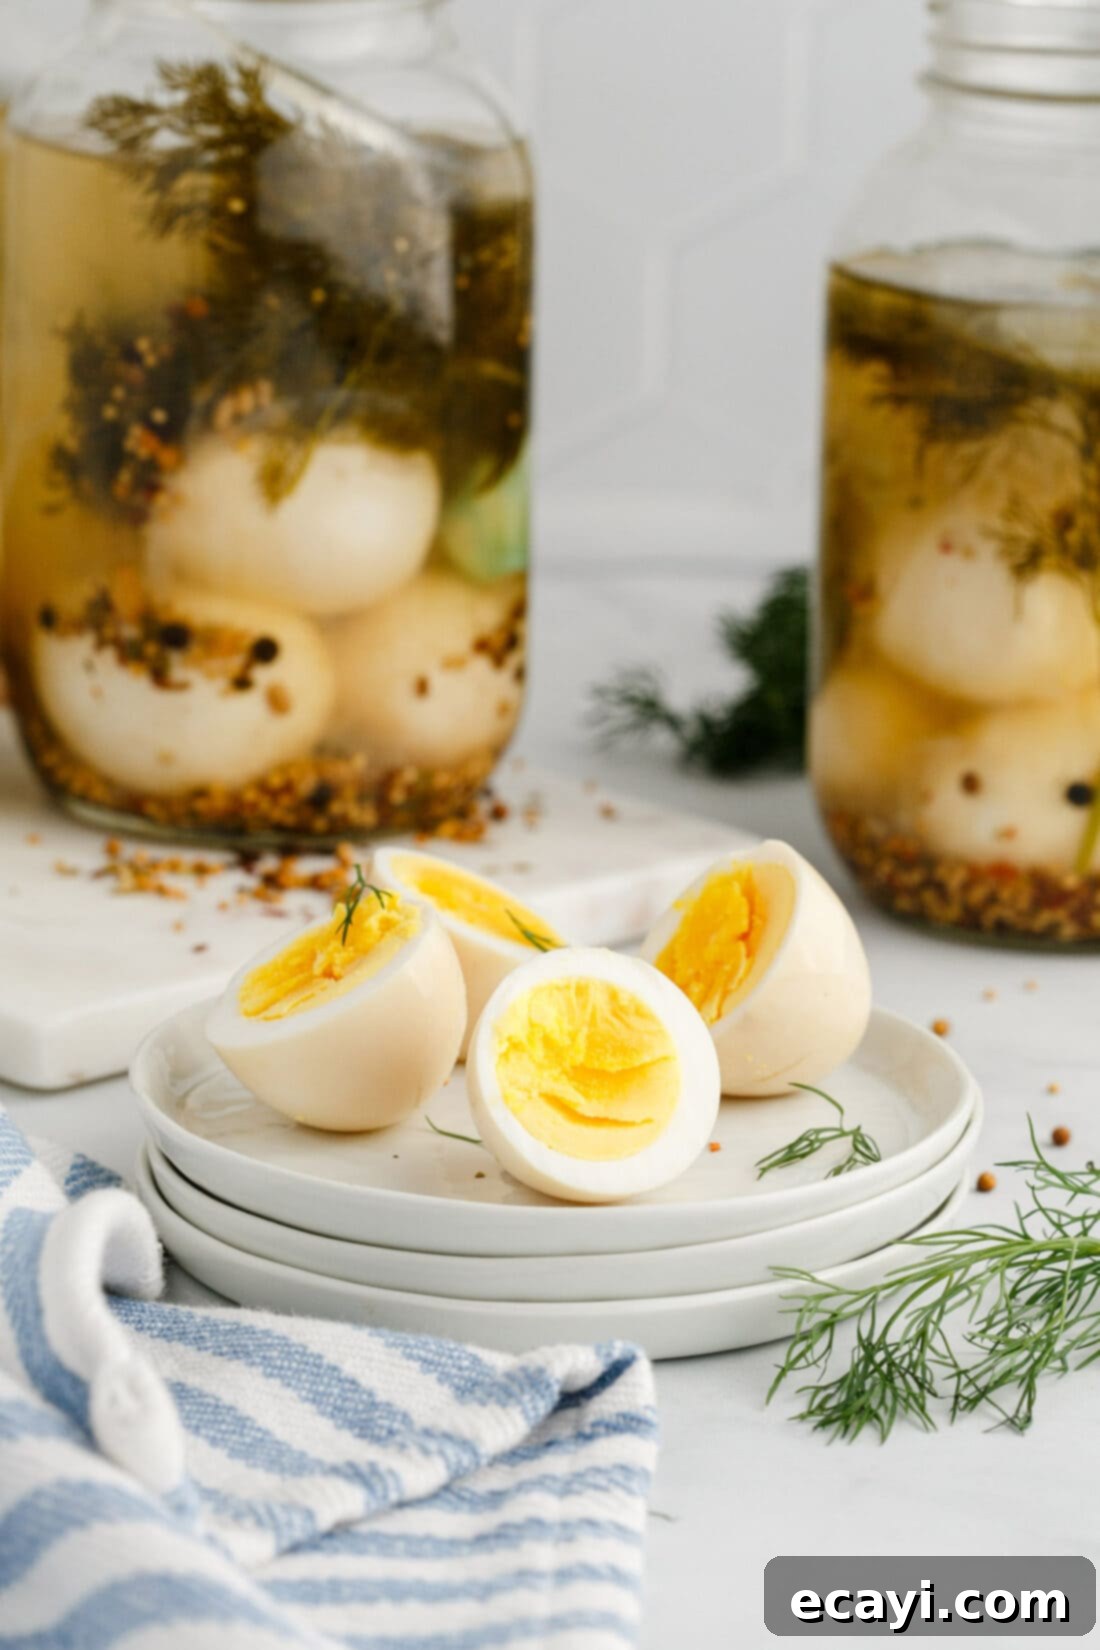
Creative Ways to Enjoy Your Pickled Eggs
Once your pickled eggs have reached peak flavor, the possibilities for enjoying them are endless! Here are some serving suggestions to inspire you:
- Classic Snack: The simplest and often best way to enjoy them is straight from the jar, sliced or whole, as a satisfying, protein-rich snack.
- Elevated Deviled Eggs: Take your deviled eggs to the next level by using pickled eggs! The tangy whites add an incredible depth of flavor that traditional deviled eggs lack. Check out our classic deviled eggs recipe for inspiration, and simply substitute your pickled whites.
- Salad Enhancer: Chop them up and sprinkle them over your favorite green salads, potato salads, or macaroni salads for a delightful burst of flavor and texture. They pair exceptionally well with a creamy dressing.
- Sandwiches and Wraps: Mash them lightly with a fork, add a touch of mayo and a sprinkle of fresh herbs, and use them as a filling for egg salad sandwiches or wraps. The pickle flavor eliminates the need for extra relish!
- Charcuterie Boards: Arrange whole or halved pickled eggs on a charcuterie or cheese board alongside cured meats, cheeses, crackers, and other pickled vegetables for an impressive and flavorful spread.
- Garnish for Soups and Stews: A halved or quartered pickled egg makes an excellent, unexpected garnish for hearty soups, chilis, or stews, adding a bright, acidic counterpoint.
- As a Side Dish: Serve them alongside grilled meats, fried chicken, or even a simple plate of roasted vegetables to cut through richness and add a refreshing tang.
Expand Your Pickling Horizons: More Tangy Recipes to Explore
If you’ve fallen in love with the art of pickling after trying these eggs, you’re in for a treat! The world of homemade preserves is vast and delicious. Here are some other fantastic pickling recipes to continue your culinary adventure:
- Pickled Beets: Earthy and sweet, these vibrant beets are a stunning addition to any meal.
- Quick Pickled Onions: Perfect for tacos, salads, or sandwiches, these add a bright, tangy crunch.
- Dilly Pickled Asparagus: A crisp and savory snack or appetizer, especially delicious in season.
- Homemade Claussen Pickles (Copycat): Recreate the beloved crunch and flavor of your favorite refrigerated dill pickles.
I absolutely adore spending time in the kitchen, experimenting with flavors, and sharing my culinary discoveries with all of you! Remembering to check back for new recipes can be tricky, which is why I offer a convenient newsletter delivered straight to your inbox every time a new recipe posts. Simply subscribe here and start receiving your free daily recipes to inspire your next delicious meal!
Pickled Eggs
IMPORTANT – There are often Frequently Asked Questions within the blog post that you may find helpful. Simply scroll back up to read them!
Print It
Pin It
Rate It
Save It
Saved!
Prevent your screen from going dark
Course:
Appetizer, Snack
Cuisine:
American
12
pickled eggs
20 minutes
100
Amanda Davis
Ingredients
-
12
hard boiled eggs
peeled -
6-8
sprigs
fresh dill -
2
cloves
garlic
whole and peeled -
2-4
bay leaves
depending on the size
Brine
-
3
cups
distilled white vinegar -
1 ½
cups
water -
1 ½
Tablespoons
coarse sea salt -
1
small-medium
onion
thinly sliced, about 1 cup -
2
Tablespoons
granulated white sugar -
2
Tablespoons
pickling spices
Things You’ll Need
-
two 34 ounce mason jars
two liters total -
Saucepan
Before You Begin
- You can enjoy these pickled eggs after 24 hours of chill time, however, we suggest letting them rest for 5-7 days to really absorb all the flavor from the brine.
- Hard boil and peel your eggs before beginning. Place the eggs on the bottom of a large saucepot and fill with cold water (you want about 1 inch of water covering the eggs). Heat on high until it reaches a roiling boil. Once boiling, turn off the heat on the burner and cover the saucepot with a lid. Allow the eggs to sit in the hot water for around 10-12 minutes, depending on how you like the yolk. Rinse with cold water, or let them sit in an ice bath for about 15 minutes before peeling.
- We used distilled white vinegar. You can substitute with apple cider vinegar if desired, this will add a little more sweetness to the brine.
- We have tested this recipe with both red onion and white onion, both work well. The red onion may tint the color of your brine after sitting for a few days in the refrigerator, but it will not affect the quality or taste.
- The sugar called for helps counteract the sharpness of the vinegar.
- If stored properly in an air-tight jar kept in the refrigerator, these pickled eggs will last for up to 3 months. These are refrigerator-pickled eggs, not canned pickled eggs, so they are not shelf-stable nor will they last for an extended period of time. This recipe must be refrigerated.
Instructions
-
Prep two 1-liter mason jars each with 6 peeled hard-boiled eggs, 3-4 sprigs of fresh dill, 1 whole peeled garlic clove, and 1-2 bay leaves depending on size, then prep your brine.
-
In a medium-small saucepan add all ingredients to make your brine and bring to boil. Once boiling, reduce the heat to low and allow it to simmer for about 10 minutes.
-
Carefully pour the brine evenly among each container. Note: you may want to spoon some of the onions and spices in individually to divide more evenly.
-
Allow them to cool with the lids on until they’re at room temperature, then store in the fridge for 5-7 days for best flavor.
Nutrition
Serving:
1
pickled egg
|
Calories:
100
cal
|
Carbohydrates:
3
g
|
Protein:
6
g
|
Fat:
5
g
|
Saturated Fat:
2
g
|
Polyunsaturated Fat:
1
g
|
Monounsaturated Fat:
2
g
|
Cholesterol:
187
mg
|
Sodium:
259
mg
|
Potassium:
78
mg
|
Fiber:
0.2
g
|
Sugar:
3
g
|
Vitamin A:
274
IU
|
Vitamin C:
1
mg
|
Calcium:
38
mg
|
Iron:
1
mg
Tried this Recipe? Pin it for Later!
Follow on Pinterest @AmandasCookin or tag #AmandasCookin!
The recipes on this blog are tested with a conventional gas oven and gas stovetop. It’s important to note that some ovens, especially as they age, can cook and bake inconsistently. Using an inexpensive oven thermometer can assure you that your oven is truly heating to the proper temperature. If you use a toaster oven or countertop oven, please keep in mind that they may not distribute heat the same as a conventional full sized oven and you may need to adjust your cooking/baking times. In the case of recipes made with a pressure cooker, air fryer, slow cooker, or other appliance, a link to the appliances we use is listed within each respective recipe. For baking recipes where measurements are given by weight, please note that results may not be the same if cups are used instead, and we can’t guarantee success with that method.
