Quick & Decadent Chocolate Mug Cake: Your Ultimate Single-Serve Microwave Treat (Plus Jar Mix Gift Idea!)
Craving something sweet but don’t want the commitment of baking an entire cake? Say hello to your new favorite dessert: the single-serving chocolate mug cake! This delightful treat is not only incredibly easy to make but also promises a warm, gooey, chocolatey experience in just minutes, all thanks to the magic of your microwave. Perfect for satisfying those late-night cravings or a quick afternoon pick-me-up, this recipe is a game-changer for anyone who loves instant gratification without the fuss.
Why This Chocolate Mug Cake Recipe is a Must-Try
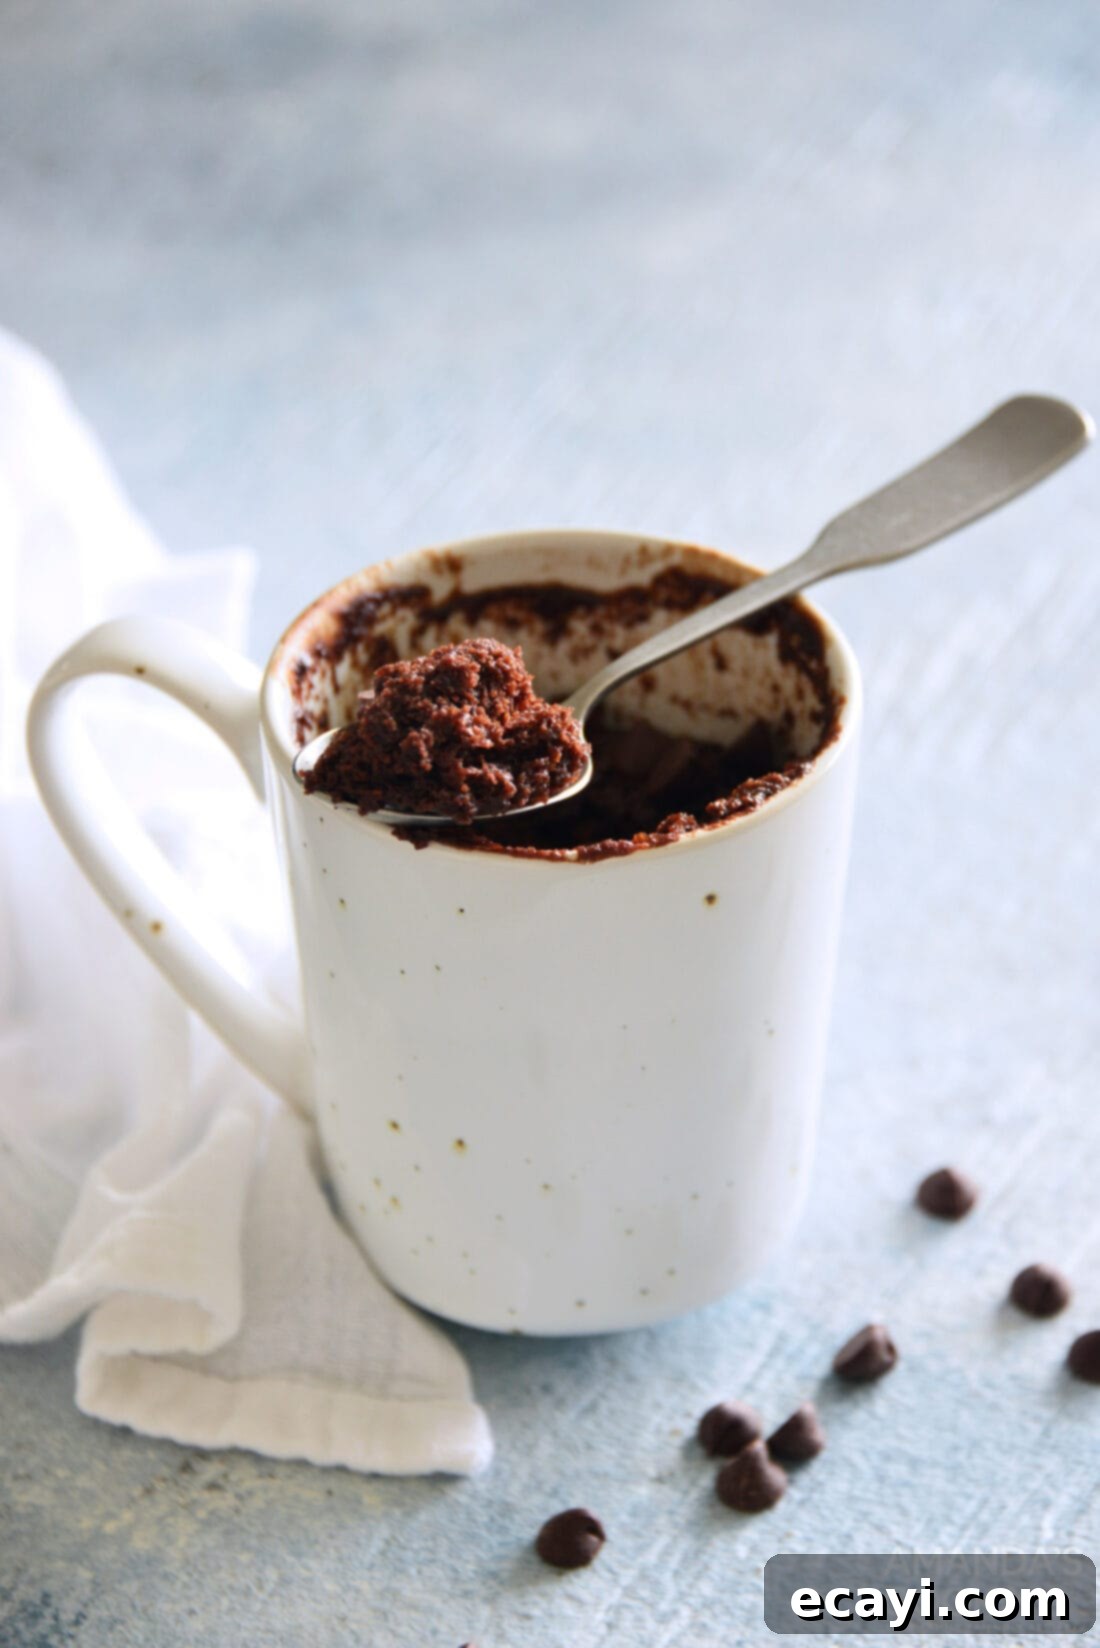
There are countless reasons why this chocolate mug cake stands out as the ultimate dessert solution. Firstly, it perfectly addresses the age-old dilemma of portion control. With a full-sized cake, it’s all too easy to indulge in “just one more slice.” This single-serve recipe eliminates that temptation, allowing you to enjoy a perfectly portioned, delicious treat without the guilt. It’s a wonderful way to satisfy your sweet tooth without going overboard.
Beyond portion control, convenience is king. This isn’t a boxed mix mug cake; it’s made from scratch with simple pantry ingredients, ensuring a homemade taste and texture that truly shines. The microwave handles the baking, transforming a few basic ingredients into a rich, moist cake in less than two minutes. This rapid preparation makes it ideal for busy weekdays, spontaneous dessert desires, or when you simply don’t have time for traditional baking. We’ll also show you how to create a pre-made “mug cake in a jar” mix, turning this quick treat into a fantastic, thoughtful gift for friends, family, or even yourself, ready to be whipped up at a moment’s notice.
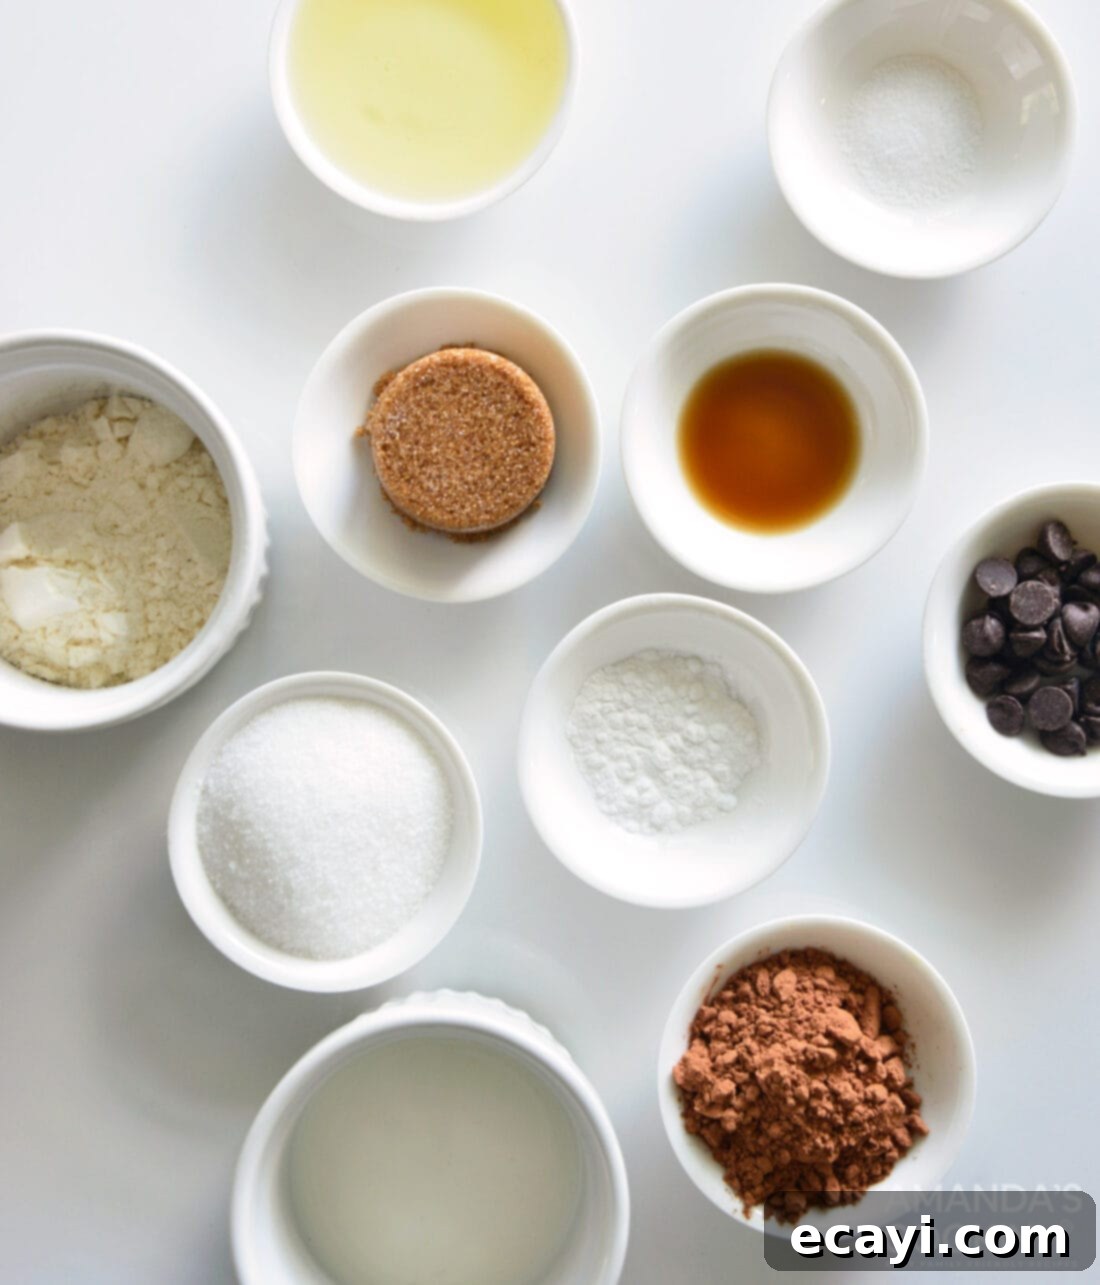
Essential Ingredients for Your Perfect Chocolate Mug Cake
Creating this delightful microwave chocolate mug cake requires just a handful of common pantry staples. While the full measurements and detailed instructions are available in the printable recipe card at the end of this post, let’s dive into the specifics of each ingredient and why it plays a crucial role in achieving that perfect cake.
FLOUR: Our recipe calls for **all-purpose flour**, which provides the foundational structure for the cake. It’s important for creating a light yet stable crumb. We’ve primarily tested this recipe with standard plain flour, yielding consistent and delicious results. If you’re looking to experiment with alternatives like gluten-free flour blends, please note that results may vary, and we encourage you to share your findings! Different flours absorb liquids differently, so minor adjustments to the liquid content might be necessary.
FAT: For moisture and richness, we use oil. **Canola oil** and **avocado oil** have been successfully tested and are highly recommended due to their neutral flavor profiles that won’t overshadow the chocolate. Other neutral-flavored oils such as **vegetable oil** or even **melted coconut oil** (ensure it’s liquid when measuring) would also work beautifully. While olive oil could be used, choose a light variety to avoid a strong, savory undertone in your sweet cake.
CHOCOLATE: The star of the show! For the deep, rich chocolate flavor, we rely on **unsweetened cocoa powder**. It’s vital to use regular unsweetened cocoa powder, *not* Dutch-processed cocoa. Dutch-processed cocoa has been treated to reduce its acidity, which affects how it reacts with baking powder. Our recipe is balanced for the acidity of natural cocoa powder, ensuring proper leavening and the correct texture. For an extra burst of chocolatey goodness and a delightful textural contrast, we love sprinkling **chocolate chips** over the top of the warm cake. They melt slightly, creating a luscious finish.
SUGAR: A combination of both **granulated white sugar** and **lightly packed brown sugar** provides the perfect balance of sweetness and moisture. White sugar contributes to the crispness of the cake’s edges and overall sweetness, while brown sugar adds a delightful depth of flavor, caramel notes, and extra moisture, resulting in a softer, chewier texture.
LEAVENING AGENT: **Baking powder** is essential for giving the mug cake its rise and light, airy texture. Ensure your baking powder is fresh for the best results, as expired leavening agents can lead to a dense or flat cake.
SALT: Just a pinch of **salt** enhances all the other flavors, especially the chocolate, making it taste even richer and more complex. Don’t skip it!
LIQUID: **Milk** binds all the ingredients together to form a smooth batter. For dairy-free alternatives, unsweetened almond milk or other nut milks work wonderfully, allowing you to easily adjust this recipe to suit dietary needs.
FLAVOR: A touch of **vanilla extract** complements the chocolate beautifully, adding a subtle warmth and complexity that elevates the overall flavor profile of the cake.
How to Make Chocolate Mug Cake from Scratch
These step-by-step photos and instructions are here to help you visualize how to make this recipe perfectly. For a concise, printable version of this recipe, complete with exact measurements and detailed instructions, simply Jump to Recipe at the bottom of this post.
For a Single Mug:
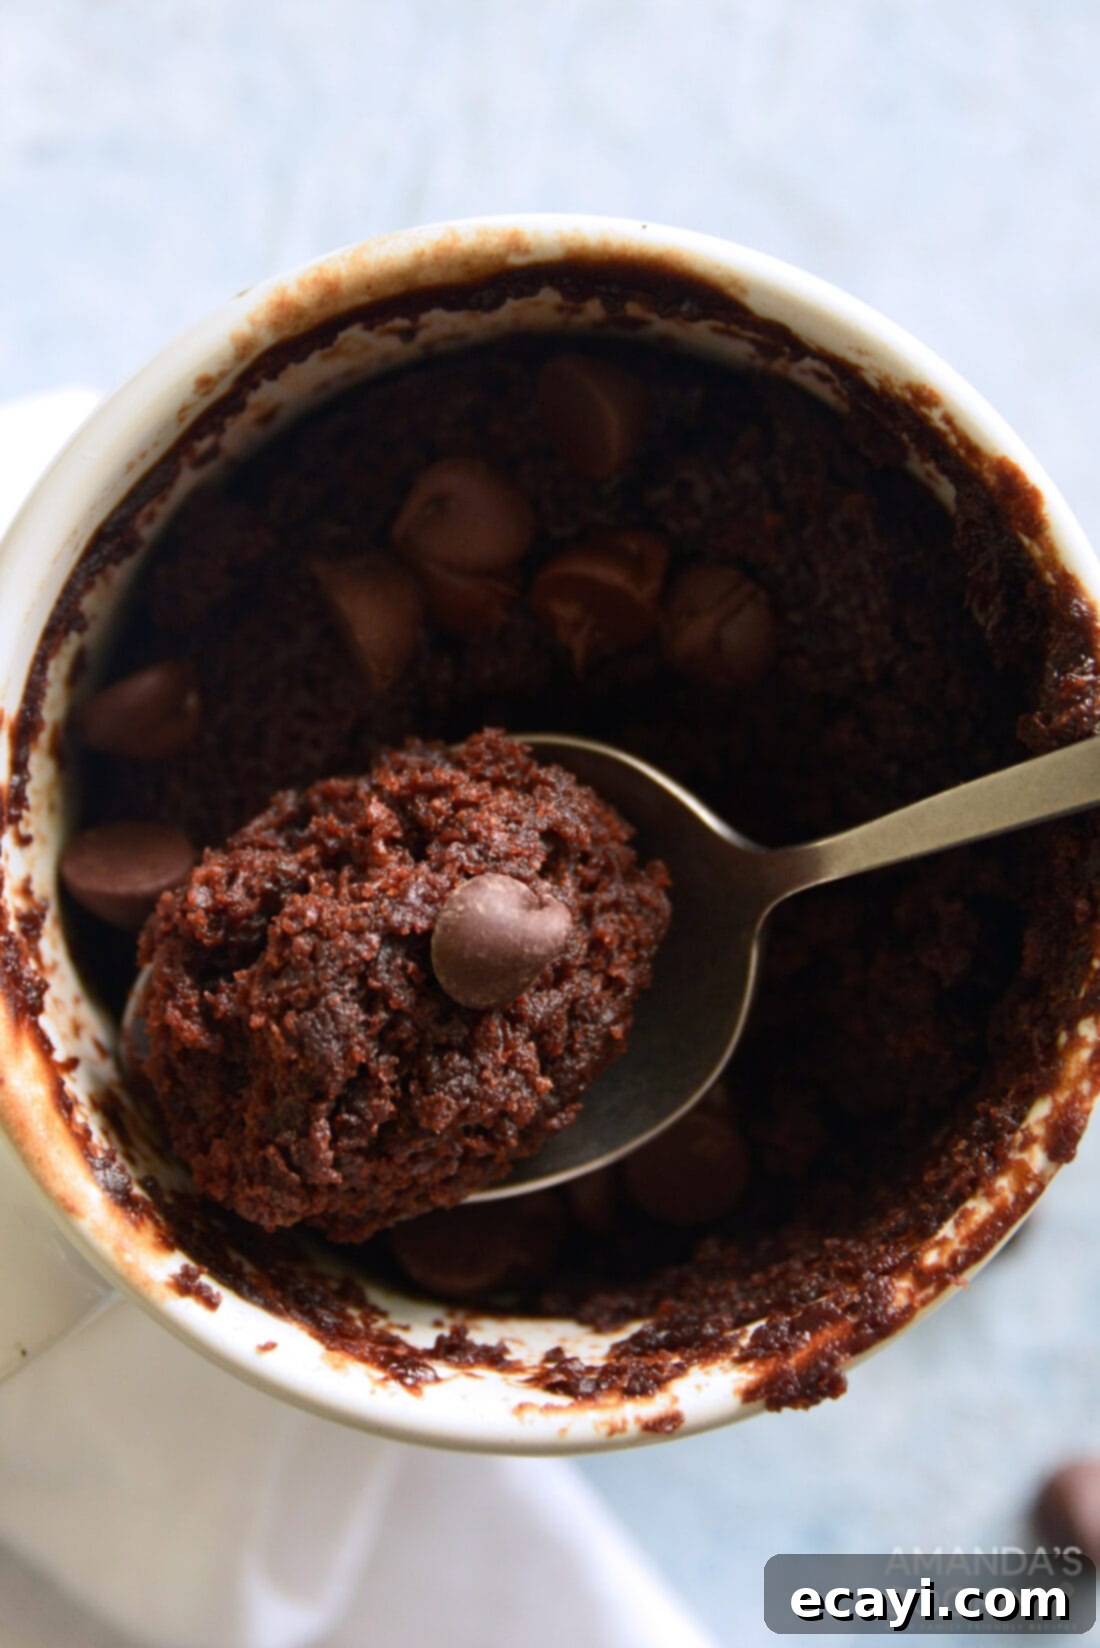
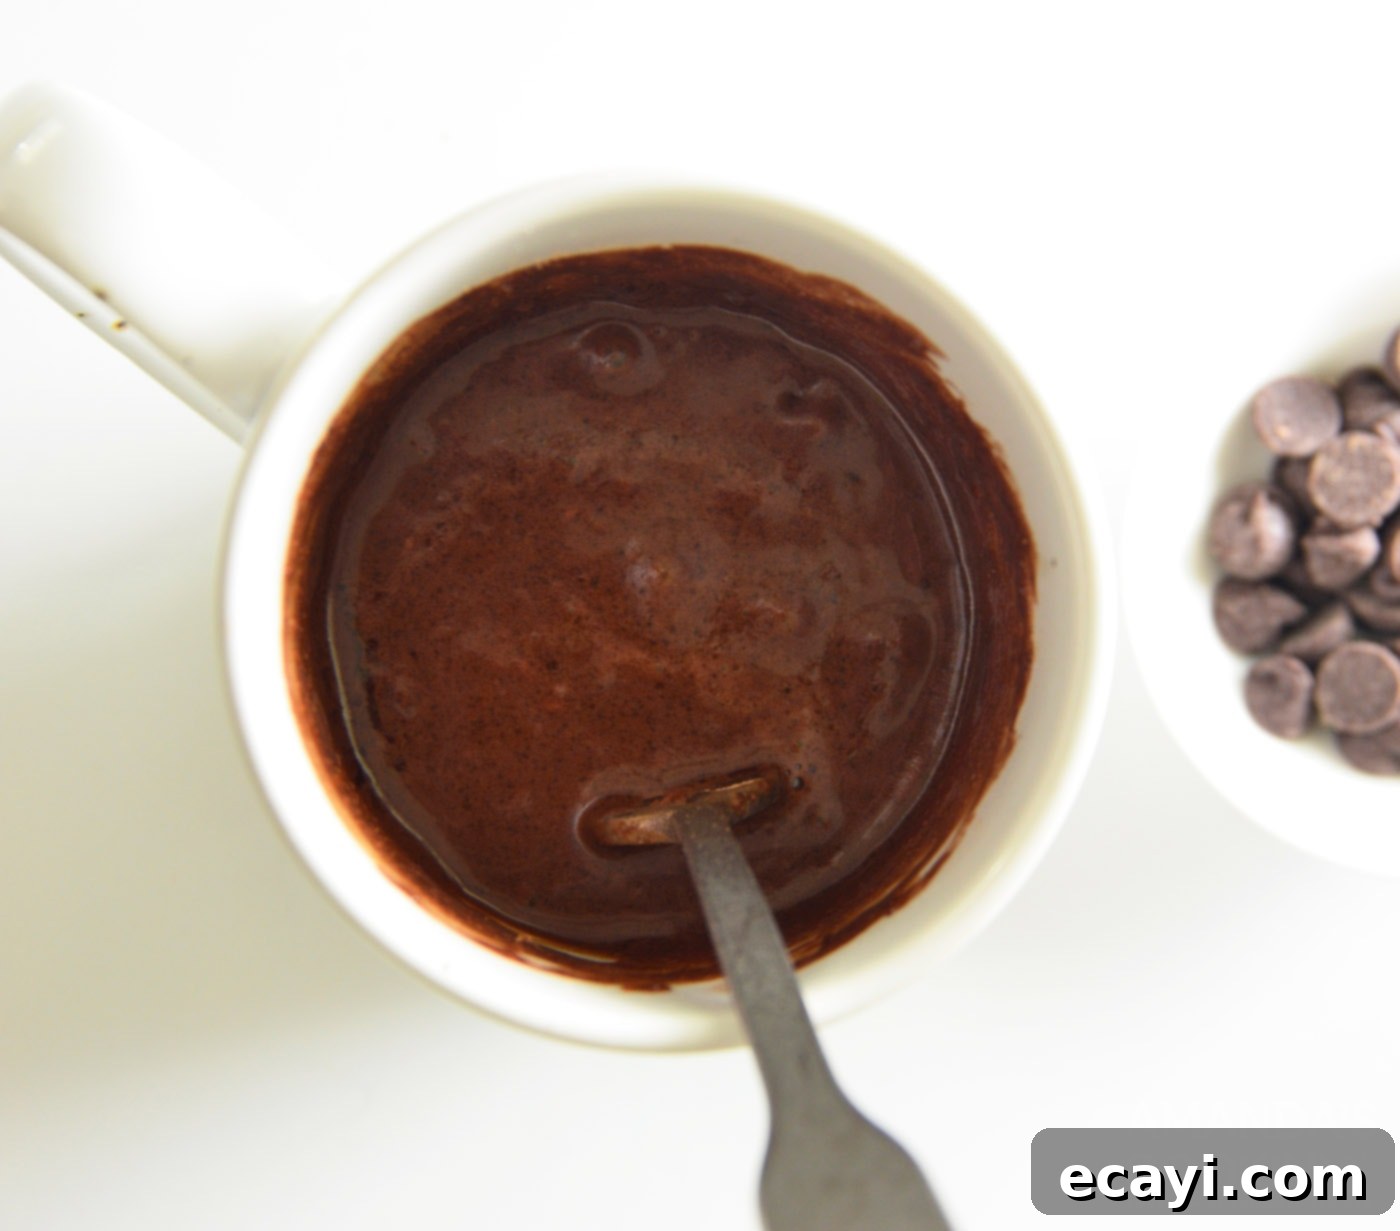
- Combine Dry and Wet Ingredients: In a 10 to 12-ounce microwave-safe mug, add all your dry ingredients first: flour, white sugar, brown sugar, unsweetened cocoa powder, baking powder, and salt. Give them a quick stir with a fork to ensure they are well combined. Then, add the milk, oil, and vanilla extract. Using a fork, stir everything together thoroughly until the batter is smooth and no dry streaks of flour remain. Be careful not to overmix; just combine until uniform.
- Microwave to Perfection: Place your mug in the microwave and cook on high for approximately 1 minute 30 seconds. A crucial step to prevent overflow: midway through cooking (around the 45-second mark), briefly pause the microwave and open the door. This allows any rising batter to settle slightly before continuing. Close the door and resume cooking. When done, the cake should appear set, though it will still be very moist. Some microwaves may require slightly more or less time.
EXPERT TIP: Microwave wattages vary significantly, which directly impacts cooking time. If your cake seems undercooked after 1 minute 30 seconds, continue microwaving in short 15-second increments until it reaches your desired doneness. The top should look just set, and a toothpick inserted into the center might come out with a few moist crumbs, but not wet batter.
- Serve and Enjoy: Carefully remove the hot mug from the microwave. If desired, sprinkle a tablespoon of chocolate chips over the warm cake; they’ll melt slightly into a luscious topping. Serve immediately while still warm for the best experience.
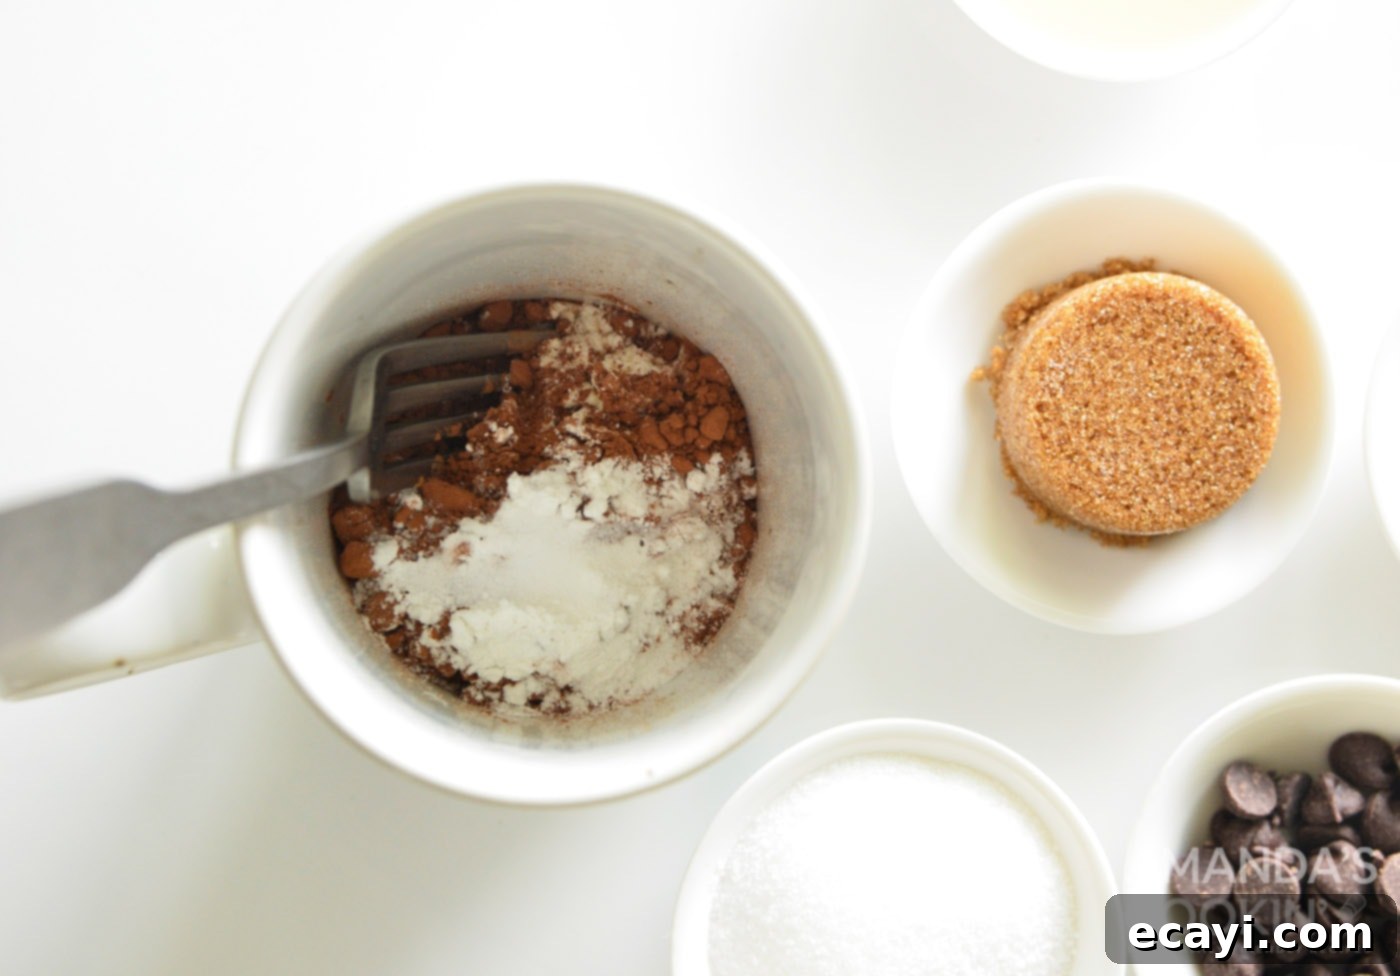
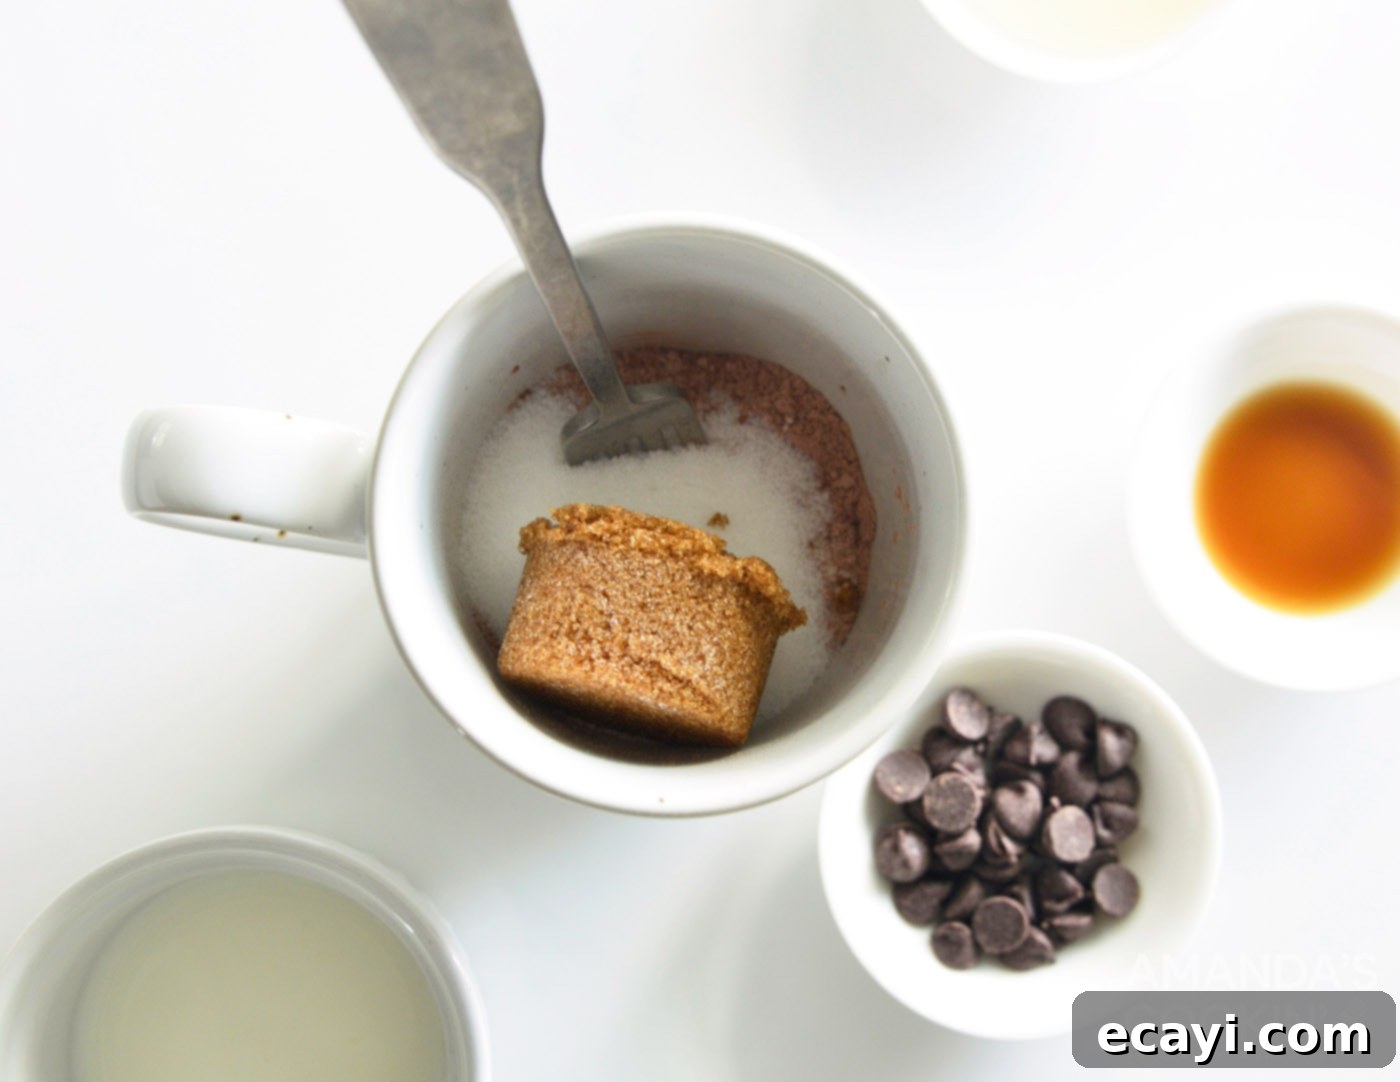
Delicious Topping Ideas for Your Mug Cake
While chocolate chips are an easy and classic choice, melting beautifully over the hot cake, the possibilities for customizing your chocolate mug cake are endless! Here are some fantastic ideas to elevate your single-serve dessert:
- Vanilla Ice Cream: A scoop of creamy vanilla ice cream melting into the warm chocolate cake is pure bliss. The contrast in temperature and flavor is unbeatable.
- Nutella: For an extra hazelnut-chocolate kick, dollop a spoonful of Nutella on top. It will soften and swirl into the cake.
- Peanut Butter: A swirl of creamy peanut butter provides a delicious salty-sweet complement to the rich chocolate. Perfect for peanut butter cup lovers!
- Caramel Sauce: Drizzle warm caramel sauce for a decadent, gooey treat. A sprinkle of sea salt can take this combination to the next level.
- Whipped Cream: A generous dollop of freshly whipped cream adds a light, airy texture and a touch of elegance. You can even add a few sprinkles for a festive touch.
- Fresh Berries: A handful of raspberries, strawberries, or blueberries can add a lovely tartness and freshness, balancing the richness of the chocolate.
- Powdered Sugar: A simple dusting of powdered sugar offers a classic finish and a touch of sweetness without overwhelming the cake.
- Mini Marshmallows: Sprinkle some mini marshmallows on top during the last 30 seconds of microwaving or immediately after for a molten, toasty addition reminiscent of s’mores.
How to Create a 32 oz Mug Cake Mix Jar for Gifts or Easy Access
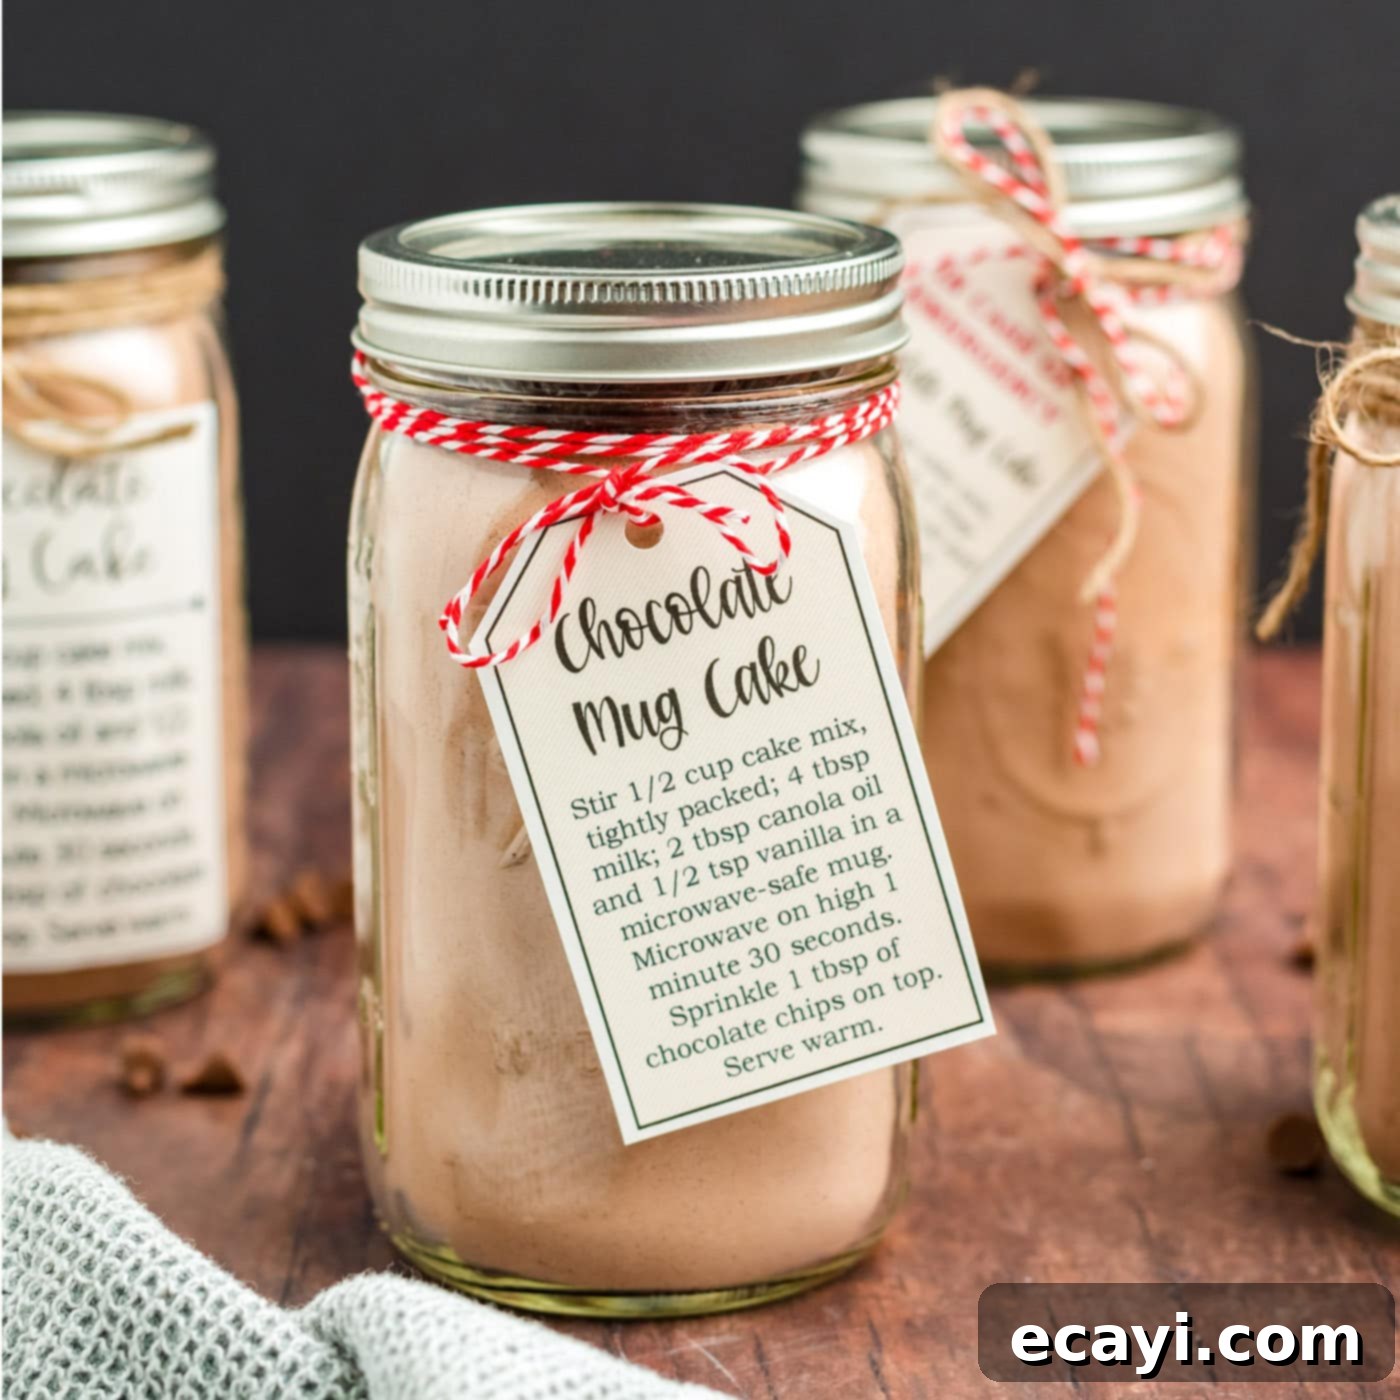
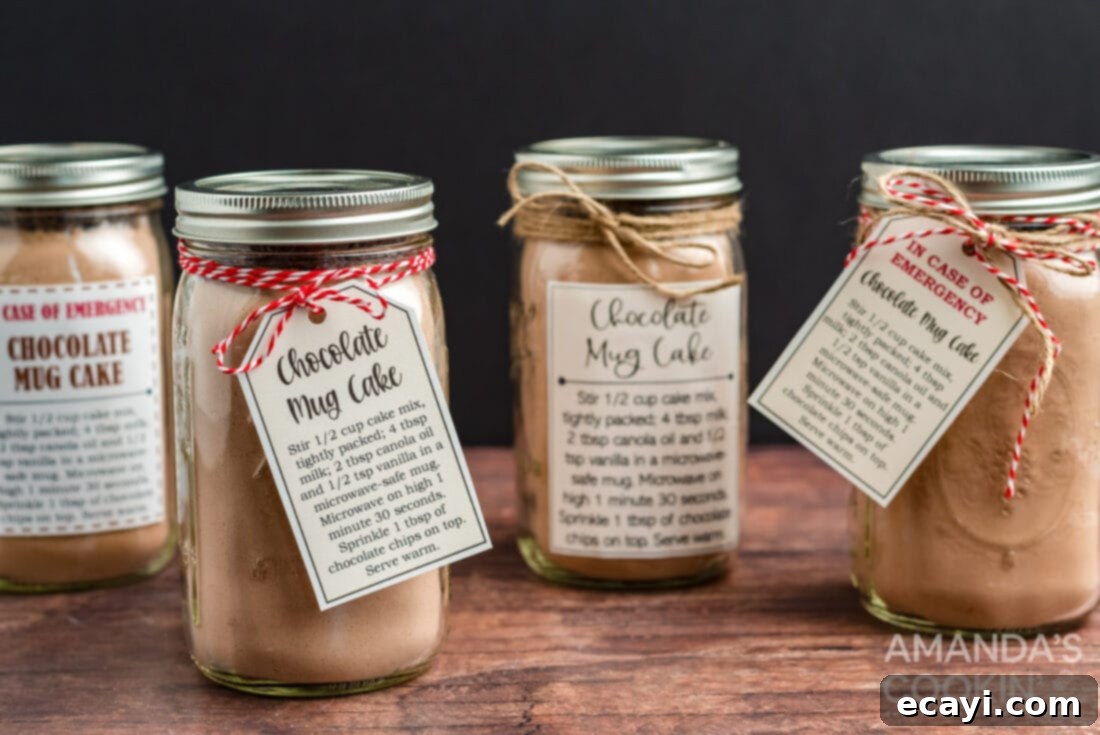
One of the best features of this chocolate mug cake recipe is its versatility, especially when it comes to making it into a convenient mix-in-a-jar. Preparing a jar of this dry mix from scratch is a brilliant way to ensure you always have a quick and easy treat at your fingertips. More importantly, it transforms into an incredibly thoughtful and charming gift! Imagine giving a personalized jar for Mother’s Day, Valentine’s Day, Christmas, birthdays, teacher appreciation, or as a simple ‘thank you’ gesture. It’s a gift of instant comfort and deliciousness!
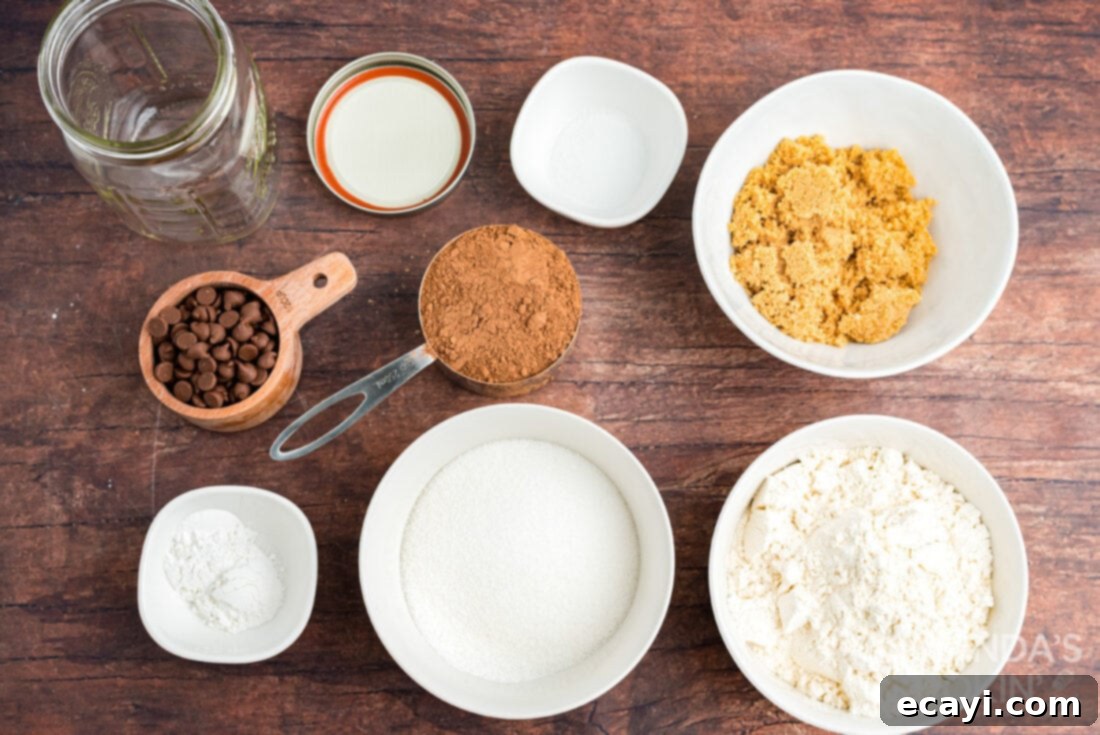
To prepare this amazing gift or pantry staple, you’ll need to scale up the single-serve quantities. Don’t worry, we’ve done the math for you! Here’s what you’ll need for a 32-ounce jar:
- 2 cups all-purpose flour
- 1 cup granulated sugar
- 1 cup brown sugar, lightly packed
- 1 cup unsweetened cocoa powder
- 4 teaspoons baking powder
- 1 teaspoon salt
- 1/2 cup chocolate chips
- Combine Dry Ingredients: In a large bowl, whisk together all the dry ingredients – that’s the flour, both sugars, cocoa powder, baking powder, and salt. Make sure they are thoroughly combined to ensure even flavor distribution in every mug cake. Once mixed, carefully pour the dry cake mix into a 32-ounce wide-mouth mason jar. You might need to gently tap the jar on your counter a few times to settle the mix and create space.
- Add Chocolate Chips and Seal: Place the 1/2 cup of chocolate chips into a small, foldable sandwich bag (avoid zipper bags as they tend to be too bulky and won’t fit neatly into the jar). Secure the bag with a twist tie. Gently nestle this bag of chocolate chips on top of the cake mix in the jar. Press down firmly to compact the mix as much as possible, creating a snug fit. Finally, add the lid and screw it on tightly. Store your beautiful mug cake jar in a cool, dry place, such as your pantry, where it will stay fresh for several months.
- How to Make a Mug Cake from Your Jar Mix: To enjoy a mug cake from your pre-made jar, simply measure out 1/2 cup of the tightly packed cake mix into your favorite microwave-safe mug. To this, add 4 tablespoons of milk, 2 tablespoons of oil, and 1/2 teaspoon of vanilla extract. Stir these wet ingredients into the dry mix with a fork until everything is completely combined and forms a smooth batter.
- Microwave and Enjoy: Microwave the mug cake on high for approximately 1 minute 30 seconds. Remember to pause halfway through cooking and open the microwave door to prevent the cake from overflowing. This allows the rising batter to settle slightly before continuing to cook.
- Optional Topping: If desired, sprinkle a tablespoon of the reserved chocolate chips (from the small bag in the jar) on top of the warm cake. Serve immediately and savor your homemade, instant treat!
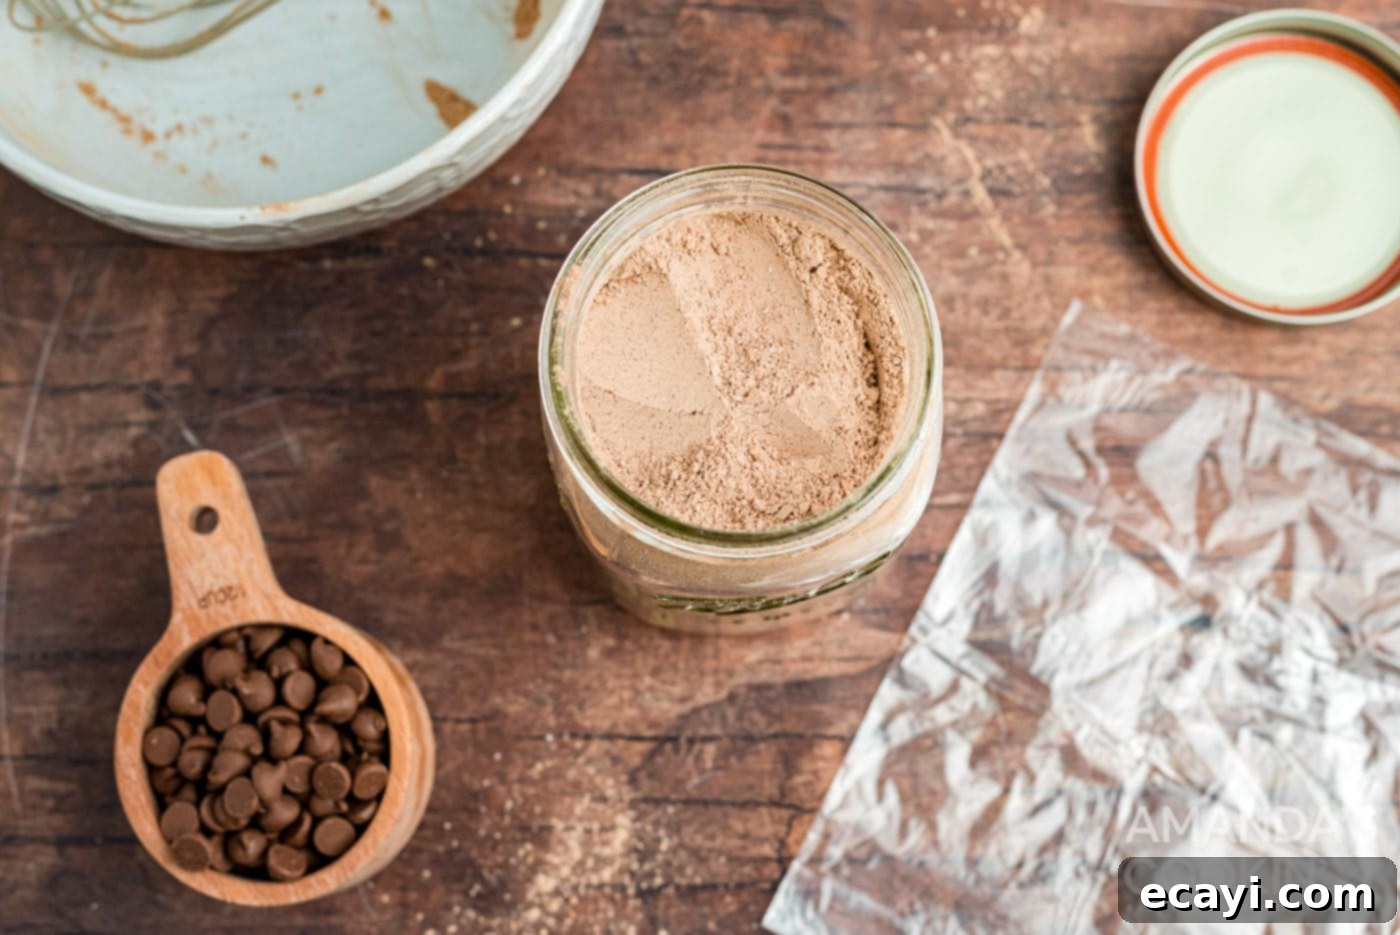
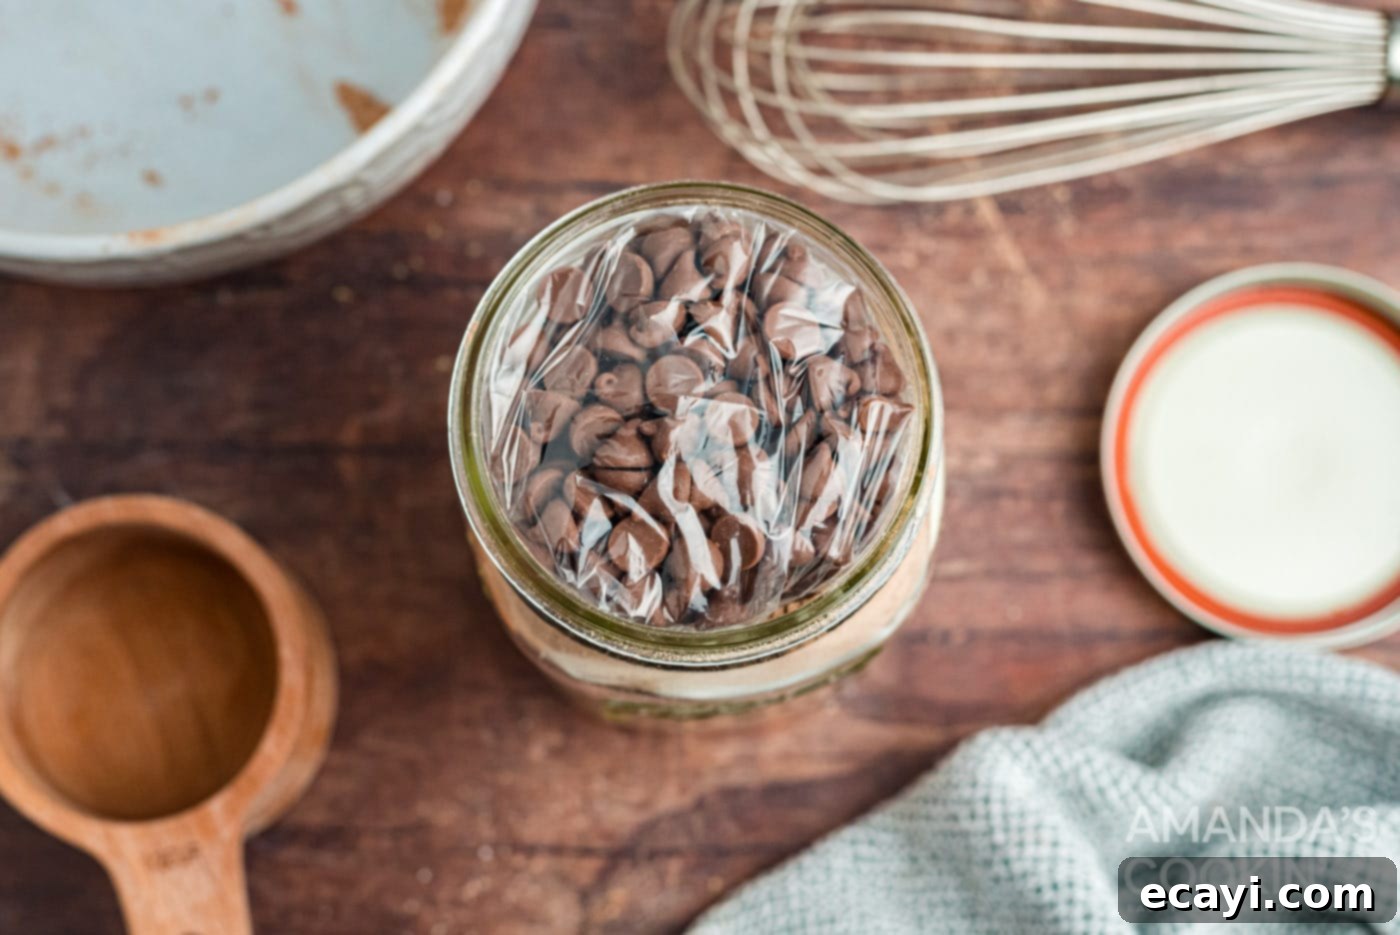
EXPERT TIP: If you find it challenging to make enough room for the chocolate chips inside the jar, you have a couple of options. You can remove about 1/2 cup of the prepared dry mix and immediately make yourself a delicious mug of chocolate cake! Alternatively, you can place the chocolate chips into a small cellophane bag, tie it shut with some ribbon or twine, and then tie it decoratively around the rim of the mason jar. This adds a charming touch, especially for gifts.
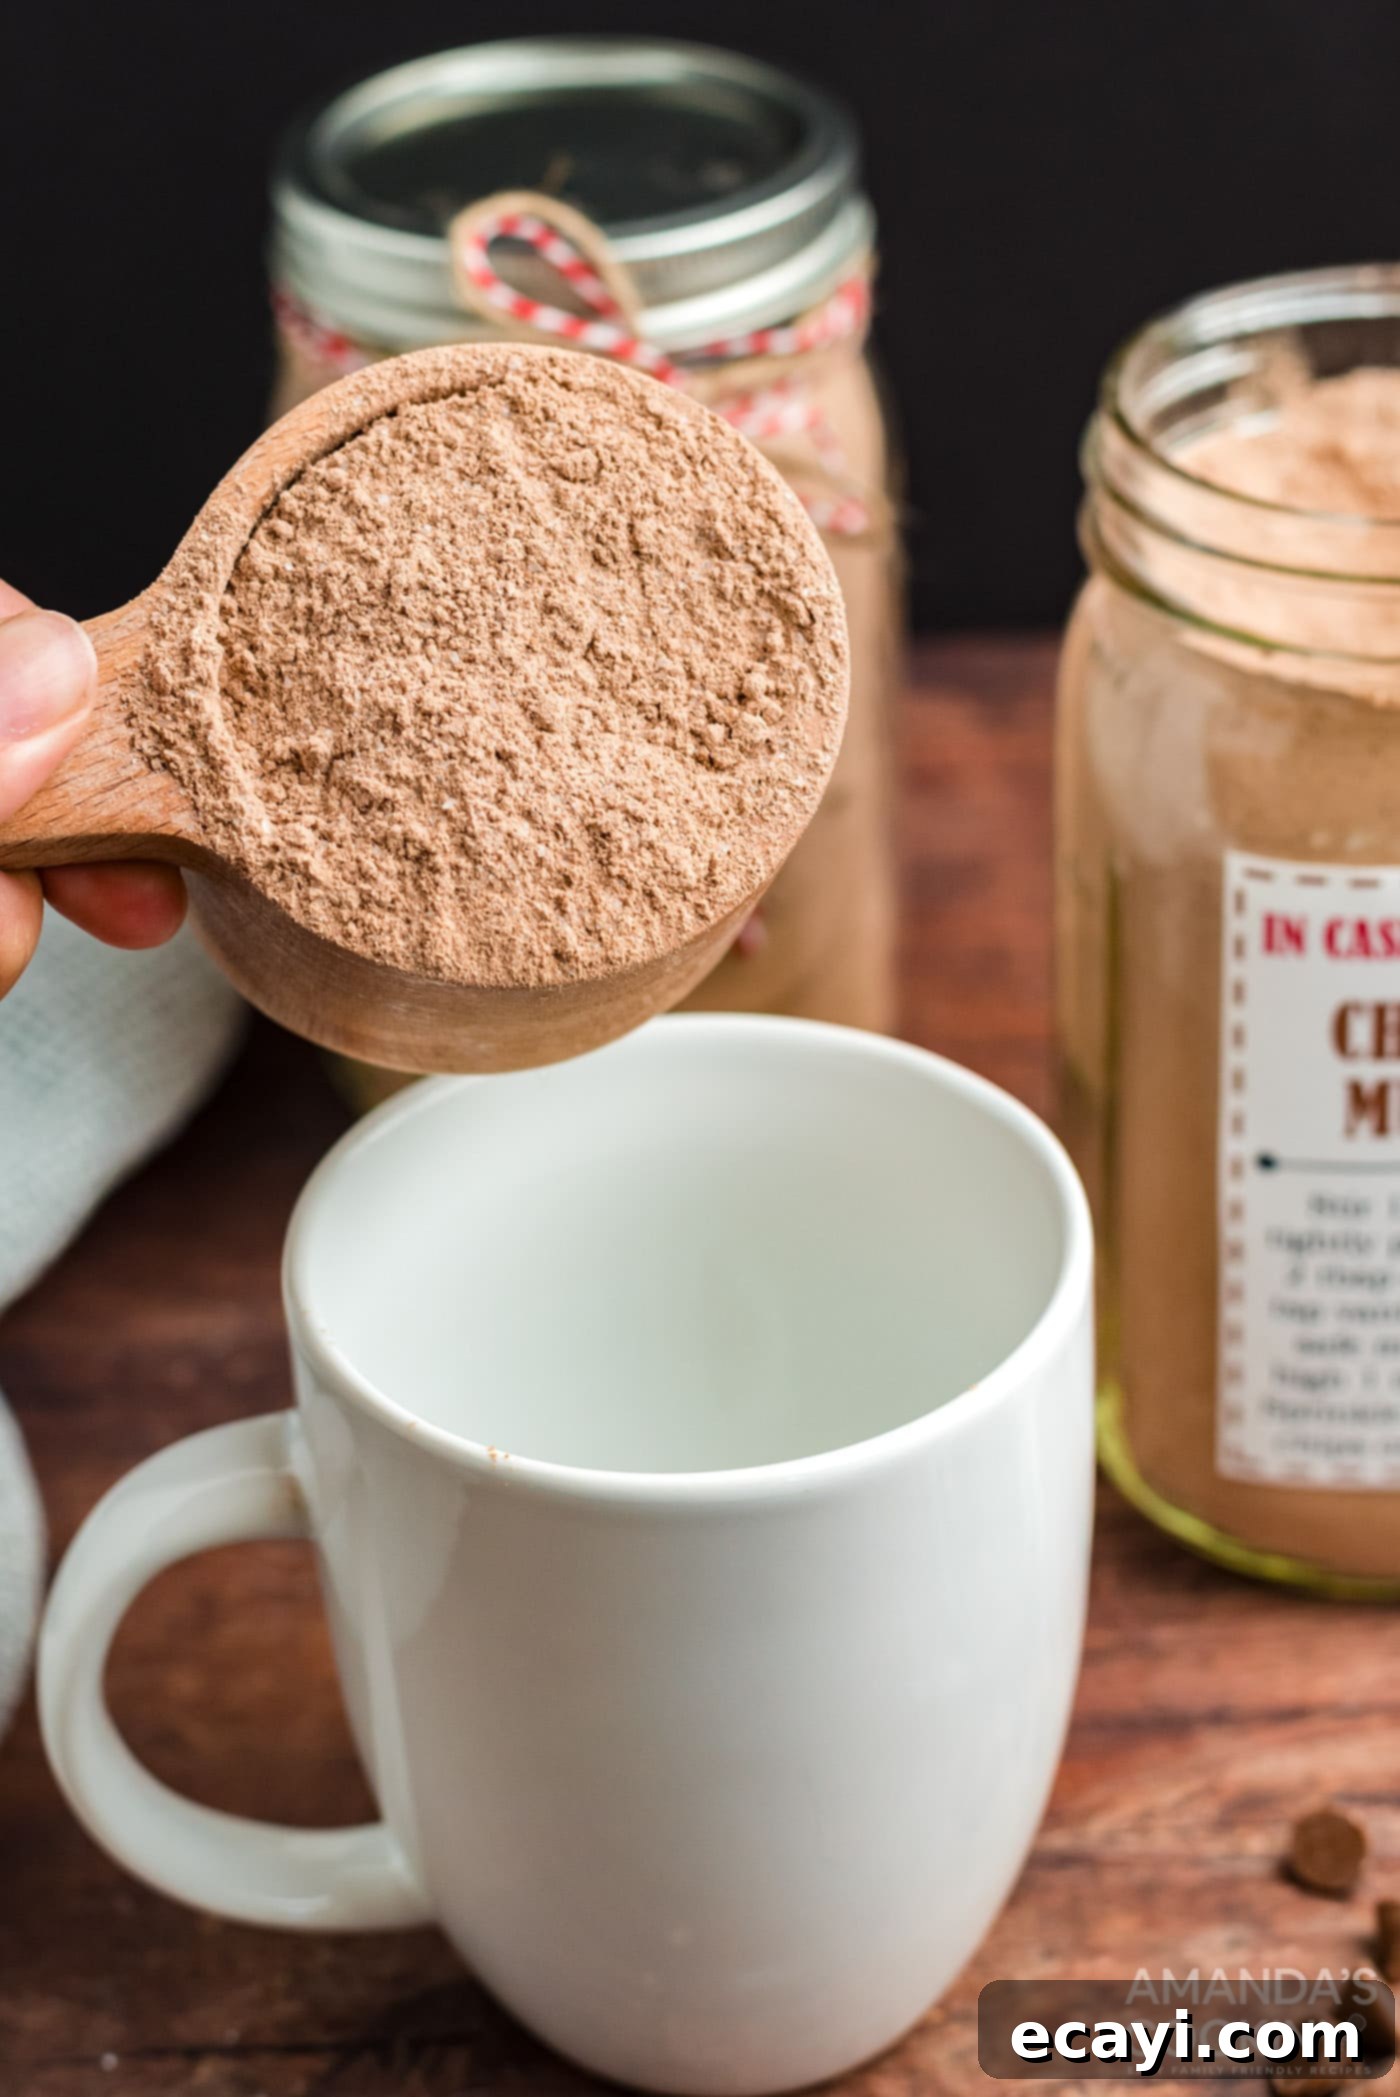
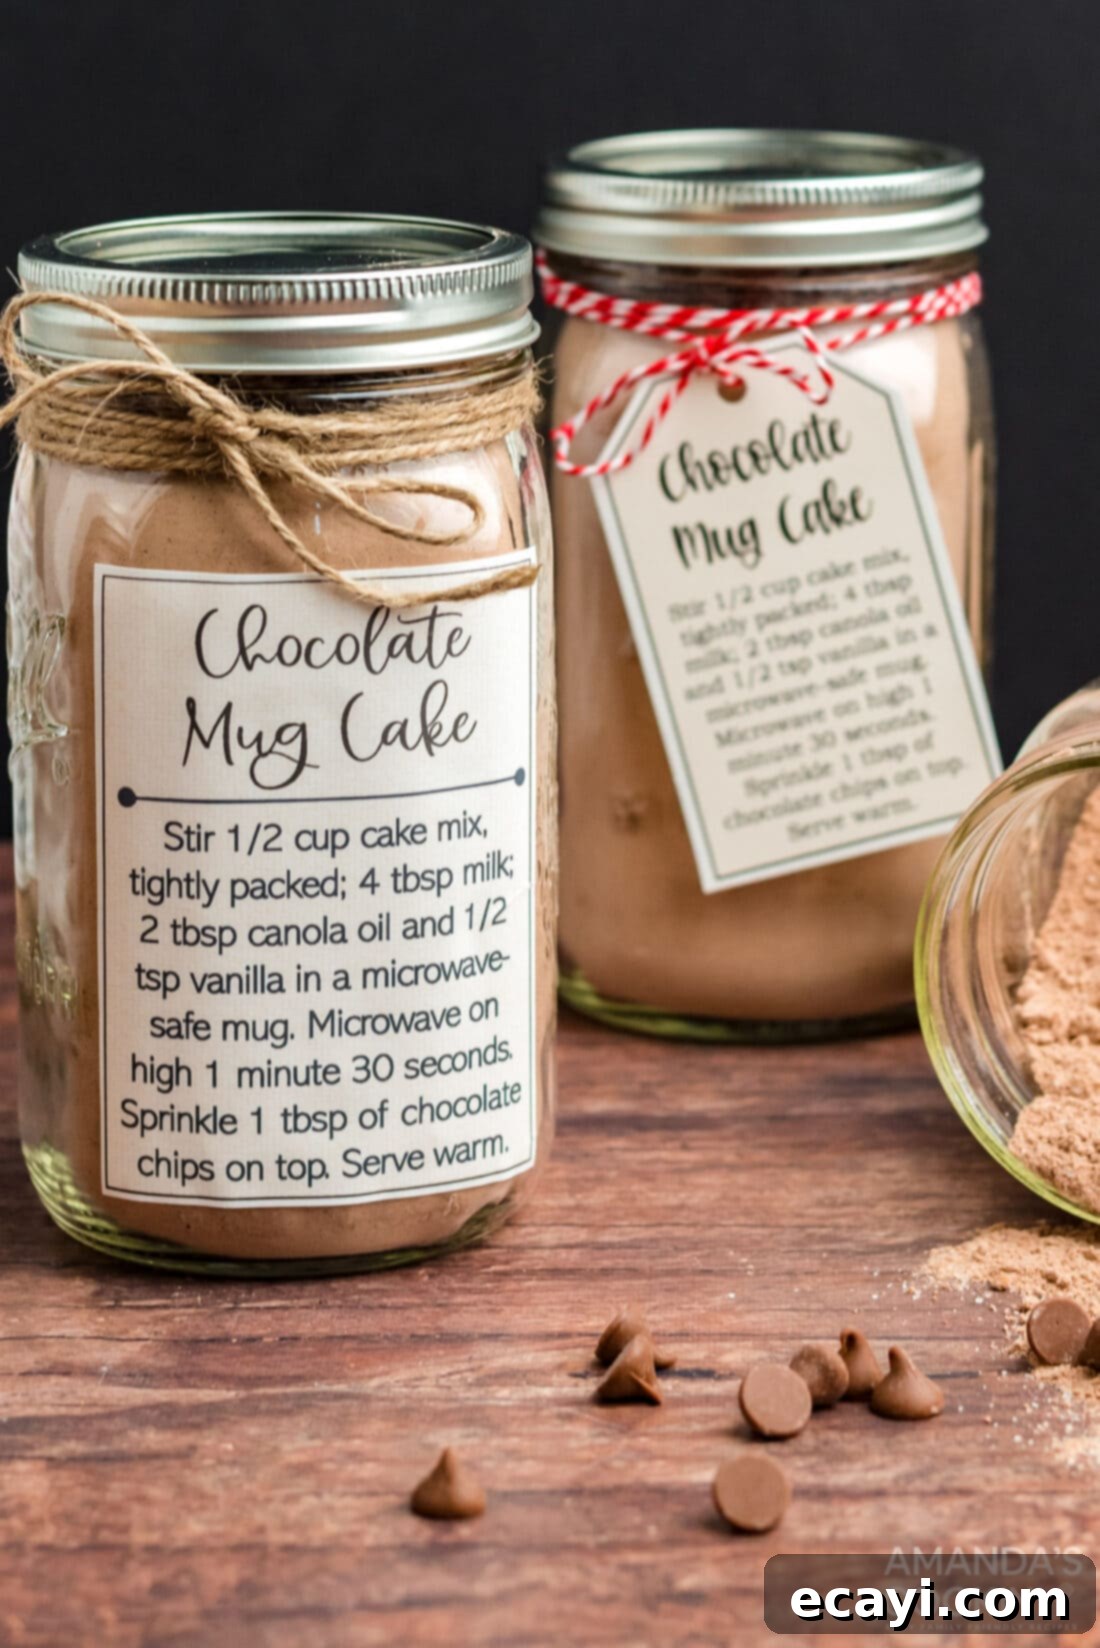
To Give as a Gift – FREE Printable Tags and Labels!
Making a mug cake jar is a wonderful, personal gift that shows you care. To make your gift-giving even easier and more charming, we’ve created some super fun and absolutely free printable jar labels and tags! These printables will add a professional and adorable touch to your homemade gift. For the jar labels, we recommend using this sticker paper, which makes application a breeze. For the tags, you can attach them elegantly to the jars using natural materials like jute twine or playful baker’s twine. These small details make a big impact, transforming a simple jar of mix into a beautifully presented present.
You can download the labels and tags below and start crafting your perfect gifts today!
Frequently Asked Questions About Chocolate Mug Cakes
Mug cakes are specifically designed and formulated for the speed and convenience of microwave cooking. Most mugs are not oven-safe and the recipe’s leavening and moisture balance is optimized for rapid microwave heat, which is different from an oven. Baking this recipe in a conventional oven would likely result in a very different texture and cooking time, and might not yield the desired soft, moist interior.
Making this chocolate mug cake dairy-free is simple! Instead of using regular dairy milk, you can easily substitute it with unsweetened almond milk. Other non-dairy alternatives like soy milk, oat milk, or cashew milk will also likely work well, offering a delicious and inclusive option for everyone to enjoy.
While we haven’t tested it extensively with gluten-free flours, many readers have reported success using a 1:1 gluten-free baking flour blend (one that contains xanthan gum). You might need to add an extra tablespoon of milk if the batter seems too thick, as gluten-free flours can absorb more liquid. Experimentation is key!
Mug cakes are truly best enjoyed immediately after cooking when they are warm and gooey. The texture can change as they cool. If you happen to have any leftovers, you can cover the mug and refrigerate for up to 24 hours, but we highly recommend reheating it briefly in the microwave for 10-15 seconds to restore some of its original warmth and softness before consuming.
Overflowing typically happens if your mug is too small (always use a 10-12 oz microwave-safe mug), or if the microwave power is too high without pausing. Our recipe includes an expert tip to pause cooking halfway through and open the microwave door. This allows the cake to deflate slightly and prevents it from bubbling over. Uneven mixing of ingredients can also contribute to this, so ensure your batter is well combined.
Absolutely! Get creative with your mix-ins. Besides chocolate chips, consider adding a sprinkle of chopped nuts (walnuts, pecans), shredded coconut, a few mini marshmallows, or even a swirl of cream cheese (add a small dollop before microwaving) for a marble effect. Just don’t add too much, or it might affect the cooking time and consistency.
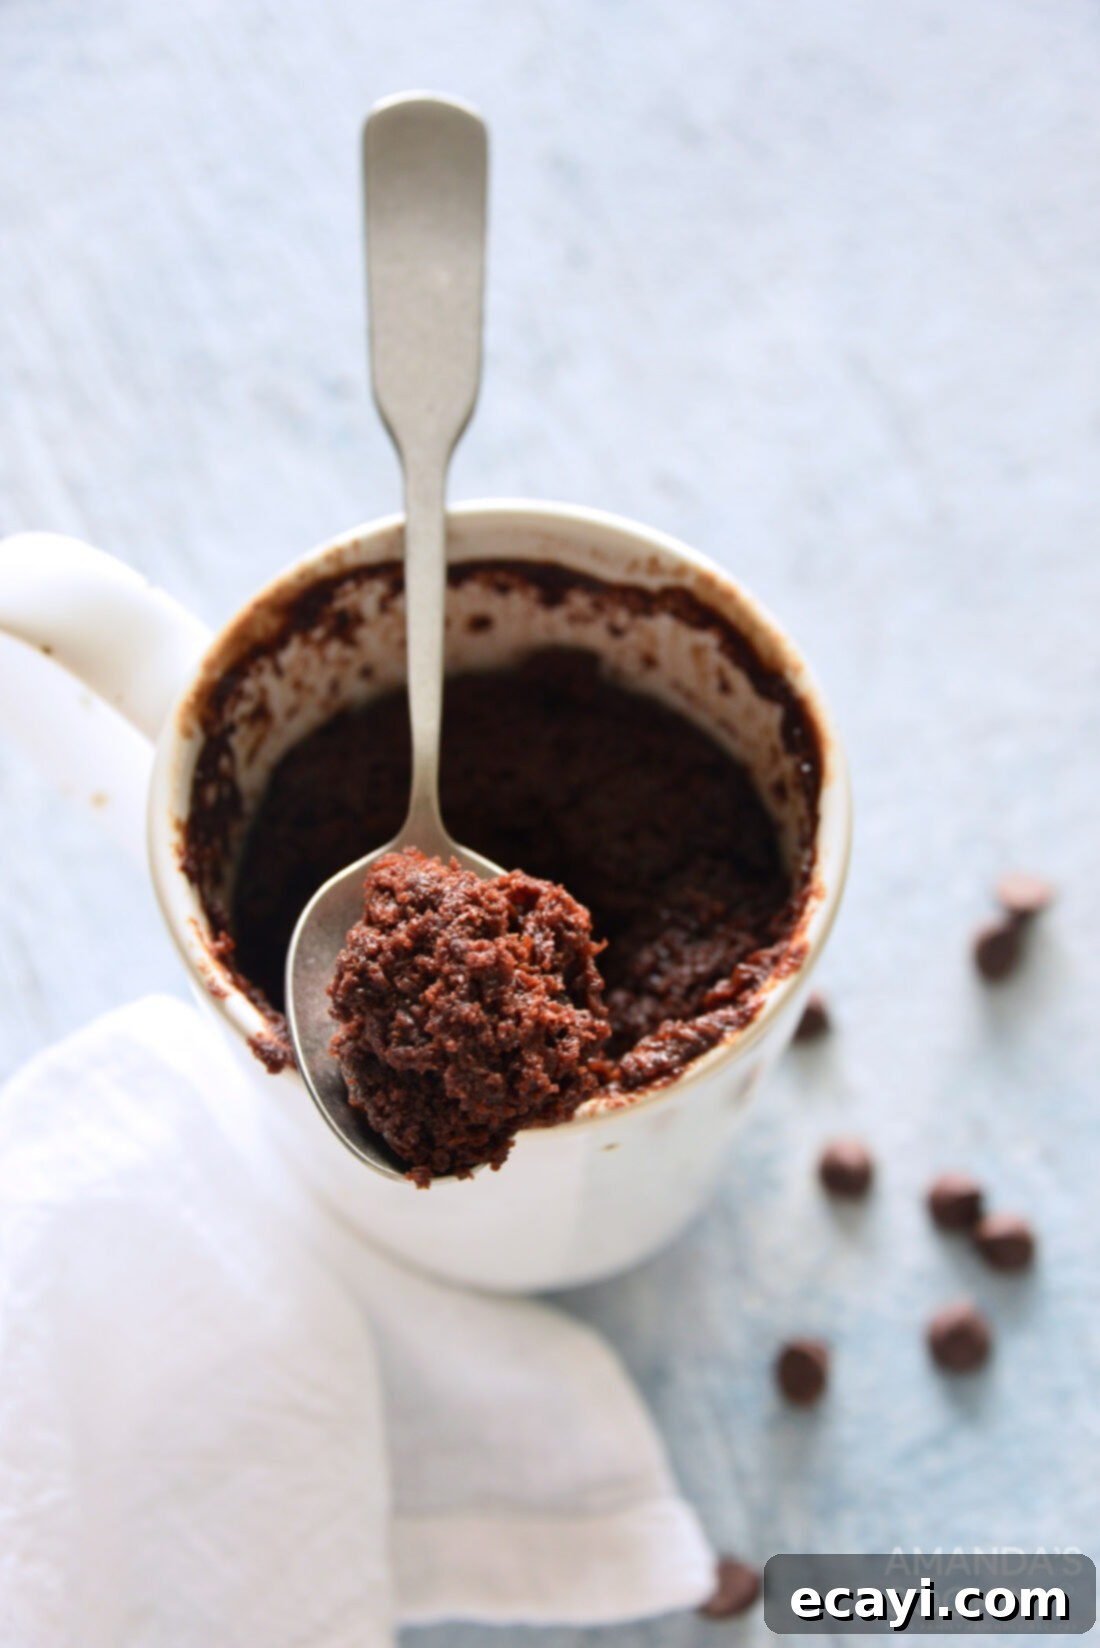
Whether you’re looking for an inventive gift-in-a-jar idea or simply need a quick, satisfying single-serve dessert to curb a chocolate craving, this homemade chocolate mug cake is a truly delicious and incredibly convenient solution. Enjoy the warmth, richness, and simplicity of this microwave marvel!
More Delicious Cake & Dessert Recipes (Perfect for Gifting!)
If you love baking and sharing sweet treats, here are more delightful cake and cupcake recipes that are not only delicious but also make wonderful gifts for any occasion:
- Heart Cupcakes
- Mini Pumpkin Whoopie Pies
- Boston Cream Pie Cupcakes
- Bunny Butt Cupcakes
- Watermelon Poke Cupcakes
I love to bake and cook and share my kitchen experience with all of you! Remembering to come back each day can be tough, that’s why I offer a convenient newsletter every time a new recipe posts. Simply subscribe and start receiving your free daily recipes!
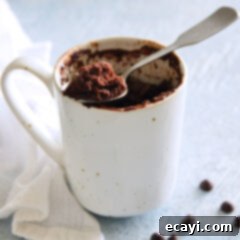
Chocolate Mug Cake
IMPORTANT – There are often Frequently Asked Questions within the blog post that you may find helpful. Simply scroll back up to read them!
Print It
Pin It
Rate It
Save ItSaved!
Ingredients
For a single mug
- 4 tablespoons all-purpose flour
- 2 tablespoons white sugar
- 2 tablespoons brown sugar lightly packed
- 2 tablespoons unsweetened cocoa powder
- ½ teaspoon baking powder
- ⅛ teaspoon salt
- 4 tablespoons milk
- 2 tablespoons canola oil or avocado oil
- ½ teaspoon vanilla
- 1 tablespoon chocolate chips for topping (optional)
For a 32 ounce jar
- 2 cups all-purpose flour
- 1 cup white sugar
- 1 cup brown sugar lightly packed
- 1 cup unsweetened cocoa powder
- 4 teaspoons baking powder
- 1 teaspoon salt
- ½ cup chocolate chips
Things You’ll Need
-
32-oz wide mouth mason jar
Before You Begin
- Add a pinch of instant espresso powder for deeper flavor if you have it on hand.
- Instead of using regular dairy milk, you can use unsweetened almond milk as a non-dairy option. Other nut milks will likely work as well.
Instructions
For a single mug:
-
Use a fork to stir together all ingredients except the chocolate chips in a 10 to 12 ounce microwave-safe mug.
-
Microwave on high until the cake is cooked, about 1 minute 30 seconds. Pause cooking once halfway through and open the microwave door to prevent the cake from overflowing.
TIP: Depending on the wattage of your microwave, you may need another 15 seconds.
-
If desired, sprinkle the chocolate chips on top. Serve while still warm.
For a gift in a jar:
-
Whisk all the dry ingredients together and place in a 32-oz wide mouth mason jar. Pack down the cake into the jar to make room for the chocolate chips.

-
Place chocolate chips into a plastic sandwich bag or cellophane bag (not zipper sandwich, won’t fold and fit nicely in top of jar). Add a twist tie to close the bag. Nestle the bag of chocolate chips on top of the cake mix and place lid on jar.
-
Add label to outside of jar or tie a jar tag around the rim of the jar. (Get the free printable in the post)
To make a mug from the jar:
-
Measure out 1/2 cup of tightly packed cake mix from jar and add to mug.

-
Stir in 4 tablespoons milk, 2 tablespoons oil, and 1/2 teaspoon vanilla.
-
Microwave on high until the cake is cooked, about 1 minute 30 seconds. Pause cooking once halfway through and open the microwave door to prevent the cake from overflowing.
-
If desired, sprinkle 1 tablespoon chocolate chips on top. Serve while still warm.
Nutrition
The recipes on this blog are tested with a conventional gas oven and gas stovetop. It’s important to note that some ovens, especially as they age, can cook and bake inconsistently. Using an inexpensive oven thermometer can assure you that your oven is truly heating to the proper temperature. If you use a toaster oven or countertop oven, please keep in mind that they may not distribute heat the same as a conventional full sized oven and you may need to adjust your cooking/baking times. In the case of recipes made with a pressure cooker, air fryer, slow cooker, or other appliance, a link to the appliances we use is listed within each respective recipe. For baking recipes where measurements are given by weight, please note that results may not be the same if cups are used instead, and we can’t guarantee success with that method.
