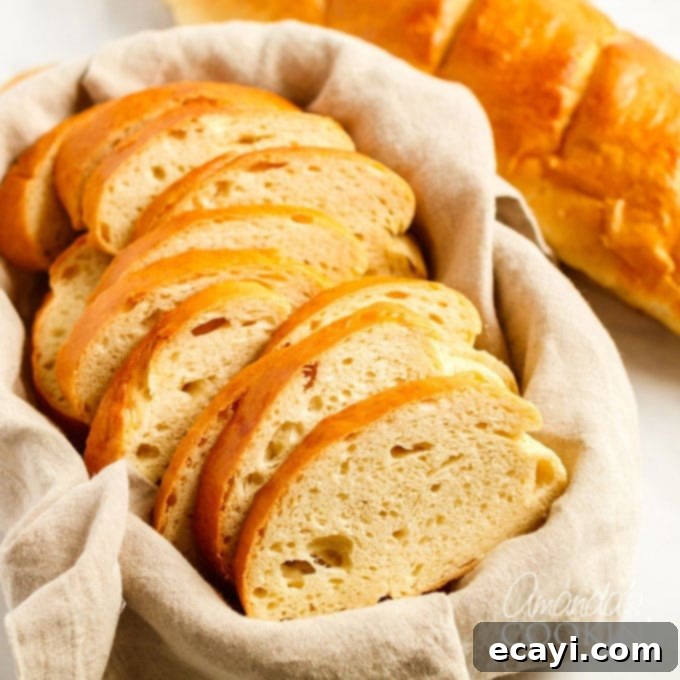
Authentic Homemade Italian Bread: Your Easy No-Knead Recipe for a Perfect Loaf
There’s nothing quite like the aroma of freshly baked bread filling your home. While a trip to the local grocery store for a loaf of Italian bread is convenient, the unmatched taste and incredible satisfaction of baking your own at home are truly priceless. This recipe for homemade Italian bread is surprisingly easy to follow and yields a divinely delicious result that will have everyone asking for more. Forget the store-bought versions; get ready to embrace the warmth and comfort of a perfectly crusted, soft-centered Italian loaf straight from your oven.
Whether you’re looking for a hearty bread to accompany your favorite sandwiches, a rustic companion for snacking, or the ideal side for a comforting meal, this Italian loaf fits every occasion. Imagine tearing off a piece to sop up the rich sauce from a bowl of spaghetti and meatballs, or serving it alongside a tender crockpot roast beef. Its versatility makes it a staple for any home cook.
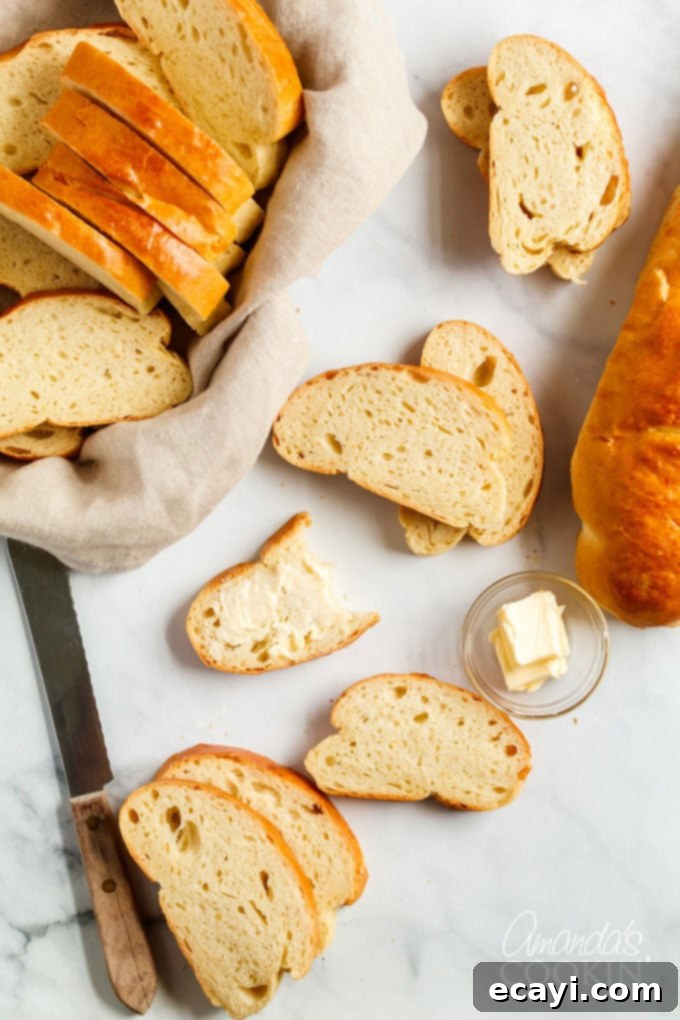
Crafting Your Own Italian Bread: A Simple Recipe
Many people wonder about the distinction between French and Italian bread. While to the casual observer they might seem similar, there are subtle yet significant differences that define each country’s iconic loaf. Traditionally, French bread, such as the baguette, adheres to a strict standard of using only four core ingredients: flour, yeast, salt, and water. French law even dictates that no added oils or fats are permitted, resulting in a bread with a very crisp, thin crust and an airy interior.
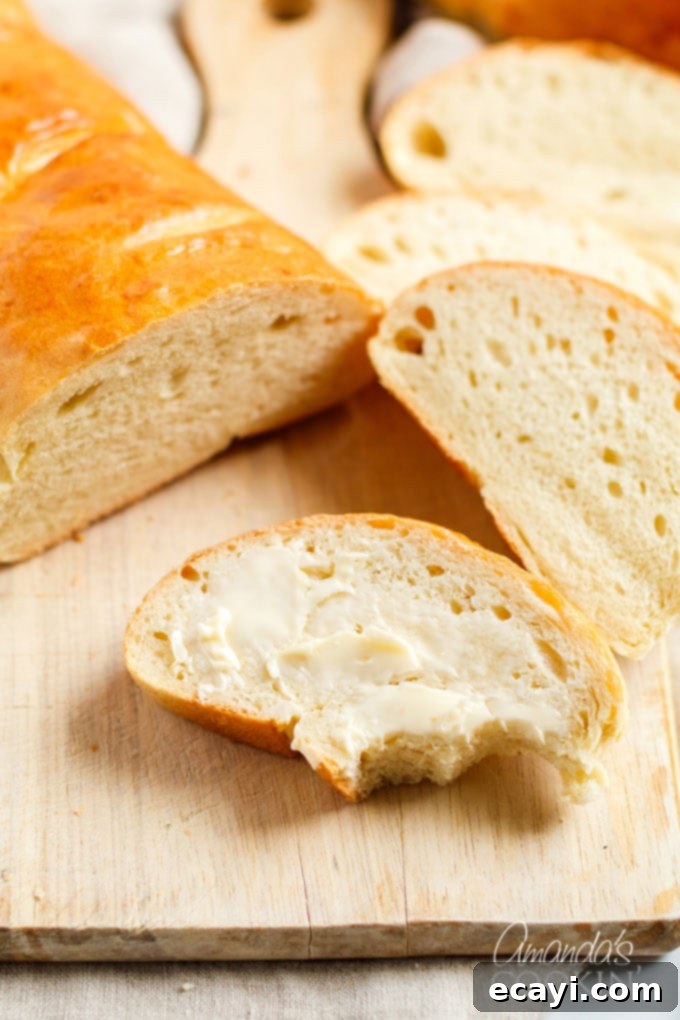
Italian bread, on the other hand, often incorporates a small amount of fat, like olive oil or vegetable oil, which contributes to a slightly softer crust and a more tender crumb. This addition also helps keep the bread fresh for a longer period. Structurally, French loaves are typically long and thin with pointed ends, designed for quick consumption. Italian loaves are generally shorter, wider, and rounder, making them ideal for slicing and serving alongside meals. This recipe embraces the characteristics of classic Italian bread: a beautiful golden crust, a wonderfully soft interior, and a delightful chew that makes it perfect for dipping or enjoying on its own.
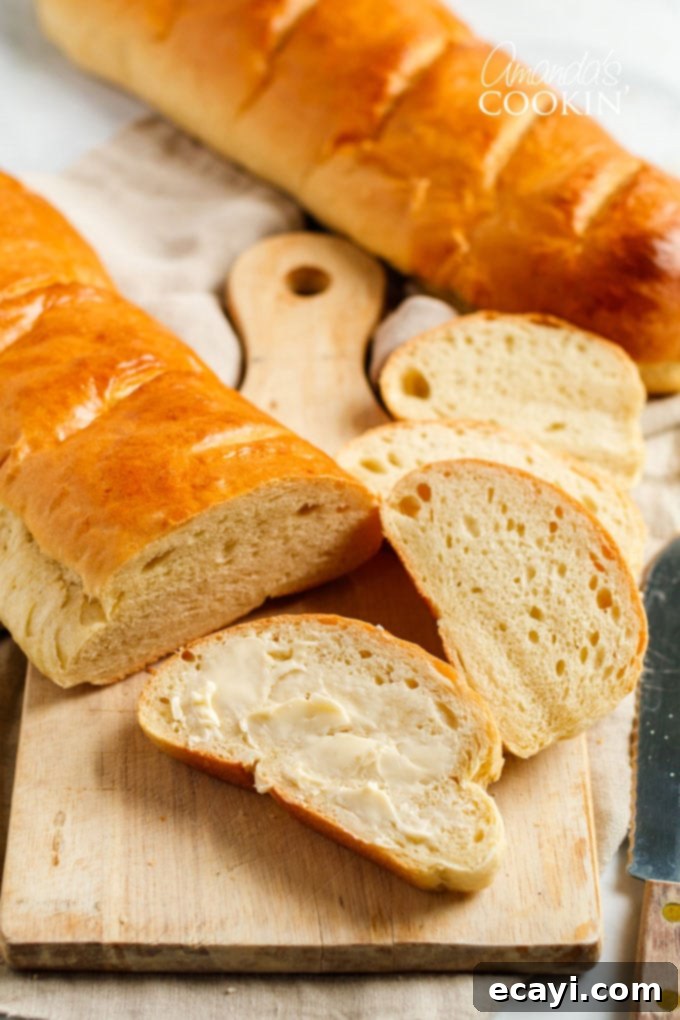
Expert Tips & Frequently Asked Questions for Perfect Bread
Achieving a perfect homemade Italian loaf is simpler than you might think, especially with a few key insights into your ingredients and process. In this section, we’ll delve into some expert tips and answer common questions to ensure your bread-making experience is a resounding success. You’ll find the complete list of ingredients with precise measurements conveniently located in the printable recipe card at the end of this post.
- Yeast Selection: You can easily use the small packets of active dry yeast found at any grocery store. For those who bake frequently, like myself, purchasing SAF instant yeast in larger packages is more economical and convenient. Remember, active dry yeast requires “proofing” in warm water to ensure it’s active and to kickstart the leavening process, while instant yeast can often be mixed directly with dry ingredients.
- Water Temperature is Crucial: When a bread recipe calls for warm water to proof the yeast, the ideal temperature is around 105-115 degrees F (40-46 degrees C). This range is perfect for activating the yeast without killing it. If the water is too hot, it will destroy the yeast, preventing your bread from rising. If it’s too cold, the yeast will activate too slowly, or not at all, leading to a dense loaf. A kitchen thermometer is a small investment that makes a big difference in bread success.
- Hot Water for Mixing: This recipe also calls for hot water in a separate step for the main dough mixture. This water should be hot to the touch, roughly 115-120 F (46-49 C), but certainly not boiling. Since this hot water is mixed with other ingredients before the yeast mixture is added, its temperature will be moderated, allowing it to contribute to the dough’s initial warmth without harming the yeast.
- Oil Choice: Our recipe uses vegetable oil for its neutral flavor and consistent results. However, for a subtle flavor variation, you can absolutely substitute it with good quality olive oil, which will impart a slightly richer, more aromatic Italian character to your bread.
- Flour Type: We recommend using standard all-purpose flour (white, not wheat) for this recipe. All-purpose flour provides the right balance of protein to create a tender crumb and a satisfying crust, characteristic of traditional Italian bread.
Yes, you absolutely can! Freezing the dough is a fantastic way to prepare ahead and enjoy fresh bread whenever the craving strikes. To freeze, simply wrap the kneaded dough tightly in several layers of plastic wrap, ensuring no air can reach it. Then, place it in a freezer-safe bag or airtight container. It can be stored in the freezer for up to 3 months. When you’re ready to bake, remove the dough from the freezer and let it thaw at room temperature. This will typically take about 4-5 hours. Once thawed, proceed with the shaping and baking instructions as detailed in the recipe. If you prefer to refrigerate the dough for short-term storage (up to 24 hours), wrap it tightly; however, be aware that yeast will continue to slowly ferment even in the fridge, so longer storage isn’t recommended.
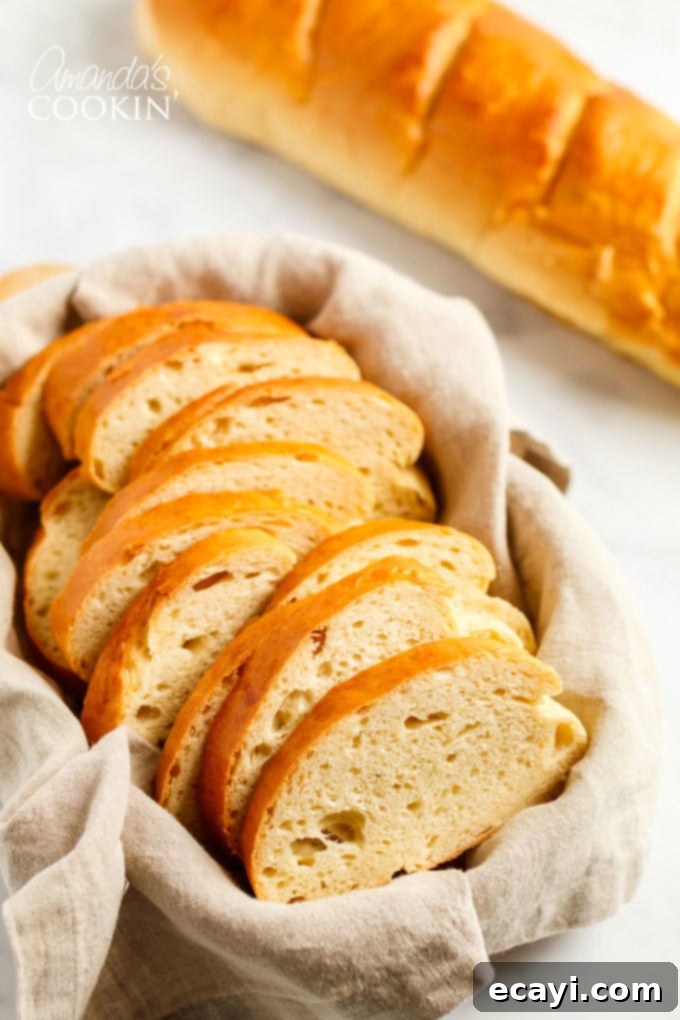
Helpful kitchen tools for your bread-making journey:
- Set of durable mixing bowls: Essential for combining ingredients and allowing your dough to rise.
- Reliable stand mixer or versatile hand mixer: While this is a no-knead recipe, a mixer can help incorporate ingredients thoroughly.
- Non-stick baking sheets: Crucial for baking your loaves evenly and preventing sticking.
- Sturdy wire cooling rack: Allows air circulation around your bread for a crisp crust and prevents sogginess.
- Pastry brush: Ideal for applying the egg white wash, giving your bread a beautiful golden sheen.
- Rolling pin: For shaping your dough into perfect loaves.
- Sharp bread knife: To effortlessly slice through your crusty creations without crushing them.
Special instructions for using a Bread Machine are included at the end of this guide!
Step-by-Step Guide: How to Make Amazing Italian Bread
Embark on your journey to homemade bread perfection with these easy-to-follow instructions. You can print this recipe here for convenient access in your kitchen.
- Begin by preparing your yeast. In a small bowl, combine 1/2 cup of warm water (ensure it’s around 110°F to activate the yeast properly), 1/2 teaspoon of granulated sugar, and your active dry yeast. Stir gently until the yeast dissolves. Let this mixture sit for 5-10 minutes. During this time, the yeast should become foamy and bubbly, indicating it’s active and ready to work its magic.
A NOTE ABOUT YEAST ACTIVATION: This recipe primarily calls for active dry yeast, which *must* be proofed. Proofing (letting it foam in warm water and sugar) reactivates the yeast and confirms its viability. If you choose to use instant yeast, proofing is generally not required, and it can often be added directly to the dry ingredients. However, for best results and to ensure your bread rises, always proof active dry yeast.
- In a large mixing bowl, or the bowl of your stand mixer, combine 2 cups of hot water (approximately 115-120°F, hot to the touch but not boiling), 3 tablespoons of granulated sugar, the salt, and the vegetable oil. Add 3 cups of all-purpose flour to this mixture and mix thoroughly until well combined and smooth.
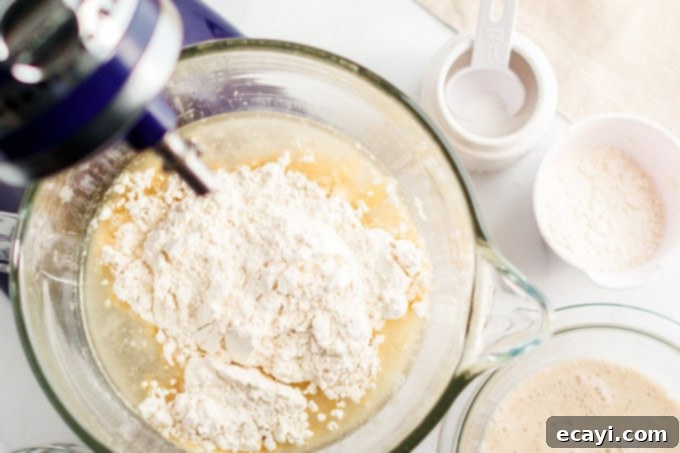
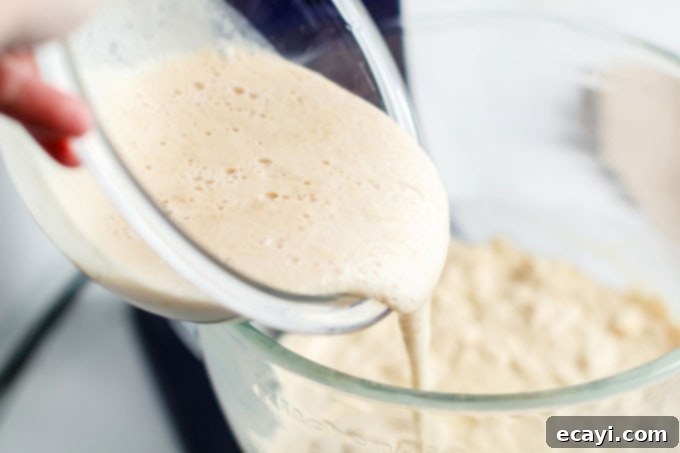
- Now, gently stir in your activated yeast mixture from the small bowl into the larger bowl with the flour mixture. Mix until everything is just incorporated.
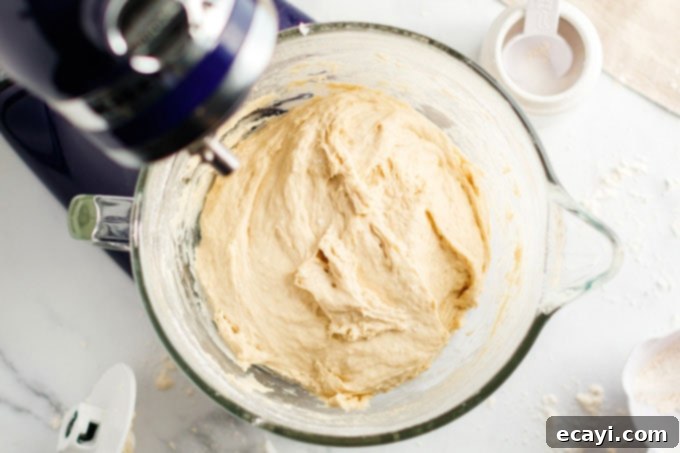
- Gradually add an additional 2 to 3 cups of flour to the dough, mixing until it is well blended. At this stage, your dough will still be quite sticky, which is perfectly normal for a no-knead recipe. Avoid the temptation to add too much flour too soon.
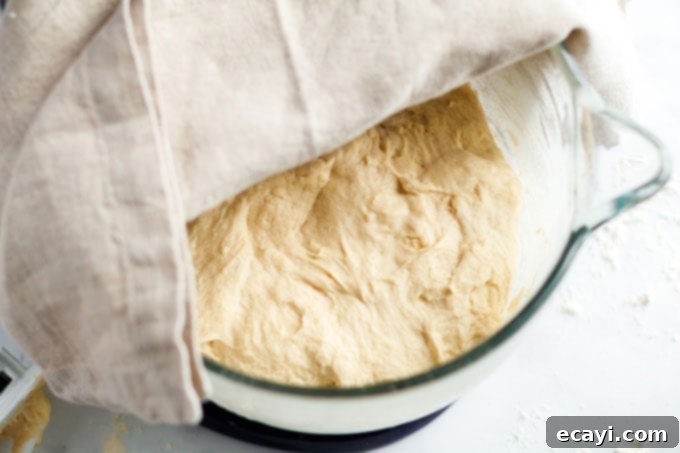
- Leave the sticky dough in the bowl, cover it with a clean kitchen towel, and allow it to rise in a warm, draft-free place for 1 hour. If you are using a stand mixer, make sure to remove the bowl from the mixer and cover it; otherwise, the rising dough might engulf your paddle attachment or dough hook.
- After the first rise, gently turn the dough out onto a lightly floured surface. If the dough is still excessively sticky and difficult to handle, gradually add small amounts of flour (a quarter cup at a time) until it becomes pliable and manageable, but avoid drying it out. Divide the dough into 2 equal pieces for larger loaves, or 3 pieces if you prefer smaller, individual-sized loaves.
IMPORTANT NOTE ON KNEADING: This particular Italian bread recipe is designed to be a “no-knead” bread, meaning you don’t need to perform traditional kneading techniques. The long rise time allows the gluten to develop naturally.
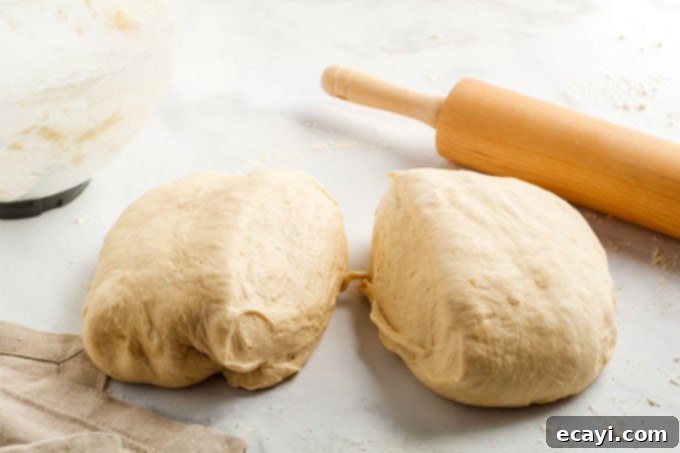
- Take one piece of dough and roll it out on your lightly floured surface into your desired length, aiming for an elongated oval shape. Then, starting from one of the longer sides, roll the dough up tightly, similar to how you would roll a jelly roll. Pinch the seam closed firmly to seal the loaf. Repeat with the remaining dough piece(s).
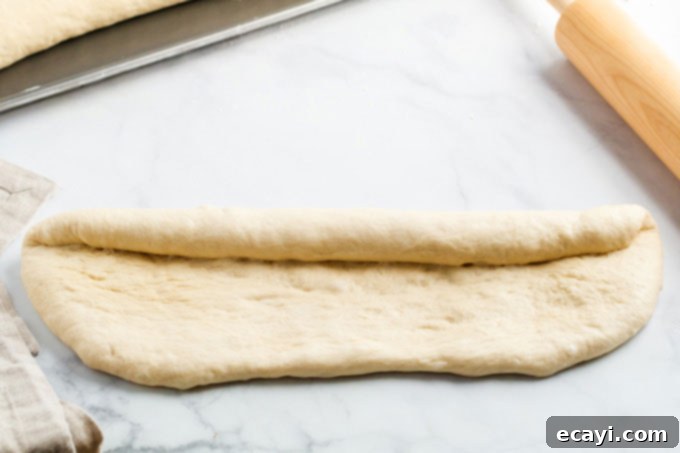
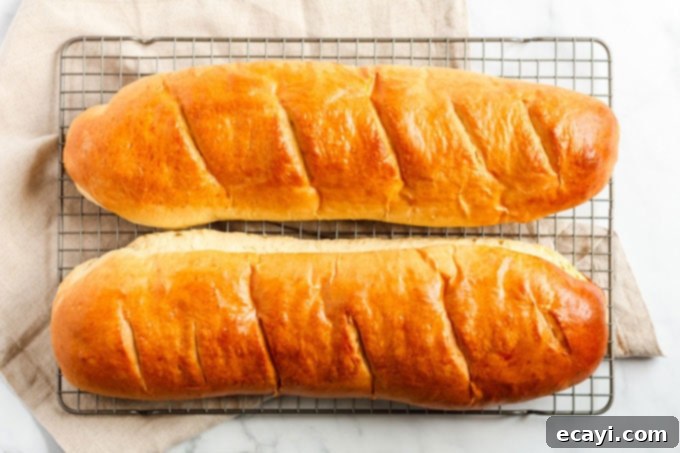
- Carefully transfer your shaped loaves to a greased baking sheet, placing them seam-side down. Gently tuck the ends underneath the loaf to create a neat appearance. Using a very sharp knife or a baker’s lame, make several diagonal slashes across the top of each loaf, about every couple of inches. These slashes allow the bread to expand gracefully during baking and contribute to its rustic appearance.
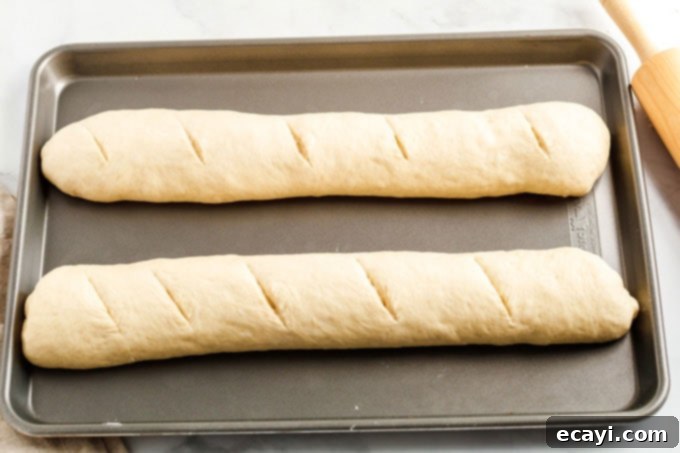
- Cover the loaves again with a clean kitchen towel and let them rise for an additional 30 minutes. This final rise, known as proofing, allows the bread to develop its final airy texture before baking.
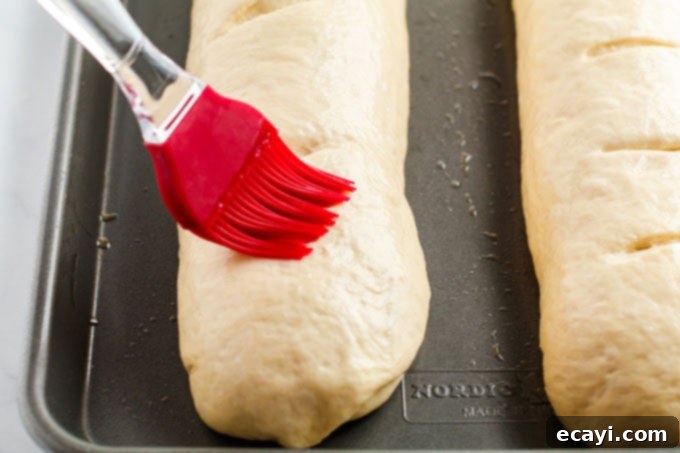
- While your loaves are undergoing their final rise, preheat your oven to 400 degrees Fahrenheit (200 degrees Celsius).
- In a small bowl, whisk one large egg white until slightly frothy. Just before placing the loaves in the oven, gently brush this egg white mixture evenly over the top of each loaf. This egg wash will give your Italian bread a beautiful, shiny, and golden-brown crust.
- Bake the loaves for 25 to 30 minutes, or until they are golden brown and sound hollow when tapped on the bottom. Keep an eye on them towards the end of baking to prevent over-browning.
Conveniently Make Italian Bread Dough in a Bread Machine
For those who love the convenience of kitchen appliances, this Italian bread recipe can be adapted for your bread machine! Many readers have asked about this, and we’re happy to report that successful tests have been conducted. Please note, while the bread machine handles the dough preparation, you will still remove the dough, shape it into loaves, and bake them in your conventional oven for that perfect crust and authentic Italian shape.
- Begin by adapting the ingredients from the printable recipe below. You’ll need to cut all ingredient quantities in half for a bread machine cycle, and importantly, you can eliminate the initial warm water and sugar step used for proofing the yeast, as most bread machines handle this automatically.
- Into the bread machine bucket, ensure the paddle is correctly installed, then add 1 cup of warm water (approximately 110°F) and 1/4 cup of vegetable or olive oil.
- Next, add 4 1/2 teaspoons of granulated sugar and 1 1/2 teaspoons of salt to the bucket.
- Gently layer 3 cups of all-purpose flour over the wet ingredients, ensuring the liquid is completely covered by the flour.
- Finally, carefully place 2 1/4 teaspoons (equivalent to one standard packet) of active dry yeast on top of the flour. Make sure no other ingredients are directly touching the yeast at this point.
- Insert the bucket into your bread machine and select the “Dough” cycle. Start the machine.
- Once the bread machine completes its cycle and beeps, carefully remove the dough from the bucket. Transfer it to a lightly floured surface. You may need to add a little more flour, by the tablespoon, if the dough feels too sticky to work with.
- Roll out and form the dough into loaves as instructed in the conventional oven recipe (step 7 and 8 of the main recipe instructions). Place the formed loaves on a greased baking sheet, make your diagonal slashes on top, and cover with a clean towel for their final rise (refer to step 9 of the main recipe for rise time).
- After the final rise, brush the loaves with the whisked egg white and bake in a preheated 400°F (200°C) oven, following the baking time specified in the main recipe instructions (step 12).
Delightful Ways to Enjoy Your Homemade Italian Bread
The beauty of this homemade Italian bread lies not only in its exquisite flavor but also in its incredible versatility. It complements a vast array of dishes, extending far beyond traditional Italian fare. I often find myself using a generous hunk of this bread to sop up the savory juices of my favorite pork sirloin roast, elevating a simple dinner into a truly memorable experience.
Few things are as comforting as a big bowl of soup, and this bread is the ultimate accompaniment. Imagine dipping a warm, buttered slice into a rich Italian Sausage Tomato Orzo Soup, or enjoying it alongside a creamy Cheddar Cheese Potato Soup. For fans of Olive Garden, pairing this bread with a homemade Zuppa Toscana copycat will transport you straight to your favorite restaurant. Another dinnertime favorite that perfectly calls for this crusty loaf is a hearty Chicken Cacciatore; the bread is ideal for soaking up every drop of that delicious, rustic sauce.
Don’t forget to try our new Crockpot Lasagna! A slice of this fresh Italian bread would be the absolute perfect addition to complete that indulgent meal, ensuring no drop of sauce is left behind.
Looking for even more meal inspiration? Explore all my dinner recipes here and discover new ways to incorporate this versatile bread into your weekly menu!
Hear What Our Happy Bakers Are Saying!
Never baked bread before? Feeling a little hesitant to invest your time and ingredients? Don’t just take our word for it! Below is a small selection of glowing reviews from our readers who have tried and fallen in love with this Italian bread recipe. You can find many more heartwarming comments and success stories in the full comments section below!
“I have made this twice now, and it is consistently very tasty, boasting a wonderful crust and a soft, non-dense inner texture with excellent flavor. I’ve been baking bread for 40 years, and this recipe easily ranks in my top five. Thank you!” ~ Thomas
“By far one of the best and easiest bread recipes I have ever come across! The dough comes out perfect and is incredibly easy to roll and shape. I am so glad I found this recipe; it’s truly a game-changer for my baking.” ~ Tracy
“This bread was simply delicious! I’m so proud of myself for making it. I was initially scared to try and usually need a video tutorial (as a visual learner), but I went ahead, and one of the two loaves is already gone! I wish I could attach a picture! I will definitely be making this again and again!” ~ Desiree
“I never post reviews… but after making this, I absolutely had to! I only had bread flour on hand, so I used that, but it was the only deviation. I followed the recipe exactly, and the bread came out PERFECT! Crispy outside and wonderfully moist inside. This is some of the best bread I’ve ever made. It will definitely be a regular in my kitchen. Thank you!!” ~ Terri
“’This is a million times better than store-bought bread!’
‘You have to make this every time we have pasta now!’
‘Nom nom nom…’This was the enthusiastic feedback from my family after serving them this incredible bread for dinner. An excellent recipe indeed!” ~Dave
“OMG! I made this bread today and have to say this is the BEST bread I have ever made, and I’ve tried countless recipes over the years! It was incredibly light and fluffy, yet had just the right amount of crispness on the crust. The only minor changes I made were using bread flour and reducing the sugar to 2.5 tablespoons instead of three. Thank you so much for sharing this; I am officially discarding all my other bread recipes!” ~ Nadine

Homemade Italian Bread
IMPORTANT – Please refer to the Frequently Asked Questions within the main blog post for helpful tips and insights!
Print It
Pin It
Rate It
Save ItSaved!
Ingredients
- 1 ½ tablespoons active dry yeast (2 packets)
- ½ cup warm water (110°F)
- ½ teaspoon granulated sugar
- 2 cups hot water (hot to the touch, not boiling (115-120°F))
- 3 tablespoons granulated sugar
- 1 tablespoon salt
- ½ cup vegetable oil
- 5-6 cups all-purpose flour (add more if needed to get to a pliable dough)
- 1 large egg white (for brushing on loaves)
Before You Begin
- If your dough feels excessively sticky after the initial rise, you can incorporate small amounts of additional flour, a quarter cup at a time, until it becomes more workable. The goal is pliable, not dry, dough.
- You can use standard packets of active dry yeast from any grocery store. For frequent bakers, investing in larger packages of SAF instant yeast is often more convenient and cost-effective. If using active dry, ensure you proof it in warm water (it will become foamy) as per recipe instructions.
- When a bread recipe calls for warm water, aim for a temperature of about 105-115°F (40-46°C). Water that is too hot will kill the yeast, while water that is too cold will hinder the rising process.
- Only use regular white granulated sugar for this recipe for optimal results.
- For the separate step requiring hot water in the main dough mixture, use hot tap water, approximately 115-120°F (46-49°C), but avoid boiling water. This temperature is fine as it’s mixed with other ingredients before the proofed yeast is added.
- Everyday table salt is suitable for this recipe, rather than Kosher or sea salt, which have different crystal sizes and can affect measurement.
A crucial note about yeast:
This recipe is written for active dry yeast, which requires proofing in warm water to ensure it’s alive and active. Proofing helps “prove” the yeast and ensures your bread will rise correctly. If you opt for instant yeast, proofing is typically not necessary, and it can often be added directly to the dry ingredients. However, if in doubt, proofing is always a safe bet.
- While vegetable oil is specified, feel free to substitute with good quality olive oil for a subtle flavor enhancement.
- We use standard all-purpose flour (white, not whole wheat) to achieve the desired texture and lightness for this classic Italian bread.
Instructions
-
In a small bowl, dissolve the active dry yeast, 1/2 cup warm water (110°F), and 1/2 teaspoon granulated sugar. Let it sit for 5-10 minutes until foamy.
-
In a large bowl or stand mixer, combine 2 cups hot water (115-120°F), 3 tablespoons granulated sugar, the salt, and the oil. Add 3 cups of flour to this mixture and mix well. Then, stir in the yeast mixture until just combined.
-
Add 2 – 3 cups more flour gradually and mix until well blended and the dough is sticky but cohesive. (At this point your dough will still be quite sticky, which is correct for this no-knead method). Leave in the bowl, cover with a clean kitchen towel, and let it rise in a warm, draft-free place for 1 hour. (If using a mixer, remove the bowl from the mixer and cover it securely. This prevents the paddle or dough hook from becoming encased in rising dough). NO KNEADING IS REQUIRED for this recipe.
-
After the initial rise, if the dough is still super sticky and difficult to handle, gently add small amounts of flour (a quarter cup at a time) to your work surface and to the dough until it is workable, but not dry. You might need up to an extra cup or more, depending on humidity and flour.
-
Divide the dough into 2 (for larger loaves) or 3 (for smaller loaves) equal pieces. On a lightly floured surface, roll out each piece into an elongated oval or rectangular shape of your desired length. Then, roll it up lengthwise tightly, like a jelly roll, pinching the seam to seal. If it’s still too sticky, add more flour until it’s workable but not dry.
-
Place the shaped loaves on a greased cookie sheet, with the sealed side facing down. Tuck the ends neatly underneath each loaf. Using a very sharp knife, make several diagonal slashes across the top of each loaf, spaced every couple of inches.
-
Cover the loaves once more with a clean kitchen towel and let them rise for an additional 30 minutes in a warm spot.
-
While the loaves are completing their second rise, preheat your oven to 400 degrees Fahrenheit (200°C).
-
In a small bowl, whisk one large egg white until it’s slightly frothy. Just before baking, gently brush this egg white mixture evenly over the top of each loaf.
-
Bake the loaves in the preheated oven for 25 – 30 minutes, or until they are golden brown and sound hollow when tapped on the bottom.
Nutrition
The recipes on this blog are tested with a conventional gas oven and gas stovetop. It’s important to note that some ovens, especially as they age, can cook and bake inconsistently. Using an inexpensive oven thermometer can assure you that your oven is truly heating to the proper temperature. If you use a toaster oven or countertop oven, please keep in mind that they may not distribute heat the same as a conventional full sized oven and you may need to adjust your cooking/baking times. In the case of recipes made with a pressure cooker, air fryer, slow cooker, or other appliance, a link to the appliances we use is listed within each respective recipe. For baking recipes where measurements are given by weight, please note that results may not be the same if cups are used instead, and we can’t guarantee success with that method.
This beloved recipe for homemade Italian bread was originally published here on January 28, 2009, and has been a reader favorite ever since!
