Delicious & Easy Jello Popsicles: Your Ultimate 3-Ingredient Summer Treat
Beat the heat with these incredibly simple, vibrant, and delicious Jello popsicles! Made with just three basic ingredients, these frosty delights come together in minutes, offering a perfect, customizable treat for any occasion. Whether you’re planning a summer party or just need a quick, refreshing snack, these colorful freeze pops are guaranteed to be a hit with kids and adults alike. Mix and match your favorite Jello flavors to create a spectacular rainbow of icy goodness!
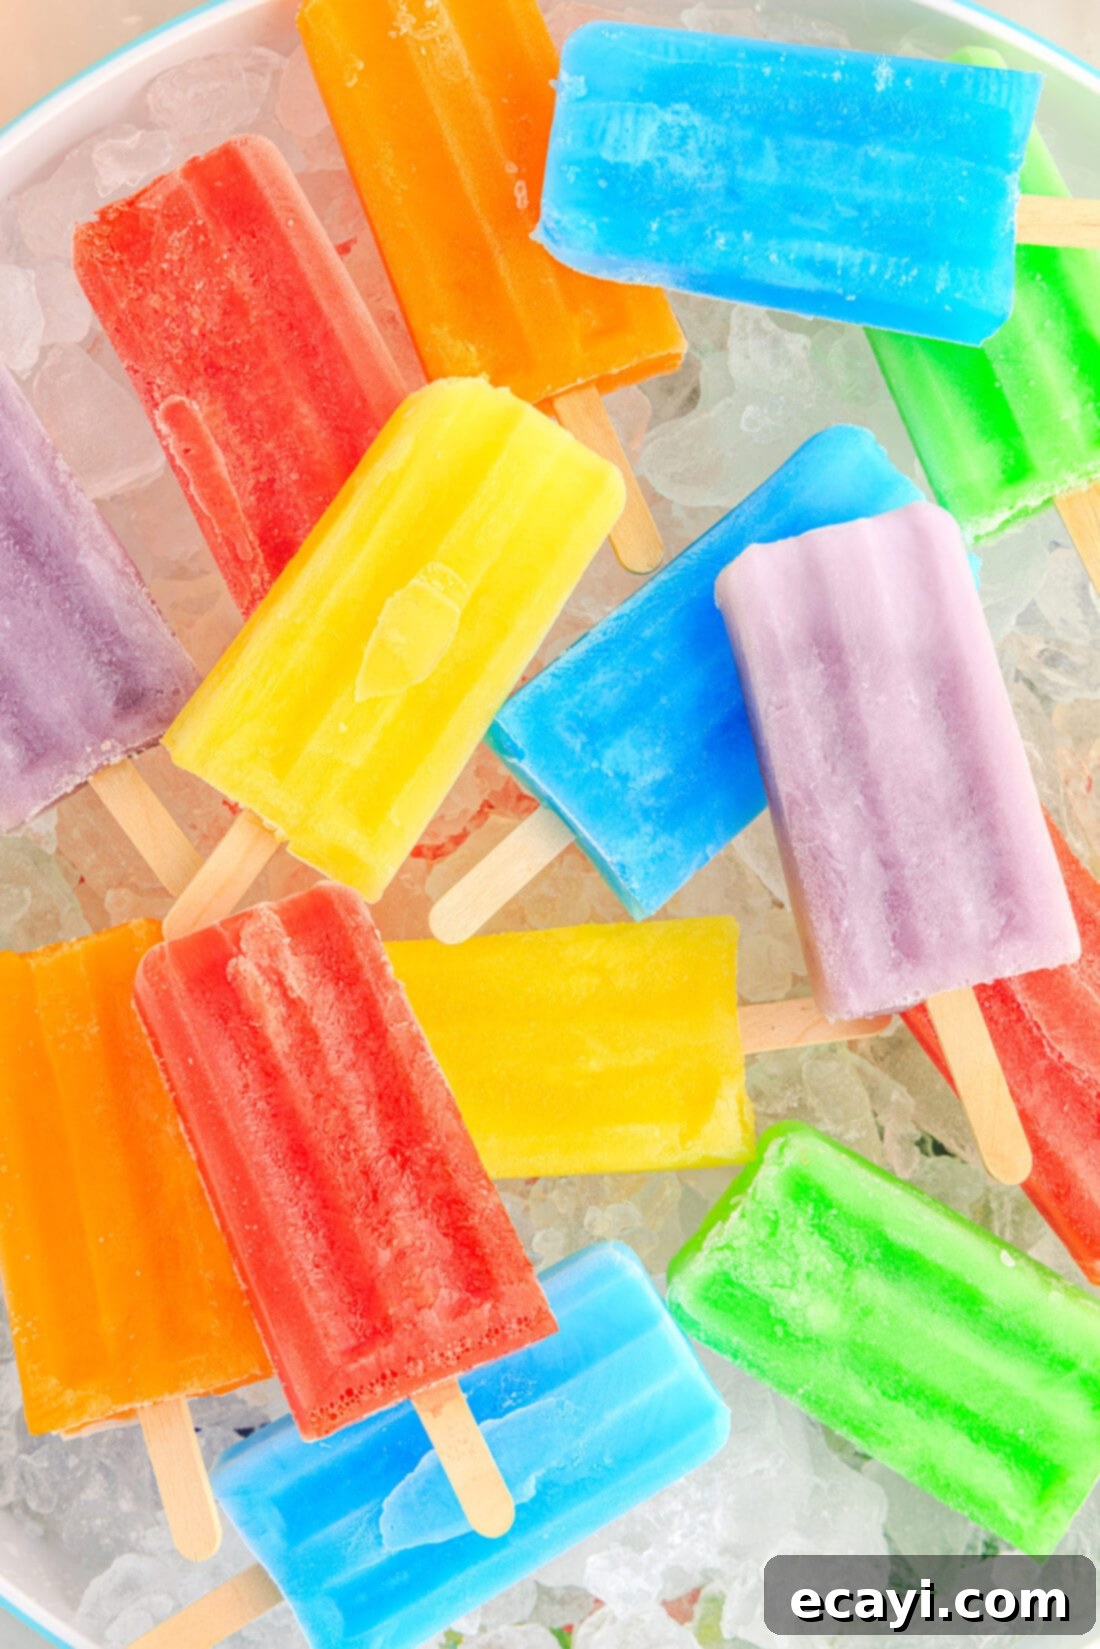
Why These Homemade Jello Popsicles Are a Must-Try
There’s a reason Jello popsicles remain a classic summertime favorite. Their appeal lies in their effortless preparation and the sheer joy they bring. Imagine prepping a batch of cool, fruity treats in mere minutes, then simply letting the freezer do the rest of the work! These Jello pops are not only a fantastic way to cool down, but they also offer an incredible canvas for creativity with their wide array of colors and flavors.
Beyond their ease, these popsicles are incredibly versatile. You can stick to a single favorite flavor or embark on an adventure of vibrant layering, creating visually stunning treats that are as fun to look at as they are to eat. From classic cherry to exotic berry blue, the possibilities are endless. Plus, they’re surprisingly cost-effective, allowing you to whip up a large batch for parties or a week’s worth of snacks without breaking the bank. It’s truly impressive how many delightful creations you can make from simple Jello powder, including Jello roll-ups, Jello cookies, and Jello trifle. Now, let’s dive into making these fantastic Jello popsicles!
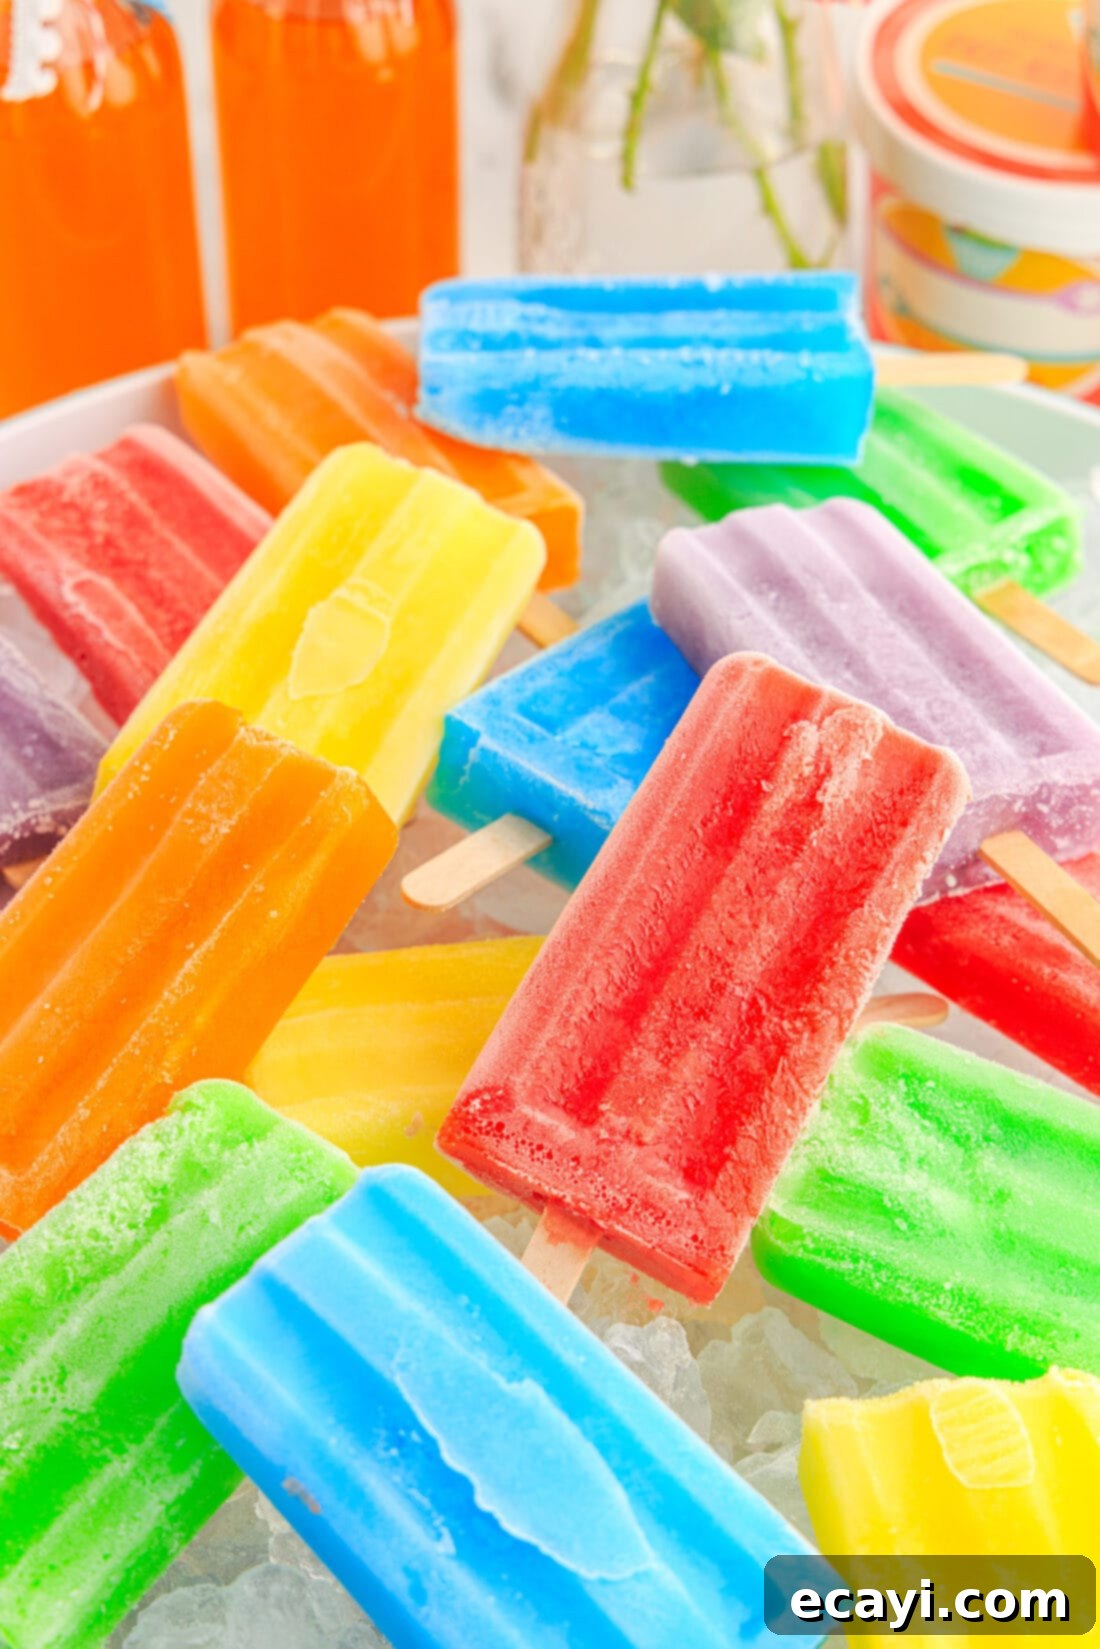
Essential Ingredients You Will Need for Jello Pops
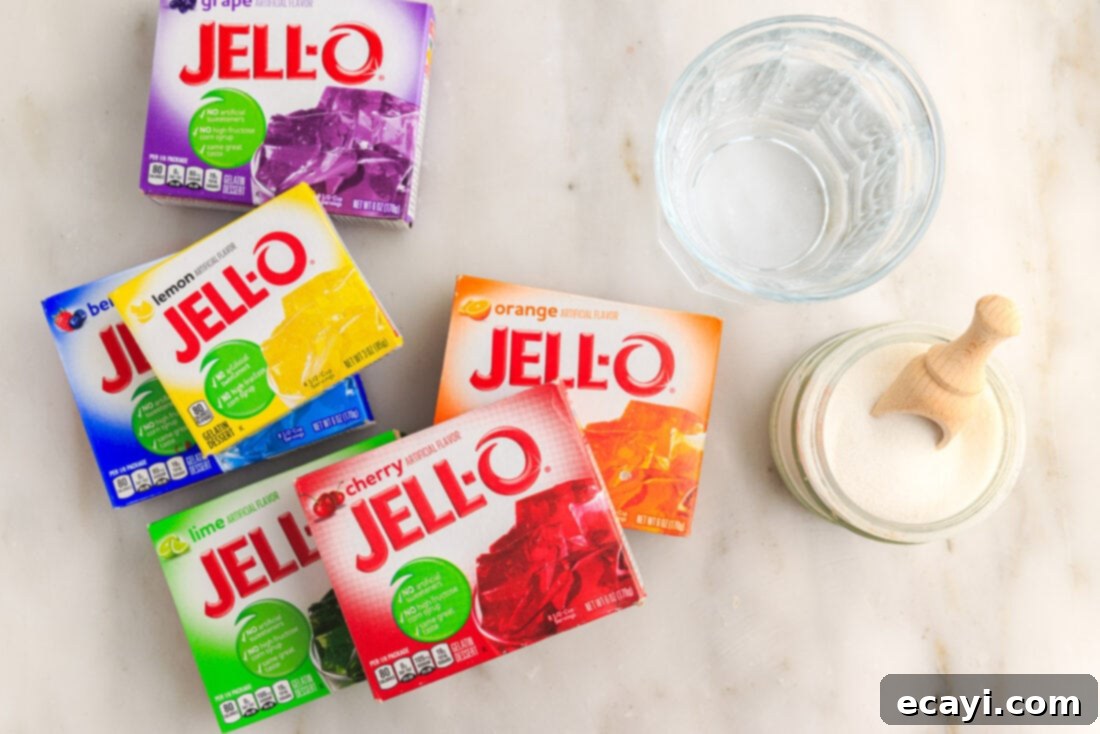
One of the best things about this recipe is its minimal ingredient list. You only need three items to create these refreshing treats. For precise measurements and detailed instructions, you’ll find a printable recipe card at the very end of this comprehensive guide. Gather these simple components, and you’ll be on your way to popsicle perfection:
- Jello Powder: Your chosen flavor(s) will dictate the color and taste.
- Granulated Sugar: To enhance sweetness and improve texture.
- Water: Both boiling and cold water are essential for proper dissolving and cooling.
Ingredient Deep Dive & Smart Substitution Suggestions
Let’s take a closer look at the stars of our show and explore how you can customize them to your liking:
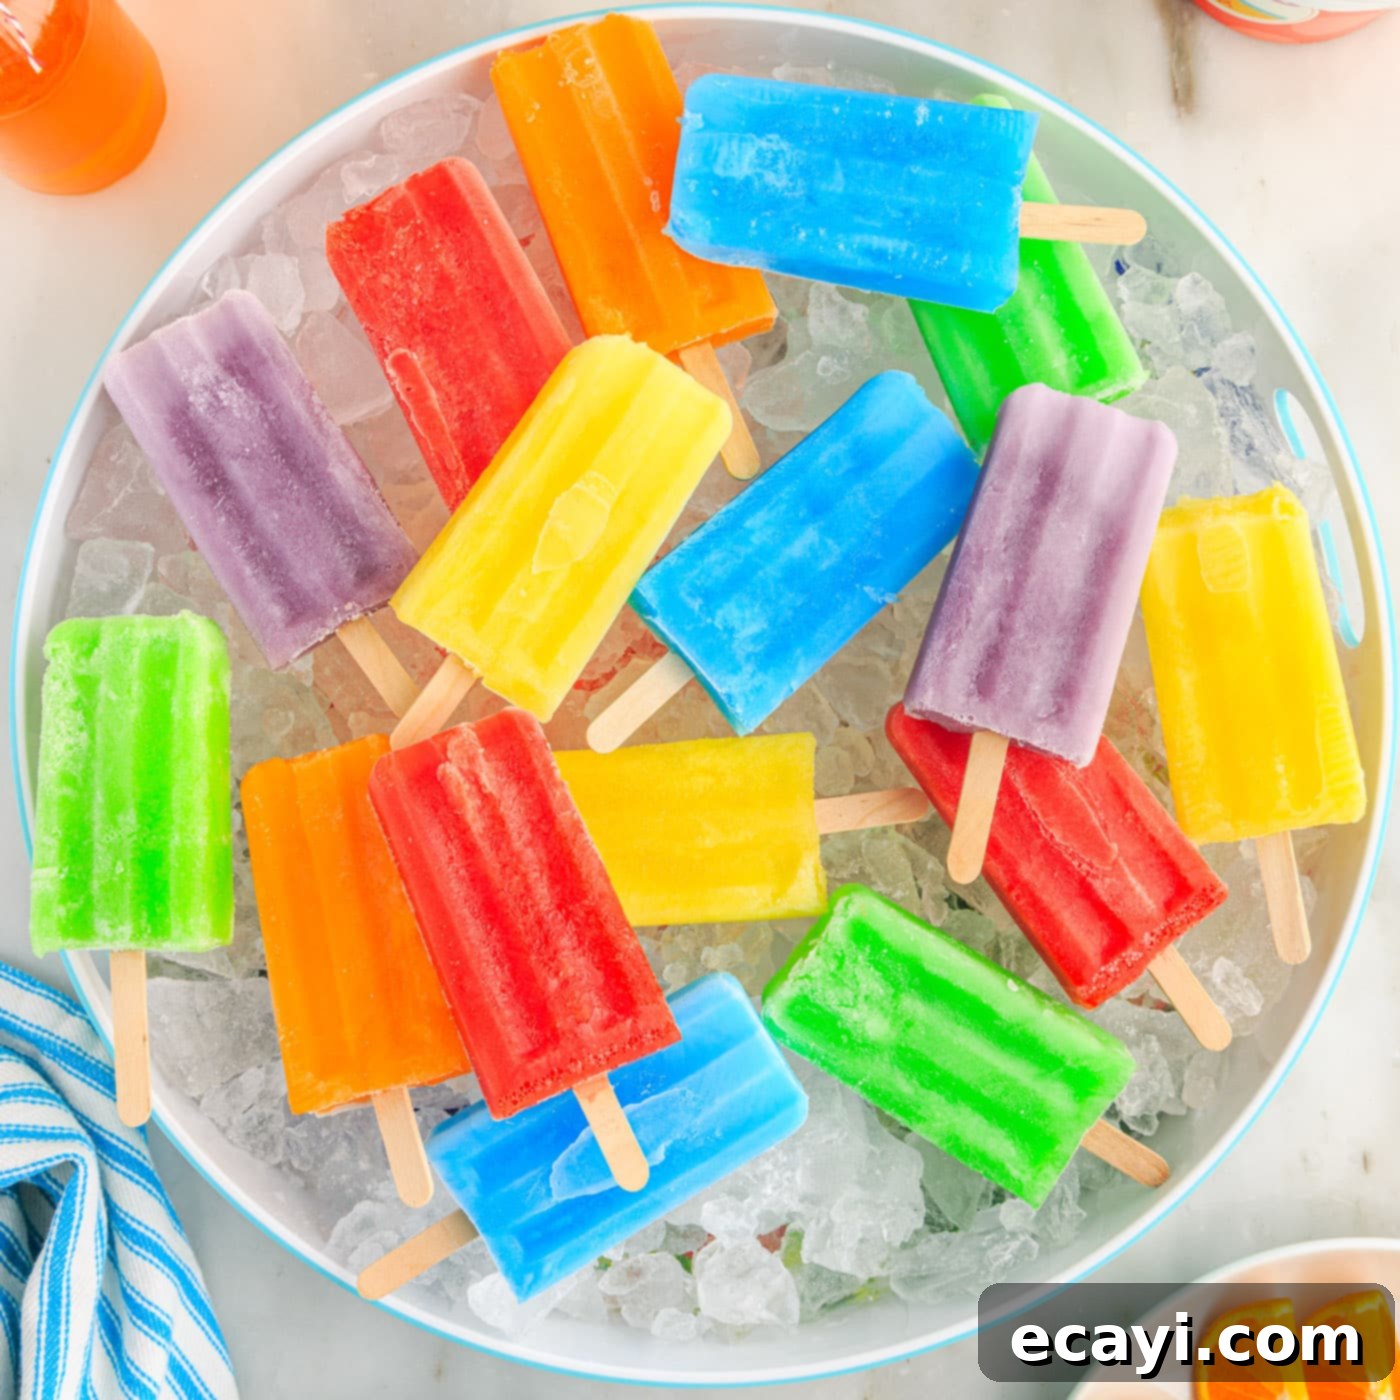
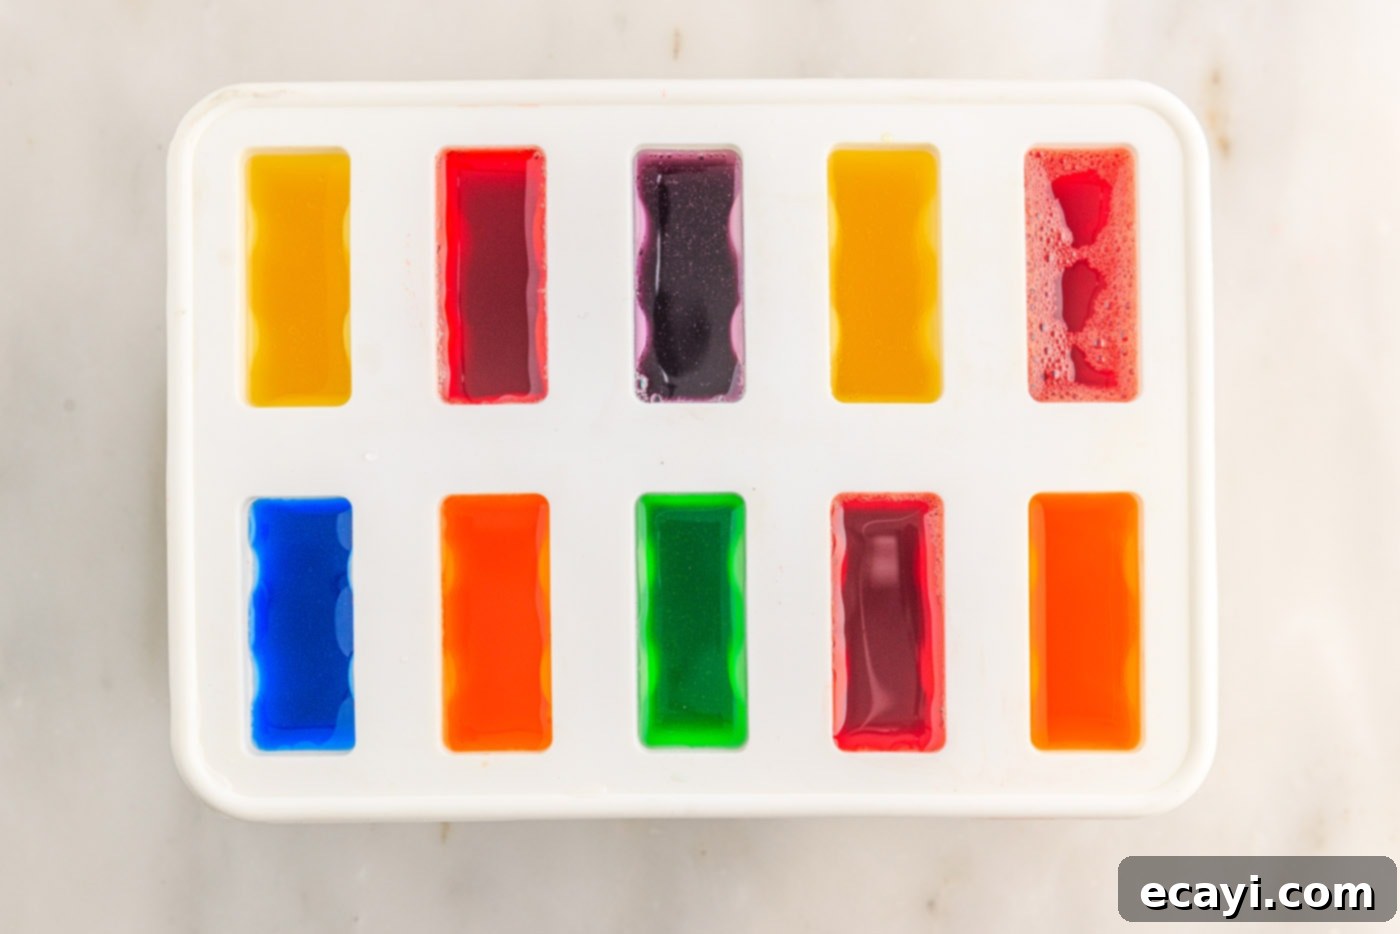
JELLO POWDER: This is, without a doubt, the hero ingredient. The beauty of Jello lies in its extensive flavor range, offering a kaleidoscope of colors and tastes. For the vibrant popsicles pictured here, we utilized classic flavors such as grape, cherry, lemon, lime, orange, and berry blue Jello. Remember, the recipe provided below is tailored for a single color/flavor batch. If you dream of a multi-colored assortment, simply multiply the ingredients for each additional flavor you wish to create. Don’t hesitate to experiment with different brands or even sugar-free Jello varieties if you’re looking to reduce sugar content. Just be aware that sugar-free versions might have a slightly different sweetness profile, so you may adjust the added sugar accordingly.
GRANULATED SUGAR: While Jello powder itself contains sugar, a small amount of additional granulated sugar enhances the overall sweetness and contributes to a smoother, less icy popsicle texture. If you prefer a less sweet treat, you can slightly reduce the amount, or if using sugar-free Jello, you might opt for a sugar substitute like Stevia or erythritol, ensuring it dissolves well in the hot water.
WATER: The precise use of water temperature is crucial. Boiling water is necessary to fully dissolve the Jello powder and sugar, preventing any grainy texture. Following this, cold water is added to cool down the mixture quickly, preparing it for freezing without waiting too long. Using purified or filtered water can sometimes result in a cleaner, more vibrant flavor profile, though tap water works perfectly fine.
Essential Equipment for Perfect Jello Pops
Before you begin, make sure you have these basic kitchen tools on hand:
- Popsicle Molds: Choose molds with cavities of about 3 to 3.5 ounces. Silicone molds are excellent for easy demolding, while traditional plastic molds with lids that secure the sticks work just as well.
- Mixing Bowls: A medium-sized bowl or a large measuring cup with a spout will make mixing and pouring much easier.
- Whisk: Essential for thoroughly dissolving the Jello and sugar.
How to Make Jello Popsicles: A Step-by-Step Guide
These step-by-step photos and instructions are designed to help you visualize the process of making these delightful Jello pops. For a printable version of this recipe, complete with precise measurements and comprehensive instructions, please refer to the recipe card located at the bottom of this page. You can easily Jump to Recipe to access it directly.
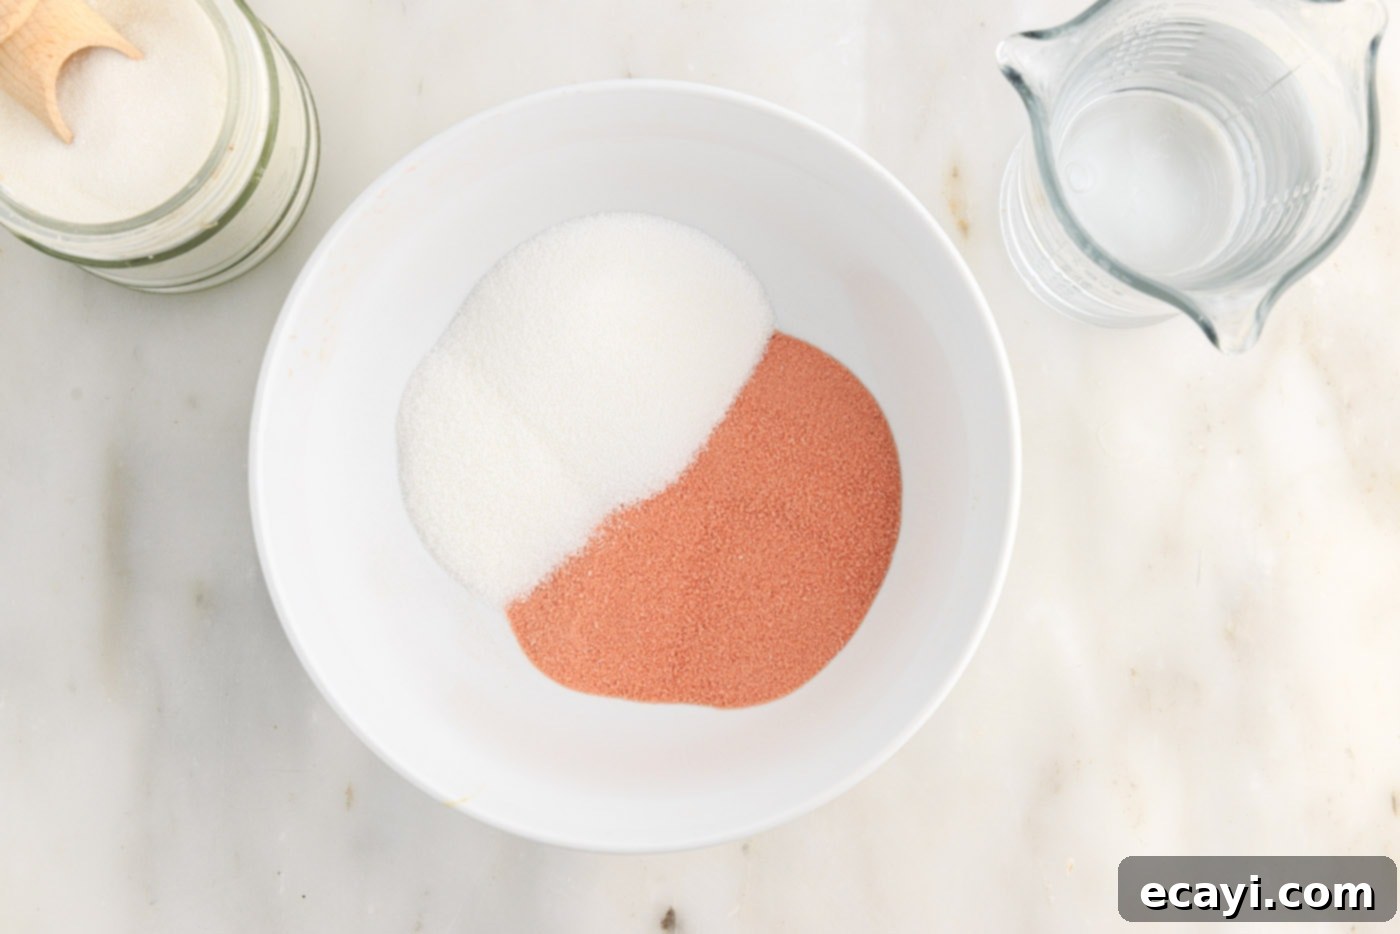
- Combine Dry Ingredients: Begin by placing your chosen Jello powder and the granulated sugar into a medium-sized mixing bowl or a large measuring cup. Ensure your bowl is large enough to comfortably whisk the ingredients without spillage.

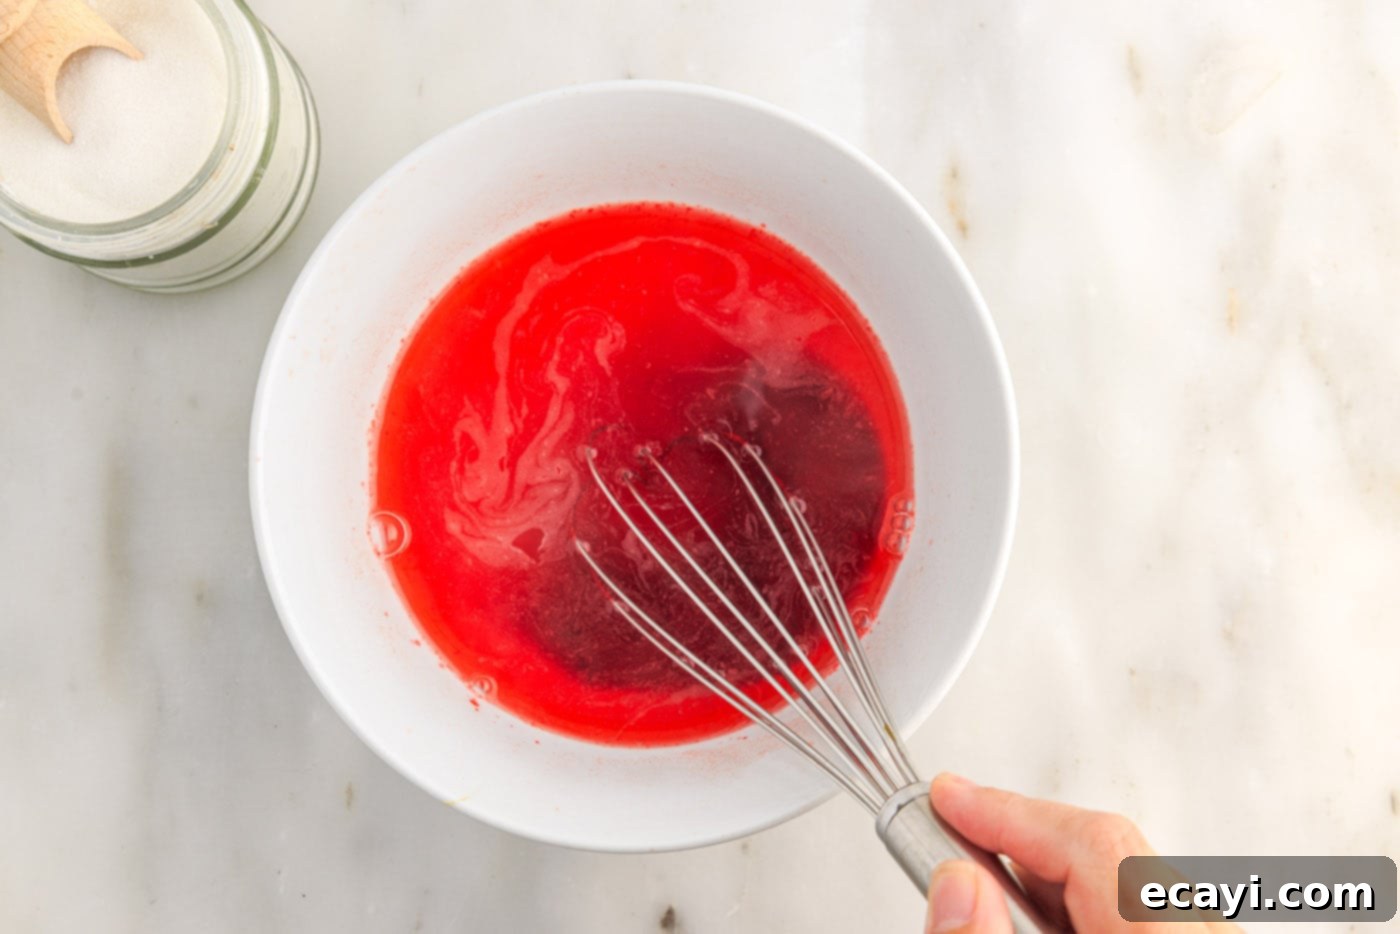
- Dissolve with Boiling Water: Carefully add 1 cup of freshly boiling water to the dry ingredients. Whisk vigorously and continuously until both the Jello powder and the sugar are completely dissolved. It’s important to ensure no granules remain to achieve a smooth, clear liquid.

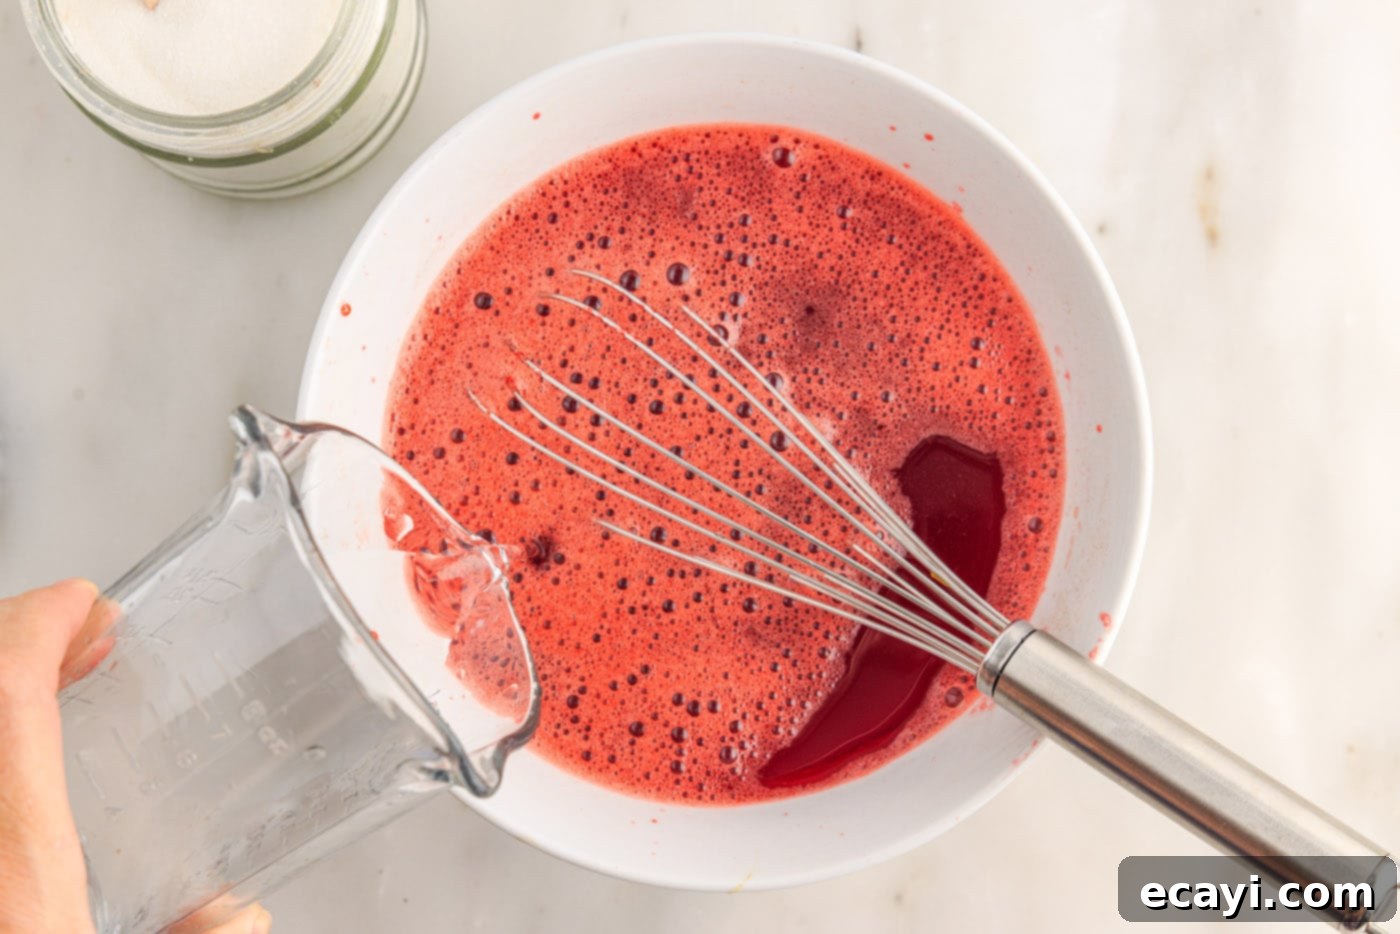
- Cool the Mixture: Next, pour 1 cup of cold water into the Jello mixture. Stir gently until all the liquids are thoroughly combined and the mixture has cooled down significantly. This step is crucial for stopping the gelling process prematurely and preparing the mixture for freezing.

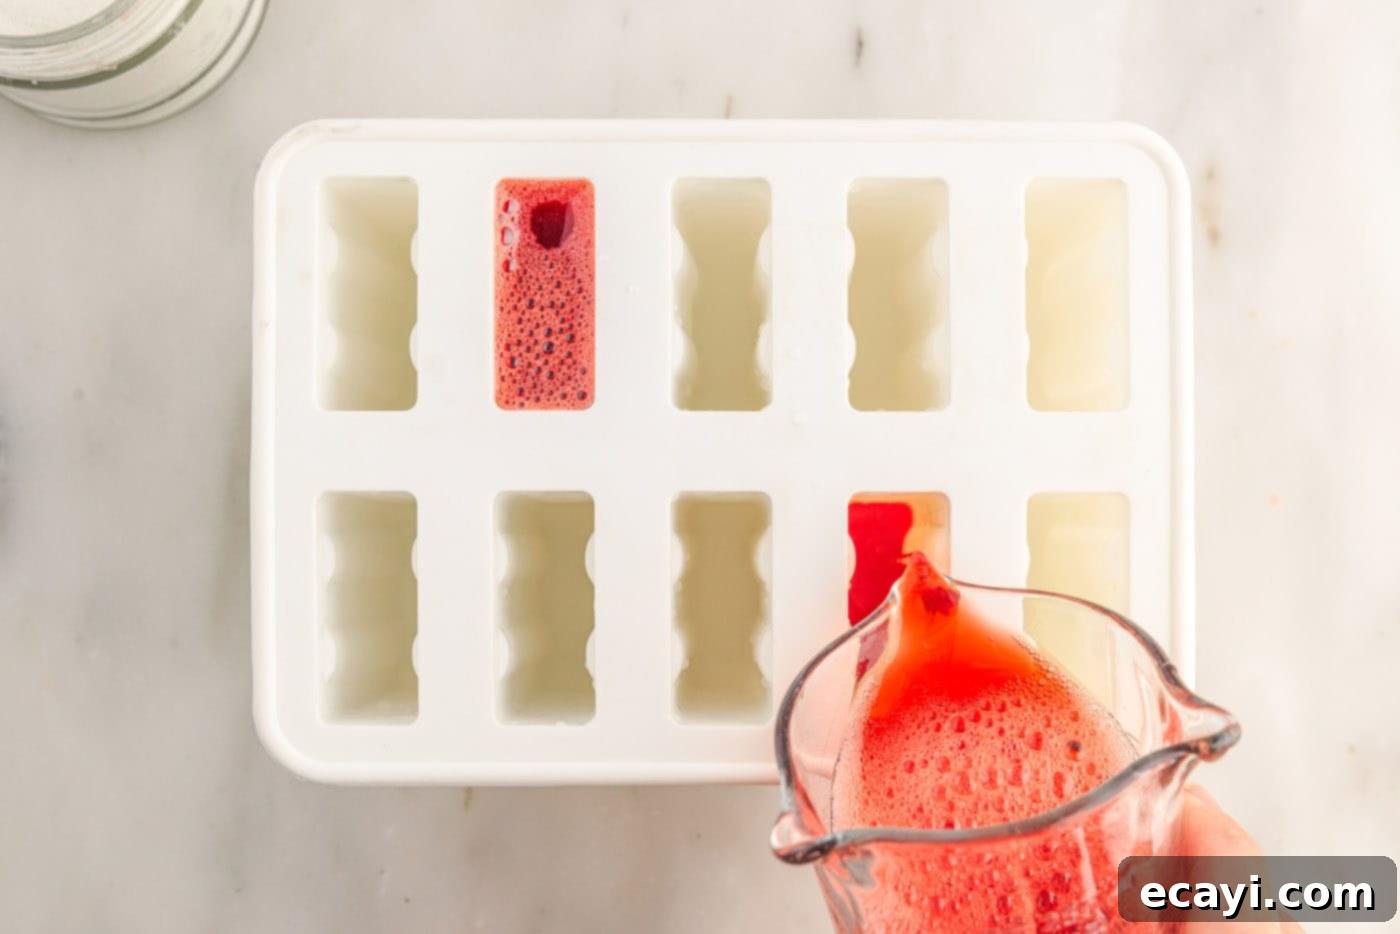
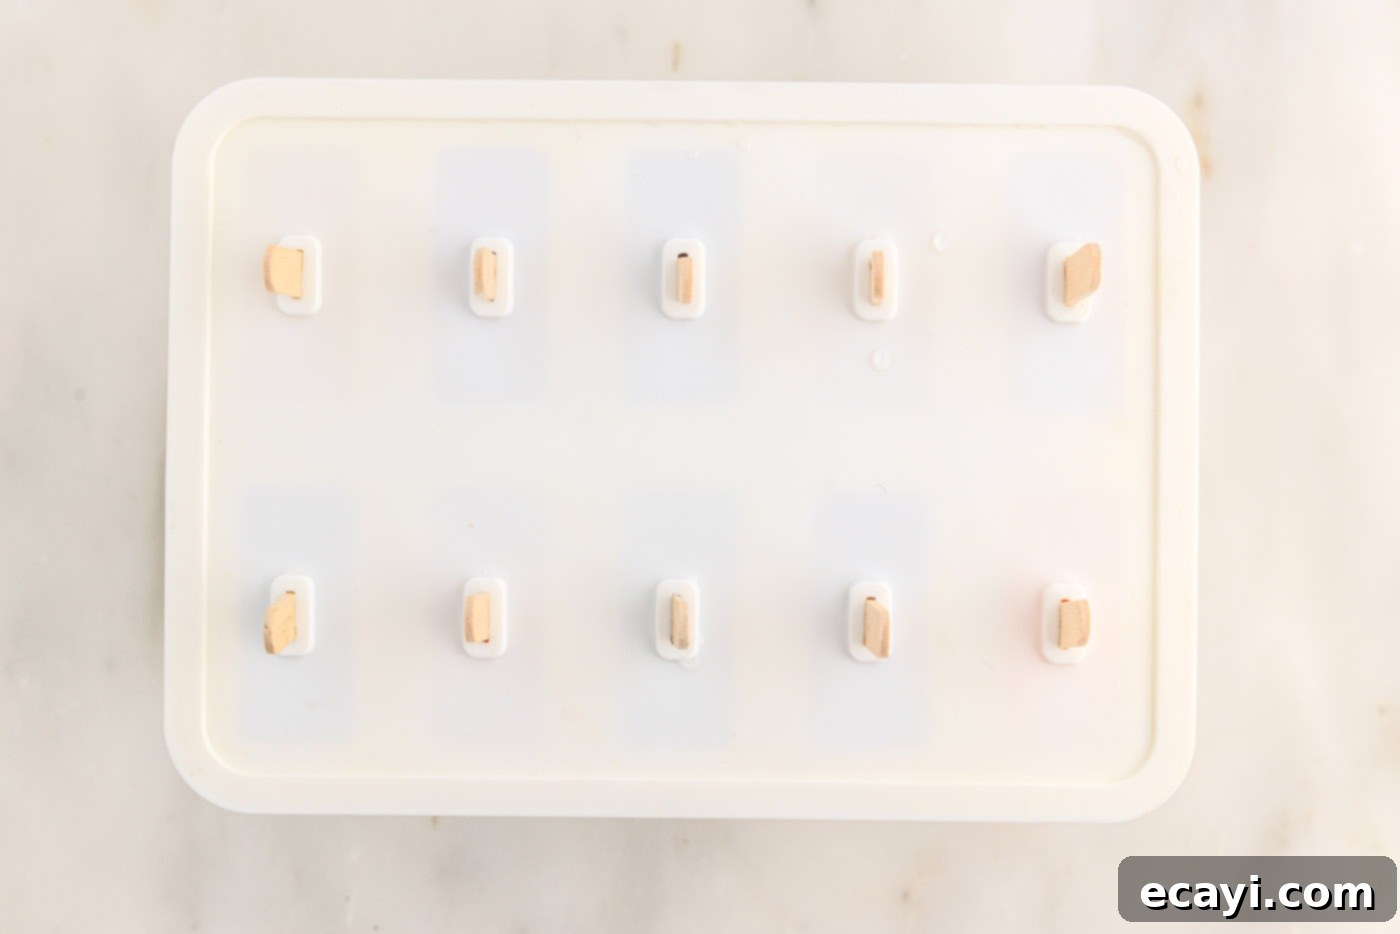
- Fill the Molds: Carefully pour the Jello mixture into your popsicle molds. Be sure to leave approximately 1/2 inch of space at the top of each mold. This allows for expansion as the liquid freezes, preventing your popsicles from overflowing or cracking the mold. Secure the lid (if your mold has one) and insert the popsicle sticks. If you’re using a mold that doesn’t hold the sticks in place, don’t worry! Simply allow the Jello to firm up in the freezer for 1-2 hours first, then insert the sticks, and let them freeze completely.


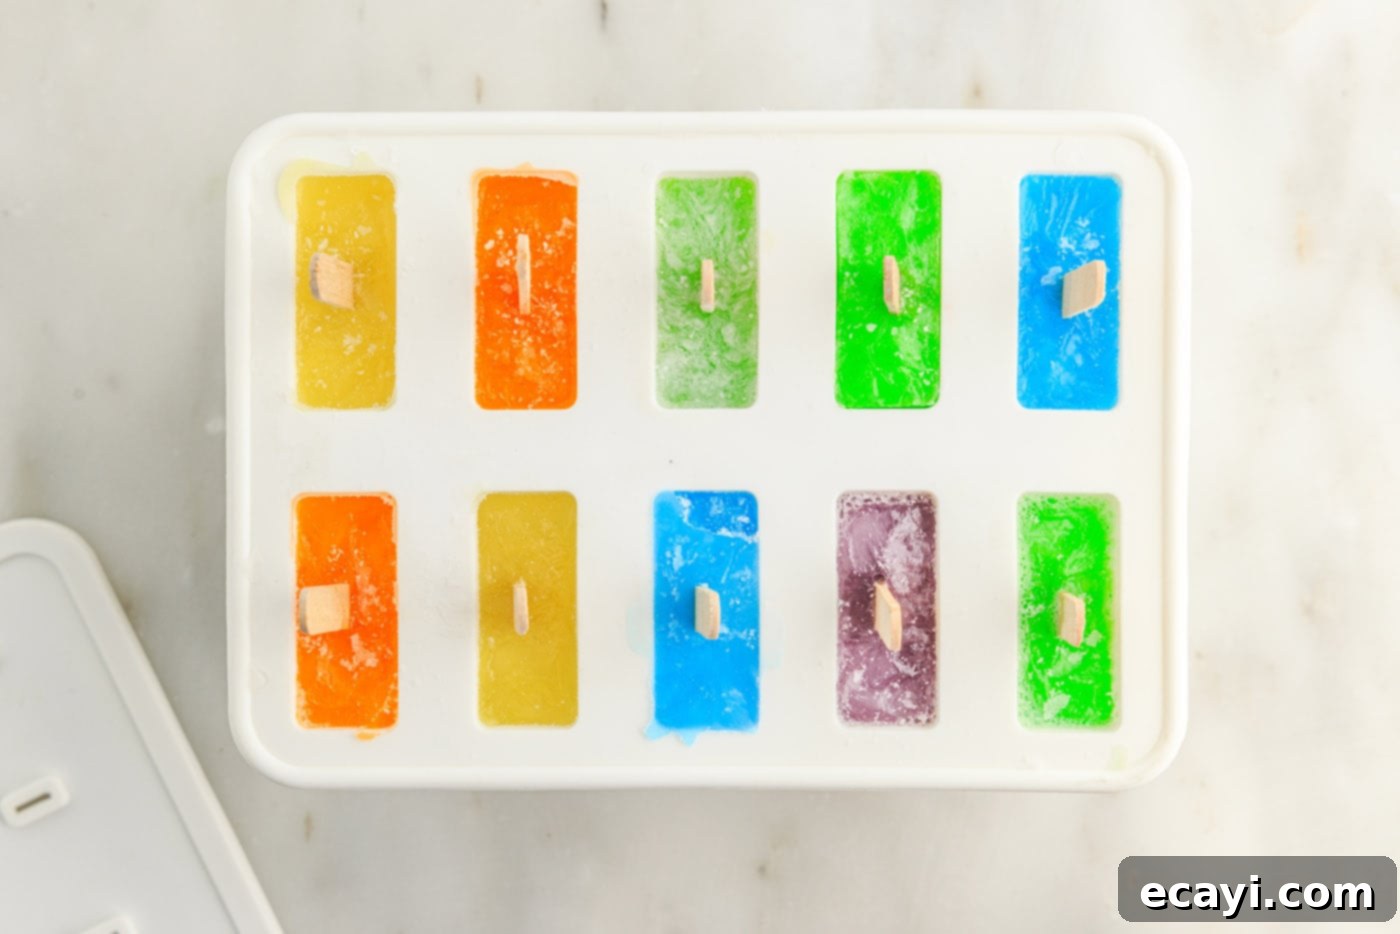
- Freeze Until Solid: Place the filled molds into your freezer and let them chill for approximately 8 hours, or until they are completely frozen solid. Patience is key here; a fully frozen popsicle will have the best texture and will be much easier to remove from the mold without squishing.

- Remove and Store: Once thoroughly frozen, remove the popsicles from their molds. If you’re not serving them immediately, you can place them on a sheet pan lined with parchment paper and store them in the freezer. For longer-term storage, arrange them in layers in a freezer-safe container or bag, using parchment paper between each layer to prevent them from sticking together.
Frequently Asked Questions & Expert Tips for Jello Pops
Once your Jello popsicles are completely frozen, remove them from their molds. For best results and to prevent freezer burn or sticking, individually wrap each popsicle tightly with plastic wrap. Then, place the wrapped popsicles into a large resealable freezer bag or an airtight container. They can be stored in the freezer for up to 6 months. If you prefer not to wrap individually, you can layer them in a container with sheets of parchment paper between each pop.
If you find your popsicles are stubbornly stuck in their molds, here’s a trick: briefly dip the molds into lukewarm water for about 10-15 seconds. This gentle warmth helps to slightly loosen the outer layer of the popsicle, making it much easier to pull out. For silicone molds, you can often simply press up from the bottom to release them. Remember, the popsicles must be frozen solid; otherwise, they may squish or break when you attempt to remove them.
Layering colors adds a fantastic visual appeal to your Jello pops. To achieve this, fill your molds partially with your first desired flavor. Place these molds into the freezer for 1-2 hours, or until that first layer is firm and set, similar to how Jello would set in the refrigerator. Once firm, you can then pour on the next layer of a different color. Repeat this process, freezing each layer until set, before adding the next. While this method requires a bit more time and patience compared to making single-flavor pops, the stunning layered look and delightful combination of flavors are well worth the extra effort!
Absolutely! This recipe works perfectly with sugar-free Jello. If you’re using sugar-free Jello and prefer a sweeter taste, you might want to add a sugar substitute of your choice, like Stevia or erythritol, adjusting the amount to your personal preference. Ensure that any sweetener you use dissolves completely in the hot water step.
When properly stored in an airtight container or individually wrapped to prevent freezer burn, homemade Jello popsicles can last for up to 6 months in the freezer. They are best enjoyed within the first 2-3 months for optimal flavor and texture, but will remain safe to eat for longer.
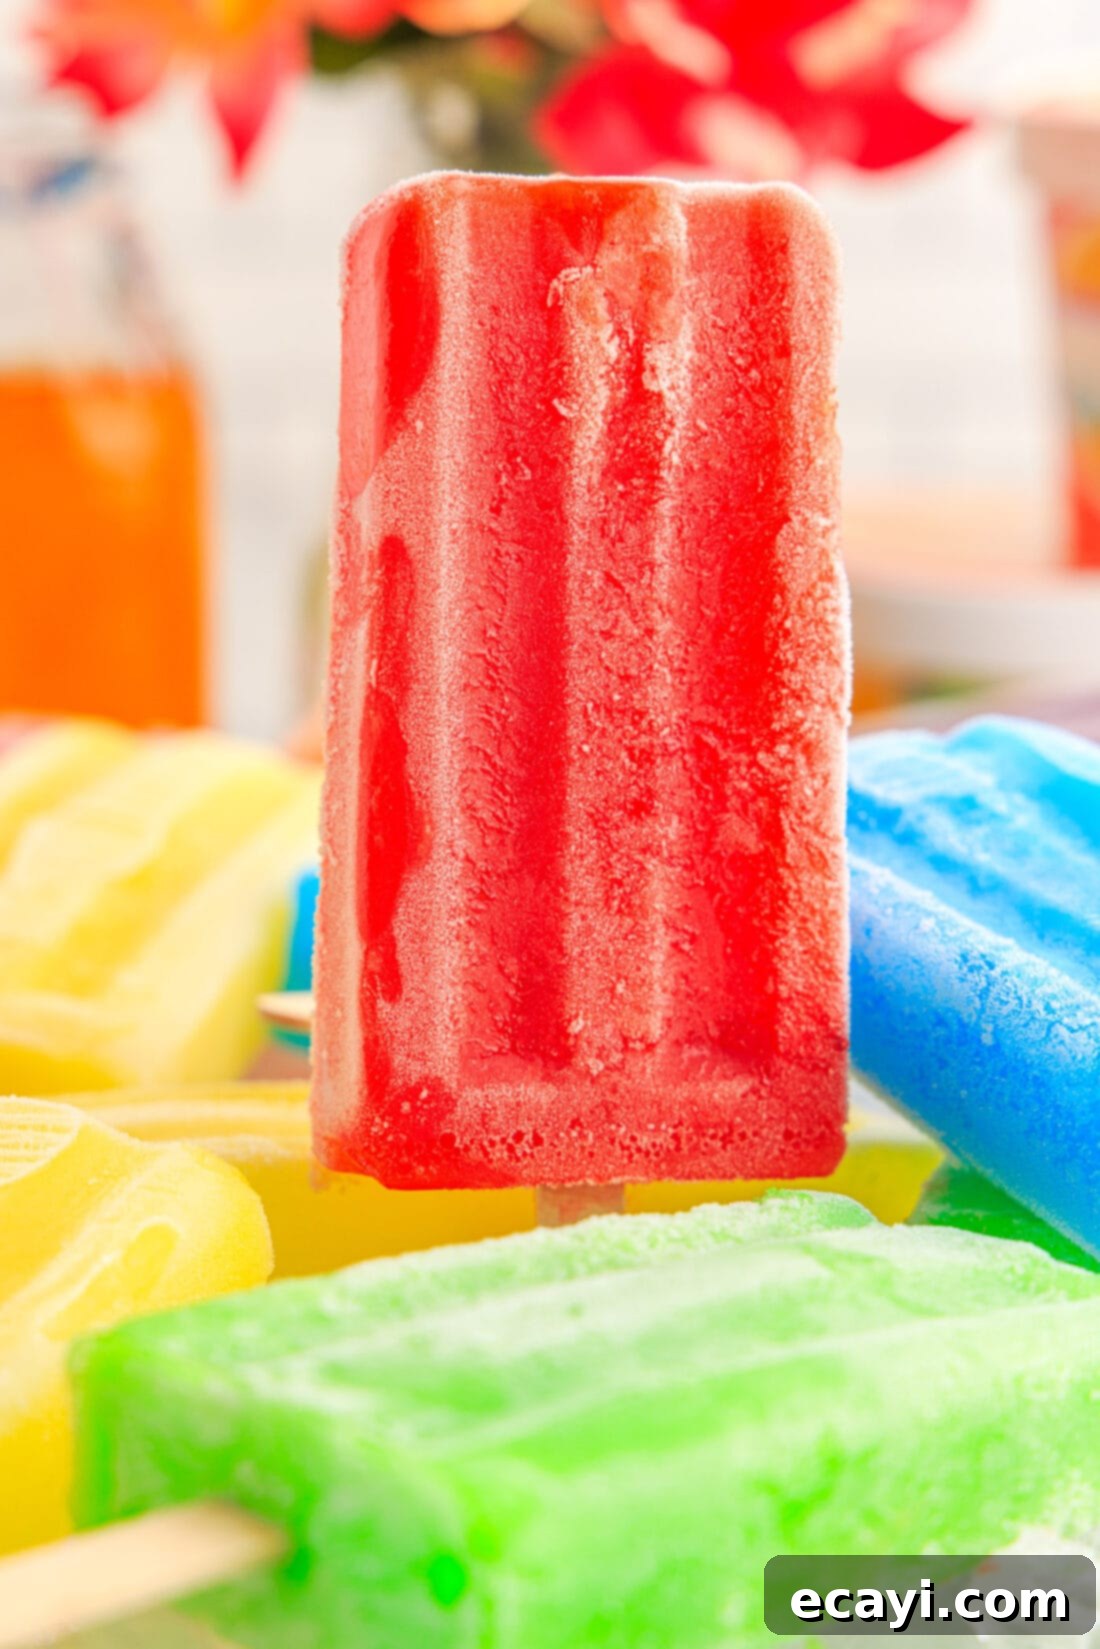
Creative Serving Suggestions for Jello Pops
Jello popsicles are the quintessential sweet and easy summertime treat. Their vibrant colors and refreshing flavors make them ideal for almost any occasion. Get creative with how you serve them:
- Party Perfect: Arrange a colorful assortment of Jello pops in a large bowl of ice for a stunning presentation at summer gatherings, BBQs, or birthday parties.
- Add Fresh Fruit: For an extra burst of flavor and texture, try adding finely diced fresh fruit (like berries or melon) to your Jello mixture before pouring it into the molds.
- Adult Twist: For an adult-friendly version, a small splash of clear alcohol can be added to the Jello mixture (adjusting liquid amounts slightly). Remember to label these clearly!
- Themed Events: Match your Jello colors to a specific theme or holiday for a fun and festive touch.
Always remember to keep your popsicles frozen solid until you’re ready to serve them to maintain their perfect icy consistency and vibrant appearance.
Discover More Refreshing Popsicle Recipes
If you’re a fan of these delightful Jello pops, you’ll love exploring other refreshing homemade popsicle creations. Here are some more fantastic recipes to inspire your next frozen treat adventure:
- Homemade Fruit Popsicles
- Boozy Ice Pops (for Adults!)
- Creamy Creamsicle Popsicles
- Sweet Strawberry Banana Popsicles
- Indulgent Blueberry Cheesecake Popsicles
I love to bake and cook and share my kitchen experience with all of you! Remembering to come back each day can be tough, that’s why I offer a convenient newsletter every time a new recipe posts. Simply subscribe and start receiving your free daily recipes!
The Full Recipe: Jello Popsicles
Jello popsicles are the perfect icy summertime treat that are prepped in a matter of minutes. The hardest part is letting them chill in the freezer until solid.
IMPORTANT: There are often Frequently Asked Questions and Expert Tips within the blog post that you may find helpful. Simply scroll back up to read them!
Print Recipe |
Pin It |
Rate It
Course: Dessert
Cuisine: American
Servings: 6 popsicles
Total Time: 8 hours 5 minutes (5 min prep, 8 hrs freeze)
Calories: 97
Author: Amanda Davis
Ingredients
- 1 (3 ounce) package of jello (in any flavor)
- ⅓ cup granulated sugar
- 2 cups water (divided: 1 cup boiling, 1 cup cold)
Things You’ll Need
- Popsicle mold (3 – 3.5 ounces in each cavity)
- Mixing bowls
- Whisk
Before You Begin (Helpful Notes & Tips)
- This recipe is for ONE color/flavor batch. Easily multiply the ingredients for additional batches using different flavors.
- For the images, we used grape, cherry, lemon, lime, orange, and berry blue jello.
- The jello mixture will remain liquid at room temperature for some time. If freezing in batches, cover excess jello with plastic wrap. If it thickens too much for pouring, microwave for 20-30 seconds.
- To remove stubborn popsicles, dip molds into lukewarm water for a few seconds. For silicone molds, press from the bottom. Ensure popsicles are frozen solid to prevent squishing.
- To layer colors, fill partially with one flavor, freeze 1-2 hours until set, then add the next layer. Repeat until the mold is full. This method takes more time but creates beautiful results.
Instructions
- Place jello powder and sugar in a medium bowl or large measuring cup.
- Add 1 cup of boiling water and whisk until jello powder and sugar are completely dissolved.
- Add 1 cup of cold water to the jello mixture and stir until combined.
- Pour mixture into popsicle molds, leaving about ½” of space at the top of the mold for expansion. Secure lid and popsicle sticks. (If your mold doesn’t hold sticks, freeze for 1-2 hours until firm, then insert sticks and continue freezing.)
- Freeze the popsicles for about 8 hours or until very firm.
- Remove from the molds and place them on a sheet pan lined with parchment paper to store in the freezer, or layer them in a freezer-safe container or bag with parchment paper between popsicles to prevent sticking.
Nutrition
Calories: 97cal |
Carbohydrates: 24g |
Protein: 1g |
Fat: 0.03g |
Sodium: 70mg |
Potassium: 1mg |
Sugar: 23g |
Calcium: 3mg |
Iron: 0.02mg
Follow on Pinterest @AmandasCookin or tag #AmandasCookin!
The recipes on this blog are tested with a conventional gas oven and gas stovetop. It’s important to note that some ovens, especially as they age, can cook and bake inconsistently. Using an inexpensive oven thermometer can assure you that your oven is truly heating to the proper temperature. If you use a toaster oven or countertop oven, please keep in mind that they may not distribute heat the same as a conventional full sized oven and you may need to adjust your cooking/baking times. In the case of recipes made with a pressure cooker, air fryer, slow cooker, or other appliance, a link to the appliances we use is listed within each respective recipe. For baking recipes where measurements are given by weight, please note that results may not be the same if cups are used instead, and we can’t guarantee success with that method.
