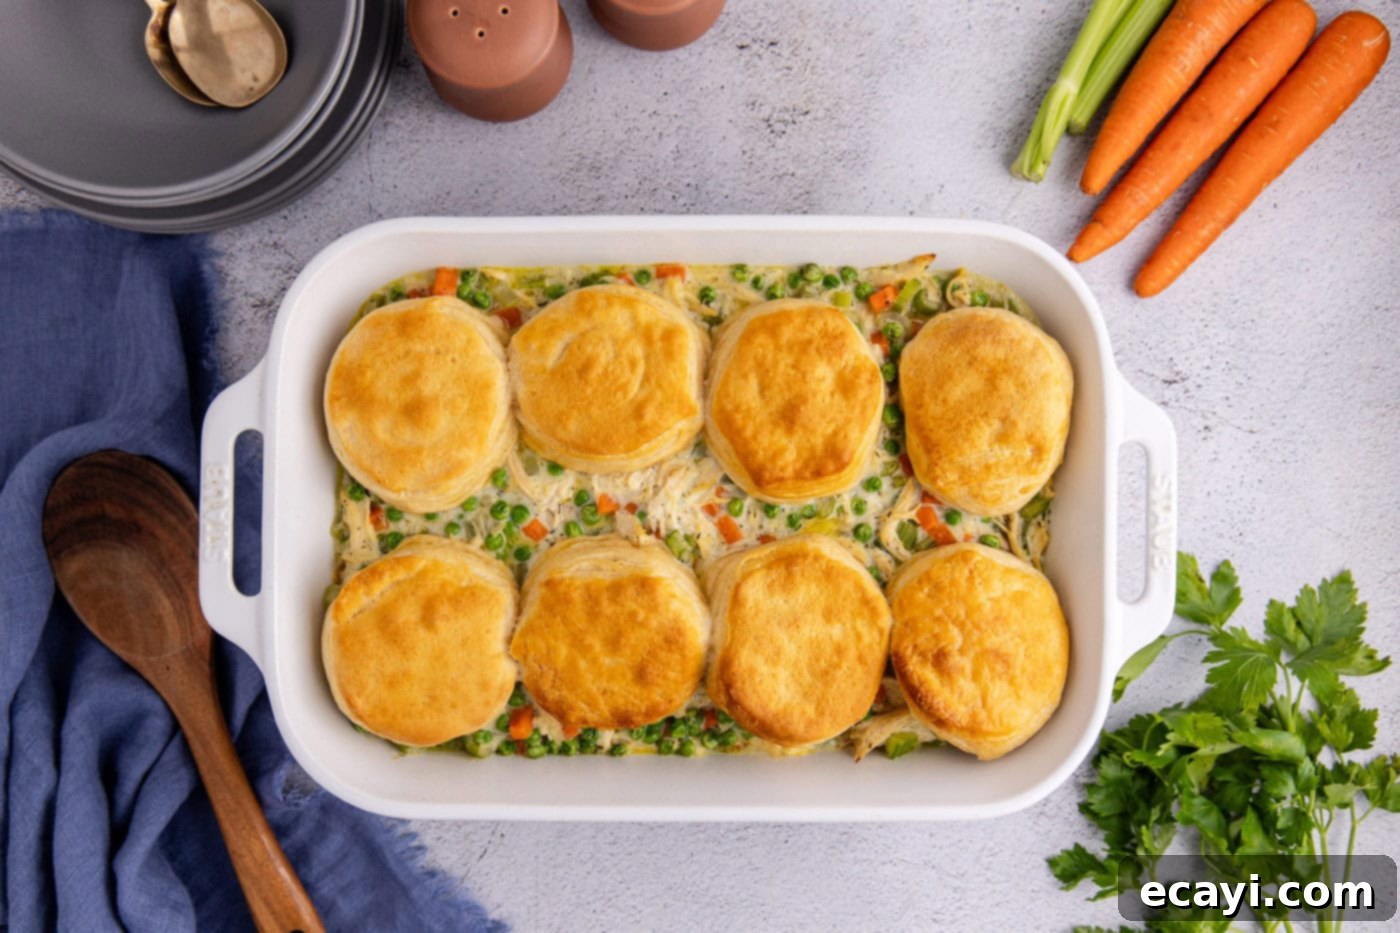
Ultimate Easy Chicken Pot Pie Casserole with Biscuits: Your Go-To Weeknight Comfort Food
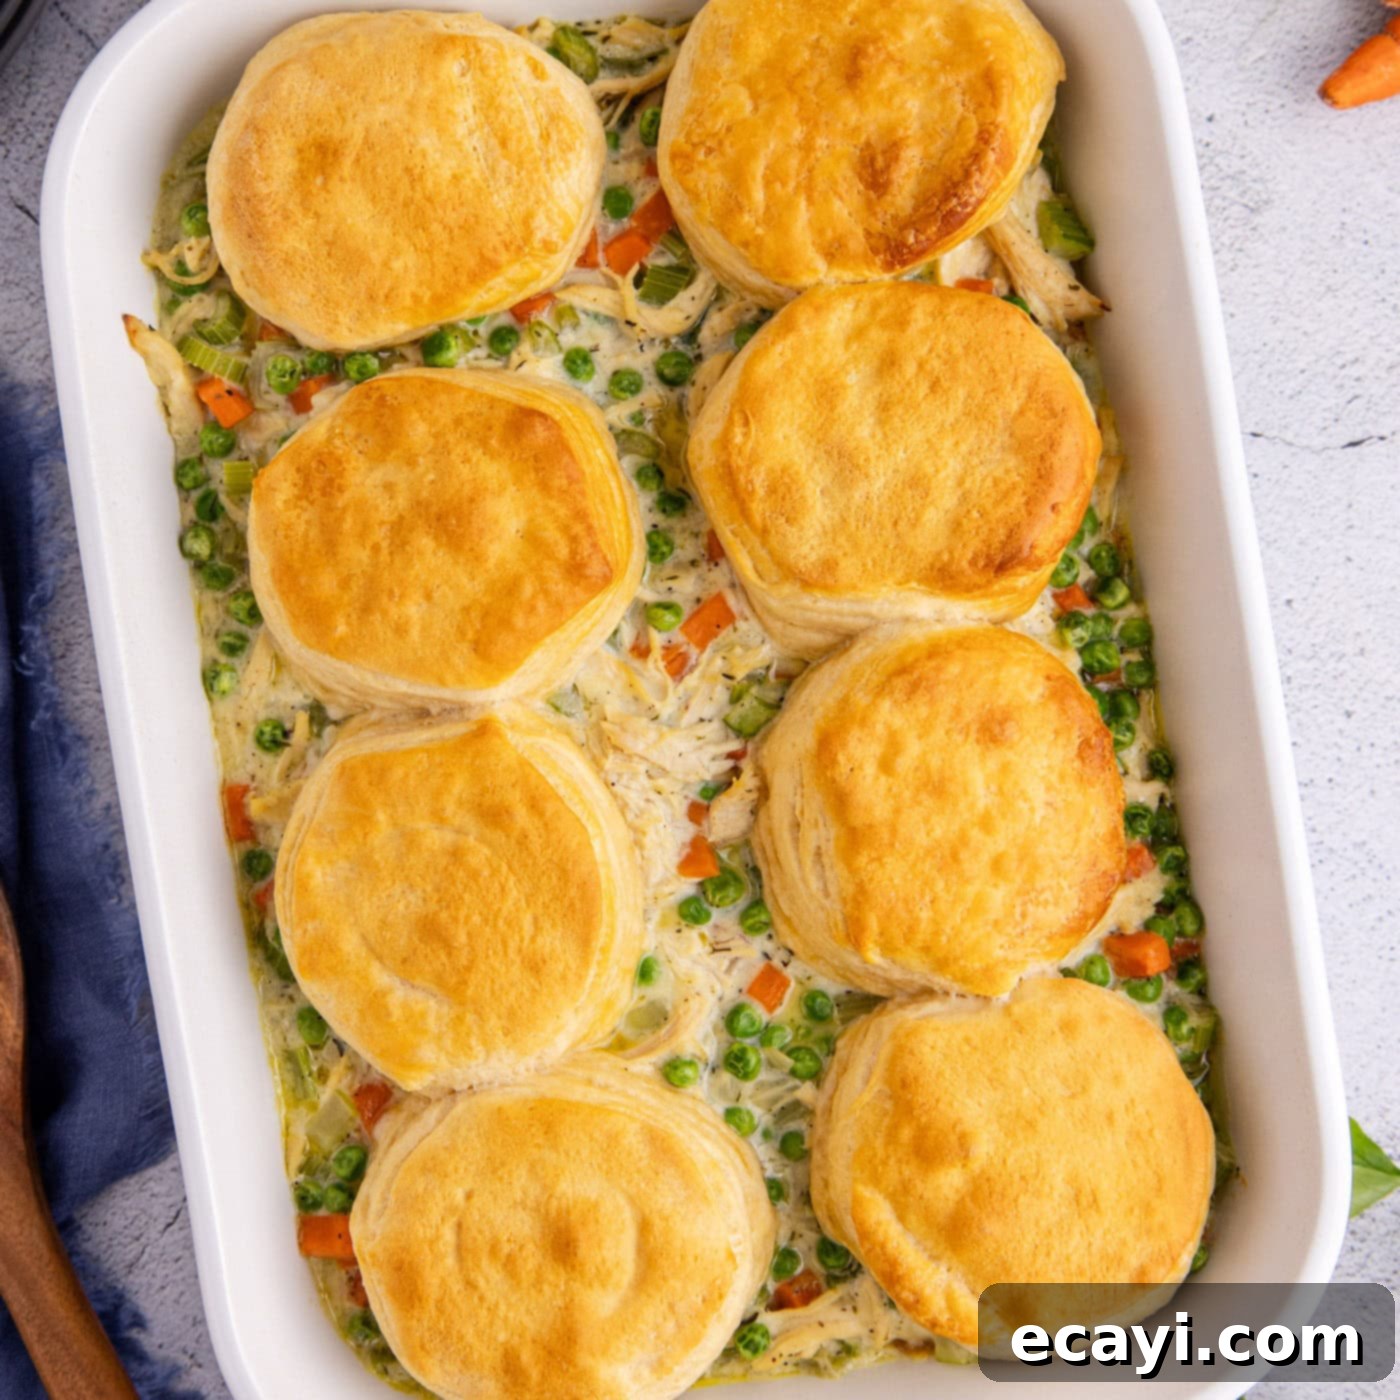
Discover the ultimate weeknight hero: our easy chicken pot pie casserole! This delightful dish effortlessly brings together all the beloved flavors of a classic chicken pot pie in a convenient, family-friendly format. With the simple magic of canned biscuits, succulent chicken, and a medley of wholesome peas, carrots, and celery, you’re just minutes away from a truly comforting and satisfying meal that will become a regular in your dinner rotation.
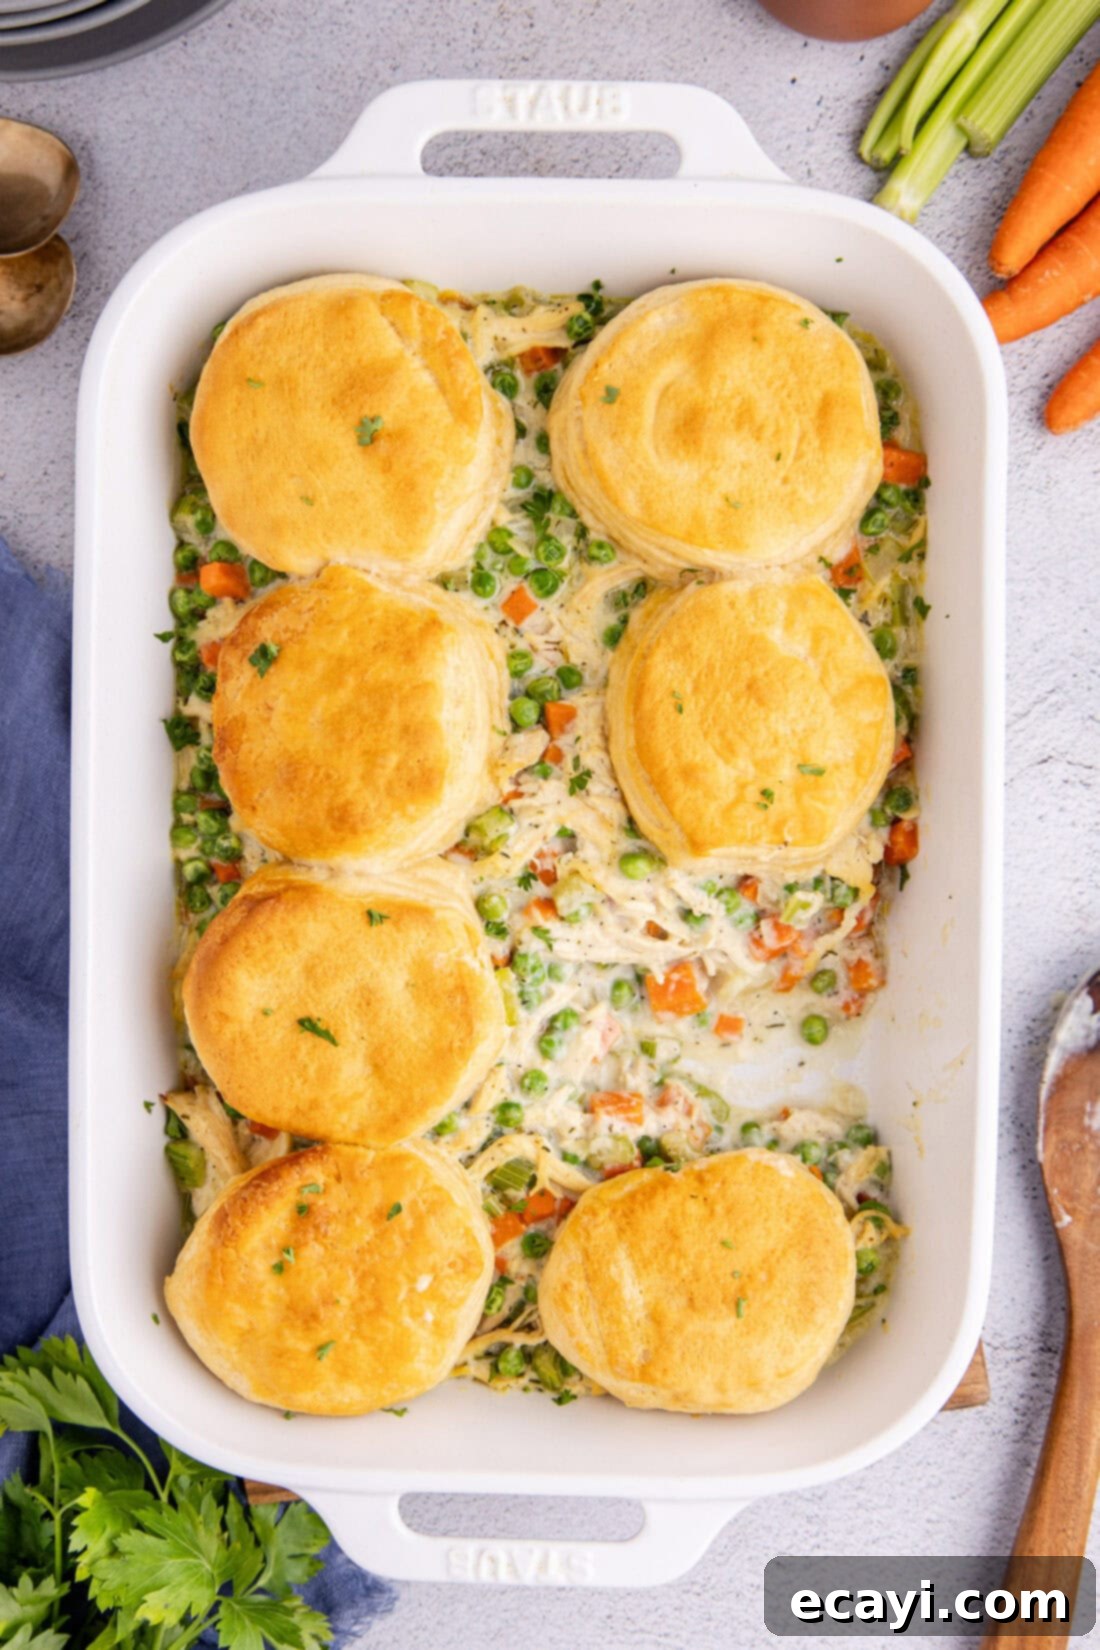
Why This Easy Chicken Pot Pie Casserole Recipe is a Must-Try
There’s a reason why chicken pot pie is a timeless classic: its warm, creamy filling packed with tender chicken and hearty vegetables, all crowned with a golden, flaky crust. Our chicken pot pie casserole takes this beloved comfort food and elevates it with an ingenious shortcut, making it perfectly suited for busy weeknights without sacrificing any of that nostalgic flavor. Instead of wrestling with traditional pie crusts, we opt for convenient canned biscuits, which bake up into a wonderfully soft and savory topping that perfectly complements the rich filling.
This recipe offers the comforting, familiar taste of a traditional chicken pot pie but is designed for ultimate ease and efficiency. It’s ideal for serving family-style, allowing everyone to dig into a generous portion of flavorful chicken, sweet peas, crisp carrots, aromatic celery, and savory onion, all bathed in a perfectly seasoned, creamy sauce. The use of store-bought biscuits as a topping is not only a fantastic time-saver but also adds a delightful texture contrast, making each bite truly satisfying.
Similar to our Instant Pot Chicken Pot Pie, which also leverages the convenience of canned biscuits, this casserole method drastically cuts down on preparation and baking time. Instead of the extensive steps involved in making and rolling out a traditional pie crust, you simply combine your ingredients in a baking dish and top with ready-to-bake biscuits. This means you can enjoy a wholesome, homemade meal in a fraction of the time, transforming a potentially lengthy cooking project into a quick and enjoyable experience. It’s the perfect solution for when you crave homemade goodness but need dinner on the table fast, without settling for anything bland or boring.
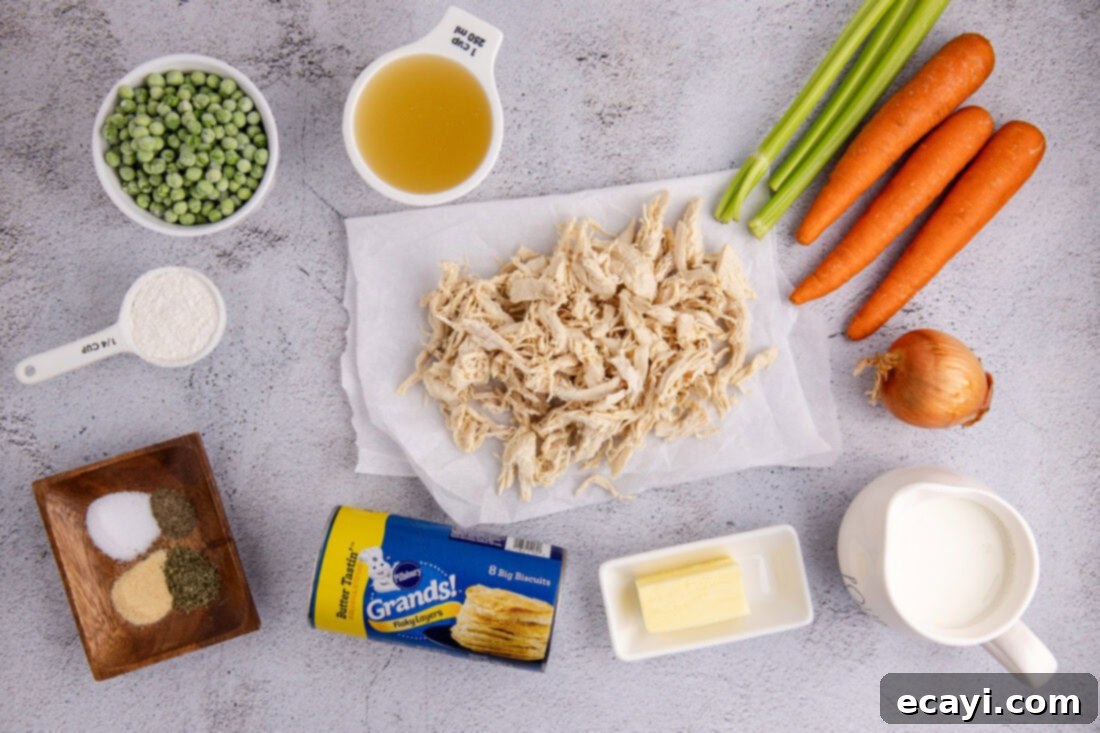
Key Ingredients for Your Delicious Chicken Pot Pie Casserole
Gathering your ingredients is the first step towards creating this incredible chicken pot pie casserole. You’ll find a detailed list of all measurements, ingredients, and comprehensive instructions in the printable version located at the very end of this post. For now, let’s highlight the stars of the show and discuss some helpful substitution ideas.
Ingredient Spotlight & Smart Swaps for Your Casserole
Let’s dive deeper into the components of this comforting chicken pot pie casserole and explore some smart substitutions to fit your pantry and preferences:
CHICKEN – The heart of our casserole! While fresh chicken breast works wonderfully when cooked and shredded, a fantastic time-saving tip is to use pre-cooked, shredded rotisserie chicken. This significantly cuts down on prep time, making dinner even quicker. This recipe is also an excellent opportunity to utilize leftover cooked chicken from other meals or even transform holiday remnants like crockpot turkey breast or Thanksgiving turkey into a brand-new, exciting dish. Whether it’s white meat or a mix, ensure it’s fully cooked and shredded for easy incorporation into the creamy filling.
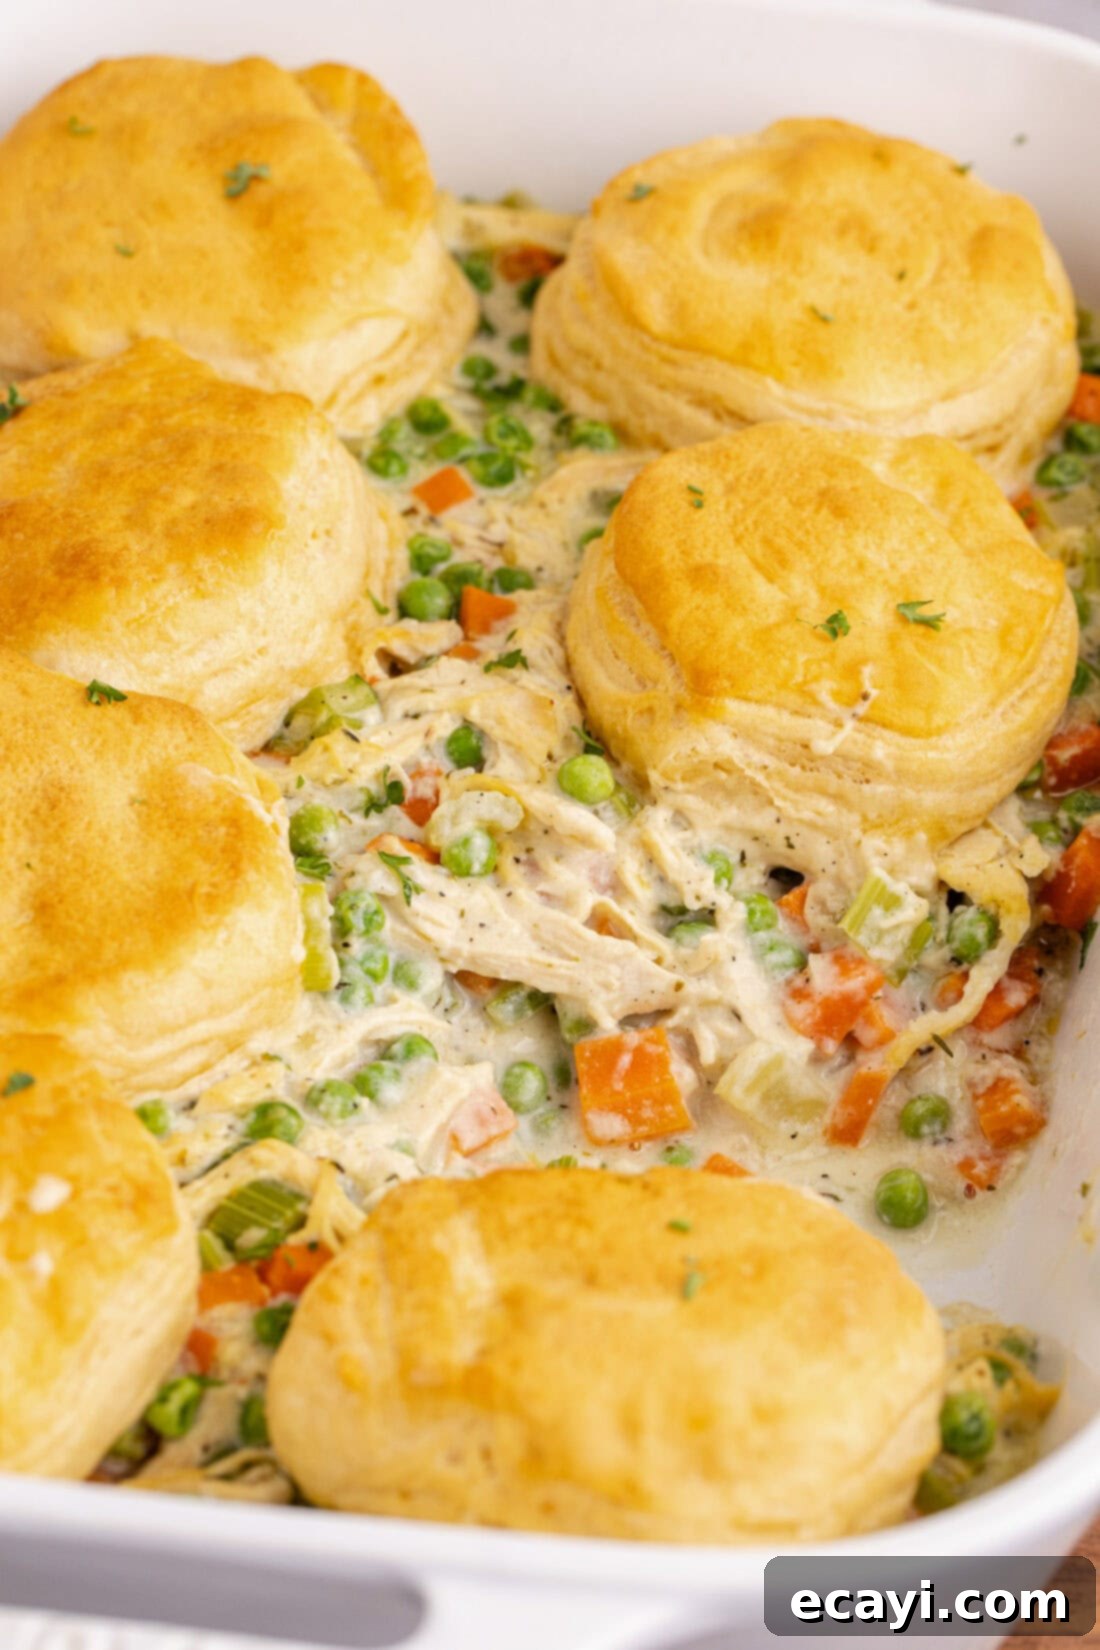
BISCUITS – Our secret weapon for a quick and easy topping! We highly recommend using Pillsbury Grands refrigerated biscuits for this recipe. Their generous size ensures excellent coverage over the entire 13×9 baking dish, minimizing gaps and creating a more cohesive “crust” experience. However, don’t hesitate to use regular-sized canned biscuits if that’s what you have on hand – they will work perfectly fine and still deliver that delicious, fluffy top. One crucial tip for Grand biscuits: due to their larger size and thickness, they might take slightly longer to cook through than the recommended 18-20 minutes, even if they appear golden brown on top. If you notice the tops browning too quickly while the centers are still doughy, simply cover the casserole loosely with aluminum foil and continue baking until the biscuits are fully cooked and golden brown throughout. This prevents burning while allowing the interior to finish baking beautifully.
VEGETABLES – We use a classic combination of peas, carrots, celery, and onion for that authentic pot pie flavor. To make things even simpler, feel free to substitute the individual frozen peas with a bag of frozen mixed vegetables. Look for varieties that contain carrots, corn, green beans, and peas for a more varied texture and nutritional boost. You could also add other finely diced vegetables like potatoes or mushrooms if you wish, just ensure they are cooked until tender with the other aromatics or are pre-cooked before adding to the filling.
FLOUR – All-purpose flour is used to create a roux with the butter and vegetables, which acts as the thickening agent for our rich and creamy sauce. This step is essential for achieving the desired consistency, transforming the liquids into a luxurious, clingy filling.
MILK & STOCK – Whole milk contributes to the creamy texture and rich flavor of the filling, while low-sodium chicken stock ensures a savory depth without over-salting the dish. Using low-sodium stock allows you to control the seasoning precisely. You could also use vegetable stock for a slightly different flavor profile, especially if accommodating dietary needs (though this recipe includes chicken).
SEASONINGS – A blend of sea salt, dried thyme, garlic powder, and ground black pepper provides the classic aromatic base for chicken pot pie. Feel free to adjust these to your taste. A pinch of onion powder could be added for extra depth, or a touch of dried rosemary for a different herbaceous note.
Step-by-Step: How to Craft Your Easy Chicken Pot Pie Casserole
These step-by-step photos and instructions are here to guide you and help visualize how to make this incredibly easy chicken pot pie casserole. For a printable version of this recipe, complete with precise measurements and full instructions, simply Jump to Recipe at the bottom of this page.
- **Prepare Your Baking Dish:** Begin by preheating your oven to 375°F (190°C). While the oven heats, lightly grease a 9×13 casserole dish. A non-stick spray or a thin layer of butter works perfectly. Set the prepared dish aside, ready to receive your delicious filling.
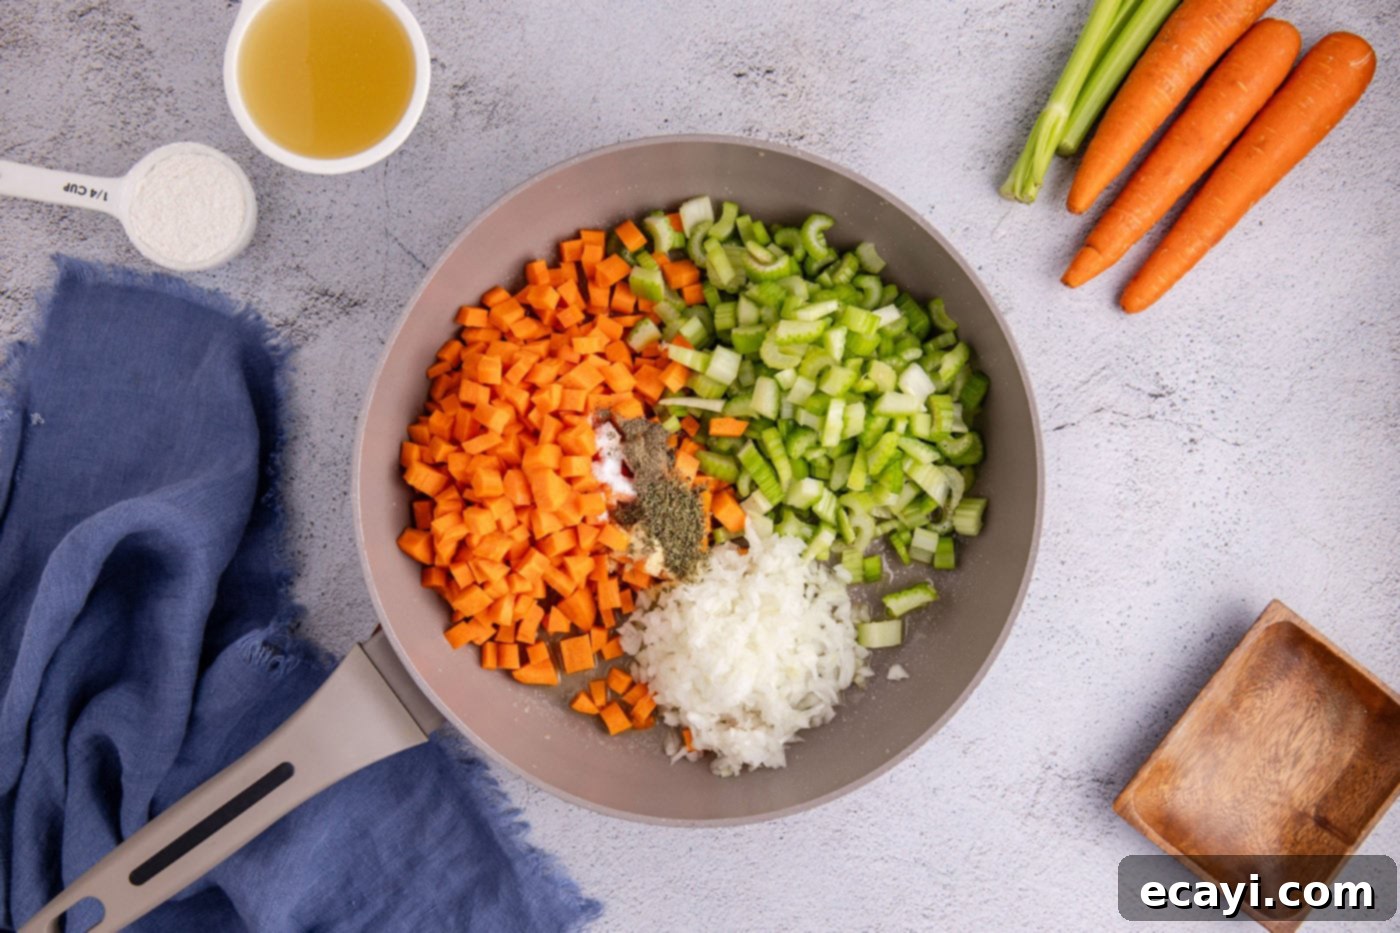
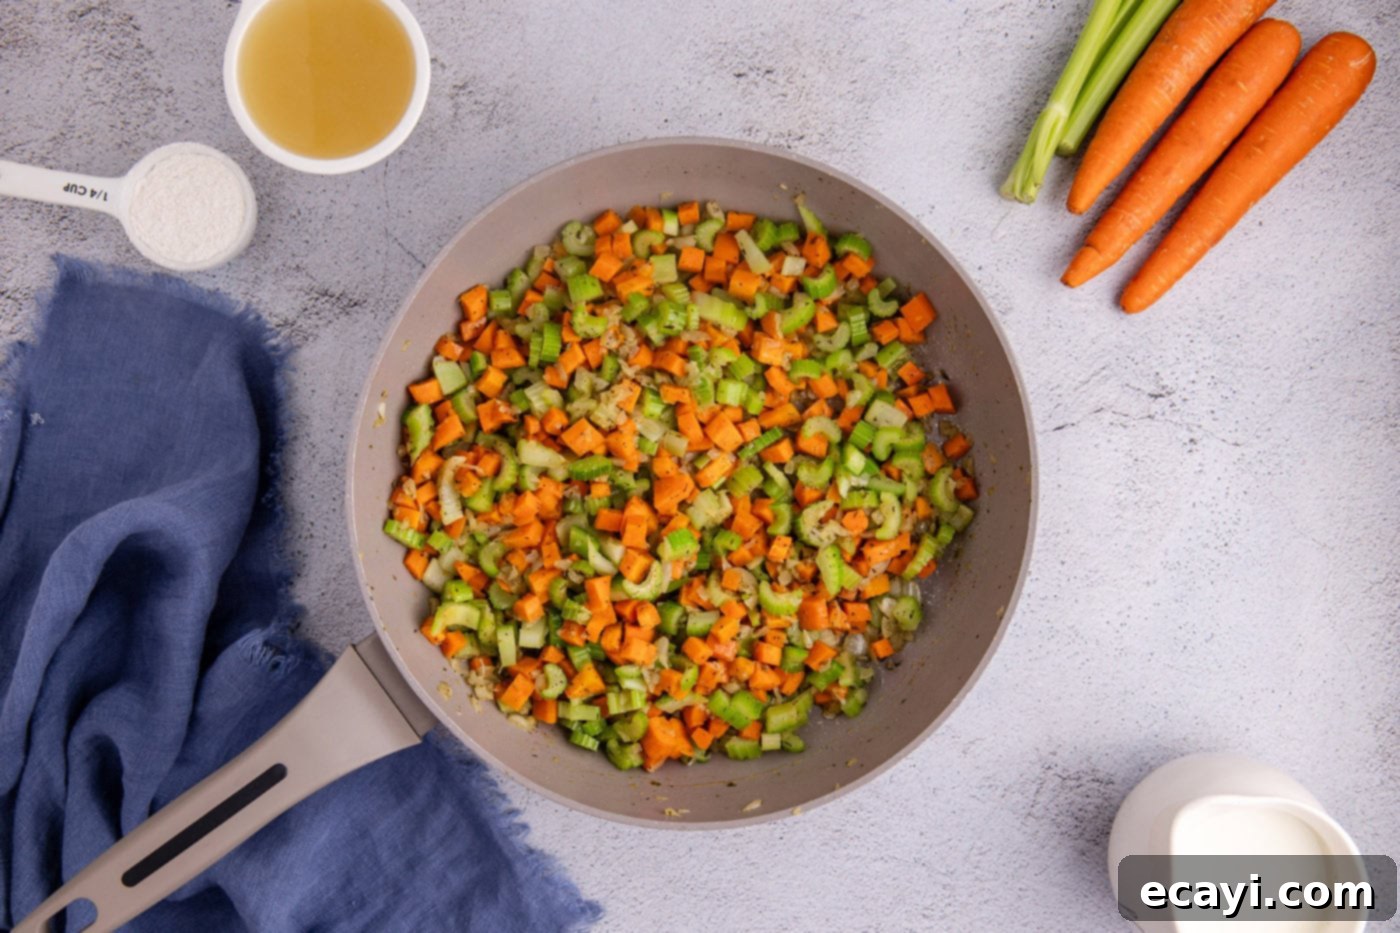
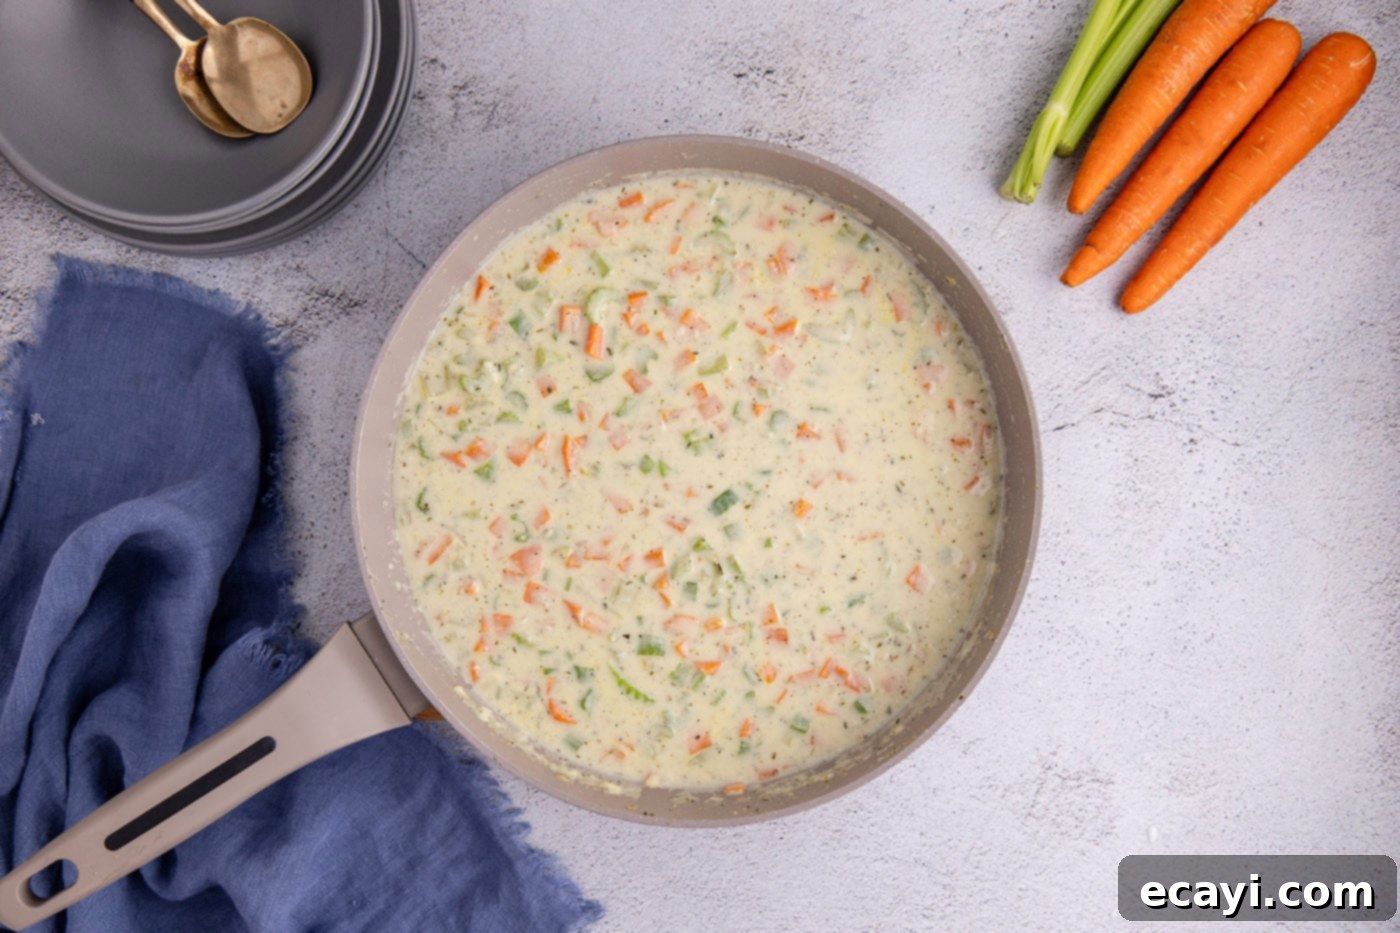
- **Sauté the Aromatics:** In a large skillet with deep sides (this helps contain the filling as it develops), melt the unsalted butter over medium heat. Once the butter is shimmering, add your diced carrots, celery, and yellow onion. These vegetables will form the aromatic foundation of your pot pie. Stir in the sea salt, dried thyme, garlic powder, and ground black pepper. Continue to cook, stirring occasionally, until the vegetables begin to soften, which typically takes about 5 minutes. This step is crucial for building deep flavor.


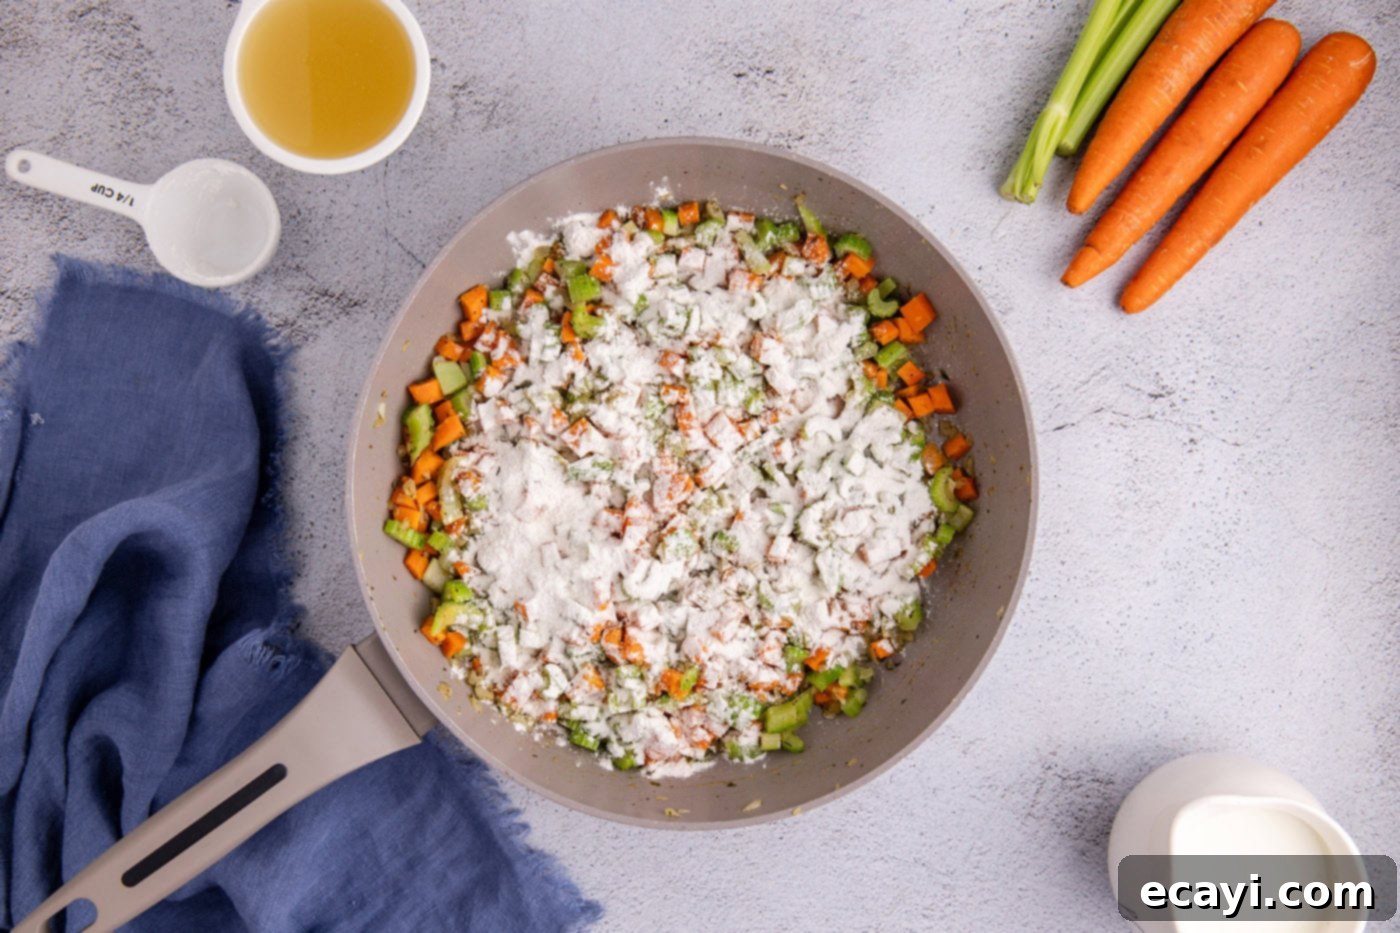
- **Create the Roux:** Sprinkle the all-purpose flour evenly over the softened vegetables in the skillet. Stir constantly for a couple of minutes, allowing the flour to cook and combine with the butter and vegetable juices. This creates a roux, which is essential for thickening the sauce and preventing a raw flour taste.

- **Thicken the Sauce:** Gradually pour in the whole milk and low-sodium chicken stock into the skillet, stirring constantly to prevent lumps. Increase the heat to bring the mixture to a gentle boil, then immediately reduce the heat to medium-low. Continue to stir regularly, allowing the sauce to simmer and thicken. This process usually takes about 3-5 minutes, resulting in a rich, creamy, and wonderfully aromatic filling.

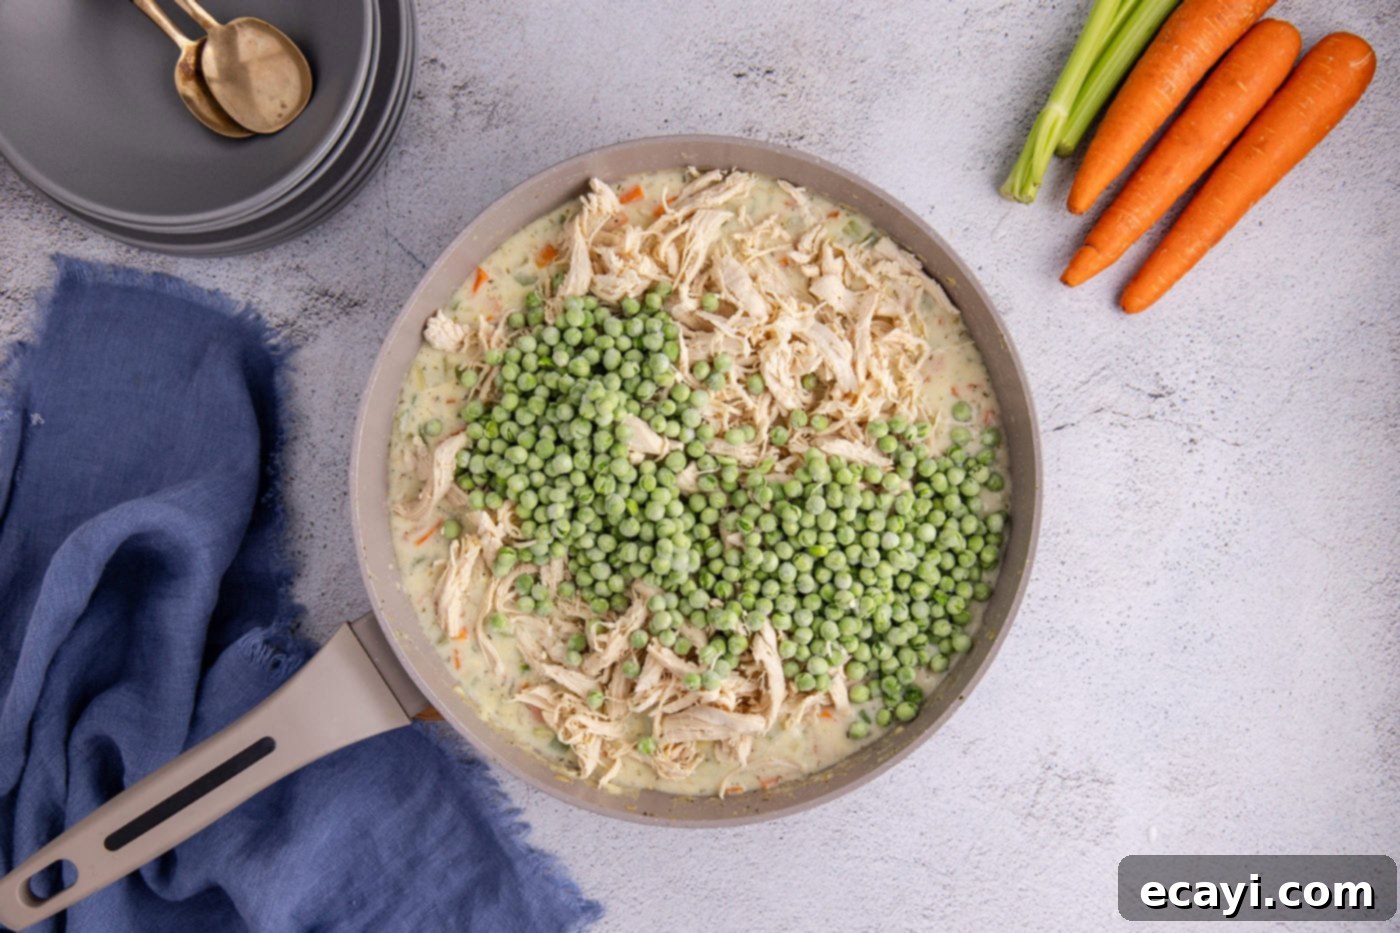
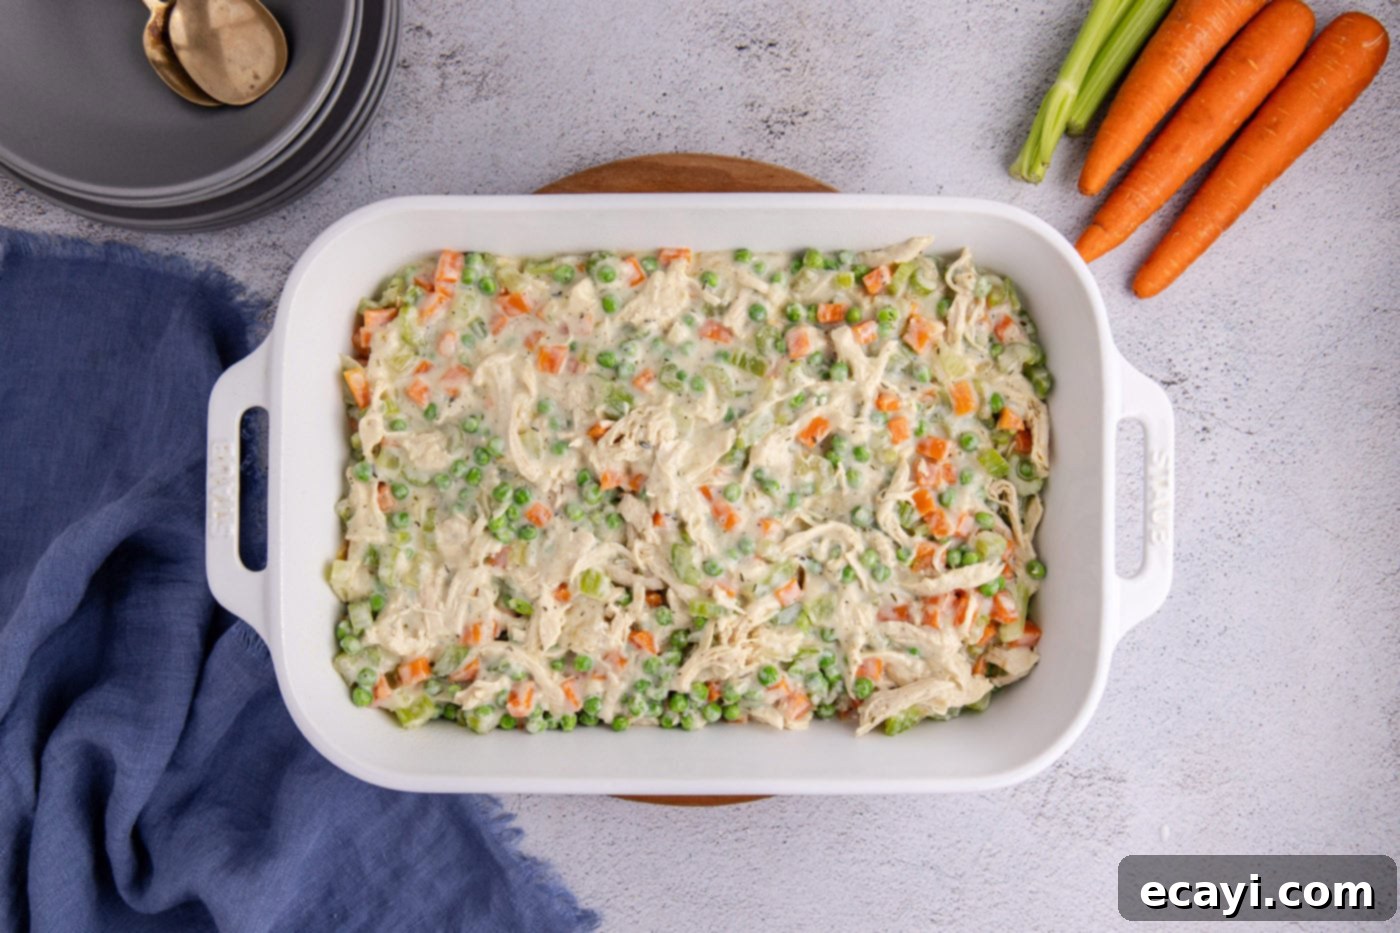
- **Combine & Transfer:** Once the sauce has thickened to your desired consistency, stir in the shredded cooked chicken and the frozen peas. Mix everything well to ensure the chicken and peas are evenly distributed and coated in the creamy sauce. Carefully transfer this hearty, delicious filling into your prepared 9×13 casserole dish, spreading it out evenly.


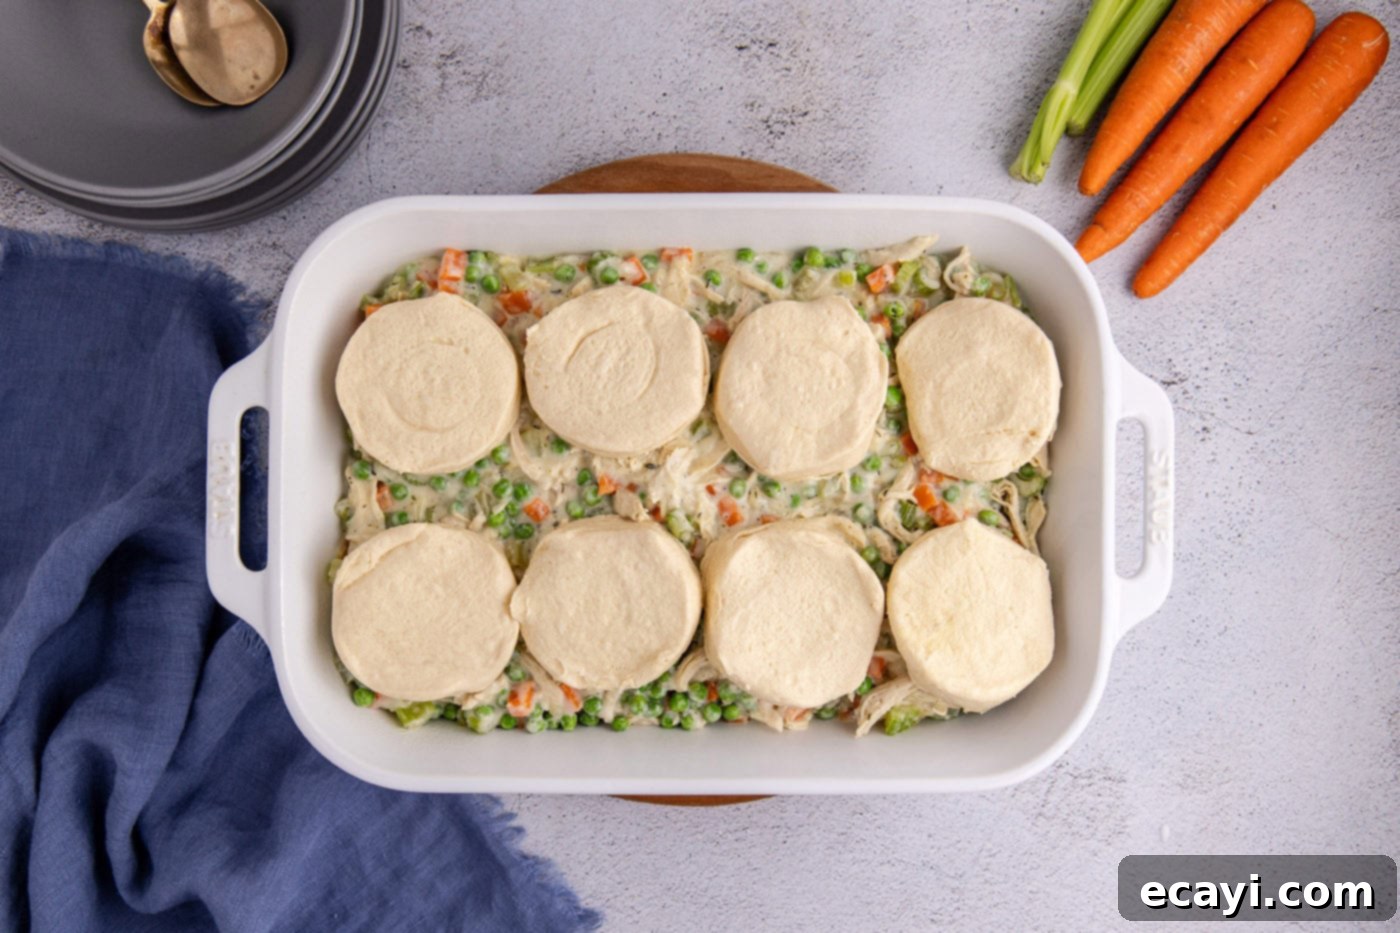
- **Top with Biscuits & Bake:** Arrange your canned biscuits directly on top of the chicken pot pie filling in a single layer. Don’t worry if there are small gaps; they will expand as they bake. Place the casserole in the preheated oven and bake for approximately 18-20 minutes, or until the biscuits are beautifully golden brown and thoroughly cooked through. The exact baking time may vary slightly depending on your oven and the size of your biscuits.
EXPERT TIP – If you’re using larger “Grand” sized biscuits, you might find they need a few extra minutes to cook completely through the center. If the tops start to brown too quickly before they are fully cooked, simply tent the casserole loosely with aluminum foil. This will prevent over-browning while allowing the heat to continue cooking the biscuit interiors to perfection.

- **Cool & Serve:** Once baked to golden perfection, remove the chicken pot pie casserole from the oven. Allow it to cool slightly for about 5-10 minutes before serving. This brief resting period allows the filling to set a bit, making it easier to serve. Serve warm and enjoy your incredible homemade comfort meal!

Frequently Asked Questions & Expert Tips for Success
To maintain the best quality and texture, store leftover chicken pot pie casserole in an airtight container in the refrigerator for up to 4 days. For optimal crispness of the biscuits, we highly recommend storing the baked biscuits separately from the casserole filling if possible. This prevents them from becoming soggy from the moisture in the filling. When reheating, warm the filling on the stovetop over medium heat or in the microwave until thoroughly heated through. Reheat the biscuits separately in a toaster oven, air fryer, or conventional oven at a moderate temperature (around 300-350°F or 150-175°C) for a few minutes until they are warmed and crisp again. This dual reheating method ensures both components retain their ideal texture.
Absolutely! This casserole is a fantastic make-ahead option for busy days. You can prepare the filling a day in advance. Simply cook the filling mixture as directed in the recipe, then transfer it to your baking dish. Cover it tightly with plastic wrap or aluminum foil and store it in the refrigerator. However, it is crucial NOT to add the canned biscuits until you are ready to bake. Before baking, remove the dish from the refrigerator and let it sit at room temperature for about 20-30 minutes to take the chill off (especially if you’re using a glass dish, to prevent thermal shock). Then, top with the fresh canned biscuits and bake as normal. This ensures the biscuits bake up fresh and fluffy.
Yes, this casserole is freezer-friendly, allowing you to prepare meals even further in advance. To freeze, prepare the chicken pot pie filling according to the recipe instructions, but do not add the biscuits. Once the filling has cooled completely, transfer it to a large freezer-safe ziptop bag, an airtight container, or a non-glass freezer-safe baking dish. Freeze for up to 3 months. When you’re ready to enjoy, thaw the frozen mixture in the refrigerator overnight. Once thawed, transfer it to your prepared 9×13 baking dish, top with fresh canned biscuits, and bake as you normally would. This method ensures you have a delicious, homemade meal ready to go with minimal effort on a busy day.
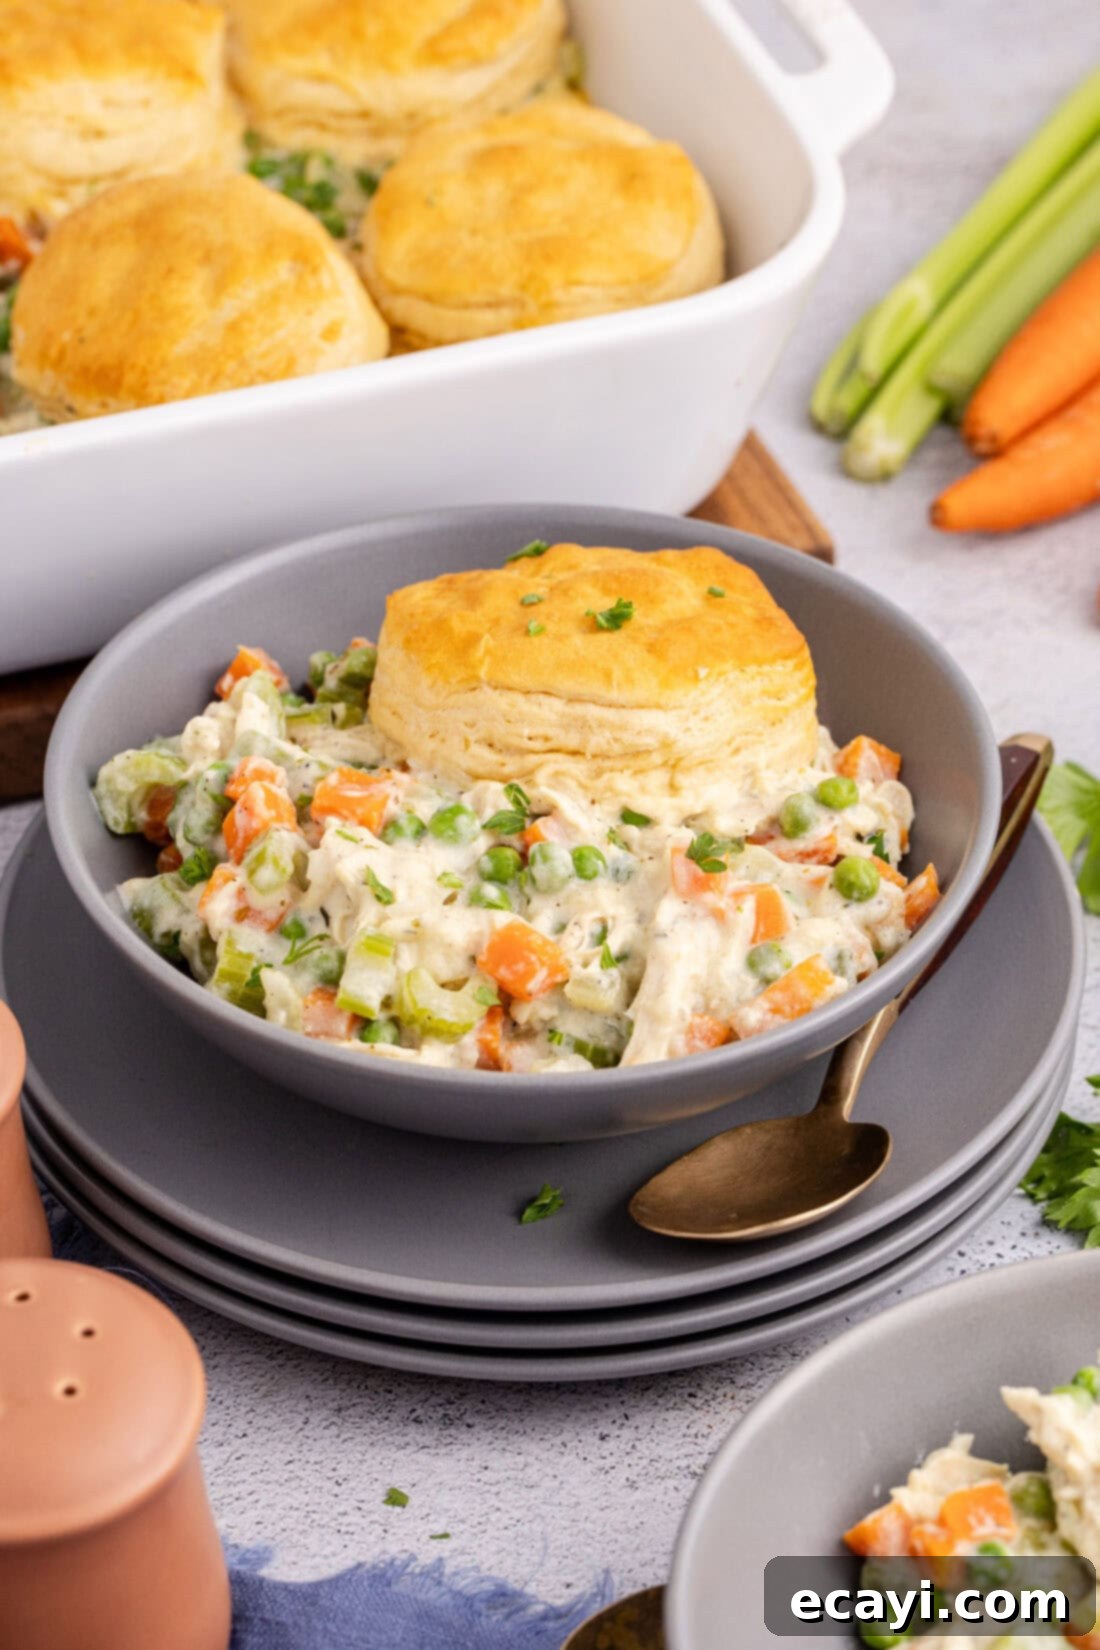
Delicious Serving Suggestions for Your Casserole
Our Easy Chicken Pot Pie Casserole is a wonderfully complete meal all on its own, offering a hearty combination of protein, vegetables, and a delightful bread-like topping. However, if you’re looking to round out your meal or add a touch of freshness, here are a few simple serving suggestions:
- **Fresh Green Salad:** A crisp, leafy green salad with a light vinaigrette is the perfect counterpoint to the rich, creamy casserole. The freshness and acidity will beautifully balance the comforting flavors.
- **Steamed Green Beans:** A simple side of steamed or lightly sautéed green beans adds another pop of green and a tender-crisp texture.
- **Roasted Asparagus:** For an elegant touch, quickly roast some asparagus spears with a drizzle of olive oil, salt, and pepper.
Enjoy this comforting dish warm directly from the oven. For an extra touch of color and a fresh herbal note, consider garnishing individual servings with a sprinkle of freshly chopped parsley before serving.
Explore More Delicious Chicken Casserole Recipes
If you’ve fallen in love with the ease and comfort of this chicken pot pie casserole, you’ll be thrilled to discover our other fantastic chicken casserole recipes. Perfect for family dinners, potlucks, or meal prepping, these dishes offer incredible flavor with minimal fuss:
- Mexican Chicken Casserole: A vibrant, flavorful casserole with a Tex-Mex twist that’s sure to be a crowd-pleaser.
- Chicken Noodle Casserole: The ultimate nostalgic comfort food, reimagined in an easy bake-and-serve dish.
- Million Dollar Chicken Casserole: A rich and creamy casserole that tastes incredibly decadent but is surprisingly simple to make.
- Chicken and Dumpling Casserole: All the warm, soul-satisfying flavors of chicken and dumplings in a convenient casserole form.
I absolutely adore spending time in the kitchen, crafting delicious meals and sharing my culinary adventures and experiences with all of you! Remembering to revisit the blog daily for new recipes can be challenging, which is why I offer a convenient newsletter delivered straight to your inbox every time a fresh recipe is posted. Simply subscribe today and start receiving your free daily recipes, making it easier than ever to discover your next favorite meal!
Easy Chicken Pot Pie Casserole with Biscuits
IMPORTANT – There are often Frequently Asked Questions within the blog post that you may find helpful. Simply scroll back up to read them!
Print It
Pin It
Rate It
Save ItSaved!
Ingredients
- 4 Tablespoons unsalted butter
- 2 cups diced carrots about 4 small-medium carrots
- 2 cups diced celery about 3-4 ribs
- 1 cup diced yellow onion 1 small
- 1 teaspoon sea salt
- 1 teaspoon dried thyme
- ¾ teaspoon garlic powder
- ½ teaspoon ground black pepper
- ½ cup all purpose flour
- 2 cups whole milk
- 1 cup low sodium chicken stock
- 4 cups shredded chicken about 3 cooked chicken breasts
- 2 cups frozen peas
- 16.3 ounces refrigerated biscuits we used one tube of Pillsbury Grands
Things You’ll Need
-
13×9 baking dish
-
Large deep sided skillet
Important Notes Before You Begin
- For the biscuit topping, we highly recommend using Pillsbury Grands refrigerated biscuits. Their larger size provides excellent coverage over the entire pot pie mixture in a 13×9 baking dish, creating a more uniform and satisfying crust. Regular-sized canned biscuits will also work well, so use what you have! Please note that Grand biscuits, due to their thickness, might require a bit more baking time than the standard 18-20 minutes, even if they appear golden brown on the surface. If this happens, simply cover the top of the casserole loosely with aluminum foil to prevent burning, and continue baking until the biscuits are fully cooked through to the center.
- To simplify vegetable preparation, feel free to substitute the individual frozen peas with a bag of your favorite frozen mixed vegetables. This is a great way to add more variety without extra chopping.
- Save time on cooking chicken by using pre-shredded rotisserie chicken or any leftover cooked chicken breast you might have on hand. This recipe is also an excellent way to repurpose leftover turkey breast (perfect for post-Thanksgiving meals!) or other cooked poultry.
Detailed Instructions
-
Preheat your oven to 375°F (190°C). Lightly grease a 9×13-inch casserole dish to prevent sticking and set it aside.
-
In a large, deep-sided skillet, melt the 4 Tablespoons of unsalted butter over medium heat. Add the diced carrots, celery, and yellow onion. Season with 1 teaspoon of sea salt, 1 teaspoon of dried thyme, ¾ teaspoon of garlic powder, and ½ teaspoon of ground black pepper. Sauté, stirring occasionally, for about 5 minutes until the vegetables begin to soften.
-
Sprinkle ½ cup of all-purpose flour evenly over the sautéed vegetables. Cook for an additional 2 minutes, stirring constantly, to cook off the raw flour taste and form a roux.
-
Pour in 2 cups of whole milk and 1 cup of low-sodium chicken stock. Increase the heat to bring the mixture to a boil, then immediately reduce to medium-low. Stir regularly for approximately 3-5 minutes, until the sauce thickens to a rich, creamy consistency.
-
Stir in 4 cups of shredded cooked chicken and 2 cups of frozen peas into the thickened sauce. Mix well to ensure all ingredients are thoroughly combined. Transfer the entire chicken pot pie filling into your prepared 9×13-inch casserole dish.
-
Arrange the 16.3 ounces of refrigerated biscuits (one tube of Pillsbury Grands is recommended) on top of the filling. Bake for about 18-20 minutes, or until the biscuits are golden brown and cooked through. Remember to use aluminum foil to tent the casserole if the biscuit tops brown too quickly.
-
Allow the chicken pot pie casserole to cool slightly for 5-10 minutes before serving. This allows the filling to set and makes for easier, neater portions. Serve warm and enjoy!
Expert Tips & FAQs
- **Storing Leftovers:** Store leftover casserole in an airtight container in the refrigerator for up to 4 days. For the best texture, especially if you want crispy biscuits, consider storing the biscuits separately from the filling. Reheat the filling on the stovetop or in the microwave until warmed through. Reheat the biscuits in a toaster oven, air fryer, or conventional oven to help them crisp back up.
- **Making Ahead:** You can prepare the chicken pot pie filling a day ahead of time. Cook the filling, transfer it to your baking dish, cover, and refrigerate. Do not add the biscuits until you are ready to bake. Before baking, let the dish sit at room temperature for 20-30 minutes to remove the chill, then top with biscuits and bake as directed. This ensures optimal biscuit texture and even baking.
- **Freezing Instructions:** To freeze this casserole, prepare the filling completely and allow it to cool thoroughly. Transfer the cooled filling to a large freezer-safe ziptop bag, an airtight container, or a non-glass freezer-safe baking dish. Do not add the biscuits. Freeze for up to 3 months. To cook from frozen, thaw the mixture in the refrigerator overnight. Once thawed, transfer it to a baking dish, top with fresh canned biscuits, and bake following the normal instructions. This is a fantastic way to prep meals in advance!
Nutrition Facts
The recipes on this blog are tested with a conventional gas oven and gas stovetop. It’s important to note that some ovens, especially as they age, can cook and bake inconsistently. Using an inexpensive oven thermometer can assure you that your oven is truly heating to the proper temperature. If you use a toaster oven or countertop oven, please keep in mind that they may not distribute heat the same as a conventional full sized oven and you may need to adjust your cooking/baking times. In the case of recipes made with a pressure cooker, air fryer, slow cooker, or other appliance, a link to the appliances we use is listed within each respective recipe. For baking recipes where measurements are given by weight, please note that results may not be the same if cups are used instead, and we can’t guarantee success with that method.
