The Best Homemade Red Velvet Cupcakes with Tangy Cream Cheese Frosting
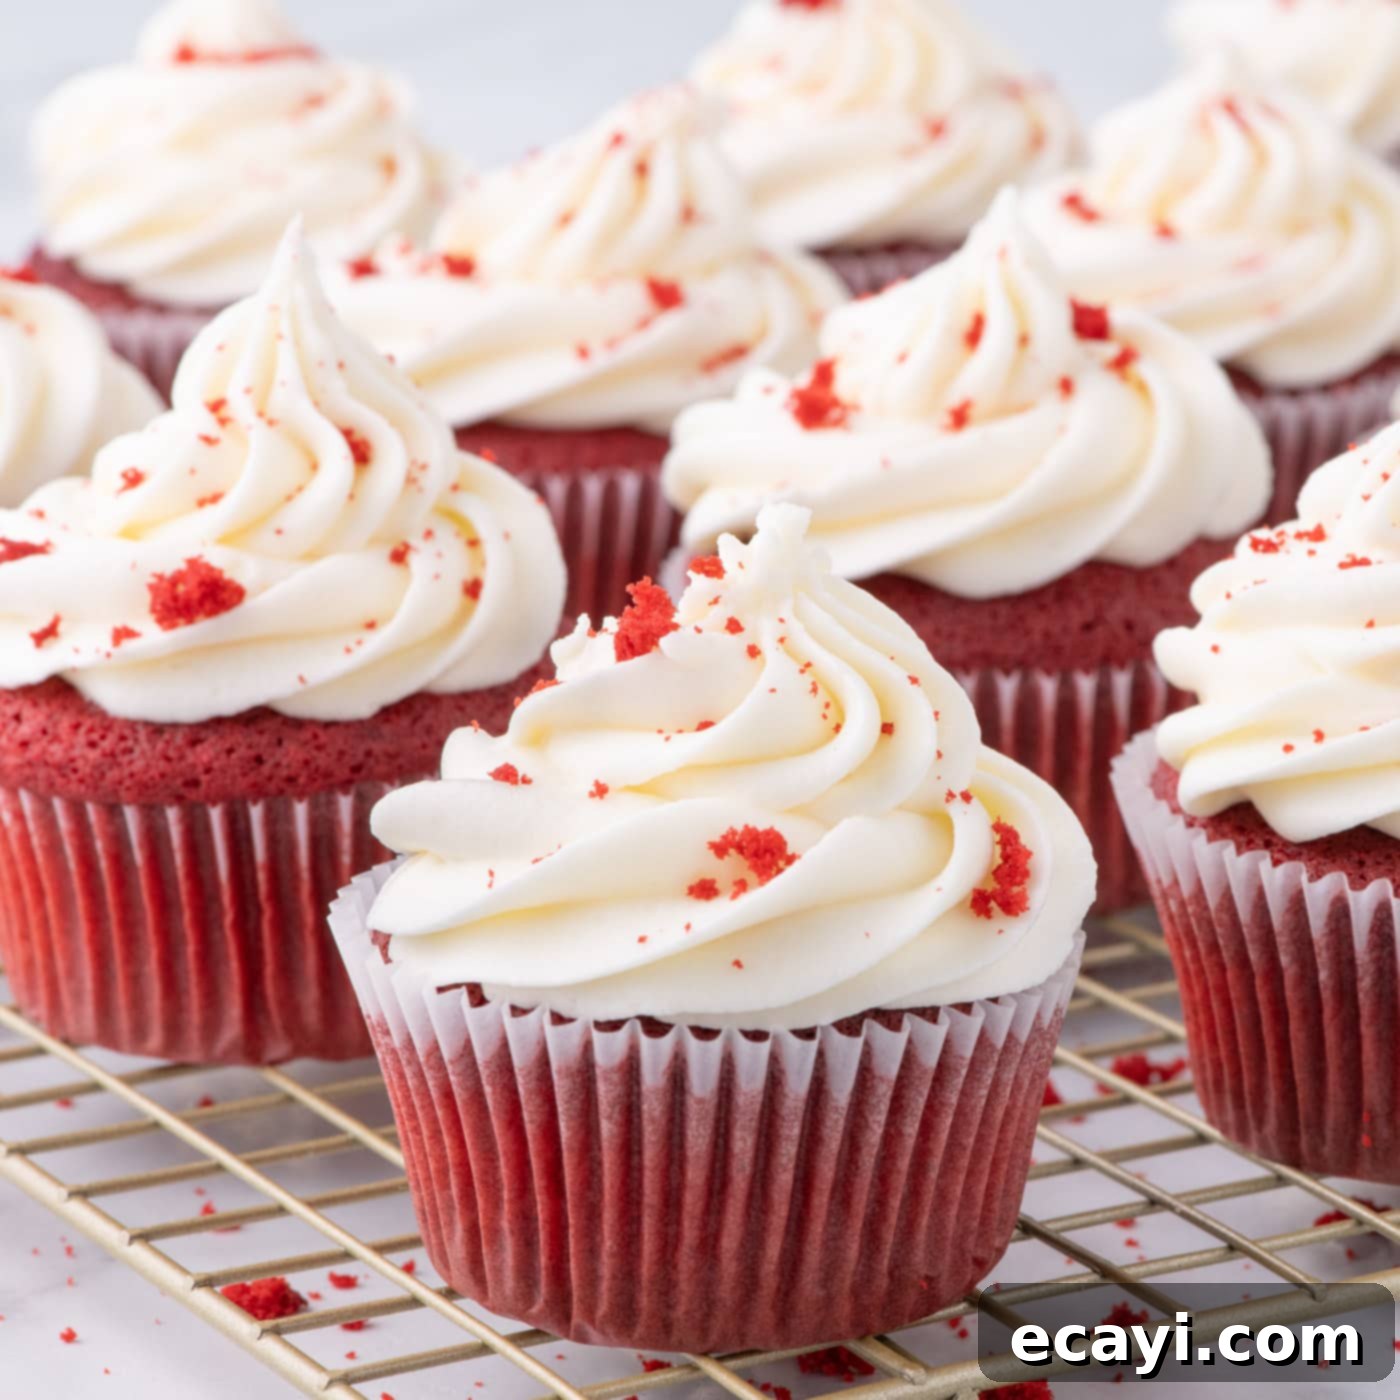
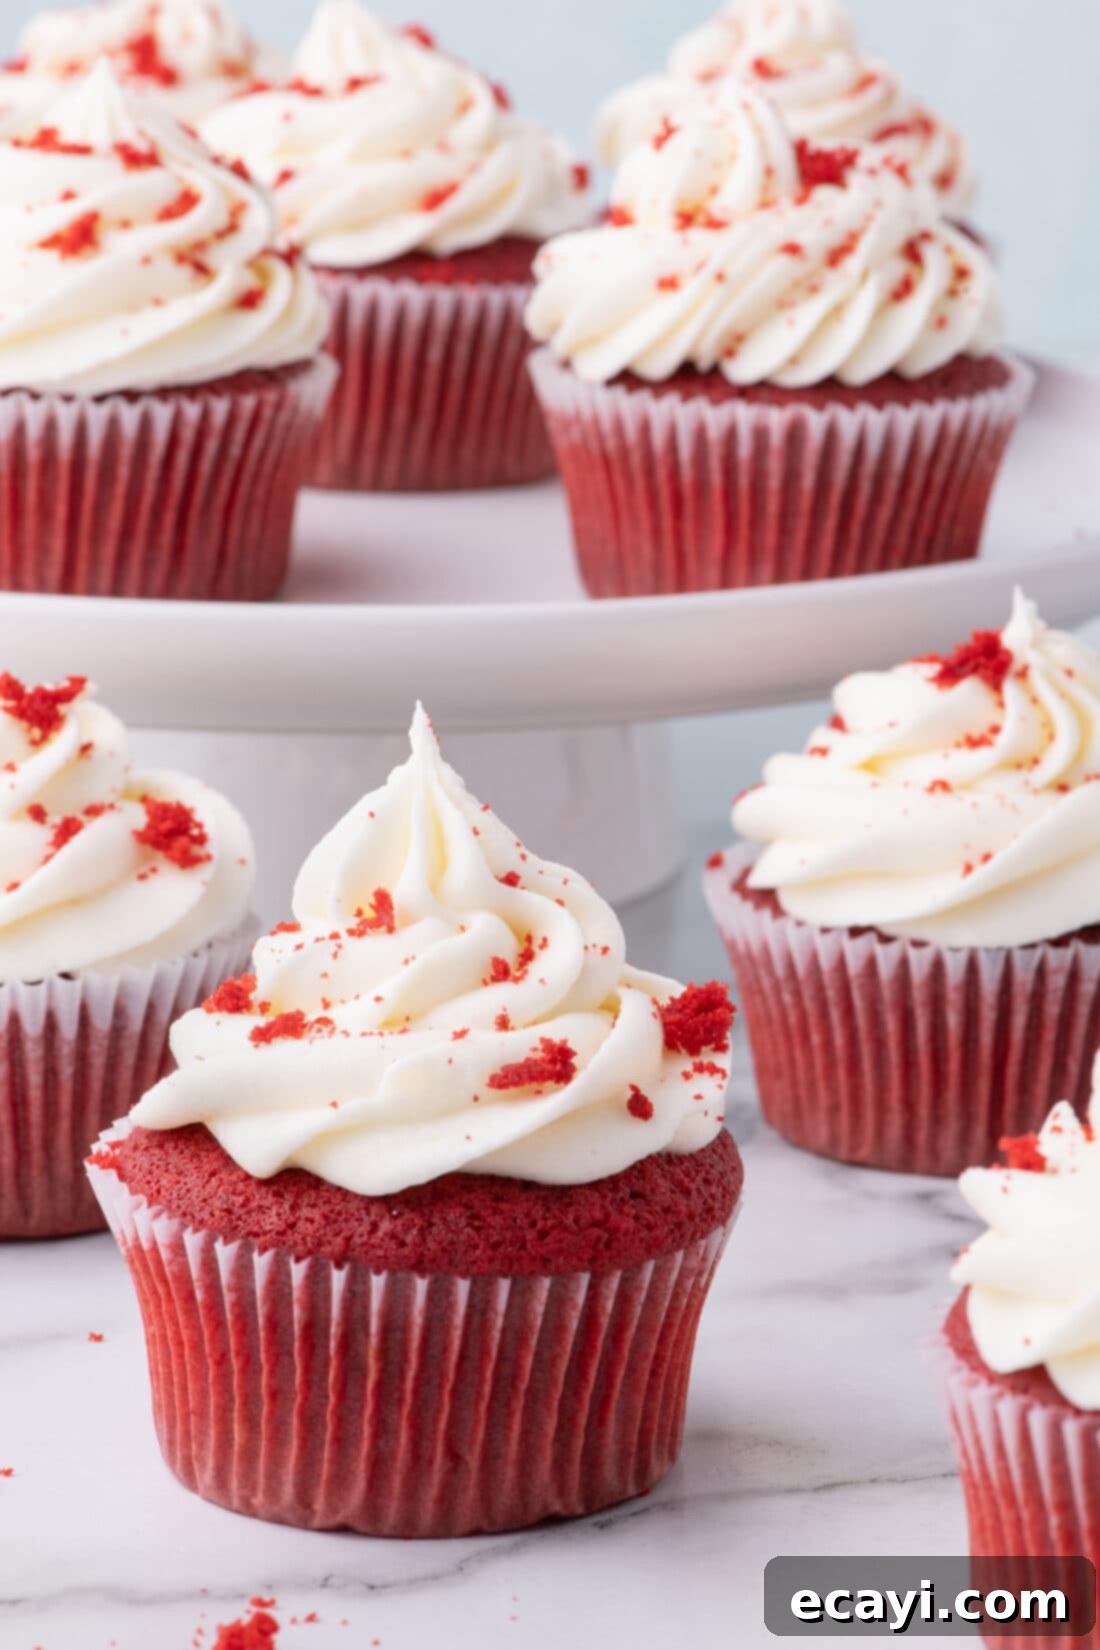
There’s an undeniable allure to a perfectly baked red velvet cupcake, especially when crowned with a rich, tangy cream cheese frosting. This timeless dessert, steeped in Southern charm, delivers a unique flavor profile that sets it apart from typical chocolate or vanilla treats. Our meticulously crafted recipe ensures your cupcakes emerge from the oven incredibly light and airy, boasting a beautifully balanced texture and a vibrant red hue. Paired with our smooth and creamy, yet stable, cream cheese frosting, each bite is a symphony of flavors and textures that will leave you craving more.
Why Our Red Velvet Cupcake Recipe Stands Out
Many red velvet recipes promise perfection, but ours truly delivers on the iconic characteristics of this beloved dessert. The magic lies in the delicate balance of ingredients and precise techniques, resulting in cupcakes that are truly a match made in heaven. The subtle cocoa flavor, combined with the buttermilk’s gentle tang, creates a complex and irresistible base. When this tender, moist cake meets the vibrant sweetness and slight acidity of a classic cream cheese frosting, it transforms into an over-the-top delicious confection perfectly suited for all occasions – from casual family gatherings to elegant celebrations.
Our recipe specifically focuses on achieving that signature velvety texture that gives red velvet its name. We emphasize key steps like using cake flour for a finer crumb, bringing ingredients to the correct room temperature for optimal emulsion, and carefully mixing to avoid over-developing the gluten. The resulting cupcakes are consistently light, never dry, and always bursting with that distinct red velvet flavor that keeps everyone coming back for more.
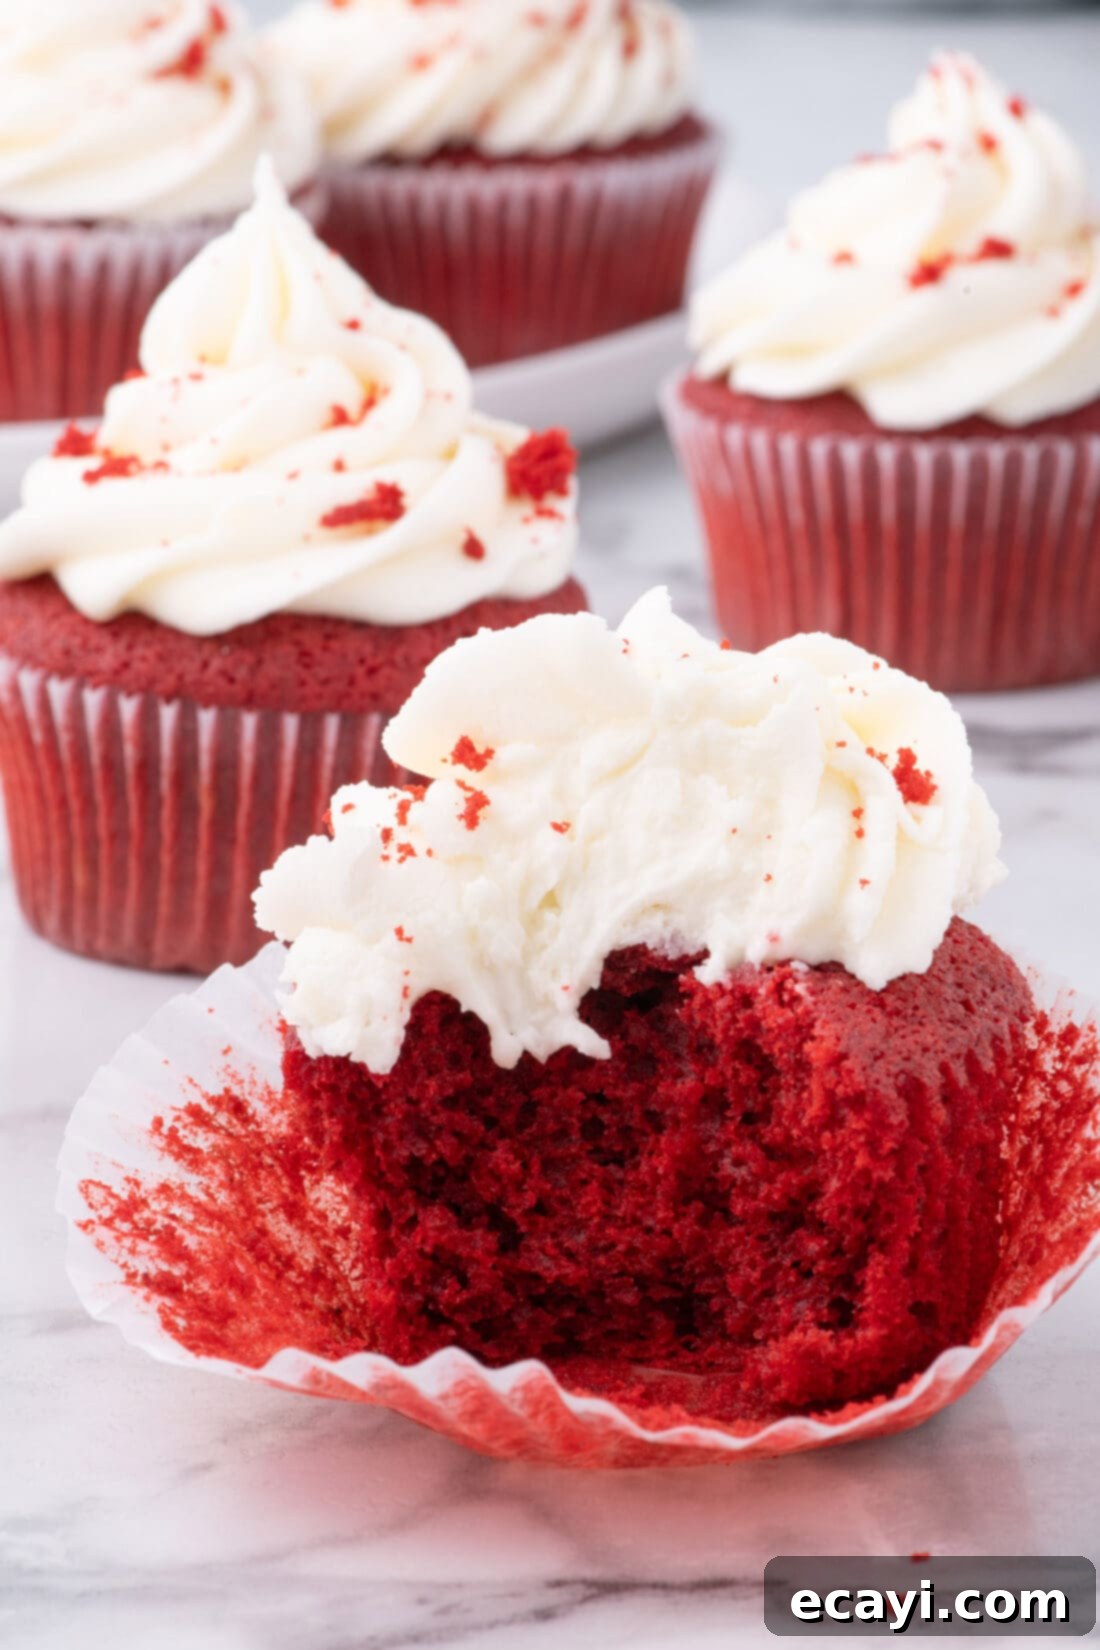
Essential Ingredients for Your Red Velvet Cupcakes
Gathering the right ingredients and understanding their roles is the first step to baking success. This recipe calls for common pantry staples, but paying attention to specifics will make all the difference in achieving those feather-light, moist red velvet cupcakes and that perfectly pipeable cream cheese frosting. You’ll find all exact measurements, ingredients, and detailed instructions in the printable recipe card at the end of this post.
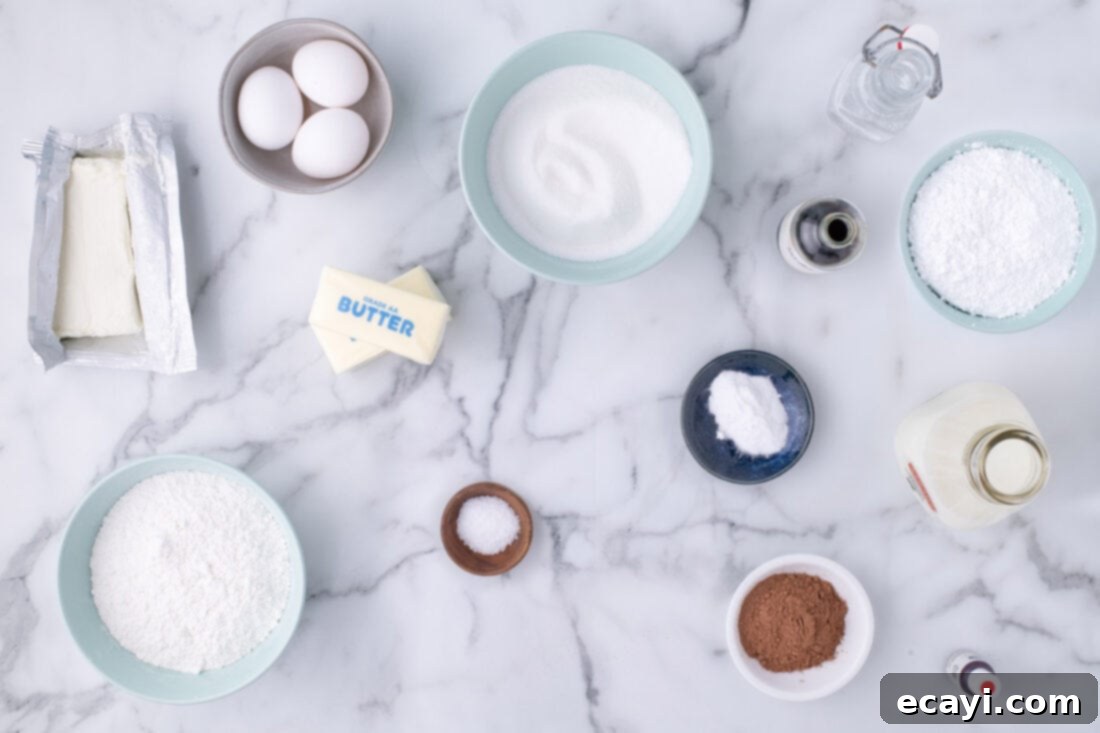
Ingredient Spotlight & Smart Substitutions
Achieving the perfect red velvet cupcake hinges on specific ingredient choices and preparation. Here’s a deeper dive into the key components of this recipe:
For the Cupcakes:
- Cake Flour: The secret to a truly light and airy red velvet crumb is cake flour. Its lower protein content produces a more tender and delicate texture compared to all-purpose flour. If you don’t have cake flour, you can easily make your own. Simply measure out 2 ½ cups of all-purpose flour, remove 5 tablespoons, and replace them with 5 tablespoons of cornstarch. Sift this mixture together thoroughly several times before using to ensure it’s well combined and aerated.
- Unsweetened Cocoa Powder: Red velvet has a subtle chocolate flavor, not an overpowering one. Unsweetened cocoa powder contributes to this depth and also reacts with the acidic ingredients to enhance the red color. We recommend natural unsweetened cocoa powder over Dutch-processed for this recipe, as natural cocoa is more acidic and will react better with the baking soda to help the cupcakes rise.
- Buttermilk: Buttermilk is a cornerstone of red velvet for two main reasons: its acidity reacts with the baking soda to create a beautifully tender crumb, and it adds a distinct tangy flavor that complements the cocoa. If you don’t have buttermilk on hand, don’t worry! You can make a quick substitute by stirring 2 teaspoons of white vinegar (or lemon juice) into 1 cup of whole milk. Let it sit for 5-10 minutes until it slightly curdles before using. Using whole milk for this substitution is recommended for richness.
- Room Temperature Butter and Eggs: This is crucial for a smooth, uniform batter. Room temperature butter creams beautifully with sugar, incorporating air for a light texture. Room temperature eggs emulsify better, creating a more stable and cohesive batter. Take your butter and eggs out of the refrigerator at least 30-45 minutes before you plan to start baking.
- White Vinegar: Beyond the buttermilk, a small amount of extra white vinegar is added. This ingredient serves multiple purposes: it helps activate the baking soda for leavening, contributes to the signature tangy flavor, and is believed to help stabilize and brighten the red food coloring.
- Red Gel Food Coloring: For that iconic vibrant red, gel food coloring is highly recommended over liquid food coloring. Gel coloring is much more concentrated, meaning you need less to achieve a deep color, preventing excess liquid from affecting your batter’s consistency.
- Digital Kitchen Scale: While cup measurements are provided, I highly recommend using a digital kitchen scale to weigh your ingredients, especially the flour and sugar. Baking by weight is significantly more accurate than by volume, which ensures the perfect cupcake that won’t be too dry or too dense. If you don’t have a digital kitchen scale, ensure you fluff your dry ingredients, then gently scoop them into your measuring cup and level with the back of a butter knife for the most accurate measure possible.
For the Cream Cheese Frosting:
- Room Temperature Cream Cheese and Butter: Just like with the cupcake batter, room temperature ingredients are essential for a lump-free, silky smooth frosting. Cut both the butter and brick-style cream cheese into cubes and allow them to rest at room temperature for 30-45 minutes. Avoid microwaving or melting them, as this can separate the fats and lead to a runny frosting.
- Brick-Style Cream Cheese: This is paramount for a frosting that holds its shape for piping. It’s important to purchase ‘brick-style’ cream cheese (typically found in blocks) instead of spreadable cream cheese (found in tubs). These two types of cream cheese have different water contents and properties, which significantly affect the outcome of your frosting. Brick-style cream cheese has less water, resulting in a firmer, more stable frosting perfect for piping beautiful designs.
- Powdered Sugar: Also known as confectioners’ sugar, this ingredient provides sweetness and structure to the frosting. Adding it gradually and mixing on low speed prevents a cloudy sugar explosion in your kitchen.
Step-by-Step Guide to Baking Perfect Red Velvet Cupcakes
These step-by-step photos and detailed instructions are here to help you visualize how to make this delicious recipe. For a quick reference or to print the recipe, you can Jump to the Printable Recipe Card at the bottom, complete with all measurements and instructions.
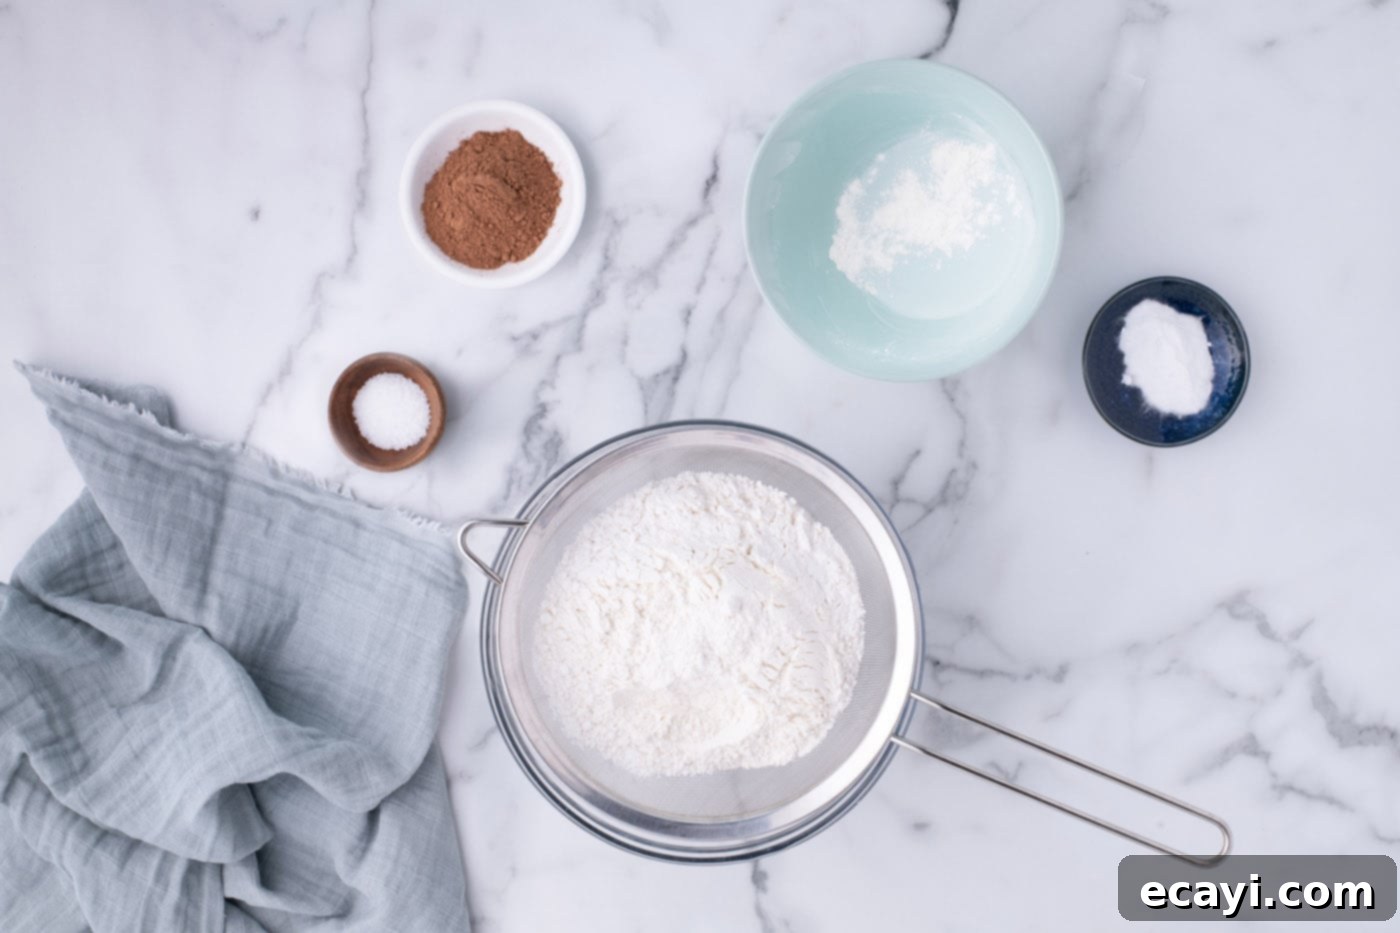
- Prepare Your Oven and Dry Ingredients: Preheat your oven to 350°F (175°C). Line two 12-cup cupcake tins with paper liners, preparing for 24 cupcakes. In a large mixing bowl, sift together the cake flour (or homemade cake flour mixture), unsweetened cocoa powder, salt, and baking soda. Sifting removes lumps and aerates the flour, contributing to the cupcakes’ light texture. Set this dry mixture aside.

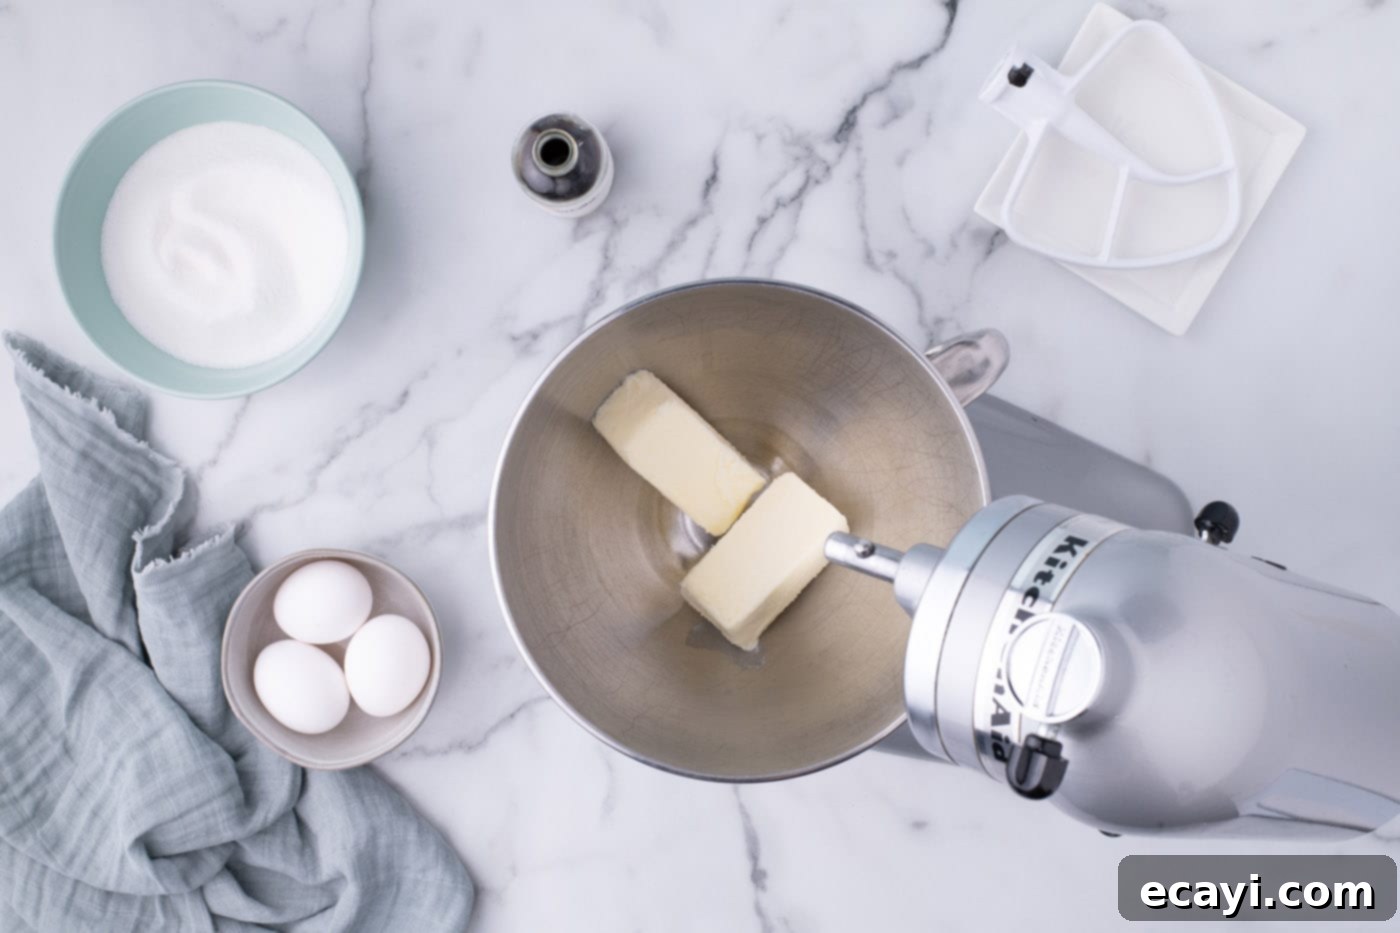
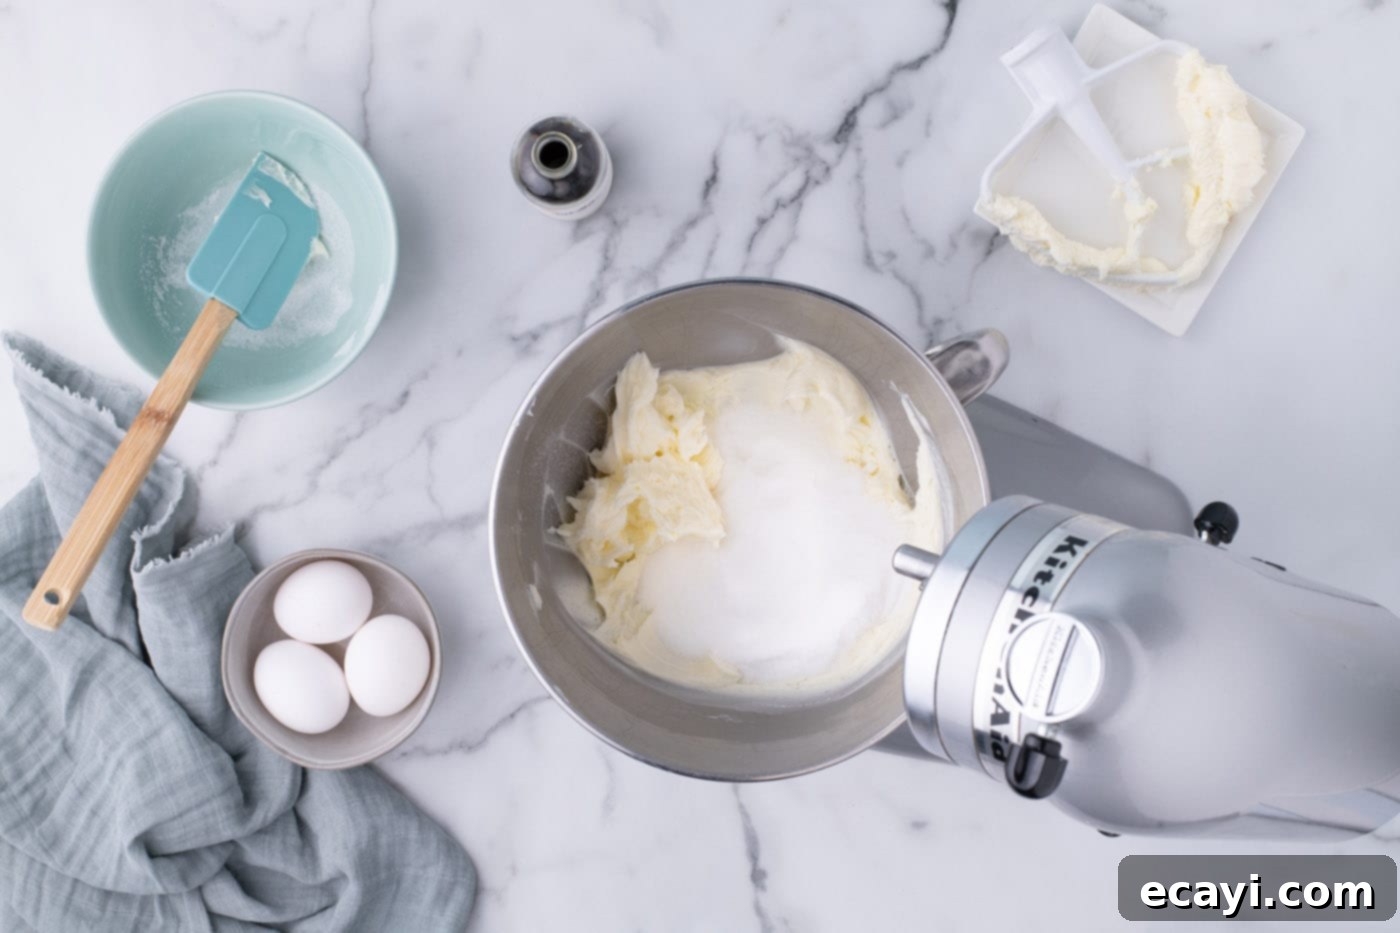
- Cream Butter and Sugar: In the bowl of a stand mixer fitted with a paddle attachment (or using a handheld mixer), beat the room temperature unsalted butter on medium speed until it’s light and fluffy, about 2-3 minutes. This step incorporates air, which is essential for a tender cupcake. Gradually add the granulated sugar, continuing to beat until the mixture is pale and well combined, with a creamy texture.


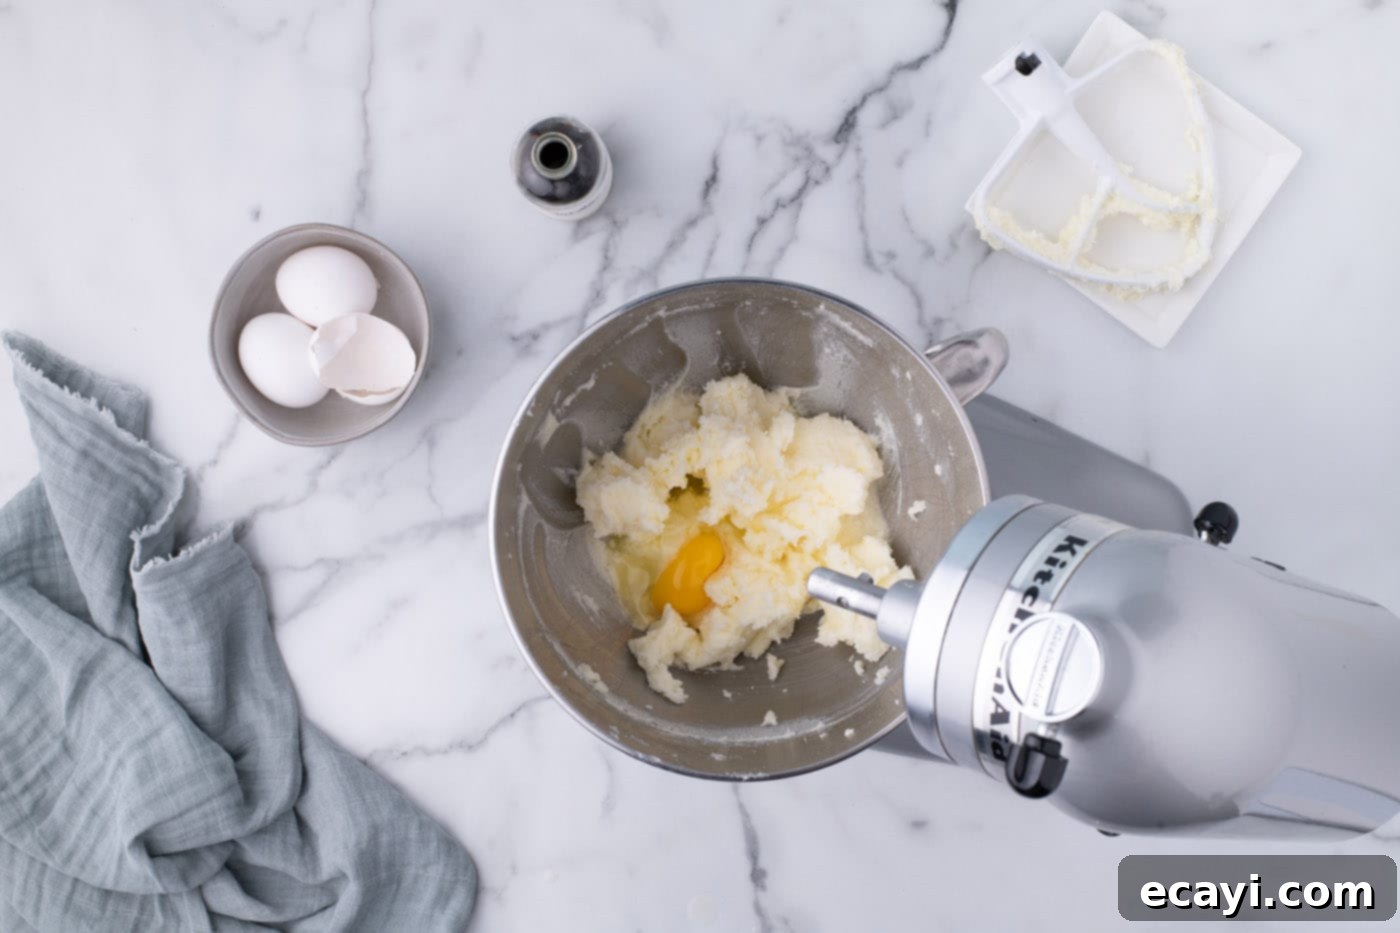
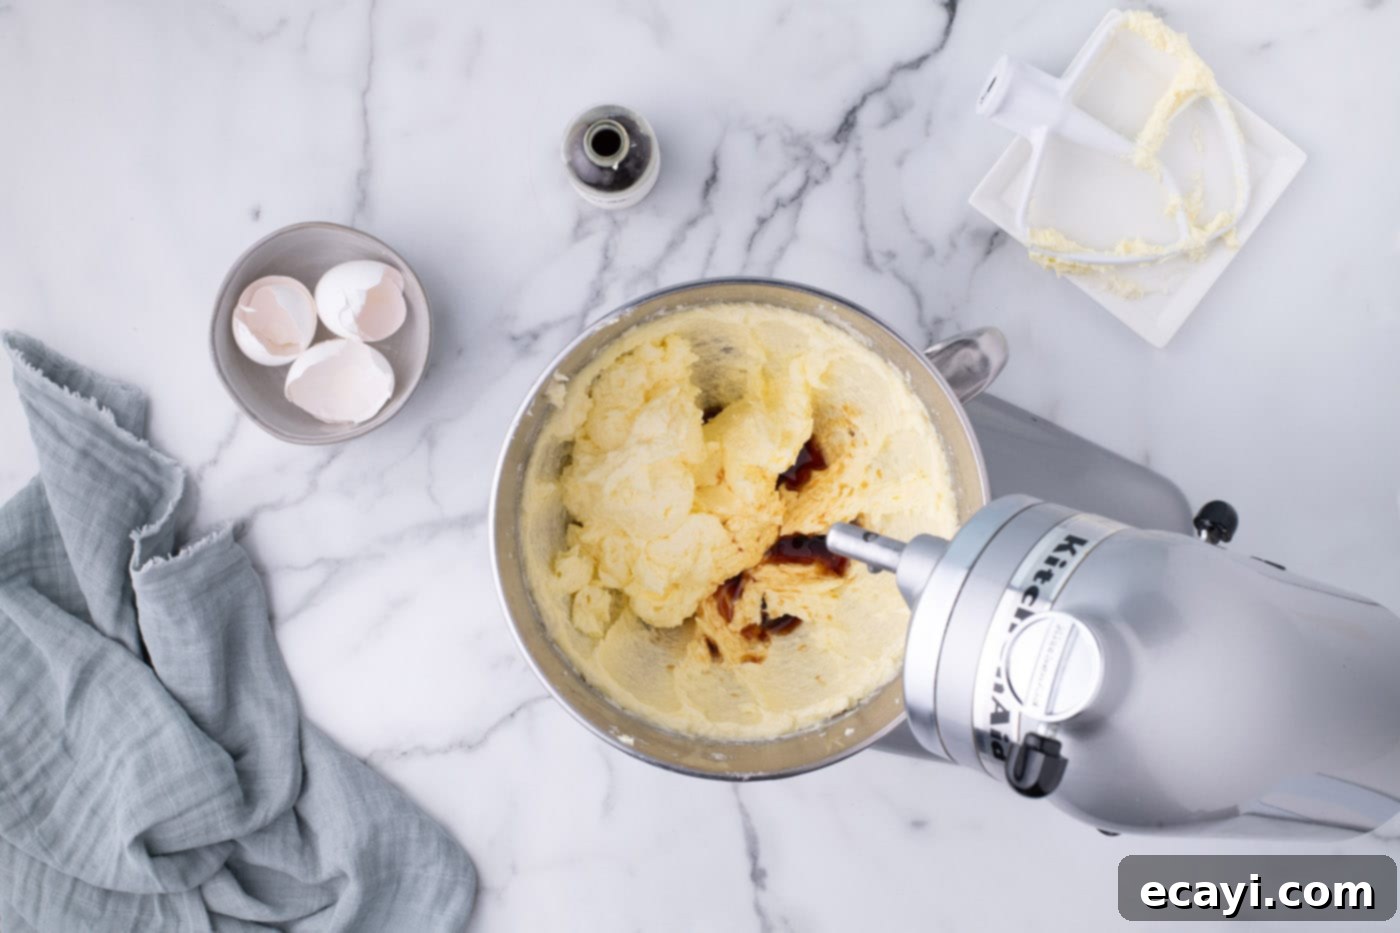
- Incorporate Eggs and Vanilla: Add the eggs one at a time, beating well after each addition. Ensure each egg is fully incorporated into the butter and sugar mixture before adding the next. This creates a stable emulsion and prevents the batter from curdling. Once all eggs are incorporated, add in the vanilla extract. Scrape down the sides and bottom of the bowl with a soft silicone spatula to ensure everything is evenly mixed.


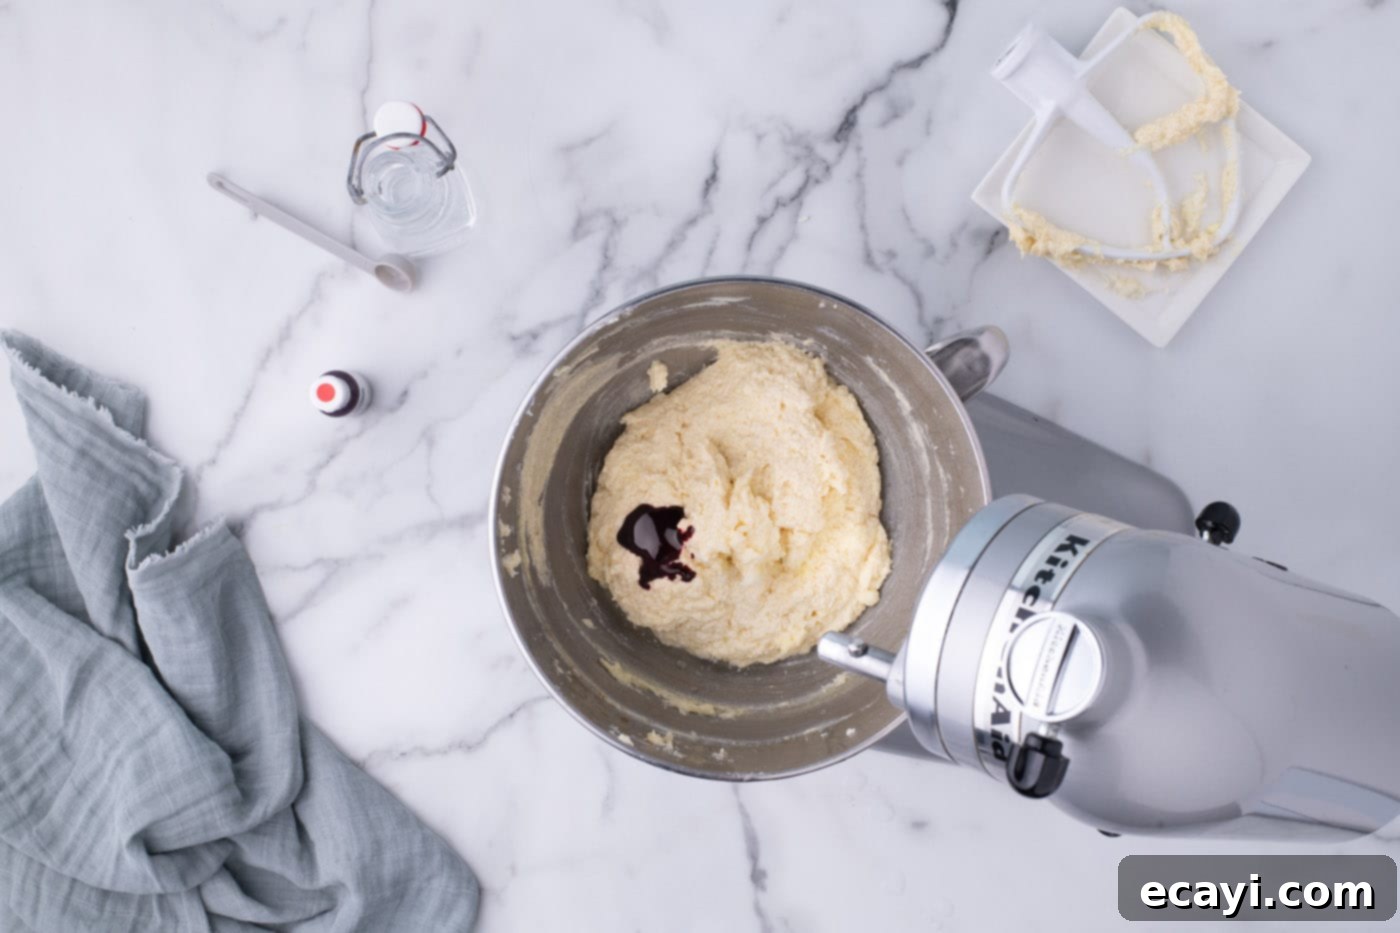
- Add Color and Vinegar: Now for the signature red! Add in the white vinegar and red gel food coloring to the wet ingredients. Continue to mix on medium speed until the color is evenly distributed and vibrant.

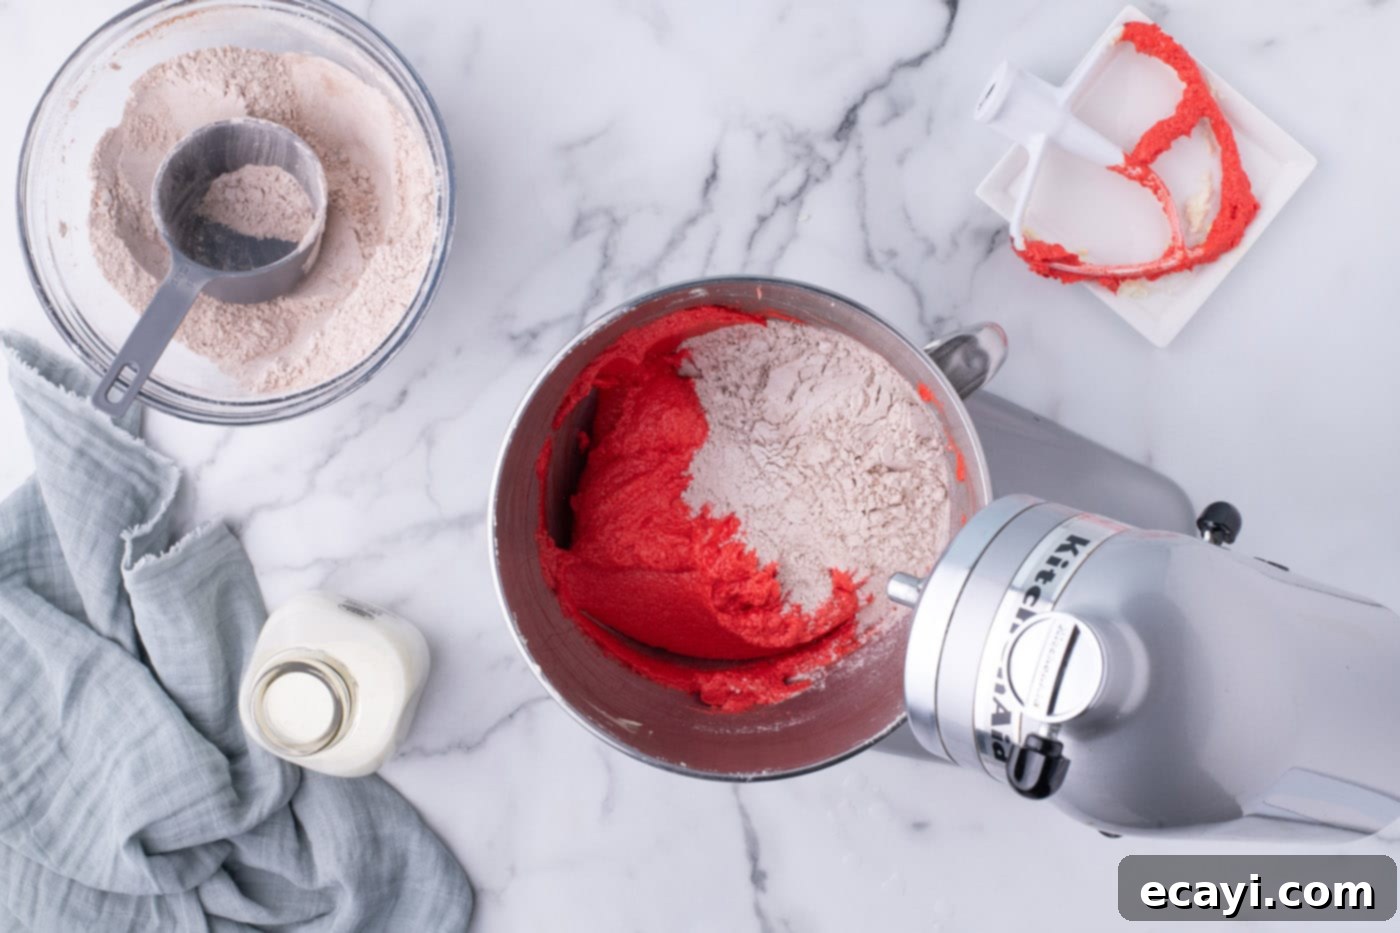
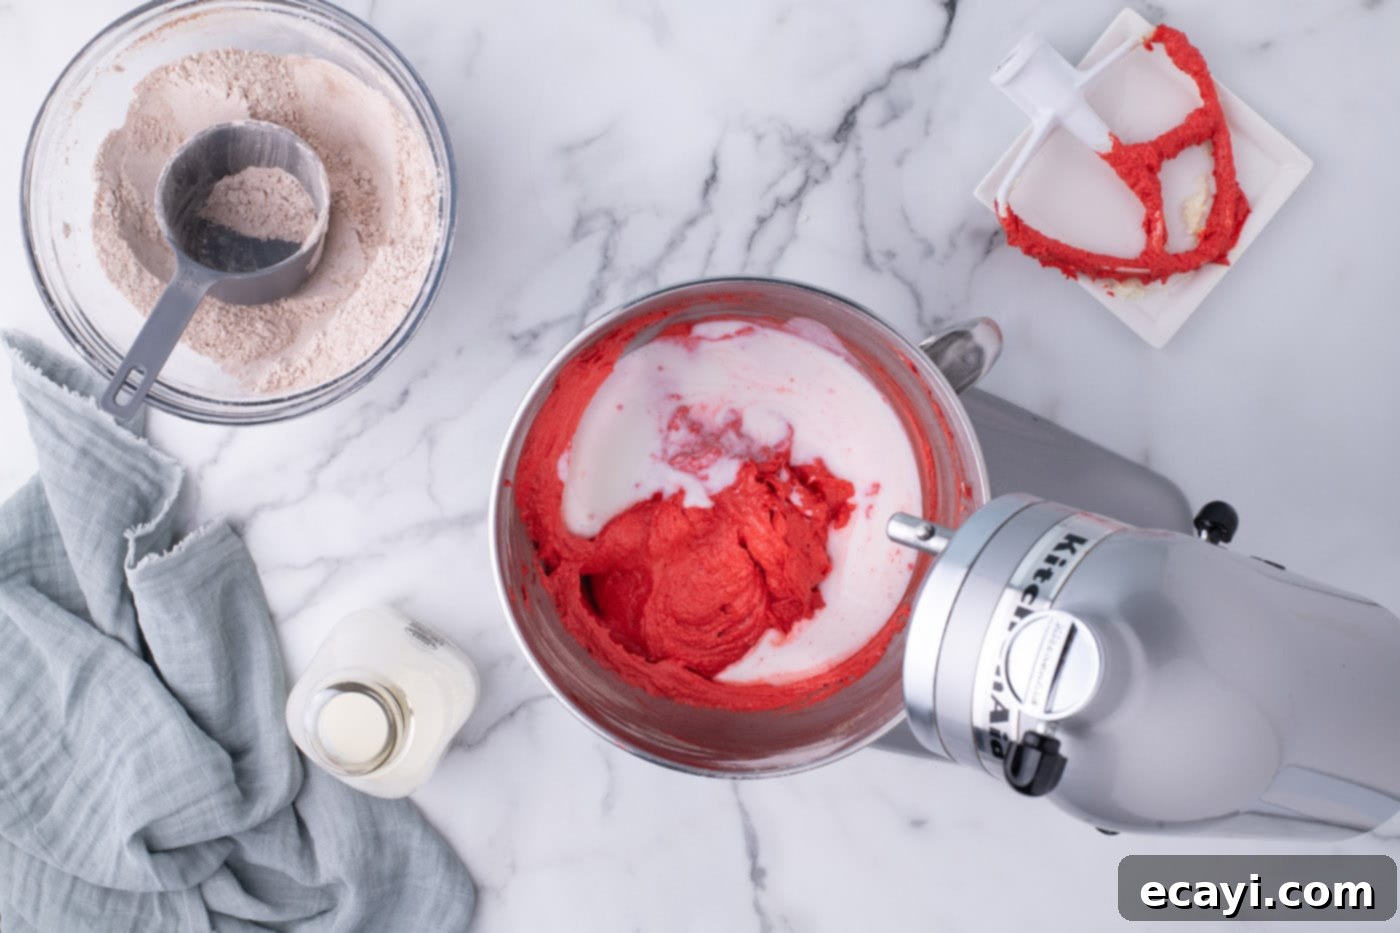
- Alternate Wet and Dry Ingredients: Begin adding the sifted dry ingredients to the wet mixture in three additions, alternating with the buttermilk in two additions. Start and end with the dry ingredients. Stir in 1/3 of the dry ingredients, mixing just until combined. Then, add ½ cup of the buttermilk and mix until just incorporated. Repeat this process, ending with the remaining 1/3 of the dry ingredients. It’s crucial not to overmix the batter at this stage, as overmixing can develop gluten, leading to tough cupcakes. Mix only until no streaks of flour remain.


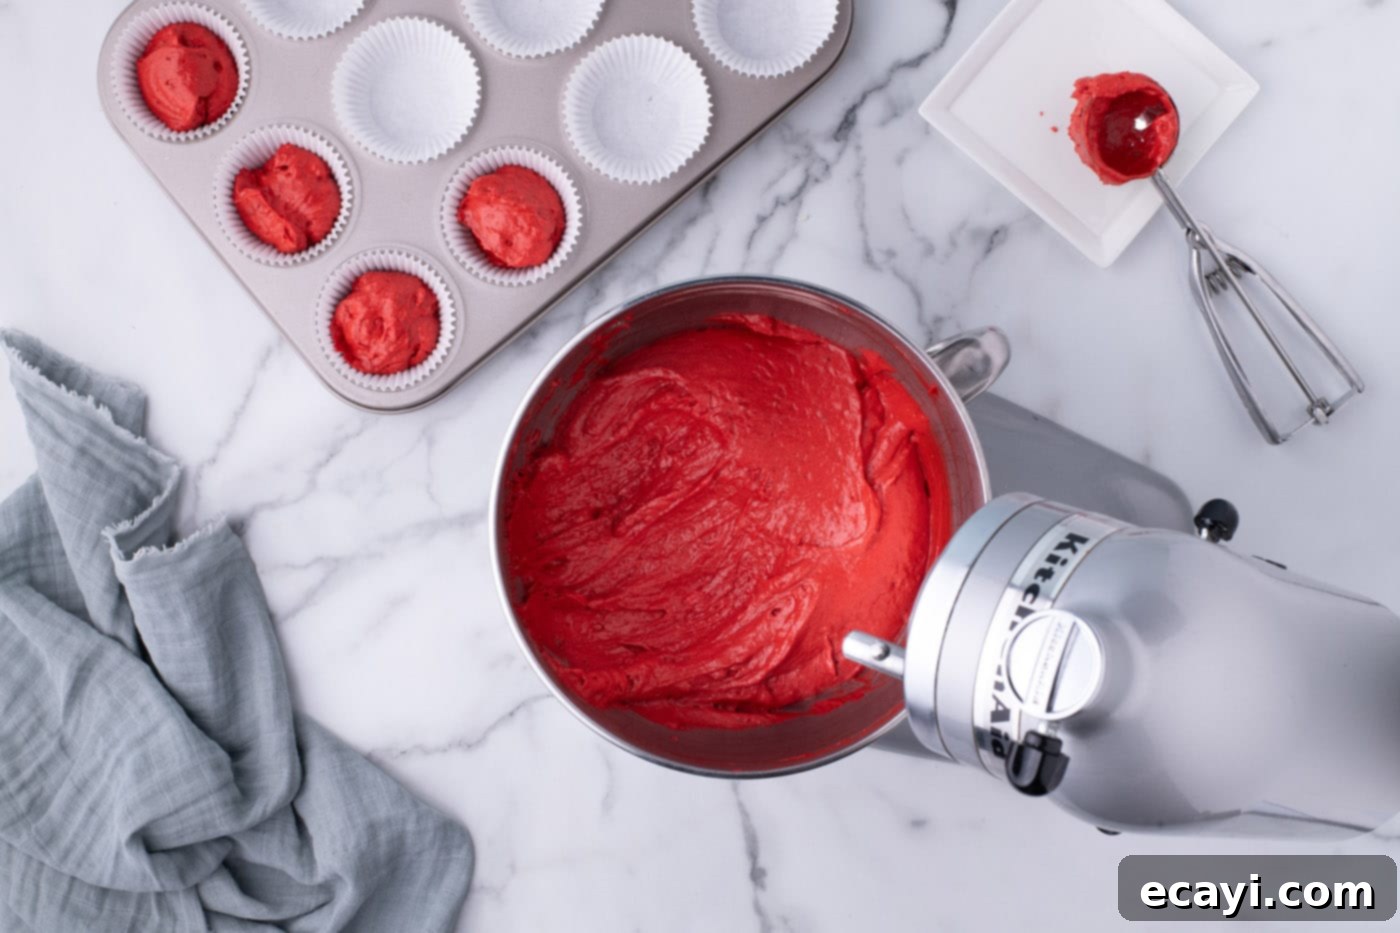
- Fill and Bake: Scoop the batter into each prepared cupcake liner, filling them about 2/3 full. A large cookie scoop can help you achieve consistent cupcake sizes.
PRO TIP – This recipe yields enough batter for 26 cupcakes. You will have enough leftover batter for two extra cupcakes that can be baked separately and then crumbled to use as a beautiful garnish on top of your frosted cupcakes.
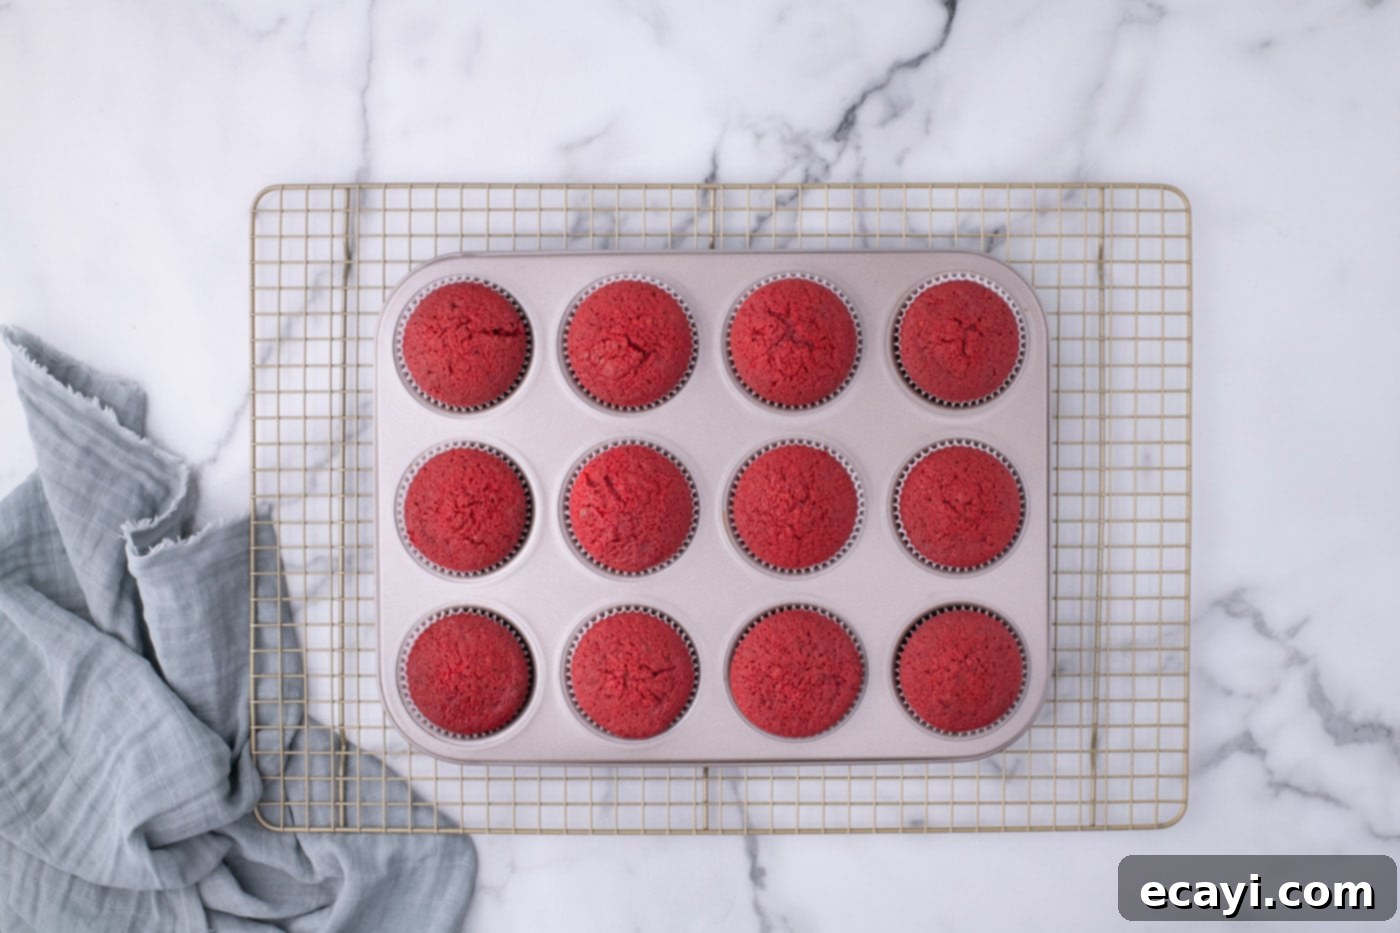
Place the cupcake tins in the preheated oven and bake for 14 to 18 minutes. Baking times can vary depending on your oven, so keep an eye on them. To test for doneness, insert a toothpick into the center of a cupcake; if it comes out clean with no wet batter, the cupcakes are ready.
- Cool the Cupcakes: Remove the cupcake tins from the oven and allow them to cool on a wire rack for a few minutes before transferring the cupcakes directly to the wire rack to cool completely. Ensure they are fully cooled before frosting, as warm cupcakes will melt your beautiful cream cheese frosting. While these are cooling, you can bake the remaining two cupcakes for garnish. Set these two aside, leaving them unfrosted.

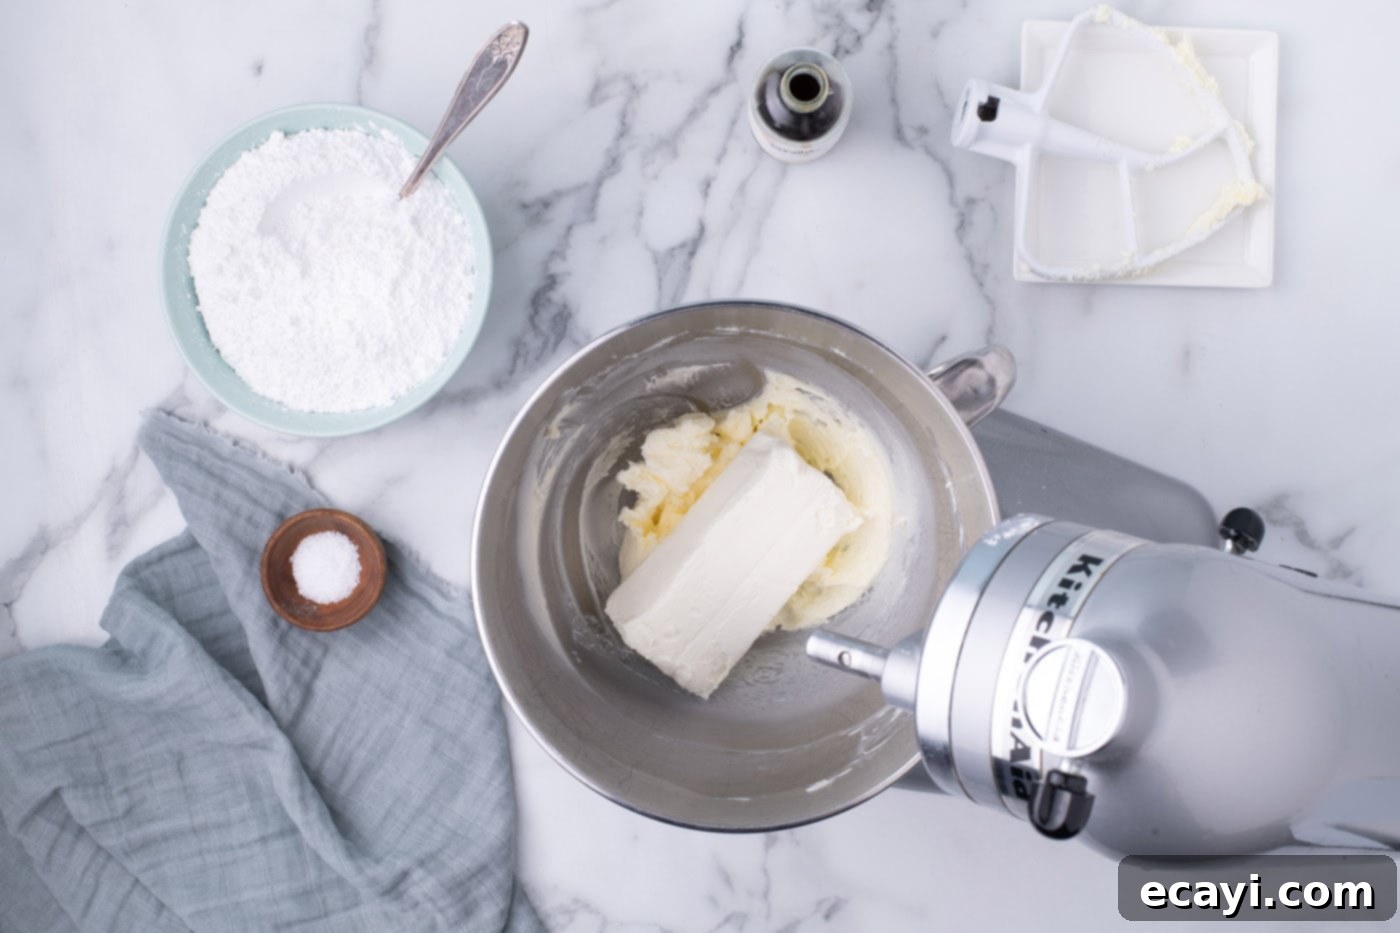
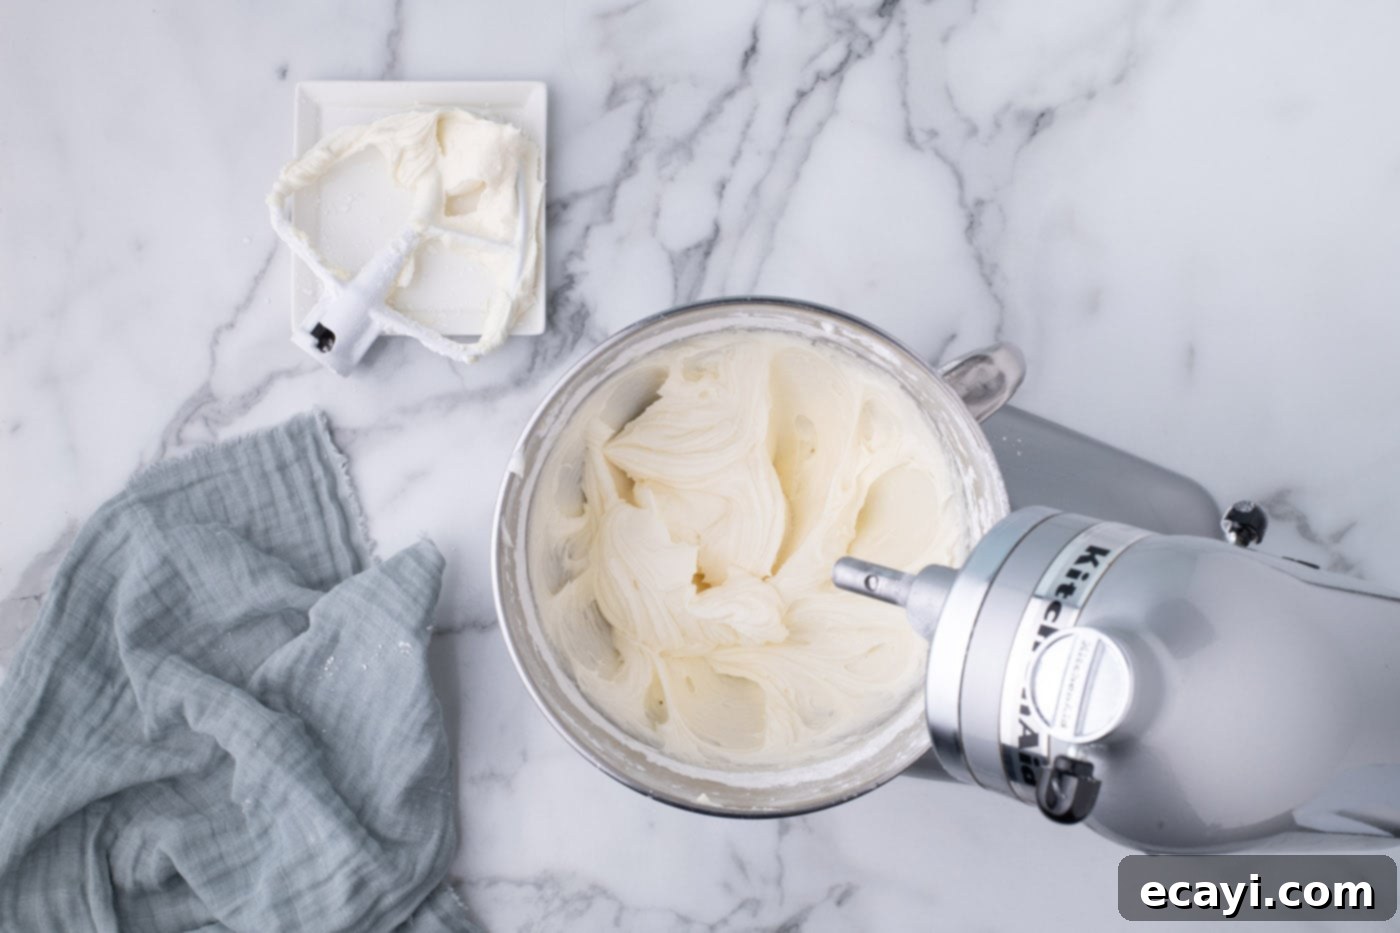
- Prepare the Cream Cheese Frosting: In the clean bowl of your stand mixer (or using a handheld mixer), beat the room temperature unsalted butter until it’s light and fluffy, about 2 minutes. Add the room temperature brick-style cream cheese and continue beating until the mixture is completely smooth and free of any lumps.


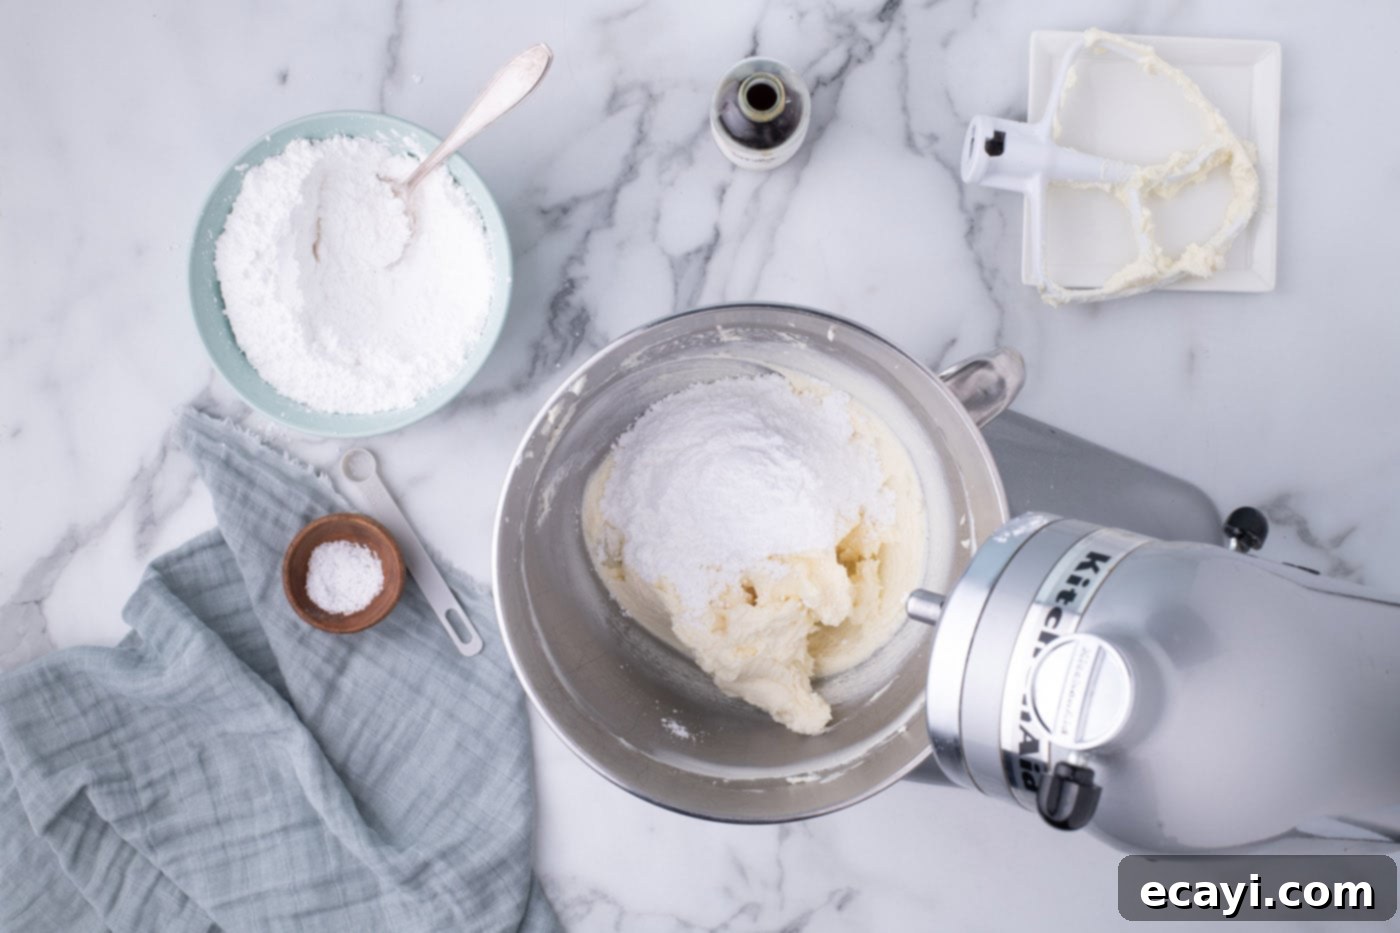
- Add Powdered Sugar: Carefully add the powdered sugar, ¼ cup at a time, mixing on a very low speed initially to prevent it from flying everywhere. Once partially incorporated, increase the speed to medium. Continue to add the powdered sugar in this manner until all of it is mixed in.
- Finish the Frosting: Add the salt and vanilla extract. Increase the mixer speed to medium-high and beat for 2-3 minutes until the frosting is airy, light, and wonderfully fluffy. This step is key for a truly pipeable and luxurious frosting.

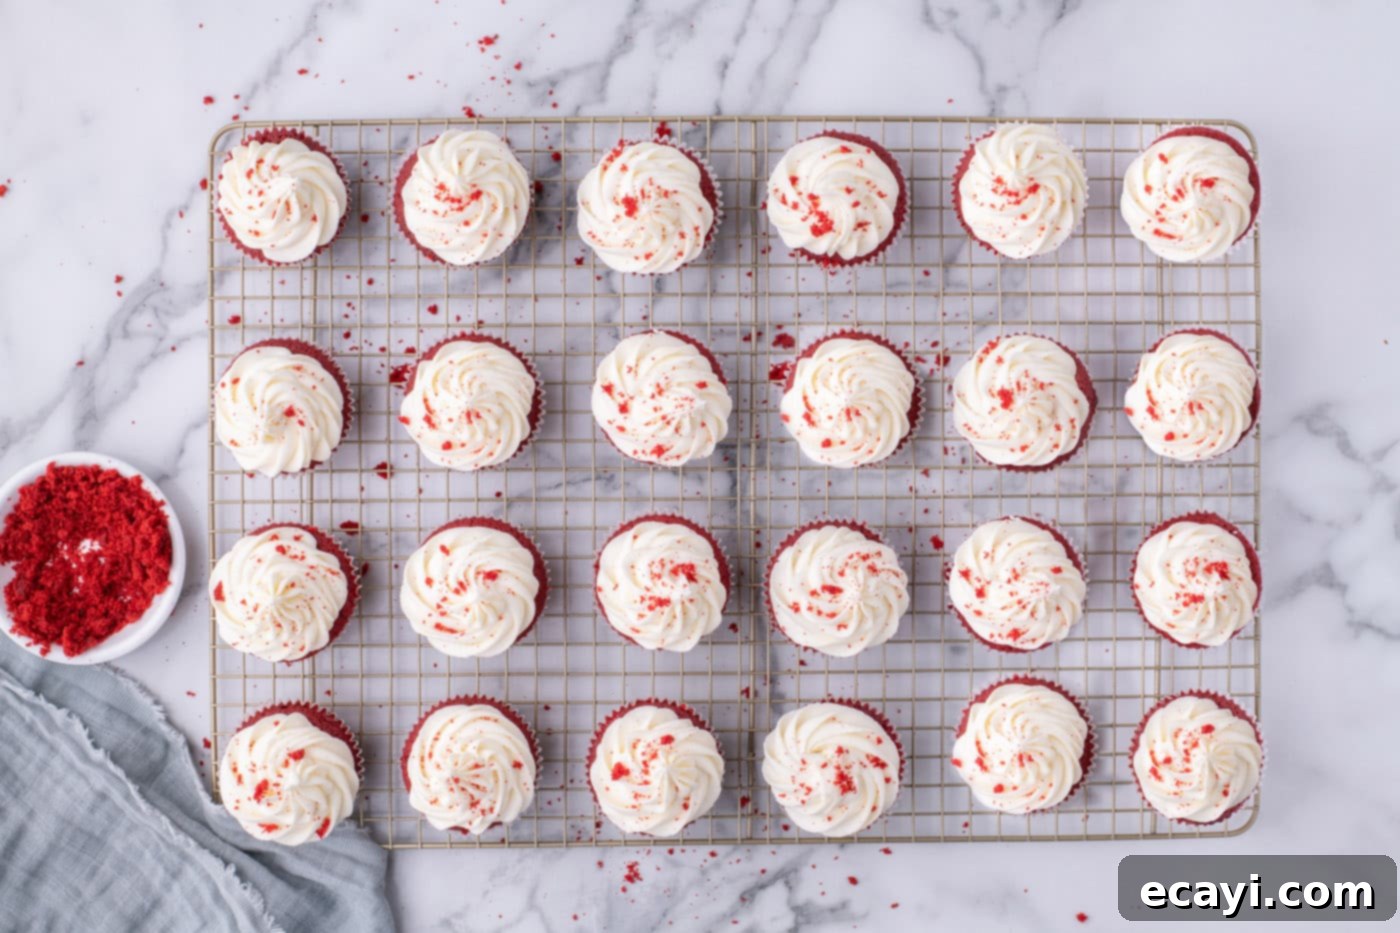
- Frost the Cupcakes: Transfer the prepared cream cheese frosting into a large piping bag fitted with a Wilton tip 1G, or a similar drop flower or open star tip. Once the cupcakes have completely cooled, frost the 24 cupcakes using an even circular motion, starting from the outside and working your way in, or piping a beautiful swirl. If you notice your frosting becoming too soft or runny while piping, place the piping bag in the refrigerator for 5-10 minutes to firm it up slightly.
- Garnish and Serve: Take the remaining two unfrosted cupcakes and crumble them into a small bowl. Sprinkle these red velvet crumbs artfully on top of your frosted cupcakes for an elegant and delicious garnish. Your beautiful, homemade red velvet cupcakes are now ready to impress!

Frequently Asked Questions & Expert Baking Tips
Here are some common questions and expert tips to ensure your red velvet cupcakes turn out perfectly every time:
While you can use all-purpose flour, the reason these cupcakes achieve their signature light and airy texture is primarily due to the lower protein content of cake flour, which produces a softer, more tender crumb. To replicate cake flour, you can make your own by sifting together 2 ½ cups of all-purpose flour with 5 tablespoons of cornstarch. Sift this mixture thoroughly (at least 2-3 times) to ensure the cornstarch is evenly distributed before proceeding with the recipe instructions. Expect a slightly denser texture compared to using commercial cake flour.
Due to the cream cheese frosting, red velvet cupcakes should always be stored in an air-tight container, or a specialized cupcake carrier, in the refrigerator. This will keep them fresh and delicious for up to 5 days. Ensure they are tightly sealed to prevent them from drying out or absorbing refrigerator odors.
Absolutely, these cupcakes are excellent for make-ahead preparation! You can bake the cupcakes a day in advance. Allow them to cool completely, then store them in an air-tight container at room temperature (without the frosting). The cream cheese frosting can also be prepared a day or two in advance and stored in an air-tight container in the refrigerator. When ready to serve, simply bring the frosting to room temperature (it might need a quick beat to restore fluffiness), frost your cooled cupcakes, and garnish. If you prefer to pipe and store the frosted cupcakes ahead of time, always store the finished frosted cupcakes in the refrigerator.
Runny cream cheese frosting is a common issue, but easily avoidable! The main culprits are often butter that is too soft (or partially melted), or using spreadable cream cheese from a tub instead of brick-style. Ensure your butter is softened to room temperature but still holds its shape – it should be pliable, not greasy or melted. Using brick-style cream cheese is crucial for stability due to its lower water content. If your frosting still seems too soft after beating, you can try adding another ½ cup of powdered sugar, gradually, to increase its stability. Chilling the frosting in the refrigerator for 15-30 minutes before piping can also help it firm up.
For the most vibrant red hue, always opt for gel food coloring instead of liquid. Gel colors are concentrated and won’t thin out your batter or frosting. A good quality red gel food coloring will yield the best results. Also, ensure your cocoa powder isn’t too dark; some darker cocoa powders can mute the red color.
Yes, you can! Unfrosted cupcakes freeze very well. Once completely cooled, wrap each cupcake tightly in plastic wrap, then place them in an airtight freezer bag or container. They can be frozen for up to 2-3 months. Thaw them in the refrigerator overnight or at room temperature for a few hours before frosting. Frosted cupcakes can also be frozen, but it’s best to flash-freeze them first (place frosted cupcakes on a tray in the freezer until firm) before wrapping them individually to protect the frosting. Thaw them in the refrigerator.
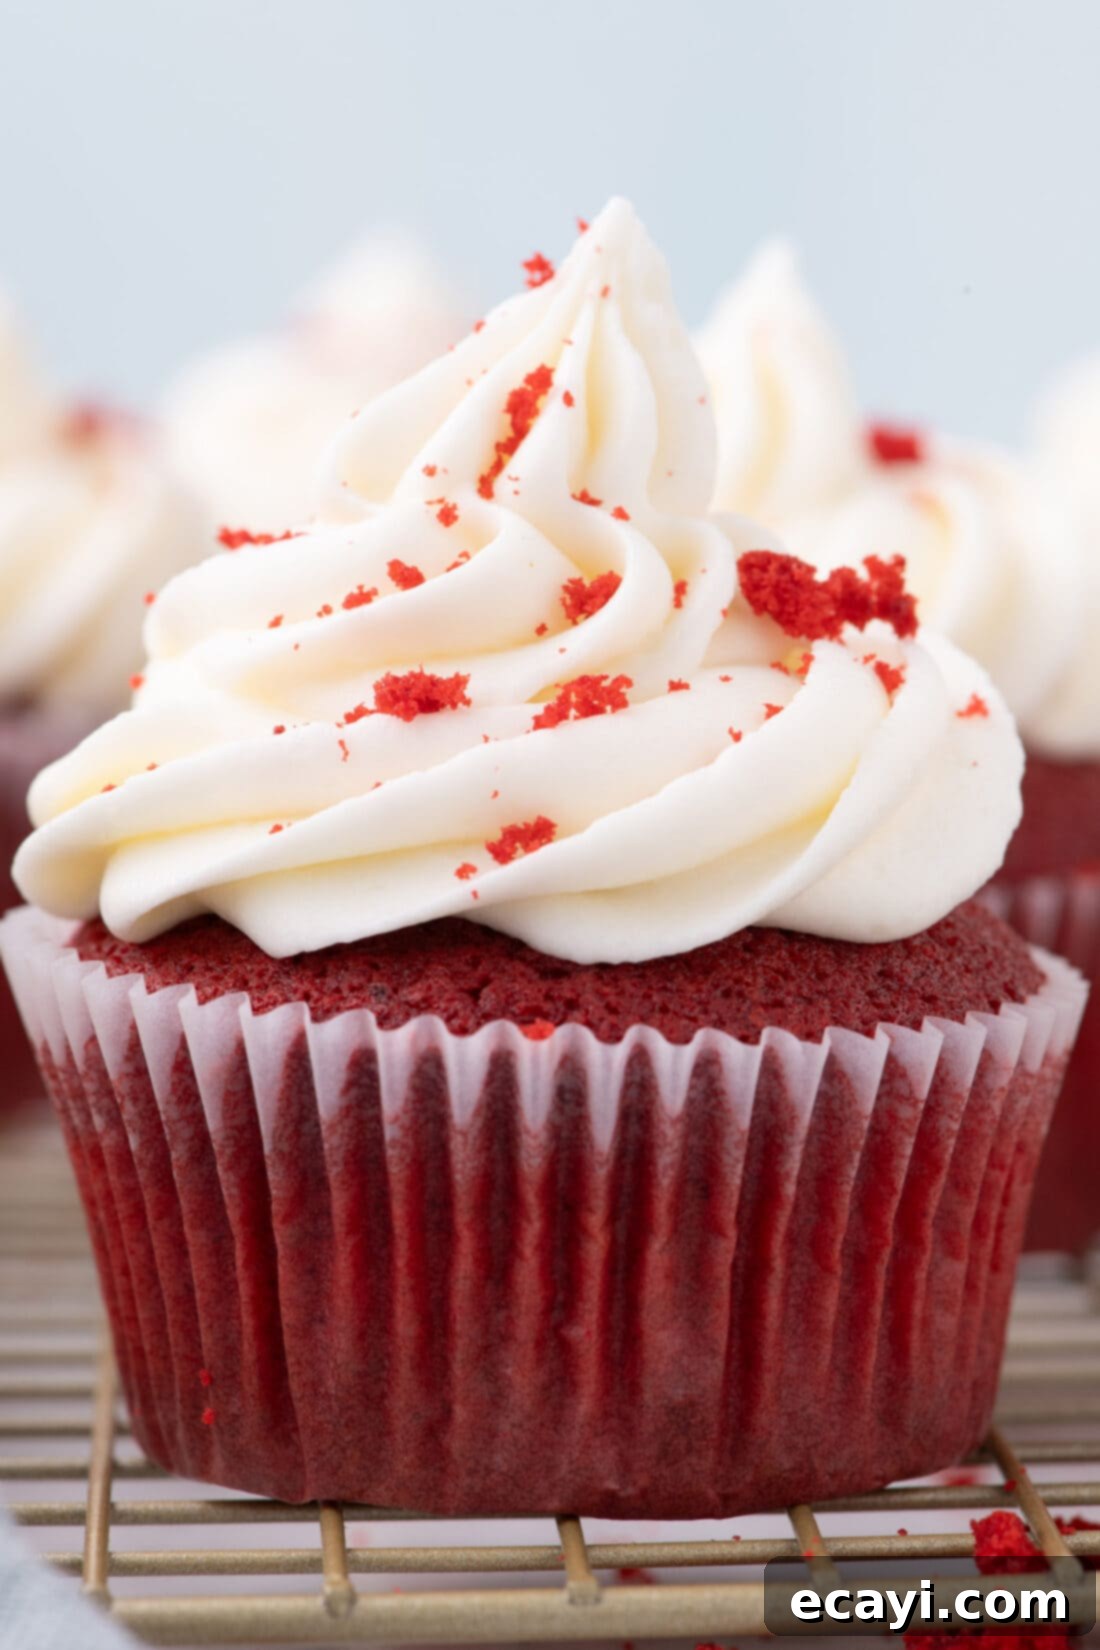
Delightful Serving Suggestions for Red Velvet Cupcakes
While red velvet cupcakes are a star on their own, there are many ways to enjoy and present them. They can surprisingly pass as a delightful sweet treat alongside a warm cup of coffee or tea in the morning, making any day feel a little more special. More traditionally, they are the perfect dessert for parties of all kinds, from birthdays to holiday gatherings, or simply a comforting indulgence after a meal.
Not a fan of cream cheese frosting, or perhaps looking for a historical twist? Red velvet cupcakes are also perfectly delectable with a classic buttercream frosting, or even a traditional ermine frosting (also known as boiled milk frosting), which some believe is the original red velvet topping. Optionally, and highly recommended for visual appeal and a little extra texture, garnish your cupcakes with the extra crumbled red velvet cake on top, or a sprinkle of mini chocolate chips.
To add a special touch of holiday flair, consider topping these vibrant red treats with red heart sprinkles for Valentine’s Day, or red, white, and blue sprinkles for patriotic celebrations and the 4th of July. For Christmas, a dusting of edible glitter or some festive green and red sprinkles can transform them into a holiday showstopper. You can also drizzle them with white chocolate or add fresh berries like raspberries for a gourmet touch.
Explore More Delicious Cake and Cupcake Recipes
If you loved these red velvet cupcakes, be sure to check out some of our other fantastic cake and cupcake creations:
- Oreo Cupcakes
- Classic Red Velvet Cake
- Pound Cake Cupcakes
- Indulgent Double Chocolate Cupcakes
- Perfect Vanilla Cupcakes
I love to bake and cook and share my kitchen experience with all of you! Remembering to come back each day can be tough, that’s why I offer a convenient newsletter every time a new recipe posts. Simply subscribe and start receiving your free daily recipes!
Classic Red Velvet Cupcakes
IMPORTANT – There are often Frequently Asked Questions and Expert Tips within the blog post that you may find helpful. Simply scroll back up to read them!
Print It
Pin It
Rate It
Save ItSaved!
Ingredients
Cupcakes
- 2 ½ cups cake flour 300g (or homemade, see tips)
- 2 Tablespoons unsweetened cocoa powder
- 1 teaspoon salt
- 1 teaspoon baking soda
- 1 Tablespoon vanilla extract
- 1 ¼ cup unsalted butter at room temperature. 2 ½ sticks or 283g
- 1 ⅔ cups granulated sugar 330g
- 1 cup buttermilk at room temperature. 240g (or homemade, see tips)
- 3 large eggs at room temperature
- 1 teaspoon white vinegar
- 10 drops red gel food coloring about 2 Tablespoons, adjust for desired color
Cream Cheese Frosting
- ½ cup unsalted butter at room temperature. 1 stick, 113g
- 8 ounces brick-style cream cheese at room temperature. 226g
- 1 teaspoon vanilla extract
- ¼ teaspoon salt
- 4 cups powdered sugar 480g, sifted
Kitchen Tools You’ll Need
-
Drop flower piping tip such as Wilton 1G, or other open star tip
-
Digital Kitchen Scale
-
Cupcake pan (two 12-cup pans recommended)
-
Stand mixer or powerful hand mixer
-
Large cookie scoop (optional, for even batter distribution)
-
Wire cooling rack
Chef’s Notes & Expert Tips
- The reason these cupcakes have that light and airy texture is a result of using cake flour instead of all-purpose flour, which produces a lighter, more tender crumb. You can make your own cake flour by sifting together 2 1/2 cups of all-purpose flour with 5 tablespoons of cornstarch (sift thoroughly 2-3 times) and continue with the recipe directions.
- If you don’t have buttermilk, you can make your own by stirring 2 teaspoons of white vinegar (or lemon juice) into 1 cup of whole milk. Let it sit for 5-10 minutes to curdle slightly.
- I highly recommend using a digital kitchen scale to weigh your ingredients, especially flour and sugar. This ensures the most accurate measure for a perfect cupcake that won’t be too dry or too dense. If you don’t have a digital kitchen scale, then fluff your dry ingredients, gently scoop, and level with the back end of a butter knife for an accurate measure.
- You will want both your cream cheese and butter to be at room temperature before starting your frosting. This way, you don’t end up with lumpy frosting. Cut both into cubes and allow them to rest at room temperature for 30-45 minutes; do not microwave or melt them. They should be pliable but still hold their shape.
- It is important to purchase ‘brick-style’ cream cheese (in blocks) instead of spreadable cream cheese (in tubs). These two types of cream cheese each have different properties and water content, which will significantly affect the outcome and stability of your frosting. The brick-style cream cheese will give you the perfect, pipeable frosting.
- To ensure a nice stable cream cheese frosting that is perfect for piping, make sure your butter is not too soft (see tip above). You may also choose to add another ½ cup of powdered sugar (gradually) for extra stability if your frosting seems too thin for piping, or chill it for 15-30 minutes.
- To evenly fill each cupcake liner with the batter, you can use a large cookie scoop or an ice cream scoop. This helps ensure uniform size and baking time.
Instructions
-
Preheat oven to 350°F (175°C). Line two 12-cup cupcake tins with paper liners.
-
In a large mixing bowl, sift together the cake flour, cocoa powder, salt, and baking soda. Set aside.
-
In the bowl of a stand mixer fitted with a paddle attachment (or using a handheld mixer), beat the unsalted butter until light and fluffy. Add the granulated sugar and continue beating until pale and well mixed.
-
Add the eggs one at a time, ensuring each egg is fully incorporated into the mixture before adding the next.
-
Stir in the vanilla extract. Scrape down the sides of the bowl with a silicone spatula.
-
Add in the white vinegar and red gel food coloring and continue to mix on medium speed until evenly colored.
-
Stir in 1/3 of the dry ingredients, mixing just until combined. Alternate with ½ cup of the buttermilk, mixing until just incorporated. Repeat this process, ending with the remaining 1/3 of the dry ingredients. Be careful not to overmix the batter.
-
Scoop the batter into each cupcake liner until about 2/3 full.
TIP – You will have enough batter leftover for two extra cupcakes that will be used for the garnish.
-
Place the cupcake tins in the preheated oven for 14 to 18 minutes, or until a toothpick inserted into the center comes out clean.
-
Remove the cupcake tins from the oven and transfer cupcakes to a wire rack to cool completely. Bake the remaining two cupcakes separately for garnish and let cool (leave unfrosted).
Making the Cream Cheese Frosting
-
In the bowl of your stand mixer or (handheld mixer), beat the room temperature butter until light and fluffy. Add the room temperature brick-style cream cheese and continue beating until completely smooth and lump-free.
-
Carefully add the sifted powdered sugar ¼ cup at a time, mixing on a low speed initially to prevent scattering. Once partially incorporated, increase speed to medium and continue adding until all powdered sugar is mixed in.
-
Add in the salt and vanilla extract and beat on medium/high speed for 2-3 minutes until the frosting is airy, light, and fluffy.
-
Place the frosting in a large piping bag fitted with Wilton tip 1G, or a similar drop flower tip.
-
Once the cupcakes have cooled completely, frost the 24 cupcakes using an even circular piping motion. If your frosting becomes too runny while piping, place the piping bag in the fridge for 5-10 minutes to firm it up.
-
Take the remaining two unfrosted cupcakes and crumble them into a small bowl. Use these crumbs as an attractive garnish on top of the frosted cupcakes.
Make Ahead & Storage Instructions
- Store frosted red velvet cupcakes in an air-tight container, or cupcake carrier, in the refrigerator for up to 5 days. For best flavor, bring to room temperature for about 30 minutes before serving.
- Make Ahead: You can prepare the cupcakes a day in advance. Allow them to fully cool, and store them in an air-tight container at room temperature (without the frosting). The frosting can be prepared in advance as well and stored in an air-tight container in the refrigerator. When ready to serve, simply re-whip the frosting briefly if needed to restore its fluffiness, then pipe onto the cooled cupcakes. If you choose to frost the cupcakes ahead of time, store the frosted cupcakes in the refrigerator.
- Unfrosted cupcakes can be frozen for up to 2-3 months. Wrap each cooled cupcake individually in plastic wrap, then place in a freezer-safe bag or container. Thaw in the refrigerator or at room temperature before frosting.
Nutrition Information
The recipes on this blog are tested with a conventional gas oven and gas stovetop. It’s important to note that some ovens, especially as they age, can cook and bake inconsistently. Using an inexpensive oven thermometer can assure you that your oven is truly heating to the proper temperature. If you use a toaster oven or countertop oven, please keep in mind that they may not distribute heat the same as a conventional full sized oven and you may need to adjust your cooking/baking times. In the case of recipes made with a pressure cooker, air fryer, slow cooker, or other appliance, a link to the appliances we use is listed within each respective recipe. For baking recipes where measurements are given by weight, please note that results may not be the same if cups are used instead, and we can’t guarantee success with that method.
