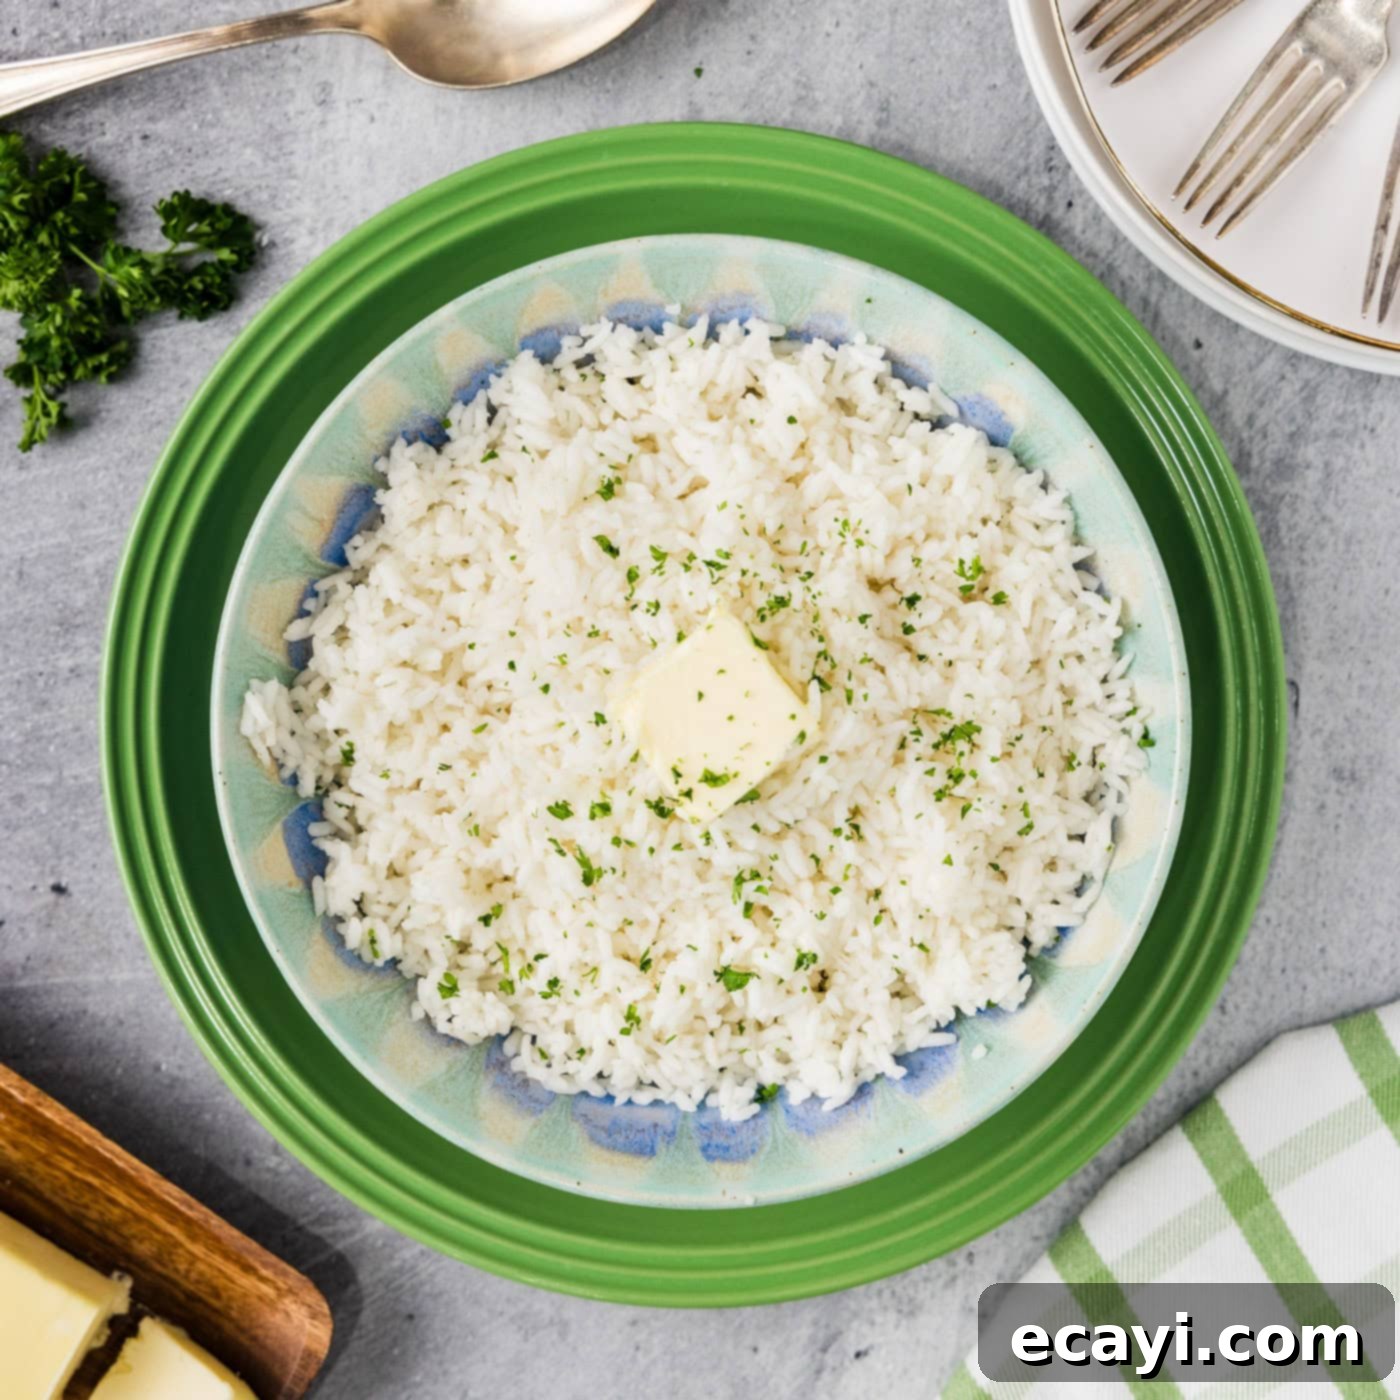
Mastering Fluffy Rice: The Foolproof Pasta Method for Perfect Grains Every Time
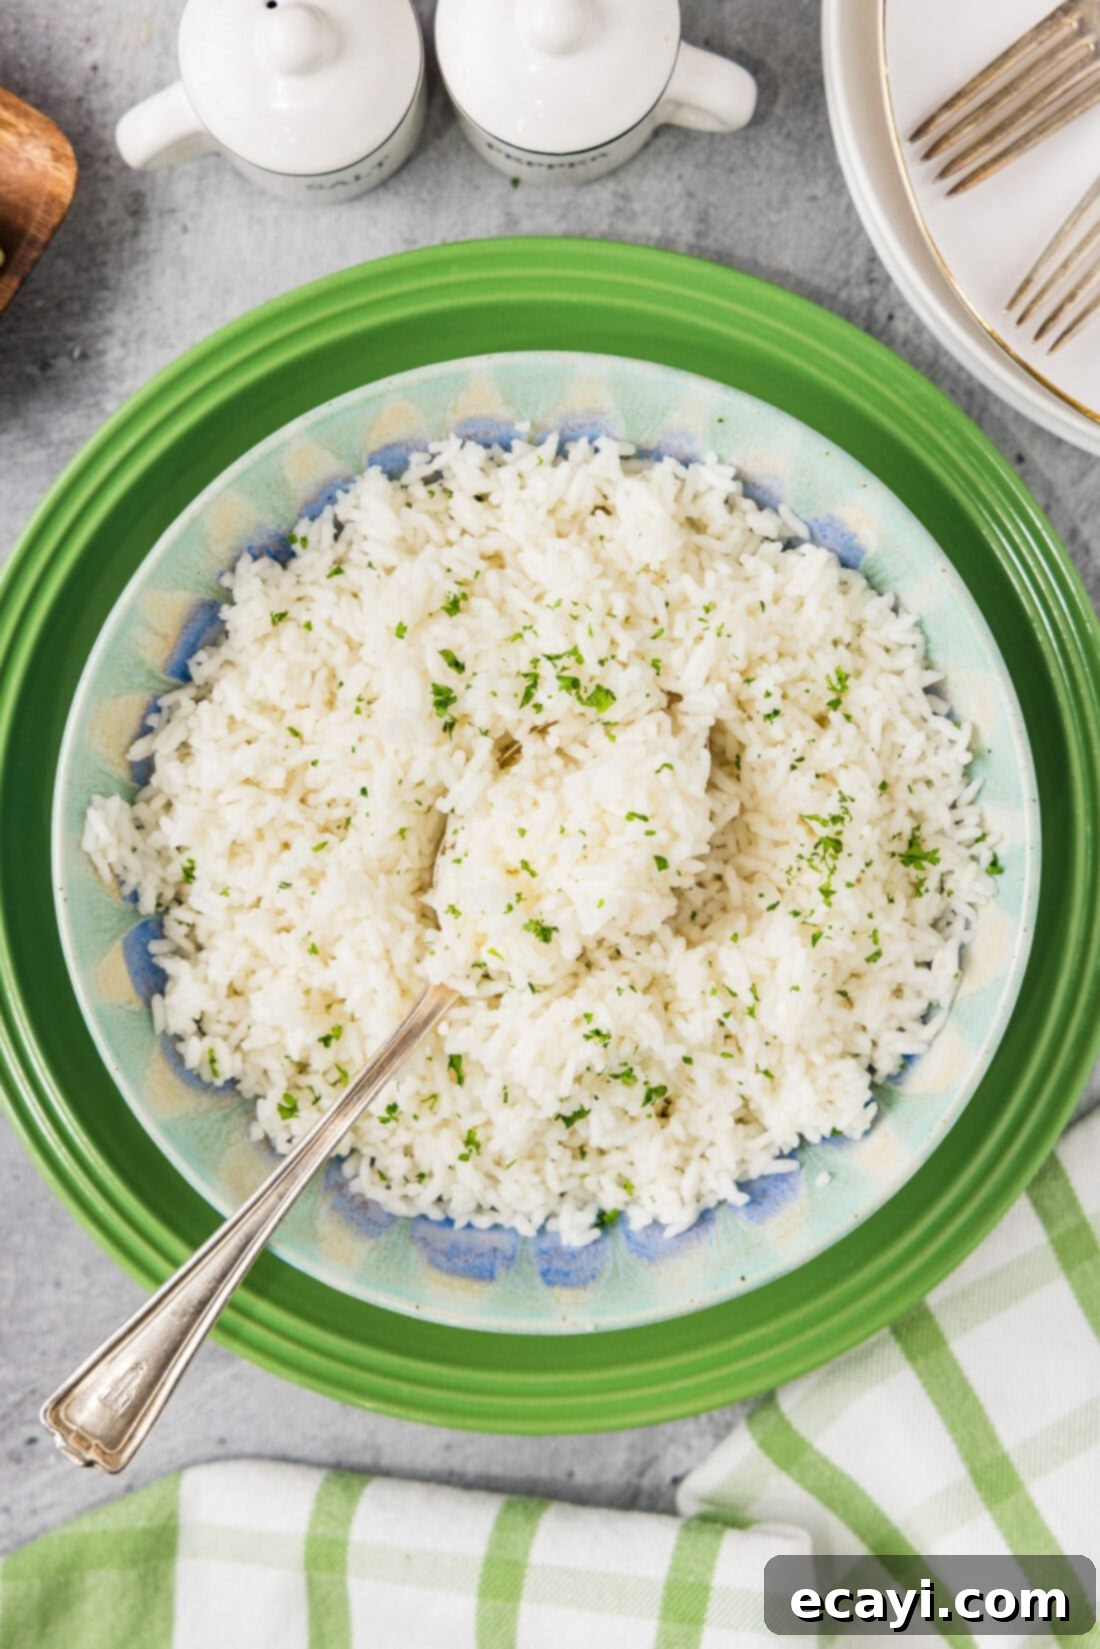
Unlock the secret to consistently fluffy, perfectly cooked rice with the revolutionary pasta method! Say goodbye to mushy or undercooked grains and hello to culinary confidence. In just around 20 minutes, you’ll achieve restaurant-quality rice, making it an ideal side dish for any meal or a staple for your weekly meal prep.
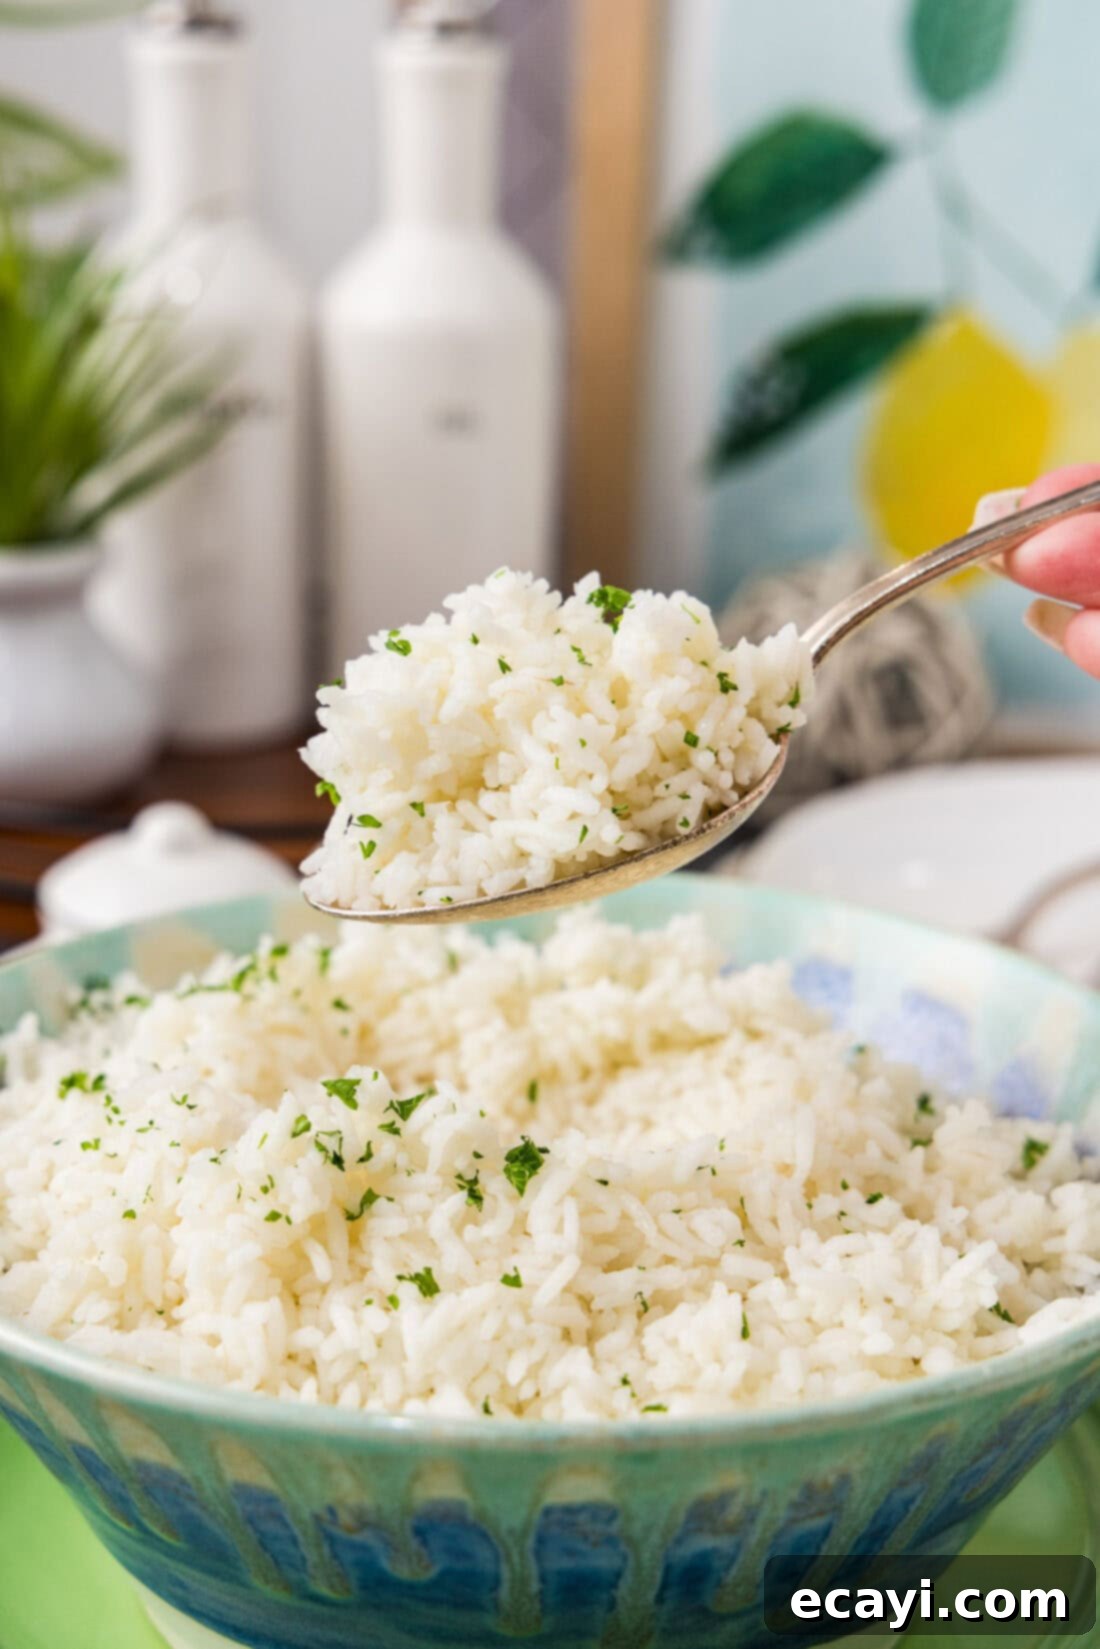
Why This Foolproof Pasta Method for Rice Works Wonders
If you’ve ever struggled to achieve light, distinct rice grains using traditional absorption methods, the pasta method is your game-changer. This technique, as its name suggests, involves cooking rice in a generous amount of boiling water, much like you would pasta. The beauty of this approach lies in its simplicity and reliability, guaranteeing fluffy, perfectly separated rice with minimal effort.
The main reason this method triumphs over conventional cooking is the ample water volume. When rice is boiled in excess water, it prevents the grains from sticking together and allows them to cook evenly without becoming gummy. The surplus water washes away excess starch, which is often the culprit behind clumpy rice. This results in a superior texture that is both tender and incredibly fluffy, a stark contrast to the often sticky or dry results from other methods.
Furthermore, the pasta method is incredibly versatile for various cooking scenarios. It’s especially fantastic for large batch cooking, making it perfect for feeding a crowd at family gatherings or for efficient meal prepping for the week ahead. You can easily double, triple, or even quadruple the recipe without fear of uneven cooking, ensuring you have plenty of perfectly cooked rice ready whenever you need it. This scalability makes it a go-to technique for home cooks and busy kitchens alike.
Essential Ingredients for Perfect Pasta Method Rice
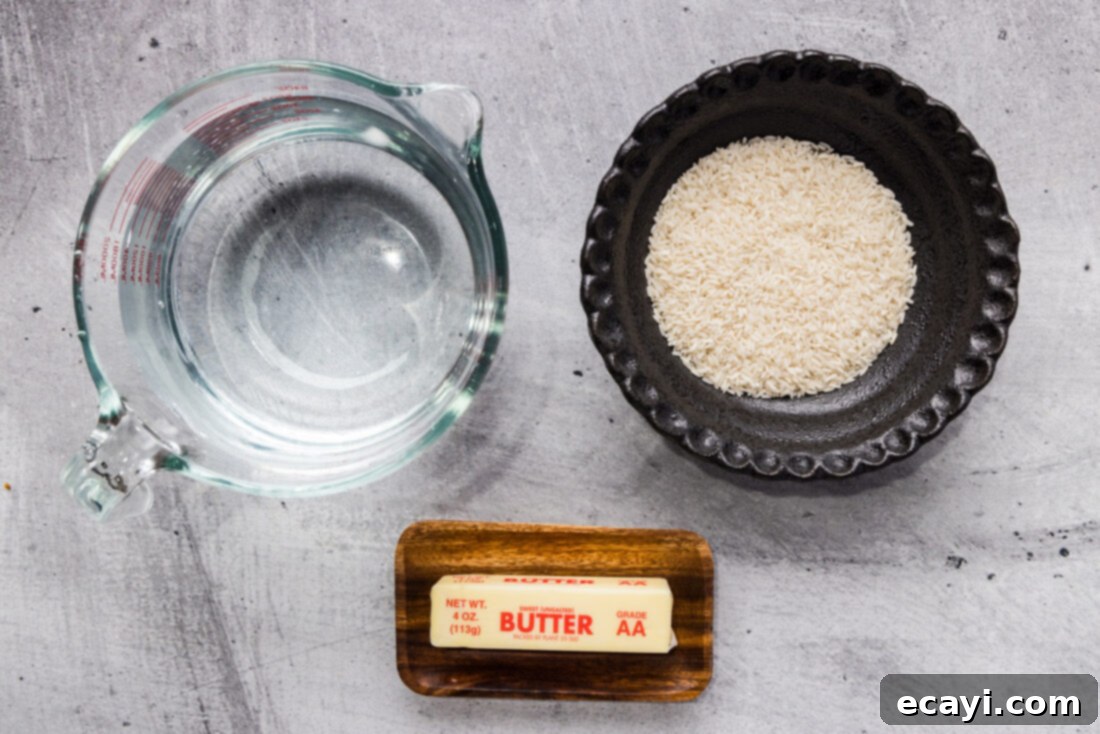
Creating delicious, fluffy rice doesn’t require a long list of fancy ingredients. In fact, its simplicity is part of its charm. You’ll only need a few basic staples to achieve consistently excellent results. For precise measurements and step-by-step instructions, refer to the comprehensive recipe card at the end of this article.
Ingredient Spotlight & Expert Substitution Tips
RICE: This recipe is specifically designed for long-grain white rice varieties, such as fragrant basmati or delicate jasmine rice. These types of rice have a lower starch content compared to short-grain varieties and are less likely to clump, making them ideal for the pasta method. The longer, slender grains remain separate and fluffy when cooked this way. While you can experiment with other types of rice, be aware that cooking times and water ratios will significantly vary. For instance, short-grain rice (like Arborio or sushi rice) is naturally stickier and intended for dishes where a creamy or cohesive texture is desired, so it won’t yield the same fluffy results with this method.
SALT: Kosher salt is recommended for its pure flavor and larger crystals, which are easier to measure accurately. Salt not only seasons the rice but also helps to firm up the grain structure slightly, preventing it from becoming overly soft. Adjust the amount to your personal taste, but remember that much of the salt will be drained away with the cooking water, so a generous initial amount is beneficial.
UNSALTED BUTTER: A touch of unsalted butter added at the end enhances the flavor and contributes to the rice’s velvety texture and sheen. It also helps prevent the grains from sticking together once drained. If you prefer, you can substitute with a neutral oil like olive oil, avocado oil, or even coconut oil for a different flavor profile. For a dairy-free option, use a plant-based butter substitute or omit it entirely, though it does add a lovely richness.
WATER: The key to the pasta method is using a generous amount of water for boiling. Think of it like boiling pasta – you want plenty of space for the grains to move and cook freely. While an exact measurement isn’t critical, filling your pot about ¾ full ensures there’s enough liquid to cover the rice adequately and allow for proper starch removal.
How to Master the Pasta Method for Fluffy Rice
These step-by-step photos and detailed instructions are provided to help you visualize each stage of making this incredibly easy recipe. For a convenient printable version, complete with precise measurements and comprehensive instructions, simply Jump to Recipe at the bottom of this page.
- Boil the Water: Begin by filling a large pot or Dutch oven approximately 3/4 full with water. Add the specified amount of salt to the water – this seasons the rice from the inside out and improves its texture. Bring the water to a vigorous, rolling boil over high heat. This ensures that when the rice is added, the temperature doesn’t drop too drastically, allowing for consistent cooking.
- Rinse and Cook the Rice: While the water is heating, thoroughly RINSE your long-grain white rice under cold running water. You can do this in a fine-mesh sieve until the water runs clear. This crucial step removes excess surface starch, which is vital for achieving separate, non-sticky grains. Once the water is boiling, drain the rinsed rice and carefully add it to the pot. Reduce the heat to medium, maintaining a steady boil. Cook the rice uncovered for approximately 8 minutes. At this point, the rice should be al dente – cooked through but still firm to the bite, similar to pasta.
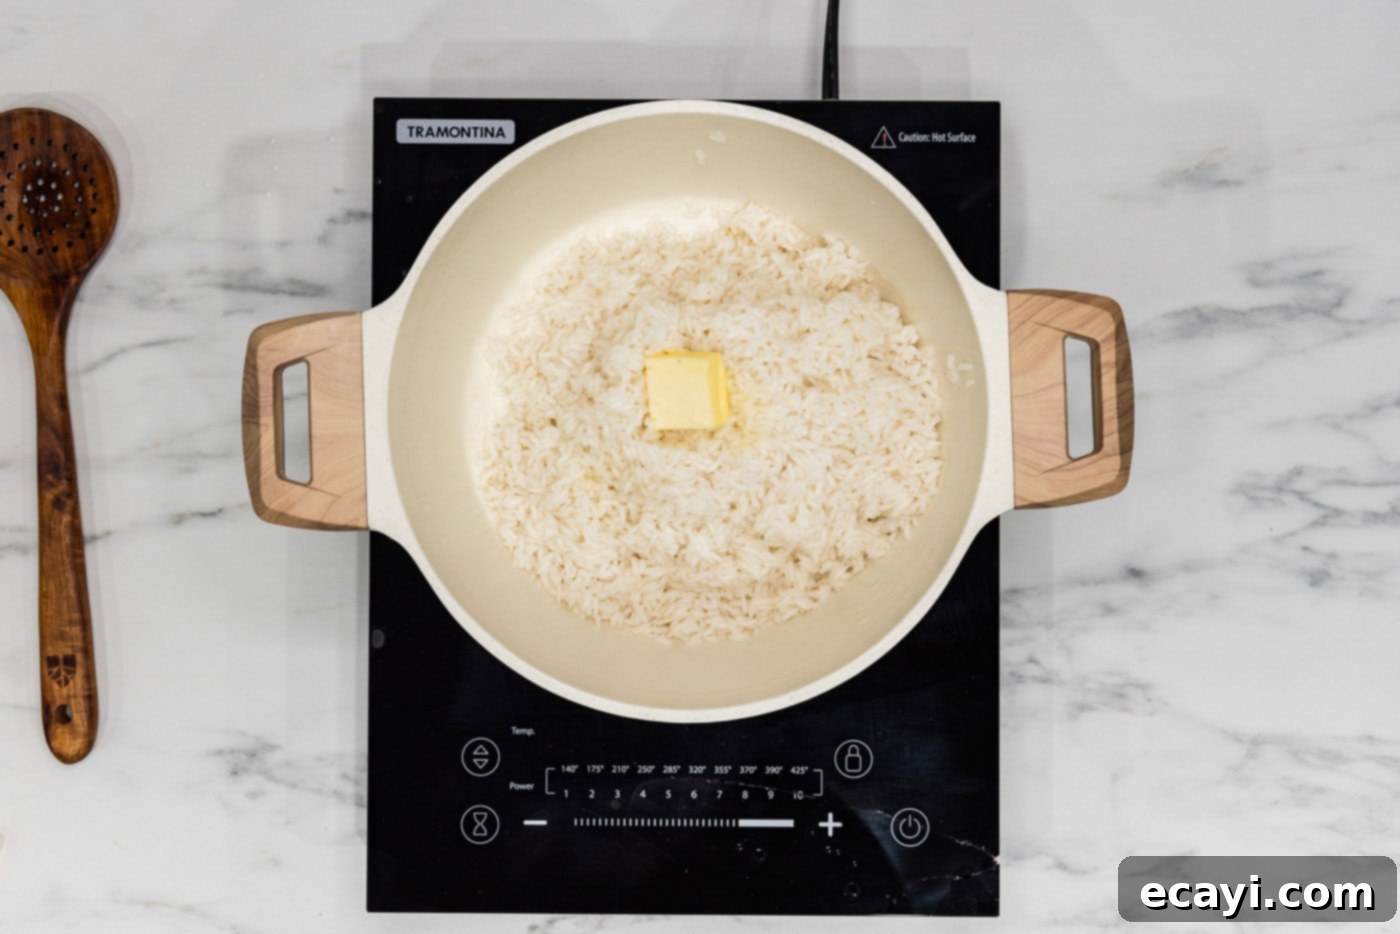
- Drain and Butter: Once the rice has reached the al dente stage, carefully drain it through a colander to remove all the cooking water. It’s important to drain it thoroughly to prevent it from becoming mushy. Immediately return the drained rice to the empty pot. Place the pot back on the stovetop and reduce the heat to the absolute lowest setting. Add the tablespoon of unsalted butter (or your chosen substitute) to the rice. Gently stir the rice until the butter has fully melted and coated the grains. This adds richness and helps keep the grains separate.

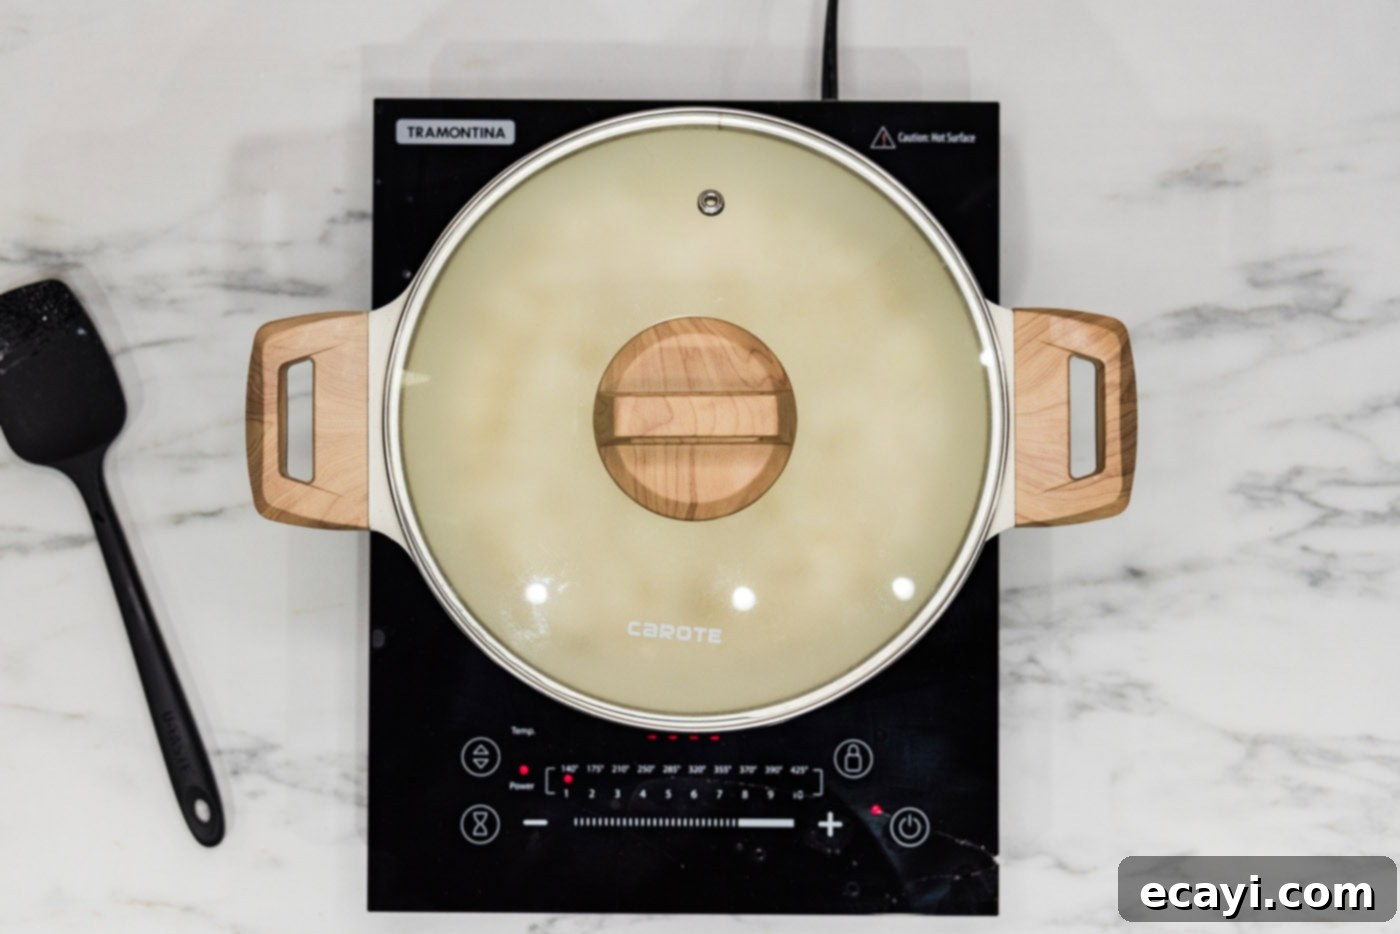
- Steam and Fluff: Cover the pot tightly with a lid and allow the rice to steam on the lowest heat setting for an additional 10 minutes. This gentle steaming period allows the rice to fully absorb any remaining moisture and finish cooking to a perfect, tender consistency without drying out. Midway through, after about 5 minutes, give it a quick, gentle stir to redistribute the heat and prevent sticking. After 10 minutes, turn off the heat and let the rice rest for a few minutes with the lid still on. Finally, remove the lid and use a fork to gently fluff the rice. This separates the grains and releases any trapped steam, ensuring a light and airy texture.

Frequently Asked Questions & Expert Tips for Perfect Rice
For the pasta method, you’ll want to fill your pot about 3/4 of the way full with water. The key is to have a generous amount of water, much like when boiling pasta. An exact measurement isn’t as critical as ensuring the rice is fully submerged with plenty of room to move around. This excess water allows starches to leach out and prevents the grains from becoming sticky or clumping together, which is essential for achieving that signature fluffy texture.
Yes, you can absolutely use the pasta method for brown rice, but it will require a longer cooking time. Brown rice has its outer bran layer intact, which makes it chewier and takes longer to soften. Follow the initial steps as listed for white rice (boil water, add rice), but boil the brown rice for approximately 25-30 minutes, or until it reaches your desired tenderness. After boiling, drain thoroughly and allow the rice to sit in the empty pot for a couple of minutes, covered, to steam slightly before fluffing. You can add butter or oil for flavor and texture if desired. Always taste-test to ensure doneness, as varieties of brown rice can vary in cooking time.
Rinsing the rice is a highly recommended step for the pasta method, especially for long-grain white rice. It removes excess surface starch, which is the primary cause of sticky, clumpy rice. If you skip rinsing, your rice may still cook, but it will likely be less fluffy and the grains may stick together more. While not detrimental to the taste, the texture won’t be as light and separated. It’s a small step that makes a big difference in the final result.
While using broth can add a layer of flavor to rice cooked by the traditional absorption method, it’s generally not recommended for the pasta method. Because most of the cooking liquid is drained away, much of the broth’s flavor (and cost) would be lost. You’d also likely end up with overly salty rice, as the salt content in broth is concentrated. For adding flavor, it’s best to use salted water for boiling, and then incorporate herbs, spices, or a pat of flavored butter after draining, during the final steaming step.
Proper storage is essential to keep your cooked rice fresh and safe. Allow the rice to cool completely within one hour of cooking. Transfer it to an airtight container and store it in the refrigerator for up to 3-4 days. To reheat, you can use a microwave, adding a tablespoon or two of water per cup of rice and covering it loosely to steam. Alternatively, reheat on the stovetop in a pan with a splash of water or broth, stirring occasionally until heated through. Freezing cooked rice is also an option; it can be stored in freezer-safe bags or containers for up to 3 months. Thaw in the refrigerator overnight before reheating.
Delicious Serving Suggestions for Your Fluffy Rice
The pasta method for cooking rice is truly a culinary revelation, particularly if you’ve been searching for a foolproof way to achieve consistently perfect grains. It liberates you from needing specialized kitchen gadgets like dedicated rice cookers – all you really need is a reliable pot and a colander. This simple technique delivers tender, fluffy rice that serves as the ideal foundation for an endless array of dishes.
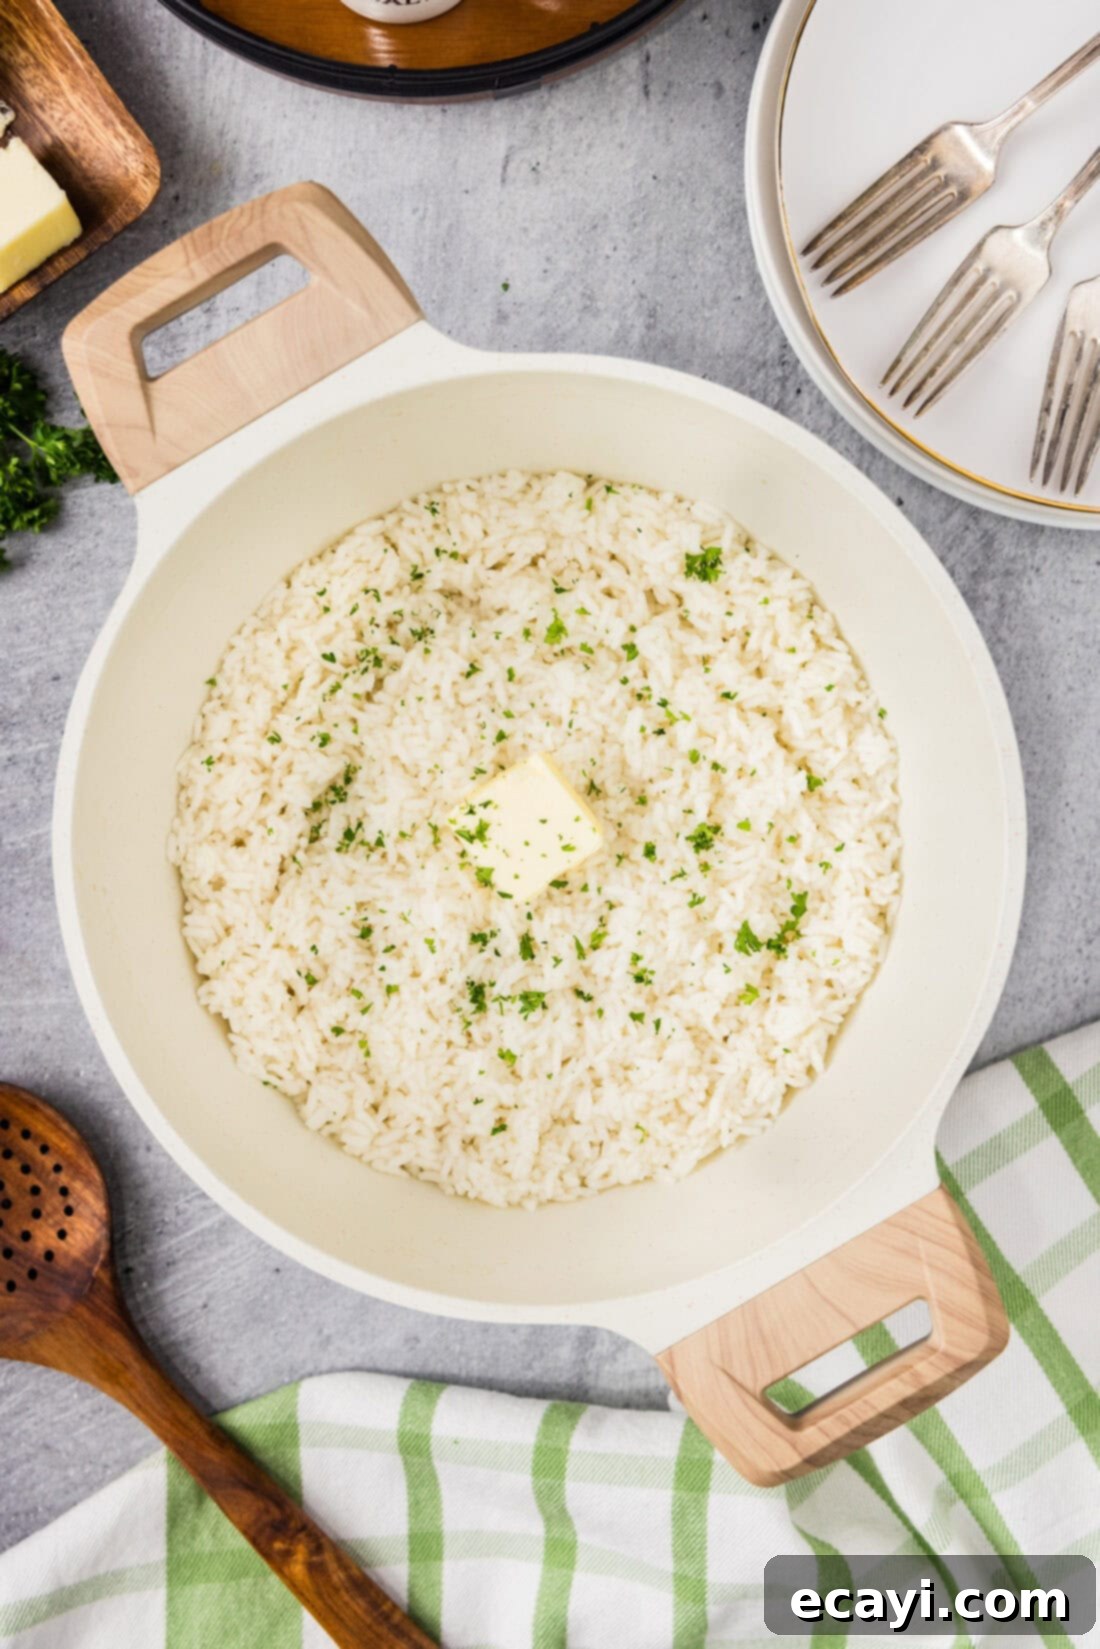
You can serve your perfectly cooked rice just as you would any other rice, pairing it with your favorite main courses. It’s a wonderful accompaniment to robust dishes like savory honey garlic chicken, vibrant stir-fries bursting with fresh vegetables, or the comforting flavors of Cajun red beans and rice. Its neutral yet satisfying flavor profile makes it incredibly versatile, complementing Asian, Mexican, Indian, American, and Mediterranean cuisines with ease.
Beyond traditional pairings, consider elevating your pasta method rice with simple additions. Stir in fresh chopped herbs like cilantro or parsley, a squeeze of lime juice for brightness, or a sprinkle of toasted sesame seeds. For extra richness, fold in a knob of butter or a drizzle of olive oil, along with some freshly ground black pepper. This basic, fluffy rice is a canvas for your culinary creativity!
Explore More Delicious Rice Recipes
Once you’ve mastered the pasta method, you might be inspired to explore other incredible rice dishes. Here are some of our top recommendations:
- Classic Rice Pilaf
- Hearty Dirty Rice
- Flavorful Cajun Rice
- Irresistible Garlic Butter Rice
I am passionate about baking and cooking, and I love sharing my culinary journey and experience with all of you! Remembering to check back daily for new recipes can be a challenge, which is why I offer a convenient newsletter. Simply subscribe here and start receiving your free daily recipes directly to your inbox!
Fluffy Pasta Method Rice
IMPORTANT – Don’t forget to scroll up and read the Frequently Asked Questions and Expert Tips section within the blog post for additional helpful information!
Print It
Pin It
Rate It
Save ItSaved!
Ingredients
- 1 cup long grain white rice (such as Basmati or Jasmine)
- 2 teaspoons Kosher salt
- 1 Tablespoon unsalted butter
- water for boiling
Equipment You’ll Need
-
Saucepan or a large stock pot/Dutch oven, suitable for the amount of rice you are preparing
-
Colander
Before You Begin & Recipe Notes
- This recipe is optimized for long-grain white rice varieties, specifically basmati or jasmine rice, which yield the fluffiest results. Cooking times may vary significantly for other types of rice.
- For brown rice, the cooking method remains similar, but the boiling time will be longer due to its bran layer. Boil brown rice for approximately 25-30 minutes, then drain, and allow to sit covered for a few minutes before fluffing. Butter can be added if desired for extra flavor.
- Ensure you rinse your rice thoroughly under cold water until the water runs clear. This step is crucial for removing excess starch and preventing sticky, clumpy rice.
Instructions
-
Fill a large pot approximately 3/4 full with water. Add the Kosher salt and bring the water to a rapid, rolling boil over high heat.2 teaspoons Kosher salt, water
-
Thoroughly RINSE and drain the long-grain white rice under cold running water until clear. Add the rinsed rice to the vigorously boiling water. Reduce the heat to medium and cook uncovered for 8 minutes, or until the rice is al dente.1 cup long grain white rice
-
Carefully drain the cooked rice completely using a colander. Return the drained rice to the now empty pot. Turn the stovetop heat down to the absolute lowest setting. Add the unsalted butter to the rice and stir gently until it has fully melted and coated the grains.1 Tablespoon unsalted butter
-
Cover the pot tightly with a lid and cook over the lowest heat setting for 10 minutes, stirring gently once after 5 minutes to ensure even steaming. After 10 minutes, turn off the heat and let it rest for a couple of minutes. Finally, remove the lid and use a fork to fluff the rice before serving.
Expert Tips & FAQs Summary
- Always use a generous amount of water, filling your pot about 3/4 full, just like cooking pasta. This allows for optimal starch removal and prevents sticking.
- Rinsing the rice thoroughly before cooking is crucial for achieving light, separate grains.
- For brown rice, adjust the boiling time to 25-30 minutes, or until tender, then proceed with draining and steaming.
- Avoid using broth for boiling, as much of the flavor will be lost, and the rice may become too salty. Season the water with salt instead.
- Cooked rice can be stored in an airtight container in the refrigerator for 3-4 days or frozen for up to 3 months.
Nutrition Information
The recipes on this blog are meticulously tested with a conventional gas oven and gas stovetop. Please note that oven performance, especially with older models, can vary. An affordable oven thermometer can help ensure your oven is reaching and maintaining the correct temperature. If using a toaster oven or countertop oven, be mindful that heat distribution may differ from full-sized conventional ovens, potentially requiring adjustments to cooking or baking times. For recipes prepared with appliances like pressure cookers, air fryers, or slow cookers, a link to the specific appliances we use is typically provided within each recipe. In baking recipes where ingredient measurements are given by weight, achieving consistent results may be challenging if volume measurements (cups) are used instead, and we cannot guarantee success with alternative measurement methods.
