Partybrot: The Ultimate Fluffy German Pull-Apart Party Bread Recipe
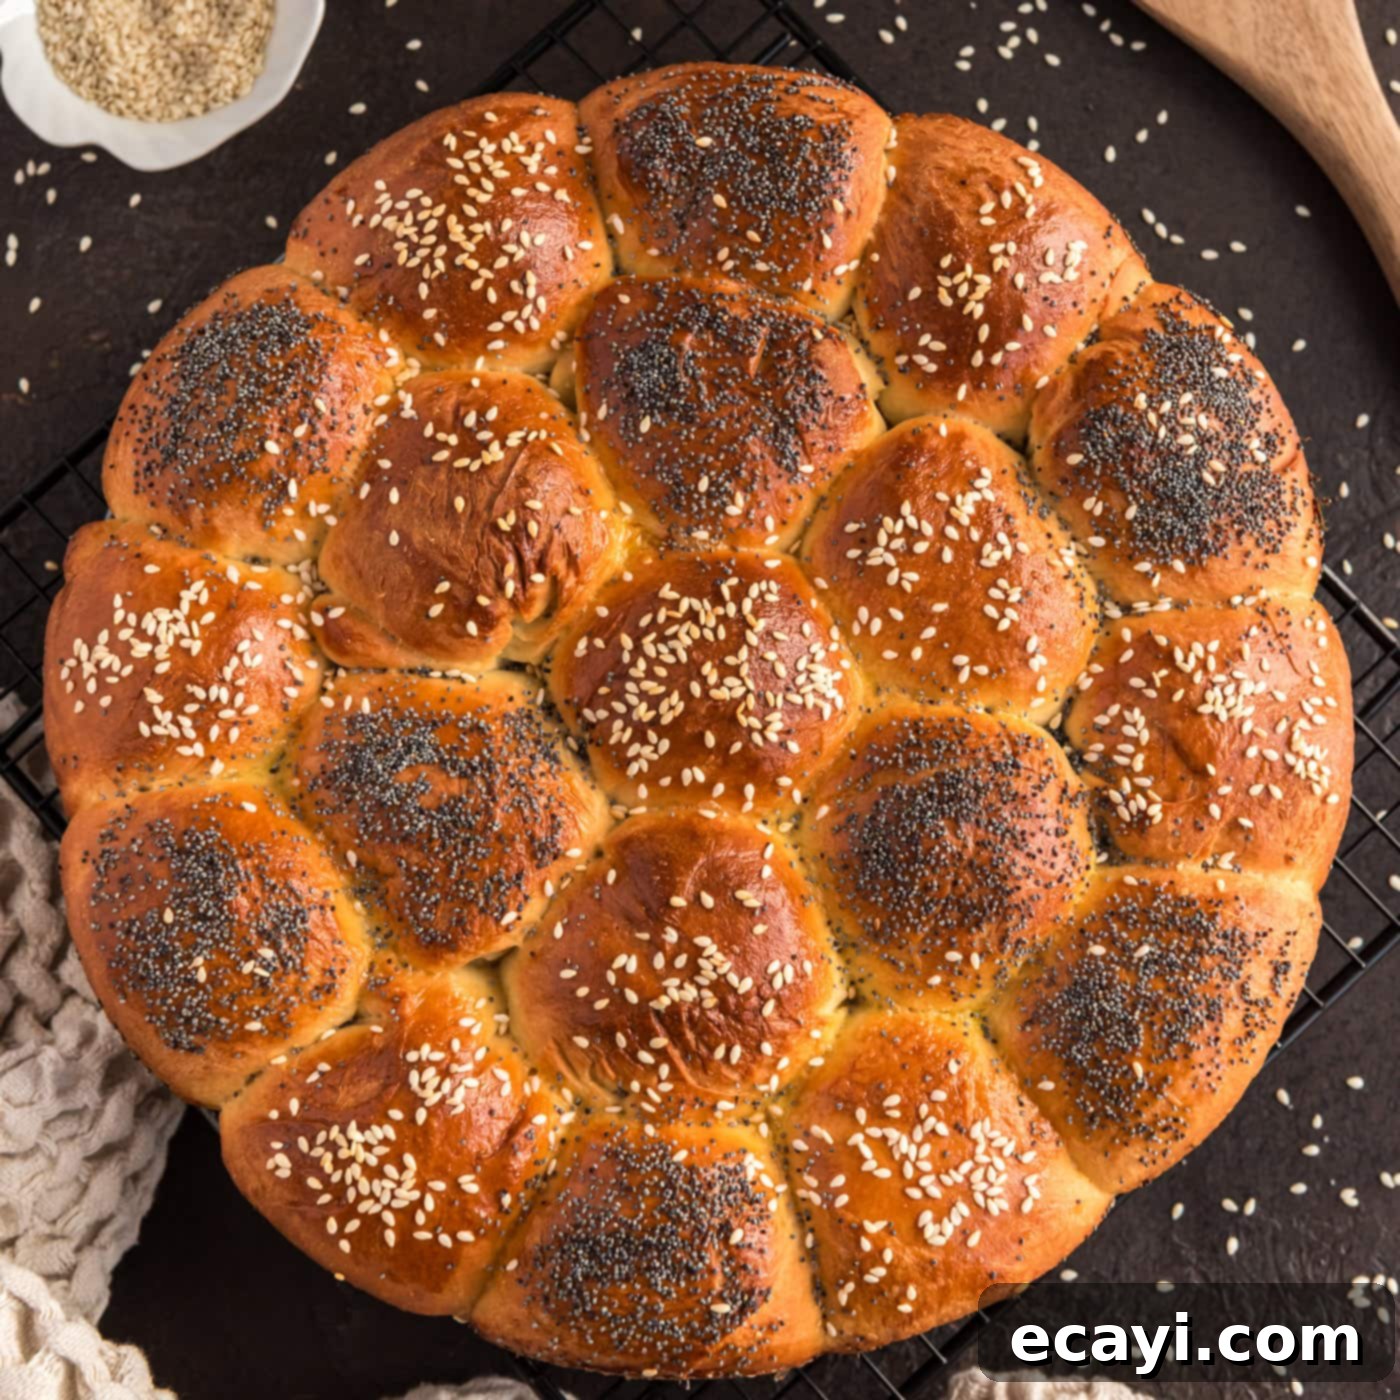
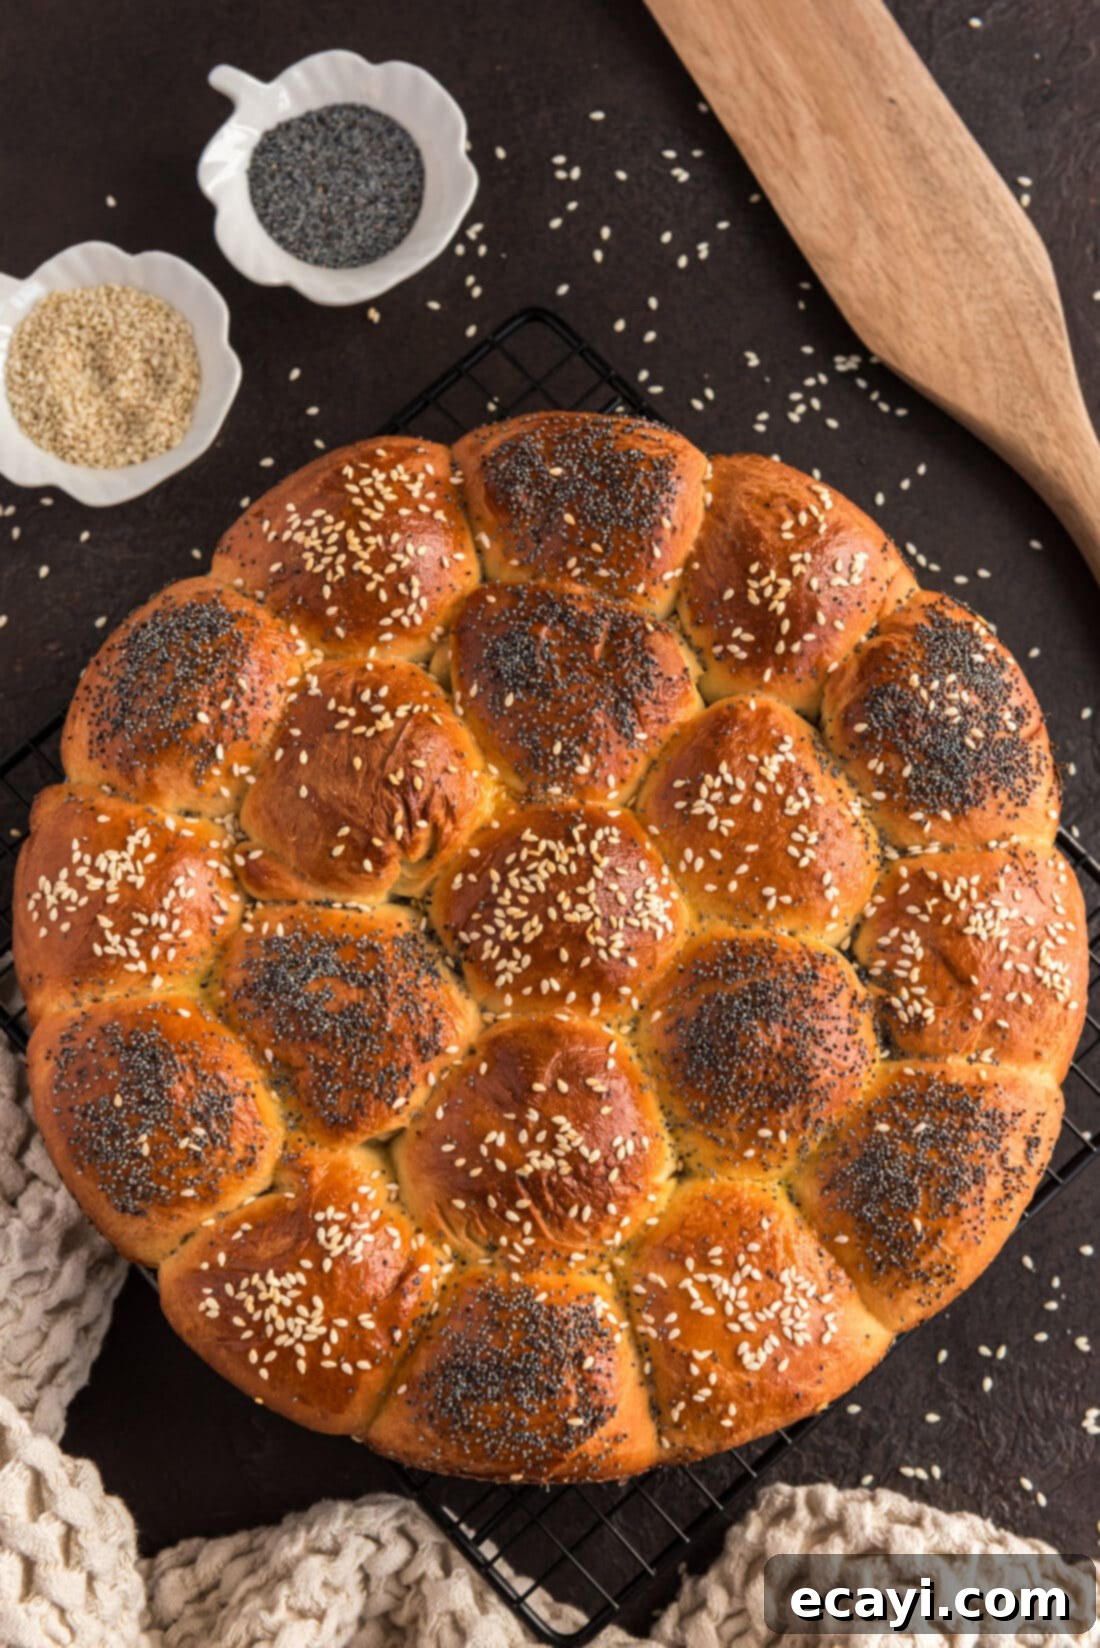
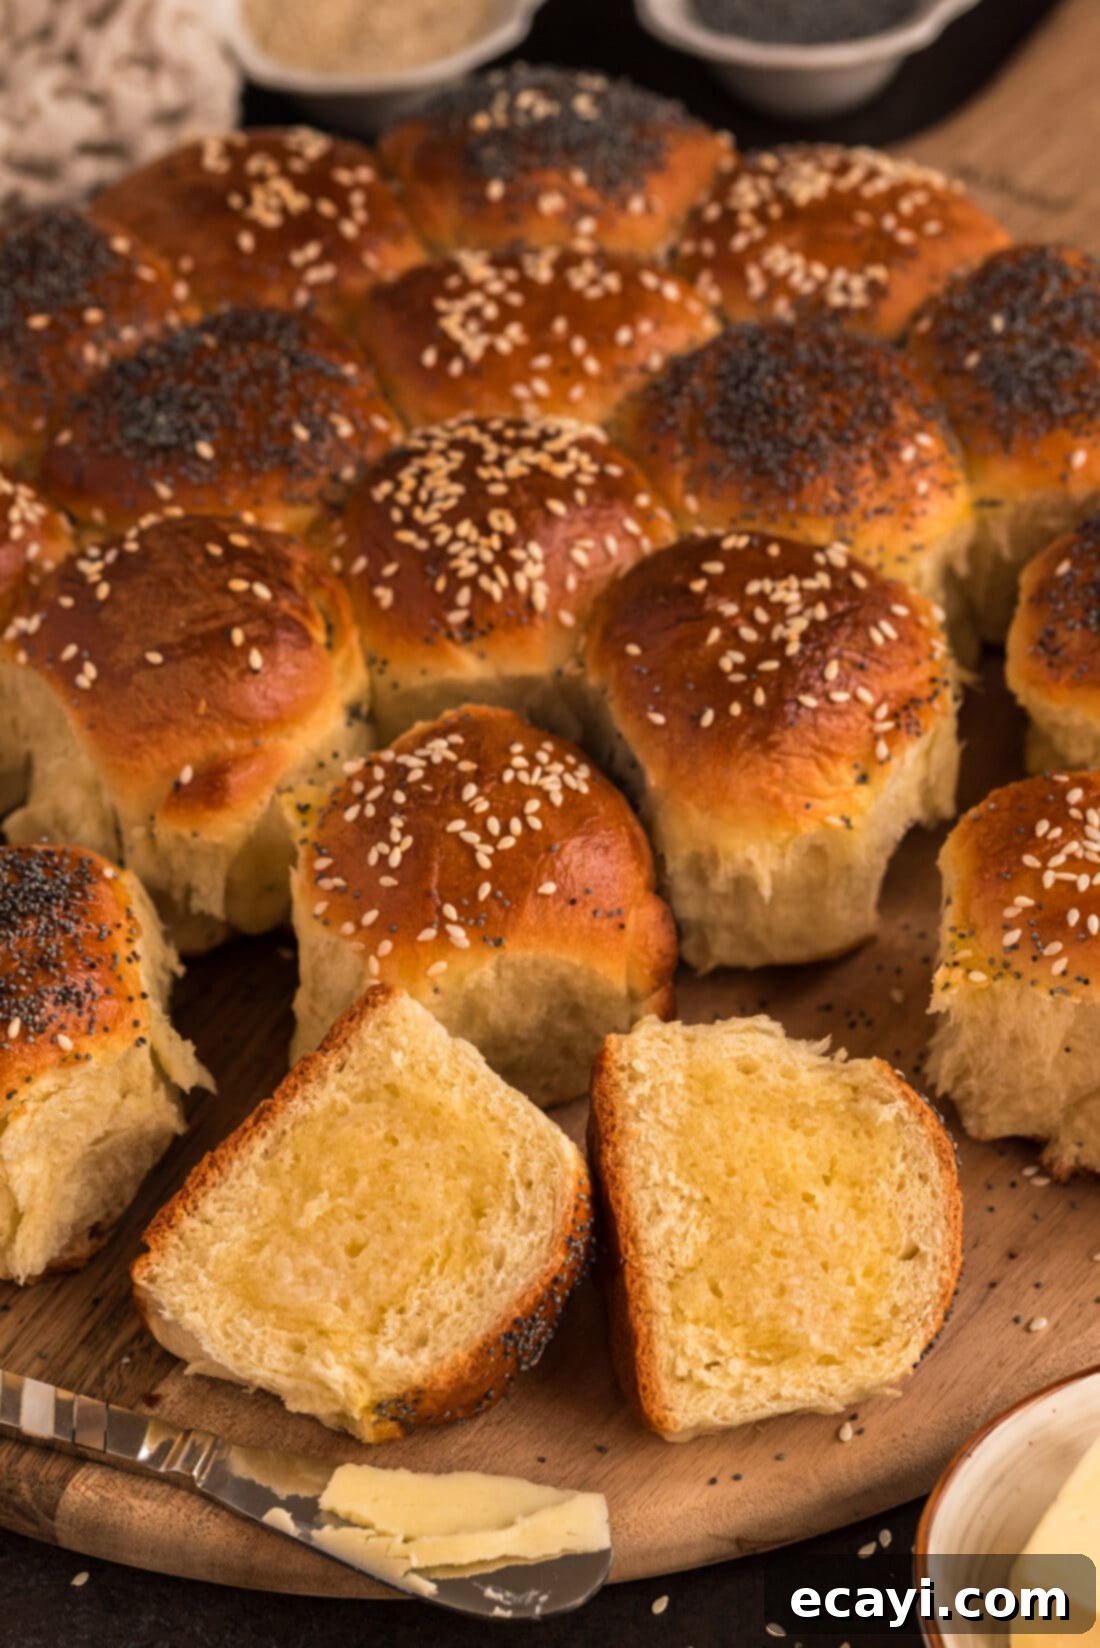
Partybrot, pronounced “par-tee-broat” (like “boat”), is a beloved German party bread made for sharing. These soft, fluffy rolls are typically adorned with a mix of poppy and sesame seeds, adding a delightful crunch and visual appeal that perfectly sets the festive mood. Imagine a warm, golden-brown loaf, easily pulled apart into individual, tender rolls – an inviting centerpiece for any gathering. This recipe brings the authentic taste of German hospitality right to your kitchen, promising a rewarding baking experience and a delicious treat that everyone will adore.
Why This Easy Partybrot Recipe is a Must-Try
Partybrot truly lives up to its name, embodying the spirit of celebration and sharing. What makes this recipe particularly special is its inherent versatility and simple preparation, resulting in a show-stopping bread that’s surprisingly easy to make. Unlike many other bread recipes, Partybrot is designed to be pulled apart, encouraging communal enjoyment—perfect for family dinners, holiday feasts, or casual get-togethers. The soft, yeasty rolls are incredibly inviting, and the mixture of poppy and sesame seeds on top adds a traditional German touch that is both beautiful and flavorful.
While this recipe focuses on classic, soft rolls with a delightful seed topping, Partybrot is incredibly adaptable. Traditional versions often feature a mix of white and wheat bread rolls baked together in the same pan, offering varied textures and flavors. Other creative renditions might see the bread baked as a stuffed loaf, filled with savory ingredients like cheese, meats, and aromatic herbs. This flexibility means you can customize your Partybrot to perfectly suit any occasion or palate. I first tried my hand at these rolls years ago, after successfully making homemade German pretzels. The Partybrot was an instant hit, disappearing quickly from the table, and it has remained a favorite ever since due to its undeniable appeal and ease of preparation.
Key Ingredients for Authentic German Partybrot
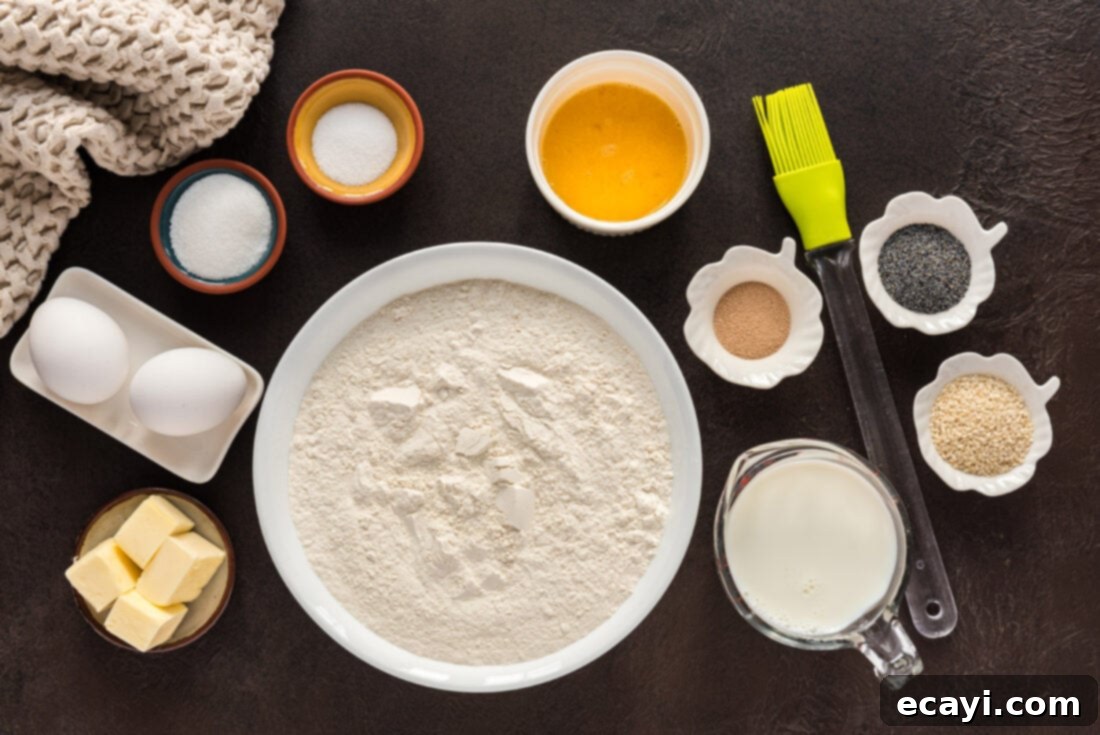
Creating delicious Partybrot starts with a few basic, high-quality ingredients that, when combined, yield an incredibly soft and flavorful bread. You’ll find a complete list of measurements and step-by-step instructions in the printable recipe card at the very end of this post, but let’s delve into some important details about the core components.
Essential Ingredient Tips for Perfect Results
Understanding how each ingredient functions and how to handle it correctly can make all the difference in your bread-baking success. Here are some essential tips for the main components of your Partybrot:
FLOUR – The foundation of any great bread is good flour. For this Partybrot, we recommend unbleached all-purpose flour for a tender crumb. Accurate measurement is crucial. Always use the “scoop and sweep” method: first, aerate your flour by fluffing it in its bag or container with a spoon. Then, gently spoon the flour into your measuring cup until it’s overflowing. Do not pack it down or tap the cup. Finally, use the flat side of a butter knife or a straight edge to level off the excess flour. Scooping directly from the bag or tapping the cup can compact the flour, leading to up to 50% more flour than needed, which will result in dry, dense bread.
YEAST – Active dry yeast is what gives Partybrot its wonderful rise and airy texture. Before you begin, always double-check the expiration date on your yeast package. Expired yeast will not activate properly, leading to a flat, dense loaf. Properly activated yeast should become foamy or bubbly after sitting in warm milk, indicating it’s alive and ready to work its magic.
MILK – Lukewarm milk is essential for activating the yeast without killing it. The ideal temperature for the milk should be around 100-110°F (38-43°C). You can achieve this by warming the milk gently in the microwave for 30-40 seconds, or on the stovetop until it’s warm to the touch but not hot. If the milk is too hot, it will kill the yeast, preventing your dough from rising. Conversely, if the milk is too cold, the yeast will activate very slowly or not at all, significantly delaying the proofing process.
BUTTER & SUGAR – Unsalted butter adds richness and tenderness to the bread, contributing to its soft crumb. Make sure it’s melted for easy incorporation. Granulated sugar not only adds a touch of sweetness but also acts as food for the yeast, helping it to activate and grow efficiently, which in turn leads to a better rise and flavor development.
EGGS – Eggs contribute to the rich flavor, golden color, and soft texture of the Partybrot. They also add structure to the dough, helping it maintain its shape and rise beautifully. Beaten eggs are incorporated smoothly into the liquid mixture.
SALT – While often overlooked, salt is vital in bread making. It enhances the flavor of the bread, balances the sweetness, and also helps to control the yeast activity, preventing it from rising too quickly and creating an undesirable texture. Do not omit or significantly reduce the salt unless specifically instructed.
How to Make Soft & Fluffy German Partybrot
These step-by-step photos and detailed instructions are provided to help you visualize each stage of making this delightful Partybrot. For a convenient printable version of this recipe, complete with precise measurements and instructions, you can Jump to Recipe at the bottom of this post.
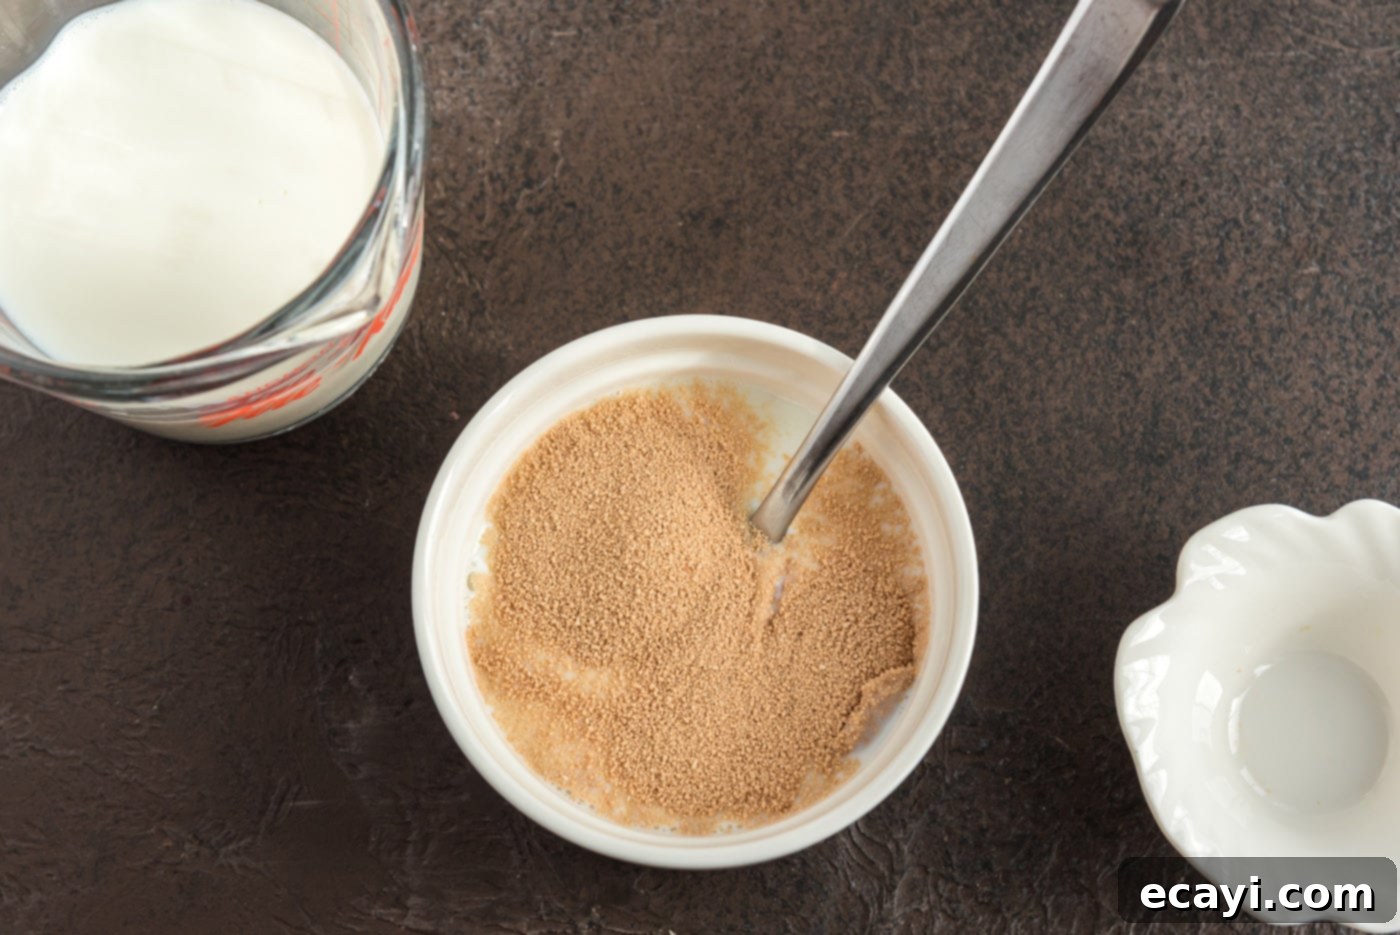
- Activate the Yeast: Begin by warming 1/2 cup of milk in the microwave for about 30-40 seconds until it’s lukewarm (around 100-110°F). Pour the warmed milk into a small bowl and sprinkle the active dry yeast over the top. Let it sit undisturbed for 5 minutes. You should see the yeast bloom and become foamy, indicating it’s active. After 5 minutes, give it a gentle stir to fully dissolve the yeast. If it doesn’t foam, your yeast may be old or the milk temperature was off; start again with fresh yeast.

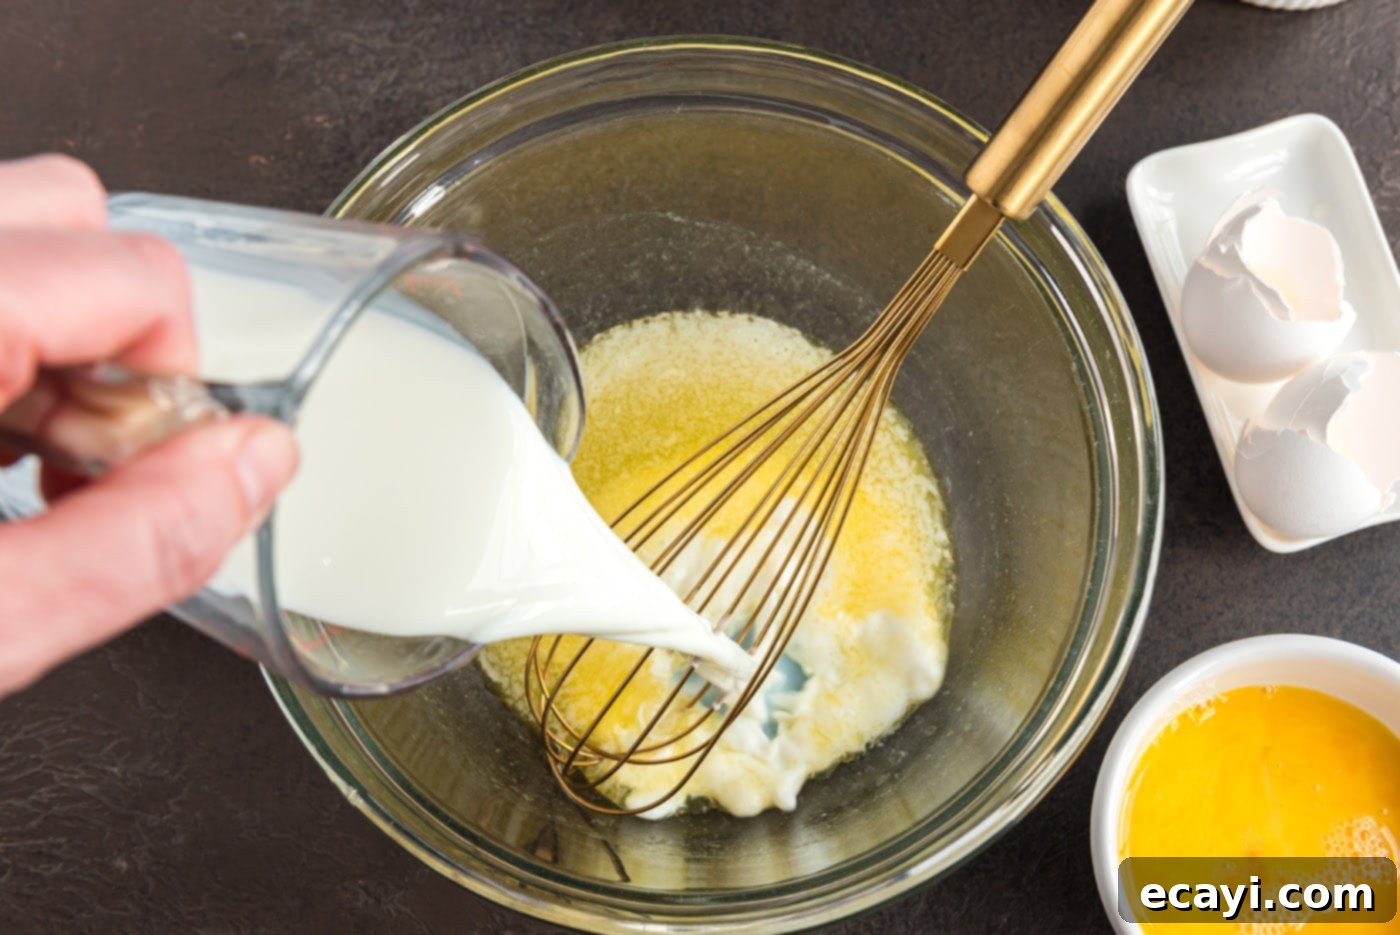
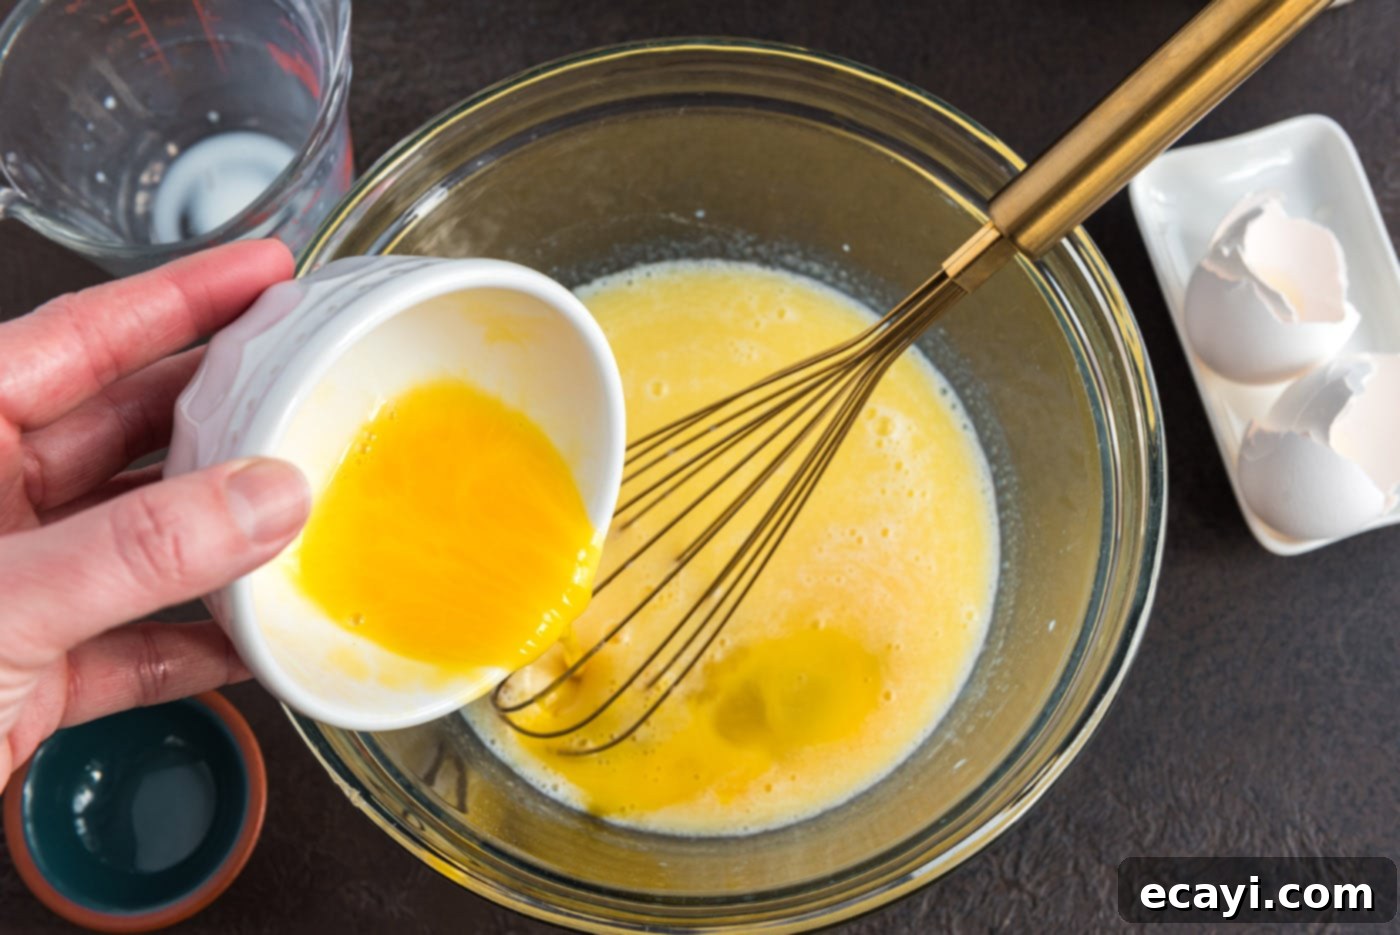
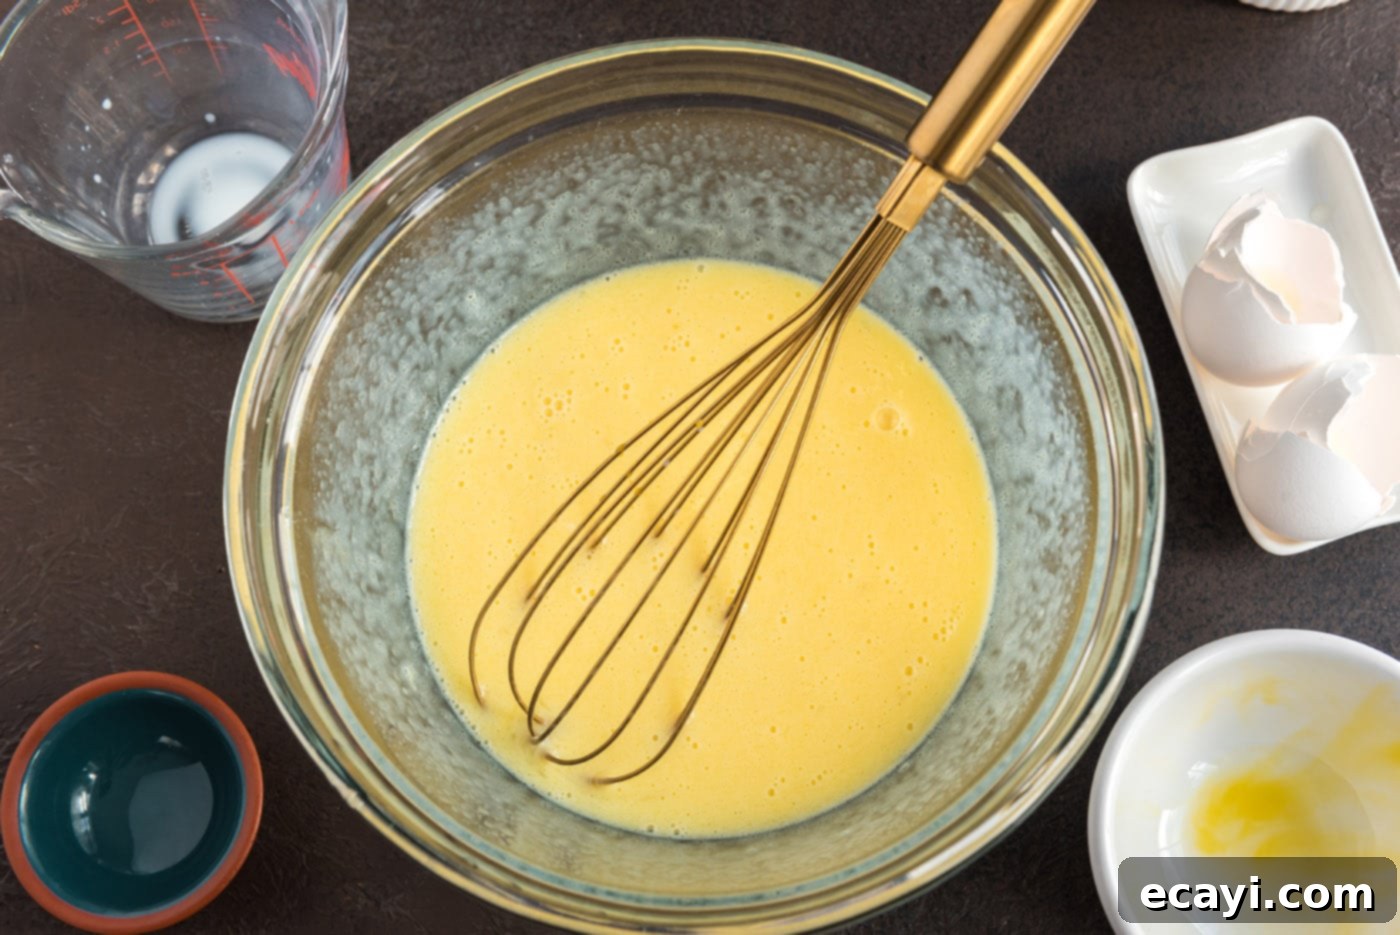
- Combine Wet Ingredients: In a separate medium-sized bowl, combine the remaining 1/2 cup of lukewarm milk with the melted unsalted butter and granulated sugar. Stir this mixture well until the sugar is completely dissolved. Then, beat in the two eggs until everything is smoothly and evenly combined. This rich liquid base will contribute to the bread’s tender texture and flavor.


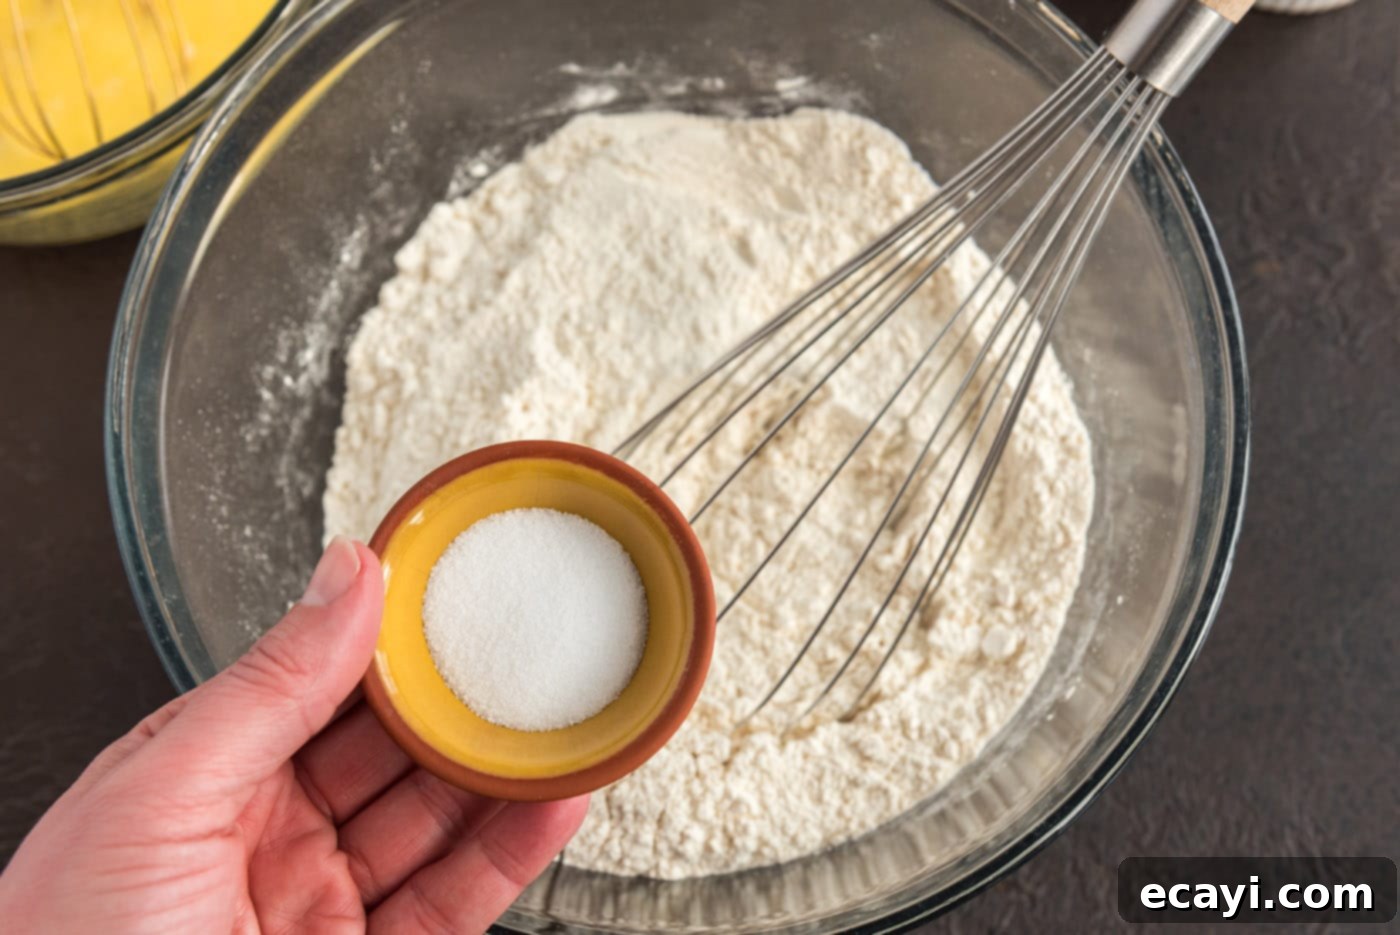
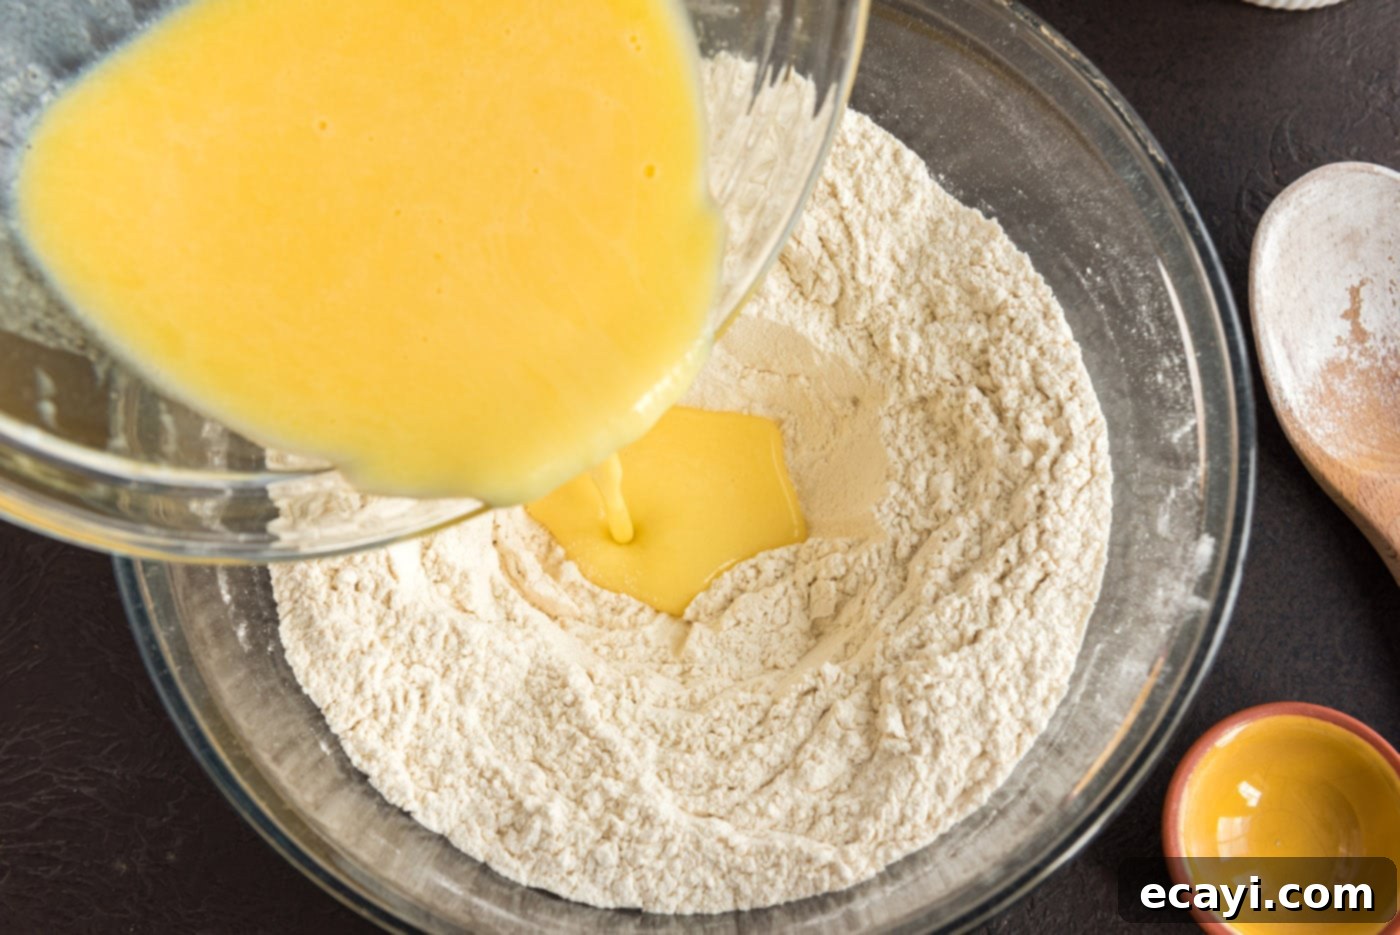
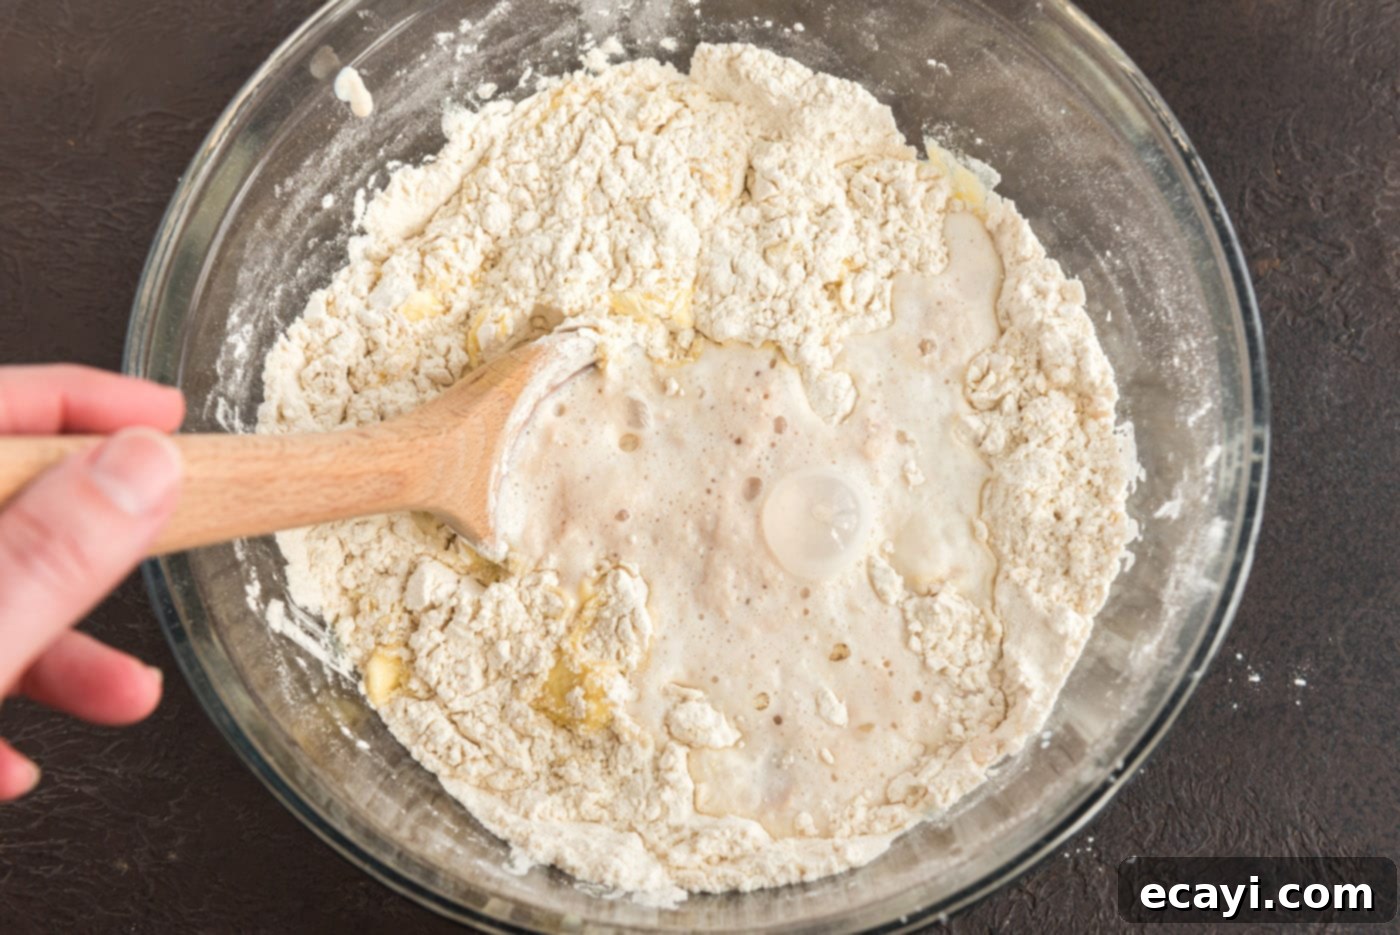
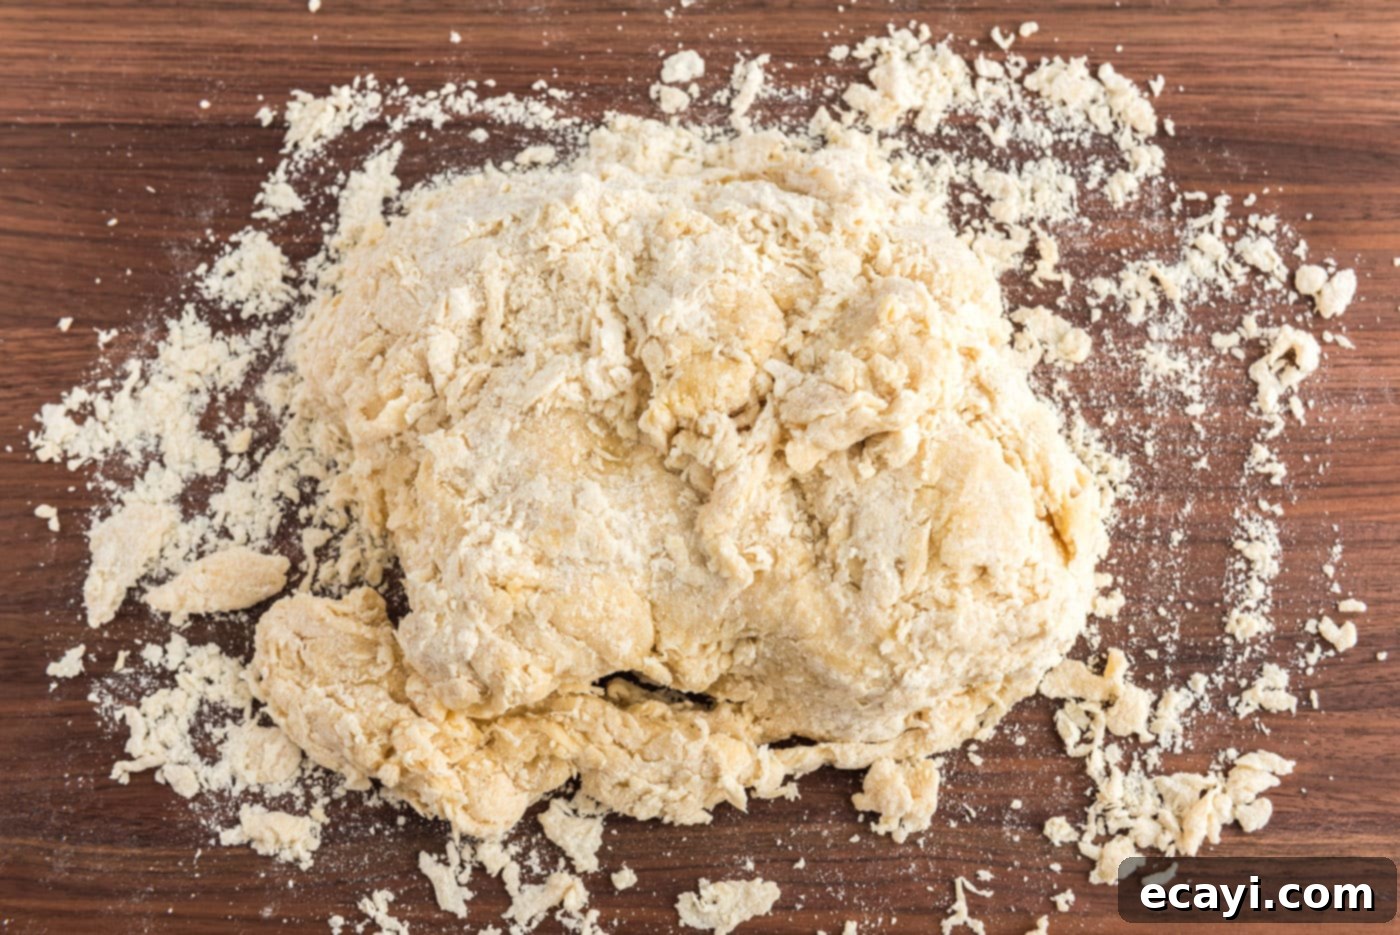
- Form the Dough: In a large mixing bowl, combine the measured flour and salt. Use a whisk to gently aerate the flour and distribute the salt evenly. Make a well (a hollow) in the center of the flour mixture. Pour the dissolved yeast mixture into the well, followed by the butter, milk, and egg mixture. Using a sturdy wooden spoon or a dough whisk, gradually incorporate the flour from the edges into the wet ingredients. Continue mixing until a soft, sticky dough forms. It’s normal for it to be quite shaggy at this stage.


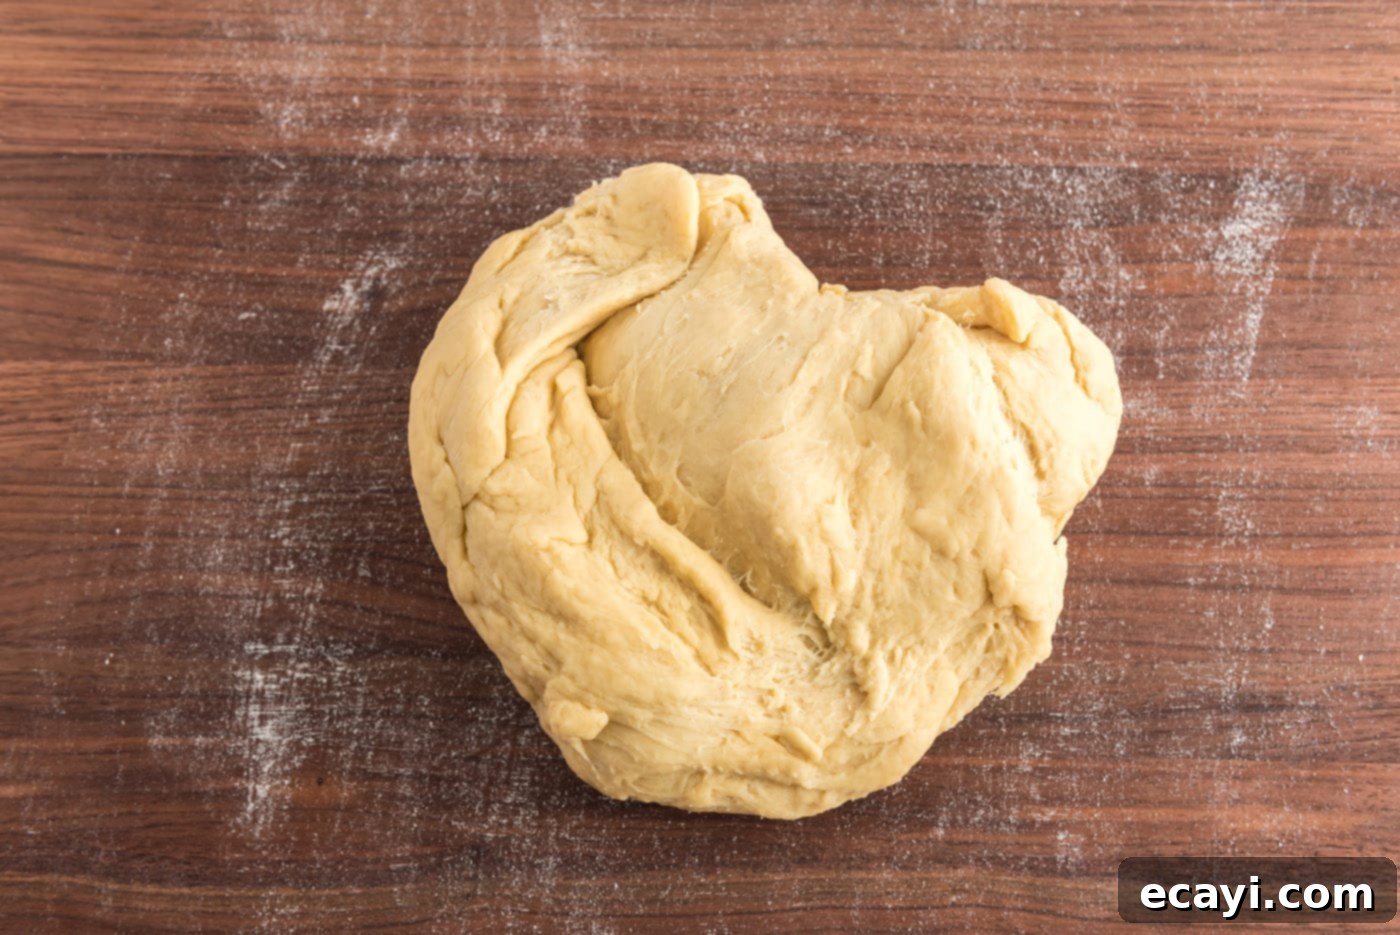
- Knead the Dough: Turn the sticky dough out onto a lightly floured work surface. Begin kneading the dough. This process develops the gluten, which is essential for the bread’s structure and chewiness. Knead for approximately 10 minutes, or until the dough transforms into a smooth, shiny, and elastic ball. It should feel supple and spring back slightly when gently poked. If the dough is excessively sticky, add extra flour one tablespoon at a time, but be careful not to add too much. The goal is a soft, pliable dough, not a dry, stiff one.


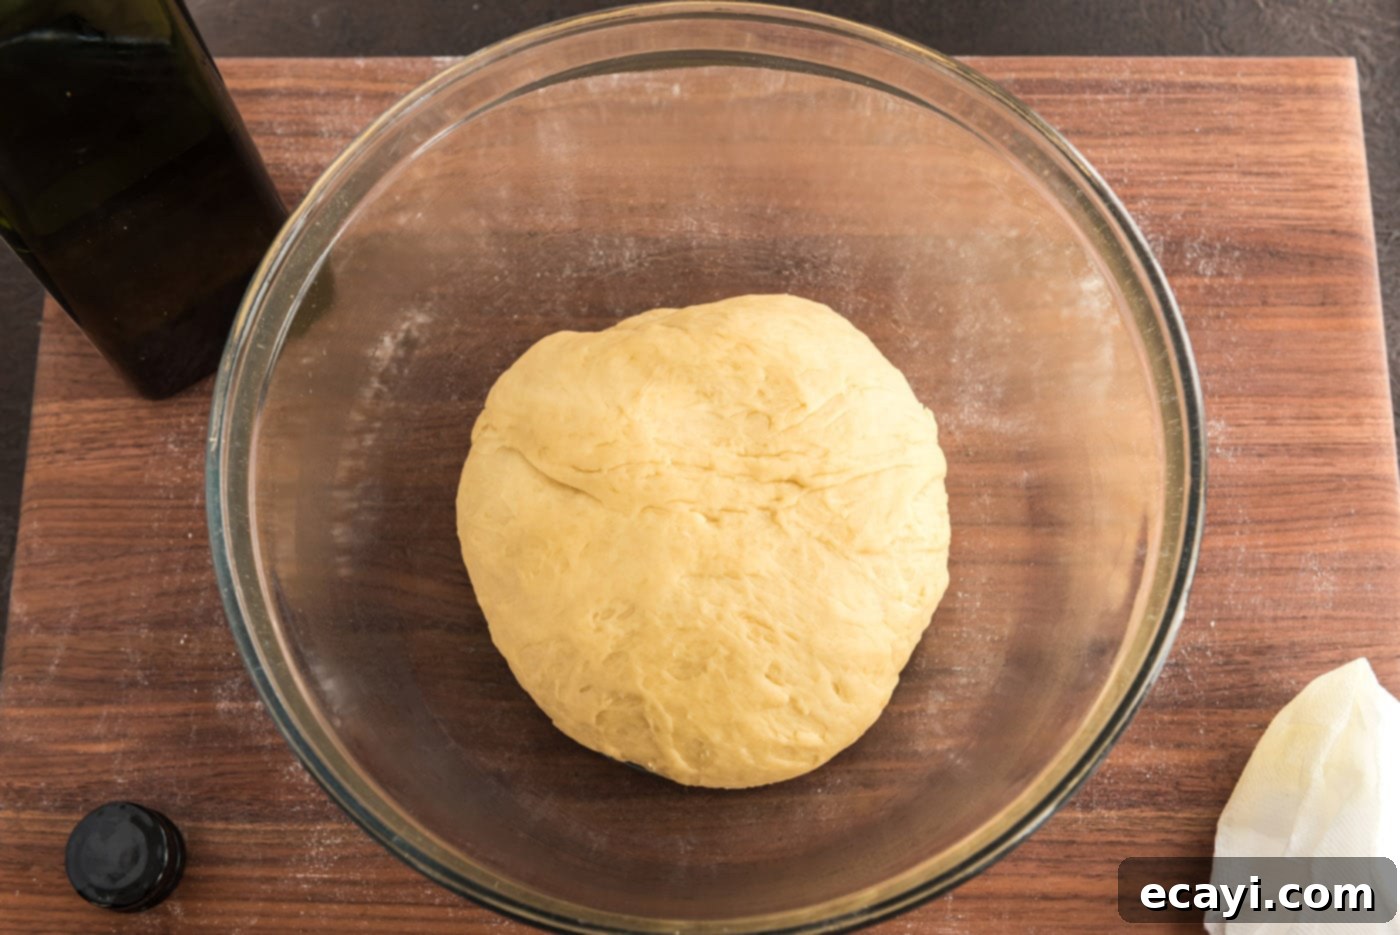
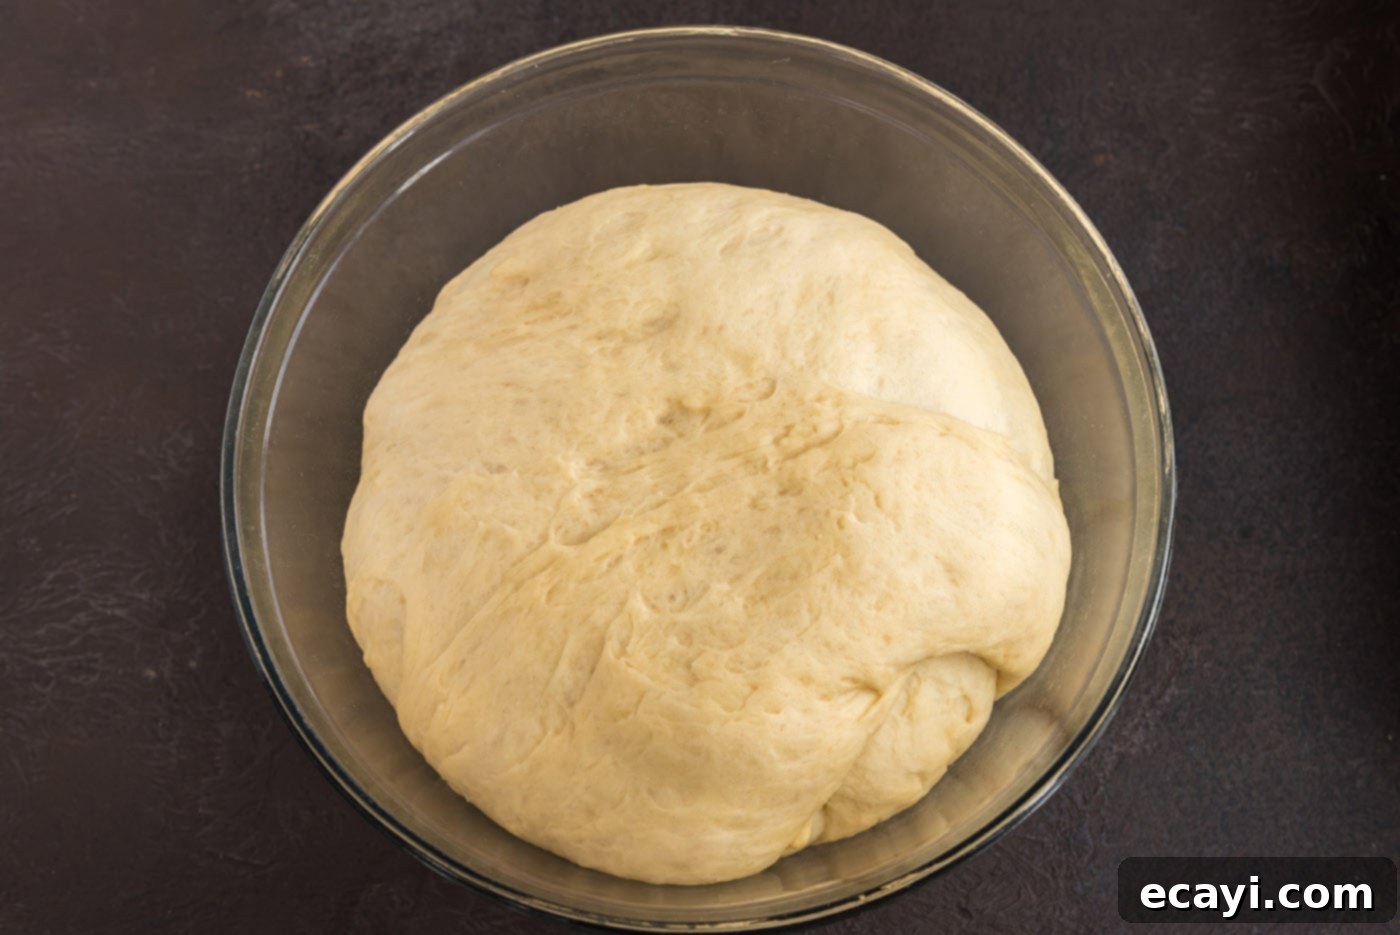
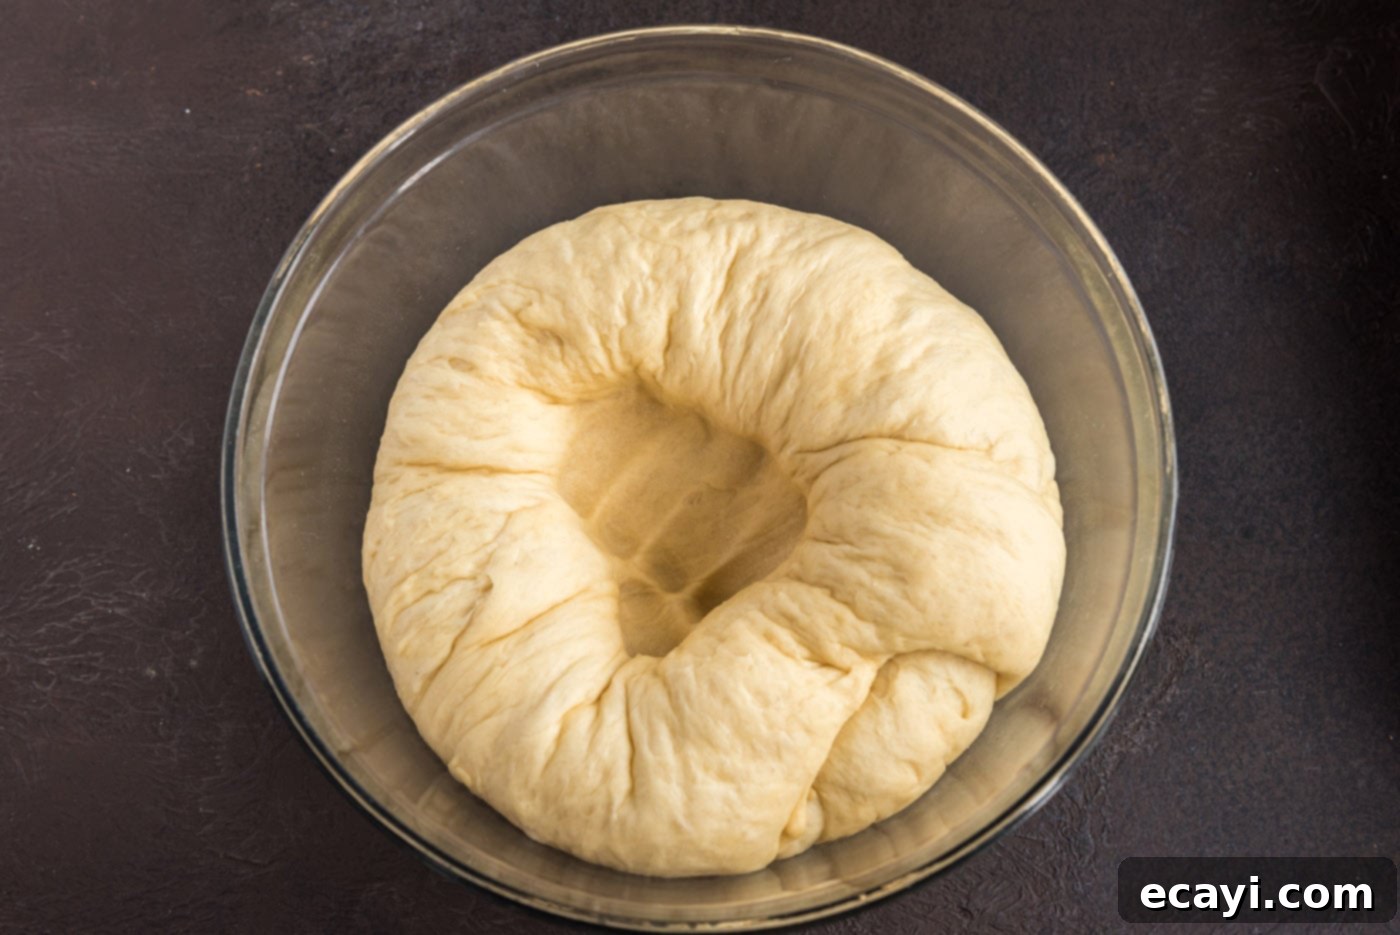
- First Rise (Proofing): Once kneaded, lightly oil a clean large bowl. Place the dough ball in the oiled bowl, turning it once to coat all sides. Cover the bowl tightly with plastic wrap or a clean dish towel. Let the dough rise in a warm, draft-free place until it has doubled in size, which typically takes about 1 to 1 1/2 hours, depending on your room temperature. This first rise allows the yeast to work its magic, creating air pockets and developing flavor. Once doubled, gently “punch down” the dough to release the accumulated gases, then let it rest for another 10 minutes. This resting period helps the gluten relax, making the dough easier to handle.


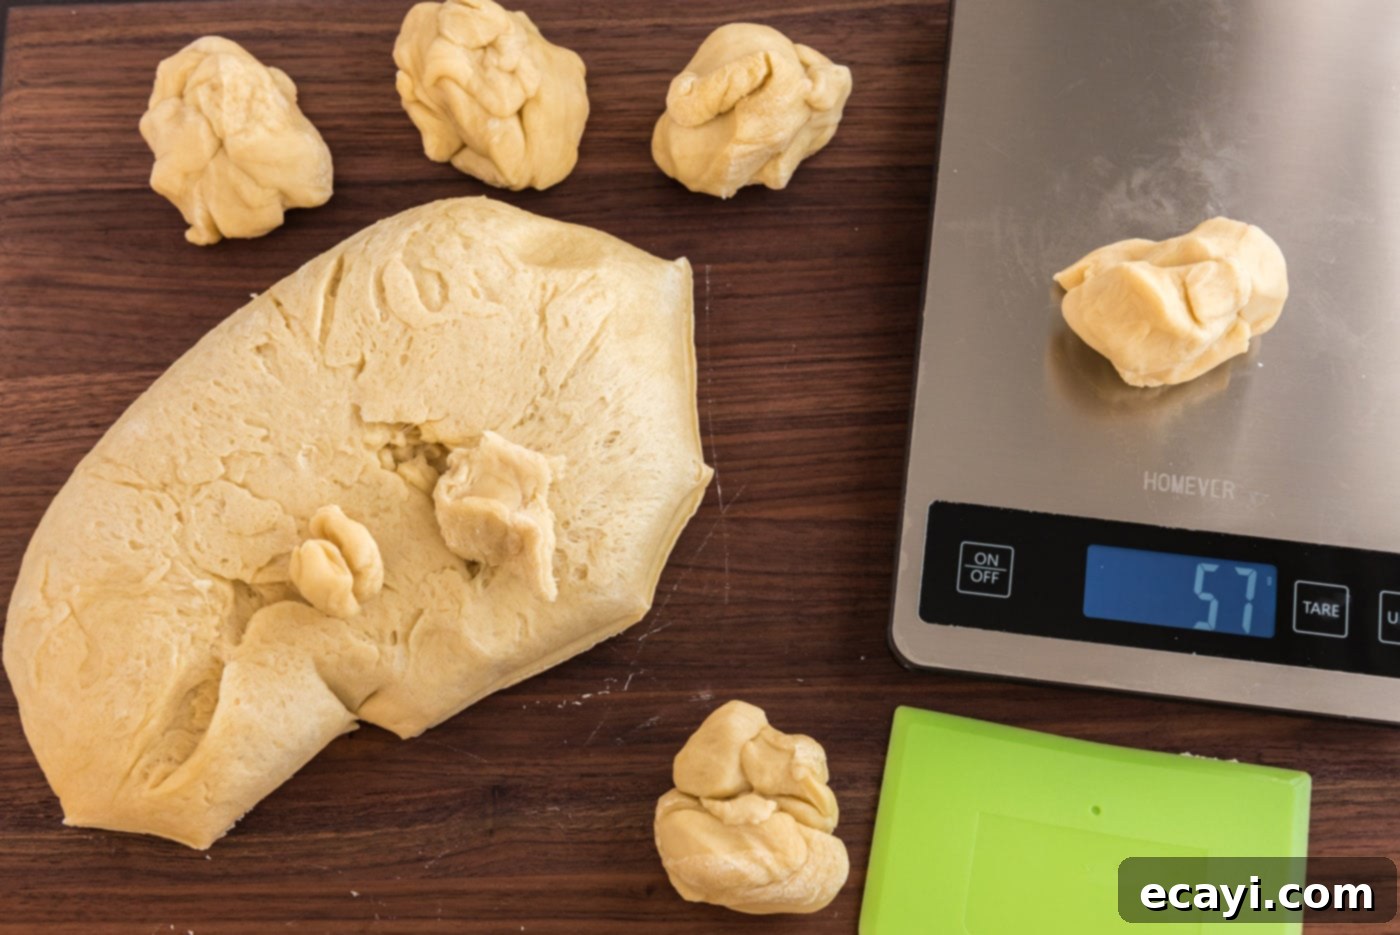
- Shape the Rolls: Lightly grease a 9.5-inch springform pan with some melted butter. Divide the dough into 19 equal pieces. The most accurate way to ensure uniform rolls is to use a kitchen scale. Place the entire dough on the scale to get its total weight. Convert this to ounces, then divide the total ounces by 19 to find the approximate weight for each roll. Portion out the dough, weighing each piece to achieve consistent sizes. Shape each piece into a smooth, round ball by pressing it down with the heel of your palm and then rolling it against the counter in a circular motion. This creates surface tension for a beautiful, even rise.

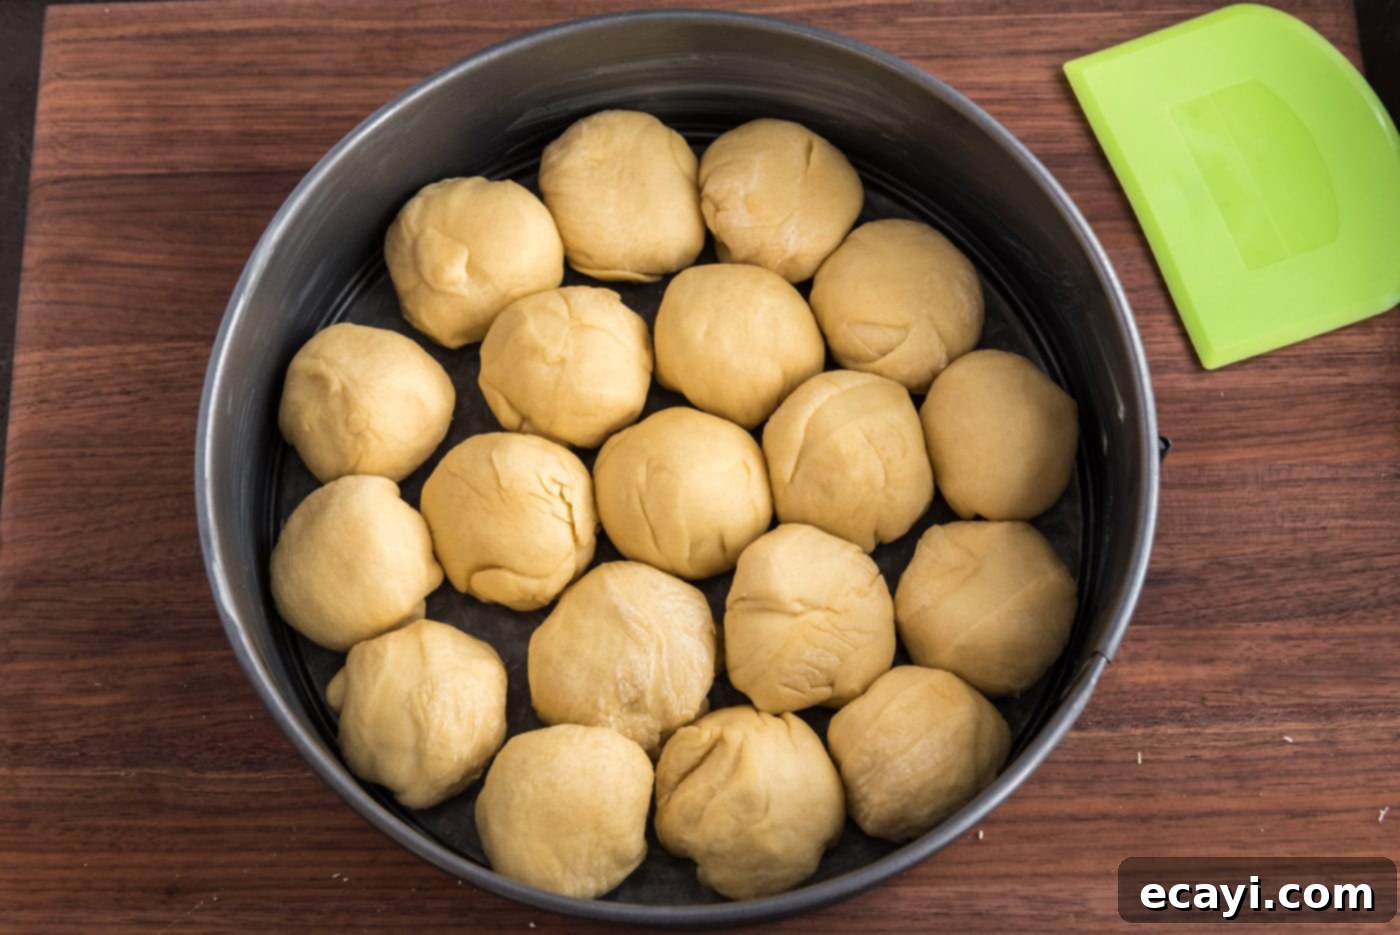
- Second Rise (Proofing): Arrange the shaped rolls in the prepared springform pan. Create an outer ring with 12 rolls, then an inner ring with 6 rolls, and finally, place the last roll in the very center. This arrangement allows the rolls to bake together into a cohesive, pull-apart loaf. Cover the pan loosely with a dish towel and let the rolls proof (rise a second time) in a warm, draft-free spot until they have visibly doubled in size, which should take about 45 minutes. They should look puffy and soft.


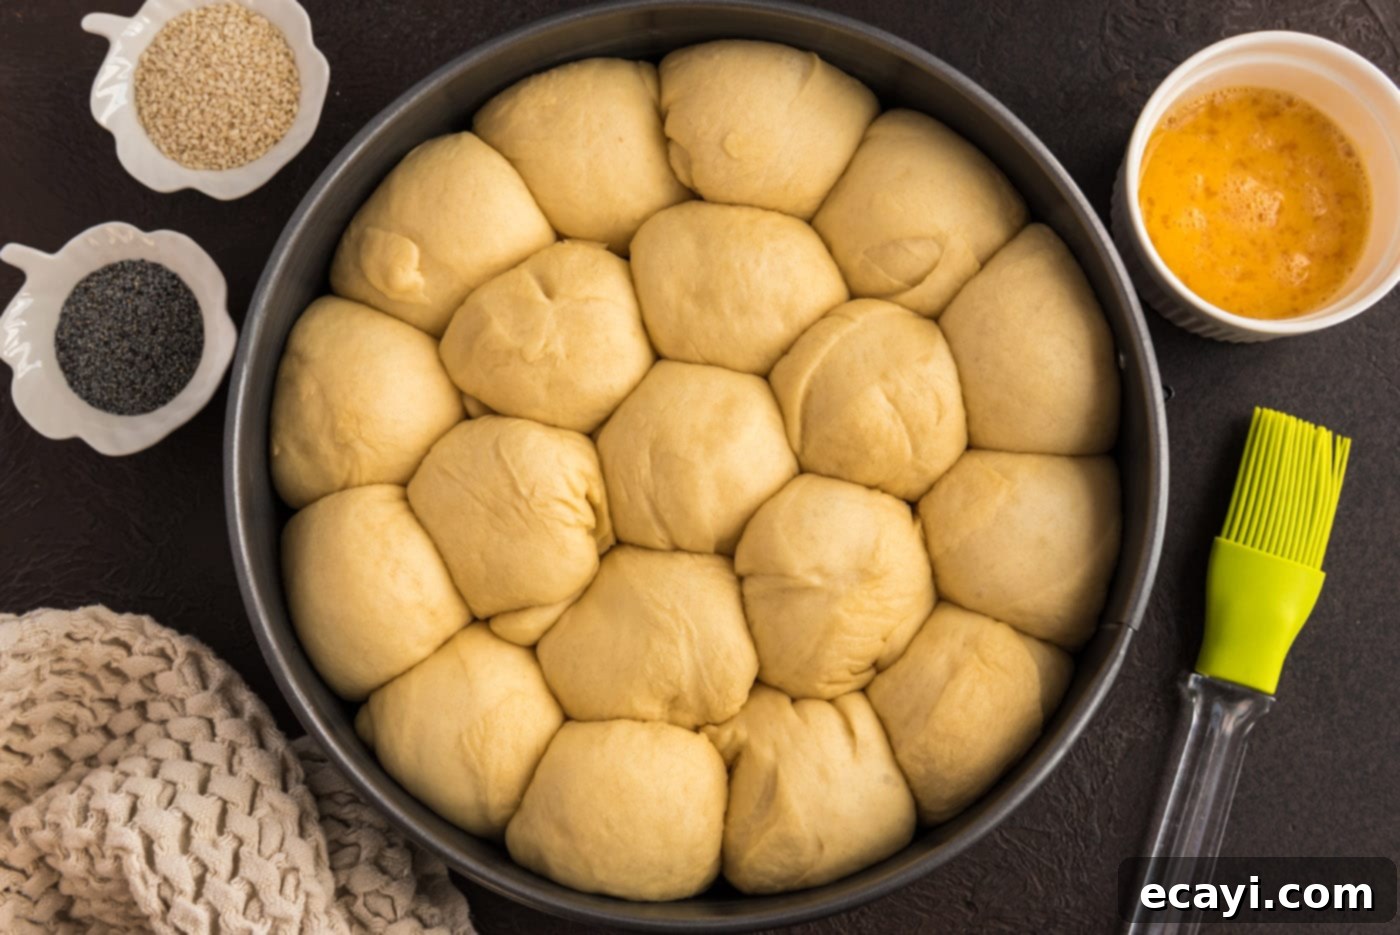
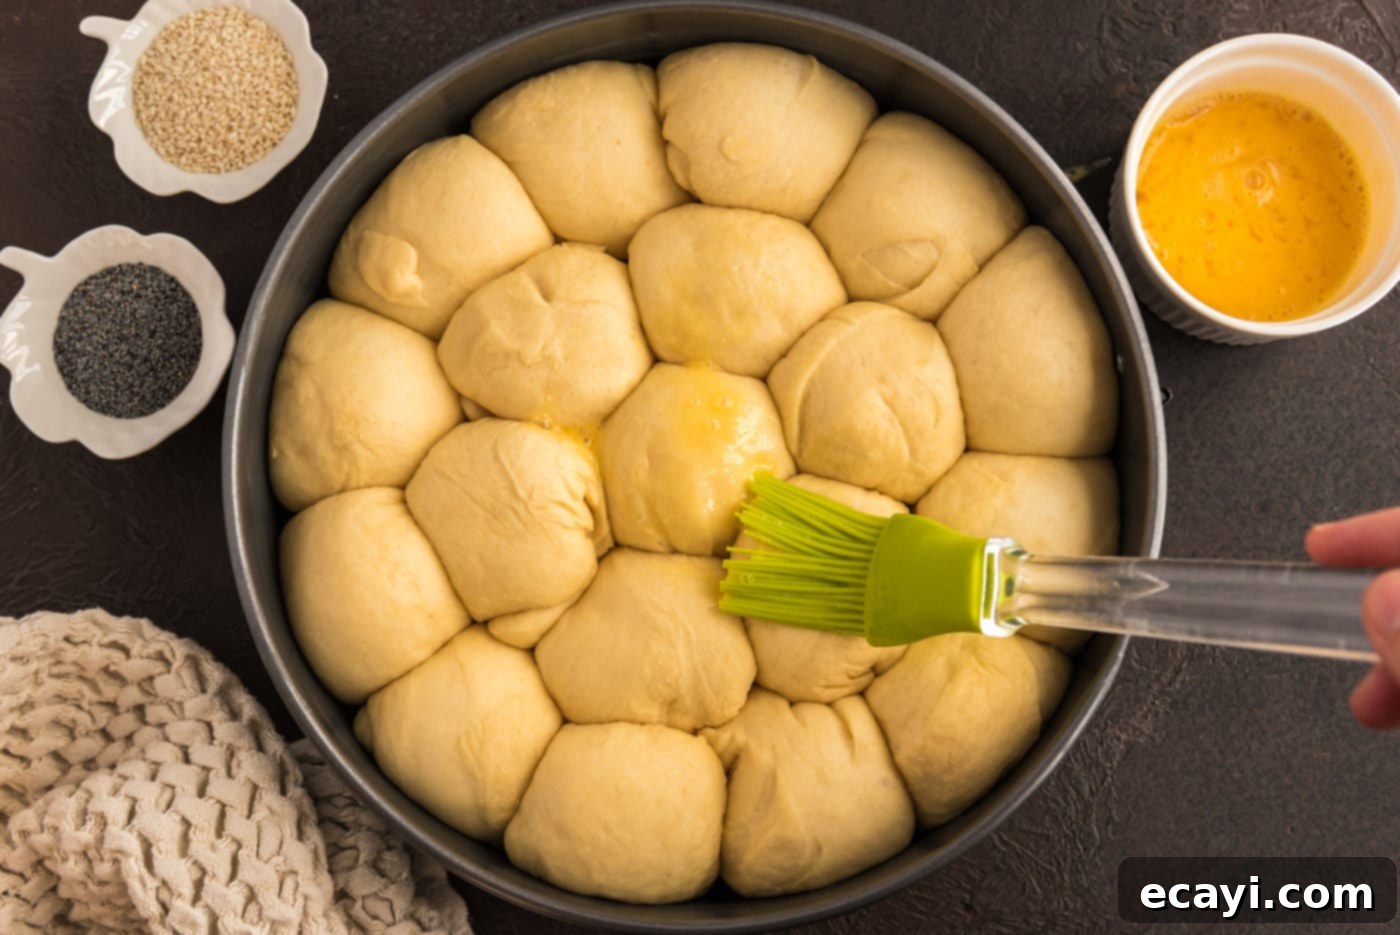
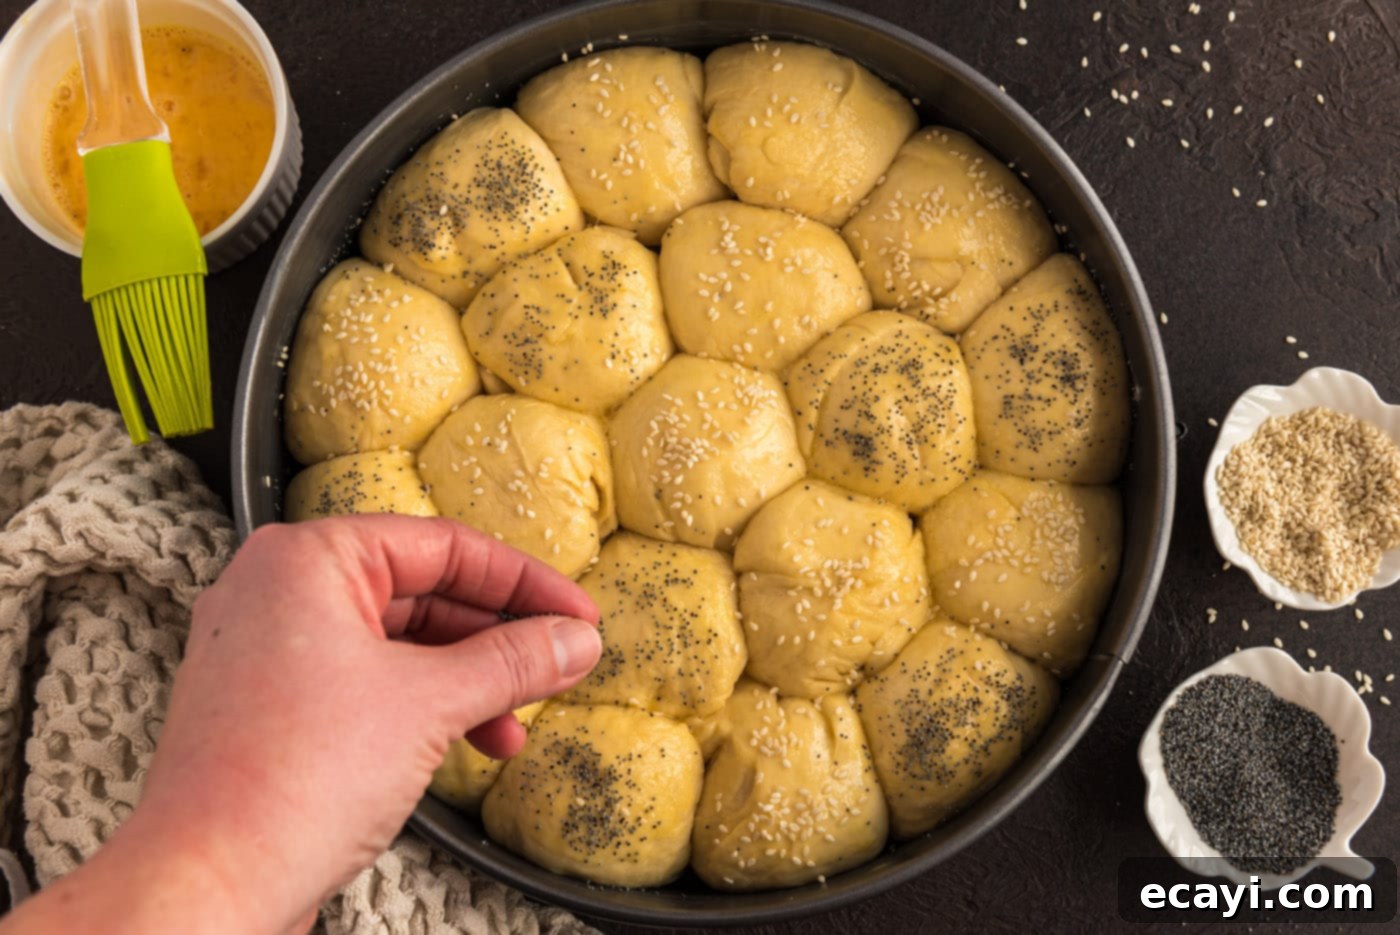
- Egg Wash & Seeds: Once the rolls have fully proofed, gently brush the top of each roll with the beaten egg glaze. This egg wash will give the Partybrot a beautiful, shiny, golden-brown crust. Generously sprinkle the tops of the rolls alternately with sesame seeds and poppy seeds, or use your favorite combination. The seeds not only add visual appeal but also a delightful textural contrast and nutty flavor.


- Bake and Serve: Preheat your oven to 425°F (220°C). Bake the Partybrot for 25-30 minutes, or until the rolls are golden brown on top and cooked through. The internal temperature should register around 200°F (93°C) when checked with an instant-read thermometer. Once baked, carefully remove the pan from the oven and place it onto a wire rack to cool slightly. After a few minutes, carefully remove the springform pan’s outer ring from the rolls and transfer the Partybrot to a serving plate. Serve immediately while still warm, allowing everyone to pull apart their soft, delicious rolls.

Frequently Asked Questions & Expert Tips for Partybrot
Once your Partybrot has completely cooled, store the rolls in an airtight container or wrap them tightly in aluminum foil. They will stay fresh at room temperature for up to 2 days. For longer storage, you can place the rolls in an airtight container and keep them in the refrigerator for up to 4 days. However, be aware that refrigerating bread can sometimes cause it to go stale more quickly due to starch retrogradation.
Absolutely! Partybrot freezes beautifully. Ensure the rolls are fully baked and completely cooled before freezing. Transfer them to a large freezer-safe bag, removing as much air as possible, or place them in an airtight freezer container. They can be frozen for up to 2 months. To enjoy, thaw the rolls at room temperature or reheat them gently in a preheated oven (around 300°F/150°C) for 10-15 minutes until warmed through and soft again.
Yes, you can. After the first rise and punching down the dough (Step 5), you can lightly oil the dough ball, place it back in the bowl, cover it tightly with plastic wrap, and refrigerate it for up to 24 hours. When you’re ready to bake, remove the dough from the refrigerator and let it come to room temperature for about 30-60 minutes before proceeding with shaping the rolls (Step 6). Keep in mind that the second rise might take a little longer if the dough is still cold.
If your dough isn’t rising, the most common culprits are inactive yeast or incorrect milk temperature. Double-check your yeast’s expiration date. Ensure your milk was lukewarm (100-110°F/38-43°C) – too hot kills yeast, too cold slows it down. A warm, draft-free environment is also key for successful proofing. If your kitchen is cool, try placing the covered bowl in a slightly warm (but off) oven, or near a sunny window. Give it more time; sometimes a slow rise just needs patience.
Delicious Serving Suggestions for Your Partybrot
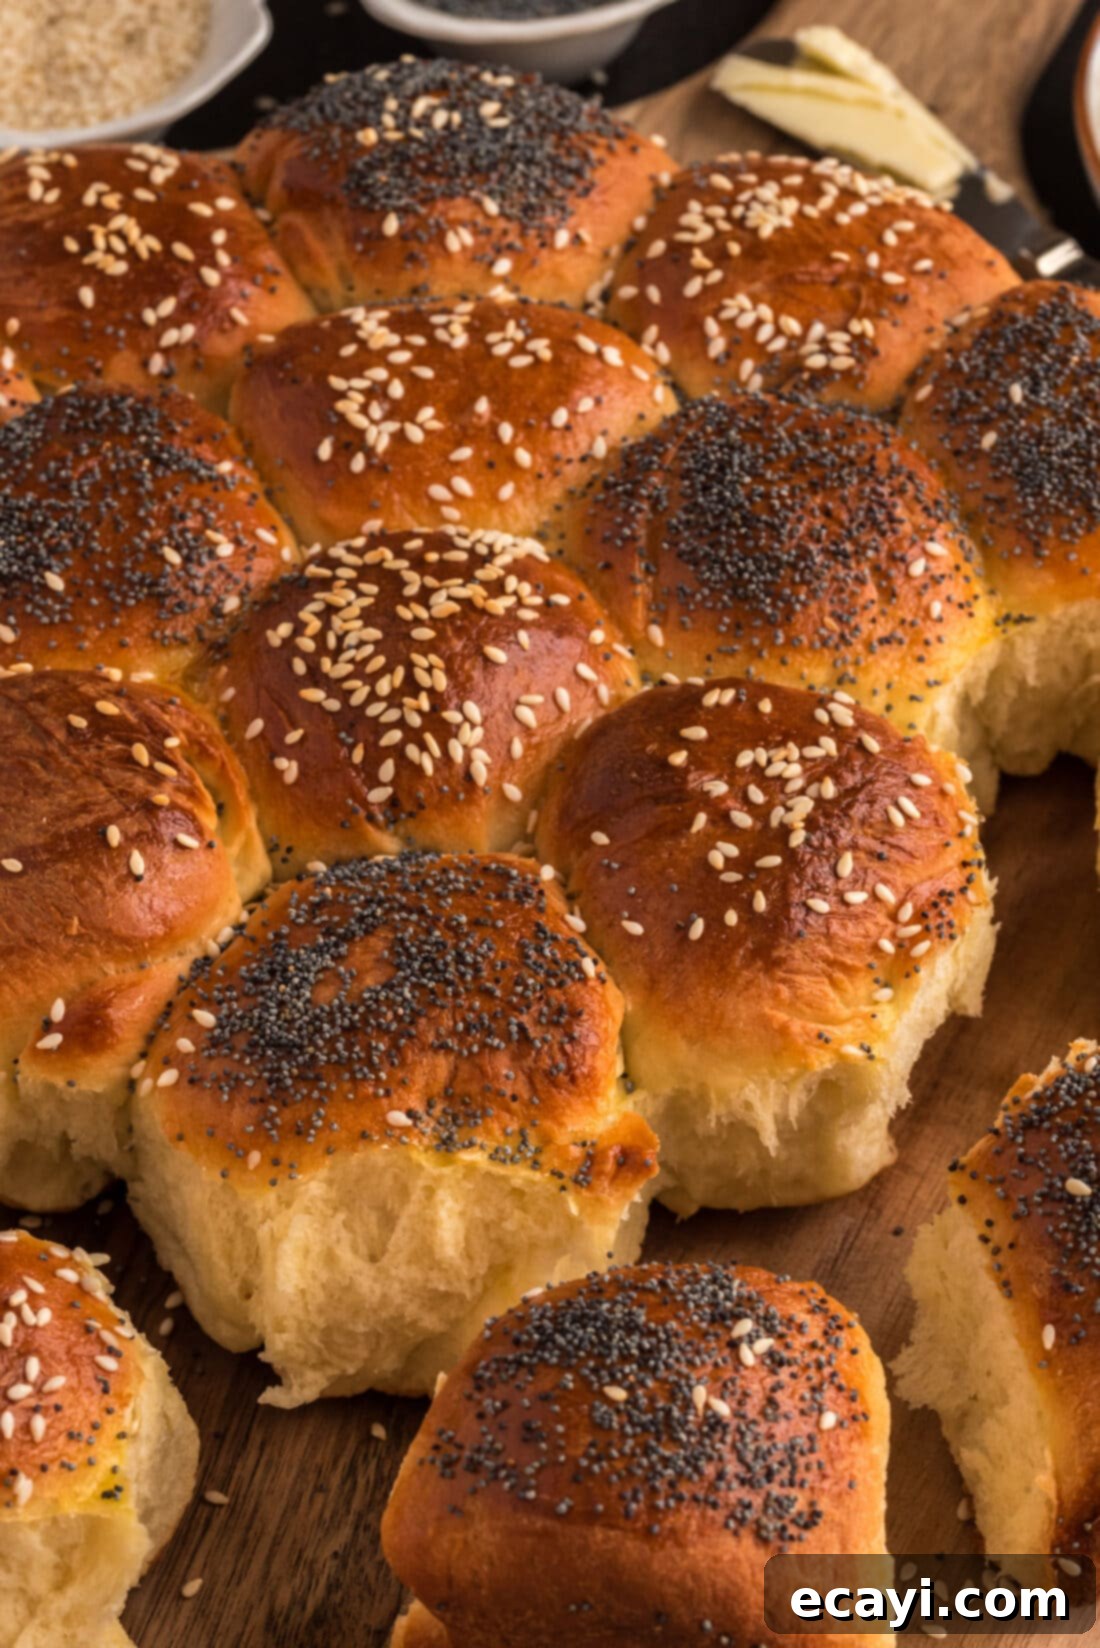
Partybrot is incredibly versatile and can be served in a myriad of ways, making it a star at any meal or gathering. Its mild, slightly sweet flavor and tender texture make it the perfect canvas for both savory and sweet accompaniments. Here are some ideas to elevate your Partybrot experience:
- Seed Variations: While poppy and sesame seeds are traditional, don’t hesitate to experiment! You can top your Partybrot with your favorite seeds or create a custom blend. Consider caraway seeds for a more savory, traditional German flavor, flax seeds for added nutrition, chia seeds for a unique texture, or even sunflower and pumpkin seeds for a heartier, nutty crunch. A sprinkle of flaky sea salt alongside the seeds can also enhance the overall flavor.
- Perfect Pairings: This German party bread is an excellent accompaniment to a wide range of dishes. Serve it alongside a hearty stew, a rich pot roast, or a comforting goulash to soak up all the delicious juices. It’s also fantastic with a simple green salad, making a light yet satisfying meal.
- Appetizer & Dipping Delight: As its name suggests, Partybrot shines as an appetizer. Offer it with a variety of dips like a classic marinara sauce, a tangy cream cheese spread, an herbed olive oil, or a decadent garlic butter. For an extra special touch, whip up a homemade honey butter for a sweet contrast.
- Charcuterie & Cheese Boards: Elevate your next large gathering by pairing Partybrot with a beautiful charcuterie and cheese board. The soft rolls provide the perfect vehicle for cured meats, an assortment of cheeses, fresh fruits, and savory spreads.
- Breakfast & Brunch: Don’t limit Partybrot to just dinner! Serve it warm with butter and jam, or use it as a base for mini breakfast sandwiches with eggs and bacon for a delightful brunch spread.
More Irresistible Bread Roll Recipes
If you’ve fallen in love with homemade bread rolls, you’re in luck! There’s a whole world of delicious variations to explore. From savory to slightly sweet, these recipes are perfect for expanding your baking repertoire and delighting your family and friends:
- Bretzel Rolls: Experience the unique texture and flavor of pretzel rolls, perfect for sandwiches or alongside a hearty meal.
- Parmesan Garlic Rolls: A savory explosion of Parmesan cheese and fragrant garlic, these rolls are addictive.
- Homemade Pull Apart Dinner Rolls: Classic, soft, and buttery, these are a crowd-pleaser for any dinner table.
- Pull Apart Cornmeal Dinner Rolls: A delightful twist with a touch of cornmeal for added texture and a subtle sweetness.
I’m passionate about baking and cooking, and I love sharing my kitchen experiences with all of you! To make sure you never miss a new recipe, I offer a convenient newsletter. Simply subscribe and start receiving your free daily recipes directly to your inbox!
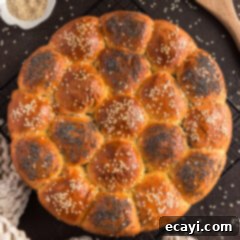
Partybrot – German Party Bread
IMPORTANT – There are often Frequently Asked Questions within the blog post that you may find helpful. Simply scroll back up to read them!
Print It
Pin It
Rate It
Save ItSaved!
Ingredients
- 1 cup milk separated (lukewarm, 100-110°F)
- 2 ½ teaspoons active dry yeast
- 4 tablespoons unsalted butter melted
- 2 tablespoons granulated sugar
- 2 eggs beaten
- 2 teaspoons salt
- 4 cups unbleached all purpose flour
- 1 egg beaten, for egg wash
- 1-2 tablespoons poppy seeds and/or sesame seeds for topping
Things You’ll Need
-
9.5 inch springform pan
-
Kitchen scale (optional, for precise roll division)
-
Wire cooling rack
-
Large mixing bowls
-
Wooden spoon or dough whisk
Before You Begin & Expert Tips
- Ensure your active dry yeast is fresh and has not expired. Inactive yeast will prevent your dough from rising properly.
- The milk temperature is critical for yeast activation. It should be lukewarm, ideally between 100-110°F (38-43°C). Milk that is too hot will kill the yeast, while milk that is too cold will inhibit or significantly delay the rising process.
- Measure flour accurately using the scoop and sweep method: aerate the flour, spoon it into your measuring cup until overflowing, then level it with the back of a knife. Avoid scooping directly from the bag or tapping the cup, as this can compact the flour and lead to dry, dense bread.
- Feel free to customize the topping! Beyond sesame and poppy seeds, caraway, flax, chia, sunflower, or even pumpkin seeds are all excellent choices. A sprinkle of flaky sea salt can also enhance the flavor.
- For even-sized rolls, using a kitchen scale to divide your dough is highly recommended. This ensures consistent baking and a beautifully uniform loaf.
- Proper kneading develops the gluten, which is essential for the bread’s soft, elastic texture. Knead until the dough is smooth, pliable, and springs back when gently pressed.
Instructions
-
Warm 1/2 cup of milk in the microwave for 30-40 seconds until lukewarm (100-110°F). Sprinkle the active dry yeast into the milk in a bowl. Let it sit for 5 minutes until foamy, then stir to dissolve.
-
In a separate bowl, combine the remaining 1/2 cup of milk with the melted butter and granulated sugar. Stir until the sugar is dissolved, then beat in the 2 eggs until evenly combined.
-
In a large bowl, mix the flour and salt. Make a well in the center and pour in the dissolved yeast mixture, followed by the butter and egg mixture. Use a wooden spoon to mix the flour into the wet ingredients until a soft, sticky dough forms.
-
Turn the dough out onto a lightly floured work surface. Knead the dough for about 10 minutes until it is smooth, shiny, and elastic.
-
If the dough is too sticky, knead in extra flour, 1 tablespoon at a time, being careful not to make it dry. Place the dough in an oiled bowl, cover with a dish towel, and let it rise in a warm place until doubled in size (1 to 1 1/2 hours). Punch down the dough and let it rest for 10 minutes.
-
Grease a 9.5-inch springform pan with melted butter. Divide the dough into 19 equal pieces (a kitchen scale ensures accuracy). Shape each piece into a smooth ball by pressing with your palm and rolling against the counter.
TIP – To achieve uniform rolls, use a kitchen or postage scale. Weigh the entire dough, convert to ounces, and divide by 19 for the weight of each piece. This method ensures perfectly even sections.
-
Arrange the shaped rolls in the prepared pan: 12 rolls in an outer ring, 6 in an inner ring, and the last roll in the center. Cover the pan with a dish towel and proof until doubled in size (about 45 minutes).
-
Brush the top of each risen roll with the beaten egg glaze. Sprinkle generously, alternating with sesame and poppy seeds, or your preferred seed mix.
-
Bake in a preheated 425° F (220°C) oven for 25-30 minutes, or until golden brown. Transfer the pan to a wire rack to cool slightly. Remove the springform ring and place the Partybrot on a serving plate. Serve immediately while warm.
Expert Tips & FAQs
- Storage: Store fully cooled Partybrot in an airtight container or wrapped in aluminum foil at room temperature for up to 2 days. For longer storage (up to 4 days), refrigerate in an airtight container, though this may cause them to go stale faster.
- Freezing: Fully baked and cooled Partybrot rolls can be frozen for up to 2 months. Transfer them to a large freezer bag or airtight container. Thaw at room temperature and reheat in a 300°F (150°C) oven for 10-15 minutes.
- Make Ahead: After the first rise and punching down (Step 5), you can refrigerate the covered dough for up to 24 hours. Allow it to come to room temperature before shaping and the second rise.
- Troubleshooting: If your dough isn’t rising, ensure your yeast is active and your milk temperature is correct (100-110°F). A warm, draft-free spot is crucial for proofing.
Nutrition Information (Estimated)
The recipes on this blog are tested with a conventional gas oven and gas stovetop. It’s important to note that some ovens, especially as they age, can cook and bake inconsistently. Using an inexpensive oven thermometer can assure you that your oven is truly heating to the proper temperature. If you use a toaster oven or countertop oven, please keep in mind that they may not distribute heat the same as a conventional full sized oven and you may need to adjust your cooking/baking times. In the case of recipes made with a pressure cooker, air fryer, slow cooker, or other appliance, a link to the appliances we use is listed within each respective recipe. For baking recipes where measurements are given by weight, please note that results may not be the same if cups are used instead, and we can’t guarantee success with that method.
This post originally appeared here on Feb 16, 2010, and has since been updated with new photos, expanded tips, and detailed instructions to ensure the best baking experience.
