No-Bake Mixed Berry Icebox Cake: Your Ultimate Easy Summer Dessert
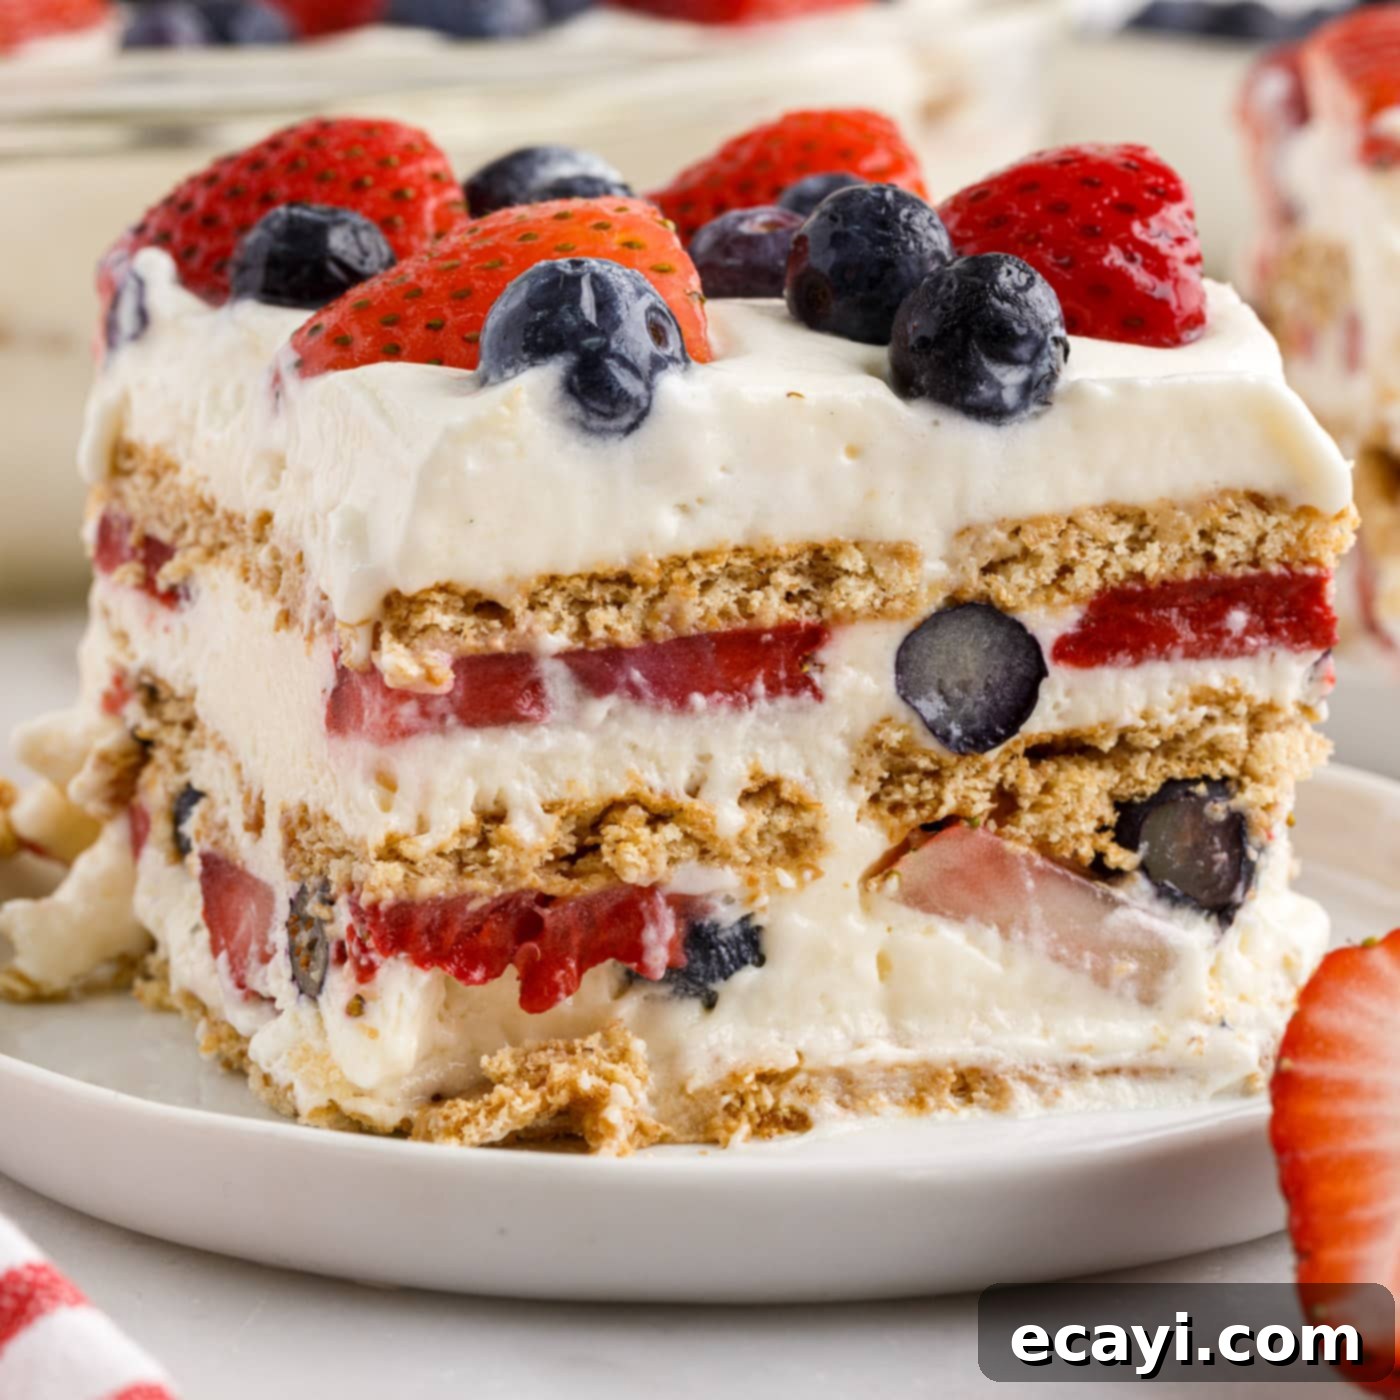
Layers of luscious cream cheese pudding, crisp graham crackers, and an abundance of fresh, vibrant strawberries and blueberries come together to create this irresistible no-bake mixed berry icebox cake. This dessert is a true summertime marvel, offering a refreshing and satisfying treat without ever needing to turn on your oven. Perfect for hot days, potlucks, or simply when you crave something sweet and simple, this icebox cake delivers on both flavor and ease.
Why This Mixed Berry Icebox Cake Recipe Works So Well
Our mixed berry icebox cake isn’t just a dessert; it’s a testament to effortless summer entertaining. It’s wonderfully light and airy, offering a refreshing contrast to heavier baked goods, and it absolutely bursts with the sweet and slightly tart flavors of fresh blueberries and strawberries. This delightful combination makes it an ideal centerpiece for summertime potlucks, barbecues, and family cookouts. Moreover, with its beautiful red, white, and blue hues, it effortlessly doubles as a festive and patriotic dessert for holidays like the Fourth of July or Memorial Day.
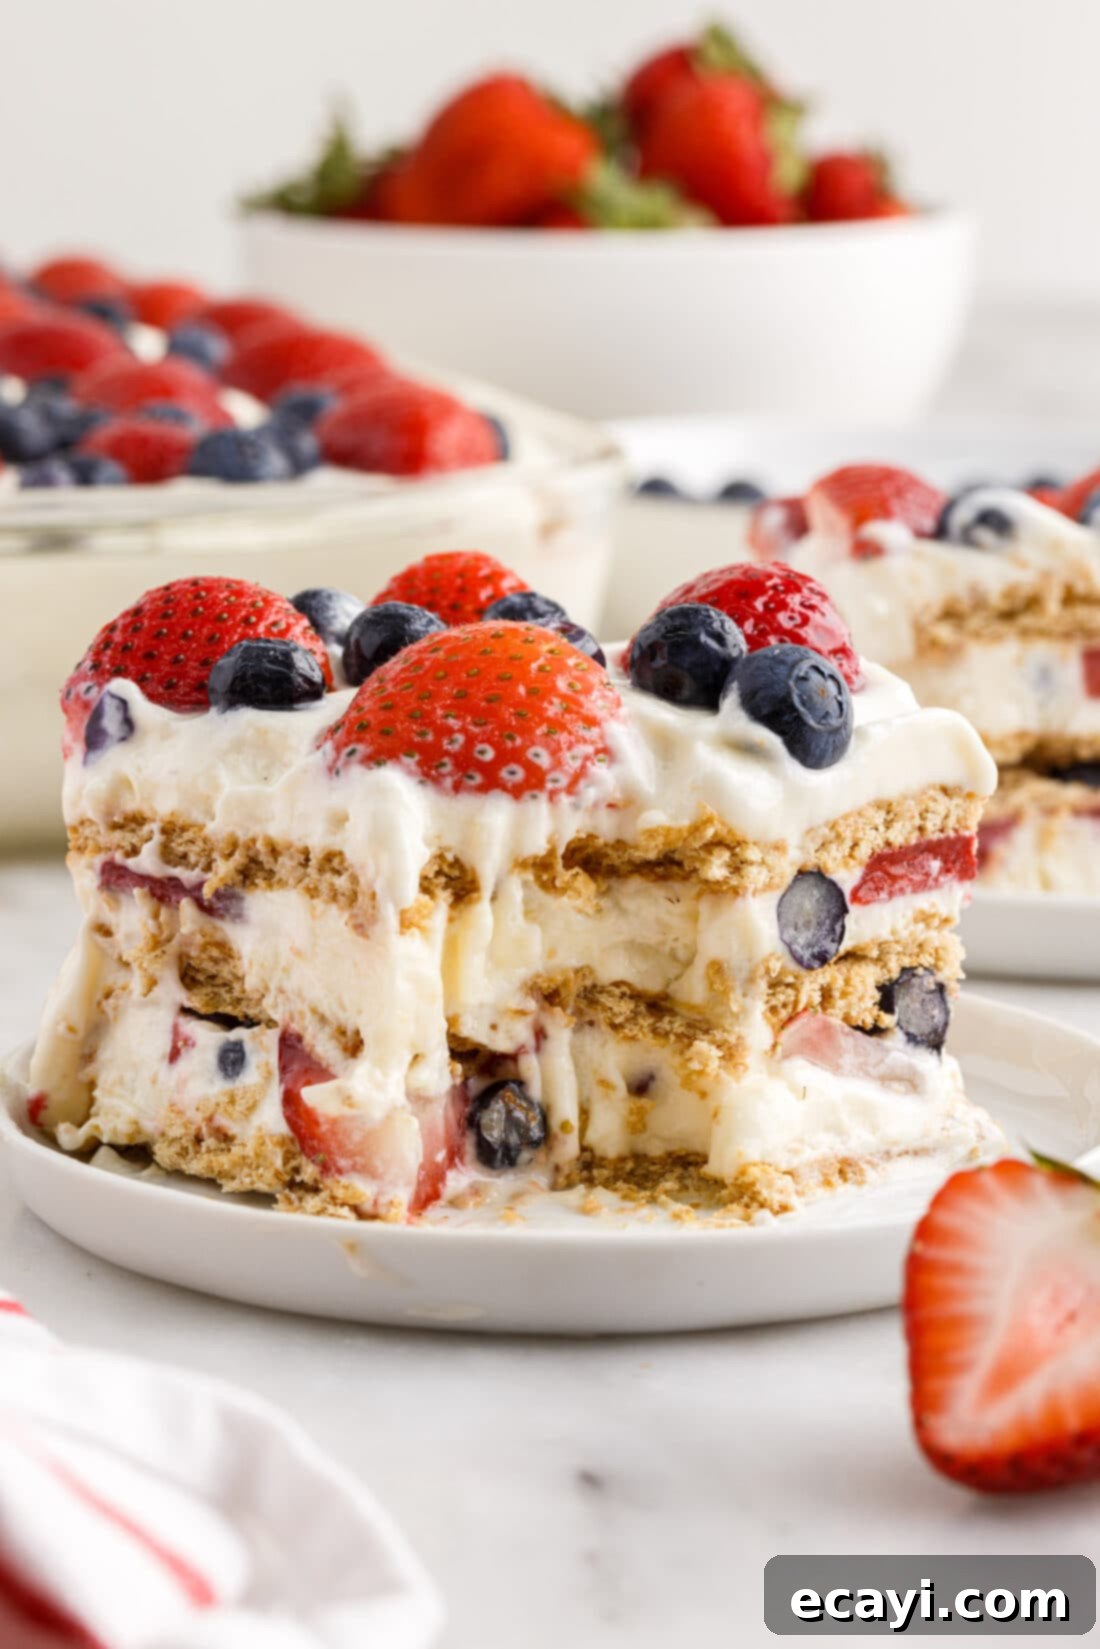
Icebox cakes are renowned for their incredible simplicity, making them a fantastic choice for beginner bakers or anyone short on time. The “no-bake” aspect is a huge advantage, especially during warm weather when you want to keep your kitchen cool. Beyond its ease, this cake excels as a make-ahead dessert. In fact, it actually improves with time! As it chills in the refrigerator, the crisp graham cracker layers gradually soften, soaking up the rich, sweet cream cheese pudding mixture. This transformation results in a delightfully tender texture that melts in your mouth – truly like sinking your teeth into a berry-licious cloud. The longer it sits, the more the flavors meld and deepen, creating an even more harmonious and delicious experience.
The beauty of this recipe also lies in its versatile appeal. It’s a crowd-pleaser that looks impressive but requires minimal effort. Whether you’re hosting a large gathering or simply enjoying a quiet evening at home, this mixed berry icebox cake provides a satisfyingly sweet finish to any meal. Its vibrant colors and fresh fruit topping make it visually stunning, ensuring it’s not just a treat for the taste buds but also for the eyes.
Key Ingredients for Your Mixed Berry Icebox Cake
Crafting this delicious no-bake icebox cake requires a few simple ingredients that come together to create a magical dessert. You’ll find all the precise measurements, ingredients list, and detailed instructions in the printable recipe card located at the very end of this comprehensive guide. Here’s a quick overview of what you’ll need to gather:
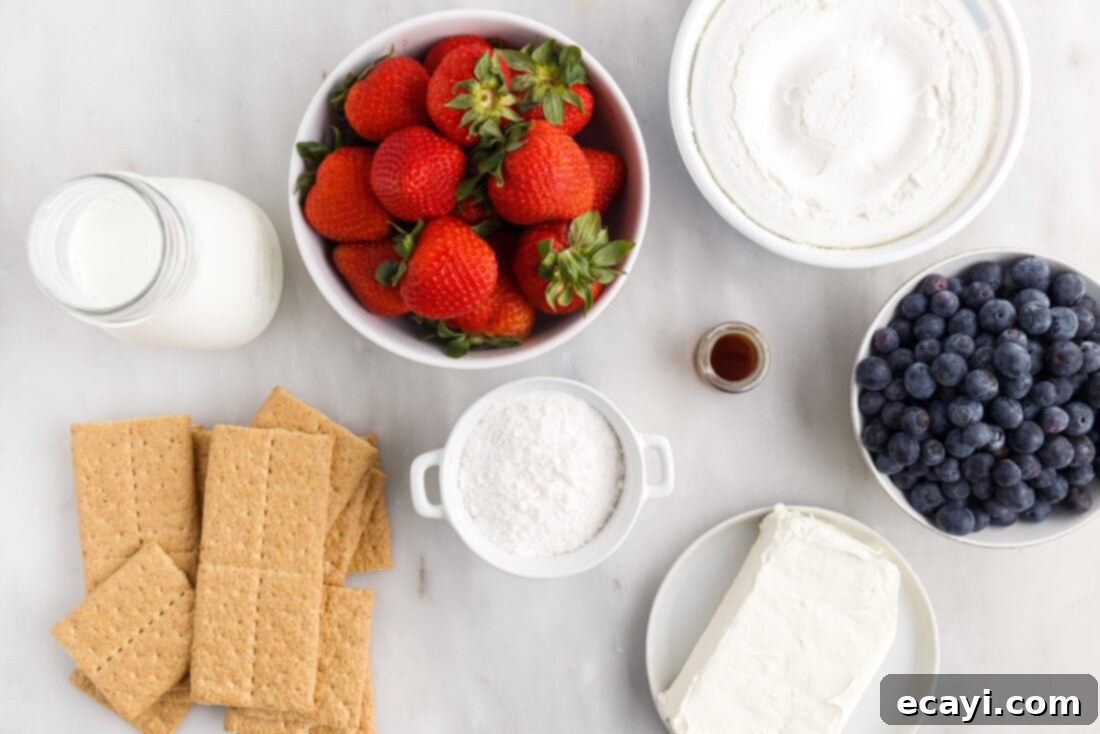
Ingredient Spotlight & Smart Substitutions
Understanding each ingredient and knowing your options for substitutions can help you customize this mixed berry icebox cake to your liking or adapt it based on what you have on hand.
BERRIES – The “mixed berry” aspect truly defines this cake. While fresh blueberries and strawberries are highlighted here, feel free to get creative with your selection. Raspberries and blackberries are excellent additions that contribute different notes of sweetness and tartness, enhancing the overall complexity. Using a combination of three or four different berries can make your cake even more visually appealing and flavorful. Remember that seasonal berries will always offer the best flavor. If fresh berries are out of season or unavailable, frozen mixed berries can be used, but ensure they are fully thawed and gently patted dry to remove excess moisture before layering, which could otherwise make the pudding watery.
MILK – For the richest and creamiest texture in your icebox cake pudding mixture, we highly recommend using whole milk. Its higher fat content contributes significantly to a luxurious mouthfeel and flavor. However, if you prefer a lighter option, reduced-fat milk can be substituted. When using reduced-fat milk, it’s crucial to reduce the quantity to 2 1⁄2 cups to ensure the pudding sets properly and maintains a desirable consistency. You might also find that the pudding thickens a little more slowly with lower-fat milk, so be patient during the mixing process.
COOL WHIP – Cool Whip is a fantastic and convenient choice for this recipe, offering a stabilized whipped topping that holds its shape beautifully and contributes to the integrity of the cake layers. Its pre-sweetened and light texture integrates seamlessly with the cream cheese pudding. If you prefer a homemade option or want to avoid certain ingredients, you can absolutely make your own stabilized whipped cream. This typically involves whipping heavy cream with powdered sugar and a stabilizer like gelatin or cream of tartar, which helps it maintain its airy structure in the finished cake.
GRAHAM CRACKERS – Graham crackers are the traditional and often preferred base for icebox cakes due to their slightly sweet, honeyed flavor and how beautifully they soften when absorbing the pudding. They create distinct, cake-like layers after chilling. If you’re outside the United States or simply can’t find graham crackers, there are excellent substitutes. Vanilla wafers offer a similar crispness and mild flavor. Digestive biscuits, popular in many parts of the world, provide a slightly less sweet and more “biscuit-like” texture. Shortbread cookies or even Biscoff (speculoos) cookies can also be used for a different, richer flavor profile. Just be sure that whatever flat cookie you choose, it fits well in your casserole dish to create even layers.
CREAM CHEESE – Ensure your cream cheese is fully softened to room temperature before beating. This is critical for achieving a smooth, lump-free pudding mixture. Cold cream cheese will result in a lumpy texture that won’t blend evenly, impacting the overall consistency of your icebox cake. Take it out of the fridge at least an hour before you plan to start mixing.
INSTANT VANILLA PUDDING MIX – This ingredient is the foundation of our creamy layers. Instant pudding mix is key for its quick setting properties, which are essential for a no-bake cake. While vanilla is a classic choice that complements the berries beautifully, you could experiment with other instant pudding flavors like cheesecake, white chocolate, or even lemon for a different twist. Just ensure it’s “instant” and not the cook-and-serve variety.
VANILLA EXTRACT – A good quality vanilla extract enhances the overall sweetness and complexity of the pudding layers. While it might seem like a small detail, high-quality vanilla makes a noticeable difference in the finished flavor profile. Opt for pure vanilla extract over imitation for the best results.
Step-by-Step Guide: How to Make Mixed Berry Icebox Cake
These step-by-step photos and instructions are here to guide you visually through the process of making this delightful recipe. For a fully printable version, complete with precise measurements and comprehensive instructions, you can jump to the recipe card at the bottom of this post.
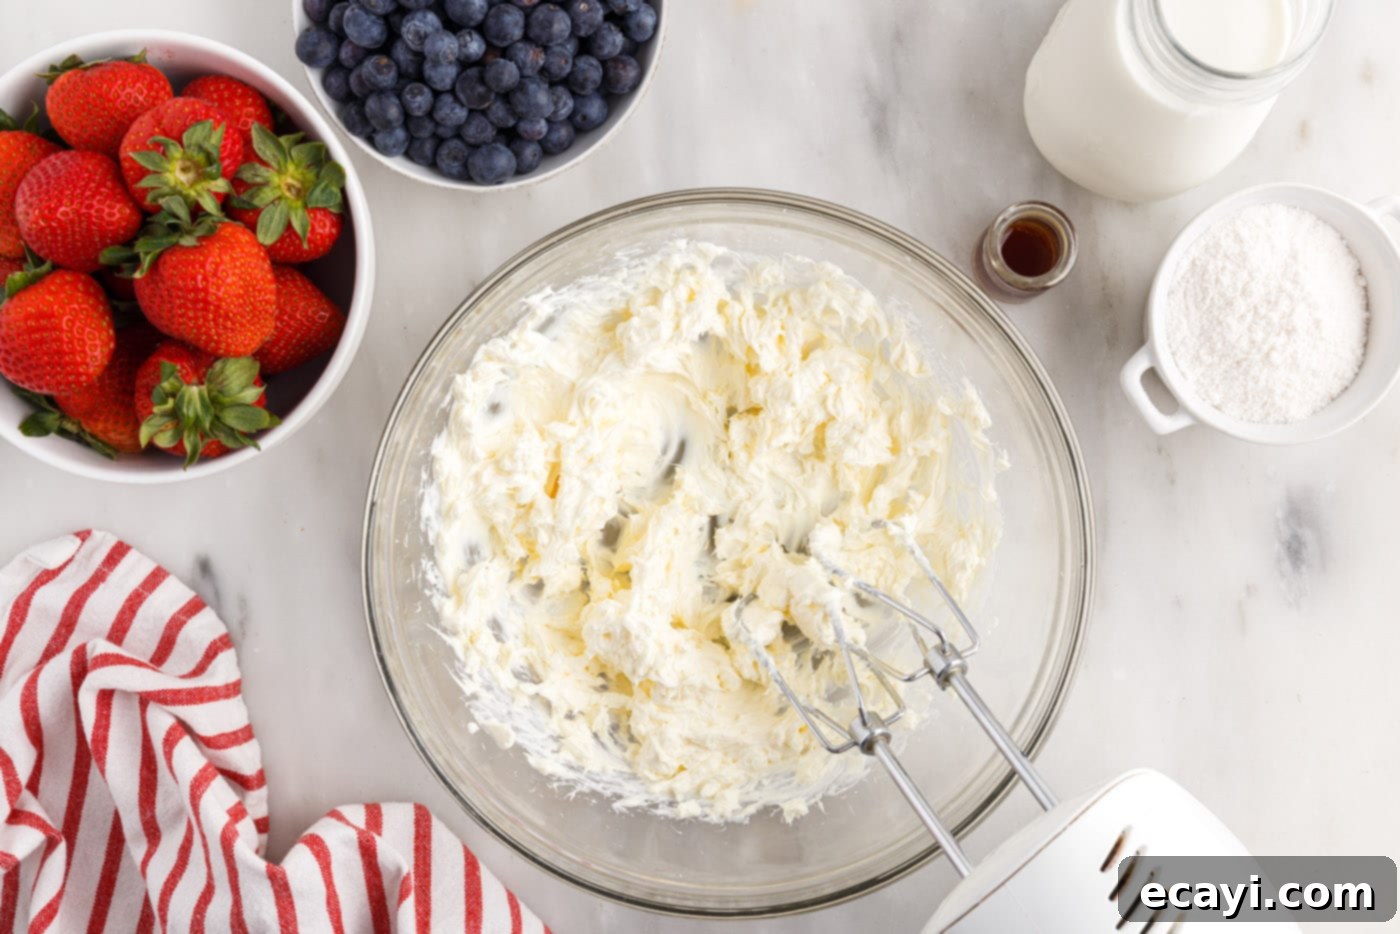
- Begin by beating the softened cream cheese in a medium mixing bowl. Continue to beat it until it becomes wonderfully light, fluffy, and completely smooth. This ensures a creamy base for your pudding.

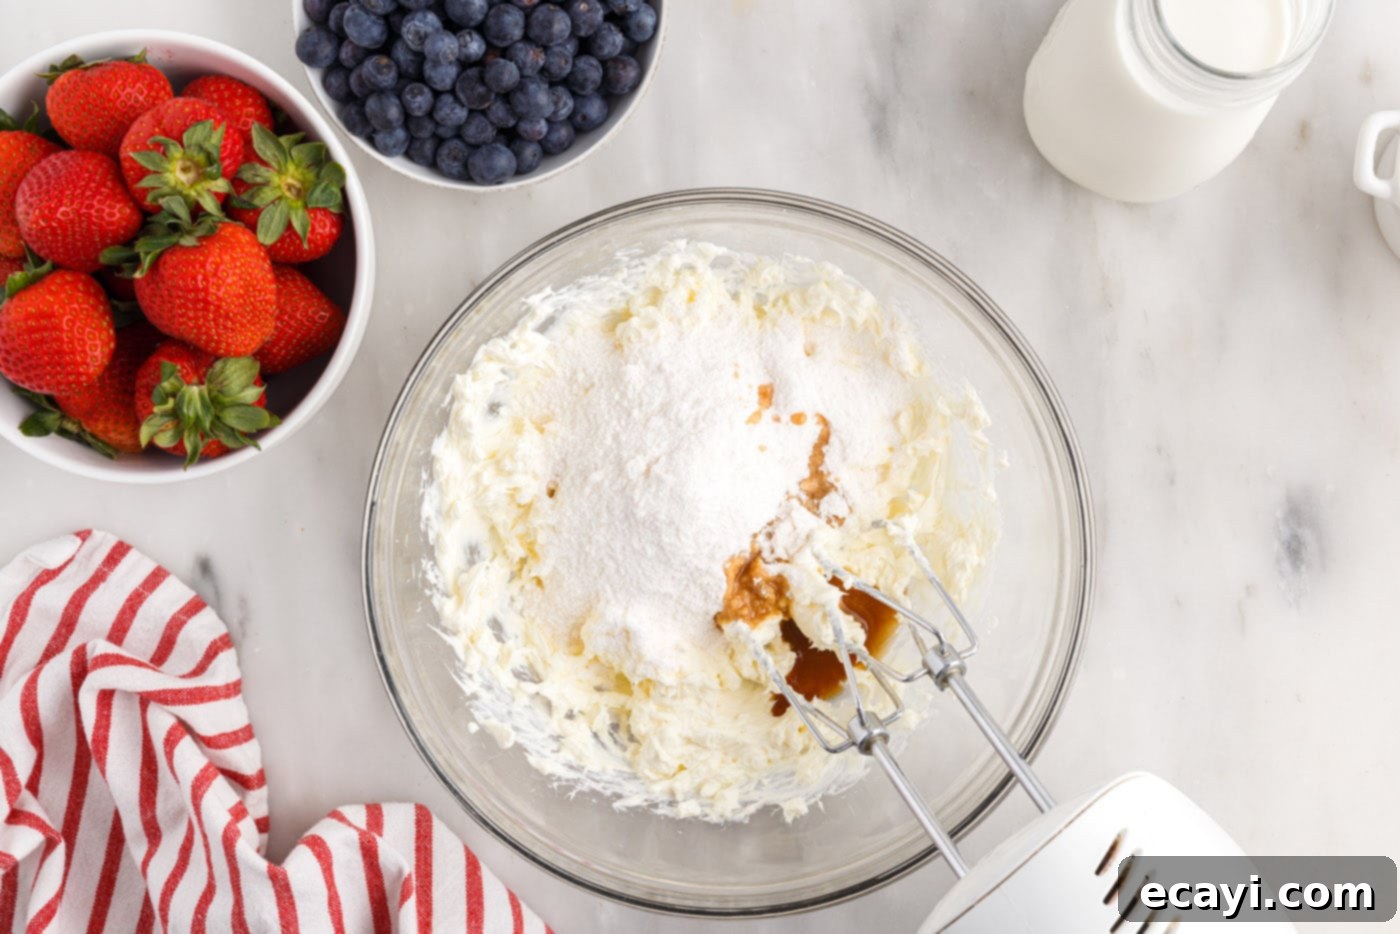
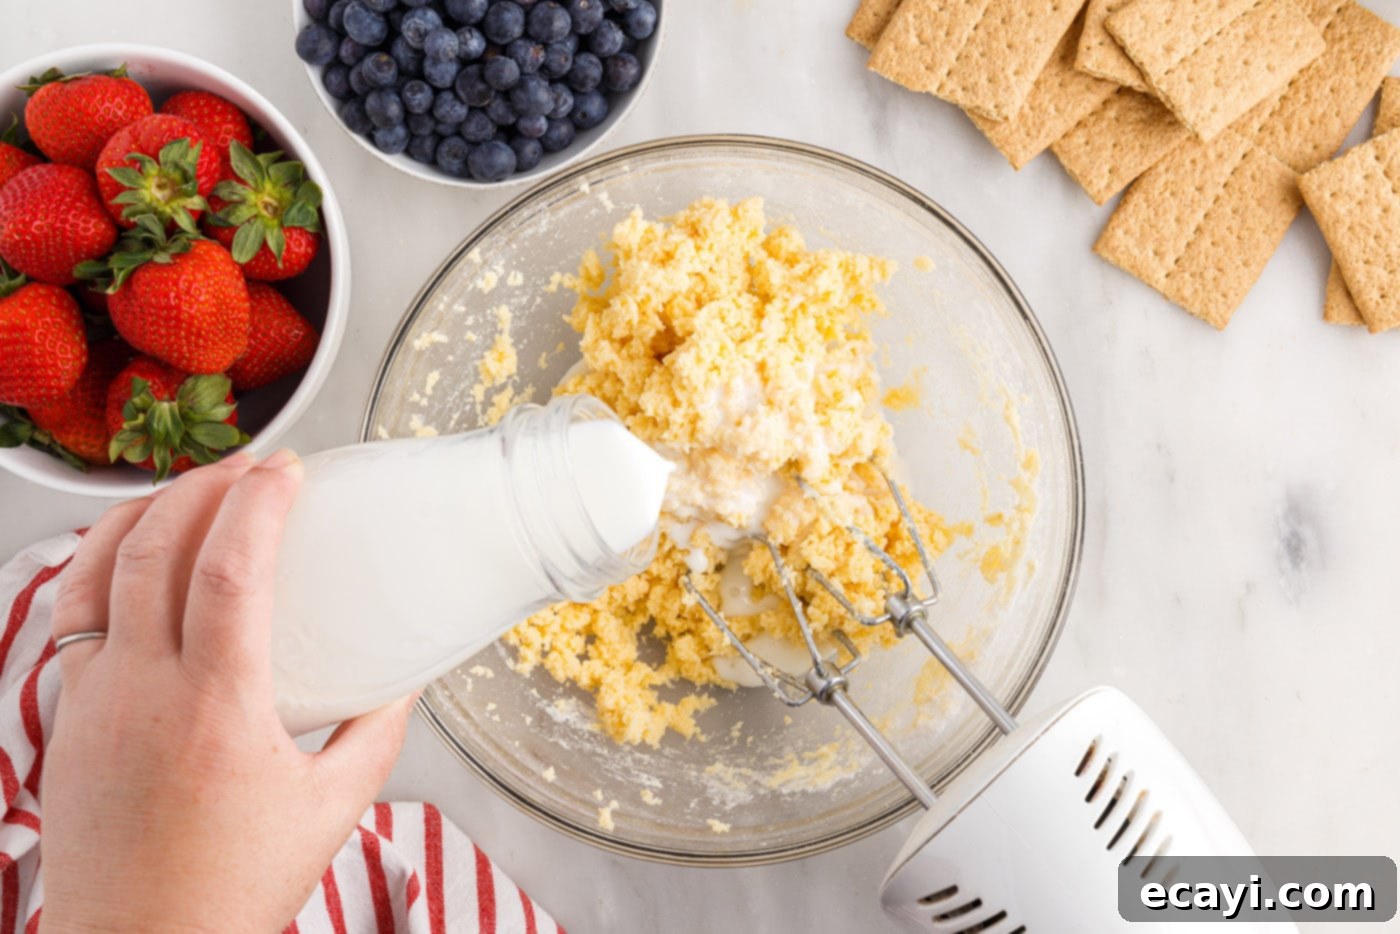
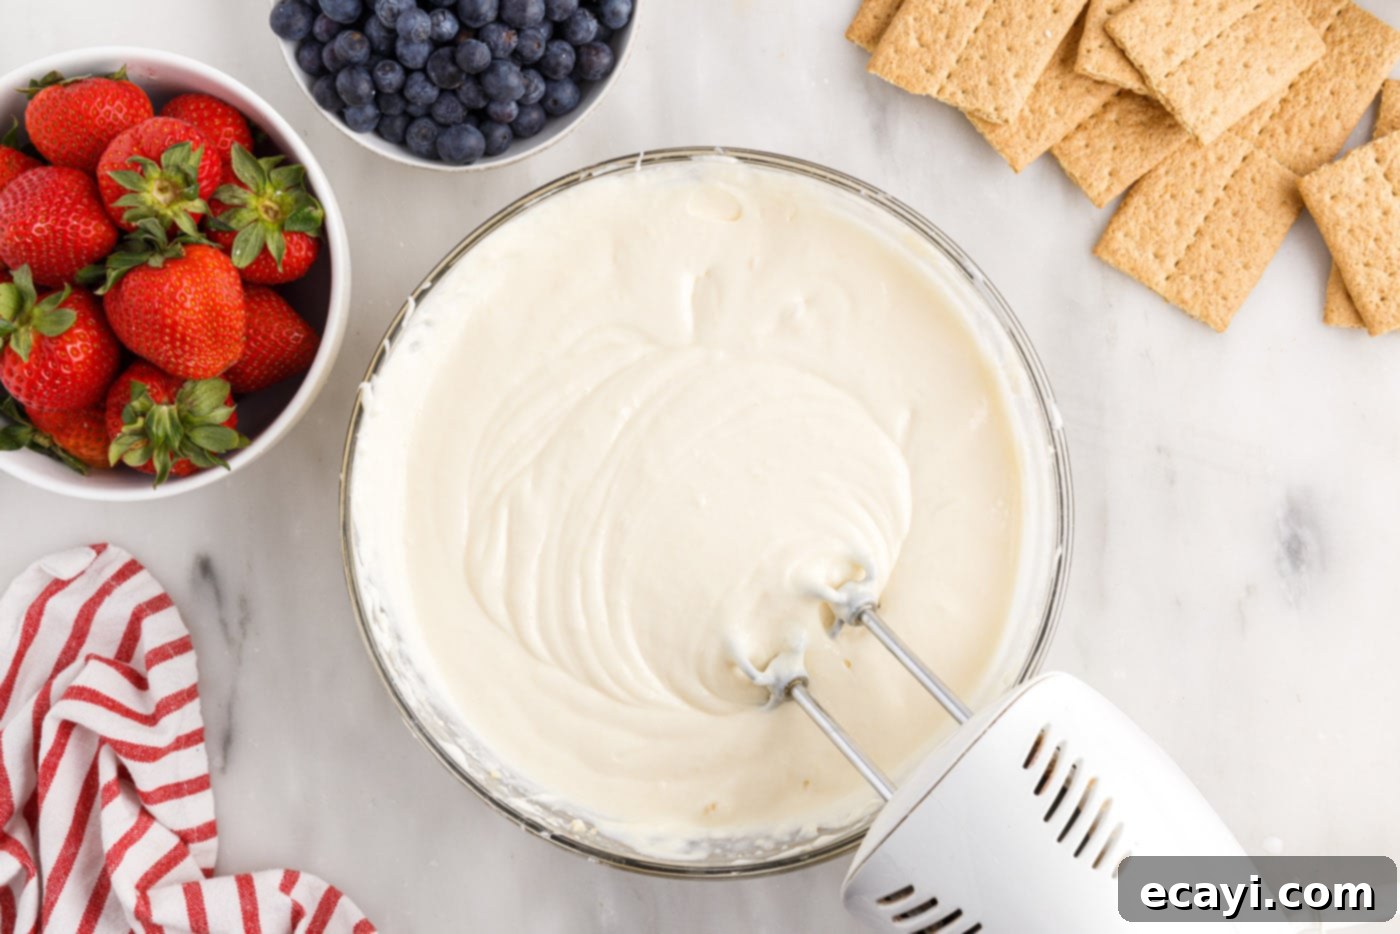
- Next, add the instant pudding mix, vanilla extract, and milk to the beaten cream cheese. Continue beating the mixture with your mixer until all ingredients are fully combined and the mixture starts to thicken. It might seem very thick at first, especially when adding the milk slowly, but keep beating until it reaches a smooth, pudding-like consistency.


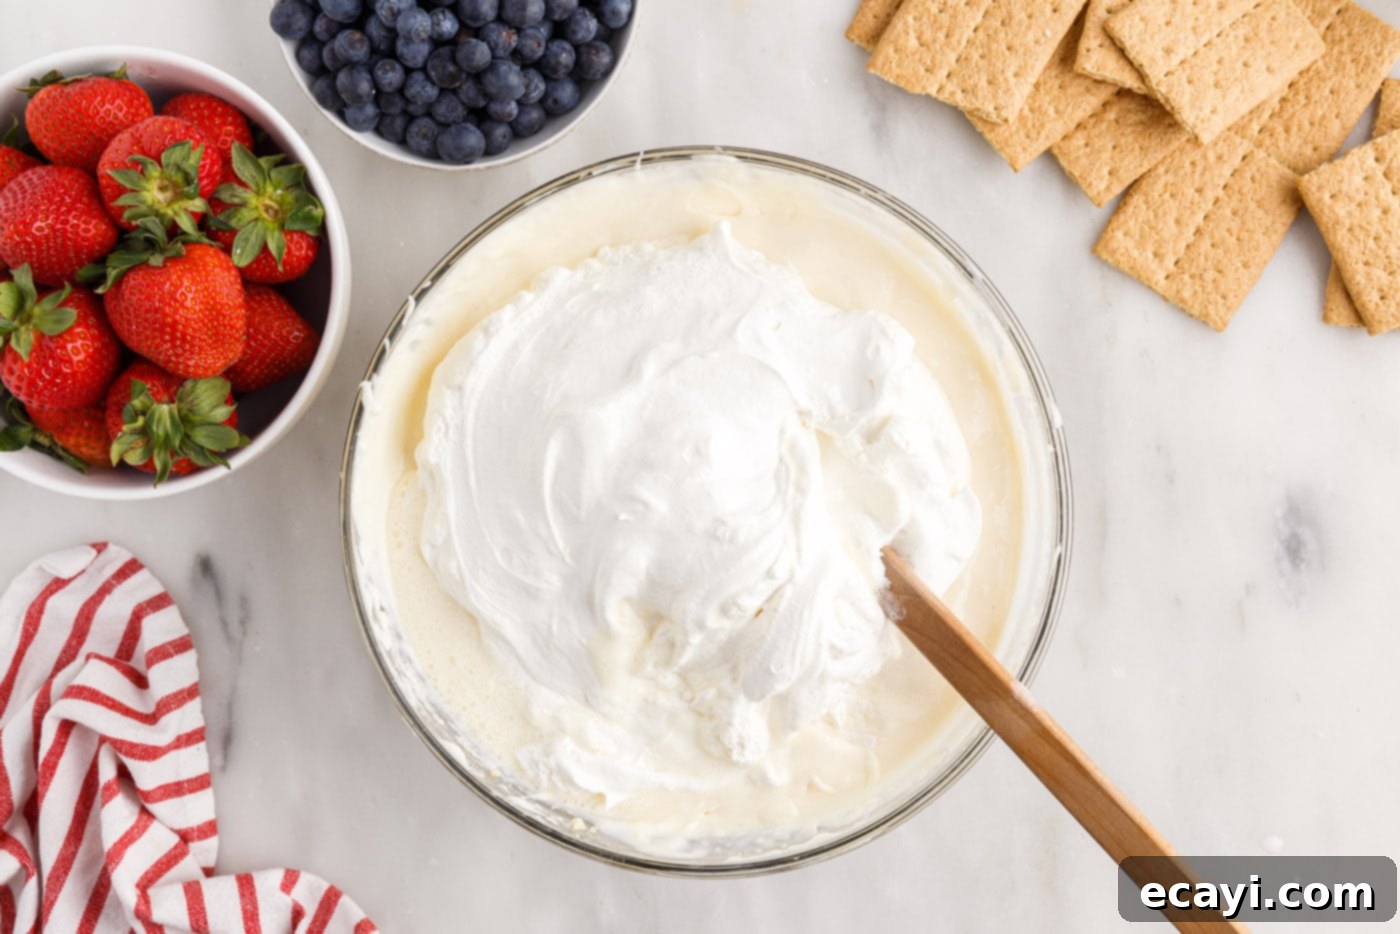
- Gently fold in the 16 oz. tub of thawed Cool Whip. Use a spatula to incorporate it carefully, then briefly beat with a mixer on low speed just until the mixture becomes homogenous and starts to thicken further, creating a fluffy and stable pudding. Overmixing can deflate the Cool Whip, so be gentle.


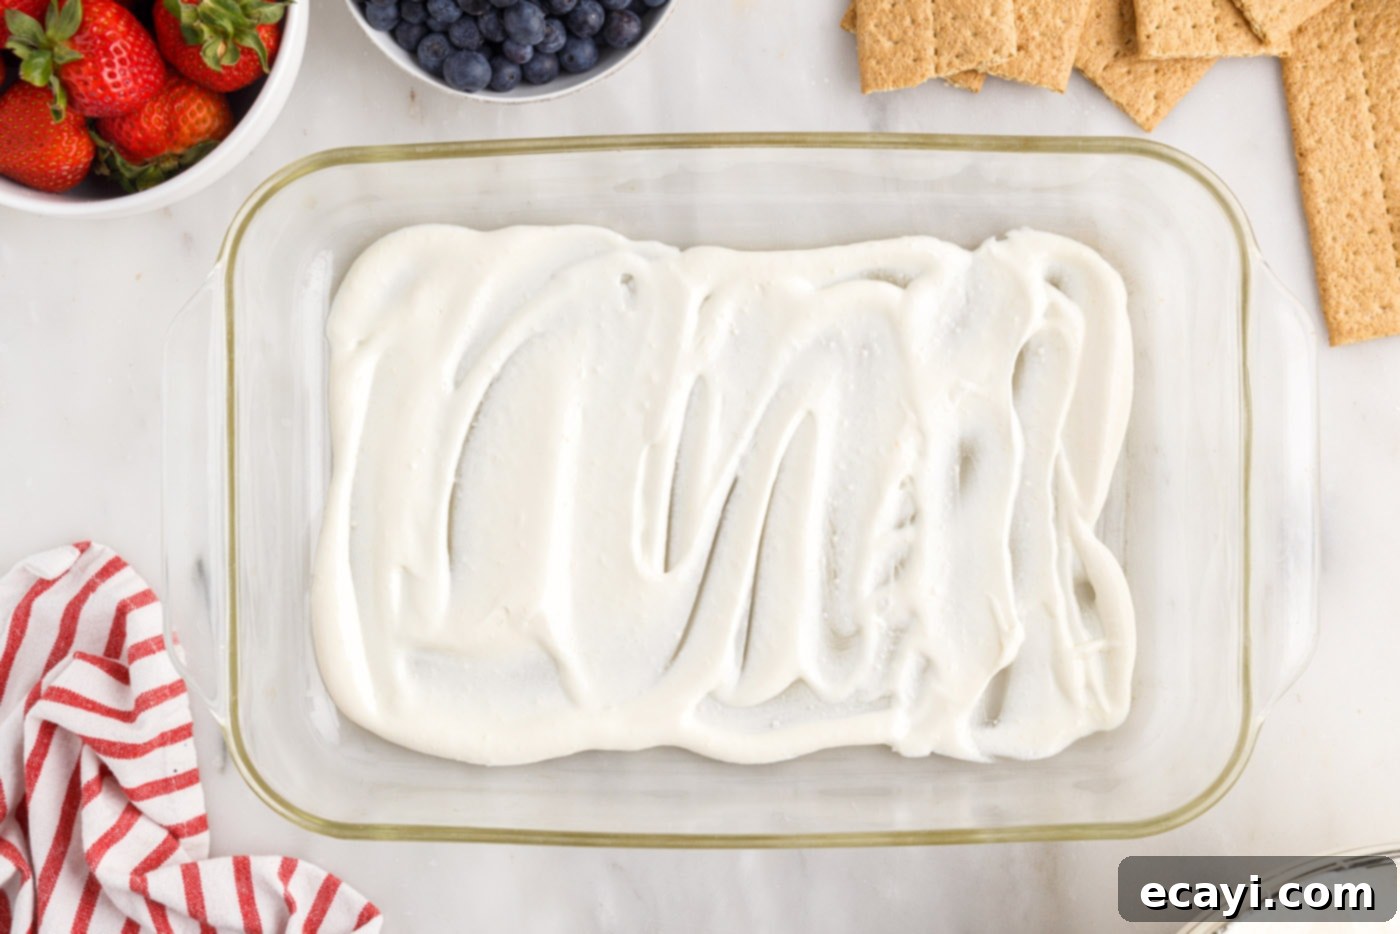
- Spoon approximately 1⁄2 cup of the prepared pudding mixture onto the bottom of a 9×13 casserole dish. Spread it evenly to create the foundational layer for your icebox cake.

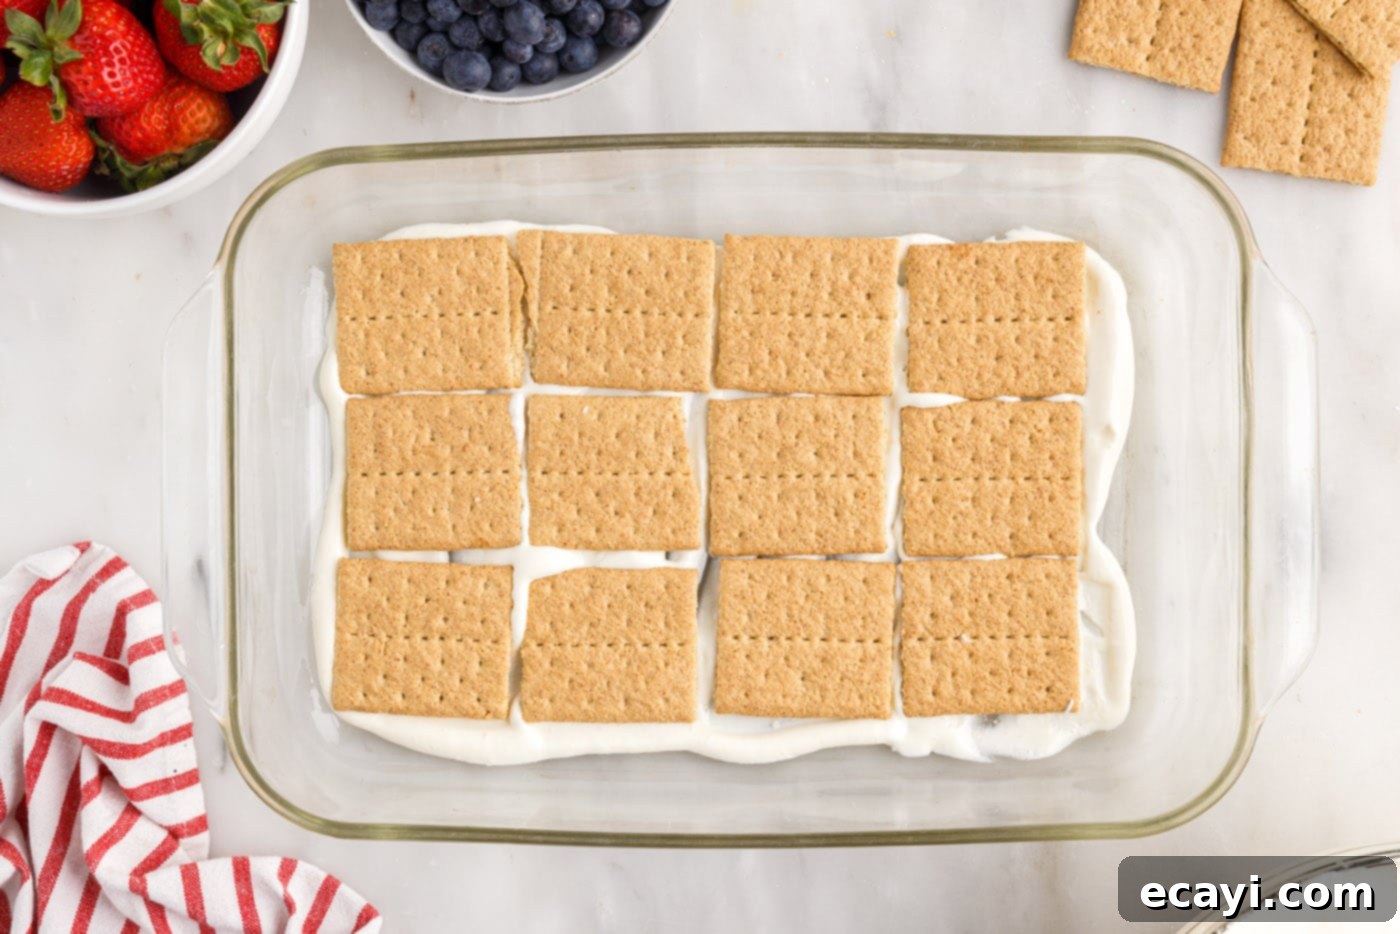
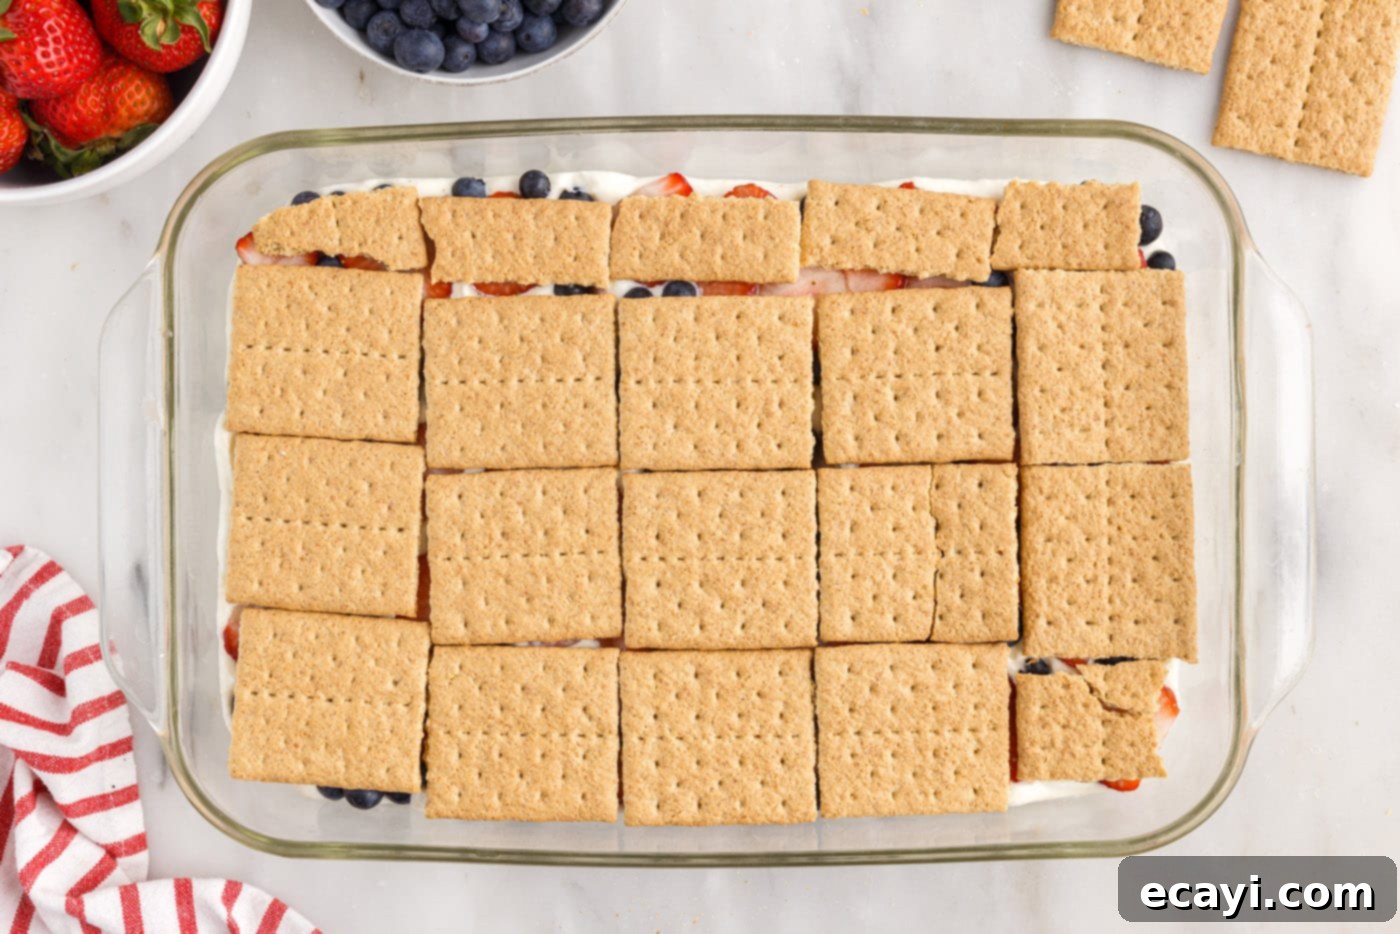
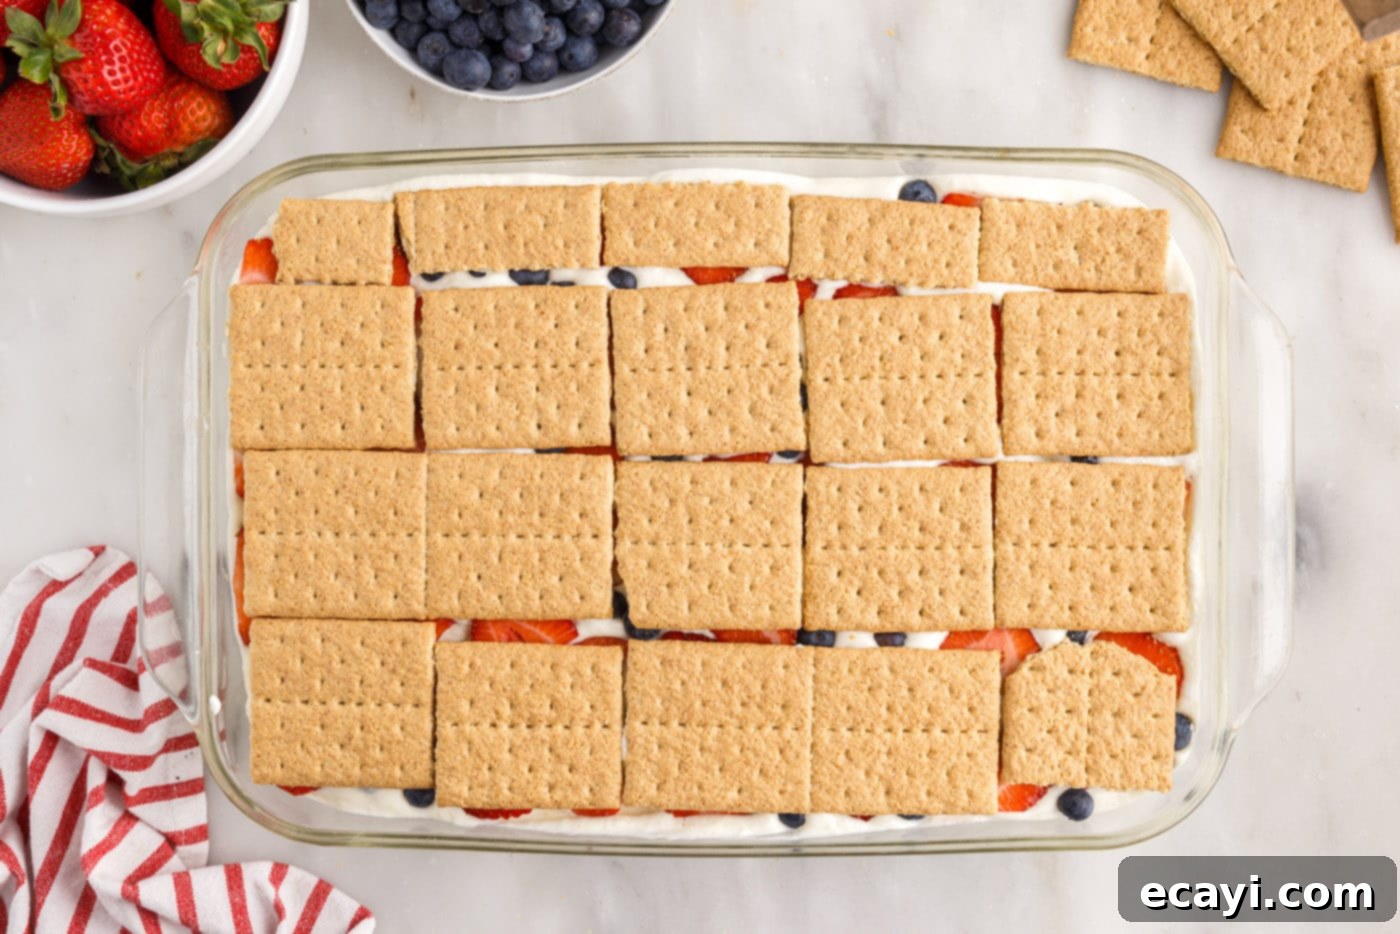
- Arrange a single layer of graham crackers over the pudding mixture in the dish. Break them as needed to fit snugly, covering as much of the pudding layer as possible.

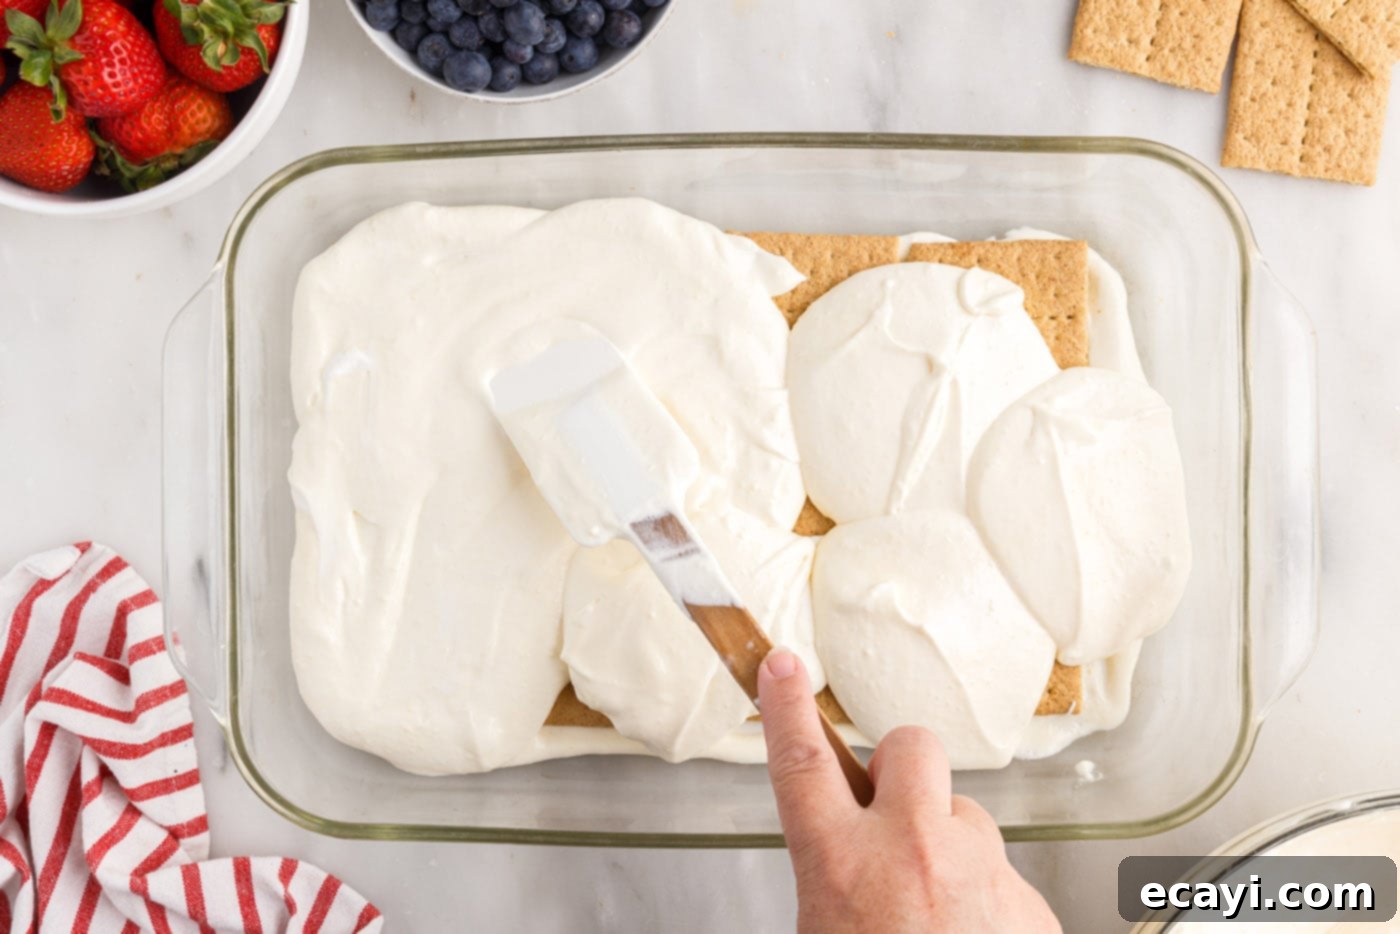
- Spread another thin layer of the pudding mixture (about 1⁄5 of the remaining mixture) evenly over the graham crackers. This layer will begin to soften the crackers.

- Prepare your strawberries: Wash them thoroughly and remove all stems. Slice about half of the strawberries into thin, even slices. Keep the remaining whole strawberries aside for the final topping. The amount of berries may vary based on their size, so adjust as needed.
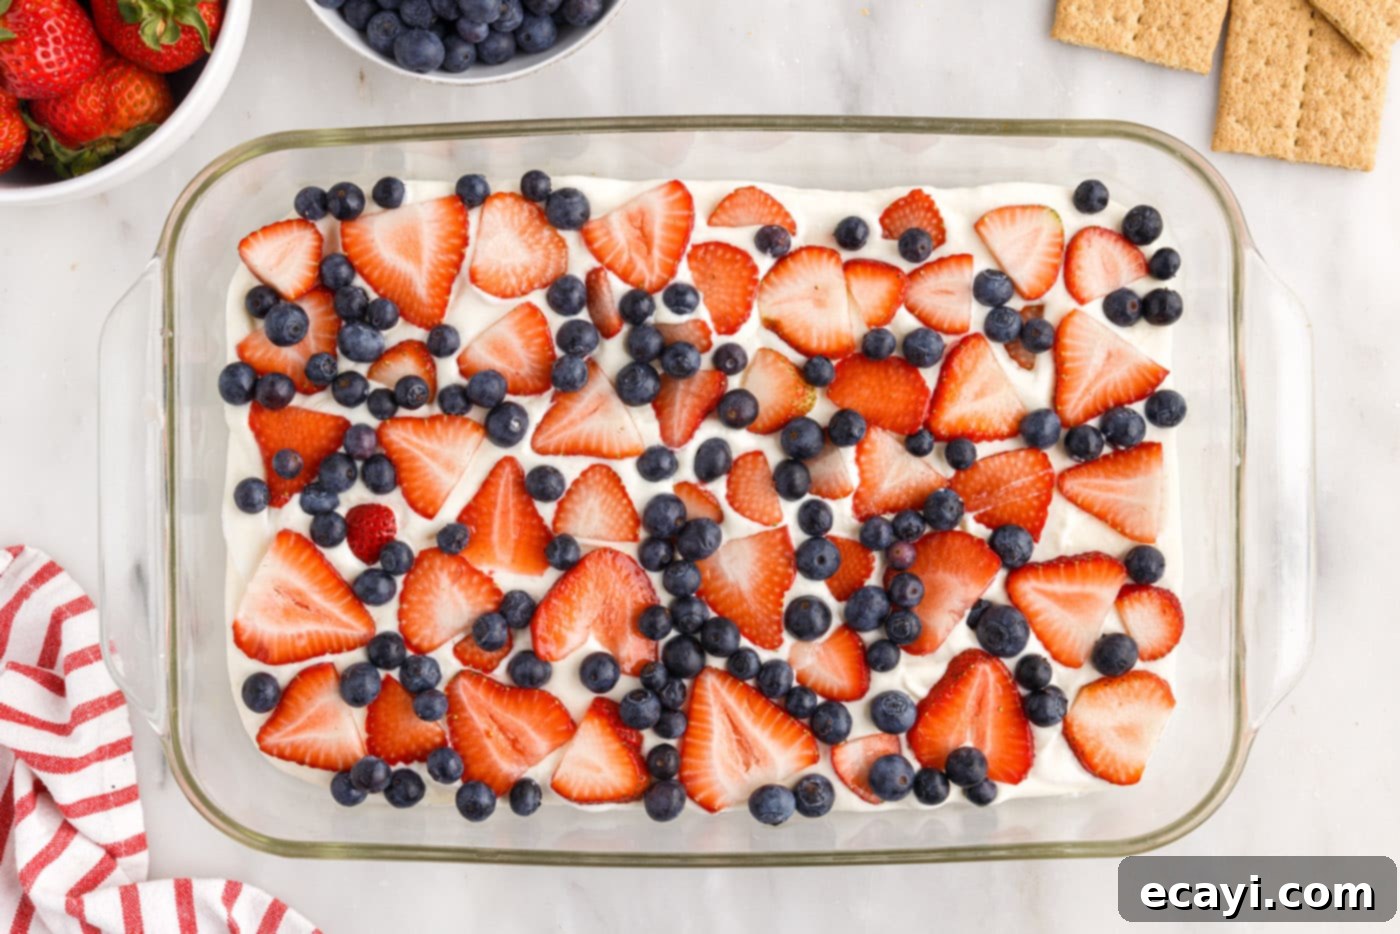
- Generously top the pudding layer with the sliced strawberries and about 1⁄3 of the fresh, whole blueberries. Distribute them evenly for flavor in every bite.

- Repeat the layering process: Add another layer of graham crackers, followed by another pudding layer, and then another fresh berry layer (using sliced strawberries and another 1/3 of the blueberries).


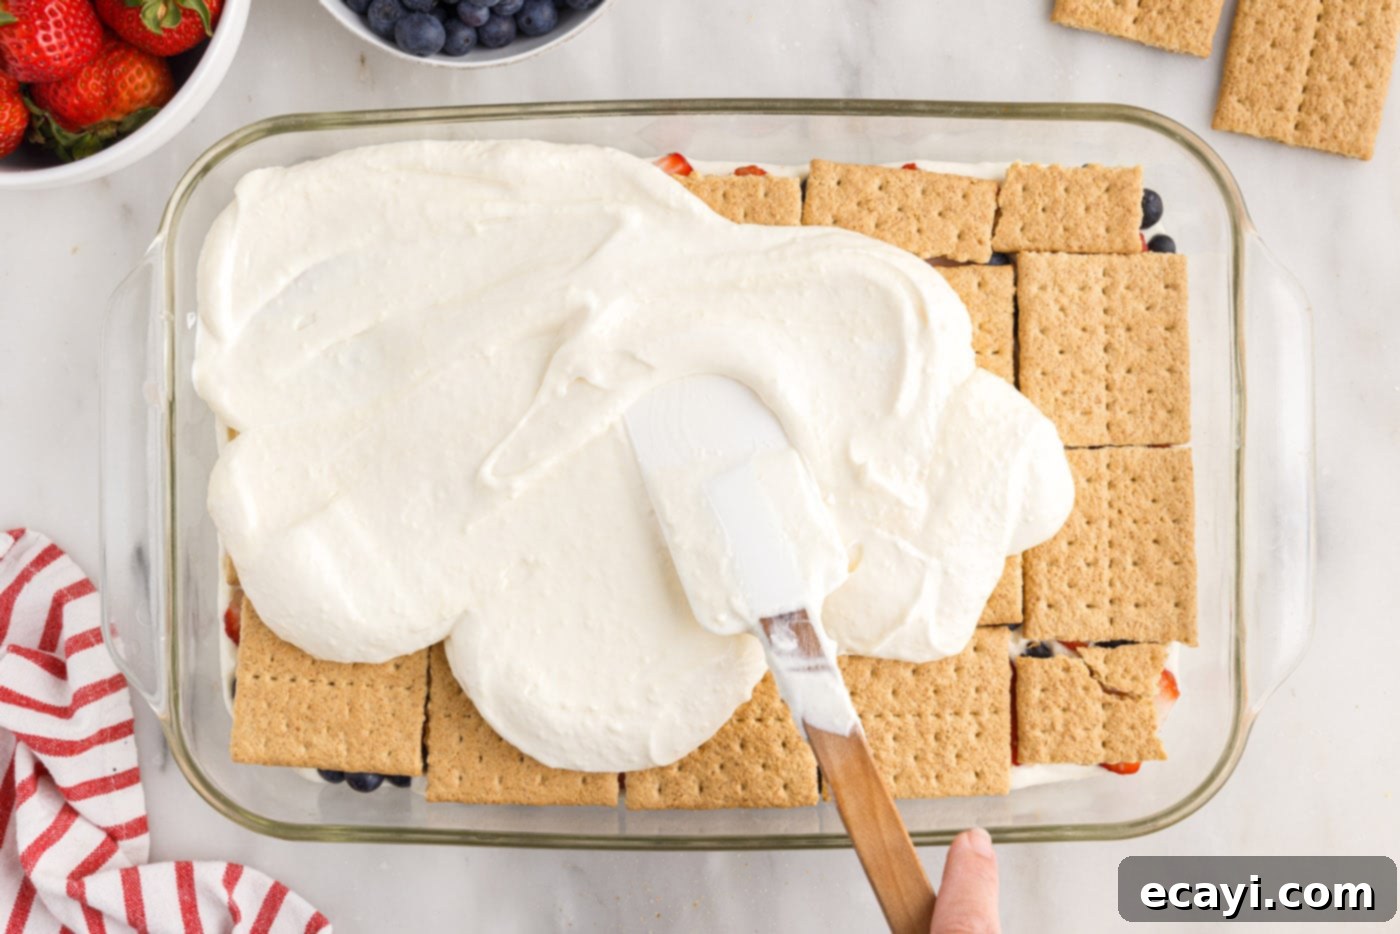
- Complete the cake with a third and final layer of graham crackers, followed by the remaining cream cheese pudding mixture, spreading it smoothly over the top.

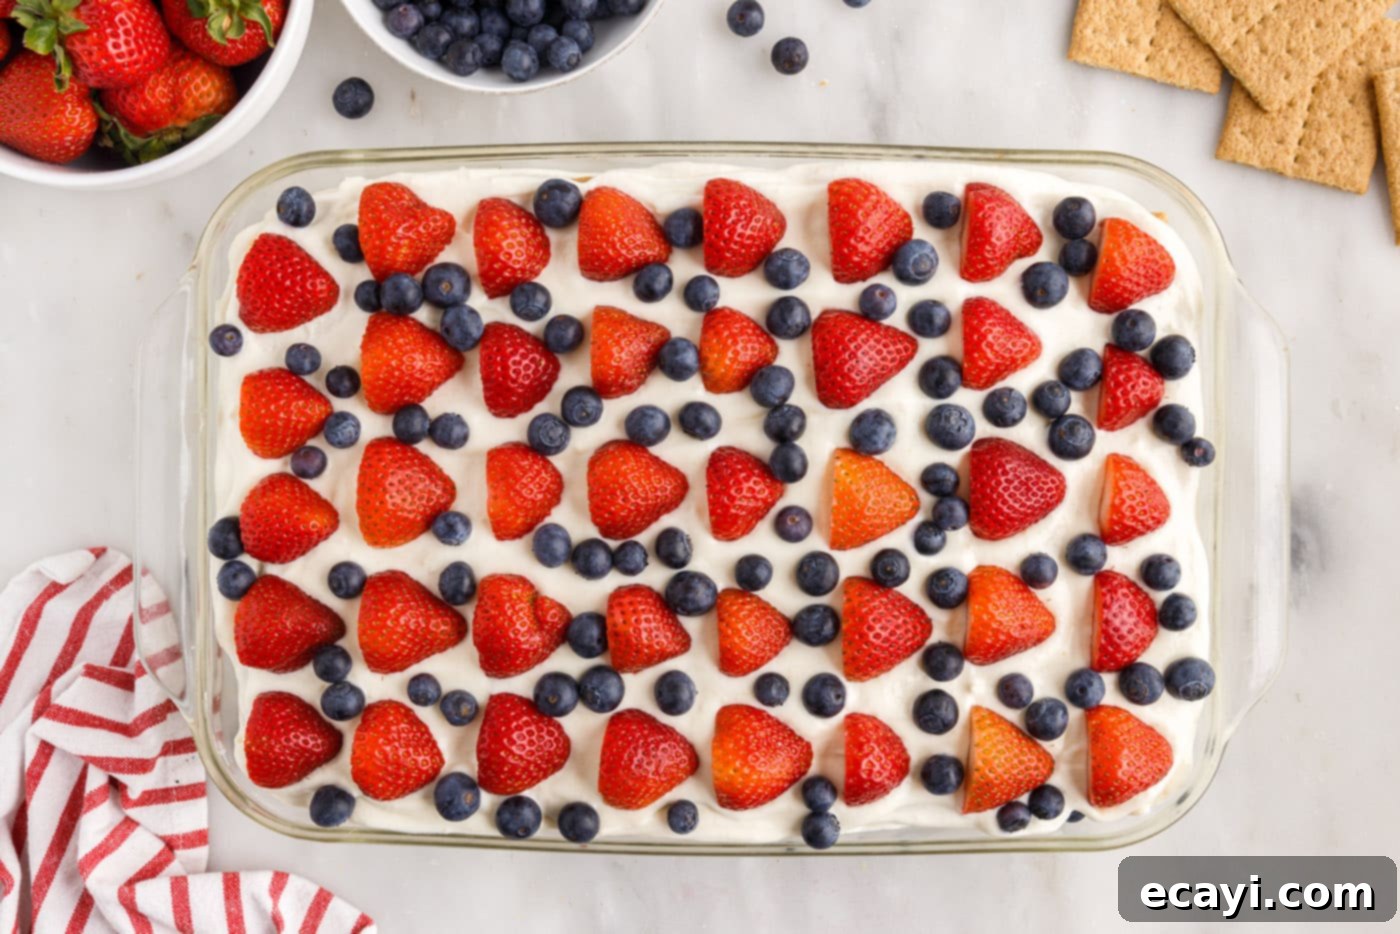
- To create an attractive topping, slice the reserved whole strawberries in half. Arrange these halves artfully over the top of the icebox cake. Then, sprinkle the remaining blueberries over the entire surface. This not only looks beautiful but also signals the delicious flavors within.

- Cover the dish tightly with plastic wrap and place it in the freezer for at least 4 hours to fully set. Alternatively, you can chill it in the refrigerator for 6-8 hours or overnight for a slightly softer, more cake-like consistency.
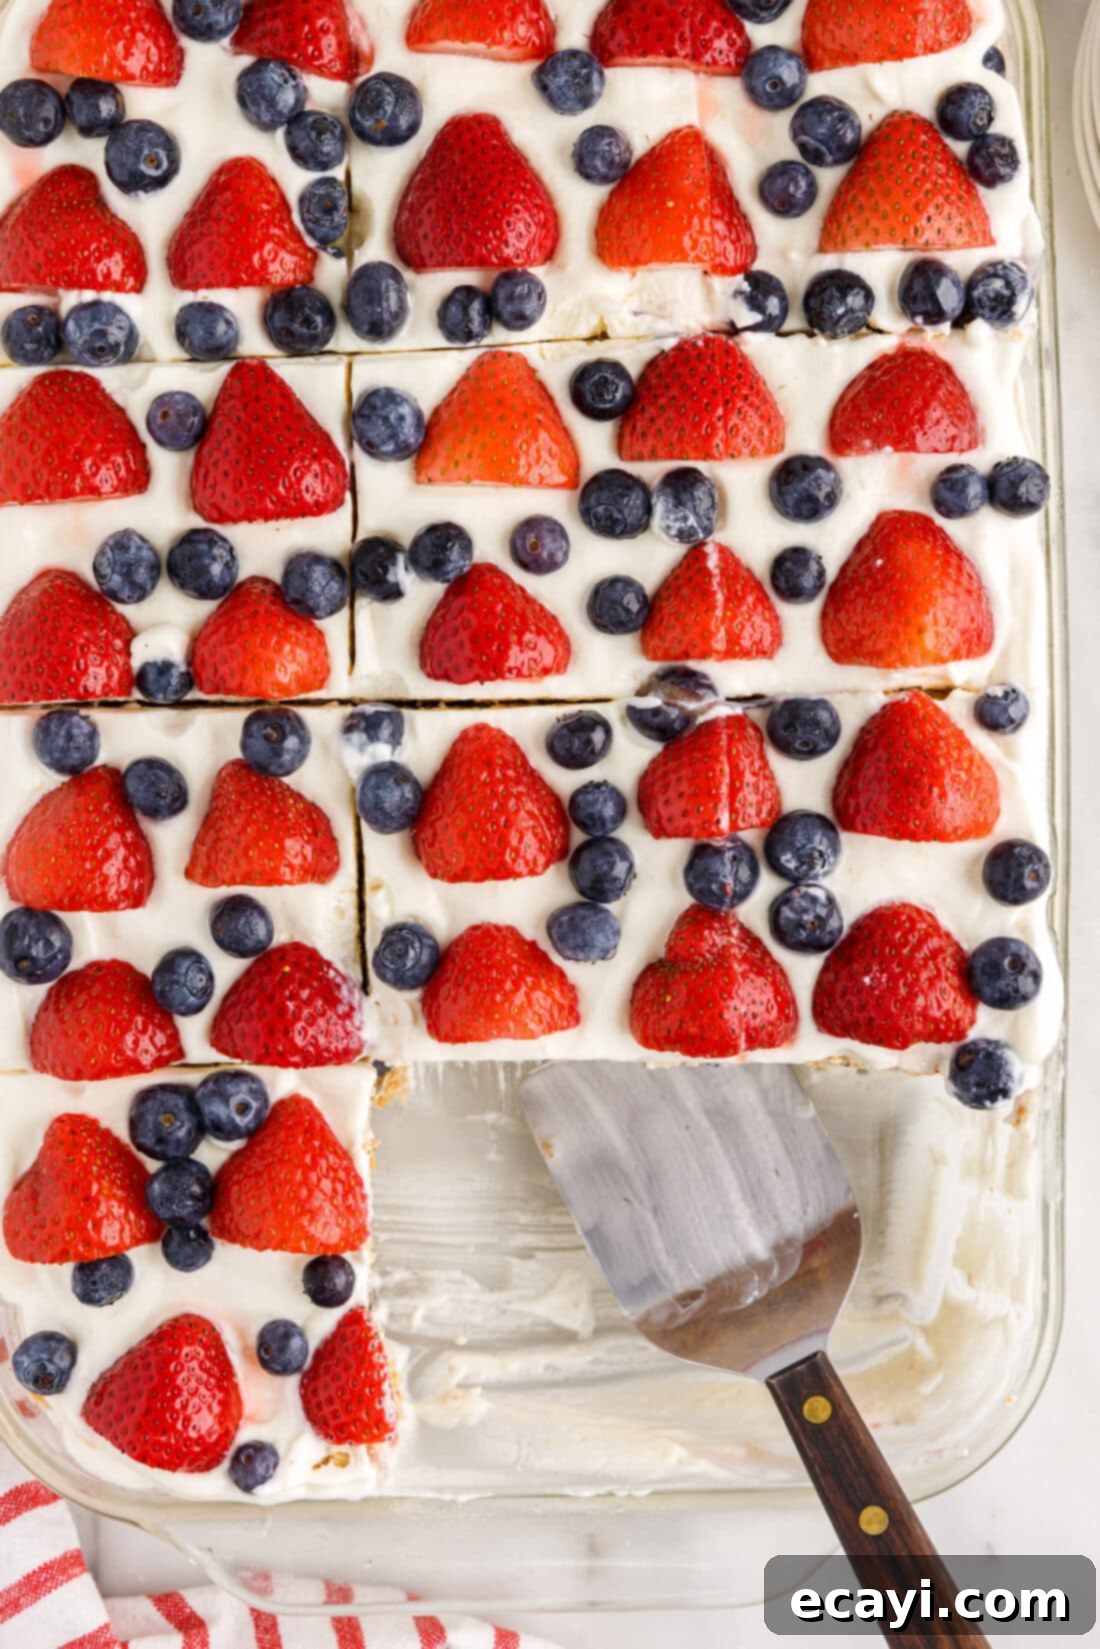
- When ready to serve, remove the icebox cake from the freezer and allow it to sit at room temperature for 15-20 minutes. This slight thaw will make it easier to slice and ensure a pleasant eating temperature. If refrigerated, it’s ready to slice and serve immediately.
Frequently Asked Questions & Expert Tips for Success
Absolutely! This icebox cake is an excellent make-ahead dessert, as its flavors actually deepen and develop over time. You can prepare it up to 24 hours in advance and keep it chilled in the refrigerator until you’re ready to serve. Making it ahead allows ample time for the graham crackers to absorb the sweet cream cheese pudding mixture, transforming into a tender, cake-like texture. This also gives the berry flavors a chance to meld beautifully with the creamy layers. If you need to prepare it even further in advance, you can freeze the cake for up to 7 days. Just be sure to wrap it tightly to prevent freezer burn.
To keep your mixed berry icebox cake fresh, store any leftovers covered tightly with plastic wrap or in an airtight container. It will remain delicious in the refrigerator for 2-3 days. If you’ve frozen it, store it in the freezer for up to seven days. For best results, slice off portions as needed from the refrigerated cake. If storing a frozen cake, consider cutting it into individual servings before fully freezing to make it easier to thaw small pieces.
No, freezing the icebox cake is not strictly necessary, but it does offer distinct advantages. If you have enough time before serving (at least 6-8 hours, or preferably overnight), the cake will set up perfectly well in the refrigerator, resulting in a slightly softer, more traditional cake texture. Freezing, however, provides a firmer consistency which makes cutting exceptionally neat, clean slices much easier, especially for presentation. It’s also a fantastic option if you plan on transporting the dessert to a potluck or picnic, as it will stay cold and hold its shape better, arriving perfectly ready to be enjoyed.
The consistency of your pudding mixture is crucial. If it seems too thin, it might be due to incorrect milk measurement or insufficient beating. Try beating it for another minute or two. If it’s still too thin, you can try adding a tiny bit more instant pudding mix (start with a tablespoon) and beating again. If your mixture is too thick, it could be from using too little milk or overbeating. Slowly add milk, one tablespoon at a time, and gently beat until the desired creamy consistency is achieved. Always ensure your cream cheese is softened, as cold, lumpy cream cheese will prevent a smooth mixture.
Absolutely! While mixed berries (strawberries and blueberries) are featured here, this recipe is highly adaptable. Consider peaches, kiwi, or sliced bananas for different flavor profiles. If using fruits with high water content like peaches, you might want to lightly pat them dry after slicing. For fruits that brown quickly, like bananas, add them closer to serving time or toss them with a little lemon juice. The core idea is to use fruits that complement the creamy pudding and graham cracker layers.
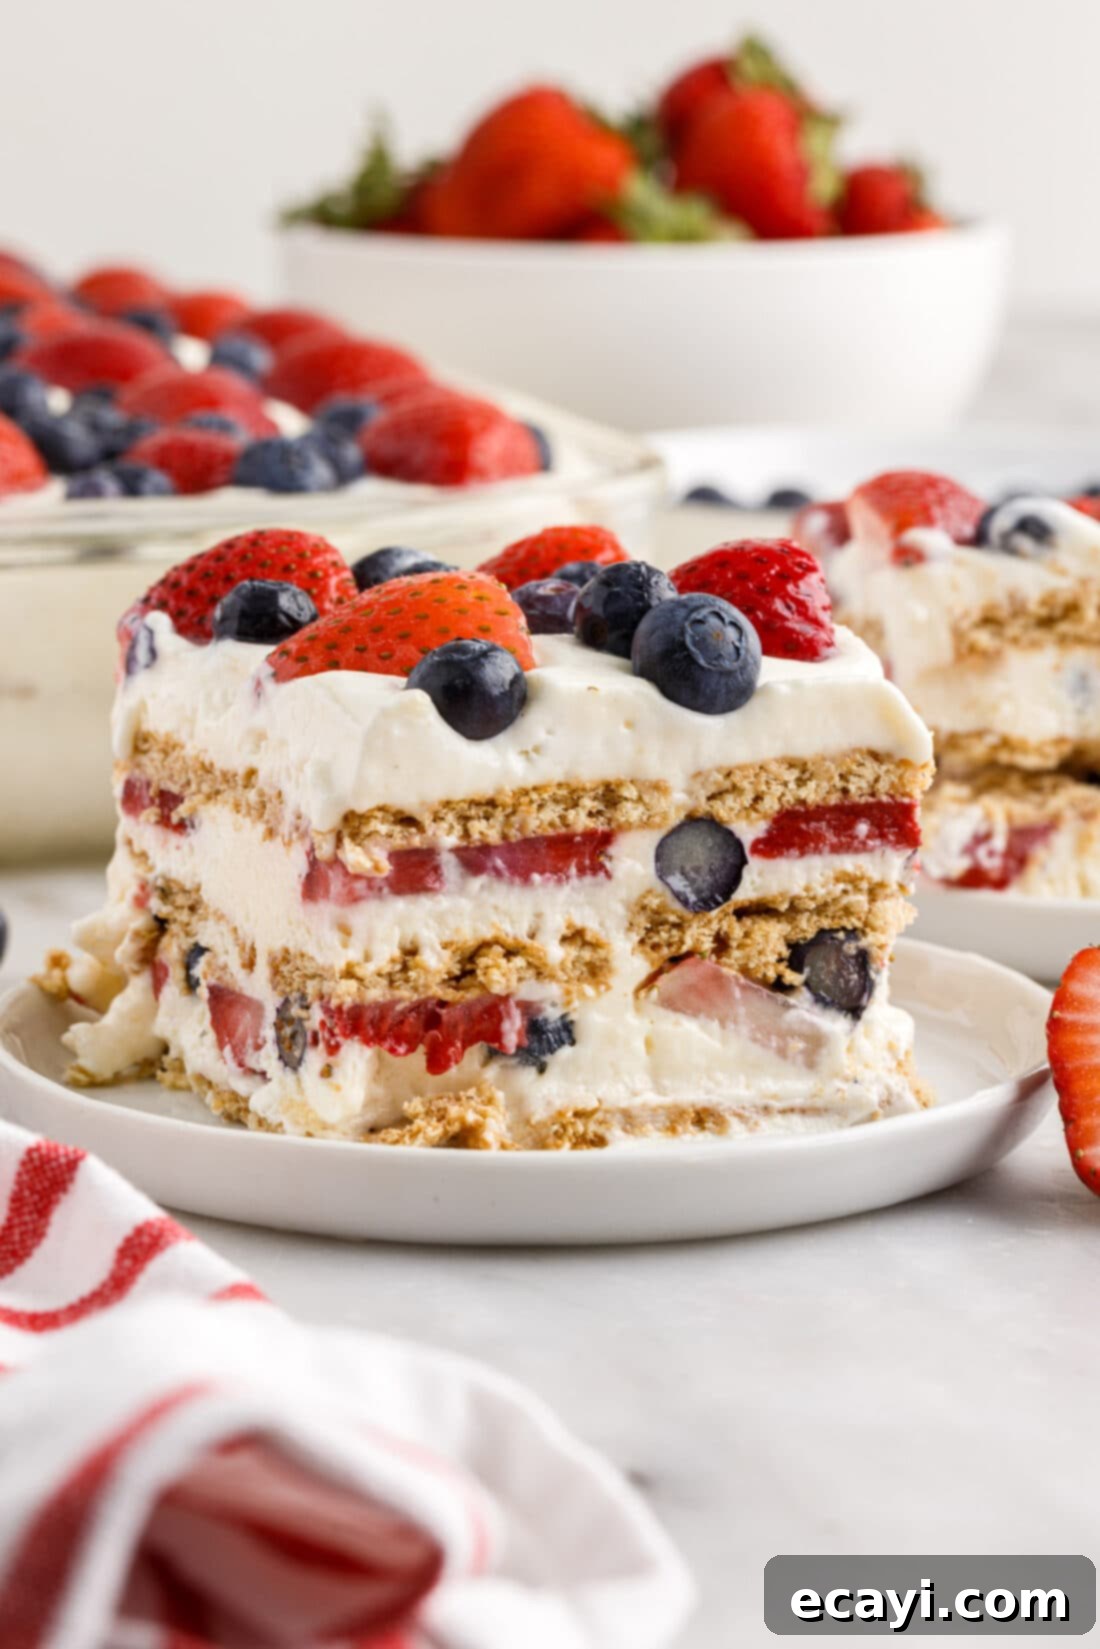
Delightful Serving Suggestions
This mixed berry icebox cake is a phenomenal dessert on its own, but a few optional touches can elevate it even further. Serve it beautifully chilled, making it the perfect cool and refreshing dessert for all your summertime gatherings – from casual barbecues and lively cookouts to elegant garden parties. For an extra flourish, consider topping each slice with a sprinkle of chopped nuts like pecans or almonds for added crunch, a delicate drizzle of melted white chocolate for a touch of elegance, or a scattering of extra graham cracker crumbs for texture and visual appeal. A dollop of extra whipped cream on the side is never a bad idea either! Enjoy this easy, impressive, and utterly delicious dessert as a standalone treat or as the grand finale to a memorable meal.
Explore More No-Bake Icebox Cake Recipes
If you loved the simplicity and deliciousness of this mixed berry icebox cake, you’re in luck! There’s a whole world of no-bake icebox cakes waiting to be discovered. These easy-to-make desserts are perfect for any occasion and come in a variety of flavors. Here are some more fantastic icebox cake recipes to add to your repertoire:
- Oreo Icebox Cake
- Lemon Icebox Cake
- Orange Icebox Cake
- Chocolate Icebox Cake
- Strawberry Icebox Cake
- Lemon Blueberry Icebox Cake
- Chocolate Chip Cookie Icebox Cake
I’m passionate about baking and cooking, and I love sharing my culinary adventures with all of you! To make sure you never miss out on a new recipe or kitchen tip, I offer a convenient newsletter every time a fresh post goes live. Simply subscribe here and start receiving your free daily recipes directly in your inbox!
Mixed Berry Icebox Cake
IMPORTANT – There are often Frequently Asked Questions within the blog post that you may find helpful. Simply scroll back up to read them!
Print It
Pin It
Rate It
Ingredients
- 8 ounces cream cheese softened
- 2 teaspoons vanilla extract
- 6.8 ounces instant vanilla pudding mix or 2 boxes of 3.4 oz instant pudding mix
- 3 cups whole milk
- 16 ounces Cool Whip thawed
- 14.4 ounces graham crackers 1 box, broken in half
- 2 pounds fresh strawberries rinsed and divided
- 4 cups fresh blueberries
Things You’ll Need
-
13×9 baking dish
-
Hand mixer or stand mixer
-
Mixing bowls
-
Rubber spatula
Before You Begin
- Store, covered with plastic wrap, in the refrigerator for 2-3 days or in the freezer for up to seven days.
- The amount of berries will vary depending on their size and the thickness you slice them. You do not have to use strawberry halves on the top of your icebox cake. You can simply slice all the strawberries into slices and top the icebox cake with those instead.
- The strawberries on this icebox cake will freeze more solidly than some of our other icebox cakes (e.g., lemon blueberry icebox cake). You may wish to store the icebox cake in the refrigerator so that it doesn’t take as long for the berries to thaw before serving.
- We like whole milk for a rich and creamy icebox cake, but you can use a reduced fat milk instead. Reduce the quantitiy of milk to 2 1⁄2 cups. Beat the milk in slowly, just a little at a time to ensure that you end up with a smooth pudding filling. The mixture will be very thick after combining the cream cheese, pudding powder, and vanilla. Pour just a couple tablespoons of milk into the mixture and beat well before adding another splash of milk. Proceed in this way until the mixture is smooth and loosened up enough to add the milk and form a nice smooth pudding.
Instructions
-
Beat cream cheese in a medium mixing bowl until light and fluffy.
-
Add pudding mix, vanilla extract, and milk. Continue beating until fully combined.
-
Fold in 16 oz. tub of Cool Whip. Beat with a mixer until it begins to thicken.
-
Spoon about 1⁄2 cup of the pudding mixture over the bottom of a 9×13 casserole dish and spread.
-
Place a single layer of graham crackers into the dish.
-
Spread a thin layer of the pudding mixture (about 1⁄5 of the mixture) over the graham crackers.
-
Cut stems from all of the strawberries. Slice about half of the strawberries into thin slices. Set aside the remaining whole strawberries.
-
Top pudding layer with sliced strawberries and about 1⁄3 of the whole blueberries.
-
Add another layer of graham crackers, then another pudding layer, and another fresh berry layer.
-
Add a third and final layer of graham crackers and the remaining pudding mixture.
-
To top the icebox cake, slice the remaining strawberries in half and place the halves over the top of the icebox cake. Sprinkle the remaining blueberries over the cake.
-
Place in the freezer for at least 4 hours to set up, or in the refrigerator for 6-8 hours.
-
Remove from the freezer 15-20 minutes before serving.
Nutrition
The recipes on this blog are tested with a conventional gas oven and gas stovetop. It’s important to note that some ovens, especially as they age, can cook and bake inconsistently. Using an inexpensive oven thermometer can assure you that your oven is truly heating to the proper temperature. If you use a toaster oven or countertop oven, please keep in mind that they may not distribute heat the same as a conventional full sized oven and you may need to adjust your cooking/baking times. In the case of recipes made with a pressure cooker, air fryer, slow cooker, or other appliance, a link to the appliances we use is listed within each respective recipe. For baking recipes where measurements are given by weight, please note that results may not be the same if cups are used instead, and we can’t guarantee success with that method.
